

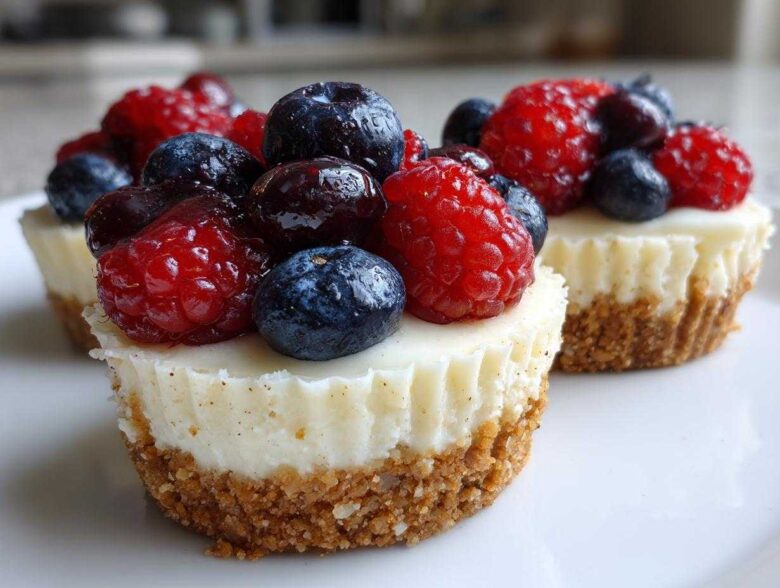
I don’t know about you, but when I’m hosting big groups or just need a delicious dessert FAST, I absolutely panic about oven space. That’s why I lean hard on recipes like these No-Bake mini cheesecake cups! They are my little secret weapon for serving dessert to a crowd without turning my kitchen into a sauna. You can check out some of my other favorite party desserts, but honestly, this recipe wins for consistency. Trust me, I’ve made enough for large gatherings to know that this no-bake version is superior for speed and you never have to worry about cracking or over-baking. They come out perfectly creamy every single time!
Why This No-Bake mini cheesecake Recipe is Perfect for You
Honestly, what’s not to love about these mini cheesecake cups? They truly solve so many little kitchen dramas when you’re trying to get a dessert out fast. I rely on these when I need something impressive but also something I can whip together after work.
- No oven required! This is the biggest win, especially when you’re looking for a quick cheesecake recipe. Say goodbye to babysitting the oven temperature.
- Perfect portion control means you get that ideal bite sized cheesecake experience every time. Nobody needs a huge slice when they want just a little something sweet.
- Cleanup is a breeze, which is a massive bonus when you’re making desserts for a crowd.
- These are the ultimate make ahead desserts! They actually taste better the day after you make them, which is perfect for busy weekends. You can find more make-ahead tips here, but this recipe is king.
Ingredients for Your No-Bake mini cheesecake Cups
When you’re going no-bake, the quality of your ingredients matters even more, because there’s no oven heat to hide behind! Don’t panic—most of this is pantry stuff. But listen closely on the cream cheese temperature; that’s everything for a smooth mini cheesecake filling. We break the list into three simple parts so you can shop and organize easily for these cheesecake bites.
For the Graham Cracker Crust
- 1 1/2 cups graham cracker crumbs (I use a food processor for the finest texture!)
- 1/4 cup granulated sugar (I just use regular white sugar here)
- 6 tablespoons unsalted butter, melted (make sure it’s melted, not just soft!)
For the Creamy mini cheesecake Filling
This is where the magic happens. Make sure everything gets soft, especially that cream cheese. You want these mini cheesecake cups to be luxurious, not lumpy!
- 16 ounces cream cheese, softened to room temperature. This step is crucial!
- 1 cup powdered sugar (sifted if you have time, but I usually just whisk well).
- 1 teaspoon vanilla extract (Use the good stuff, it makes a difference).
- 1/4 cup heavy cream (This is key for folding in air later).
For the Berry Topping
The topping is super flexible, but this mix is my year-round favorite. It cuts the richness perfectly.
- 1 cup mixed berries (strawberries, blueberries, raspberries) – fresh is always best for that pop of color!
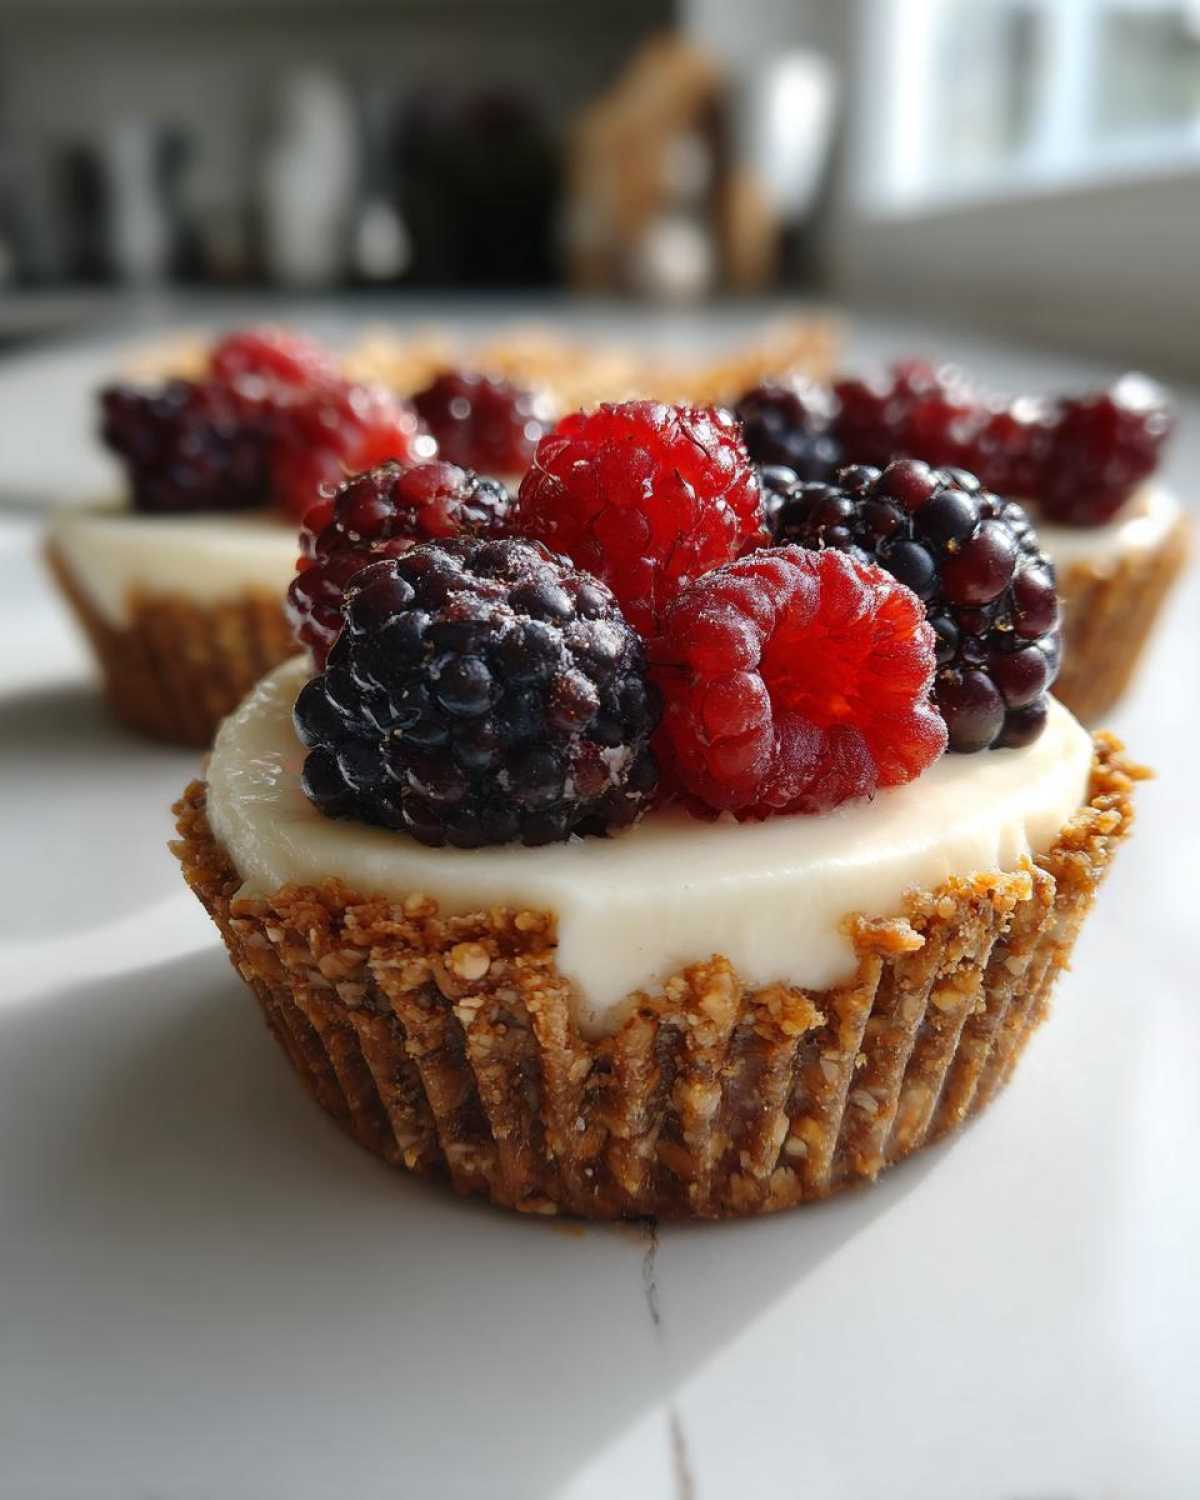
Step-by-Step Instructions for Perfect mini cheesecake Cups
Okay, this is the fun part! Once you’ve got all your bits measured out, assembling these mini cheesecake cups is lightning fast. Seriously, the time you save not having to bake is huge. My biggest piece of advice for the crust? Pack it down hard. This stops them from crumbling when people go to grab one of these cute little easy individual desserts.
Preparing the Crust Base
First things first, get your crust ready. Mix those graham crumbs, the sugar, and the melted butter until everything looks evenly damp—like wet sand, you know? Then, you line your muffin tin cups with the paper liners—don’t skip that, trust me! Spoon about a tablespoon of the crumb mixture into each liner. Grab the back of a small measuring cup or even just the bottom of a shot glass and press that crust down as firmly as you can. You want it dense!
Making the No-Bake mini cheesecake Filling
Now for the creamy center. Make sure that cream cheese is truly soft. Beat it until it’s totally smooth—we don’t want any lumps ruining our velvety texture here. Beat in your powdered sugar and vanilla. The next step is crucial: whip your heavy cream in a separate, clean bowl until it just holds soft peaks. Gently, and I mean gently, fold that whipped cream into the cream cheese mixture. This keeps the air in there so these easy individual desserts are light, not heavy brickets!
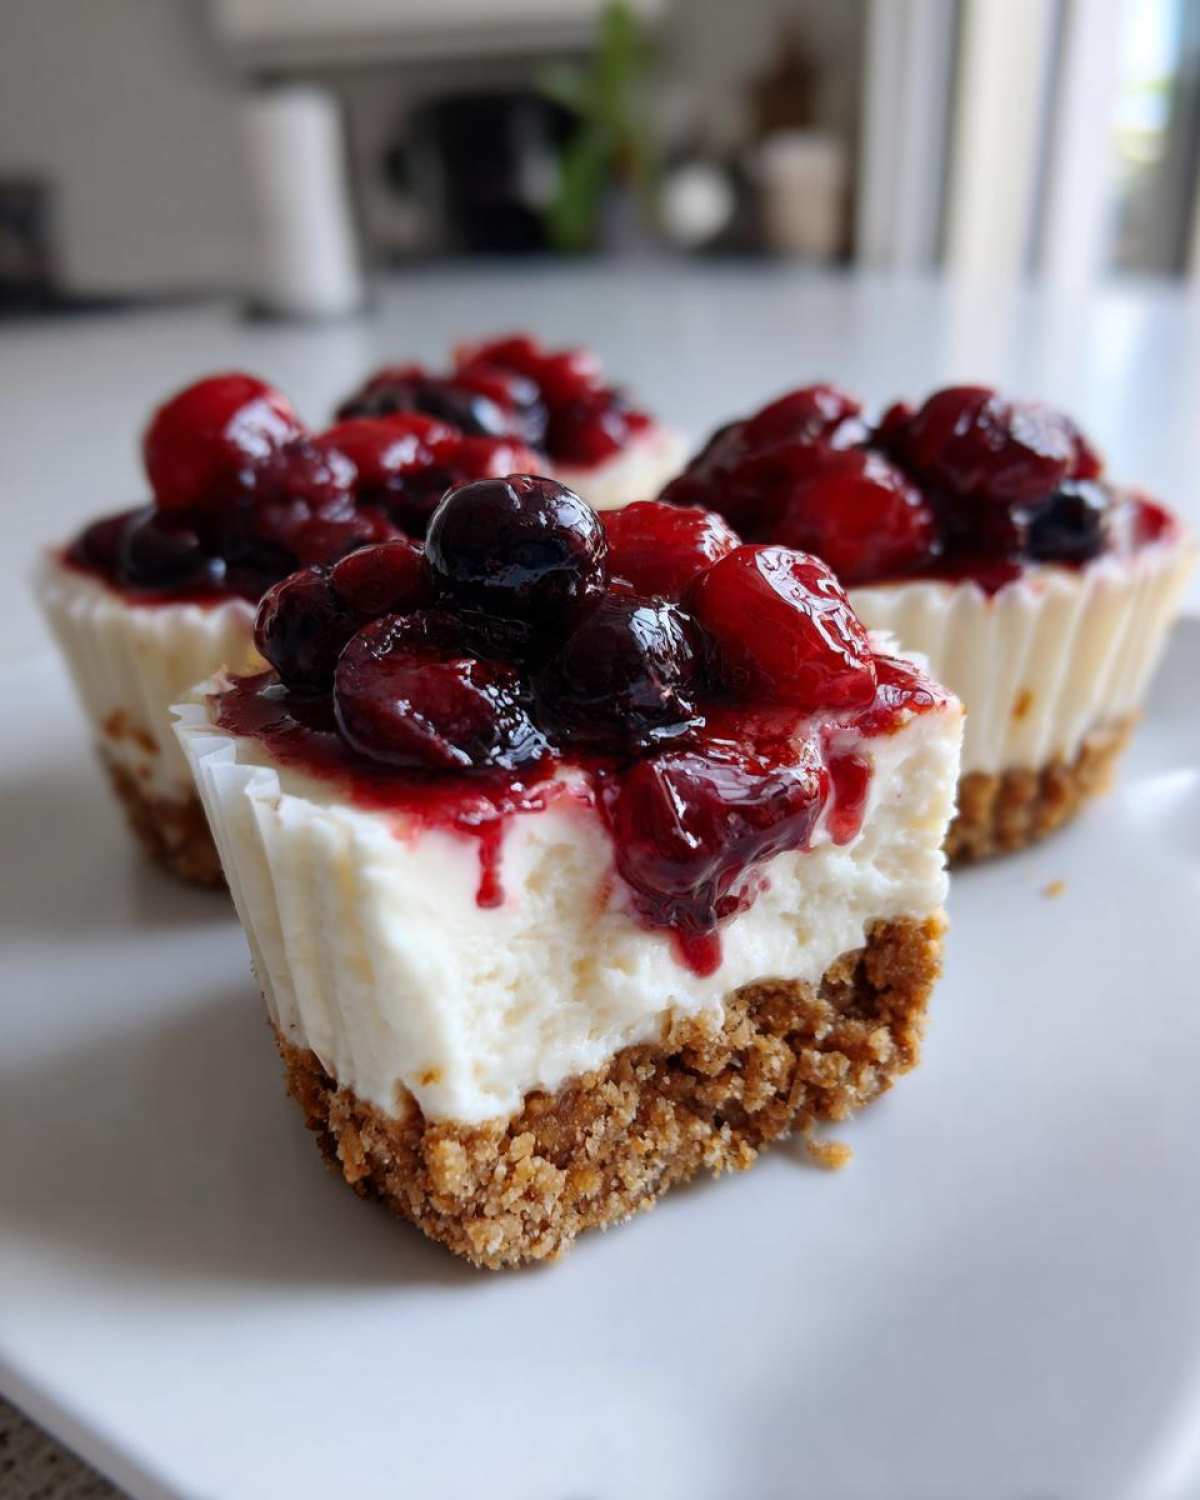
Assembly and Chilling the mini cheesecake
Time to fill them up! Spoon or pipe that beautiful filling right over your packed crusts. Don’t worry about making the top perfectly smooth yet. Then, you have to walk away. I know, it’s torture, but these no bake mini cheesecakes need a minimum of four hours in the fridge—really, five or six is better if you can manage it. Chilling is what sets the filling perfectly for these great bite sized cheesecake portions.
Finishing Touches: Topping the mini cheesecake
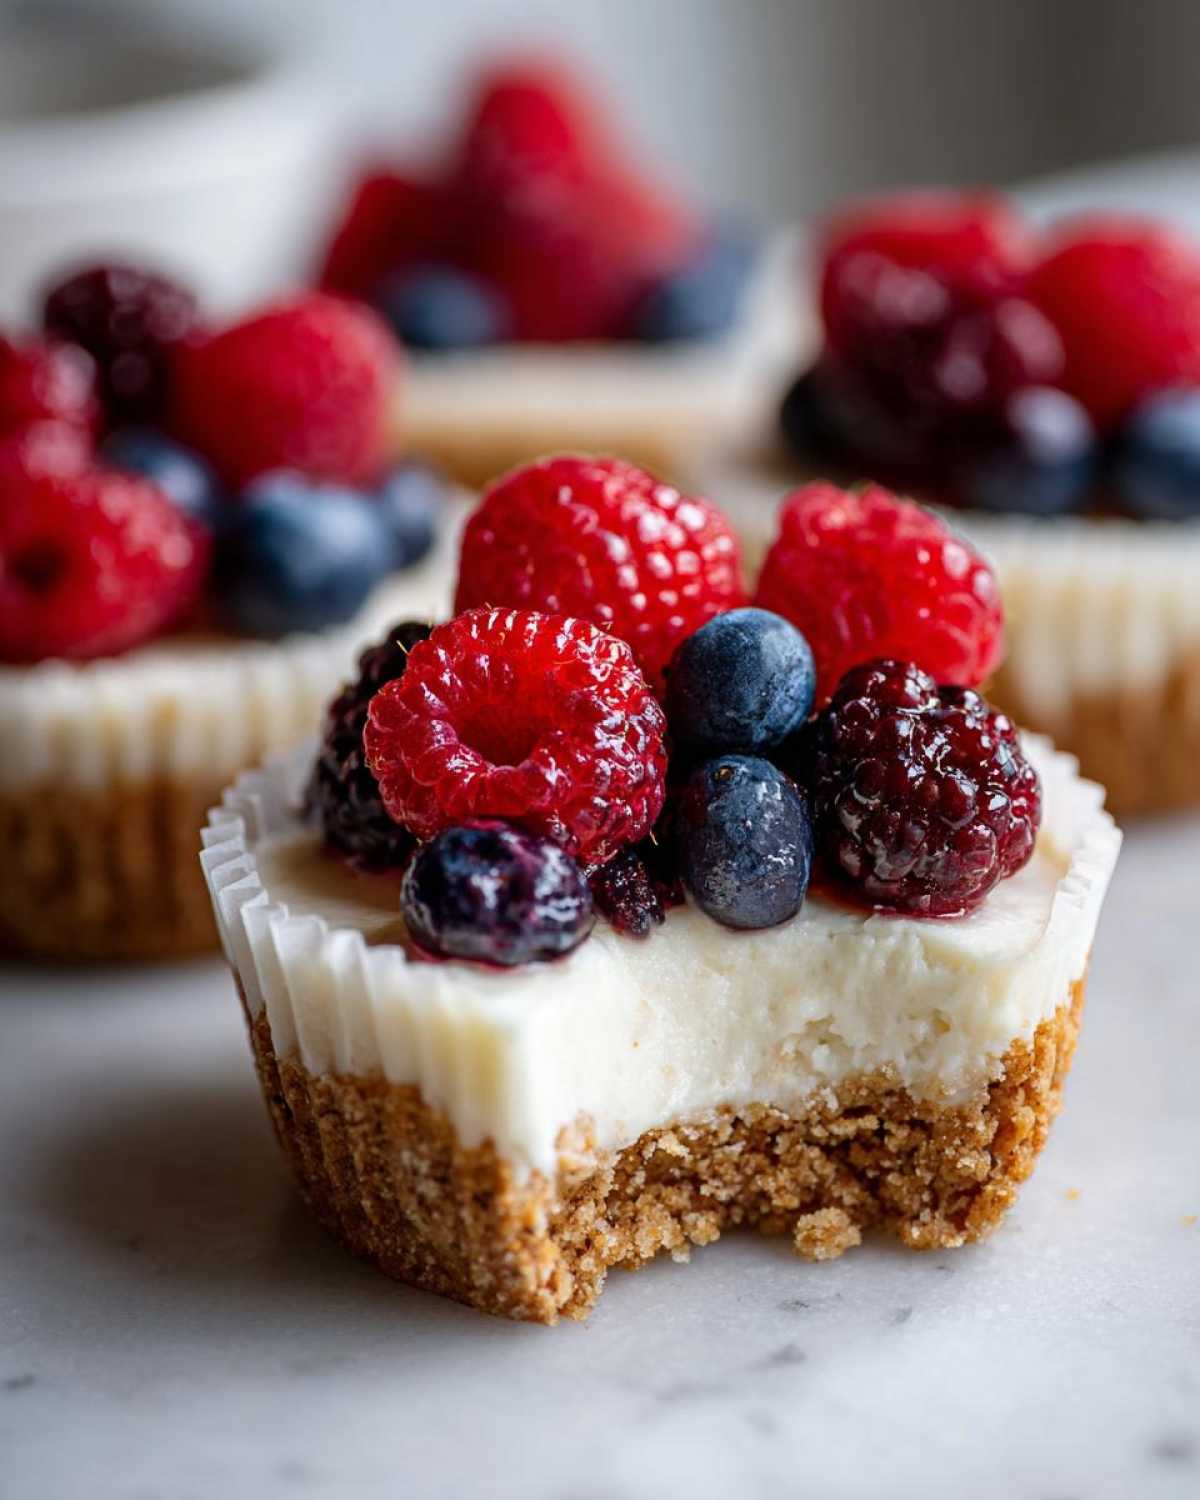
Once they are firm, it’s time to make them pretty! You don’t want to put the berries on too early, or they’ll bleed color everywhere. Right before you set these out for company, top each one with a little pile of your mixed berries. This little burst of fresh fruit just elevates these little miniature dessert ideas completely. You can see how simple it is by checking out my video tutorial on assembly!
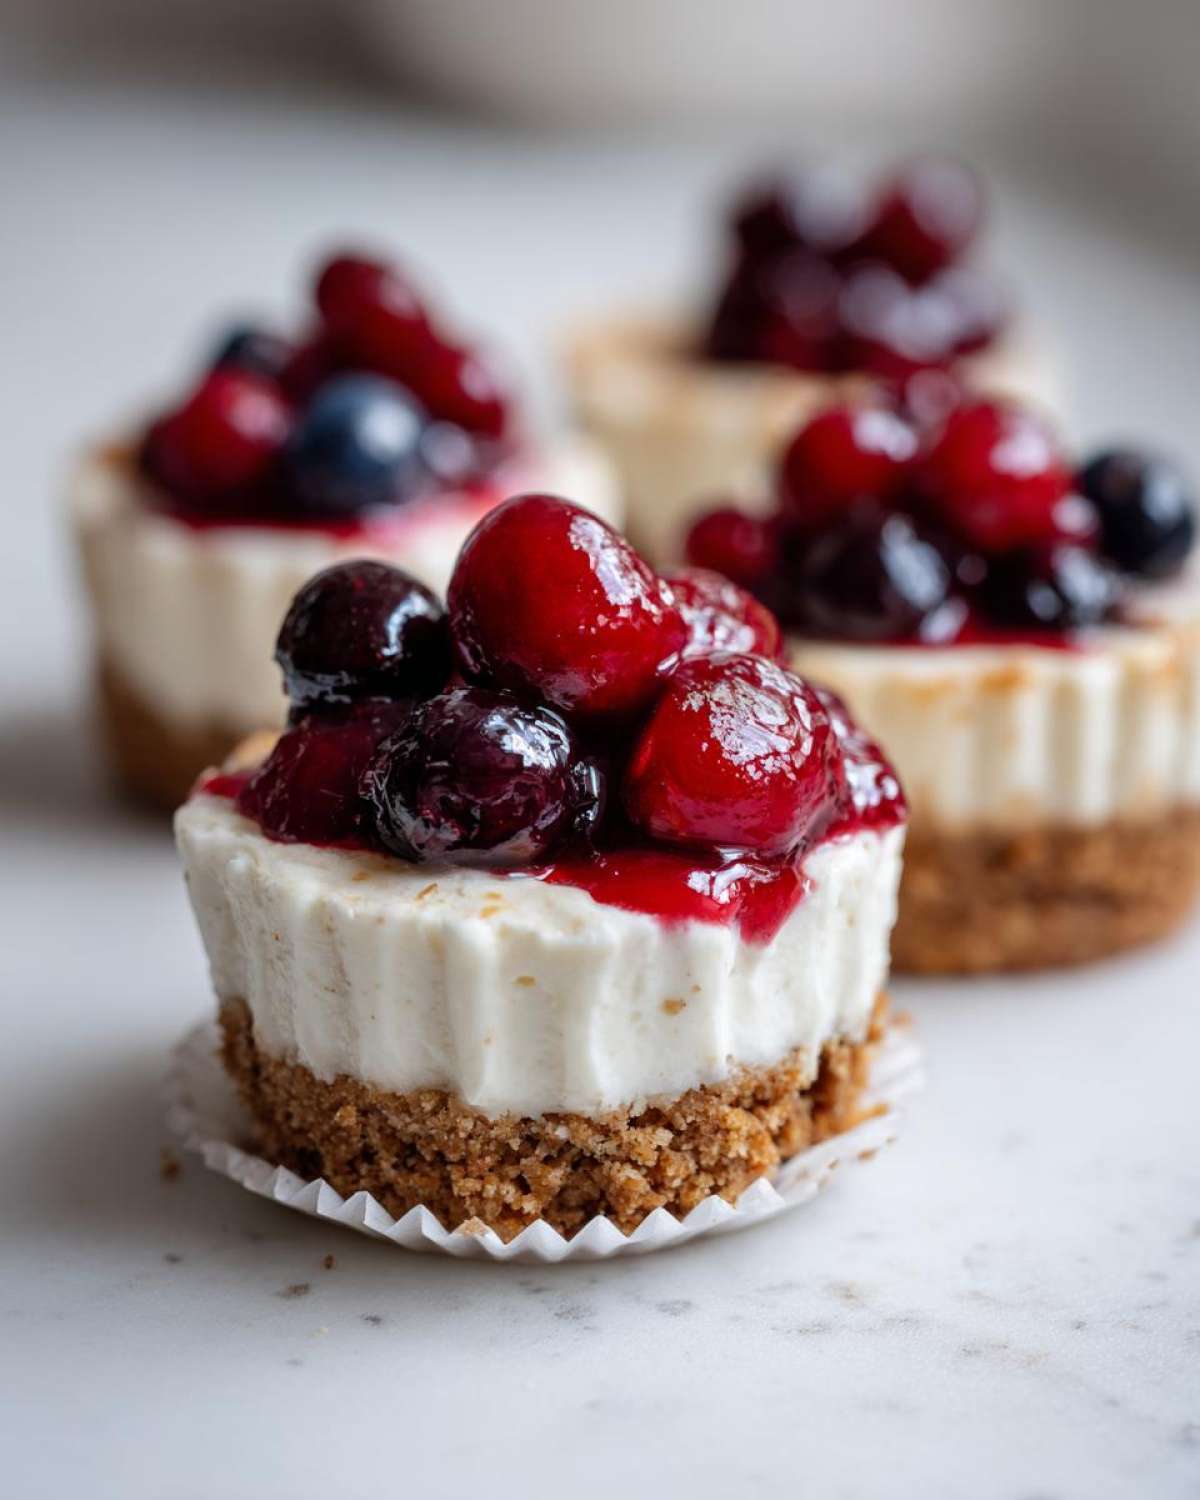
Tips for the Best mini cheesecake Texture and Flavor
Since we aren’t using the oven to help things set, our technique with these mini cheesecake cups has to be spot on! I’ve learned a few tricks over the years that make these homemade mini cheesecakes taste like they came from a high-end bakery, even though they take practically no active time. It all comes down to prep work, not cooking time.
First, temperature is your best friend when it comes to smooth filling. Seriously, if your cream cheese is cold, you’re going to end up beating lumps into it, and no amount of effort will fix that later. Pull it out at least an hour before you plan to mix. It needs to be soft enough that your finger leaves an easy indent without any struggle.
The other big thing is being mindful when you fold in that whipped heavy cream. Remember, we whipped it to soft peaks to incorporate air, right? If you stir it aggressively like you’re mixing cake batter, you deflate all that lovely lightness! Use a wide rubber spatula and cut down the middle, then scoop up and over—slowly and gently. This folding step is what keeps these cheesecake bites from feeling like dense putty. You can find more detailed breakdown on my cheesecake filling guidance here.
And don’t forget that crust! Even though we aren’t baking it, if that graham cracker base isn’t packed down firmly into the paper liner, it will just turn to crumbs when someone tries to pick up their bite sized cheesecake. I use the flat bottom of a glass measuring cup for maximum compaction.
Now, if you wake up the next day and suddenly decide you *do* want that traditional New York Style mini cheesecakes flavor? No sweat! You can carefully move these babies into a 325°F oven for about 15 to 18 minutes until they are just set around the edges. Just make sure you let them cool completely before you even think about topping them!
Cheesecake Crust Options for Your mini cheesecake
So, while I’m obsessed with the classic graham cracker base for these mini cheesecake cups—it’s traditional for a reason, right?—I know some of you want to mix things up! Maybe you’re out of graham crackers, or maybe you just want to match the crust flavor to your topping. You absolutely can customize the cheesecake crust options here, and it’s super easy to pivot.
The general rule of thumb I use is based on how much sugar is already in your crumb. Graham crackers have some sweetness, but Oreos or shortbread? They bring a lot more sugar and fat!
For example, if you want to use crushed chocolate sandwich cookies, like Oreos—which makes for amazing desserts for a crowd, by the way—you usually need to pull back on that added sugar we put in the crust mix. I’d say drop the granulated sugar completely and maybe even use slightly less butter, say 5 tablespoons instead of 6. You want the crumbs to stick, not swim!
If you’re leaning toward something lighter, like vanilla wafers, they are often a bit drier than graham crumbs. In that case, you might need to add just a kiss more butter—maybe 6 1/2 tablespoons—to make sure it packs down firmly in your muffin tin. Check out my guide for crust ratios here; it breaks down all the different crumb bases!
Shortbread cookies are another winner for these bite sized cheesecake treats. They already have tons of butter in them, so just like with the Oreos, ditch that extra sugar in the recipe and go light on the melted butter. Mix it, press it firmly, and you’ve got a totally different, yet equally delicious, base for your homemade mini cheesecakes!
Storing and Making Ahead Desserts with Your mini cheesecake
This is seriously the best part for anyone hosting a huge event: these mini cheesecake cups are champions when it comes to planning ahead. Since we aren’t dealing with eggs that need cooking, they become marvelous make ahead desserts! I usually prepare these the day before a big party, which frees up my entire morning for last-minute cleanup or just enjoying a calm cup of coffee.
The main thing you need to remember is air exposure. Even though they are rich and creamy, they can still dry out or, worse, start to absorb the smell of whatever else is lurking in your fridge. So, airtight storage is non-negotiable for keeping these desserts for a crowd tasting perfect.
Once the filling is completely firm—after those crucial 4+ hours of chilling—you need to cover them up. I use an extra-large sheet cake container with a tight lid, making sure the lid doesn’t press down on the berry topping if you’ve already added it. If you haven’t added the toppings yet, that’s even better for longevity!
For the very best flavor and texture in these bite sized cheesecake treats, I find they are absolutely peak within 24 hours. You can safely keep them in the refrigerator for up to three days. After day three, the graham cracker crust starts to absorb a little too much moisture from the filling and can get a bit soft. Nobody wants a soggy crust on their cheesecake bites!
If you used the fresh berry topping, you definitely want to top them right before serving, keeping them separate until the last minute. If you top them ahead of time, the juices will start running everywhere. If you’re making them truly ahead of time, just store the cheesecake base plain, maybe with a quick dust of powdered sugar, and then top them right before guests arrive. It’s an easy trick that keeps everything looking professional. You can find some more great insights on planning your menu with my guide to making desserts ahead of time!
Creative Topping Variations for Your mini cheesecake
One of the reasons I love these mini cheesecake cups so much is that they are just a brilliant, creamy canvas. The berry topping is amazing, don’t get me wrong, but once you’ve got the base down—that perfect crumb and that smooth, no-bake filling—you can switch up the top layer for every single event you host! This lets you satisfy everyone’s craving and reuse this quick cheesecake recipe all the time without it feeling repetitive.
If you haven’t topped them yet, or if you’re planning the next batch, here are some of my go-to ideas that turn these into truly spectacular miniature dessert ideas.
First up: Chocolate lovers have to try a rich chocolate ganache. It’s ridiculously easy! Just heat up some heavy cream until it’s simmering, pour it over finely chopped dark chocolate (about a 1:1 ratio by weight works great), let it sit for five minutes, and then whisk until it’s glossy and smooth. Drizzle that over your chilled cheesecake bites. The slight bitterness of the dark chocolate is absolutely divine against the sweet, tangy cream cheese.
Another favorite, especially when I’m feeling fancy, is salted caramel. You can use store-bought or try making your own—I have my favorite easy caramel technique, which also works beautifully here. A little homemade caramel sauce dolloped on top, finished with a tiny pinch of sea salt, makes these feel like an elevated restaurant dessert. Just make sure the cheesecake is very cold so the caramel sets up nicely on top!
If you’re going into spring or summer, don’t overlook lemon curd! It has that wonderful, intense tartness that cuts through the richness better than almost anything else. A spoonful of bright yellow lemon curd paired with a tiny piece of mint on top makes these absolutely stunning easy individual desserts.
And for pure texture fun? Crushed cookies! Forget the crust for a minute; let’s just talk topping. If you crush up some peanut butter cups and sprinkle them on top, they look incredible and add that salty-sweet crunch we all crave. Another great option for texture contrast is using crumbled shortbread cookies or maybe even some toasted pecans for a nutty flair. These variations confirm that these mini cheesecake cups will never get boring!
Frequently Asked Questions About Making mini cheesecake
It happens! Every time I share this recipe, people hit me up with the same great questions about getting those little treats just right. It’s totally normal to have a few doubts when you’re using a no-bake method, but honestly, these mini cheesecake cups are so forgiving. I’ve gathered the ones I hear the most often below to put your mind at ease so you can make the absolute best mini cheesecake recipe for your crew.
Can I use a different pan instead of a muffin tin for these mini cheesecake cups?
Yes, you absolutely can! The standard muffin tin works so well because the paper liners make peeling them off super simple, but you don’t have to be limited. You could use those little silicone molds that are shaped like half-spheres, or even small glass ramekins if you wanted to serve them that way. Just a heads-up: If you use a deeper container, they might need a little extra chilling time—maybe an extra hour—to make sure the center of your bite sized cheesecake is totally firm before topping them!
How do I get a smooth, crack-free filling in my homemade mini cheesecakes?
That’s the million-dollar question, even for the baked versions! Since we’re keeping this the quick cheesecake recipe (no-bake!), avoiding cracks is actually easier. The two things you MUST nail are: First, your cream cheese has to be fully softened—like room temperature soft. If it’s stiff, you’ll beat lumps into it. Second, when you fold in that whipped heavy cream, do it slowly and gently. You want to keep all that lovely air you whipped in there. If you over-mix the final filling, you deflate it, and that ruins the velvety texture of your cheesecake bites.
Are these considered good party desserts or sweet finger foods?
Oh, they are the *best* when it comes to that! These mini cheesecake cups were practically designed to be party desserts. Because they are already portioned out perfectly, nobody has to cut anything, and they look really neat sitting on a platter. They are the definition of sweet finger foods—just pop the liner off and eat it in two or three bites. They are always the first thing gone at any gathering I bring them to!
Estimated Nutritional Data for One No-Bake mini cheesecake
Okay, so I know we all want deliciousness, but sometimes we’re curious about what we’re actually eating, especially when these mini cheesecake cups disappear so fast! I pulled the estimates right from my master sheet, but I have to warn you:
These numbers are just estimates, sweetheart! They rely on the exact brands I use and those perfectly measured amounts. If you use a different type of cream cheese, or if you use triple the berries on your topping (which I totally endorse, by the way!), these numbers will change. These estimates are based on one standard bite sized cheesecake serving size.
Here’s the basic rundown for one of these beauties:
- Serving Size: 1 cup
- Calories: 280
- Fat: 18g (Be careful with the saturated fat, that’s mostly the cream cheese and butter!)
- Carbohydrates: 26g
- Protein: 4g
- Sugar: 22g (It’s a dessert, after all!)
See? They aren’t too bad for a truly indulgent treat, especially since they are perfectly portioned! If you’re tracking things closely, just remember that the topping makes the biggest difference. If you swap those lovely fresh berries for a thick layer of chocolate ganache, make sure you recalculate!
PrintNo-Bake Mini Cheesecake Cups with Berry Topping

Make easy, individual mini cheesecakes without baking. These bite-sized desserts use a simple graham cracker crust and a creamy filling, topped with fresh berries.
- Prep Time: 20 min
- Cook Time: 0 min
- Total Time: 4 hr 20 min
- Yield: 12 servings
- Category: Dessert
- Method: No-Bake
- Cuisine: American
- Diet: Vegetarian
Ingredients
- 1 1/2 cups graham cracker crumbs
- 1/4 cup granulated sugar (for crust)
- 6 tablespoons unsalted butter, melted
- 16 ounces cream cheese, softened
- 1 cup powdered sugar
- 1 teaspoon vanilla extract
- 1/4 cup heavy cream
- 1 cup mixed berries (strawberries, blueberries, raspberries)
Instructions
- Combine graham cracker crumbs, 1/4 cup granulated sugar, and melted butter in a bowl. Mix until the crumbs are evenly moistened.
- Press about 1 tablespoon of the crumb mixture firmly into the bottom of each cup in a standard 12-cup muffin tin lined with paper liners.
- In a separate bowl, beat the softened cream cheese until smooth.
- Gradually beat in the powdered sugar and vanilla extract until fully combined.
- In a small bowl, whip the heavy cream until soft peaks form. Gently fold the whipped cream into the cream cheese mixture.
- Spoon or pipe the cheesecake filling evenly over the crusts in the muffin cups.
- Refrigerate the mini cheesecakes for at least 4 hours, or until firm.
- Before serving, top each mini cheesecake cup with mixed berries.
Notes
- For a New York Style variation, you can bake these. Bake at 325°F for 15-18 minutes, then cool completely before topping.
- If you do not have paper liners, lightly spray the muffin tin cups with non-stick spray.
- You can substitute the berry topping with caramel sauce or chocolate ganache for different flavors.
Nutrition
- Serving Size: 1 cup
- Calories: 280
- Sugar: 22
- Sodium: 190
- Fat: 18
- Saturated Fat: 11
- Unsaturated Fat: 7
- Trans Fat: 0.5
- Carbohydrates: 26
- Fiber: 1
- Protein: 4
- Cholesterol: 55
