

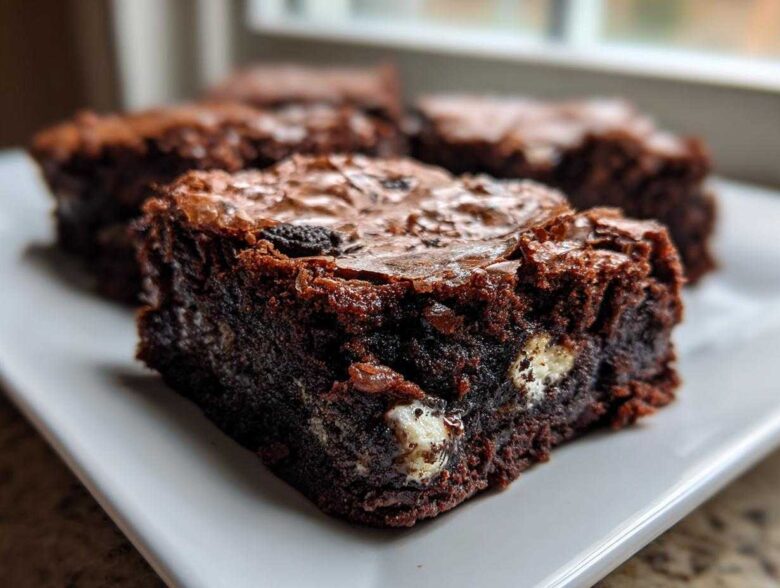
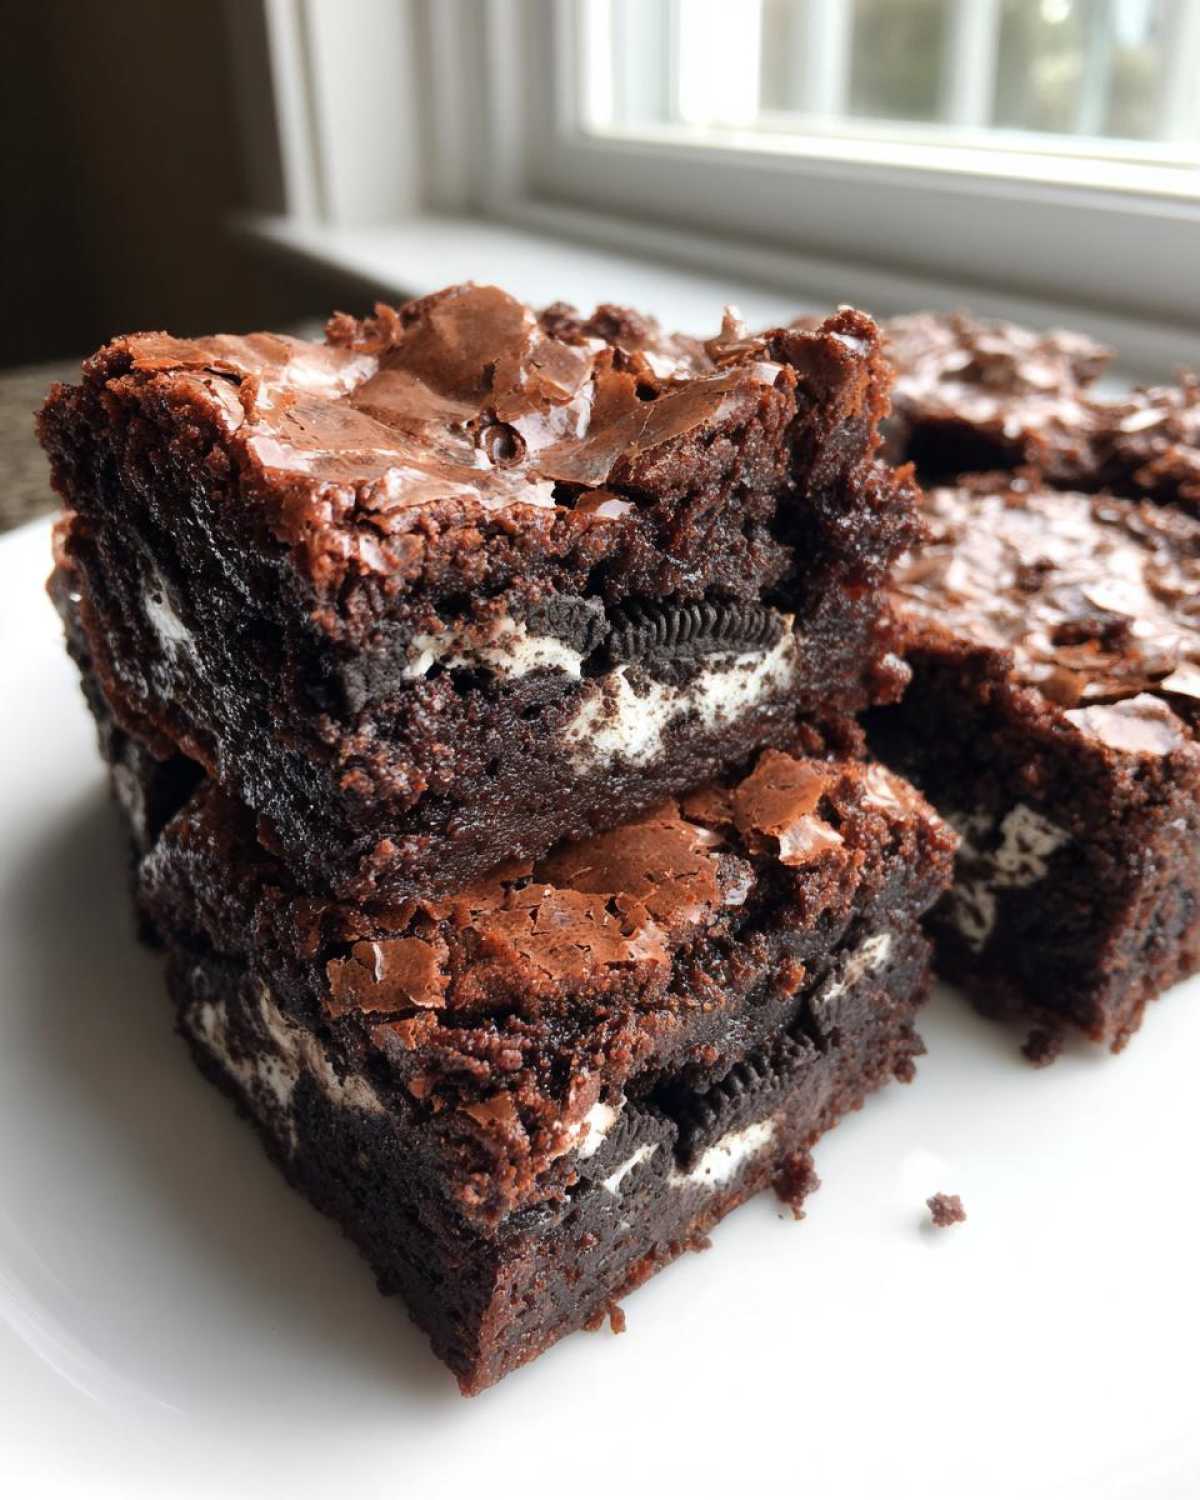
Oh my gosh, you know those days when only the absolute richest, fudgiest chocolate will do? I know exactly what you mean! Forget those dry, cakey disappointments you sometimes get from a box mix—we are making the Ultimate Fudgy Oreo Brownies today, and they come with that dreamy, paper-thin, shiny crackly top that every good baker strives for. Believe me, after many messy experiments, I finally nailed the technique for those beautiful oreo brownies. This recipe is scratch-baked goodness, pure decadence, and shockingly easy since it’s just one bowl for the batter! Get ready to overload your taste buds.
Why This is the Best Oreo Brownie Recipe (E-E-A-T)
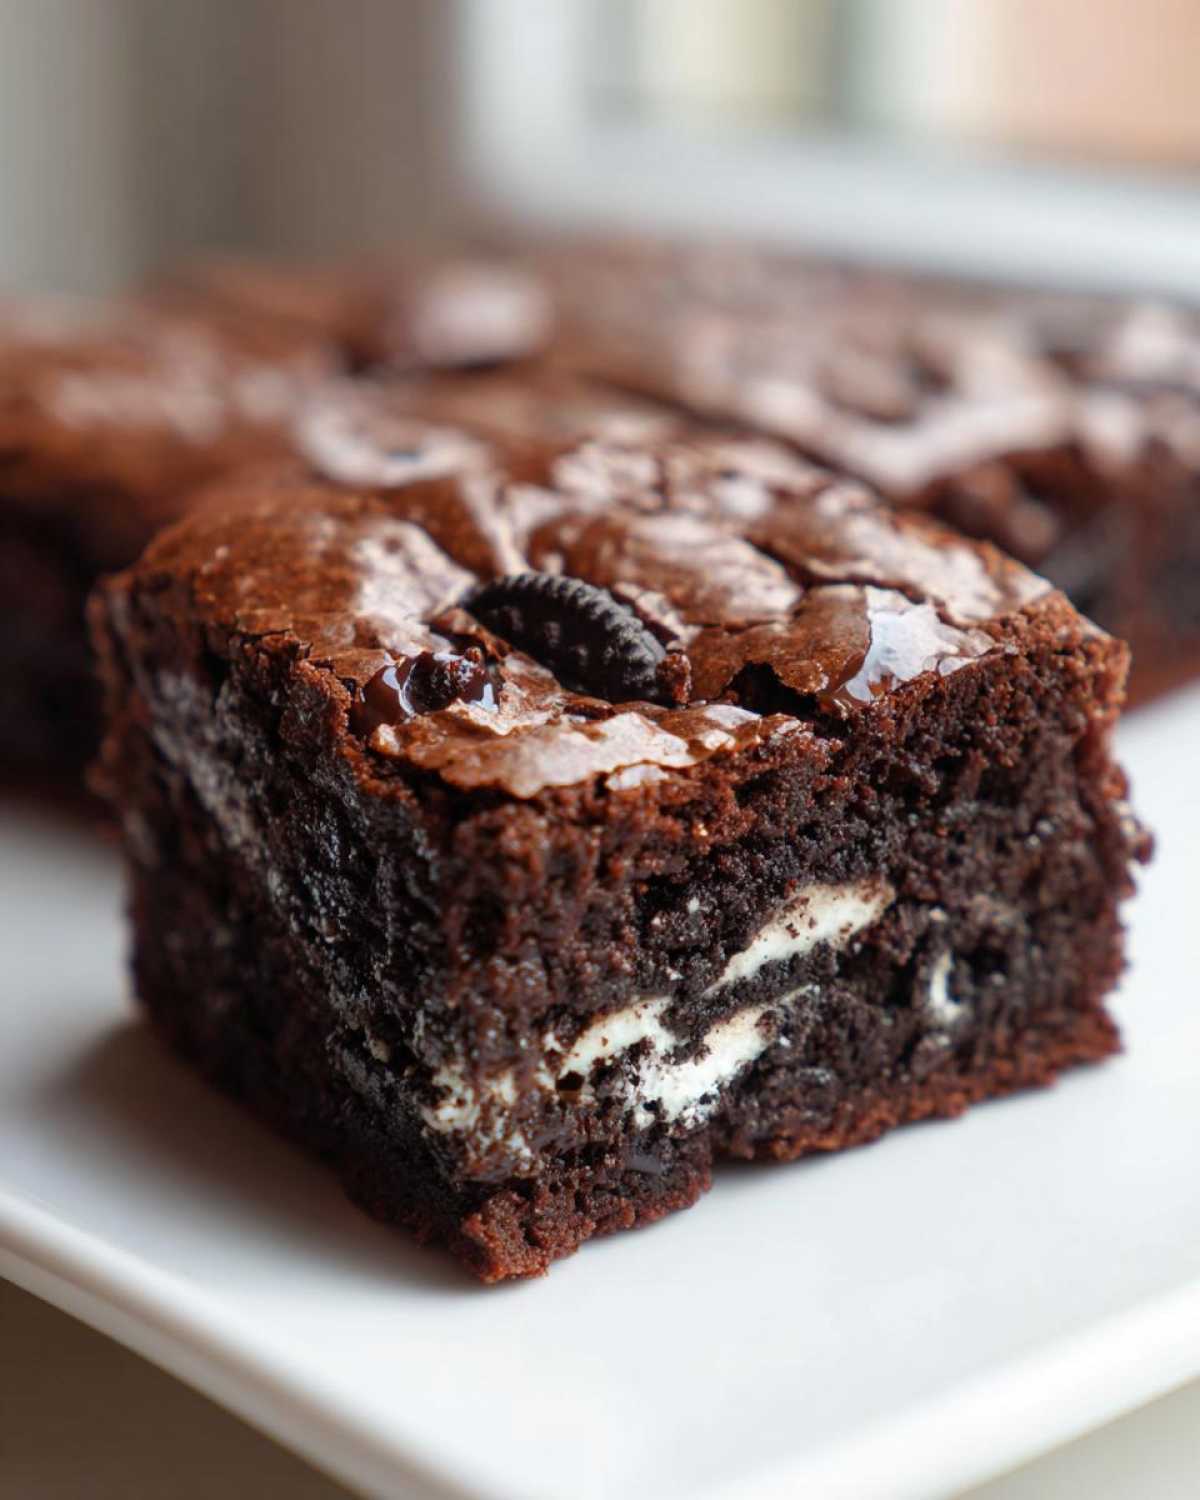
I’ve tinkered for ages to create a recipe that hits that perfect sweet spot. If you’re hunting for truly fudgy oreo brownies that aren’t swimming in undercooked batter, this is your winner. The secret weapon? It’s all in the sugar and eggs! You really need to get that whisking right, much like I talk about when I show you how to make my hot chocolate brownies.
When you whisk those two ingredients together until they’re beautifully glossy—before adding anything else—you create those tiny air bubbles. As they bake, those bubbles rise to the top and then collapse, giving you that elusive, paper-thin crackly top brownies everyone raves about. It’s actual science, but honestly, it just feels like magic when you pull them out of the oven. This method is way better than cheating with a box mix, trust me!
Ingredients for Ultimate Fudgy Oreo Brownies
Okay, let’s look at what you need for absolute decadence. Don’t stress; most of this is probably already in your pantry. We aren’t using complicated things here, just good, honest baking supplies to make sure these homemade oreo brownies turn out perfectly thick and chocolatey.
Here’s the lineup:
- 1 cup (2 sticks) unsalted butter, melted
- 2 cups granulated sugar
- 4 large eggs
- 1 tablespoon vanilla extract
- 3/4 cup unsweetened cocoa powder
- 1 teaspoon salt
- 1/2 teaspoon baking powder
- 3/4 cup all-purpose flour
- 1 cup chopped semi-sweet chocolate chips
- 12 Oreo cookies, roughly chopped
When you chop those Oreos, try to get some big chunks in there! We want those satisfying white-filling surprises tucked into every delicious, fudgy corner.
How to Prepare Your Homemade Oreo Brownies Step-by-Step
I love how fast this comes together. Seriously, you can be enjoying these gooey wonders faster than waiting for the delivery driver! Since we put so much work into finding the perfect ingredients, we have to treat the mixing process with respect. Remember, these are homemade oreo brownies, and they deserve our full attention for these few minutes.
First things first: get your oven preheated to 350°F (that’s 175°C). Then grab your 9×13 inch pan. I always line mine with parchment paper, leaving a little overhang on the sides. That overhang is your built-in handles for lifting the entire slab out later—life saver!
Next, we tackle the wet stuff. Whisk your melted butter and sugar until they look like they’ve become best friends. Then, introduce the eggs one by one, whisking well after each addition, followed by the vanilla. Now, for the dry part: whisk your cocoa, salt, and baking powder separately. This keeps the cocoa from clumping later! Slowly add the dry mix to the wet stuff, stirring until it’s *just* smooth. Stop mixing! If you overmix brownie batter, you invite toughness, and we want fudgy, remember? If you’re curious about what makes a cake crumb perfect elsewhere, check out my thoughts on chocolate cake recipes.
Finally, gently fold in those chocolate chips and half of your chopped Oreos. Spread that beautiful batter evenly into your lined pan. Don’t smooth it too much; a little texture is okay! Sprinkle the rest of those chopped cookies right on top so they sit proudly on the surface. Bake for about 25 to 30 minutes. You want moist crumbs on the toothpick, not wet batter, but definitely not dry! The absolute hardest part is waiting for them to cool completely on a rack before you use those parchment handles to lift them out. Patience makes the fudgiest brownies, I promise. They firm up perfectly as they chill!
Tips for Perfect Crackly Top Oreo Brownies
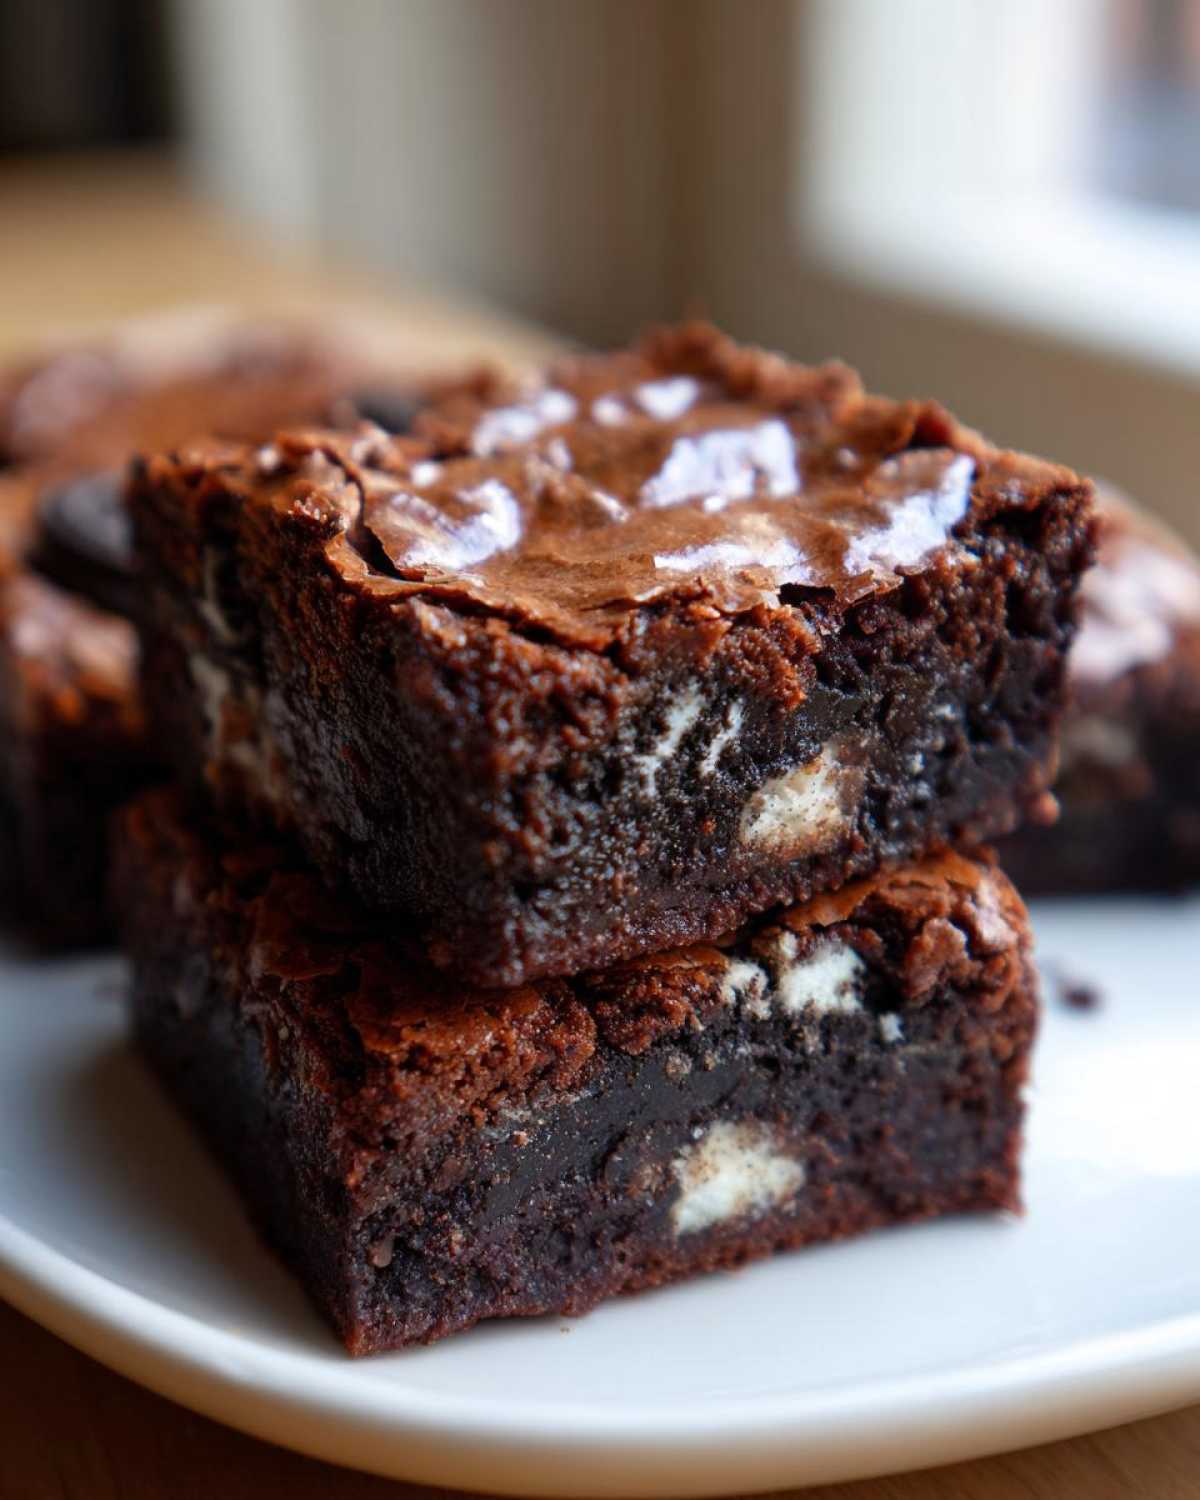
If that marshmallowy, shiny top is what you dream about, I’m going to tell you exactly how to hypnotize your batter into giving it to you. You already know the secret lies in building up that sugar structure, which is why we spend so much time whisking the butter and sugar together at the start. Keep beating until that mixture looks pale, almost like thick, slightly grainy frosting.
This step incorporates the air that creates the magic shiny crust on your oreo brownies. Don’t rush it! It makes a huge visual difference later.
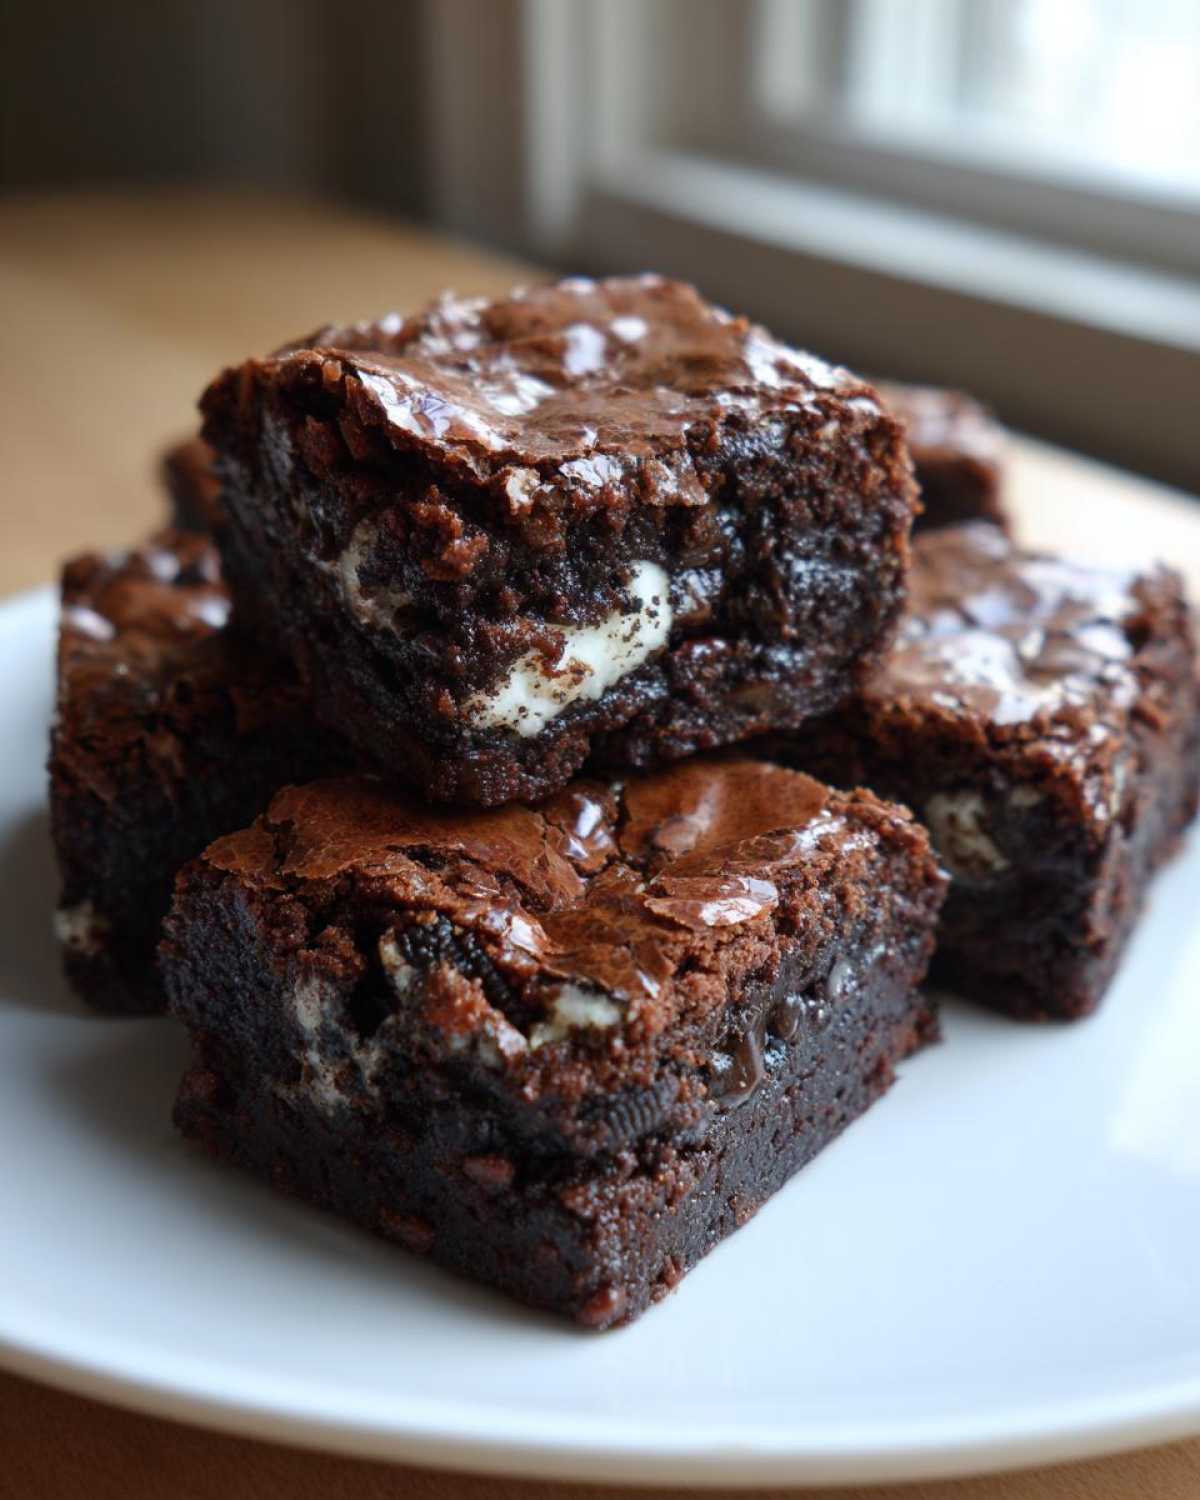
Now, while this recipe is written for a 9×13 pan for that perfect chewy edge-to-center ratio, if you want to take these puppies to the extreme fudgy territory, you absolutely can use an 8×8 inch pan instead. Just remember: smaller pan means the batter is deeper, so you’ll need to add about 5 to 10 minutes to your bake time. Always check the center with your toothpick test, though! You don’t want to burn that amazing crust trying to get the middle done.
For the richest experience, sometimes I like to use browned butter when I melt the butter for the base—it adds this amazing nutty depth you wouldn’t expect. You can see how I do that whole process over in my brown butter cookie recipe, but it works just as well here!
Variations for Your Oreo Brownies Recipe
The best part about a solid base recipe like this is how much fun you can have changing it up! Since we already have the perfect foundation for incredible oreo brownies, changing the flavor profile is super simple. If you love that cool, refreshing taste, you absolutely have to try this for a seasonal twist.
Mint Oreo Brownies
It’s an immediate upgrade! Just swap out your regular sandwich cookies for Mint Oreos when chopping them up for the batter and the topping. That little punch of mint blends beautifully with the deep chocolate. It transforms the whole dessert, but it still bakes up just as fudgy and perfect. You can see how I play with Oreos paired with peanut butter in my cupcake recipe, and the principle is the same—the cookie flavor dominates!
Thinking About Layered Cookie Dough Brownies?
Now, I know everyone hears ‘oreo brownies‘ and sometimes they think about those famous ‘slutty brownies’ that blend cookie dough, Oreos, and brownie mix. While this recipe is strictly for intense, fudgy brownies loaded with Oreos, if you wanted to try that layered texture, you’d need to prepare a separate batch of your favorite chocolate chip cookie dough.
You’d press half the cookie dough into the bottom of the pan, top it with the Oreos and brownie batter, and then crumble the remaining cookie dough over the top. It takes more effort, honestly, but it hits that layered cookie experience everyone talks about!
Making Chewy Oreo Brownies: Adjusting Texture
Okay, so sometimes you’re in the mood for that super dense, melt-in-your-mouth fudge, and other times? You need that satisfying chewiness on the edges that pulls apart just right. This recipe is naturally designed to be on the fudgier side, but achieving chewy oreo brownies is totally doable with tiny tweaks!
If you want more chew, don’t change the sugar or fat, that’s key for the crust! Instead, try adding just one extra tablespoon of flour to the dry mix. That little bit of extra structure keeps the crumb from collapsing into pure fudge. Also, don’t be afraid to bake them for just two minutes longer than the recipe calls for—but seriously, just two minutes!
Do not overbake, though! Overbaking is how you get cakey brownies, and that’s the opposite of chewy. You want the toothpick to return *just* clean. This small baking window is the difference between a chewy bite and a dry bite, much like when I adjust recipes for my fudgy date brownies. It’s all about restraint!
Storage and Keeping Your Oreo Brownies Fresh
These decadent treats should really be eaten right away because they are that good, but let’s be real—sometimes you have leftovers, or you bake ahead for a party. Don’t sweat it!
For the absolute best fudgy texture, store your cooled oreo brownies in an airtight container right on the counter at room temperature for about three to four days. The fridge tends to dry them out a little too fast, and we worked hard for that moisture!
If you just *must* chill them, make sure they are tightly wrapped first. If you want to reheat them slightly—maybe you want that chocolate chip ooze again—just pop a square in the microwave for about 10 to 15 seconds. Warning: they get incredibly soft, so eat them over a plate!
Frequently Asked Questions About These Oreo Brownies
Can I use store-bought cookie dough in this recipe?
That’s a great question if you’re aiming for speed! This recipe is designed to be completely scratch-baked, which is where all that fudgy flavor comes from, but I know sometimes convenience wins. You absolutely can’t substitute the brownie batter with store-bought dough—it won’t create that signature crackly top because the sugar ratio is off. However, you could try layering pieces of store-bought chocolate chip cookie dough right under the Oreos at the top. Just keep in mind, that will move us away from the pure decadence of these oreo brownies and more into that layered territory!
What is the secret trick for getting that shiny top?
Oh, this is one of my favorite secrets! I mentioned it before, but it’s worth repeating because it’s the difference between a matte top and a beautiful, shiny, crackly surface. You must vigorously whisk your melted butter and the two full cups of sugar together until the mixture is pale and looks smooth. You are literally dissolving some of that sugar into the fat, and that’s what rises to the top during baking to form that delicate crust. Whisk it like you mean it!
Can I make these ahead of time for guests or a bake sale?
Yes, please do! These are fantastic for making ahead, especially for parties, and they transport really well. I actually think they taste even better the second day once they’ve fully settled. You can easily make these a day in advance, let them cool completely in the pan, and then wrap the whole thing tightly in plastic wrap. If you want them perfectly portioned for an easy chocolate dessert for parties, wait until they are totally chilled before cutting them, as that keeps the edges nice and clean.
Are these good for taking to bake sales?
Are you kidding me? They disappear first! People love a homemade brownie, but the addition of the Oreos makes them instantly special. They are rich enough to stand up on their own without frosting, and the combination of fudgy chocolate and crunchy cookie is a guaranteed hit. They are sturdy enough to package nicely without crumbling apart, making them ideal bake sale stars.
Serving Suggestions for Decadent Chocolate Dessert
Now that you have these gorgeous, intense decadent chocolate desserts cooling, how are you going to serve them? Honestly, slicing them warm and eating them straight out of the pan works, but if you have company, let’s dress them up just a little!
These brownies are amazing alongside a scoop of good vanilla ice cream—the coldness cuts right through the rich dark chocolate. Or, serve them slightly warmed with a strong cup of coffee for an afternoon treat. If you somehow find yourself with leftovers (unlikely!), try spreading a little homemade vanilla buttercream on top—you can see my super simple recipe for that right here. They are perfect just as they are, though!
PrintUltimate Fudgy Oreo Brownies with a Shiny, Crackly Top
Make rich, fudgy brownies loaded with Oreo cookies that feature a desirable shiny, crackly top. This recipe is easy to prepare and yields decadent results.
- Prep Time: 15 min
- Cook Time: 30 min
- Total Time: 45 min
- Yield: 16 servings
- Category: Dessert
- Method: Baking
- Cuisine: American
- Diet: Vegetarian
Ingredients
- 1 cup (2 sticks) unsalted butter, melted
- 2 cups granulated sugar
- 4 large eggs
- 1 tablespoon vanilla extract
- 3/4 cup unsweetened cocoa powder
- 1 teaspoon salt
- 1/2 teaspoon baking powder
- 3/4 cup all-purpose flour
- 1 cup chopped semi-sweet chocolate chips
- 12 Oreo cookies, roughly chopped
Instructions
- Preheat your oven to 350°F (175°C). Line a 9×13 inch baking pan with parchment paper, leaving an overhang on the sides for easy removal.
- In a large bowl, whisk the melted butter and sugar together until fully combined.
- Whisk in the eggs one at a time until incorporated. Stir in the vanilla extract.
- In a separate bowl, whisk together the cocoa powder, salt, and baking powder.
- Gradually add the dry ingredients to the wet ingredients, mixing until just combined. Do not overmix.
- Fold in the chocolate chips and half of the chopped Oreo cookies.
- Spread the batter evenly into the prepared pan. Sprinkle the remaining chopped Oreos over the top.
- Bake for 25 to 30 minutes. A toothpick inserted near the edge should come out with moist crumbs attached, but not wet batter.
- Let the brownies cool completely in the pan on a wire rack before lifting them out using the parchment overhang. Cut into squares.
Notes
- For the best shiny, crackly top, ensure your sugar and eggs are well mixed before adding the dry ingredients.
- For a mint variation, use Mint Oreos instead of regular Oreos.
- If you prefer a thicker, fudgier brownie, use an 8×8 inch pan and increase the baking time slightly.
Nutrition
- Serving Size: 1 square
- Calories: 280
- Sugar: 30
- Sodium: 180
- Fat: 16
- Saturated Fat: 9
- Unsaturated Fat: 7
- Trans Fat: 0
- Carbohydrates: 33
- Fiber: 1
- Protein: 3
- Cholesterol: 60
