

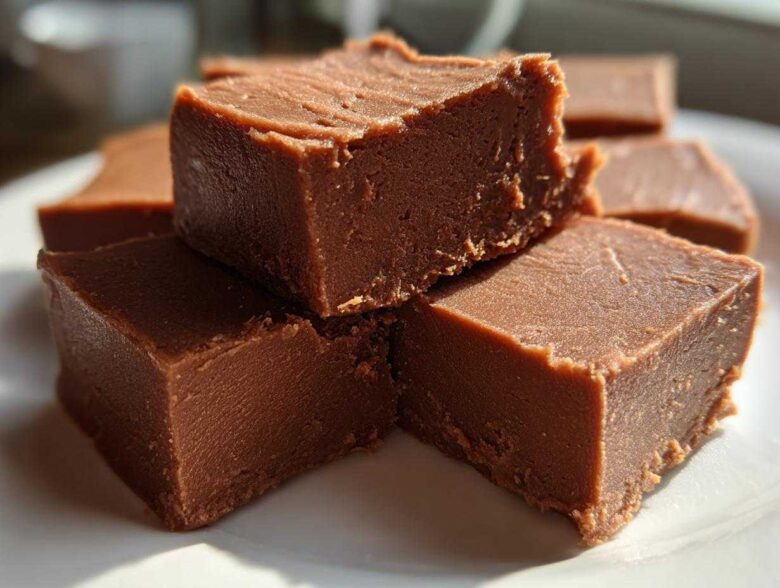
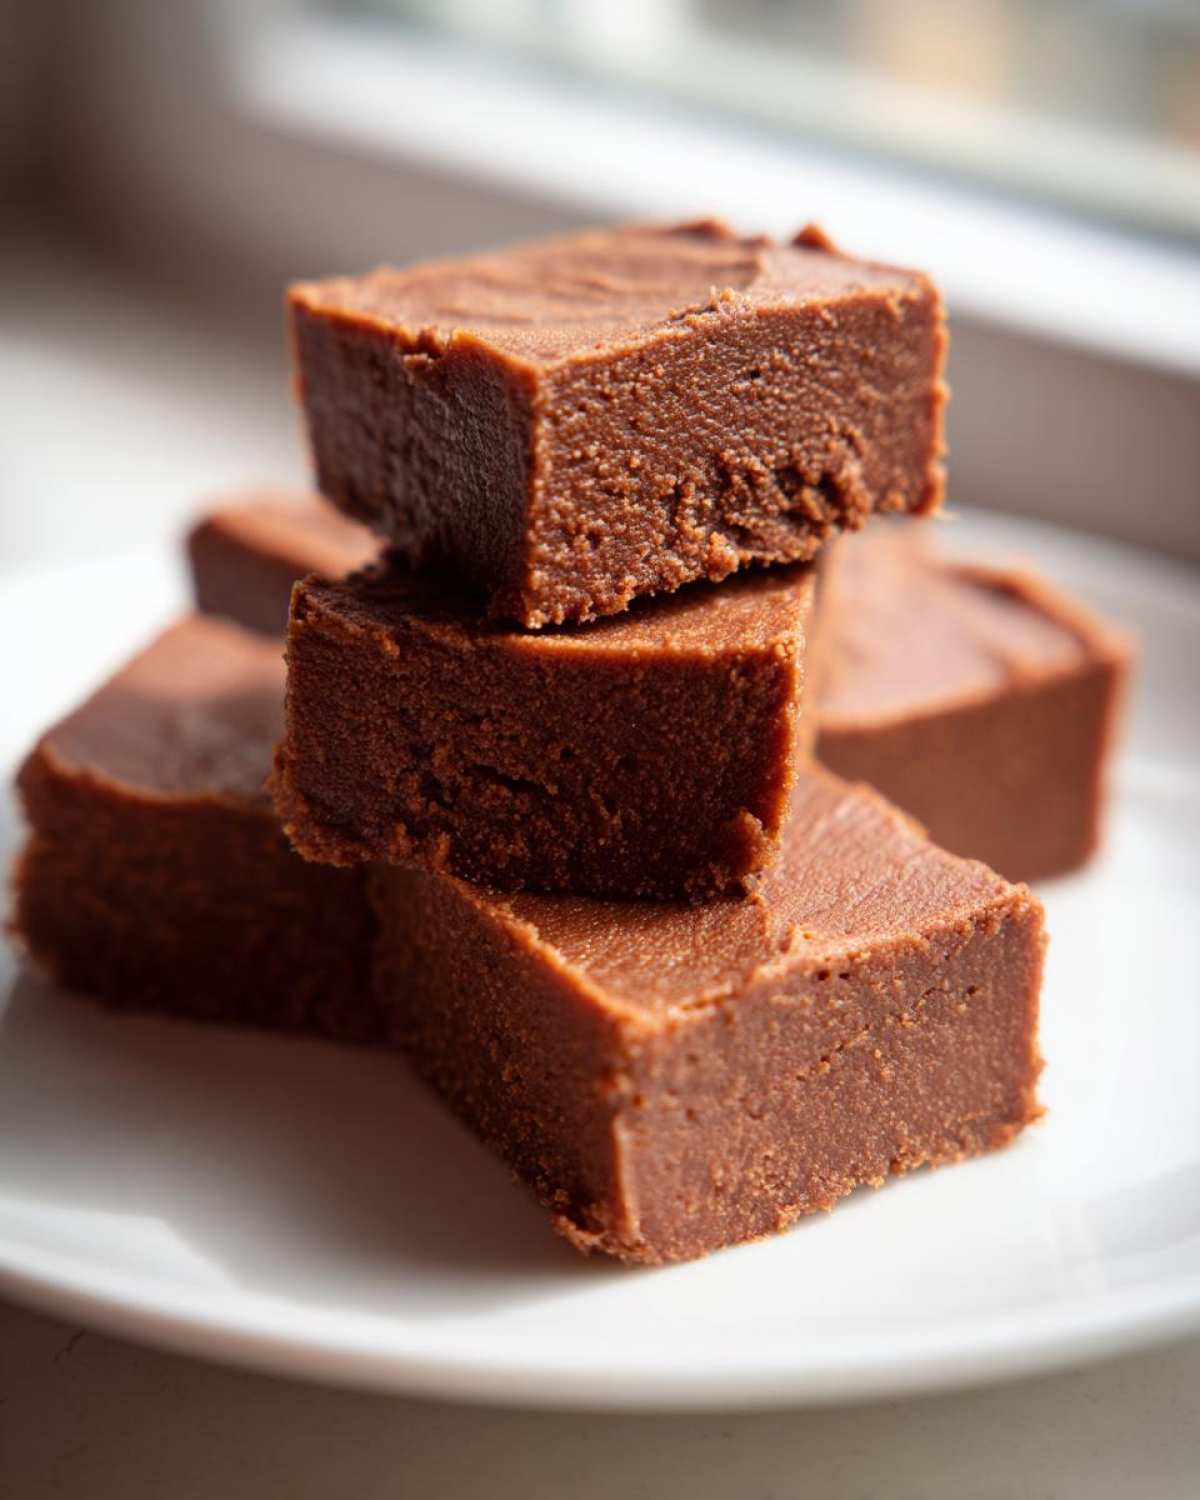
Oh my gosh, are you ready to take a deep dive back in time? Seriously! Sometimes you just crave that perfectly sweet, old-fashioned flavor that just doesn’t come from store-bought junk. We’re talking about true throwback candy here, friends. This penuche fudge is my absolute favorite because it skips the chocolate and goes straight for the gold: rich, cozy brown sugar.
I’m going to let you in on a little secret: my first batch was an absolute, sugary disaster. I thought I could just wing the temperature, and boy, did it pay for it! I ended up with a grainy brick. But trust me, after a few attempts, I figured out the exact technique to get that unbelievably smooth, melt-in-your-mouth texture. You’re getting my tried-and-true method for the definitive Brown Sugar Fudge Recipe right here today. It’s an essential for any holiday fudge assortment, and once you master it, you’ll never look back! It’s surprisingly simple if you just respect the thermometer.
Why This Classic Old-Fashioned Penuche Fudge Stands Out
I know there are a ton of quick recipes out there now—and hey, I love easy fudge making when I’m desperate—but this traditional method just hits different. This isn’t just any candy; it’s the real deal, the one your great-aunt probably made!
- It’s all about the flavor of pure, caramelized sweetness. You get that deep, comforting taste only achieved by cooking down real brown sugar and butter. Nothing artificial allowed here!
- The texture is unbelievably creamy. When you nail the soft-ball stage and that cooling period just right, it’s absolutely divine—it truly melts in your mouth.
- This is amazing for gifting! It looks so fancy because of its gorgeous caramel color, yet it barely requires any real decorating fuss. Perfect for your next bake sale or holiday platter.
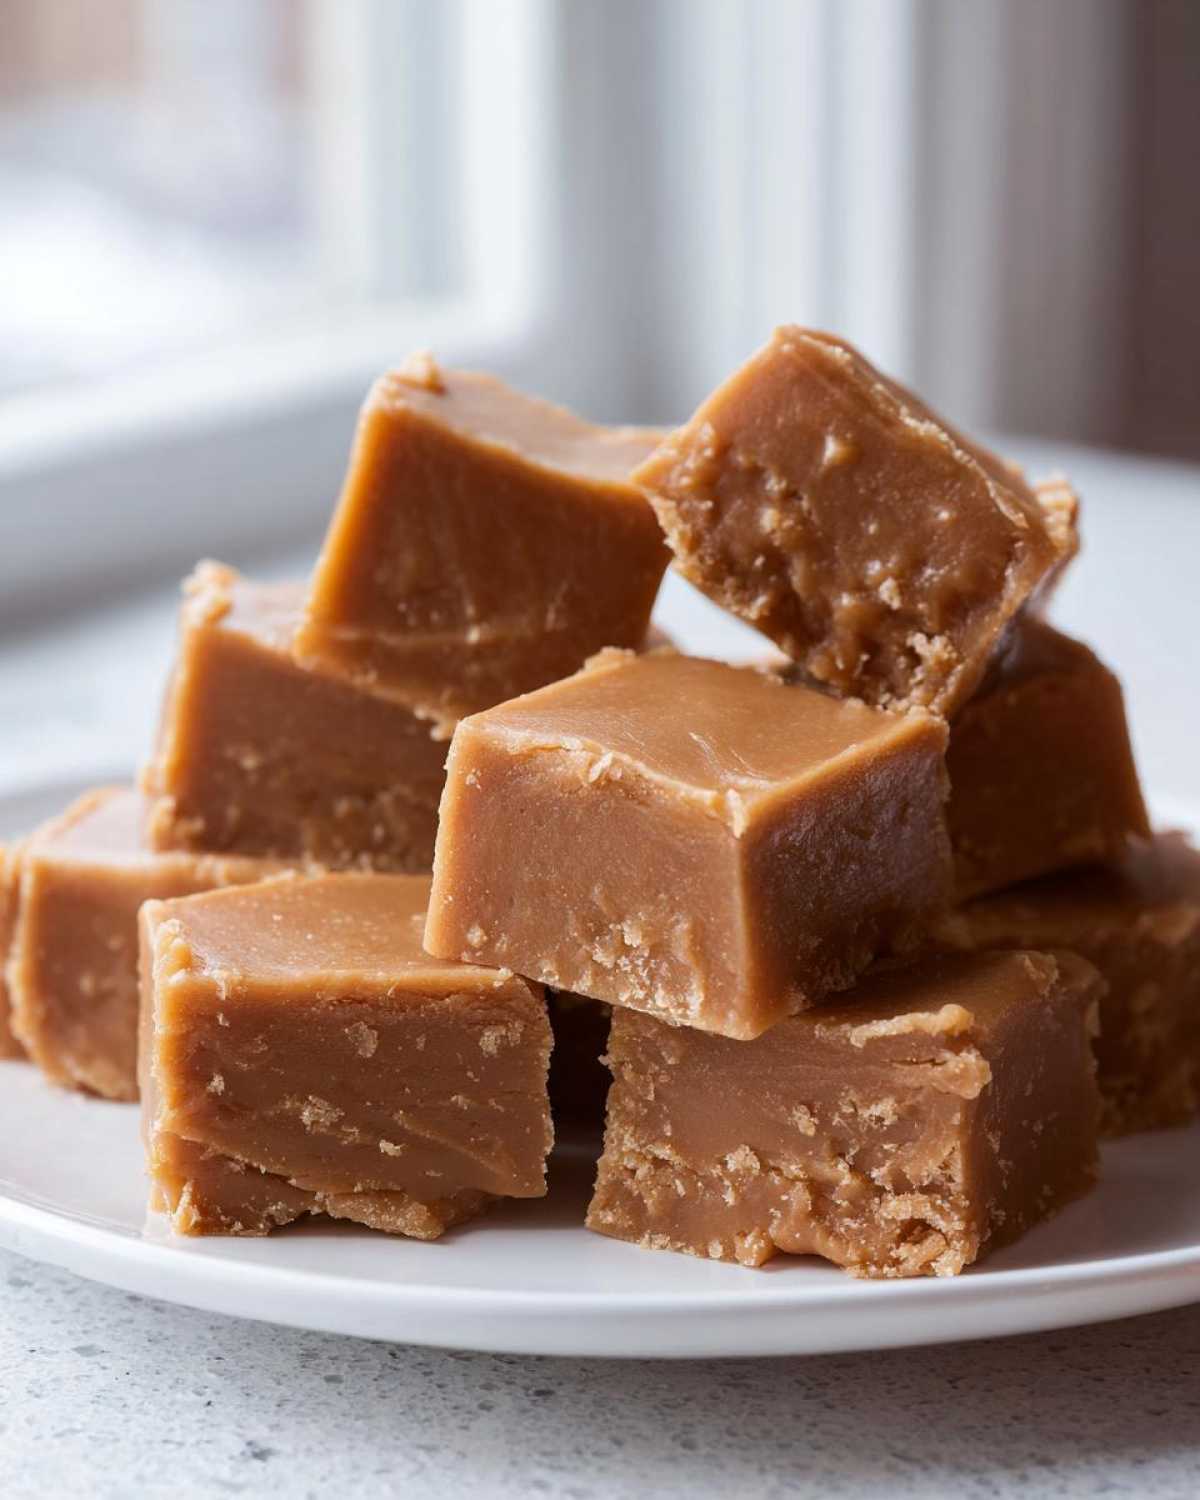
Ingredients for Perfect Penuche Fudge
Honestly, the magic of true Penuche—this beautiful brown sugar fudge recipe—is how few things you actually need! But listen closely, precision matters here, especially with the sugar.
- 2 cups packed light brown sugar (Make sure it’s packed tight! It weighs more that way.)
- 1 cup whole milk (Use whole milk, please! Skim milk won’t give you the richness we need.)
- 2 tablespoons unsalted butter
- 1 teaspoon vanilla extract
- 1/4 teaspoon salt
That’s it! Simple, classic ingredients combining to create something utterly unforgettable.
Step-by-Step Instructions for Smooth Penuche Fudge
Okay, buckle up, because this is where the magic—and the careful monitoring—happens! Penuche fudge really relies on reaching the exact right temperature before you start messing with it. If you have a good homemade fudge tutorial mindset, you’ll nail this. Just remember my rookie mistake: don’t stir once it boils, or you invite little sugar crystals in, turning your beautiful fudge grainy!
Preparing the Pan and Initial Cooking of Penuche Fudge
First things first, get your 8×8 inch pan ready. I always use parchment paper with a little overhang—it’s like having handles to lift the whole slab out later! Grease that paper lightly, too. Now, grab your heaviest saucepan; we need even heat for this Classic Candy Recipe. Combine the sugar, milk, and butter. Set the stove to medium heat and stir constantly until you see that sugar completely dissolve and the mixture just starts bubbling. As soon as it hits that first boil, STOP STIRRING. Stick that candy thermometer right in there, and let it do its work!
Reaching Soft-Ball Stage and Cooling the Penuche Fudge Base
We need to hit a specific landmark here: 234 degrees Fahrenheit. This is your soft-ball stage, which means it will set up perfectly creamy. It might take 10 to 15 minutes, but you absolutely cannot touch it or stir it while it’s cooking up to temp. Once that thermometer buzzes, yank that pan off the burner! Stir in your vanilla and salt quickly. Now for the hardest part: you must wait. Let that mixture cool down, totally undisturbed, until it drops to 110 degrees Fahrenheit. If you try to beat it too hot, you’ll skip right past creamy and land straight into hard-candy territory.
Achieving Creamy Texture and Setting the Penuche Fudge
When that temperature hits 110°F, you can get back to work! This is the activation stage. I grab my sturdy wooden spoon—or sometimes I cheat with the hand mixer on medium—and beat the mixture like crazy! You are looking for a huge transformation here. It should start looking dull, losing that shiny, syrupy gloss, and thickening up in your bowl. That usually takes a good 5 to 10 minutes of good beating. Once it’s thick, scrape it fast into your prepared pan and press it down evenly. Leave it alone on the counter for several hours—patience is your final secret ingredient for gorgeous Penuche fudge!
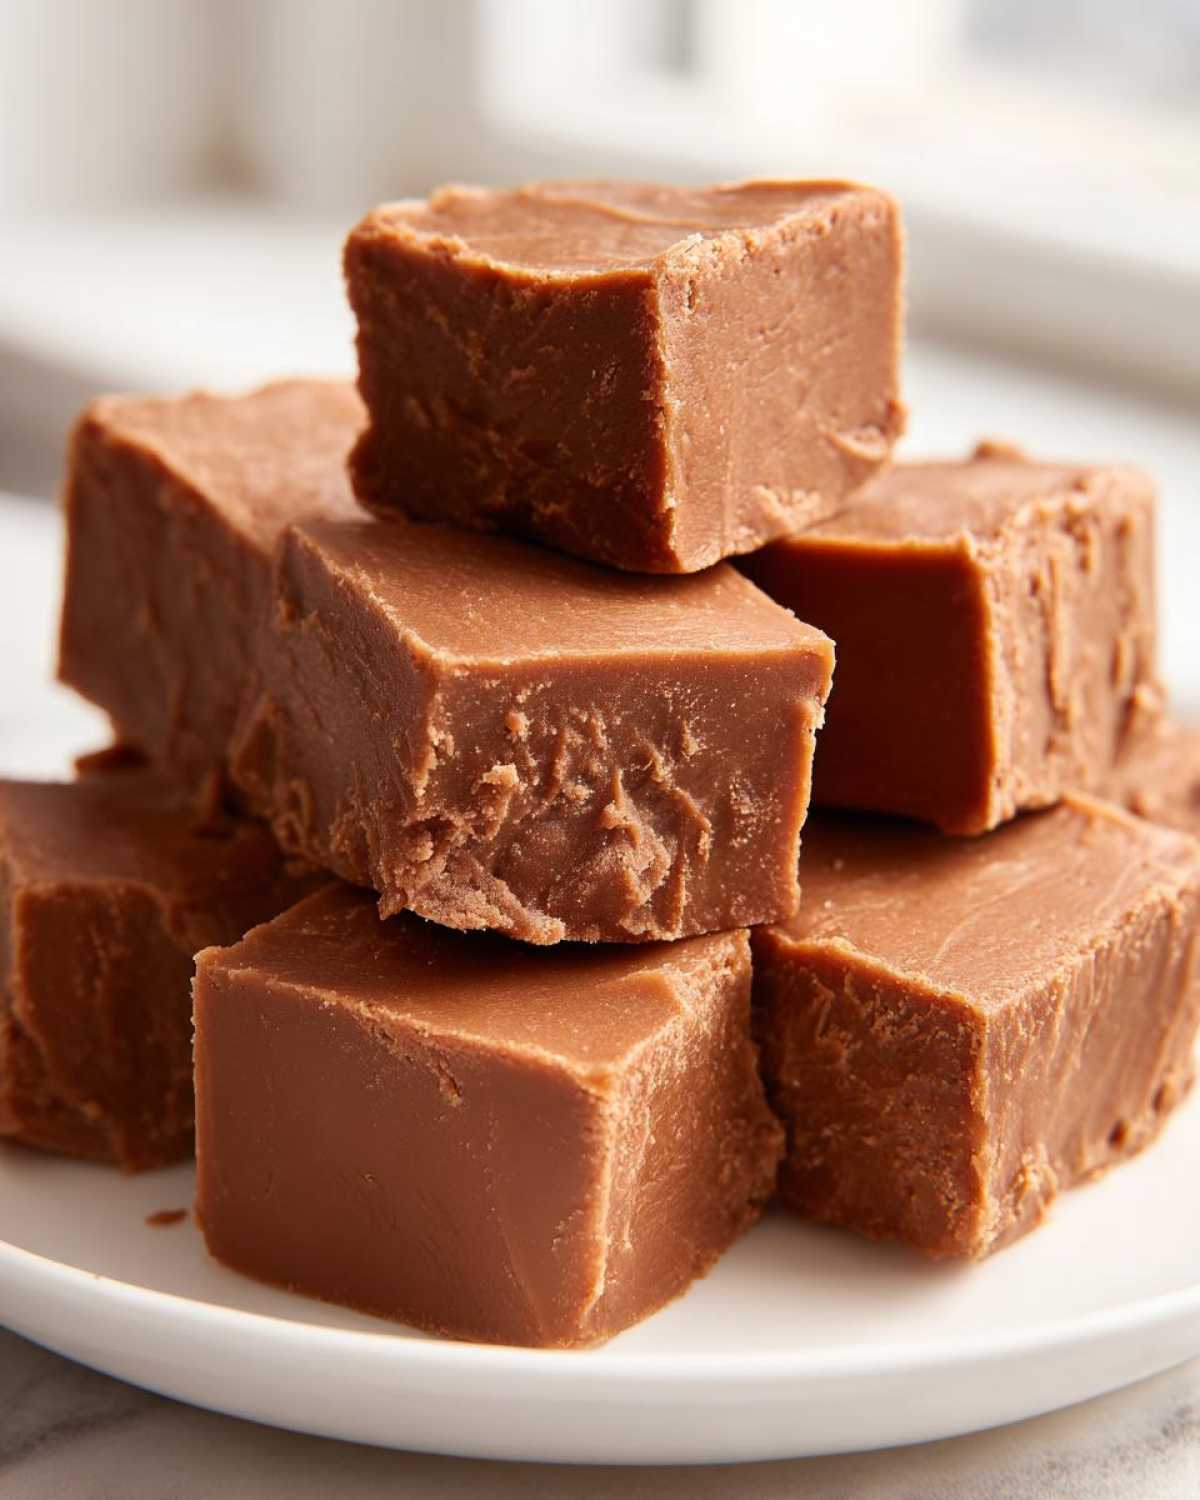
Tips for Achieving Melt in Your Mouth Penuche Fudge
Okay, since we all want that perfect, velvety melt in your mouth treat, let’s talk troubleshooting and ingredients. First off, your brown sugar has to be fresh! If your brown sugar has hardened into a rock, it won’t dissolve properly, and that sets you up for a grainy failure right away. Be sure to check that!
If you don’t have a candy thermometer—oops!—we can use the cold water test. Drop a tiny bit of the syrup into a glass of ice water. If you can pull it out and roll it into a soft, pliable ball that squishes easily between your fingers, then you’ve hit that sweet spot. If it crumbles, you cooked it too long. If it just dissolves, you need to cook it a bit more!
And remember my biggest failure? Graininess. That almost always happens if you stir the mixture while it’s actively boiling. Don’t poke it! Let the heat do the work until it’s time to cool, and then beat it like you mean it once it reaches 110 degrees. That vigorous beating whips in the air and creates the smoothness we’re chasing!
Pecan Fudge Variations and Add-ins for Your Penuche Fudge
While this classic Pecan Fudge Variation is heavenly all on its own—that pure brown sugar taste is just perfect—sometimes you really need some crunch, right?
If you want a little texture contrast in your incredible brown sugar fudge recipe, look no further than toasted nuts! I love using pecans, but peanuts work fantastic, too. You need about one cup. The trick is timing: wait until after you’ve beaten the fudge base and it’s nice and thick—right before you scrape it into the pan. Then, gently fold those toasted nuts in. You want them mixed well enough so every serving gets a bite, but don’t overmix, or it’ll slow down your setting process. A little crunch makes this traditional confectionery even better!
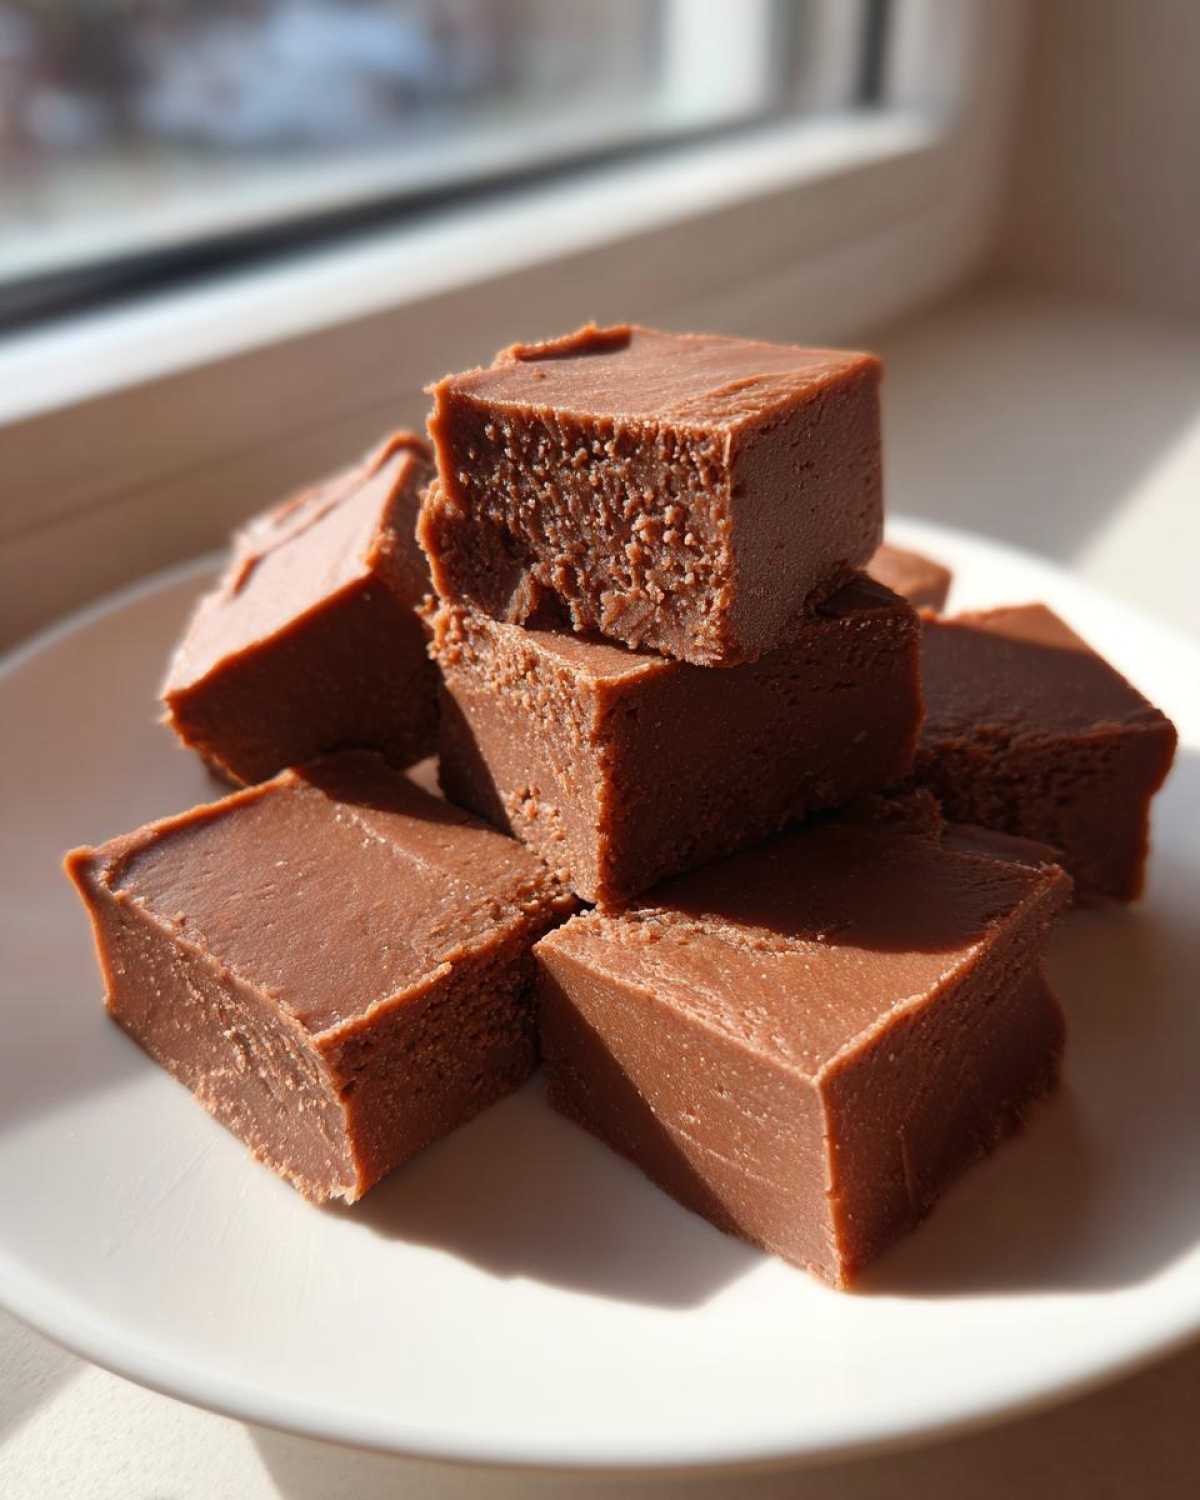
Storage and Serving Suggestions for Your Penuche Fudge
Now that you’ve mastered the cooking, we gotta talk about keeping this gorgeous, sweet candy fresh. The best part about this specific Old Fashioned Fudge? It loves to just hang out on the counter! Since it’s basically cooked sugar and butter, it’s really stable at room temperature.
You should store your finished squares in an airtight container. Honestly, three days at room temperature is great, and if you wrap the pieces tightly in wax paper before putting them in the container, you’ll keep that smooth texture locked in for almost a week. If you’re making a huge batch for the holidays and need to stash it away longer, it freezes beautifully! Wrap it well in plastic wrap, then foil, and it’s good for up to two months. Thaw it slowly on the counter for the best results.
When it’s time to serve this delicious classic candy, keep it simple. Penuche fudge is intensely sweet because it’s rich in brown sugar, so treat it like a really decadent truffle. It’s fantastic on its own, but I absolutely love it with a strong, bitter cup of black coffee—the bitterness cuts through the sweetness perfectly. Or, of course, feature it prominently on your Holiday Fudge Assortment platter alongside some chocolate options. It’s usually the first thing people reach for!
Troubleshooting Common Penuche Fudge Issues
Even with careful measuring, candy making can be finicky, right? So, what happens if your beautiful batch of Penuche fudge doesn’t behave? If it sets up rock hard, that almost always means you cooked it too high—maybe 238°F or more. Don’t panic! Next time, pull it off the heat a couple of degrees sooner. On the flip side, if it’s stubbornly soft and won’t set up at all even after beating it for 10 minutes, you probably pulled it off the heat too early, meaning it didn’t reach that critical 234°F soft-ball stage. It’s all about that temperature window for this classic candy recipe!
If it’s too soft, you can sometimes save it by gently reheating the cooled fudge base and cooking it just a few degrees higher next time. It takes guts, but my grandmother always said, “You gotta respect the sugar, but test its limits!”
Frequently Asked Questions About Brown Sugar Fudge
I get so many messages asking about tweaks or comparisons, so let’s clear up any confusion about this amazing Brown Sugar Fudge Recipe! These are the questions that pop up the most when people are tackling their first batch of this easy fudge making adventure.
Is Penuche Fudge the same as standard chocolate fudge?
Oh, goodness no! That’s the biggest misconception. Standard fudge uses melted chocolate as its base, right? Penuche is completely different because it uses only brown sugar, butter, and milk—that’s why it has that beautiful caramel, taffy-like color and flavor. It’s based on caramel candy techniques, not chocolate ones! It’s a truly Traditional Confectionery that stands on its own.
Can I really make this Penuche fudge without a candy thermometer?
You certainly can, but honestly, I’d advise against it for your very first try if you are aiming for that perfect smooth and creamy dessert texture. The thermometer takes all the guesswork out of reaching the soft-ball stage. If you must skip it, you absolutely have to use the cold water test I mentioned—drop a little syrup in ice water and see if a soft ball forms. If you’re new to this, though, please invest in one; it saves so much time and heartbreak!
Why did my Penuche get grainy instead of creamy?
Graininess is the natural enemy of all candy makers, but especially with this recipe! It means sugar crystals formed where they shouldn’t have. The main cause is stirring the mixture once it starts that initial boil. Once the bubbles are aggressively hitting the surface, you have to step away until it reaches the target temperature. Don’t touch it! That agitation encourages crystallization, so remember: cook undisturbed, stir only before and after cooking!
How much longer should I cook Penuche if I add pecans?
This is a great question covering Pecan Fudge Variations! The good news is that adding nuts doesn’t change the cooking time at all! Since you add your toasted pecans or peanuts *after* the candy base has already cooled to 110°F and you are just beginning to beat it, the nuts don’t affect the syrup chemistry. Just wait until the mixture starts to thicken up before you gently fold them in. Keep it quick so you don’t knock out the air you just beat in!
Estimated Nutritional Data for Penuche Fudge
I’ve got the nutrition information for you right here! Now, before you start meticulously tracking every single gram, I have to give you my usual little kitchen disclaimer. Since we are dealing with homemade candy, and depending on exactly how much sugar was packed or the exact temperature you hit, these numbers are just estimates. My grandmother never worried about this stuff, but I know you might want the general idea for your Traditional Confectionery!
This data is based on 16 squares yielded from the recipe as written:
- Calories: Approximately 185 per square
- Sugar: About 32 grams (Yep, it’s sugar-forward, we know!)
- Fat: Right around 5 grams
- Protein: A modest 1 gram
- Carbohydrates: 34 grams total
- Sodium: Very low, around 45mg
Because this recipe relies on brown sugar and butter, it’s definitely a treat designed for special occasions, not your everyday snack! Enjoy it guilt-free with your coffee and know you made something truly classic!
PrintClassic Old-Fashioned Penuche Fudge
Make smooth, creamy Penuche fudge using only brown sugar, butter, and milk for a distinct, old-fashioned sweet flavor.
- Prep Time: 10 min
- Cook Time: 20 min
- Total Time: 270 min
- Yield: 16 servings
- Category: Dessert
- Method: Stovetop Cooking
- Cuisine: American
- Diet: Vegetarian
Ingredients
- 2 cups packed light brown sugar
- 1 cup whole milk
- 2 tablespoons unsalted butter
- 1 teaspoon vanilla extract
- 1/4 teaspoon salt
Instructions
- Line an 8×8 inch pan with parchment paper, leaving an overhang for easy removal. Lightly grease the paper.
- Combine the brown sugar, milk, and butter in a heavy-bottomed saucepan.
- Stir constantly over medium heat until the sugar dissolves and the mixture begins to boil.
- Stop stirring once boiling begins. Insert a candy thermometer.
- Cook the mixture without stirring until it reaches 234 degrees Fahrenheit (soft-ball stage). This usually takes 10 to 15 minutes.
- Remove the pan from the heat immediately. Stir in the vanilla extract and salt.
- Let the mixture cool undisturbed until it reaches 110 degrees Fahrenheit. Do not rush this cooling step.
- Once cooled, beat the mixture vigorously with a wooden spoon or an electric mixer on medium speed until the fudge loses its gloss and thickens to a creamy consistency, about 5 to 10 minutes.
- Quickly press the fudge into the prepared pan.
- Let the fudge set completely at room temperature for several hours before cutting into squares.
Notes
- For a nutty version, gently fold in 1 cup of toasted pecans or peanuts just before pressing the fudge into the pan.
- If you do not have a candy thermometer, use the cold water test: drop a small amount of syrup into cold water; if it forms a soft, pliable ball, it is ready.
- If the fudge becomes grainy, you likely stirred it while it was boiling. Next time, do not stir after it begins to boil.
Nutrition
- Serving Size: 1 square
- Calories: 185
- Sugar: 32
- Sodium: 45
- Fat: 5
- Saturated Fat: 3
- Unsaturated Fat: 2
- Trans Fat: 0
- Carbohydrates: 34
- Fiber: 0
- Protein: 1
- Cholesterol: 12
