

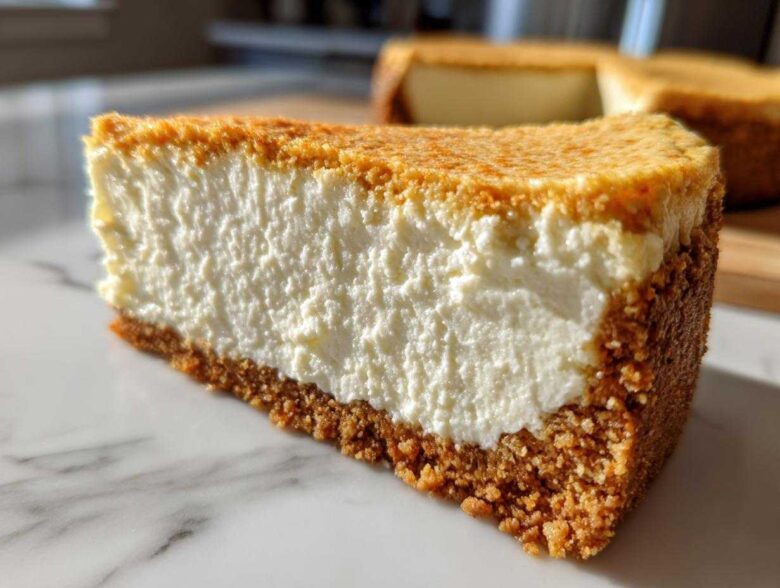
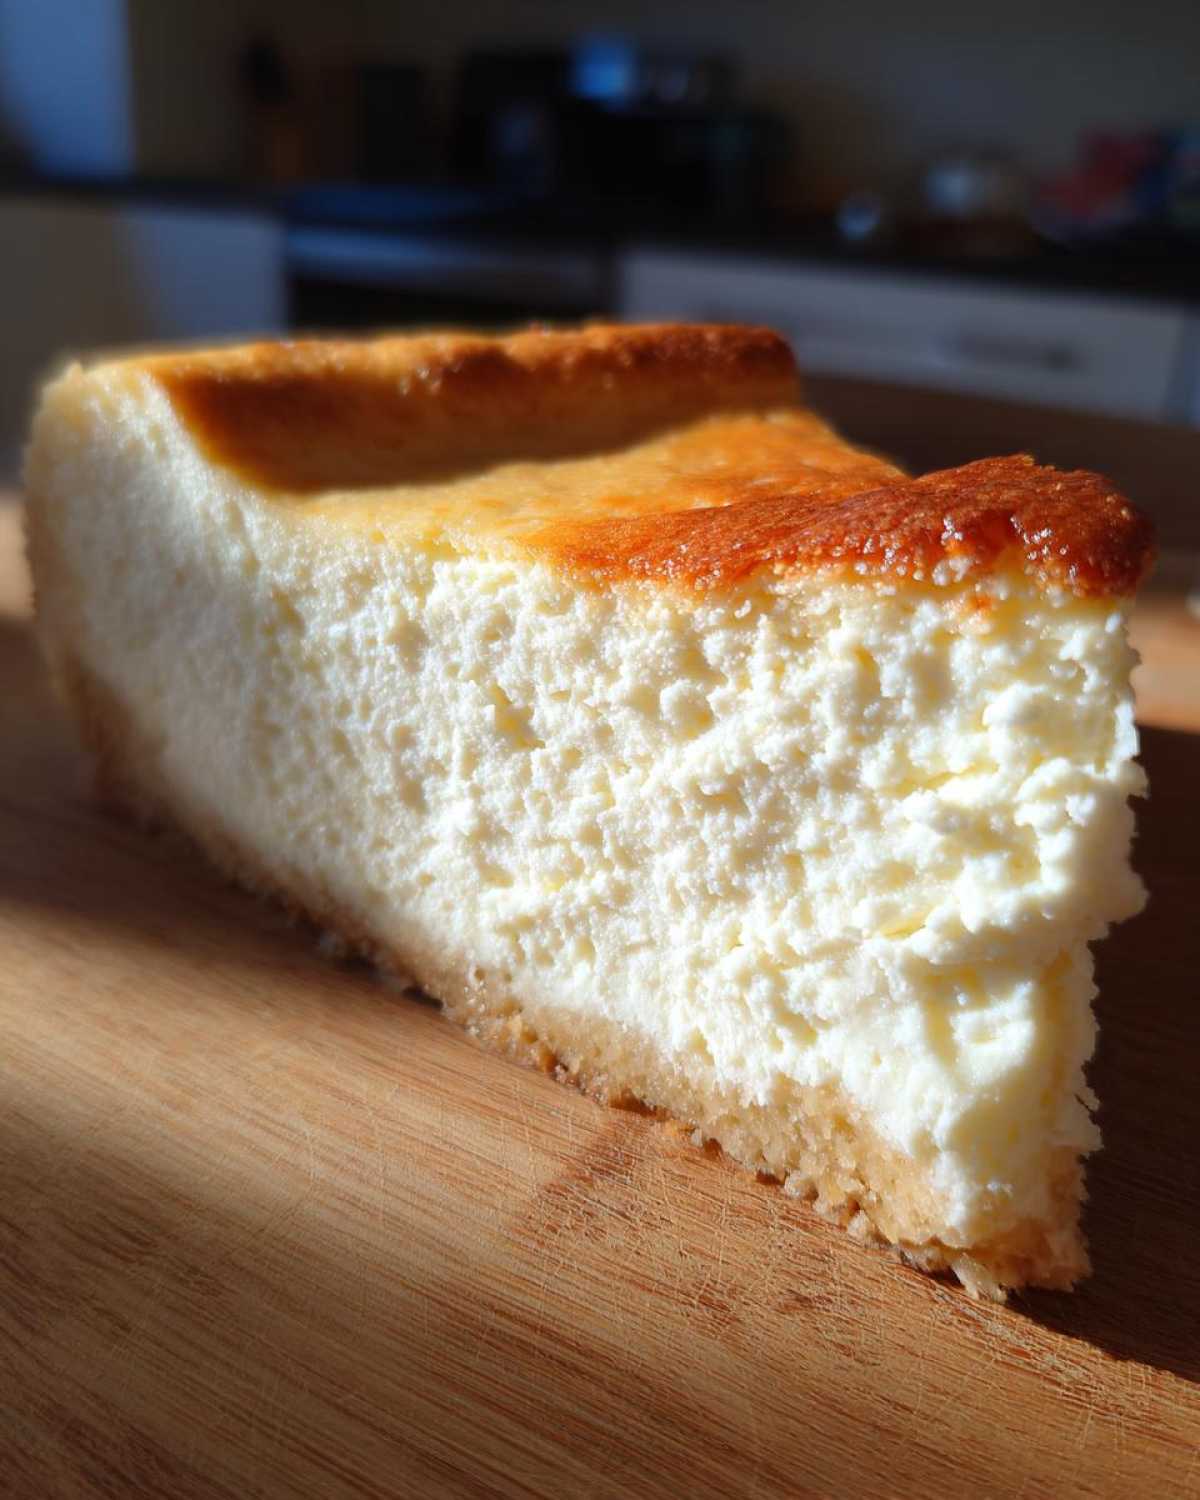
You know that craving, right? That deep, true, soul-aching need for a rich, velvety cheesecake? But then the macros come flashing through your mind, and you think, “Nope, not today.” Well, friends, throw that thought right out the window! I’m Leo, and Amara and I have been obsessed with cracking the code on this one: The Ultimate Healthy Baked Protein Cheesecake. I’m talking about that classic, creamy texture that melts in your mouth, but packs a whopping 35g of protein per slice! Seriously, it’s a game-changer. Amara, bless her heart, spent weeks tweaking the blend of cottage cheese and Greek yogurt because she absolutely refuses to let a healthy dessert taste like cardboard. Trust me, this Savory Skies secret weapon is the real deal.
Why This Baked Protein Cheesecake Is Your New Favorite Healthy Cheesecake Dessert
I know what you’re thinking: wait, a cheesecake that helps my fitness goals? Yes! When I first told Amara we were tackling a high-protein version, she looked skeptical. She’s tasted enough chalky, rubbery ‘healthy’ desserts to last a lifetime! But folks, this isn’t one of those. This Protein Cheesecake manages to pull off the impossible: it’s truly decadent while being incredibly macro-friendly. It’s the perfect combination of satisfying and supportive for your goals. We even talk more about our philosophy over on the blog!
Here is why this recipe quickly became a staple in our rotation:
- It delivers that rich, creamy mouthfeel you expect from a restaurant classic.
- It keeps the fat content way down without sacrificing flavor, making it a truly Low Calorie Cheesecake option.
- It’s designed for serious satisfaction, making it one of the best Dessert with High Protein Content ideas out there!
Achieving 35g of Protein Per Serving
How do we hit that massive protein count? It’s all about our dairy powerhouses! We use low-fat cottage cheese and Greek yogurt as the real body of the filling, which creates that great structure. Then, we boost it with quality vanilla whey—it’s simply genius for creating a Dessert with High Protein Content that actually works for a post-workout snack or meal prep.
The Secret to a Creamy Protein Dessert Texture
I know what you’re thinking: whey powder makes things gritty. Not here! This is where Amara’s patience shines. For this Baked Protein Cheesecake to be a real stunner, you cannot rush the blending. We use a food processor, and you need to blend until you think it’s absolutely smooth, then blend it for another minute! Amara says, “If you can see any speck of protein powder blending, you haven’t succeeded.” That intense blending creates a true Creamy Protein Dessert.
Ingredients for the Ultimate Baked Protein Cheesecake
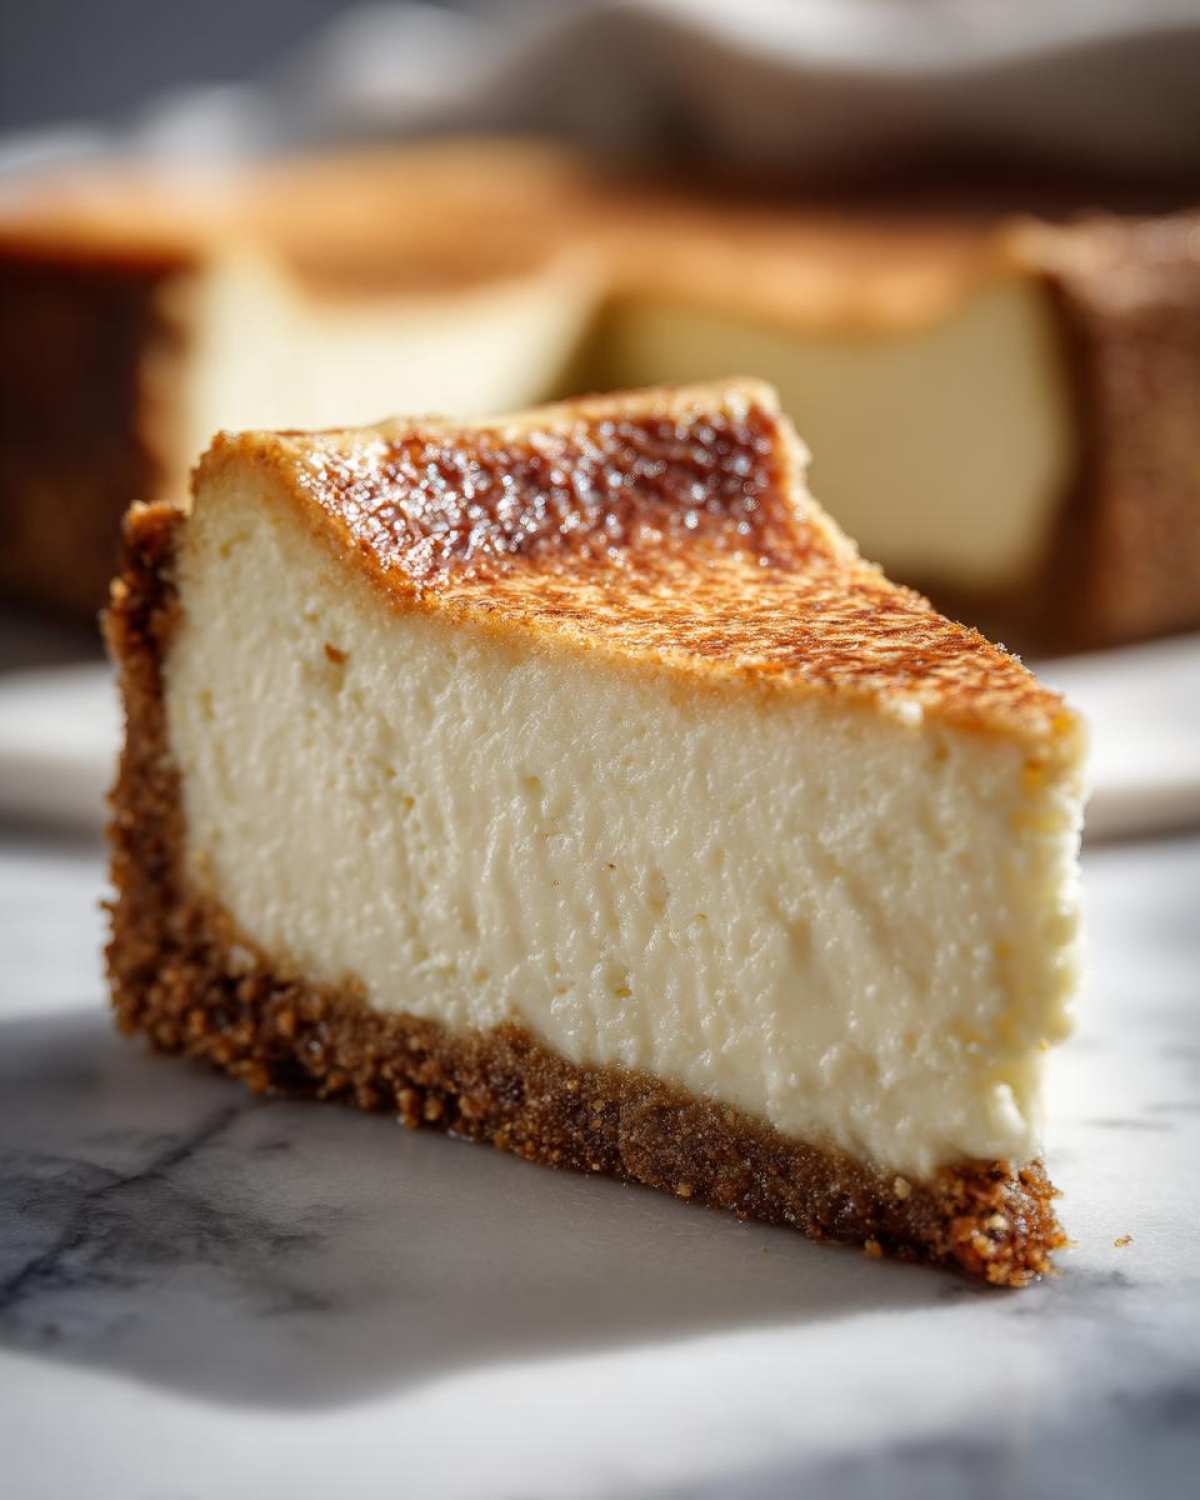
Okay, let’s get down to brass tacks! Getting the texture right on this Protein Cheesecake depends 100% on using the right stuff. Don’t go swapping out the main players here unless I tell you later! For the crust, we are keeping it light and gluten-free. For the filling, we are loading up on creamy goodness. When you’re grabbing your items, remember the cottage cheese must be drained—I can’t stress that enough! If you’re looking for other ways to use cottage cheese delightfully, check out how Chef Tariq uses it in his Keto Cottage Cheese Cloud Bread.
For the Almond Flour Crust
- 1 cup almond flour
- 1/4 cup erythritol or preferred sweetener
- 1/4 teaspoon salt
- 4 tablespoons melted coconut oil
For the High Protein Cheesecake Filling
- 16 ounces low-fat cottage cheese, drained well
- 1/2 cup plain non-fat Greek yogurt
- 1/2 cup vanilla whey protein powder
- 1/2 cup erythritol or preferred sweetener
- 2 large eggs
- 1 teaspoon vanilla extract
- 1 tablespoon lemon juice
Step-by-Step Instructions for Your Baked Protein Cheesecake
Alright, let’s get baking! This amazing Protein Cheesecake is actually pretty straightforward, but like anything Chef Tariq taught us, technique is everything. We break this down into three main parts: the crust, the filling, and, most importantly, the cooling process. Pay attention here, especially to how we treat the filling—that’s how we keep it from getting dry or grainy. If you follow these steps, you’ll end up with the creamiest, highest-protein dessert you’ve ever made. You can see the original process details over at this resource, but let’s do it my way!
Preparing and Pre-Baking the Crust
First things first, crank that oven up to 325°F (160°C). Then get your 7-inch springform pan ready—I use parchment paper on the bottom, always. Mix up your almond flour, 1/4 cup sweetener, and salt, then pour in that melted coconut oil and mix it until it looks like wet sand, you know the texture? Press that goodness down firmly and evenly in the bottom of the pan. We pre-bake it for just 8 minutes to set things up nice and solid before the filling goes in.
Creating the Smooth Protein Filling
Time for what makes this recipe sing! You need your food processor or a really good blender for this part. Toss in that well-drained cottage cheese, Greek yogurt, protein powder, the remaining 1/2 cup sweetener, eggs, vanilla, and lemon juice. Now, this is critical: you need to blend this until it is *silky* smooth. Like, absolutely no lumps allowed. Scrape the sides down halfway through, just to make sure everything is incorporated. This is the secret to avoiding any chalkiness!
Baking and Slow Cooling the Protein Cheesecake
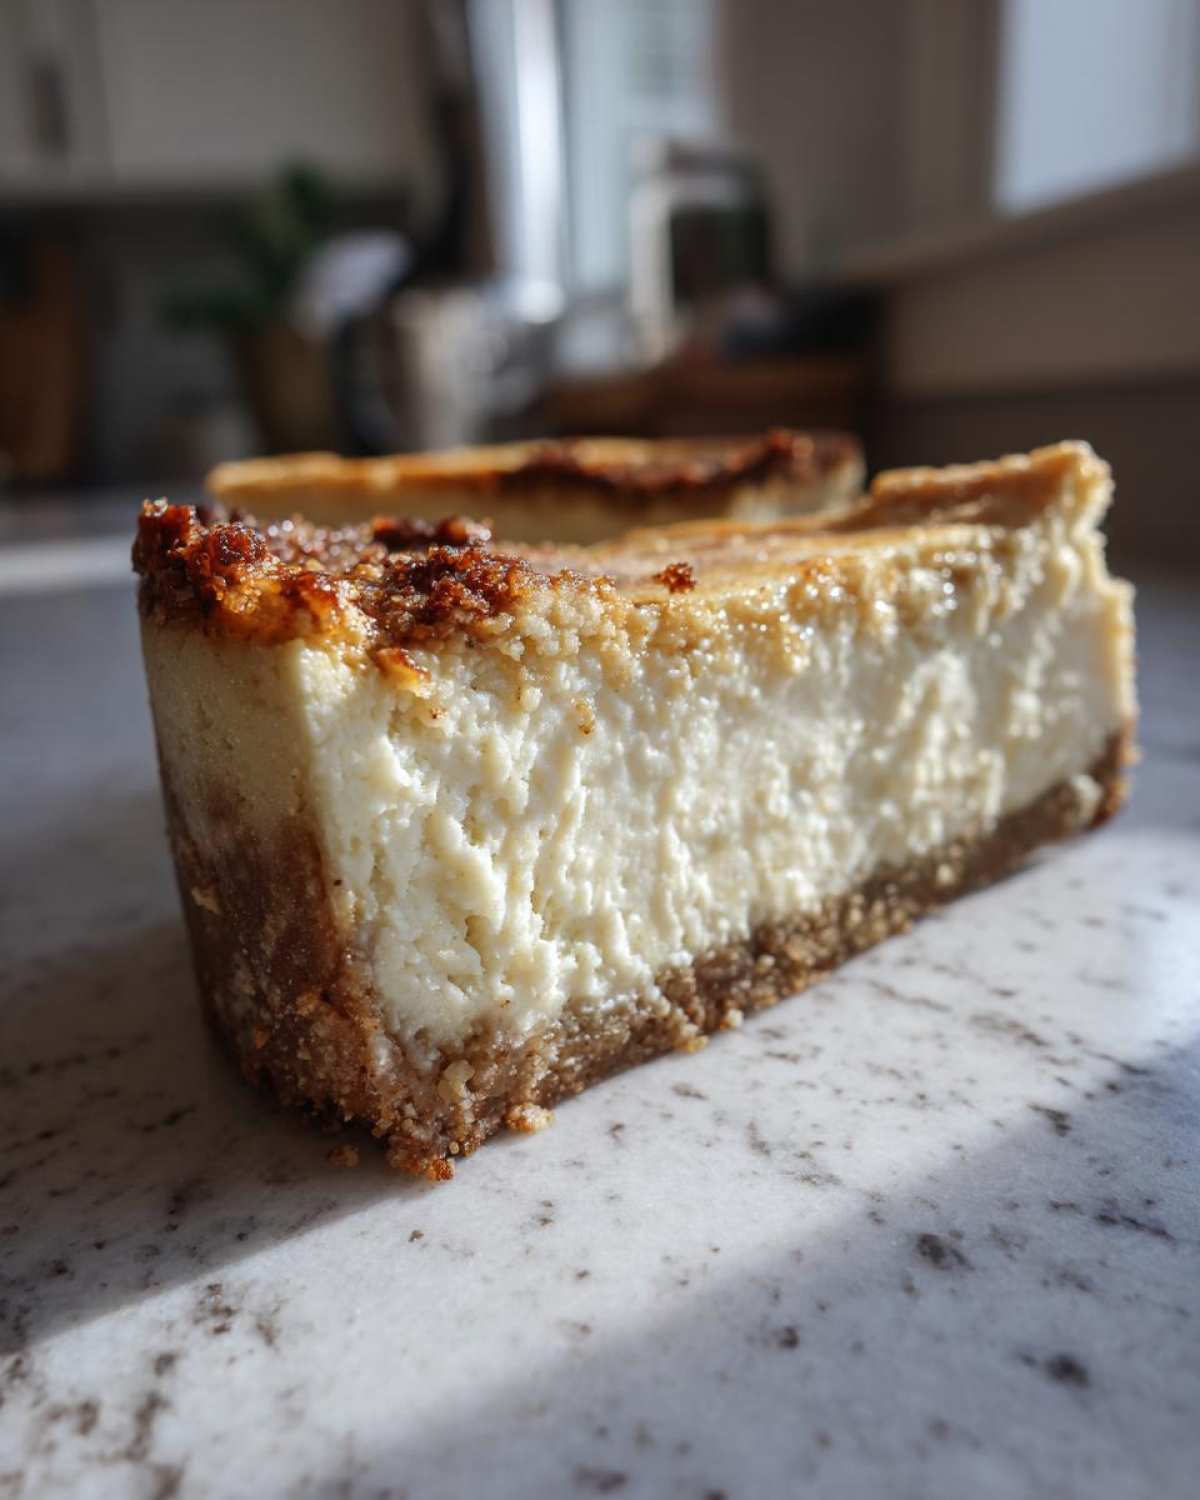
Pour that perfect filling over your slightly cooled crust. Pop it into the oven for about 45 to 55 minutes. You want the edges to look set, but the very middle should still have a tiny wobble when you gently nudge the pan—that means it’s still moist inside! Now, listen to Tariq’s wisdom: never pull a cheesecake straight out! Turn the oven off, crack the door open just a pinch, and let the Baked Protein Cheesecake hang out inside for a full hour. This slow process prevents those ugly cracks. Once it’s cooled on the rack, cover it up and give it at least six hours in the fridge!
Tips for Success with Your Cottage Cheese Cheesecake Recipe
I’ve made this Cottage Cheese Cheesecake Recipe so many times that I could practically do it blindfolded! But there are two little hiccups that always seem to trip people up if they aren’t prepared. We learned these the hard way—usually through a slightly wet crust or a bag of slightly gritty filling! Trust me, following these two expert tricks will ensure your dessert comes out perfect every single time.
Moisture Control: Draining the Dairy
Listen, the filling relies on thick dairy, not watery dairy. If you skip draining the cottage cheese, all that extra moisture will seep into your crust, making it soggy, or into the filling, making it weep when it chills. So, don’t just pat it dry—press it! I take my drained cottage cheese, wrap it snugly in a few layers of paper towels, and then place a small, heavy plate right on top for about 15 minutes. You’d be shocked how much liquid comes out. That step is non-negotiable for a firm final texture!
Protein Powder Swaps and Texture Adjustments
While I love the vanilla whey we use because it blends so well, I know folks love to customize! If you want an even *thicker* final product—maybe you are taking this somewhere warm or want less wobble—try swapping out half or all of the whey for casein protein powder. Casein thickens up beautifully when wet, which gives you an amazing density. Just be careful; if you use only casein, you might need a tablespoon or two of extra milk or yogurt because it absorbs liquid aggressively. It’s all about balancing those macros!
Storage and Reheating Instructions for Your Macro Friendly Cheesecake
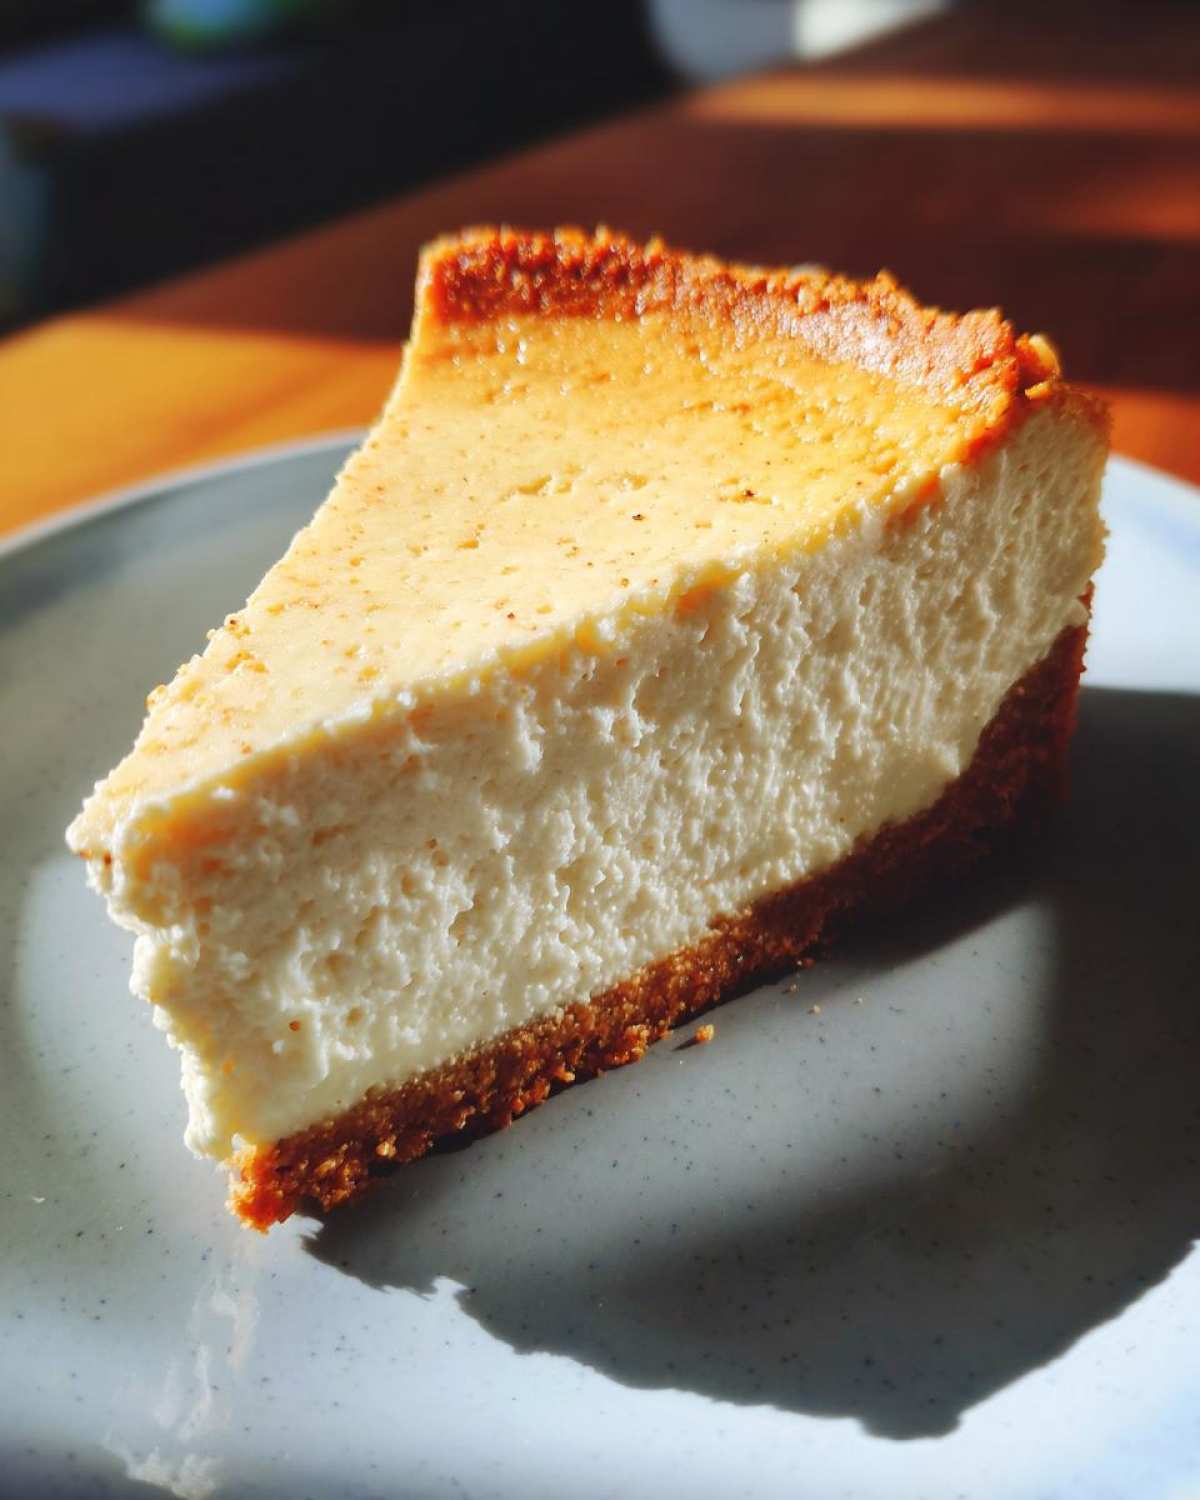
The hardest part about making this Protein Cheesecake is actually waiting for it to chill! You absolutely must let it firm up in the fridge for a minimum of six hours, but honestly, it’s so much better if you can wait until the next day. Cover that baby tightly—plastic wrap touching the surface works if you don’t have a springform lid—to make sure it stays fresh. Since this is such a fantastic Macro Friendly Cheesecake, we want to treat it right!
Now, reheating? You really don’t want to warm this up; it’s designed to be enjoyed chilled and satisfyingly cold, like a true cheesecake. If you happen to freeze an extra slice (which I highly recommend for future cravings!), just thaw it slowly in the fridge. When you’re ready to serve a slice that’s fresh from the cold, let it sit on the counter for maybe 15 minutes before cutting. That short rest lets the creamy texture really shine through. If you make extra, you can find some other great make-ahead recipes here!
Variations on the Baked Protein Cheesecake
One of the things I love most about this recipe is how adaptable this Protein Cheesecake base is! It’s like a blank canvas for your flavor cravings. We’ve established it’s amazing as is, but if you want to shake things up, you can totally get creative. Think about what makes a dessert exciting—a little kick, a burst of fruit, or playing with portion size. If you’re interested in other fruity twists, you absolutely have to check out Amara’s Lavender Lemon Blueberry Cheesecake sometime!
Creating Mini Protein Cheesecakes for Portion Control
If you find yourself thinking, “I can’t trust myself not to eat half the cake,” I totally get it! That’s why making Mini Protein Cheesecakes is such a genius move. Just grab a standard muffin tin, line it with cupcake liners, and divide the batter evenly. Because they are smaller, they usually bake up a little faster, maybe just 25 to 30 minutes. This gives you perfect singles for snacking or meal prepping every single day!
No Bake Protein Cheesecake Option
Sometimes, you just don’t want to turn the oven on, especially when it’s hot out! Good news: you can easily pivot this into a spectacular No Bake Protein Cheesecake. Remember that note I mentioned earlier? Instead of baking steps 4 through 9, you just blend the filling until it’s smooth, pour it over your pre-baked (or unbaked!) crust, and then stick the whole thing in the fridge. You have to let it chill for at least 8 hours for it to firm up properly, but honestly, it’s amazing.
Serving Suggestions for Your Light Cheesecake Recipe
Even though this Protein Cheesecake is already incredible on its own—I mean, 35 grams of protein comes standard!—sometimes you just need a little something extra on top to make it feel *really* special. Since we are aiming for a Light Cheesecake Recipe that stays macro-friendly, we keep the toppings simple and fresh. Forget heavy syrups!
My go-to is always fresh berries. A handful of raspberries or sliced strawberries adds the perfect zip of natural sweetness and color. If you want a little sauce, try warming up some frozen mixed berries with a tiny splash of water and stirring in a teaspoon of your favorite sugar-free maple syrup. It makes the best light topping! For something savory-sweet, I sometimes love a little sprinkle of cinnamon or a drizzle of honey butter, like the kind we use in Chef Tariq’s skillet corn (just a tiny drizzle!).
Frequently Asked Questions About This Protein Cheesecake Recipe
I know you’re going to have questions when you try this ultra-creamy treat, and that’s totally fine! That’s what Amara, Chef Tariq, and I are here for. We want your Protein Cheesecake experience to be flawless. I’ve gathered up the ones I get asked most often down here. If you have other questions, feel free to zip over to my contact page—I love hearing from you!
How do I make this a Sugar Free Protein Dessert?
Great news! This recipe is already designed to be a killer Sugar Free Protein Dessert. We are using erythritol in both the crust and the filling, which means you get all the sweetness without any actual sugar spiking things up. It keeps those numbers perfectly in line for anyone watching their sugar intake!
Can I use a different sweetener than erythritol in this Protein Cheesecake?
You totally can swap it out! Since everybody has a different preference for their zero-calorie sweetener, feel free to use monk fruit blends or even pure stevia, but you have to taste-test as you go. Every brand sweetens differently, so don’t just dump in the same amount. Blend it in a little bit at a time until it tastes just right to you. You want that perfect balance in the Protein Cheesecake!
Is this recipe Gluten Free Cheesecake friendly?
Yes, this recipe is totally set up to be a fantastic Gluten Free Cheesecake right out of the box! We’re using almond flour for the crust instead of traditional flour, which keeps it grain-free. Just one little thing to double-check: make sure the brand of whey protein powder you buy confirms it’s gluten-free, just as an extra layer of caution!
Find More Satisfying Protein Snax and Desserts
I really hope you love this creamy, dreamy Protein Cheesecake! Making these healthy treats is definitely Amara’s passion—she won’t rest until your fitness goals and sweet tooth are both totally satisfied. When you try it, please snap a picture and tag us; we just love seeing your results! And if you’re hungry for more, come see what other amazing ideas Leo, Amara, and Chef Tariq are cooking up over on the main blog!
PrintUltimate Healthy Baked Protein Cheesecake (35g Protein Per Slice)
You want a satisfying cheesecake that supports your fitness goals. This baked recipe delivers that classic creamy texture using high-protein ingredients like cottage cheese and Greek yogurt, giving you a macro-friendly dessert.
- Prep Time: 20 min
- Cook Time: 55 min
- Total Time: 7 hours 15 min
- Yield: 8 servings
- Category: Dessert
- Method: Baking
- Cuisine: American
- Diet: Low Fat
Ingredients
- 1 cup almond flour
- 1/4 cup erythritol or preferred sweetener
- 1/4 teaspoon salt
- 4 tablespoons melted coconut oil
- 16 ounces low-fat cottage cheese, drained well
- 1/2 cup plain non-fat Greek yogurt
- 1/2 cup vanilla whey protein powder
- 1/2 cup erythritol or preferred sweetener
- 2 large eggs
- 1 teaspoon vanilla extract
- 1 tablespoon lemon juice
Instructions
- Preheat your oven to 325°F (160°C). Line the bottom of a 7-inch springform pan with parchment paper.
- Prepare the crust: In a bowl, mix the almond flour, 1/4 cup sweetener, and salt. Pour in the melted coconut oil and mix until the mixture resembles wet sand. Press this mixture firmly and evenly into the bottom of the prepared springform pan.
- Bake the crust for 8 minutes. Remove from the oven and let it cool slightly while you prepare the filling.
- Prepare the filling: Place the drained cottage cheese, Greek yogurt, protein powder, 1/2 cup sweetener, eggs, vanilla extract, and lemon juice into a food processor or high-powered blender.
- Blend the filling until it is completely smooth and creamy. Scrape down the sides as needed to ensure no lumps remain. This step is key for a velvety texture.
- Pour the filling over the cooled crust in the springform pan.
- Bake for 45 to 55 minutes. The edges should look set, but the center should still have a slight jiggle when gently shaken.
- Turn off the oven, crack the door open slightly, and let the cheesecake cool inside the oven for 1 hour. This slow cooling prevents cracking.
- Remove the cheesecake from the oven and let it cool completely on a wire rack.
- Cover the cheesecake and refrigerate for at least 6 hours, or preferably overnight, before slicing and serving. This allows it to firm up completely.
Notes
- For the best texture, you must drain the cottage cheese thoroughly before blending. Press it between paper towels to remove excess moisture.
- You can substitute whey protein with casein protein for a slightly thicker final texture.
- If you prefer a no-bake option, chill the filling mixture for at least 8 hours without baking.
- This recipe yields approximately 8 servings, providing about 35g of protein per slice when using standard whey protein.
Nutrition
- Serving Size: 1 slice
- Calories: 240
- Sugar: 4
- Sodium: 250
- Fat: 10
- Saturated Fat: 5
- Unsaturated Fat: 5
- Trans Fat: 0
- Carbohydrates: 12
- Fiber: 2
- Protein: 35
- Cholesterol: 60
