

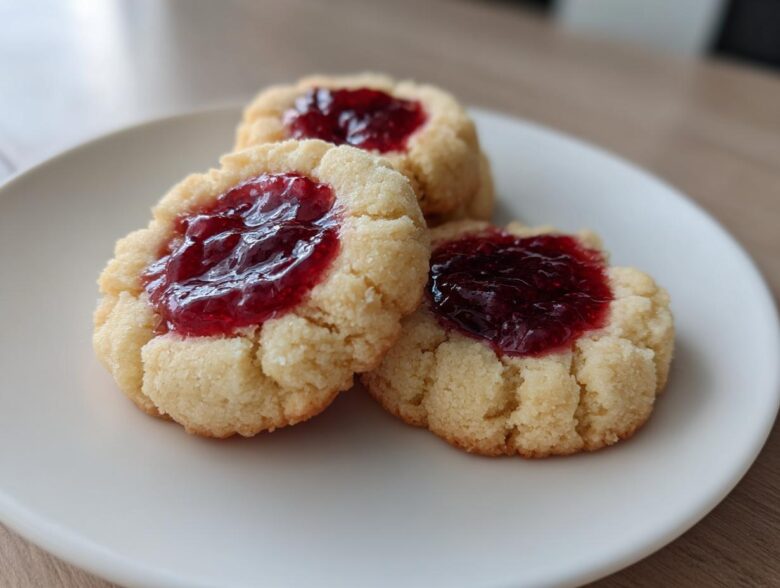
If you’re like me, the holidays just aren’t complete until you have a cookie platter piled high with treats that practically dissolve the moment they hit your tongue! Forget those dry, crumbly things; we are going straight for decadent, buttery perfection today. I’m sharing my ultimate recipe for raspberry thumbprint cookies, and trust me, this traditional shortbread base is a game-changer.
This isn’t just any cookie; it’s the recipe I rely on year after year because it’s just so foolproof. Every single time, the pale shortbread edges look gorgeous, and that sweet, slightly tart raspberry jam center stays wonderfully gooey. We’re whipping these up from scratch, and I promise that the simple steps—much like my reliable technique for sourdough chocolate chip cookies—will give you the *best raspberry cookies* you’ve ever made. Let’s get that oven preheated!
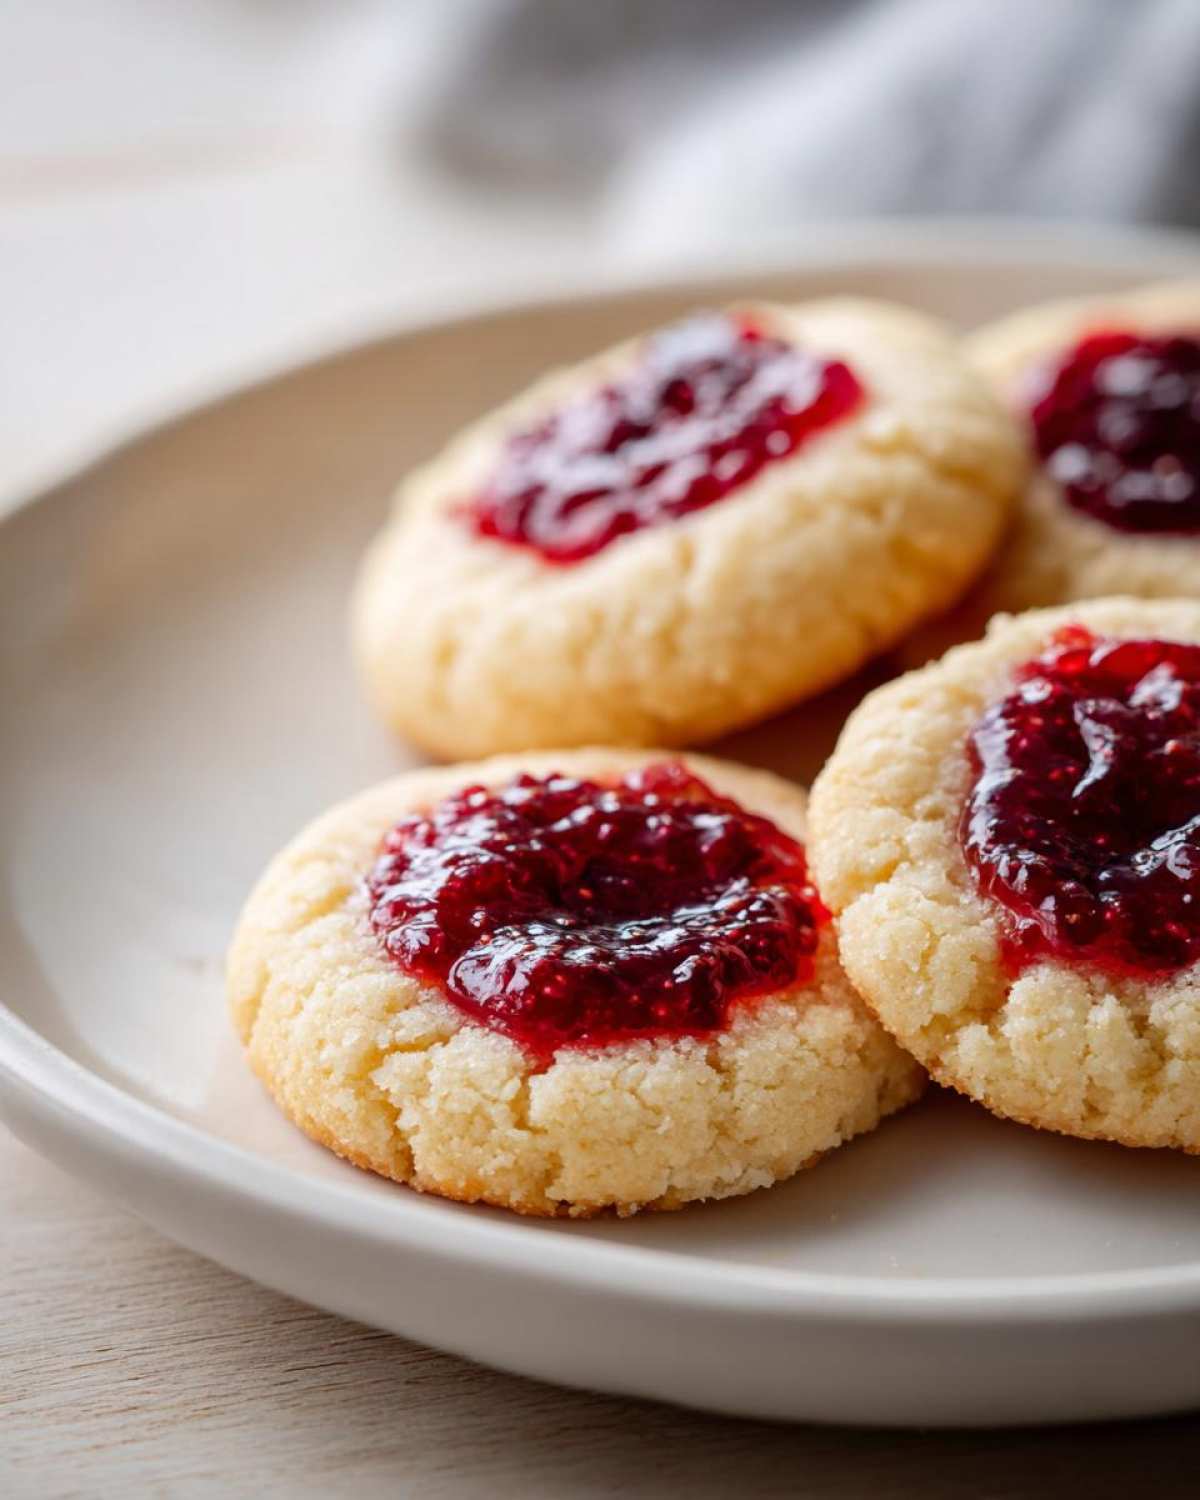
Why This is the Best Raspberry Thumbprint Cookies Recipe
Listen, I’ve tried a dozen different approaches to these classic little gems, and this one always wins. If you want that perfect contrast of textures, you need to stick with this recipe for raspberry thumbprint cookies. Seriously, it pays off!
- The base is pure, luxurious shortbread—it’s designed to be melt-in-your-mouth perfection, just like my favorite buttery shortbread cookies.
- We use a deep thumbprint, which keeps the raspberry jam center gooey and prevents it from boiling over.
- The dough chills just enough to make shaping those perfect little balls simple, meaning less sticking and more uniform cookies.
- It’s my go-to when I need something that looks festive but takes less than an hour start-to-finish!
Gathering Ingredients for Classic Raspberry Thumbprint Cookies
Okay, the beauty of these raspberry thumbprint cookies is that they use staples you probably already have! We aren’t fussing with any complicated extracts here, just pure buttery goodness. Remember, the jam really shines through, so try to grab a high-quality raspberry jam—one you’d happily eat with a spoon!
You’ll need a few things to get that fantastic buttery shortbread base happening:
- 1 cup unsalted butter, softened (make sure it’s room temperature soft!)
- 1/2 cup granulated sugar
- 1 large egg yolk (just the yolk—that’s the secret for richness!)
- 1 teaspoon vanilla extract
- 2 cups all-purpose flour
- 1/4 teaspoon salt
- 1/2 cup raspberry jam
- *Optional Glaze:* 1/4 cup powdered sugar and 1 tablespoon milk or water. I have a whole tutorial on my sugar cookie icing recipe that sets fast if you want to see how I make a perfect drizzle!
Step-by-Step Instructions for Perfect Raspberry Thumbprint Cookies
This is where the magic happens! If you follow these steps exactly, you’re going to get those beautiful, sturdy bases that hold up perfectly. Remember, we’re aiming for those *classic raspberry cookies* that look like they came straight out of a magazine, but taste like they came from Grandma’s kitchen! Building a strong cookie foundation is just as important as getting the right sugar cookie recipe that holds its shape.
Mixing the Buttery Shortbread Base
First, get that oven set to 350°F (175°C) and line your sheets—don’t skip the parchment, trust me! Now, grab your big bowl. We need to cream that room-temperature butter with the sugar until it’s looking pale and fluffy. Think light, airy clouds! Then, quickly drop in your egg yolk and vanilla. In a separate bowl, quickly whisk your flour and salt together. Now, this is important: add the dry stuff to the wet stuff gradually, mixing on low speed. As soon as you stop seeing streaks of flour, STOP! Overmixing is the enemy of any *melt in your mouth cookie*!
Shaping and Filling Your Raspberry Thumbprint Cookies
Once the dough comes together, it will be soft—perfect! Roll it into little balls, about an inch across. If you use a 1-inch cookie scoop, you’ll get about 24 perfect spheres. Place them on your prepared trays. Now for the fun part: use your thumb—or maybe the end of a small measuring spoon if you don’t want sticky prints!—to press a deep little well right in the center of each ball.
If your jam feels stiff, just pop that half cup in the microwave for about 10 seconds. Warming it up just a touch makes spooning that sweet center into the indentations so much easier. You only need about a half teaspoon per cookie!
Baking and Cooling for the Best Raspberry Cookies
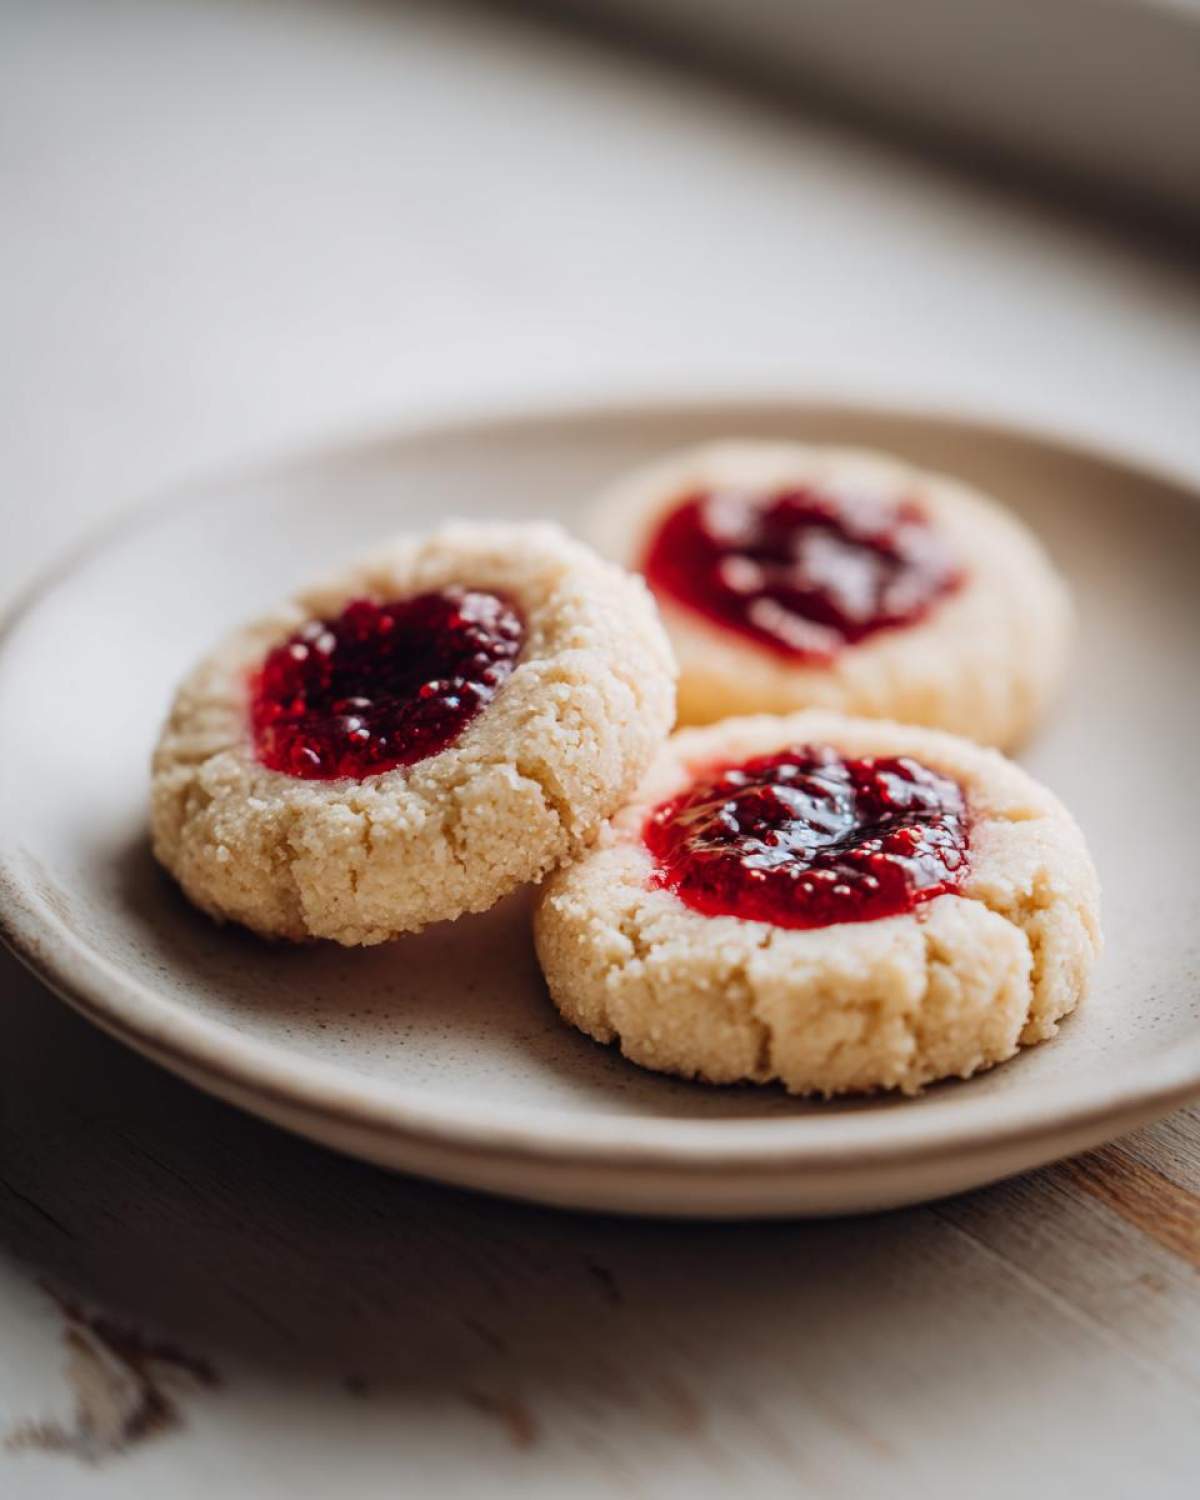
Pop those trays in the oven and keep an eye on them. We want them baked for 12 to 15 minutes, watching until the edges are just barely golden. Don’t worry if the jam center still looks a little loose; it sets up as it cools. This is key for those *gooey center cookies*!
Once they come out, let them sit on that hot baking sheet for a full five minutes. They are too fragile right out of the oven! Then, gently move them to a wire rack to chill completely. If you’re doing the optional glaze, only drizzle it once they are totally cool, or you’ll just get a sad, clear puddle!
Tips for Success with Your Jam Filled Thumbprint Cookies
I know these raspberry thumbprint cookies seem simple, but a few little tricks tucked away in the details make all the difference between a good cookie and a truly spectacular one. These tips are what I’ve learned over many batches of what I call my *classic raspberry cookies*!
First, if you really want to step them up, try adding a little extra flavor layer. The recipe mentions it, but a half teaspoon of almond extract mixed in with the vanilla? Wowza! It pairs so beautifully with the raspberry jam. It’s such a subtle hint, but it makes them taste immediately fancier.
Also, and this is a big one for presentation: if you’re chilling your dough because it’s a hot day, leave the balls in the fridge for about 15 minutes before you go to press your thumb in. Trust me on this—chilled dough is firmer! This small step gives you those deep, perfect indentations that won’t collapse while baking. If you’re looking for more delightful cookie ideas, you might want to check out my recipe for Italian ricotta cookies!
Ingredient Notes and Substitutions for Raspberry Thumbprint Cookies
We aren’t just tossing things in a bowl here; the success of these *buttery shortbread cookies* really rests on the quality and temperature of a few key players. Since these are essentially three main components—the butter, the flour, and the jam—getting those components right makes all the difference for achieving those perfect, *easy thumbprint cookies*.
Let’s talk butter first. Remember how I stressed softened butter in the steps? Try not to melt it! If your butter is too soft or greasy, the dough spreads out like a puddle, and we end up with flat discs instead of sturdy cookie cups. Softened means you can easily leave a slight dent when you press it, but it should still feel a little cool to the touch.
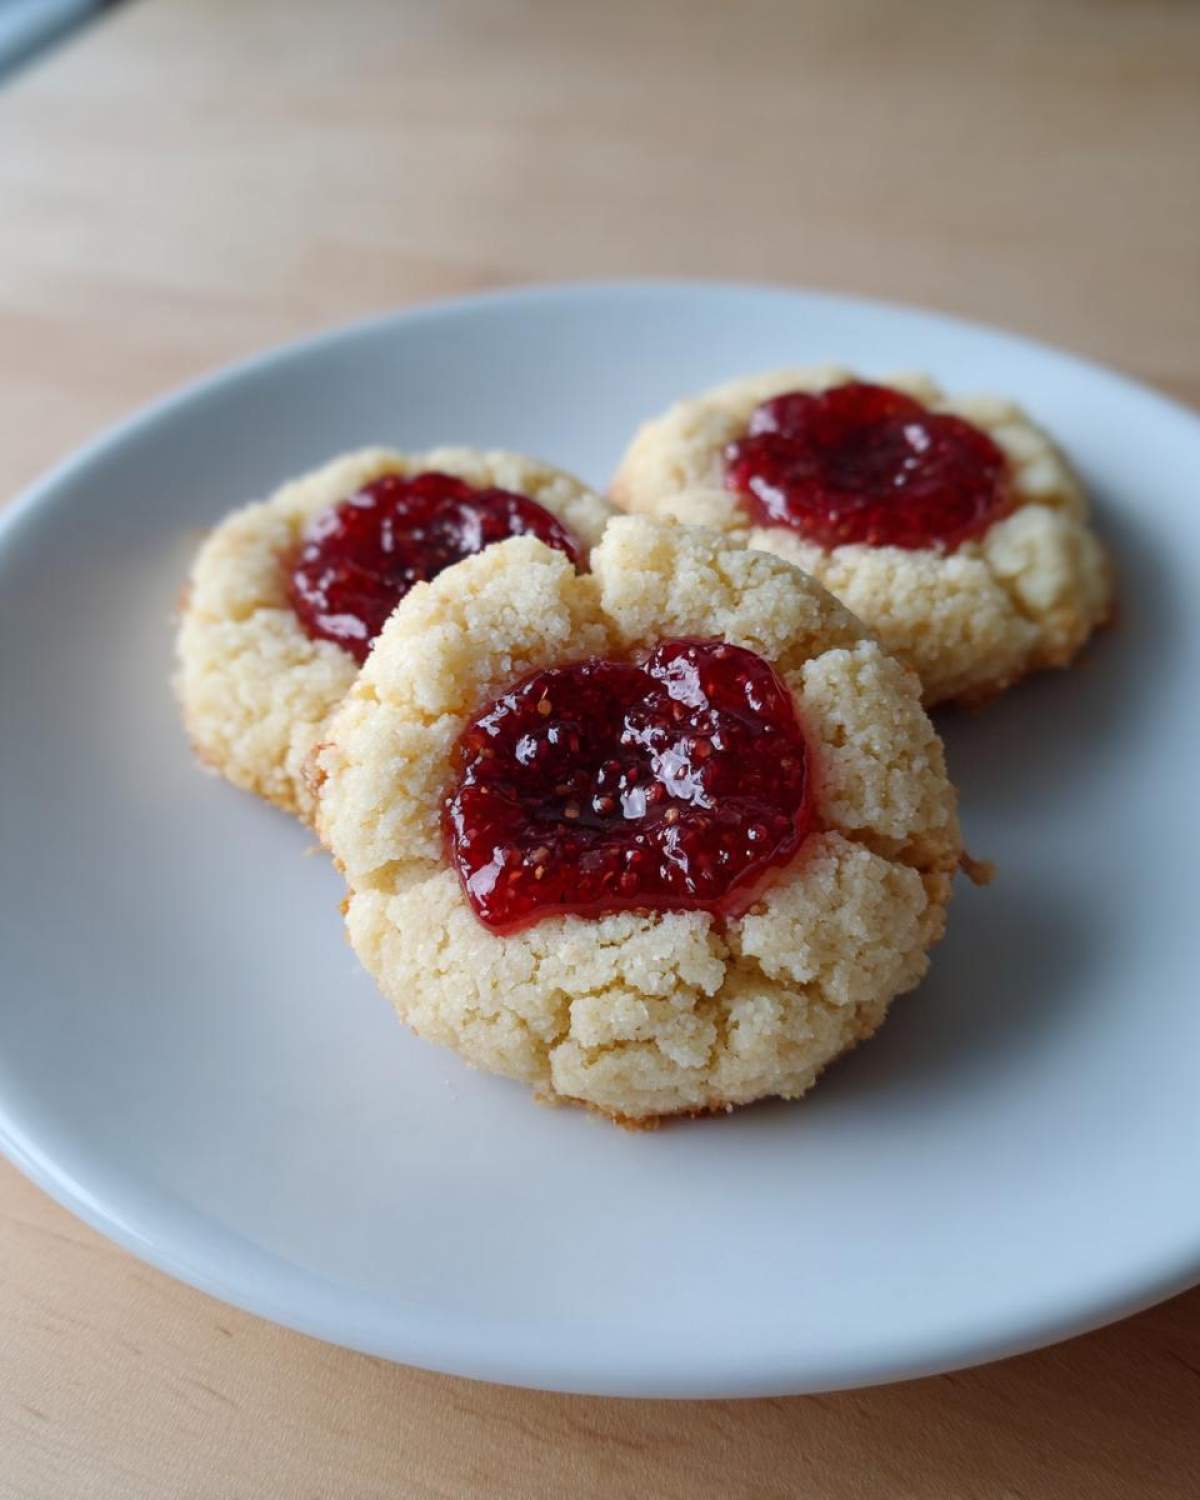
Now for the raspberry jam! This is where you can customize the flavor, but you have to watch the seeds. I prefer jam that is slightly strained of the biggest seeds, but if you love that texture, go for it! If you use a very runny jam, you might find it leaks more into the dough while baking. If your jam seems a little thin, warming it briefly, as I mentioned before, helps it set a bit better when it cools down.
As for flour, stick to all-purpose flour. Don’t go swapping in bread flour, because that has too much protein and will make these delicate cookies tough instead of providing that soft, crumbly texture we love. If you want to see how flour choice impacts baking, check out some of my notes on the difference between using different types in my apple pie cookies post!
Making Variations of Raspberry Thumbprint Cookies
The basic recipe for these raspberry thumbprint cookies is perfection on its own, but I love experimenting when I have extra dough! Once you’ve mastered the classic shortbread, it’s fun to see how these little treats change with just one or two small additions. It’s a great way to get rid of those random jars of jam you’ve got hiding in the fridge, too!
Let’s talk about making them extra fancy, because we all need a few recipes perfect for Christmas cookie swaps, right?
For that classic sweet finish, if you didn’t add the glaze during the baking stage, you can turn them into *iced thumbprint cookies* once they are completely cool. Just whip up a simple confectioners’ sugar drizzle—a little vanilla, a splash of milk—and zigzag it right over the top of the jam center. It adds such a lovely, professional look to your batch of easy thumbprint cookies.
Then there’s the flavor profile. If you want to get that sophisticated little something extra, go for the *almond raspberry thumbprint* version. Remember I mentioned adding almond extract with the vanilla? It brings out a warmth that is absolutely divine next to the tart raspberry. It’s a really popular choice!
Here is another little tweak I highly recommend: lemon zest! Add the zest of one whole lemon right into the butter and sugar when you’re creaming them together. The bright citrus cuts through the richness of the shortbread beautifully. It gives you this amazing, fresh twist on the traditional recipe without losing the *jam filled thumbprint cookies* appeal. Honestly, sometimes I make one batch with lemon zest and another with almond extract just so people have a choice!
Serving Suggestions for These Bite Sized Dessert Treats
Now that you’ve made these gorgeous *classic raspberry cookies*, the next big question is, how do you show them off? These little gems are naturally perfect as a *bite sized dessert*, but presentation really matters, especially when you’re putting together a platter for guests or friends!
Since these are staples for our family’s *holiday cookie recipes*, I always make sure they have a place of honor on the cooling rack before they even make it to the plate. They look so beautiful sitting right alongside richer, darker cookies. The pale shortbread base next to a chocolate crinkle or something heavily frosted really makes the raspberry pop!
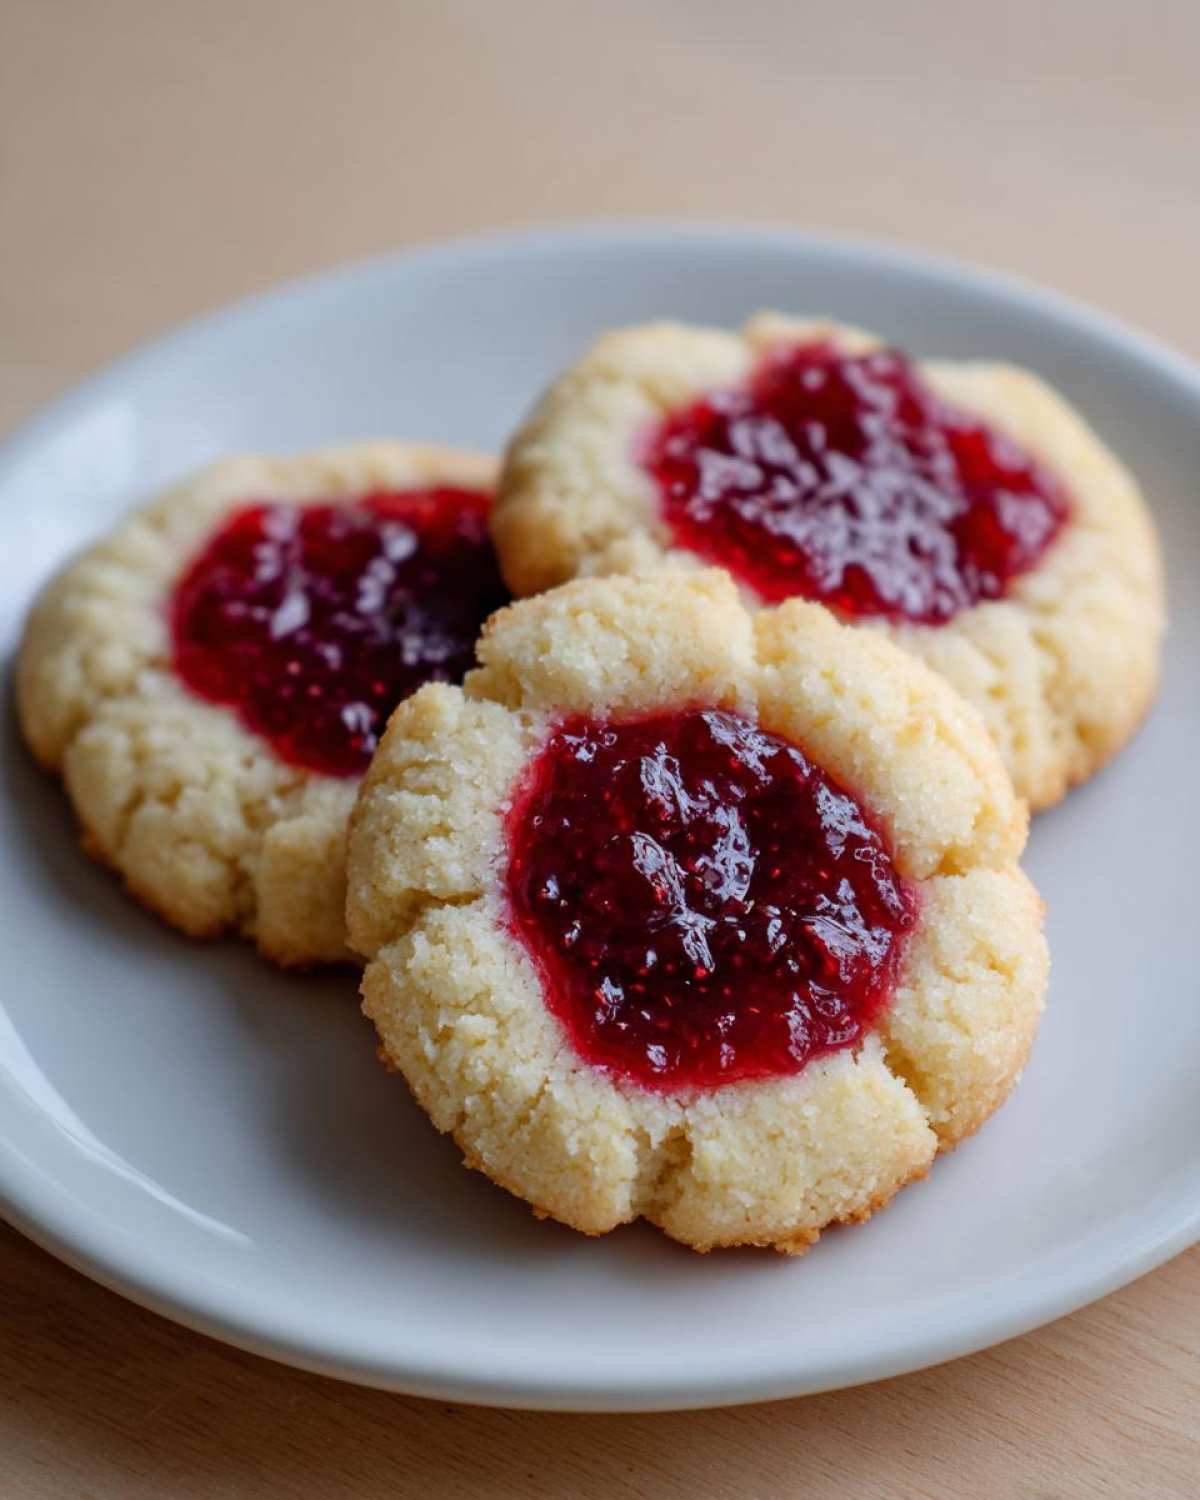
For pairing, you can’t go wrong keeping it classic. These **raspberry thumbprint cookies** are just sweet enough that they shine next to a strong cup of black coffee in the afternoon. If you’re hosting in the evening, serving them alongside a hot, spiced tea is just divine. The warmth of the drink cuts through the buttery base perfectly.
If you’re building a big cookie spread for a party, try arranging them symmetrically. I often place a small bowl of fresh raspberries nearby for color, or maybe even little bowls of chopped nuts if some guests prefer a crunchier texture. And if you’re looking for a festive drink to serve alongside them, you absolutely have to try the amazing flavors in my Thanksgiving punch recipe—it has just the right amount of tartness to complement the jam!
Storage and Reheating Instructions for Raspberry Thumbprint Cookies
The best part about these *jam filled thumbprint cookies* is that they are almost always better the next day! They are sturdy little cookies, which means they travel well and they store beautifully, unlike some of those delicate, fussy cookies that crumble if you look at them wrong.
When they’ve cooled completely on the rack, you want to get them into an airtight container right away. I’m really fussy about this, because if air gets to that buttery shortbread base, it starts to go stale faster than I’d like. Room temperature is their happy place. Stack them up carefully—maybe with a small piece of wax paper between layers if you’re worried about the jam sticking to the tops, though usually they are fine.
They actually stay wonderfully fresh for about a week this way! I sometimes keep them stored right next to my refrigerator pickles container in the pantry, just so I remember they are there waiting for me!
Now, for freezing—yes, you absolutely can freeze these **raspberry thumbprint cookies**! Once they are totally cooled, arrange them on a baking sheet and pop that sheet into the freezer for about an hour until they are rock solid. Then, transfer them to a heavy-duty freezer bag. They hold up great in the freezer for up to three months. When you want to enjoy them, just pull out as many as you need and let them thaw on the counter for about an hour.
One thing I strongly advise against, though, is reheating them! They aren’t like a brownie or a scone; warming them up usually just results in a gooey, messy puddle where the jam used to be, and it can make that perfect shortbread base a little greasy. Seriously, they are perfect served straight from the pantry or the counter!
Frequently Asked Questions About Raspberry Thumbprint Cookies
I totally get it. When you have a batch of these beautiful raspberry thumbprint cookies cooling, you want them to be *exactly* right. Here are the few little hiccups I used to run into when I was first learning the ropes of making these *cookie recipes for beginners*!
Why do my raspberry thumbprint cookies spread too much?
Ugh, watching them spread flat is the saddest thing! This almost always comes down to one of two things. First, your butter was too warm. It needs to be softened, yes, but if it’s greasy or melting, the dough structure fails instantly. Second, you might have overworked the dough after adding the flour. When you mix too much flour, you develop gluten, which makes the cookie stiff and causes it to spread out instead of holding its shape. Remember what I said about mixing until *just combined*? That keeps these cookies in the *buttery shortbread* category!
Can I use a different jam besides raspberry in these cookies?
Oh, absolutely! This shortbread base is just begging to hold any jam you love. You can totally make apricot ones, or maybe even a mixed berry offering for your next *Christmas cookie swap*. Just remember, when you look at your final product, you won’t have the classic, bright red look of the proper raspberry thumbprint cookies. Apricot jams tend to bake up more golden, and darker jams like cherry can sometimes look almost black after baking. They taste wonderful, though, so go wild if you prefer!
How can I prevent the jam from bubbling over during baking?
This is such a common problem, especially when trying to get that beautiful, deep well! You’ve got to be careful not to overfill. I find that when I’m scooping the jam, I try to keep the level of the jam below the actual edge of the dough cup. Also, make sure you form those little balls tightly before you make the indentation. If your dough balls are loose, the jam will easily push the edges out. If you make sure the dough is well-chilled, it provides a strong frame that keeps everything perfectly contained when it gets hot in the oven. If you’re thinking about other large-scale baking projects, you should look over my famous cookie cake recipe!
PrintClassic Buttery Raspberry Thumbprint Cookies with Optional Glaze

Make these easy, buttery shortbread cookies filled with sweet raspberry jam. This traditional recipe yields melt-in-your-mouth treats perfect for holidays or cookie swaps.
- Prep Time: 20 min
- Cook Time: 15 min
- Total Time: 35 min
- Yield: About 24 cookies
- Category: Dessert
- Method: Baking
- Cuisine: American
- Diet: Vegetarian
Ingredients
- 1 cup unsalted butter, softened
- 1/2 cup granulated sugar
- 1 large egg yolk
- 1 teaspoon vanilla extract
- 2 cups all-purpose flour
- 1/4 teaspoon salt
- 1/2 cup raspberry jam
- 1/4 cup powdered sugar (for glaze, optional)
- 1 tablespoon milk or water (for glaze, optional)
Instructions
- Preheat your oven to 350°F (175°C). Line baking sheets with parchment paper.
- In a large bowl, cream together the softened butter and granulated sugar until light and fluffy.
- Beat in the egg yolk and vanilla extract until combined.
- In a separate bowl, whisk together the flour and salt. Gradually add the dry ingredients to the wet ingredients, mixing on low speed until just combined into a soft dough. Do not overmix.
- Roll the dough into small balls, about 1 inch in diameter. Place them on the prepared baking sheets.
- Use your thumb or the back of a small measuring spoon to press a deep indentation into the center of each dough ball.
- Spoon about 1/2 teaspoon of raspberry jam into each indentation.
- Bake for 12 to 15 minutes, or until the edges are lightly golden. The centers may look slightly soft.
- Remove cookies from the oven and let them cool on the baking sheet for 5 minutes before transferring them to a wire rack to cool completely.
- If making the glaze, whisk together the powdered sugar and milk or water until smooth. Drizzle the glaze over the cooled cookies.
Notes
- For a slightly almond flavor, add 1/2 teaspoon of almond extract with the vanilla extract.
- If the jam seems too thick, warm it slightly in the microwave for 10 seconds to make it easier to spoon into the indentations.
- For the best thumbprint shape, chill the dough balls for 15 minutes before making the indentations.
Nutrition
- Serving Size: 1 cookie
- Calories: 135
- Sugar: 9
- Sodium: 45
- Fat: 8
- Saturated Fat: 5
- Unsaturated Fat: 3
- Trans Fat: 0
- Carbohydrates: 15
- Fiber: 0.5
- Protein: 2
- Cholesterol: 30
