

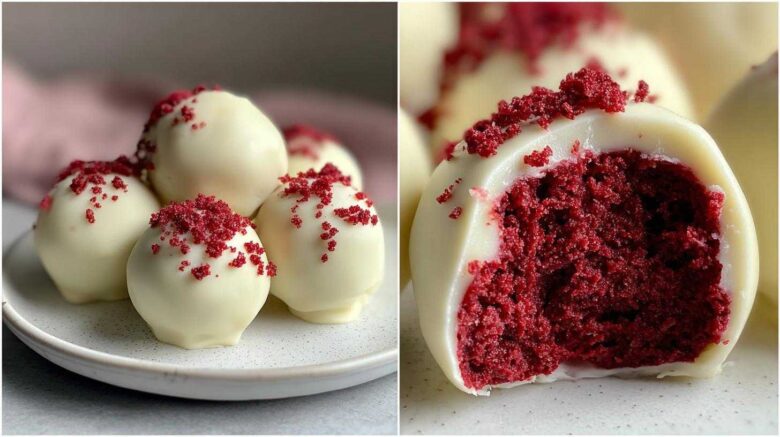
The Ultimate Guide to Easy No-Bake Red Velvet Cake Balls
Forget complicated baking projects. I want to show you something truly special.
These easy no-bake red velvet cake balls are pure magic. They taste incredibly rich. Seriously, they disappear fast at any gathering.
When Amara, Tariq, and I started Savory Skies, we wanted simple joys. This recipe is exactly that joy.
We used our professional kitchen knowledge. We streamlined everything here for you. Even new cooks can nail these treats.
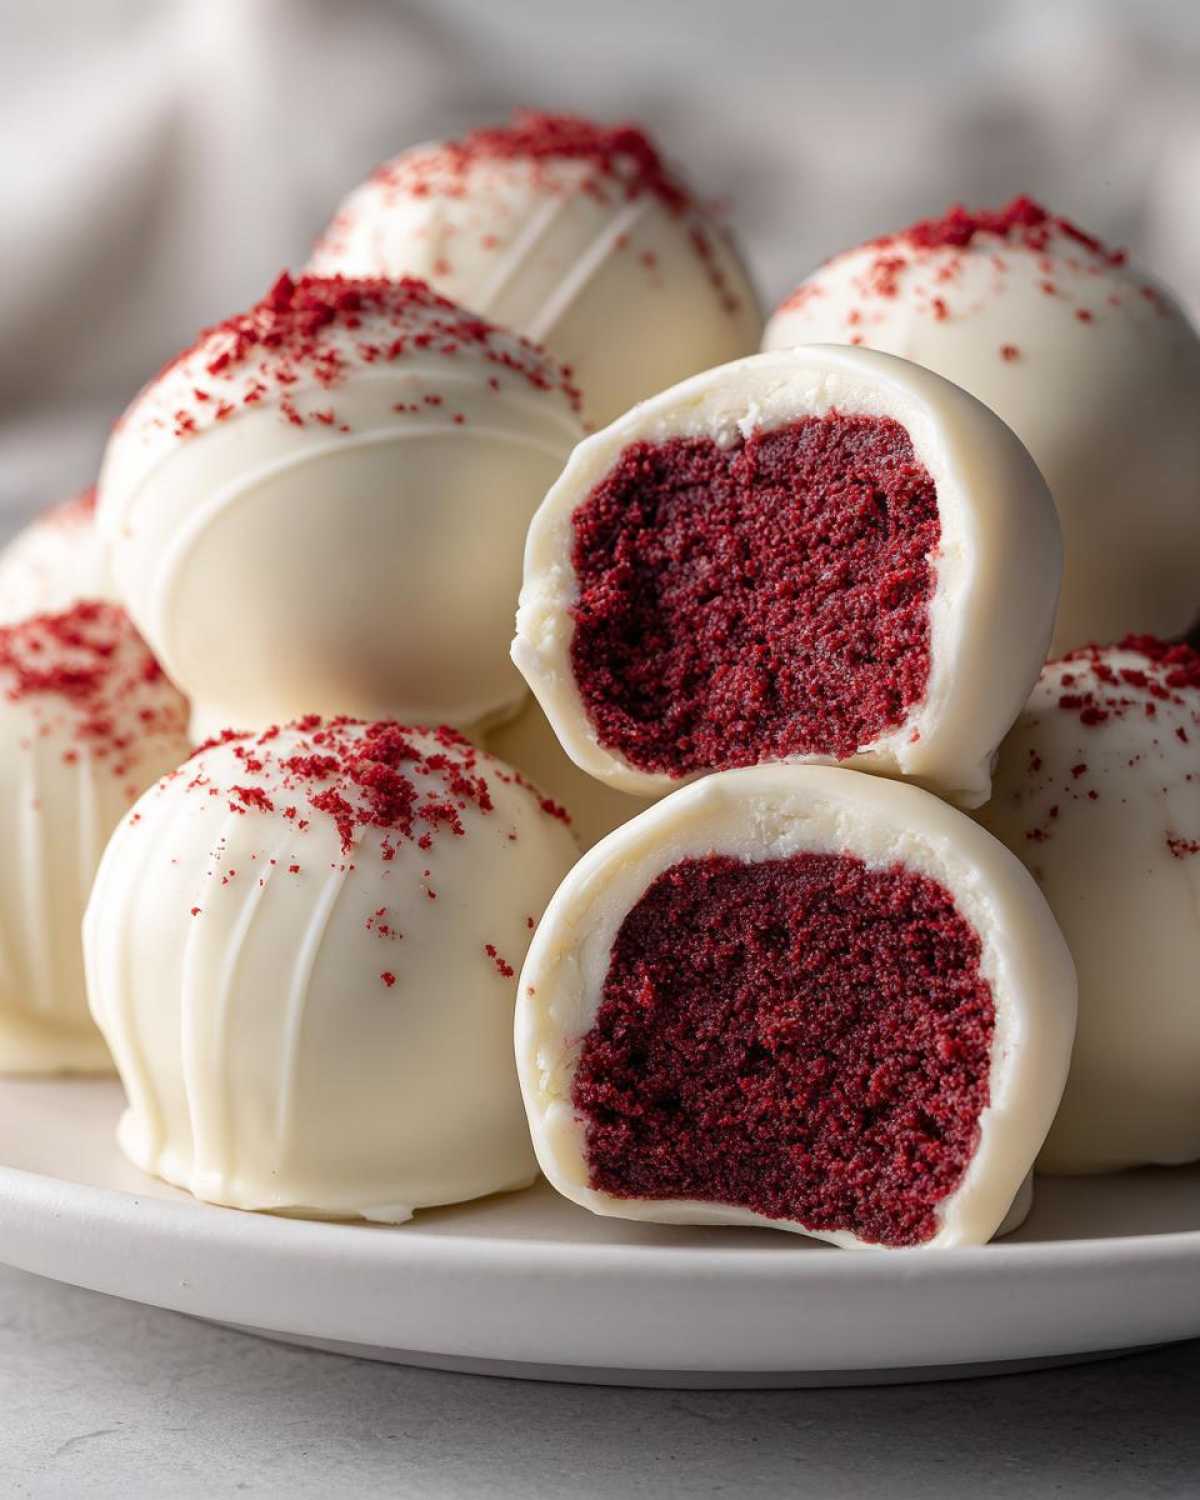
You get that signature tangy flavor. Plus, a smooth chocolate shell seals in the goodness. Making red velvet cake balls should feel fun, not stressful. Let’s dive right in!
Why You’ll Love These Red Velvet Cake Balls
Why should this be your next go-to dessert? I think you’ll adore the simplicity. We cut out all the hard parts. These treats deliver huge flavor for little effort. That’s a win-win in my book!
Here are the main reasons these disappear so quickly:
- The prep is fast.
- They need just a few simple items.
- They look fancy for parties.
Quick Prep and Minimal Fuss
The best part? After the cake bakes, it’s all hands-on mixing. There is no second bake time needed. We skip the fussy layering and frosting steps. You just mix, roll, and chill. This simple process makes them great for weeknights.
Perfect for Any Celebration
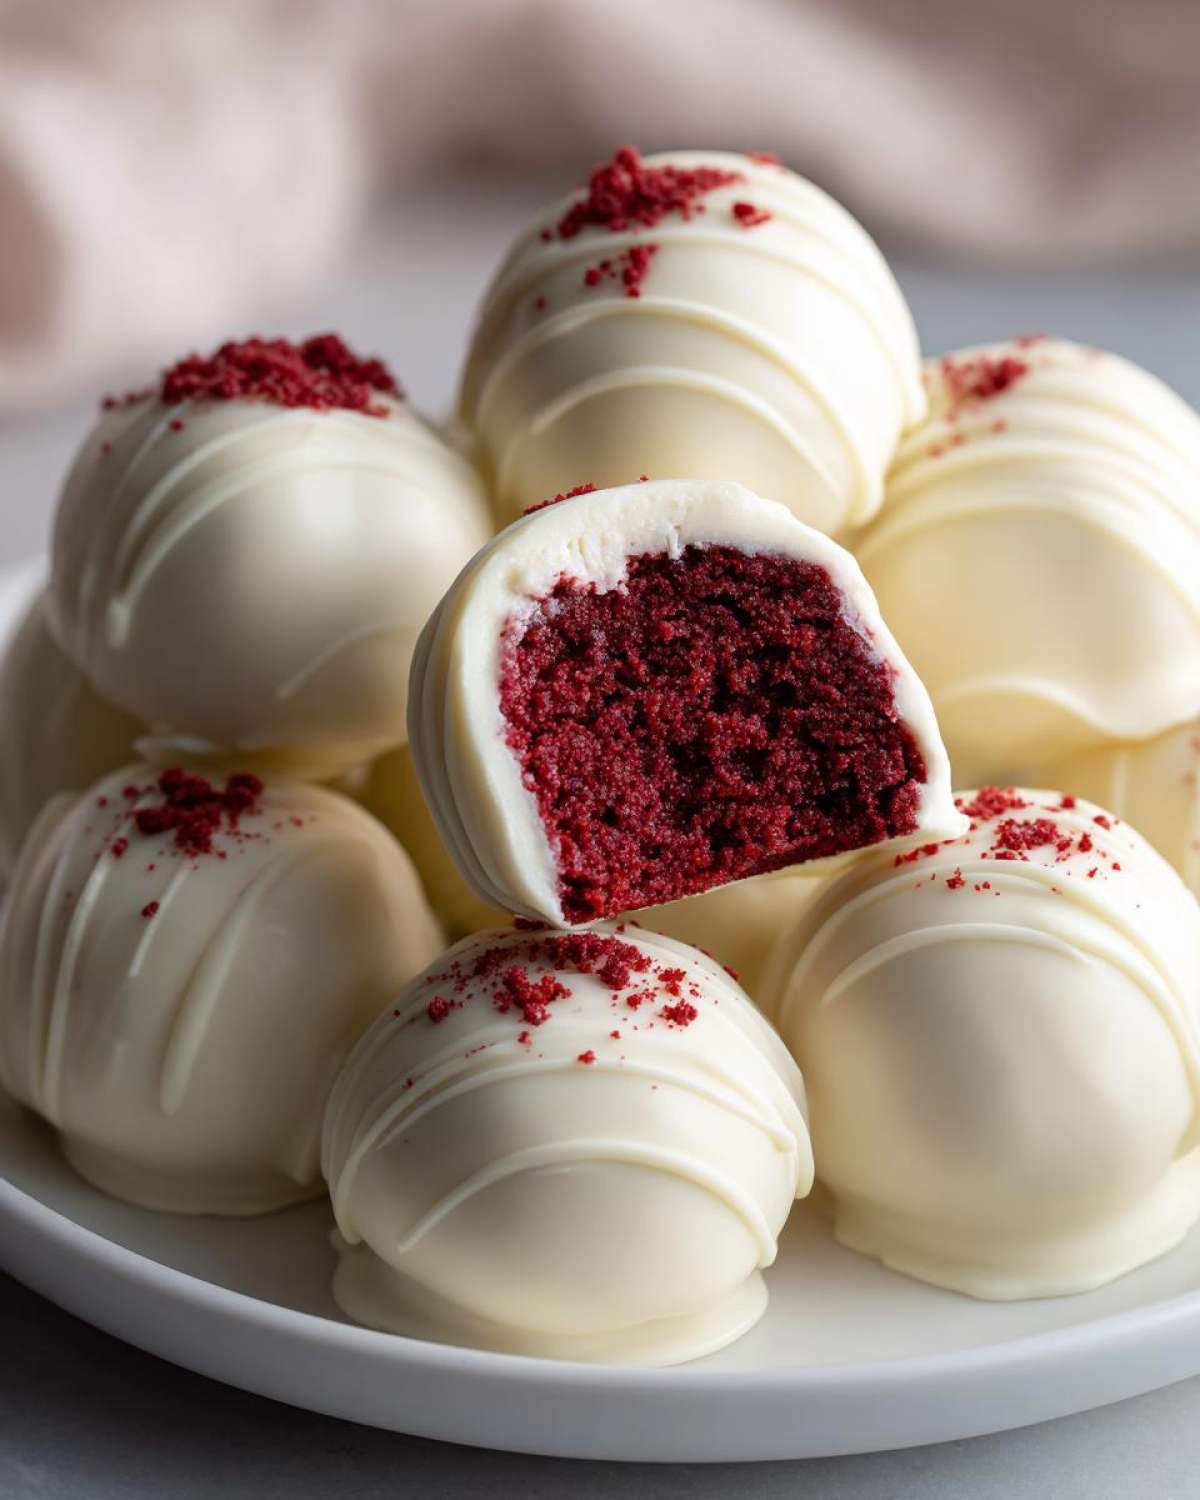
That deep red color screams special occasion. Think Valentine’s Day or Christmas cookie platters. These little bites travel well too. They are sturdy party treats. Everyone recognizes that classic red velvet flavor combination.
Essential Ingredients for Perfect Red Velvet Cake Balls
Getting the right building blocks makes all the difference. Don’t worry about hard-to-find items here. We keep the list short and sweet. These core components create that famous texture.
You need a box of red velvet cake mix. Or, you can use about three cups of baked, cooled crumbs. The cream cheese frosting is non-negotiable. It binds everything beautifully. Then, grab your white chocolate wafers for dipping.
Ingredient Clarity and Preparation
Let’s talk specifics for the best results. Make sure your cake is totally cool first. Crumble it finely; we want no big chunks left. That makes the dough uniform.
Use the whole container of frosting. Don’t skimp or substitute here. That tanginess balances the sweetness. I sometimes add coconut oil to the chocolate. It sounds strange, I know. But it helps the chocolate melt thinner. This makes dipping much easier, trust me on this one!
Necessary Equipment for Making Red Velvet Cake Balls
Before we start rolling these amazing red velvet cake balls, let’s check your toolkit. Having the right gear saves so much time later.
You don’t need fancy gadgets for this recipe. A few basics handle every step well.
- A large mixing bowl.
- Parchment paper.
- A baking sheet for chilling.
- Microwave-safe bowl for chocolate.
That’s really it! Parchment paper keeps things tidy. Grab those items now.
Step-by-Step Instructions for Your Red Velvet Cake Balls
Ready to assemble these treats? I promise this process is smooth sailing. We move from cake to dough. Then we chill them perfectly. Finally, we get that glossy chocolate shell.
Follow these steps closely. They really guarantee success for your red velvet cake balls.
Preparing the Rich Cake Dough
First, bake your cake mix as directed. Let that cake cool down completely. This cooling step is super important, folks. Once cool, crumble the cake finely. Use your hands for the best texture.
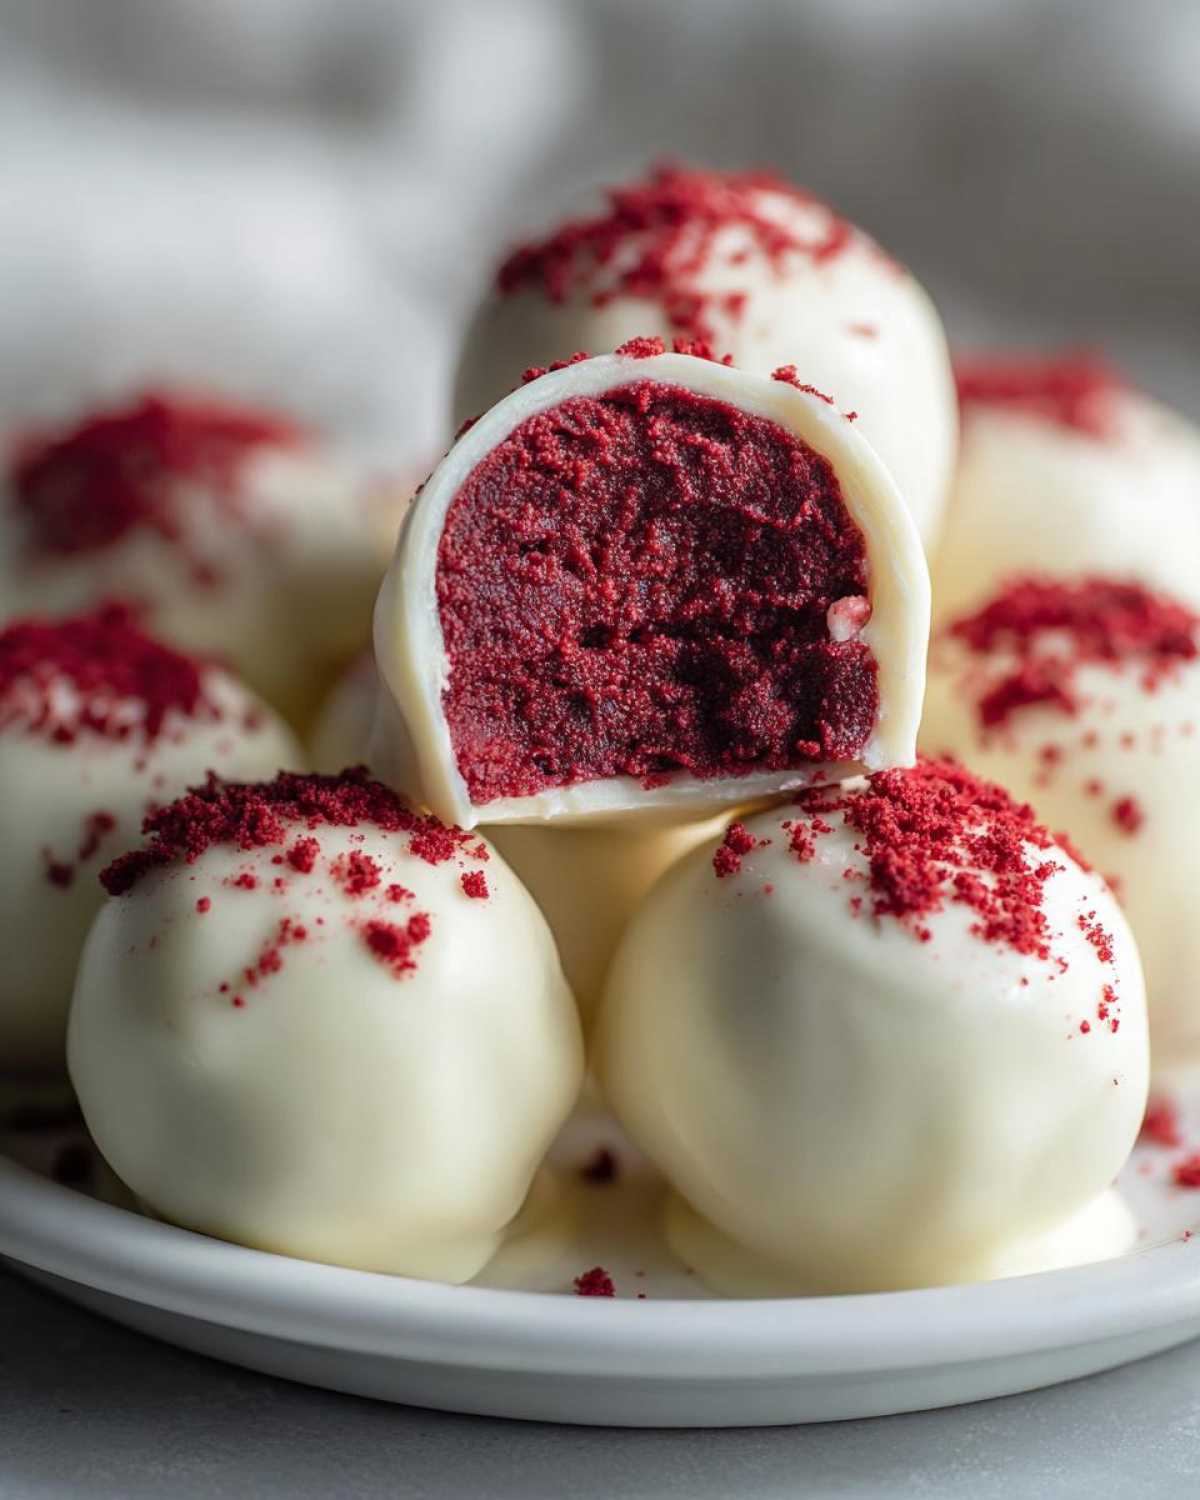
Next, dump the whole container of frosting in. Now, mix it all up well. Use your hands here for the best feel. Keep mixing until it forms a thick dough. This dough should look uniform and rich.
Shaping and Firming the Red Velvet Cake Balls
Time to roll! Grab small scoops of dough. Roll them into one-inch balls. Try to keep them roughly the same size. Place them on your baking sheet. Remember the sheet needs parchment paper.
This next part is key for easy dipping. You must freeze these balls. Pop the sheet into the freezer. Let them firm up for at least thirty minutes. Frozen balls dip much better. They won’t fall apart on you!
Achieving a Smooth White Chocolate Coating
While they chill, melt your chocolate wafers. Use short bursts in the microwave. Stir after every thirty seconds. Stop when it’s mostly melted. Stir until smooth. If using, mix in that teaspoon of coconut oil now. This makes dipping super easy.
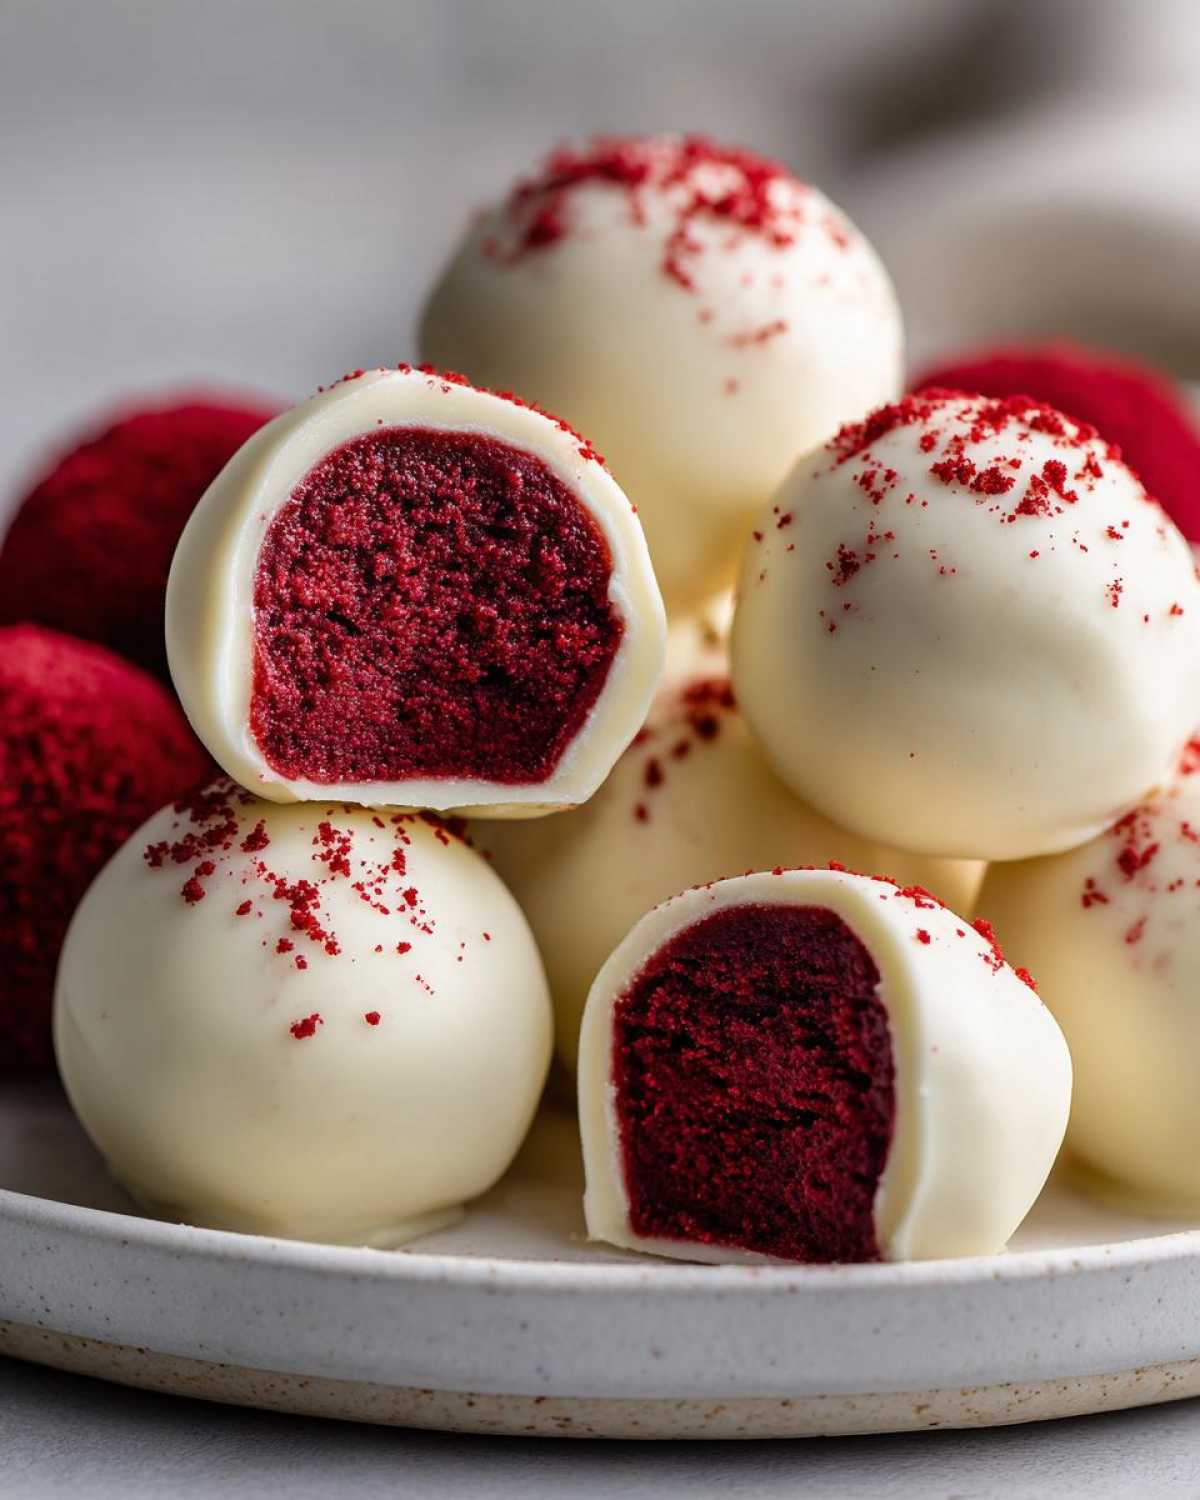
Take the firm balls from the freezer. Dip one ball into the warm chocolate. Let the extra coating drip right off. Return it gently to the parchment. Wait for the chocolate to set solid. Room temperature works fine. A quick trip to the fridge speeds this up!
Expert Tips for Perfect Red Velvet Cake Balls
We’ve made the basics work well. Now, let’s talk about perfecting your red velvet cake balls. A few small tweaks make a big difference. I learned these little secrets over many late nights.
These tips help you get that bakery-quality finish. No one needs to know how easy they really are to make!
Troubleshooting the Chocolate Dip
Did your chocolate suddenly get clumpy? That means it seized up on you. Usually, this happens from too much moisture. Next time, make sure your bowl is bone dry. If it seizes, try stirring in a tiny bit more coconut oil. It often smooths right out.
If your frozen balls crumble when dipped? Your dough wasn’t firm enough. Make sure they freeze for the full thirty minutes. A firm center prevents breakage.
Flavor and Presentation Variations
Want to jazz up your treats for the next holiday? It is so simple to customize them. Think beyond just white chocolate.
Try drizzling dark chocolate over the set white coating. Use festive sprinkles right after dipping. For Valentine’s Day, red or pink sprinkles look great. You can even sneak a tiny piece of white chocolate chunk inside the dough before rolling. It makes a nice surprise center!
Common Questions About Red Velvet Cake Balls
I know you might have a few lingering thoughts. Cooking should be fun, not confusing. Let’s clear up some frequent questions about these delightful treats.
We want your experience making these no bake cake balls to be perfect. Here are answers to what I hear most often.
Can I Make Red Velvet Cake Balls Without Baking Cake?
Yes, absolutely! That is the beauty of this recipe structure. You can skip baking completely. Use store-bought red velvet cake scraps instead. Or, use a good quality boxed cake mix. Just crumble the cooled cake finely. This saves a lot of time, honestly.
How Long Do Red Velvet Cake Balls Last?
These taste best when fresh. But they store well for a bit. Keep them in an airtight container in the fridge. They last about one week stored properly. Remember that note about refrigeration for the best texture.
What Kind of Frosting Works Best for Red Velvet Cake Balls?
You really need that cream cheese frosting. It is the classic pairing for red velvet. The tang cuts through the richness perfectly. Do not swap it for vanilla frosting. The cream cheese frosting balls need that unique flavor balance.
Storing and Serving Your Red Velvet Cake Balls
Once these beauties are set, how do you keep them perfect? Storage is easy but important.
Keep your finished treats in an airtight container. Always store them in the refrigerator. They stay fresh for about one week this way.
For serving, let them sit out five minutes. This softens the chocolate slightly. They are great alongside coffee or tea. Enjoy the little bites of happiness you made!
A Note on Estimated Nutritional Data
I always get asked about the numbers. Keep in mind these values are estimates only. They depend heavily on your specific cake mix brand. For general baking information, you can check resources like the U.S. Food and Drug Administration for guidelines.
We base these figures on one cake ball serving size. Expect around 180 calories per bite. That includes fat, protein, and carbs. Enjoy these treats mindfully!
Share Your Delicious Red Velvet Cake Balls!
I truly hope you loved making these. Sharing food brings us joy here at Savory Skies. For more recipe inspiration, check out our latest posts.
Did you try this recipe? Tell us how it went below. We love hearing your kitchen stories.
Leave a rating or a comment for others to see. Show us your beautiful creations online. Let’s keep that feeling of community going strong!
PrintShocking 4-Ingredient Red Velvet Cake Balls

Make these incredibly simple, no-bake Red Velvet Cake Balls. They use minimal ingredients and are perfect for holidays or parties. You dip the rich, creamy centers into smooth white chocolate for a delightful treat that everyone loves.
- Prep Time: 25 minutes
- Cook Time: 30 minutes (baking time)
- Total Time: 1 hour 15 minutes (includes cooling and freezing)
- Yield: 24-30 cake balls
- Category: Dessert
- Method: No-Bake (after initial cake bake)
- Cuisine: American
- Diet: Vegetarian
Ingredients
- 1 box (15.25 oz) Red Velvet Cake Mix (or use 3 cups of cooked cake crumbs)
- 1 container (8 oz) Cream Cheese Frosting
- 12 oz White Chocolate Melting Wafers (or chips)
- 1 teaspoon Coconut Oil (optional, for smoother dipping)
Instructions
- Bake the red velvet cake according to the package directions. Let the cake cool completely.
- Crumble the cooled cake into a large bowl until you have fine crumbs.
- Add the entire container of cream cheese frosting to the cake crumbs.
- Mix the frosting and crumbs thoroughly until a thick, uniform dough forms. You can use your hands for the best mixing.
- Roll the dough into small, bite-sized balls (about 1 inch in diameter). Place them on a parchment-lined baking sheet.
- Freeze the cake balls for at least 30 minutes until firm. This step is important for easy dipping.
- Melt the white chocolate wafers in a microwave-safe bowl in 30-second intervals, stirring well after each interval, until smooth. Stir in the coconut oil if using.
- Dip each frozen cake ball into the melted chocolate, allowing excess chocolate to drip off. Return the dipped balls to the parchment-lined sheet.
- Let the chocolate set completely at room temperature, or chill briefly to speed up the process.
Notes
- If you are short on time, you can skip baking and use store-bought red velvet cake scraps.
- For a smoother chocolate coating, use a toothpick to gently swirl designs on top before the chocolate sets.
- Keep these cake balls refrigerated for the best texture and freshness.
- This recipe works well for holidays; use colored sprinkles or drizzle with dark chocolate for variety.
Nutrition
- Serving Size: 1 cake ball
- Calories: Approx. 180
- Sugar: Approx. 20g
- Sodium: Approx. 100mg
- Fat: Approx. 10g
- Saturated Fat: Approx. 6g
- Unsaturated Fat: Varies
- Trans Fat: 0g
- Carbohydrates: Approx. 22g
- Fiber: Approx. 1g
- Protein: Approx. 2g
- Cholesterol: Approx. 15mg
