

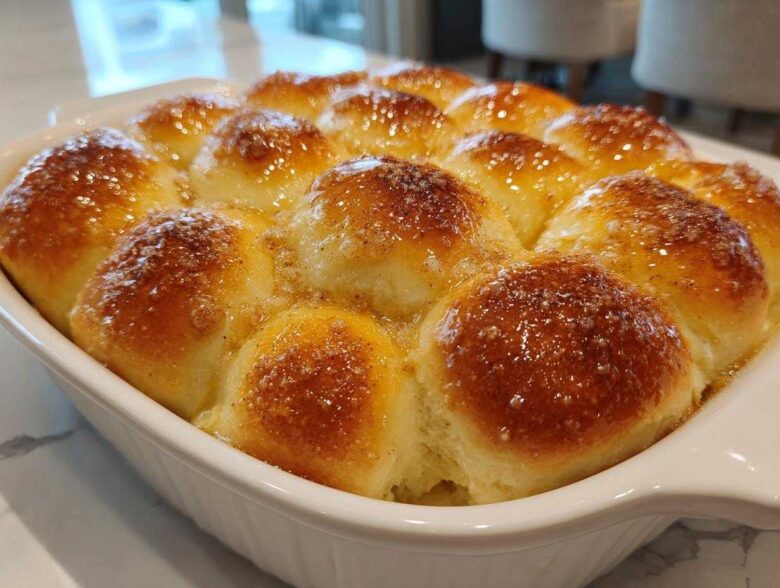
Listen, there is nothing—and I mean *nothing*—like pulling a batch of truly soft, fluffy homemade dinner rolls out of your own oven. Forget those sad, dry squares you get at the grocery store; we’re talking about achieving that next-level, bakery-quality softness right here in your own home base. When Amara, Chef Tariq, and I first started Savory Skies, these buttery triumphs topped my list. These aren’t just good; they are the absolute ultimate soft and fluffy homemade dinner rolls you will ever meet. Trust me, mastering this simple yeast roll technique is what moves your cooking from good to legendary. If you want to win Thanksgiving or just make Tuesday night feel special, this is the recipe! You can read a little more about how we got started at Savory Skies, but right now, let’s focus on that dough!
Why These Are The Best Homemade Dinner Rolls You Will Ever Make
If you’re tired of buying those pre-packaged, sad excuse for bread, I want you to try these once. Seriously. These are contenders for the best homemade rolls, period. What sets this soft dinner rolls recipe apart is that pure, buttery richness you only get when you skip the preservatives and bake from scratch. We nailed that perfect balance of melt-in-your-mouth tenderness and structure.
Chef Tariq always stresses the importance of temperature. If your egg is ice-cold straight from the fridge, it shocks the melted butter and slightly slows down the yeast. Big bakers know this: make sure that egg is at room temperature! It’s a small step, but it contributes hugely to that desirable texture. You know I love a good weekend bake, and this recipe beats my old pancake recipe hands down when it comes to guaranteed comfort food! Check out my fluffy pancake recipe if you need another cozy favorite.
Achieving Fluffy Homemade Bread Texture
The secret to achieving amazing fluffy homemade bread texture isn’t just the ingredients; it’s what you do with them! You need a good, strong gluten network, which comes from honest-to-goodness kneading. Don’t rush this part! You’re looking for a dough that goes from sticky and shaggy to smooth and elastic, where you can actually see the strands stretching when you pull it gently. And please, double-check your yeast activation; if it doesn’t foam up, your rolls will be flat bricks. We can’t have flat rolls!
Gathering Ingredients for Buttery Yeast Rolls
Okay, before we get our hands messy, let’s talk about the shopping list. For buttery yeast rolls this good, you can’t just grab anything! Clarity in preparation is key here, folks—this is where Chef Tariq’s old-school knowledge really helps us ensure success every time. When I list something like milk, I mean *warm* milk—we’re aiming for that sweet spot around 110°F so our yeast wakes up happy and active. Also, make darn sure that egg has been sitting out for about 30 minutes before you crack it in!
Ingredient Notes and Substitutions for Perfect Dinner Rolls
While the provided ingredient list leans toward 2% milk for a great balance, going for whole milk will absolutely boost the richness and that decadent flavor Leo loves so much. If you only have bread flour, go ahead and swap it for the all-purpose; it just might make the rolls a tiny bit chewier, but they’ll still be fantastic. Now, one thing you really shouldn’t change is the butter measurement, especially the amount we use for brushing later on! If you decide to swap the milk for warm water, the texture stays great, but you lose a little bit of that cozy, classic flavor profile that makes these rolls so comforting. Just remember, great ingredients make great dinner rolls!
Step-by-Step Instructions for Soft Dinner Rolls Recipe
Alright, let’s get down to the good stuff! This is where we transform simple pantry staples into the most gorgeous, light soft dinner rolls recipe you can imagine. Timing is everything here, so pay attention to those rise times. We don’t want heavy dough; we want clouds! Have your large bowl ready, and let’s start by waking up that yeast. Once we mix in the wet stuff and the flour, we’re moving fast, but we always give the dough time to breathe. For those who want to try their hand at homemade condiments alongside their fresh bread, check out my recipe for easy homemade mayonnaise!
Kneading and First Rise of Your Dinner Rolls
After you’ve mixed everything until it’s shaggy, dump that dough onto a little-floured counter. Kneading is non-negotiable! You need to work that dough for a solid 6 to 8 minutes until it feels smooth and holds its shape—that’s the gluten structure building up for that fluffy result. When you poke it lightly, it should spring back slowly; that’s Chef Tariq’s cue that it’s ready! Then you let it rest in a lightly oiled bowl, covered, in a nice warm spot until it’s doubled. Don’t rush this first nap!
Shaping and Second Proofing for Perfectly Risen Rolls
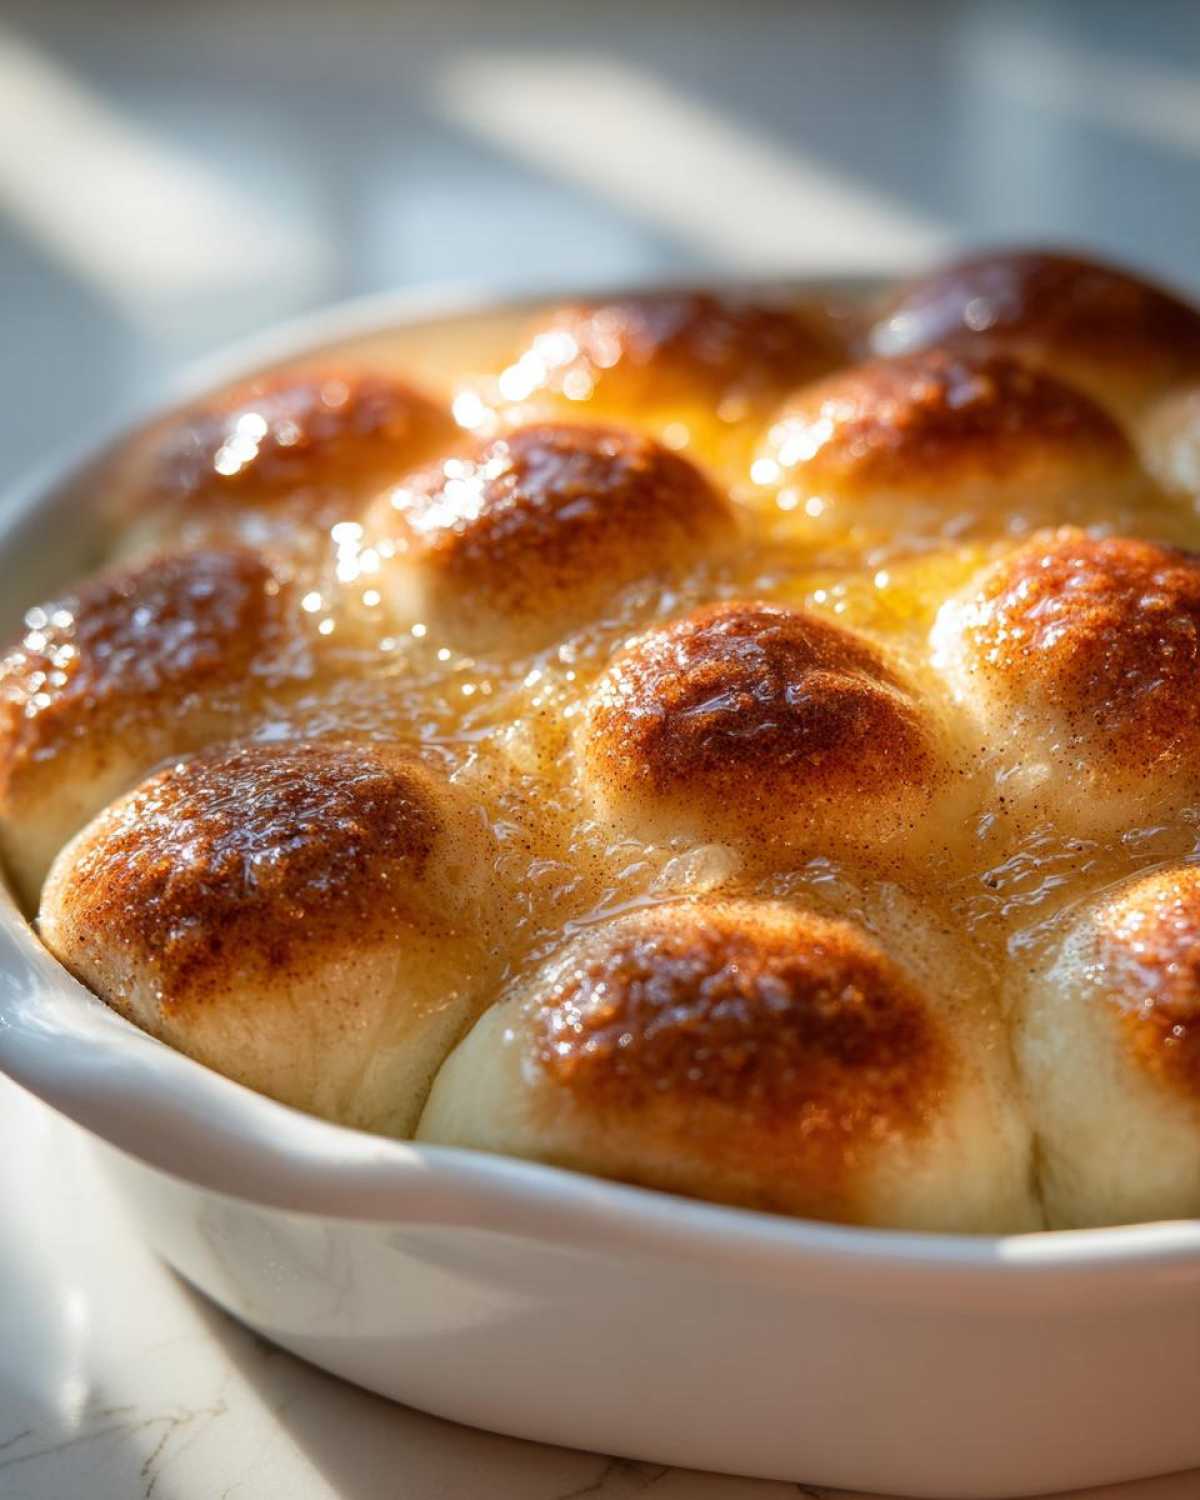
Once the dough has doubled, give it a gentle punch down—which sounds aggressive, but trust me, it redistributes the gas bubbles just right. Divide the dough evenly; if you’re aiming for 12 or 16, make sure they are all the same size so they bake evenly. Roll each piece tight into a little ball and nestle them into your prepared 9×13 pan. Now, they need one more rest, about 30 to 45 minutes, until they look visibly puffy. These perfectly risen rolls need that final expansion to guarantee they are light and not dense when they hit the heat.
Baking and Applying the Buttery Finish to Dinner Rolls
Okay, time for the magic show! Get that oven preheated to 375°F (190°C) well before you think the rolls are ready—we need a hot, reliable environment. Bake those puffy beauties for about 15 to 18 minutes. You’re looking for a beautiful, deep golden brown across the entire top. The second they come out of the oven, and I mean *immediately*, grab your melted butter. Brush the tops generously! This seals in all that gorgeous steam and flavor, keeping your finished dinner rolls incredibly moist. If you’re looking for other ways to elevate simple flavors, you have to check out my recipe for easy homemade garlic butter; it’s amazing on these!
Creating Texas Roadhouse Style Rolls Copycat Finish
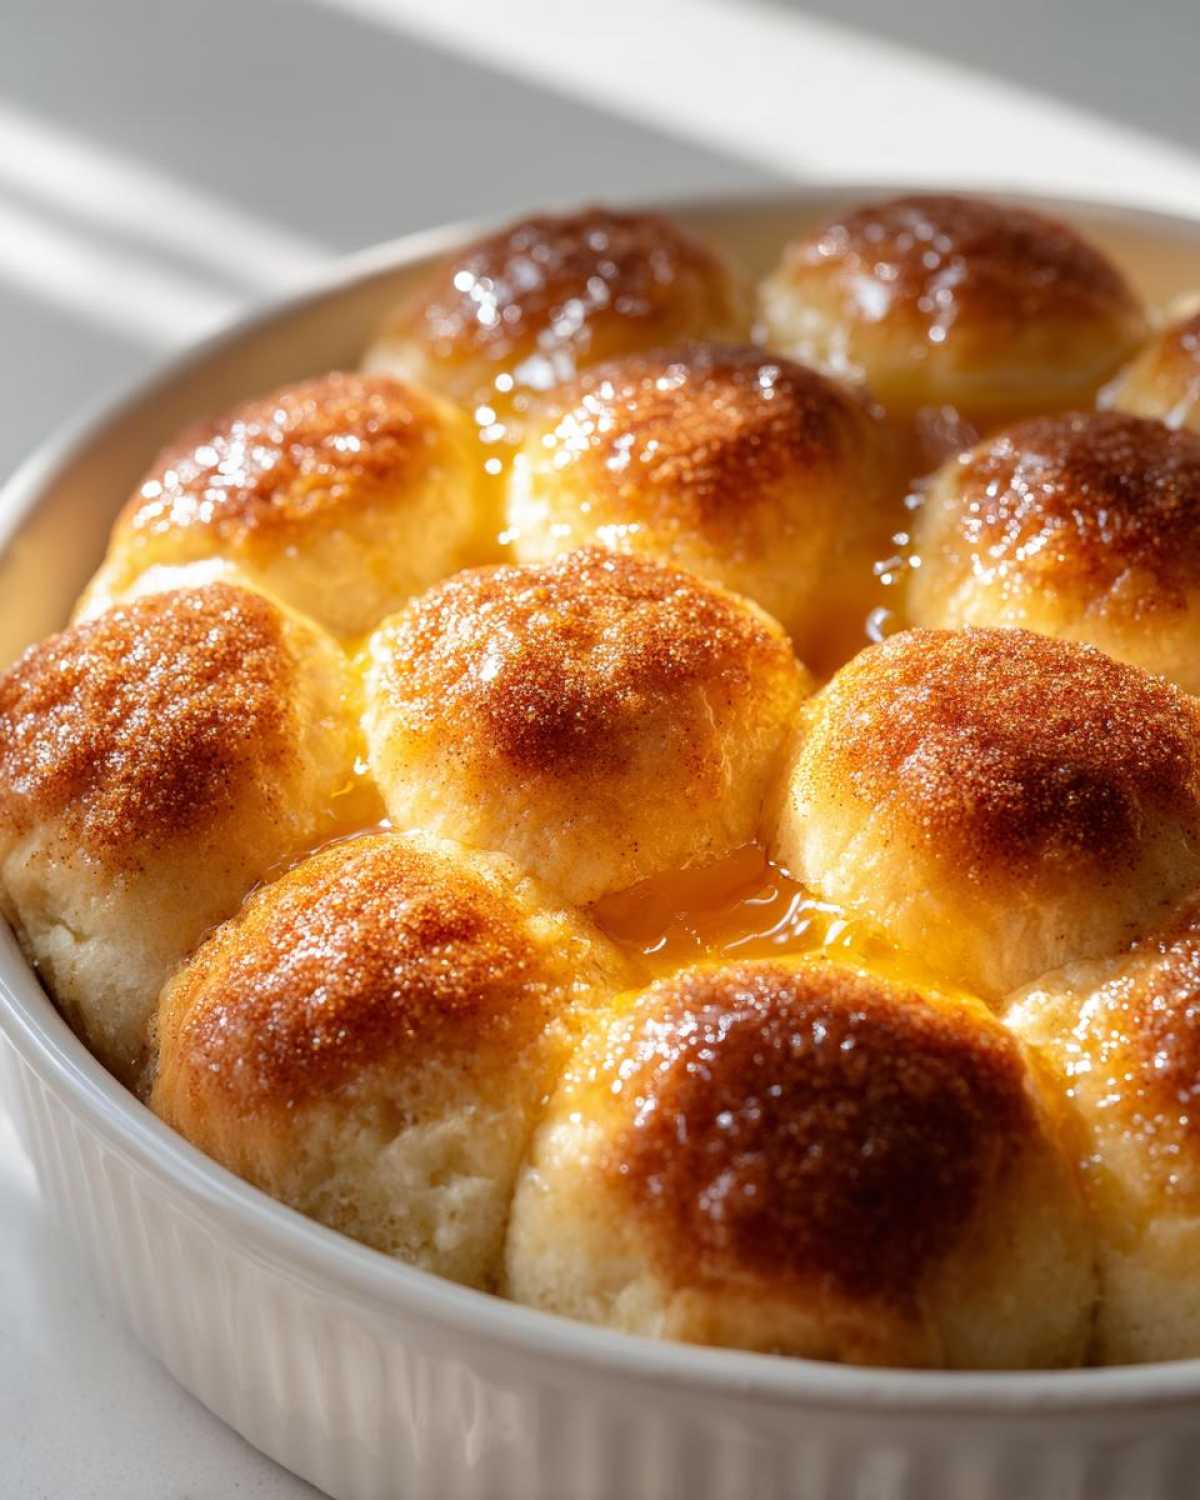
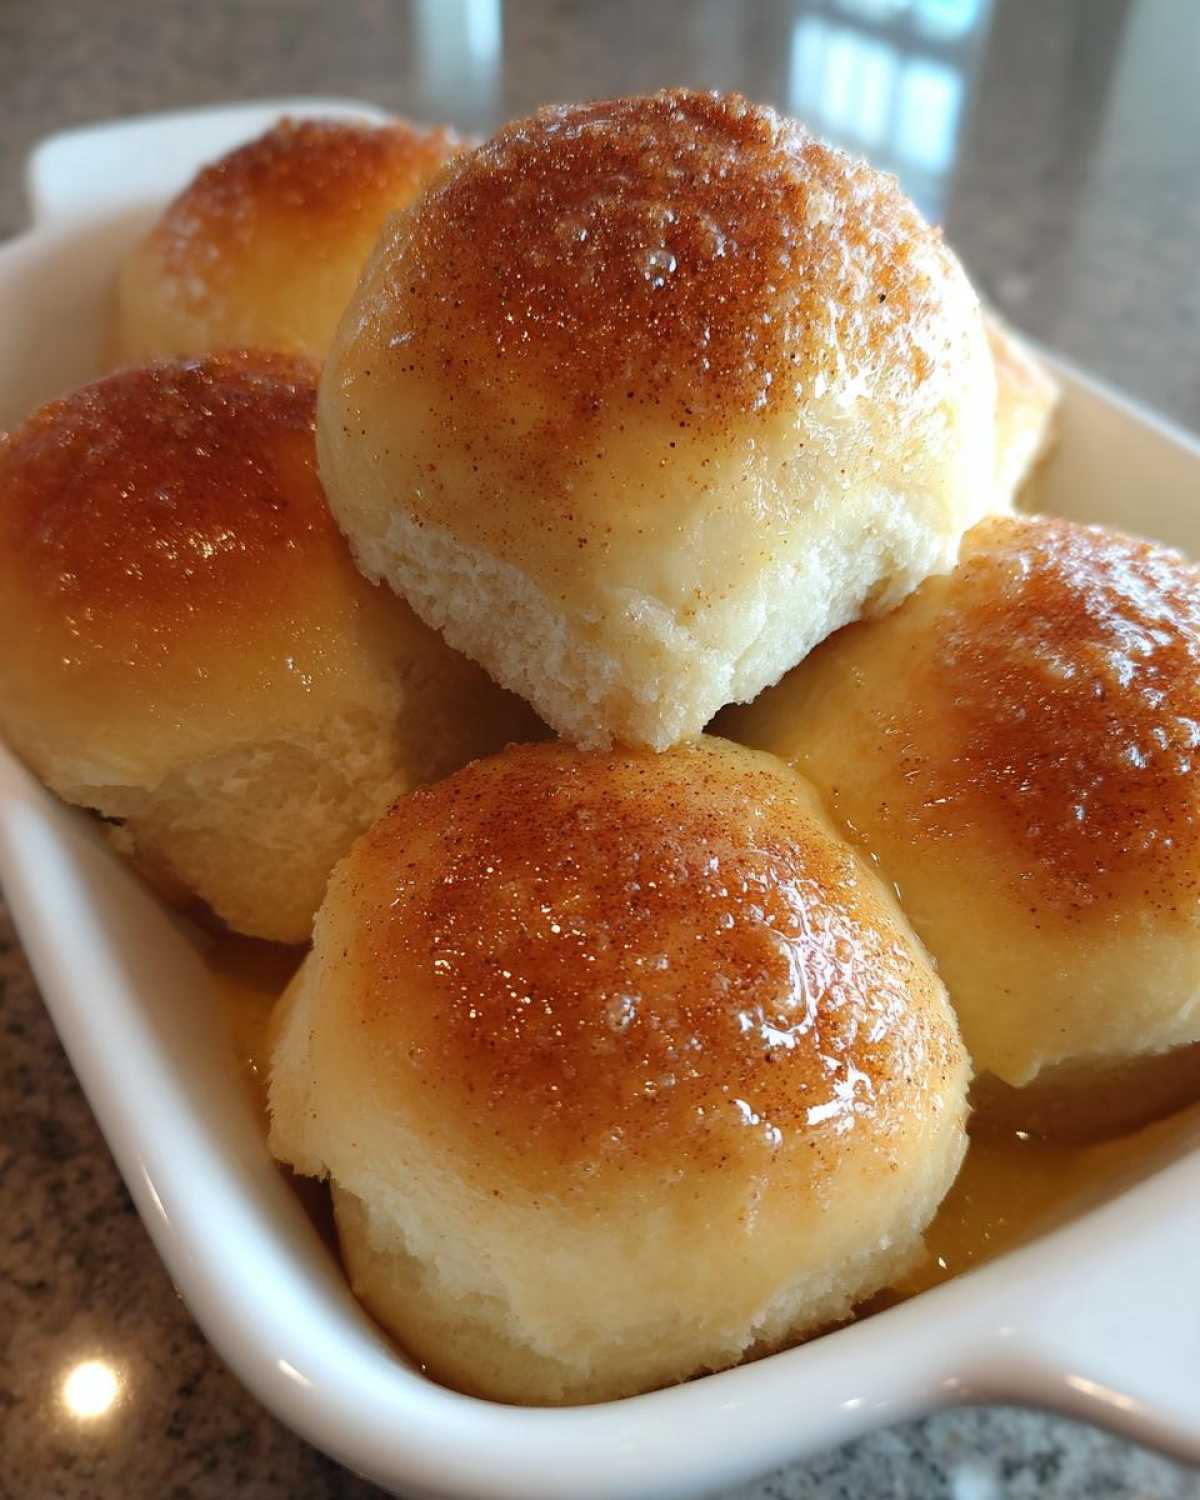
Now, I promised you guys a little something special for those who chase that iconic restaurant experience! If you want that sweet, slightly salty kick, we can easily turn these glorious rolls into a Texas Roadhouse Style Rolls copycat. It’s shockingly simple, and honestly, it’s my favorite way to serve them, especially for holidays. While the rolls are still piping hot from the oven—right after that initial butter wash—you mix up your topping.
Grab about 4 tablespoons of softened butter, stir in just a tiny drizzle of honey, and toss in a pinch of cinnamon. Mix it up until it’s smooth, and brush that sweet mixture right over the top. That warmth from the rolls melts the butter instantly, letting all that honey and spice sink right in. If you want to explore other sweet and savory combos, my creamy honey butter corn is divine! For the original inspiration on this specific topping, a lot of folks love checking out this Texas Roadhouse copycat.
Tips for Success with Your Easy Dinner Roll Recipe
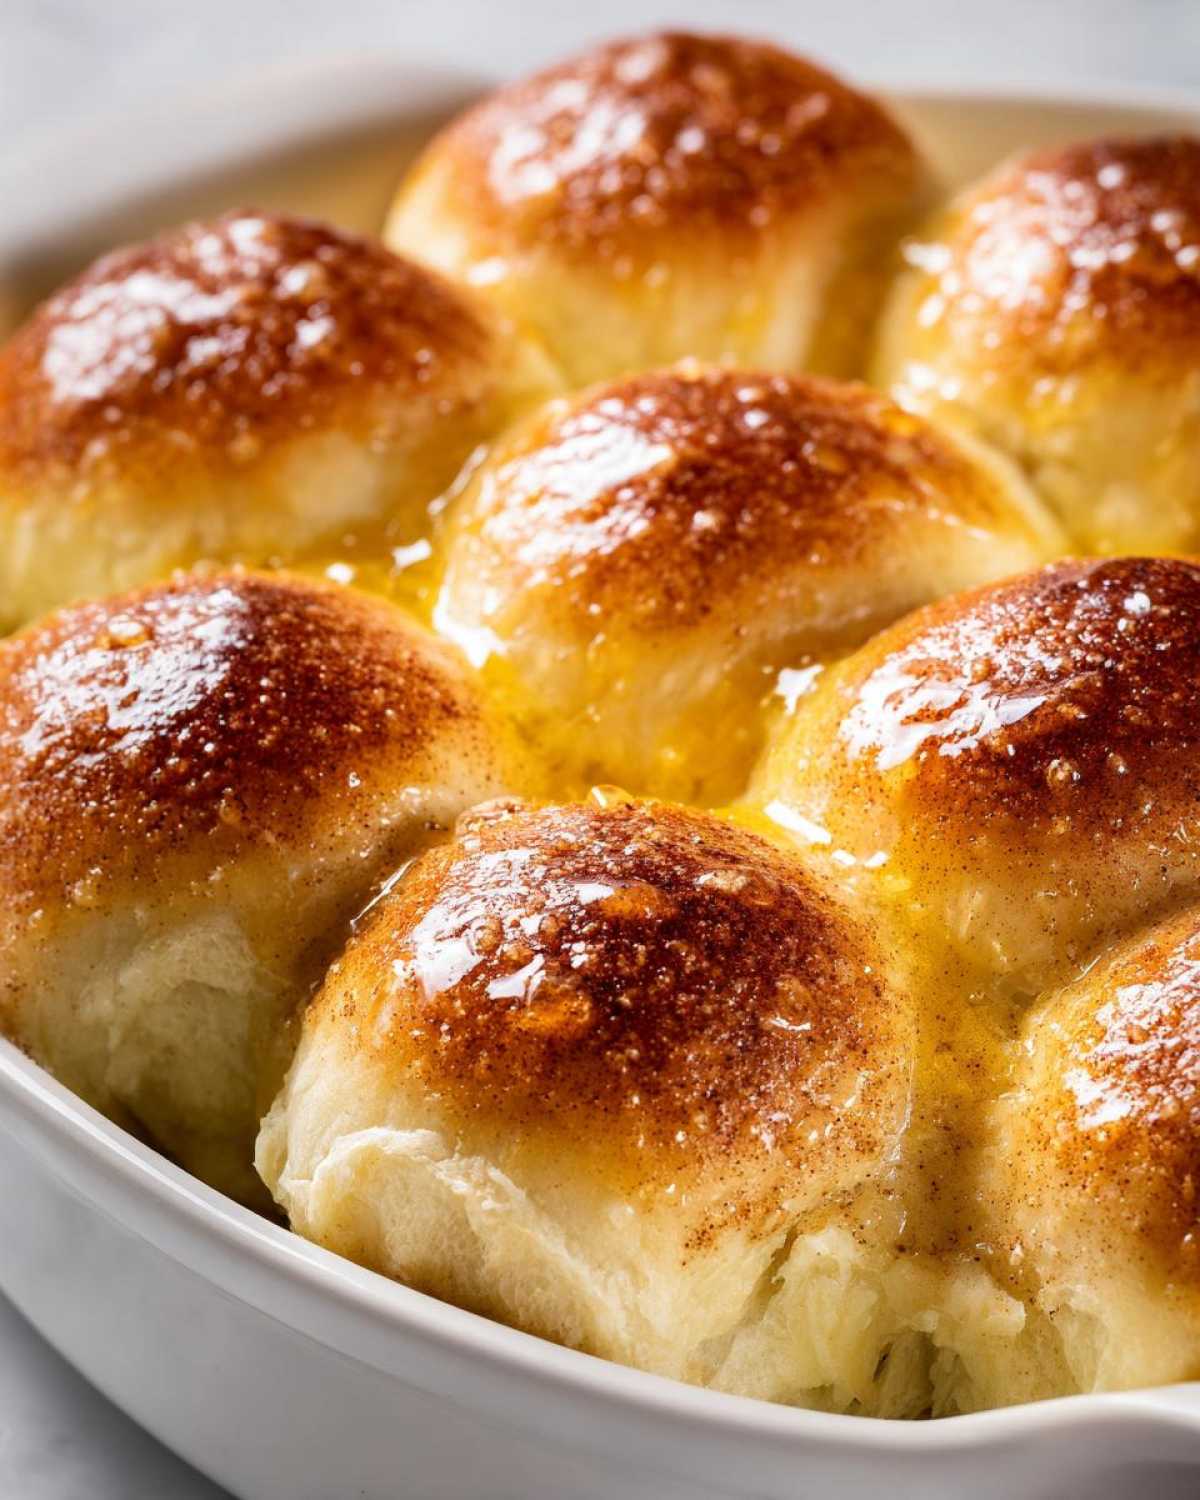
Even though this is such an easy dinner roll recipe, let me give you a couple of extra secrets from our kitchen to yours so you can nail this every time, even on a busy weeknight when you just need that weeknight bread recipe fix!
If your dough is coming out way too sticky during kneading, don’t panic and just dump in more flour—that’s how you get dense rolls. Instead, try gently oiling your hands first or scraping down your bowl. Also, humidity is your enemy when baking from scratch! If it’s super humid where you are, I strongly suggest spooning your flour into the measuring cup and leveling it off, rather than scooping directly. Too much packed flour will weigh down the whole batch.
If your first rise is taking forever, maybe your kitchen is cold. Try putting the covered bowl in your oven with just the light turned on. That little bit of warmth works wonders! You can always find more baking inspiration over on our main blog page!
Make Ahead Dinner Rolls and Storage Instructions
Life gets busy, I totally get it! The great news is that these are fantastic make ahead dinner rolls. You can complete the shaping step, put them snugly in the pan, cover it tight with plastic wrap, and tuck them into the fridge for up to a full day. They chill out overnight and are ready to go when you are!
When you’re ready to bake the next day, just let them sit on the counter for about 30 minutes to warm up a tiny bit, then proceed with the second rise before baking. If you have leftovers—which rarely happens in my house—store the dinner rolls in a good airtight container at room temperature. To bring back that melt-in-your-mouth softness, just pop them in a warm oven (about 300°F) for five quick minutes! They’re just as good as fresh. It pairs perfectly with my easy baked chicken!
Frequently Asked Questions About Homemade Dinner Rolls
I always get a flurry of questions after people try this recipe for the first time, and that’s awesome! It means you’re diving in and baking. Here are some of the most common things folks ask about making these old fashioned dinner rolls.
Can I make these without yeast (quick dinner rolls)?
That’s a tough one, friend. Because we are aiming for that super fluffy, airy texture that defines the best homemade rolls, yeast is really crucial for the structure here. If you absolutely need something fast, you’ll have to look into baking powder or baking soda recipes—those will be more like biscuits and won’t have the same chew or rise, so they won’t quite be the same as these classic dinner rolls.
How can I make my rolls even sweeter?
If you have a major sweet tooth, you can definitely nudge these towards being sweet dinner rolls! The recipe calls for 1/4 cup of sugar, which is enough for a savory-sweet balance. If you want them sweeter, try bumping that up to 1/3 cup in the dough. Even better, if you use the optional topping, increase the honey slightly. It’s all about personalization!
Can I use a bread machine for the dough mixing?
Yes, absolutely! You can definitely use the dough cycle on your bread machine for mixing and the first long knead. Just make sure you use the ‘dough’ setting, which usually handles the mixing and the first rise. Once it’s done that cycle, pull it out, punch it down, and then handle the shaping and second rise right here on the counter like the recipe says. Also, if you want more ways to connect with the team for recipe questions, please feel free to reach out via our contact page!
Estimated Nutritional Data for Our Dinner Rolls
I know some of you lovely bakers watch the numbers just as closely as you watch the oven light! Since our recipe for these wonderful dinner rolls uses simple ingredients but varies based on exactly how much butter you brush on (and if you went heavy on that cinnamon swirl!), these figures are estimates only. Knowing the basics, though, is helpful for planning out any big holiday side dish spread!
Keep in mind these serving sizes are based on making 16 standard rolls. If you make 12, everything—especially the fat and calories—will obviously be higher per roll. We always base our estimates on the standard yield, though!
- Serving Size: 1 roll
- Calories: 180
- Fat: 7g
- Saturated Fat: 4g
- Carbohydrates: 26g
- Protein: 4g
- Sugar: 4g
We try hard to make comfort food that fits well into your overall meal planning. Just like with any recipe made entirely from scratch bread, specific brands of flour or the exact amount of sugar you use can shift these numbers around. For a full breakdown of why numbers change based on baking methods, you can always check out our general nutritional disclaimer here on the site. Happy baking, friends!
PrintThe Ultimate Soft and Fluffy Homemade Dinner Rolls (Classic Buttery Recipe)
Bake incredibly soft, fluffy, and buttery yeast rolls from scratch. This easy recipe delivers perfect homemade dinner rolls that taste far better than store-bought options for your next family meal or holiday gathering.
- Prep Time: 20 min
- Cook Time: 18 min
- Total Time: 1 hour 58 min
- Yield: 12 to 16 servings
- Category: Side Dish
- Method: Baking
- Cuisine: American
- Diet: Vegetarian
Ingredients
- 1 cup warm milk (about 110°F)
- 2 1/4 teaspoons active dry yeast
- 1/4 cup granulated sugar
- 1 large egg, room temperature
- 1/4 cup unsalted butter, melted, plus 4 tablespoons for brushing
- 1 teaspoon salt
- 3 1/2 cups all-purpose flour, plus more for dusting
- For Topping (Optional Texas Roadhouse Style): 4 tablespoons unsalted butter, softened, 1 teaspoon honey, 1/4 teaspoon ground cinnamon
Instructions
- Activate the yeast: In a large bowl, combine the warm milk and yeast. Let this stand for 5 to 10 minutes until it becomes foamy. This shows the yeast is active.
- Mix wet ingredients: Add the sugar, egg, 1/4 cup melted butter, and salt to the yeast mixture. Whisk until combined.
- Add flour: Gradually add the flour, one cup at a time, mixing until a shaggy dough forms.
- Knead the dough: Turn the dough out onto a lightly floured surface. Knead for 6 to 8 minutes until the dough is smooth and elastic. It should spring back slightly when poked.
- First rise: Place the dough in a lightly oiled bowl, turning once to coat. Cover the bowl with plastic wrap or a clean kitchen towel. Let the dough rise in a warm spot for 1 to 1.5 hours, or until doubled in size.
- Shape the rolls: Gently punch down the risen dough. Divide the dough into 12 or 16 equal pieces. Roll each piece into a smooth ball.
- Second rise: Arrange the dough balls in a greased 9×13 inch baking pan, leaving a small space between them. Cover the pan loosely and let the rolls rise again in a warm place for 30 to 45 minutes, or until puffy.
- Bake: Preheat your oven to 375°F (190°C). Bake the rolls for 15 to 18 minutes, or until they are golden brown on top.
- Butter wash: While the rolls are hot, melt the remaining 4 tablespoons of butter. Brush the tops generously with the melted butter immediately after removing them from the oven.
- Apply topping (Optional): If making Texas Roadhouse Style Rolls, mix the 4 tablespoons softened butter with honey and cinnamon. Brush this mixture over the hot rolls right after the initial butter wash.
- Serve: Serve your soft, fluffy dinner rolls warm.
Notes
- For make-ahead rolls, you can complete the shaping step (Step 6), place them in the pan, cover tightly, and refrigerate for up to 24 hours. Before baking, let them sit at room temperature for 30 minutes, then proceed with the second rise (Step 5) before baking.
- If you want quick dinner rolls, ensure your milk temperature is correct; too hot will kill the yeast, and too cold will slow the rise significantly.
- These rolls are excellent for holiday side dish baking.
Nutrition
- Serving Size: 1 roll
- Calories: 180
- Sugar: 4
- Sodium: 250
- Fat: 7
- Saturated Fat: 4
- Unsaturated Fat: 3
- Trans Fat: 0
- Carbohydrates: 26
- Fiber: 1
- Protein: 4
- Cholesterol: 25
