

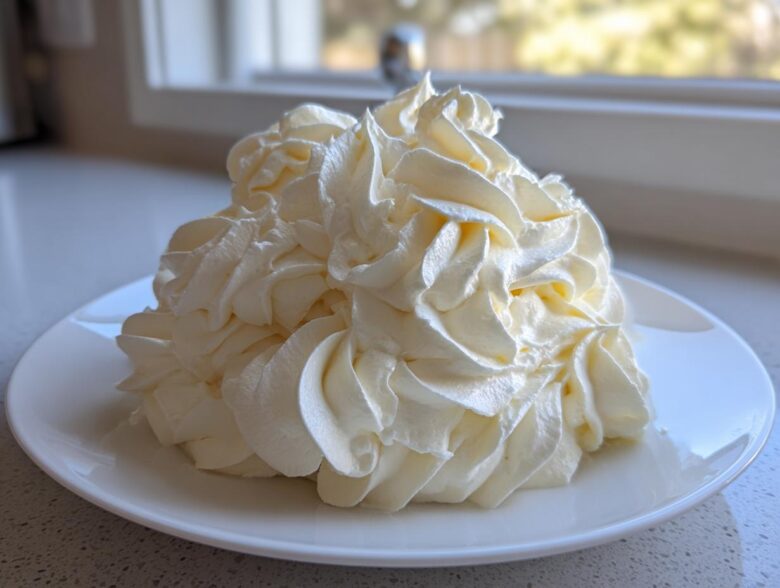
Listen, folks, there isn’t anything more heartbreaking than a truly wonderful homemade cake or cupcake suddenly falling flat because the frosting was… well, sad. It happens! I once managed to turn a gorgeous chocolate layer cake into a slightly sad, leaning tower because I rushed my topping. That’s when Chef Tariq stepped in, grabbed his trusty mixer, and showed me the gospel of simplicity. Forget those fussy French creams for a second. If you want reliability, sweetness, and that perfect cloud-like texture on the first try, this is it. We are making the best vanilla buttercream frosting right here, and the amazing part? It takes less than 10 minutes. Seriously, 10 minutes to frosting perfection! If you want to dive deeper into the quick fixes, check out this easy vanilla buttercream frosting recipe.
Why This Classic American Vanilla Buttercream Frosting is Your New Go-To
I know there are a million frosting recipes out there, but this one—this vanilla buttercream frosting—is the one we turn to when things absolutely *have* to look and taste perfect. Chef Tariq always says that if you can’t master the basics, you can’t build anything beautiful on top of them. This recipe nails those basics.
- It’s outrageously creamy. Seriously, it just melts perfectly in your mouth.
- It’s fast! We’re talking about making it while your cake is cooling down, so it’s ready when you are.
- It tastes exactly like what you picture when you think of classic, happy birthday party frosting. Don’t forget to check out the recipe for butter cookies; this frosting is killer on those too!
Achieving Fluffy Vanilla Buttercream for Cakes
That fluffiness isn’t magic; it’s air! The reason we spend those crucial extra minutes whipping (I’ll show you exactly how long in the next section) is to incorporate maximum air into the simple butter and sugar base. This makes it incredibly light, which is why it works so perfectly as the best buttercream for cakes. You want that height and airy texture, not something that weighs your layers down.
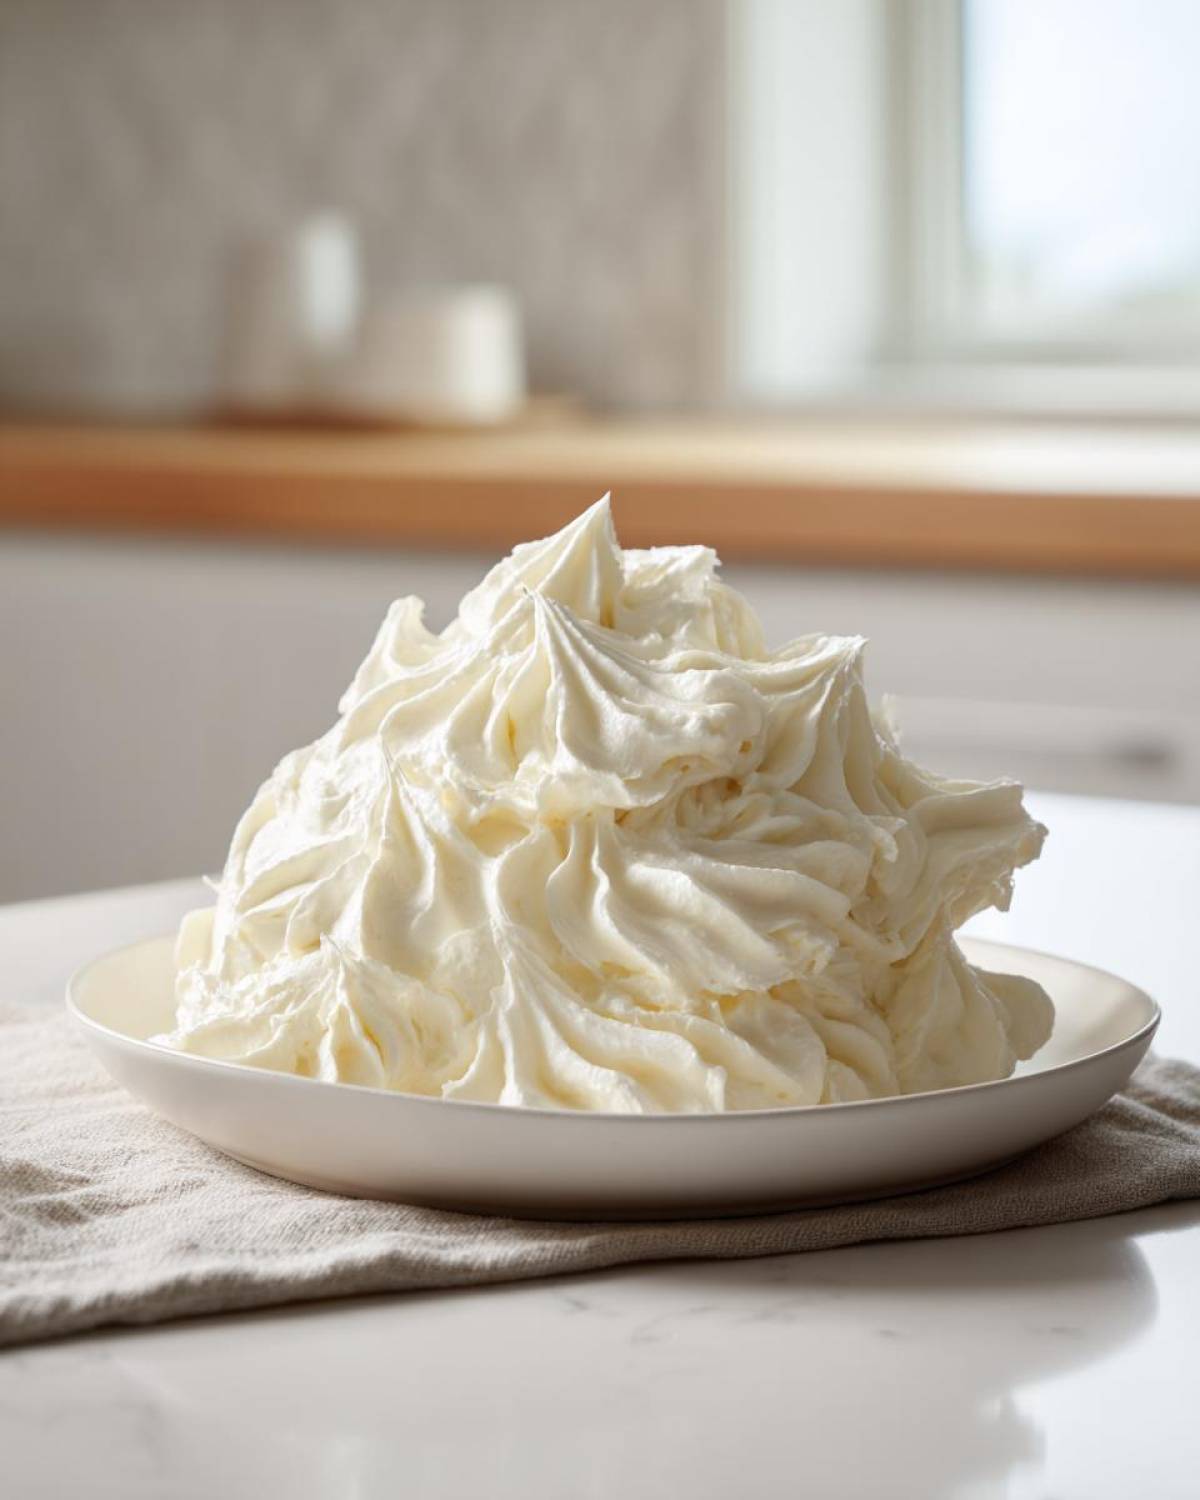
Perfect Buttercream Frosting Piping Consistency
This is the detail Amara cares about most: piping. If you’ve ever tried to pipe a rosette and watched it sag immediately, you know the pain. Because we use the right balance of sifted sugar and the right amount of liquid, this recipe guarantees a stable structure. It has the ideal buttercream frosting piping consistency so those pretty stars and swirls stay sharp, even if your kitchen runs a little warm.
Essential Ingredients for Perfect Vanilla Buttercream Frosting
Okay, are you ready with your list? For this truly creamy vanilla frosting recipe, the quality of your starting materials matters a surprising amount. We aren’t doing anything complicated here, but every ingredient needs to be treated with respect. If the butter isn’t right, forget the rest—the whole batch will turn into a sad, greasy mess. We’re sticking close to the classics because they work! You’ll need:
- 1 cup (2 sticks or 226g) unsalted butter, softened to cool room temperature
- 4 cups (480g) powdered sugar, sifted
- 1 tablespoon pure vanilla extract
- 3 to 4 tablespoons heavy cream or whole milk
- A tiny pinch of salt
Ingredient Notes and Substitutions for Creamy Vanilla Frosting Recipe
Let’s talk about that butter for a second. It absolutely *must* be cool room temperature. If you can press your finger into it and leave a deep soft dent, it’s too warm! This is probably the most crucial thing for achieving that light, airy final product. Also, please, please sift your powdered sugar. No one wants grainy frosting, and sifting is the easiest way to get that smooth buttercream texture, saving you tons of scraping time later.
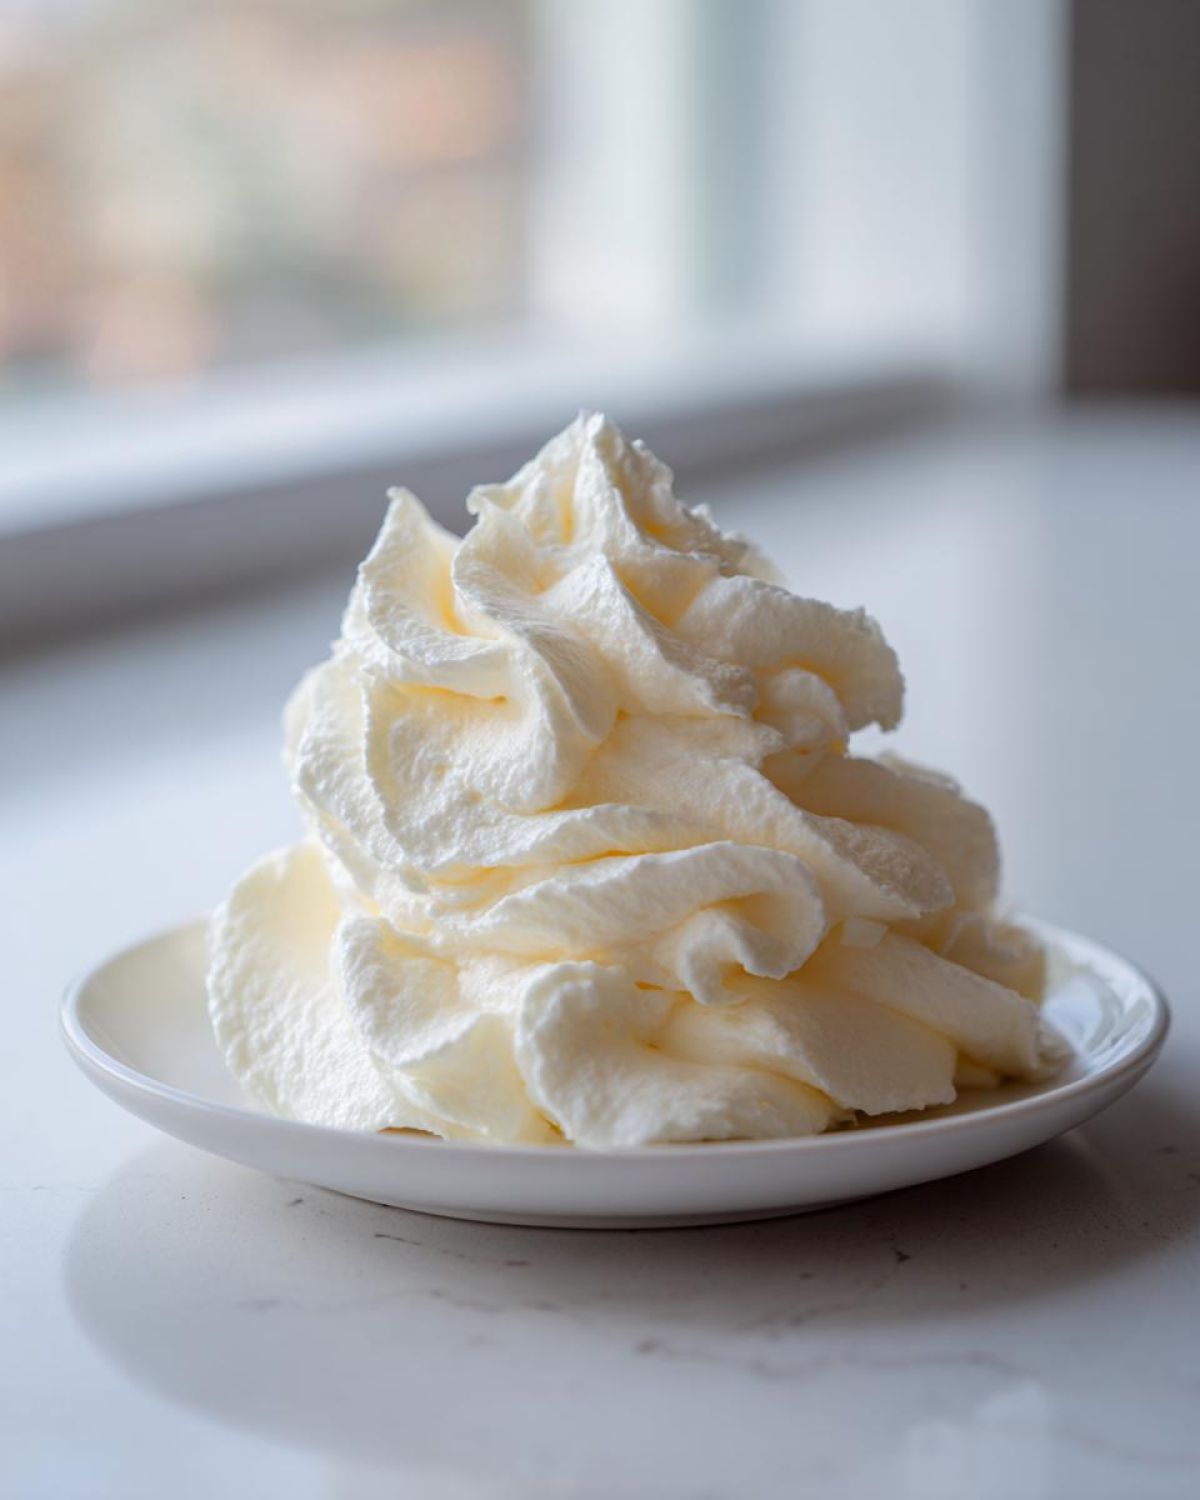
Regarding the liquid, I usually start with heavy cream because it adds just a tiny bit more richness, helping keep the texture ultra-creamy. If you only have milk, whole milk works just fine, but you might need slightly less of it if your kitchen is warm!
Step-by-Step: How to Make Smooth Vanilla Buttercream Frosting
Alright, here’s where we turn ingredients into something magical. Don’t rush these first couple of minutes—it seems counterintuitive when you want that easy homemade frosting right now, but trust me, the waiting pays off in texture! We need time to beat those air bubbles in, otherwise, we end up with dense butter and sugar frosting instead of the fluffy dream we are aiming for. This whole process keeps us way under the 15-minute mark, which is awesome for a no-cook buttercream recipe like this one. You’ll definitely want to keep this recipe handy for all your simple desserts topping needs!
Creaming the Butter: The Foundation of Fluffy Vanilla Icing Tutorial
This is pure Amara territory. I used to think just smashing the butter until soft was enough. Nope! You need to let your softened butter run solo in the mixer for a solid two minutes on medium speed until it looks like actual cream—no lumps, no streaks, just smooth sailing. When Amara was learning, Chef Tariq would make her just restart if she added the sugar too soon. She insists that when the butter looks totally defeated and creamy, then the powdered sugar can go in, one cup at a time, mixing slowly until it disappears. Scraping down the sides is non-negotiable here, folks! If you want to see how we nail the creaming process in other things, take a peek at my easy homemade mayonnaise recipe—the technique is similar!
Whipping for the Best Buttercream for Cakes
Once all the sugar is in and the vanilla and salt have joined the party, it’s time to turn up the heat—well, the mixer speed! Step four is all about air incorporation. You need to ramp that speed up to medium-high and let it go for a full 3 to 5 minutes. This whipping time is the secret sauce to turning a decent vanilla buttercream frosting into the whipped vanilla frosting that holds its shape perfectly on your cake. Watch it—it goes from sort of yellow to practically white! Then, taste, adjust that cream if needed, and that’s it. We’re done!
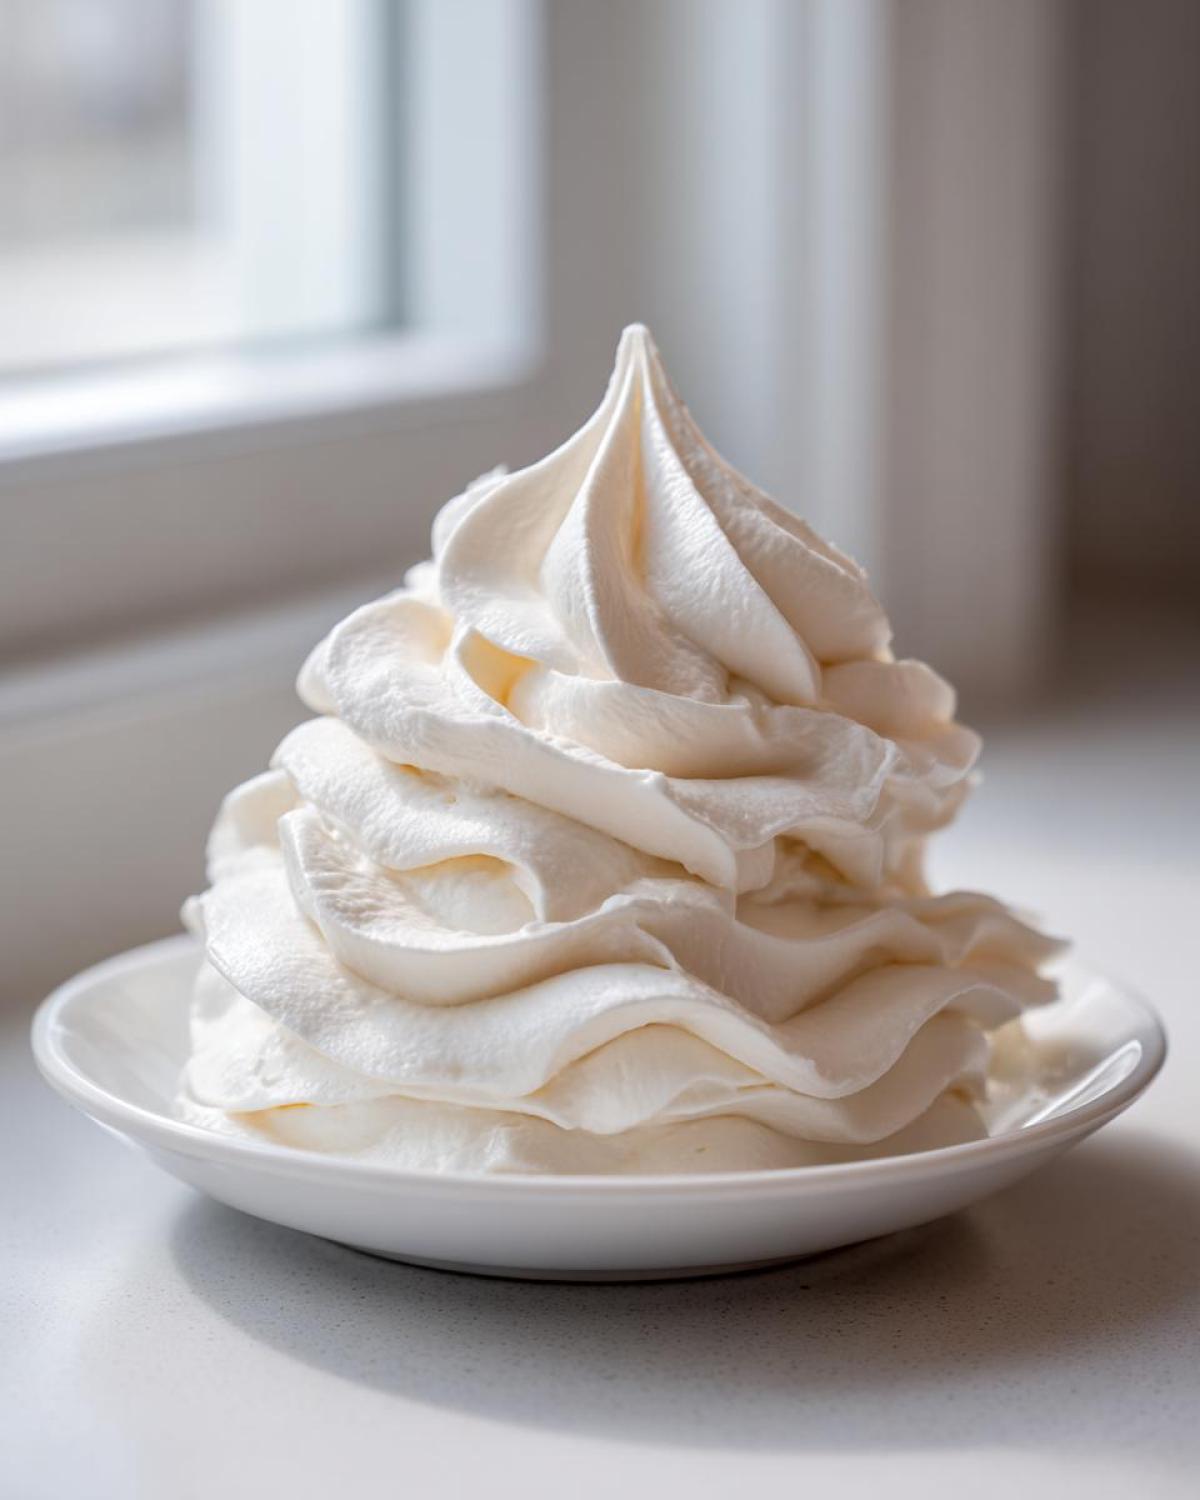
Troubleshooting Common Issues with Your Vanilla Buttercream Frosting
Okay, sometimes things go a little sideways, especially when you’re whipping fat and sugar together. Don’t panic! This happens to everyone, even Chef Tariq when he’s trying a new batch of meringue powder. The good news is that this vanilla buttercream frosting is incredibly forgiving. Most problems come down to ingredient temperature or mix time, both of which are fixable right in the bowl.
If you see your frosting looking a little soupy or greasy, that usually means your butter was a touch too warm when you started. Tariq’s fix is simple: stick the whole bowl into the fridge for about 15 minutes. Just watch it closely! Once it firms up a little, pull it out and beat it again on medium speed. It will come back together beautifully and become that smooth frosting you dreamed of. Don’t be tempted to add more sugar right away, or you’ll end up with a block!
What if it’s too stiff? This is common if you used milk instead of cream, or if your kitchen is just naturally cool. Remember those four tablespoons of cream we mentioned? If you’ve added three and it’s still stiff as a rock, just add that fourth tablespoon, maybe a teaspoon at a time. You want it pliable enough to spread easily onto your moist chocolate cake. A little milk or cream goes a long way to transforming that stiff texture into a perfect, spreadable coating.
And finally, the lumps! If you skip shifting the powdered sugar like I told you to (oops!), you might end up with little hard sugar pockets in your otherwise creamy vanilla frosting recipe. If you catch it early, just put the mixer on low and let it run while slowly dribbling in another teaspoon of milk. The friction will usually dissolve those last few stubborn grains. It’s amazing how resilient a good batch of classic American buttercream can be!
Tips for Success with this Easy Homemade Frosting
Okay, so you’ve followed the steps, and you have a beautiful batch of vanilla buttercream frosting coming together. But how do we take it from “great” to “the one everyone asks for”? Chef Tariq always says that the true difference between an okay frosting and a legendary one lies in the details you don’t usually write down. These aren’t just steps; they are lessons learned after too many late nights cleaning up sugary messes!
Here are my favorite little tricks for ensuring you get that impeccable, creamy vanilla frosting recipe every single time. Honestly, these little tweaks elevate this from simple to show-stopping, making it perfect for topping your next batch of goodies, maybe even those creamy beer cheese dip if you decide you need more savory snacks!
First up: Vanilla Quality. I know pure vanilla extract can sometimes feel pricey, but when this frosting is only made of butter, sugar, and vanilla, that vanilla needs to shine! If you use imitation vanilla, you’ll get a flat, almost metallic taste. A high-quality pure extract, or even adding a tiny splash of clear vanilla if you are piping something white, makes a world of difference in the final flavor profile.
My second tip relates to room temperature, but specifically for the *environment*. If you’re making this classic American buttercream on a blazing hot summer day, you are fighting an uphill battle. The air itself is warm, making the butter melt faster than you can whip. If it’s hot, try chilling your mixing bowl and beaters in the freezer for 15 minutes before you even start. That cold foundation helps keep the butter cool during the initial creaming phase, which helps maintain the structure we want for a stable dessert topping.
Finally, don’t forget the salt! I put a tiny pinch in every batch—it seems weird in something so sweet, I know. But that salt is the necessary counterbalance. It stops the frosting from tasting cloyingly sweet and actually makes the vanilla flavor pop forward. It’s that quiet expert touch Chef Tariq always insisted upon in even the simplest recipes.
Storage and Making Ahead for Your Vanilla Frosting for Cupcakes
I get asked all the time if you can make this vanilla buttercream frosting ahead of time, especially if you’re planning a big bake day. And yes, you absolutely can! That’s one of the charms of a good, sturdy **buttercream from scratch** like this; it stores like a dream. Pop your finished frosting—whether you’ve decorated with it or just stored it in a container—into the fridge. It will keep beautifully for up to two weeks. Totally awesome for meal prepping those dessert decorations!
Now, here is the most important bit of advice on bringing it back: Be patient! When you pull it out, it will be rock hard. Don’t try to microwave it! Just let it sit on the counter for about an hour until it softens up a bit. Once it’s soft, put it back in your mixer and beat it again for a minute or two. This re-whipping reactivates the air you beat in initially. Trust me, this 60-second step transforms that refrigerated block back into the luscious, spreadable goodness you need for your make-ahead breakfast burritos—except, you know, sweet.
Serving Suggestions for this Classic American Buttercream
You’ve made the perfect vanilla buttercream frosting—creamy, stable, and so easy to whip up! Now, what do you do with this glorious stuff besides slathering it on a yellow layer cake? Honestly, the possibilities are endless. This recipe is meant to be versatile; it’s the reliable friend in your dessert repertoire. Don’t let it just sit in the fridge waiting for the next birthday!
My favorite way to use up extra frosting, especially if I’ve made a double batch? I use it as a decadent filling. Try sandwiching two thick, chewy sugar cookies together with a generous layer of this frosting for a truly elevated cookie experience. It rivals any fancy bakery treat, and it’s so fast!
Another must-try that Chef Tariq loves is using this as a thick, fluffy topping for dense chocolate things. Think about a warm chocolate brownie, maybe even one from my divine 3-step hot chocolate brownies recipe. Put a dollop right on top while the brownie is still slightly warm—not hot enough to melt it entirely, but warm enough that the frosting softens just a little around the edges. It becomes the ultimate simple dessert topping.
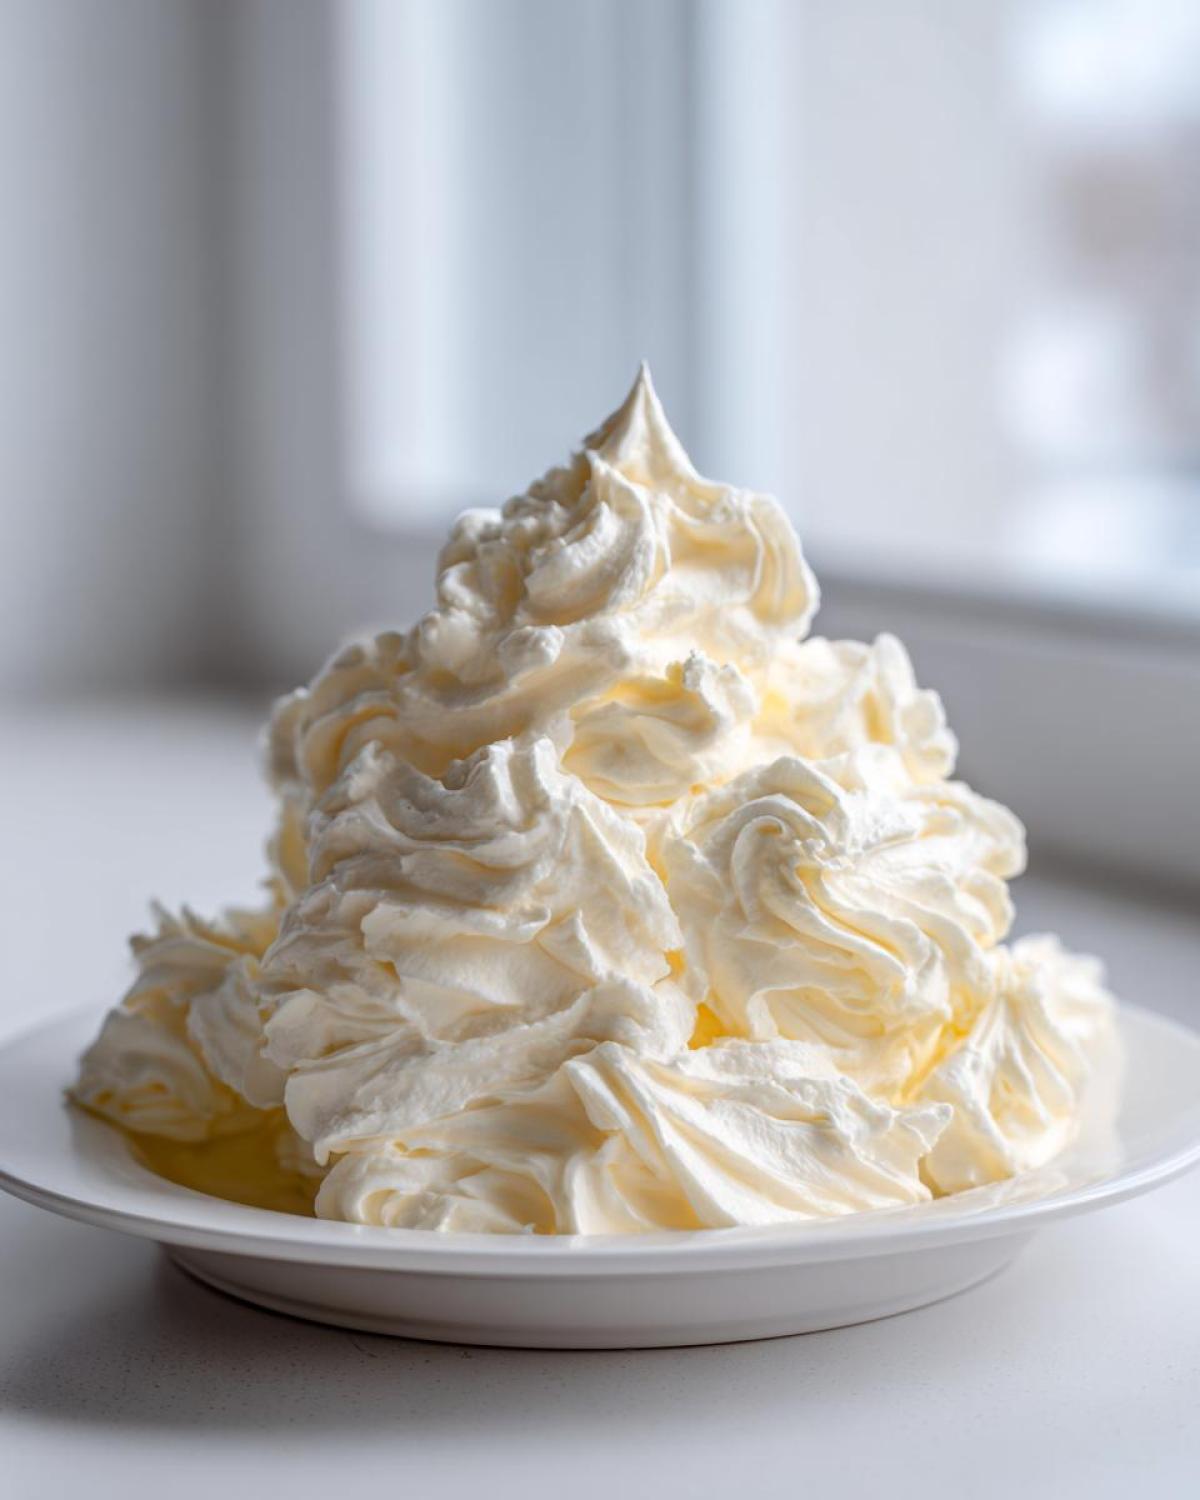
And hey, if you’re feeling extra lazy but still want something sweet, just take a spoon and eat a little bit straight from the bowl while you clean up. I won’t tell Tariq, I promise. Sometimes the absolute best use for a homemade vanilla cake frosting is enjoying it naked!
Frequently Asked Questions About Vanilla Buttercream Frosting
I always get so many questions about this reliable vanilla buttercream frosting! It’s such a foundational recipe, and usually, the questions center around how to adjust it to their specific needs—like making it extra light or maybe less sweet. Don’t worry, we’ve tested every scenario here in the Savory Skies test kitchen. Here are some of the most common things folks ask when they are trying to make the best buttercream for cakes!
Can I make this vanilla buttercream frosting ahead of time?
Absolutely, yes! As I mentioned before, this is a fantastic no-cook buttercream recipe you can prepare in advance. I usually mix up a double batch and store it in an airtight container right in the fridge for up to two weeks. Just remember those crucial steps when you bring it back out! It needs time to warm up slightly on the counter, and then you must give it a quick, high-speed whip again. That final minute of beating turns it right back into beautifully whipped vanilla frosting, ready for piping those details!
How do I make this frosting less sweet?
That’s the eternal question with any American buttercream! Since it relies heavily on powdered sugar, you can’t remove it, but you sure can balance it out. My top trick is to sneak in a little extra pure vanilla; that deep flavor helps cut through the sheer sweetness. If it still feels too sweet once you’ve whipped it fully, add just an extra tiny pinch of salt—seriously, just a hair more than the recipe calls for. It acts like a flavor spotlight, emphasizing the butteriness and reducing the perception of excessive sugar.
What is the difference between this and Swiss Meringue Buttercream?
Great question! What we are making here is the classic American buttercream—it’s simple, fast, and relies on creaming fat (butter) with sugar. It’s strong, sweet, and fantastic for decorations. Swiss Meringue Buttercream, on the other hand, is much more complex. It involves cooking egg whites and sugar over heat before whipping them into a meringue and then slowly beating in the butter. Swiss style is silkier, less sweet, and lighter, but it takes way more time and careful temperature management. If you want speed and robust flavor, stick with the recipe we have here; it’s the perfect homemade vanilla cake frosting for everyday sweets!
If you need a recipe for some truly amazing no-bake treats that pair well with this quick frosting, you should definitely look at how we make our easy no-bake chocolate eclair cake!
Nutritional Estimates for Homemade Vanilla Cake Frosting
Okay, let’s talk numbers, but keep in mind these are just estimates! Because we use real butter and a good amount of powdered sugar in our vanilla buttercream frosting, it’s definitely a treat. These figures are based on a standard serving size of about 1/4 cup of the final mixture. Like I always say, if you want the full lowdown on how we calculate these, check out our full ingredients disclaimer right here. We value transparency, even when it comes to a little dessert indulgence!
- Serving Size: 1/4 cup
- Calories: 350
- Sugar: 45g
- Fat: 18g
- Carbohydrates: 48g
Remember, this is the payoff for whipping up this fantastic, easy homemade frosting! Enjoy it knowing that every single calorie has a purpose: pure deliciousness.
PrintThe Best Classic American Vanilla Buttercream Frosting
Learn how to make this creamy, smooth, and fluffy vanilla buttercream frosting. This classic American buttercream is perfect for piping details on cakes and cupcakes and comes together quickly.
- Prep Time: 10 min
- Cook Time: 0 min
- Total Time: 10 min
- Yield: About 3 cups
- Category: Dessert Topping
- Method: Mixing
- Cuisine: American
- Diet: Vegetarian
Ingredients
- 1 cup (2 sticks or 226g) unsalted butter, softened to cool room temperature
- 4 cups (480g) powdered sugar, sifted
- 1 tablespoon pure vanilla extract
- 3 to 4 tablespoons heavy cream or whole milk
- Pinch of salt
Instructions
- Place the softened butter into the bowl of a stand mixer fitted with the paddle attachment. Beat the butter on medium speed until it is completely smooth and creamy, about 2 minutes. Scrape down the sides and bottom of the bowl.
- Gradually add the sifted powdered sugar, one cup at a time, mixing on low speed until just combined after each addition. Stop and scrape the bowl frequently.
- Once all the sugar is incorporated, add the vanilla extract and a pinch of salt.
- Add 3 tablespoons of heavy cream or milk. Increase the mixer speed to medium-high. Beat the frosting for 3 to 5 minutes until it becomes very light, fluffy, and pale in color. This whipping time is key for a smooth texture.
- Check the consistency. If the vanilla buttercream frosting is too stiff for spreading or piping, add the remaining tablespoon of cream, one teaspoon at a time, until you reach your desired consistency for your cake or cupcakes.
- If the frosting seems too soft, add a small amount of extra sifted powdered sugar (1/4 cup at a time) until it firms up.
- Use immediately for frosting cakes or piping decorations.
Notes
- Use cool room temperature butter. If the butter is too warm or melted, your frosting will be greasy and will not whip up light and fluffy.
- Sift your powdered sugar to prevent lumps in your smooth buttercream.
- For a stronger vanilla flavor, use a high-quality pure vanilla extract.
- If you need a stiffer buttercream frosting piping consistency, reduce the amount of cream used initially.
Nutrition
- Serving Size: 1/4 cup
- Calories: 350
- Sugar: 45
- Sodium: 50
- Fat: 18
- Saturated Fat: 11
- Unsaturated Fat: 7
- Trans Fat: 0
- Carbohydrates: 48
- Fiber: 0
- Protein: 1
- Cholesterol: 45
