

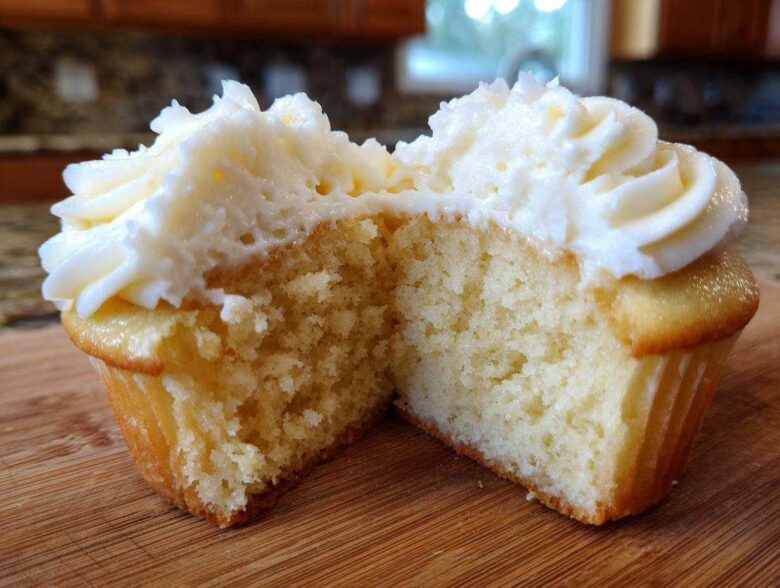
Okay, listen up, because I am about to let you in on the secret that changed my entire baking life. Amara always talks about how food should feel like a hug, right? Well, these vanilla cupcakes? They are the warmest, softest hug you can bake from scratch! Forget those dry, crumbly things you find sometimes. We’re getting bakery-style perfection today—the kind of moist vanilla cupcakes that melt the second they hit your tongue. Trust me, once you master this simple technique, you’ll never look back. This is our ultimate, tried-and-true recipe for the fluffiest cupcakes ever. This foundational approach is what separates a good home baker from a great one, which is something I really learned watching the team work over at Savory Skies.
Why These are The Best Vanilla Cupcakes You Will Ever Bake
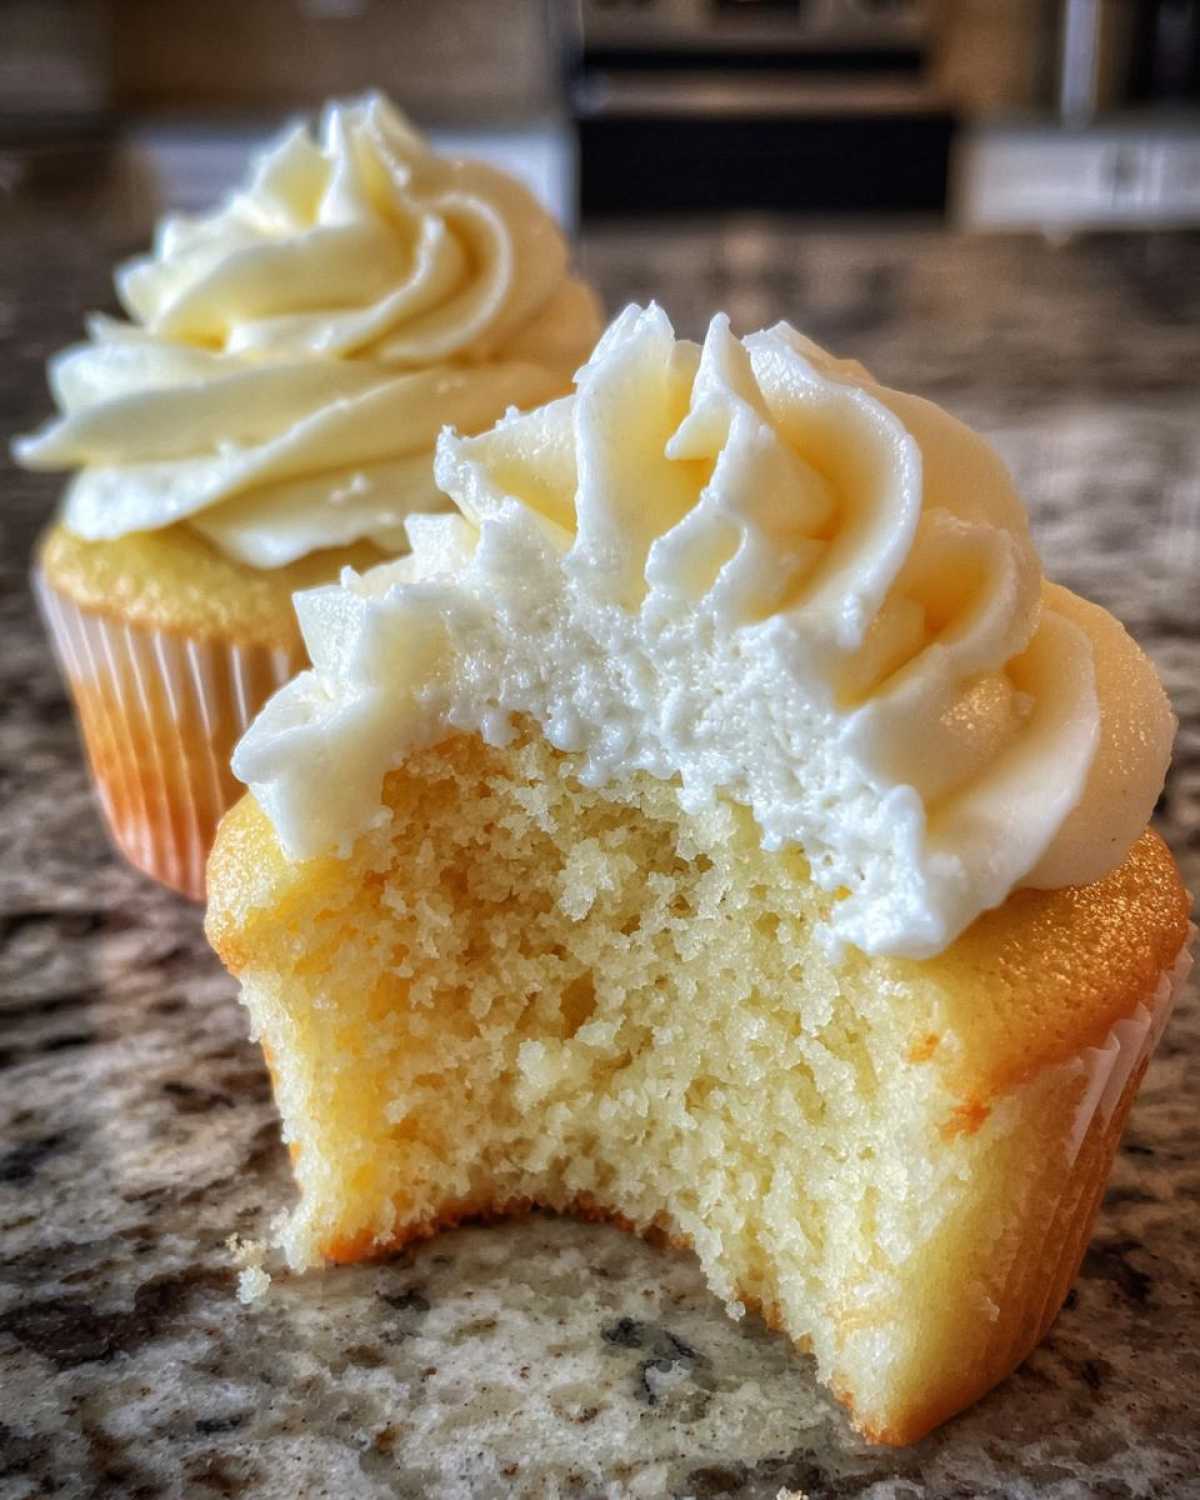
I’m not exaggerating when I say these are absolute showstoppers. We’ve perfected these vanilla cupcakes so that they deliver on every promise: moistness, fluffiness, and that incredible classic vanilla flavor. You won’t ever need another recipe, I promise you that!
- They are unbelievably fluffy cupcake recipe quality, light as air!
- Stay super moist vanilla cupcakes even days later.
- Simple, from-scratch success perfect for beginners.
Achieving Perfect Vanilla Cupcake Texture Every Time
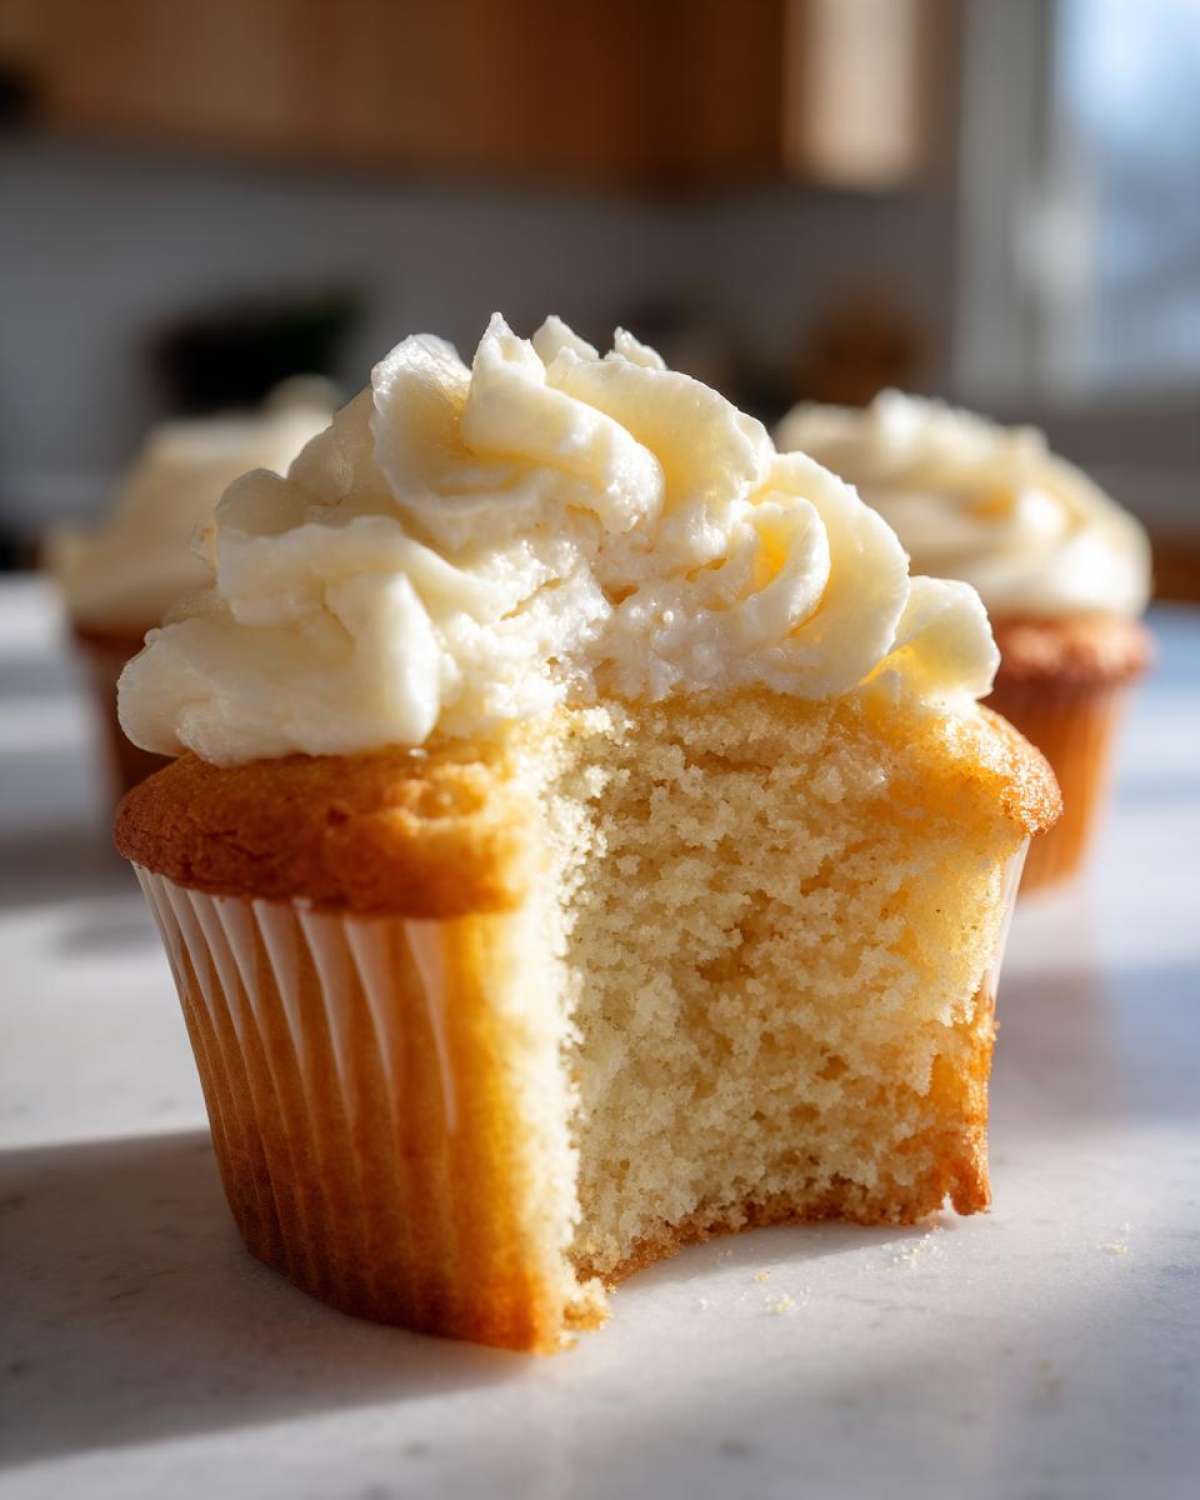
The secret to that amazing perfect vanilla cupcake texture isn’t fancy equipment; it’s temperature and technique! You absolutely must use room temperature butter, eggs, and milk. When you cream that butter and sugar together until it’s pale and fluffy, you are trapping air. That trapped air is your structural support system, giving you those clouds instead of hockey pucks!
Ingredients for Moist and Fluffy Vanilla Cupcakes
Alright, let’s talk about what goes into this magic. For the most delicious, soft, and moist vanilla cupcakes imaginable, the quality and prep of your ingredients matter more than you think. Seriously, pull everything out of the fridge at least an hour before you even think about turning on the mixer! Tariq always says cheating on temperature is cheating on flavor, and he’s right. We’re listing the cake and the frosting ingredients here so you can gather everything at once, making your baking process smoother. Don’t forget, if you want to skip the steps later and just whip up the topping, you can check out my favorite Simple Vanilla Buttercream recipe separately too!
- 1 1/2 cups all-purpose flour
- 1 1/2 teaspoons baking powder
- 1/2 teaspoon salt
- 1/2 cup unsalted butter, softened (for cake)
- 1 cup granulated sugar
- 2 large eggs, room temperature
- 2 teaspoons pure vanilla extract (use the good stuff!)
- 1/2 cup whole milk, room temperature
And for that pillow-top frosting:
- 1/2 cup unsalted butter, softened (for frosting)
- 3 cups powdered sugar, sifted
- 1 teaspoon pure vanilla extract (more vanilla = better flavor!)
- 2-3 tablespoons heavy cream or milk (needs to be cold for the best whip)
Step-by-Step Instructions for Classic Vanilla Cupcakes
This is where the magic happens for your easy homemade cupcakes! Follow these steps exactly, and you’ll see why people rave about these being the light and airy cupcakes they’ve always wanted to bake. We preheat and prep first because, in baking, speed and timing matter!
- First things first: Get that oven hot! Preheat it to 350°F (175°C). Go ahead and line a 12-cup muffin tin with those cute little paper liners, too.
- We need a dry ingredient bowl. Whisk together your flour, baking powder, and salt until they look friendly. Set that aside—it’s waiting its turn!
- Now move to the big bowl for the wet stuff. This is your foundation for an incredible soft cupcake recipe.
- Pour in your filling ingredients but don’t bake yet!
Mixing the Vanilla Cupcake Batter for Soft Cupcake Recipe Results
This part always makes me sweat a little, but don’t worry! You want to beat that softened butter and sugar until it’s genuinely light and fluffy—this takes me about three full minutes with my stand mixer. Then, add the eggs one by one, making sure you beat well after each addition, followed by our precious vanilla. Next comes the alternating part: add about a third of the dry mix, then half the milk, and repeat, finishing with the dry mix again. Please, please, please, stop mixing as soon as you see no more flour streaks! Overmixing is what makes cupcakes tough, and we want the softest texture possible!
Baking and Cooling Your Vanilla Cupcakes
Once mixed, divide that beautiful batter evenly so each liner is about two-thirds full. Pop them into the hot oven for 18 to 20 minutes. You’ll know they’re done when a toothpick stuck right in the middle comes out clean—no gooey batter clinging to it! Let them hang out in the pan for five minutes before moving them to a wire rack. Remember, they must be stone cold before you even think about frosting them, or your buttercream will turn into a sad, sweet puddle!
Making the Best Vanilla Cupcake Frosting: Simple Vanilla Buttercream
Now, let’s talk about the crown jewel of these vanilla cupcakes—the frosting! Amara is super particular about presentation, and honestly, who isn’t? You can’t have a beautiful, bakery style vanilla cupcake without a gorgeous swirl of frosting on top. This simple vanilla buttercream is what takes these treats from good to unforgettable. The key here is patience while whipping!
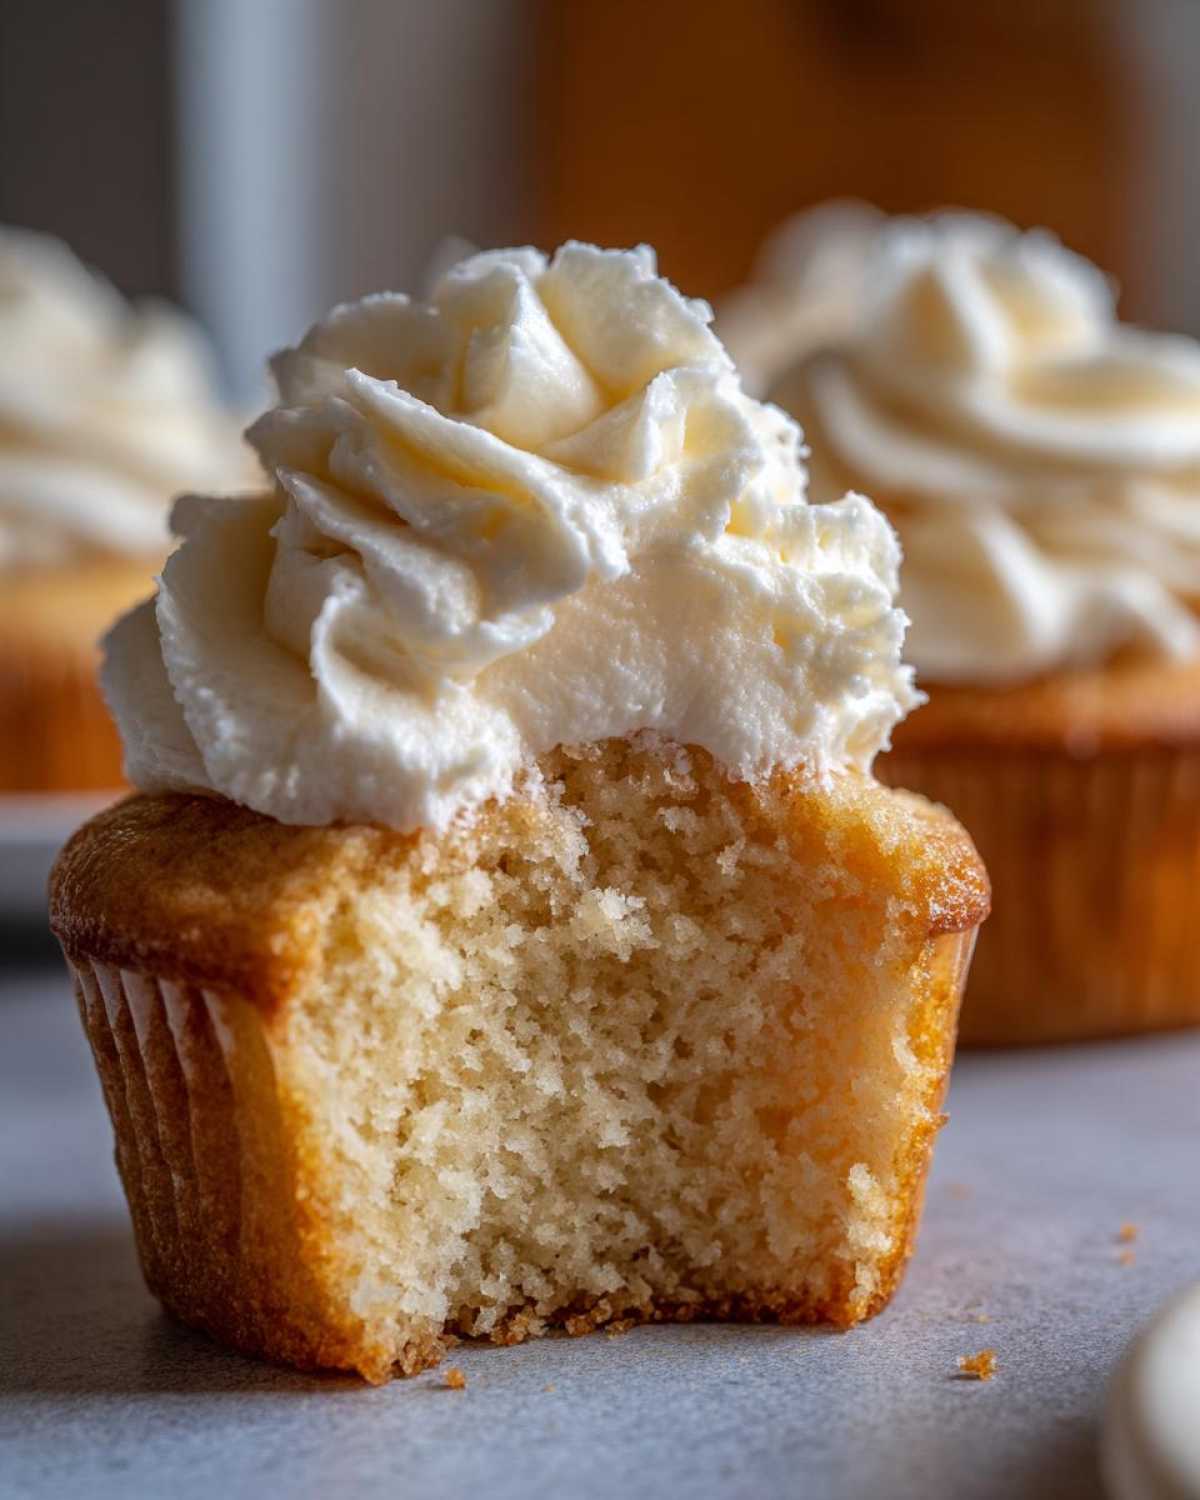
Start by beating that half-cup of softened butter until it’s super smooth—no lumps allowed! Then, slowly introduce your sifted powdered sugar. I swear, sifting is mandatory here if you don’t want gritty frosting. Once it’s incorporated, add that teaspoon of vanilla and two tablespoons of cold heavy cream.
This is where you develop that ultra-creamy texture needed for the best vanilla cupcake frosting. Keep beating it on medium-high speed. If it looks too stiff and you’re worried about breaking your mixer, add the remaining cream one tiny teaspoon at a time until it looks like a dreamy, spreadable cloud. If you want to make a huge batch of just simple icing later, I have a three-ingredient recipe that’s great for drizzling right here! Wait until those cupcakes are totally cool, then frost high and proud!
Tips for Success with Your Vanilla Cupcakes
I know we’ve gone over the steps, but I want to reiterate a few vital points from the recipe notes. These tiny things—the little details Tariq drilled into us—are what turn a decent batch into truly moist vanilla cupcakes. First, when I say room temperature ingredients, I mean it! They emulsify so much better, leading to that fantastic texture you want in a classic vanilla dessert.
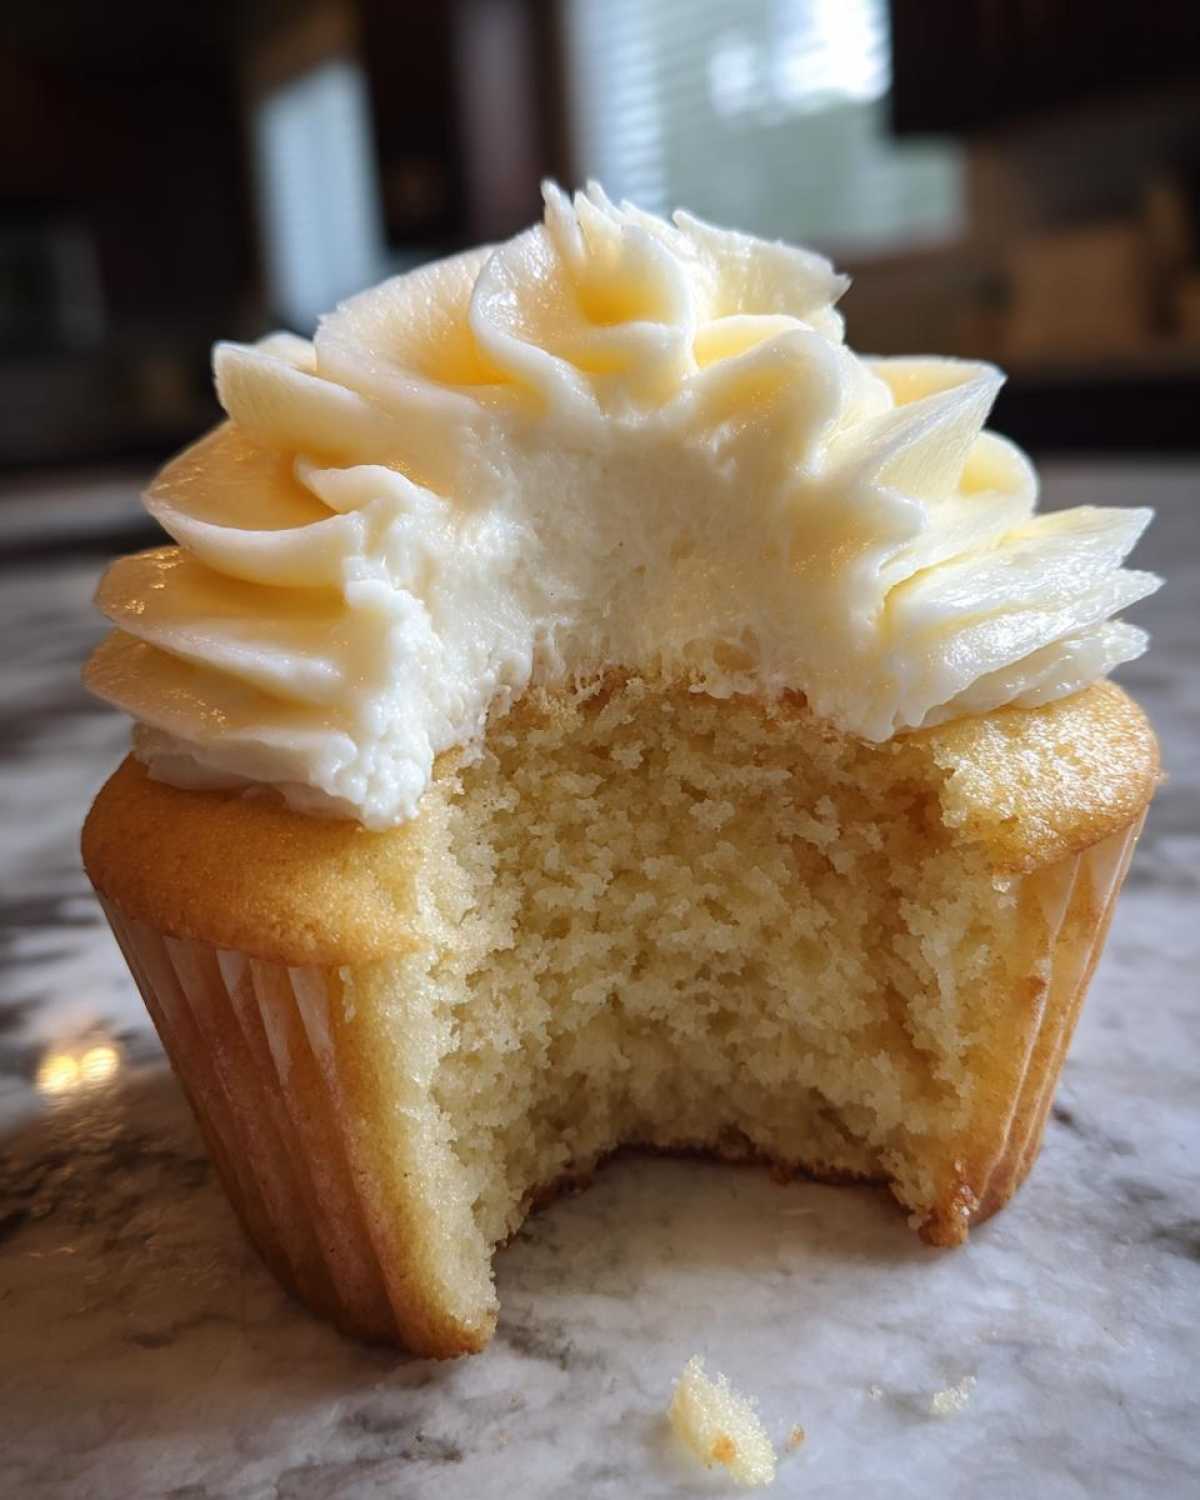
Secondly, and this is Leo’s personal plea: Don’t overmix after the flour goes in! Stop the mixer right when it disappears. Seriously, scraping the bowl by hand and giving it just one or two final gentle folds is better than mixing too much. Also, if you want that deep, comforting flavor that makes people ask for the recipe at every party, skip the imitation stuff and grab some pure vanilla extract or even vanilla bean paste—it makes the entire cake taste richer!
If you’re wondering about high-altitude baking, I know it can be tricky, but checking out resources like this guide can sometimes help with tricky adjustments if you live way up in the mountains!
Storage and Reheating Instructions for Vanilla Cupcakes
Handling leftovers is key to keeping these treats perfect until everyone gets a second chance! If you’ve made these vanilla cupcakes with my vanilla buttercream, they are happiest sitting out on the counter in an airtight container for a day or two. Yes, even with butter in the frosting! If your kitchen is really hot, the fridge is fine, but be warned: cold air steals moisture!
If they’ve spent time chilling, give them about 30 minutes on the counter before serving. That allows the cake to soften up again so you get those amazing moist vanilla cupcakes we worked so hard to bake.
Varying Your Easy Homemade Cupcakes
One thing I love about this fantastic base recipe is how perfectly it handles little tweaks! We shouldn’t let fear stop us from experimenting just because they are easy homemade cupcakes. If you’re looking for something special for a party or just want to jazz them up a bit, I have a couple of simple tricks that don’t require a whole new recipe. These are great for setting up some fun birthday cupcake ideas!
You can easily amp up the floral notes by adding a tiny bit of lemon zest right when you cream the butter and sugar—it brightens up the whole flavor profile! Or, for a slightly different kick than vanilla, swap the vanilla extract for almond extract; just use a little less, maybe 1 1/2 teaspoons, or it can taste a bit too sharp. I always suggest checking out the flavor combinations Amara plays with, like that amazing lemon cheesecake, when I’m feeling adventurous!
And honestly, for parties, don’t overthink the flavor—just go wild with the toppings! Fun sprinkles, shiny edible glitter, or a light dusting of colored sugar makes these simple vanilla treats jump off the display plate.
Frequently Asked Questions About Baking Vanilla Cupcakes
I get so many questions about these vanilla cupcakes, especially from folks trying to switch from box mixes to baking from scratch vanilla cupcakes for the first time! That’s wonderful, by the way! Here are a few things folks ask me all the time while they’re chasing that perfect texture.
Can I substitute oil for the butter in this recipe?
Oh, I wouldn’t really recommend it if you’re after that bakery style vanilla cupcake texture. Butter is crucial here because when you cream it with the sugar, it traps those hundreds of tiny air bubbles we need for fluffiness. Oil keeps things moist, sure, but it can deflate the structure, making the final product heavier than we want.
Why did my cupcakes sink in the middle after baking?
That sinking feeling is usually caused by one of two things, and it’s usually that I got too excited! Either the oven wasn’t quite fully preheated when they went in, or—and this is more common—I opened the oven door too early to check on them around the 12-minute mark. Give them time; they need steady, uninterrupted heat to set properly!
Can these vanilla cupcakes be made ahead of time?
Absolutely! For the absolute best result, I prefer baking them the day before and keeping them covered tightly at room temperature. If they are frosted, they do fine for a day, but if you need longer storage, pop them covered into the fridge. Just remember to pull them out about 30 minutes before serving so they can warm up a bit and regain that wonderful soft crumb. You can always check out more of my general baking tips over on the blog if you have other questions popping up!
Quick Facts About These Simple Vanilla Treats
If you’re looking for quick cupcake recipes that deliver big on flavor without eating up your whole weekend, this is it! Seriously, we are looking at under an hour total time for these sweet delights. It’s fast quality baking that never compromises on texture.
- Prep Time: 20 min
- Cook Time: 20 min
- Total Time: 40 min (Wow!)
- Yield: 12 servings
We love keeping things simple here at Savory Skies; if you ever need to reach out about substitutions or anything else, don’t hesitate to check out our contact page!
PrintThe Ultimate Moist and Fluffy Classic Vanilla Cupcakes
Follow this easy, from-scratch recipe to bake bakery style vanilla cupcakes that are incredibly soft, moist, and topped with creamy vanilla buttercream. This is the best vanilla cupcake recipe for any celebration.
- Prep Time: 20 min
- Cook Time: 20 min
- Total Time: 40 min
- Yield: 12 servings
- Category: Dessert
- Method: Baking
- Cuisine: American
- Diet: Vegetarian
Ingredients
- 1 1/2 cups all-purpose flour
- 1 1/2 teaspoons baking powder
- 1/2 teaspoon salt
- 1/2 cup unsalted butter, softened
- 1 cup granulated sugar
- 2 large eggs, room temperature
- 2 teaspoons pure vanilla extract
- 1/2 cup whole milk, room temperature
- 1/2 cup unsalted butter, softened (for frosting)
- 3 cups powdered sugar, sifted (for frosting)
- 1 teaspoon pure vanilla extract (for frosting)
- 2-3 tablespoons heavy cream or milk (for frosting)
Instructions
- Preheat your oven to 350°F (175°C). Line a 12-cup muffin tin with paper liners.
- In a medium bowl, whisk together the flour, baking powder, and salt. Set aside.
- In a large bowl, use an electric mixer to beat the softened butter and granulated sugar together until light and fluffy, about 3 minutes. This step helps create that light and airy texture.
- Add the eggs one at a time, beating well after each addition. Mix in the 2 teaspoons of vanilla extract.
- Gradually add the dry ingredients to the wet ingredients, alternating with the milk. Begin and end with the dry ingredients (add 1/3 of the flour mixture, then 1/2 of the milk, repeat, ending with flour). Mix only until just combined; do not overmix to keep your cupcakes soft.
- Divide the batter evenly among the 12 prepared liners, filling each about two-thirds full.
- Bake for 18 to 20 minutes, or until a toothpick inserted into the center comes out clean.
- Let the cupcakes cool in the pan for 5 minutes before transferring them to a wire rack to cool completely before frosting.
- To make the frosting, beat the 1/2 cup softened butter until smooth. Gradually add the sifted powdered sugar, mixing on low speed until incorporated.
- Add 1 teaspoon of vanilla extract and 2 tablespoons of heavy cream. Beat on medium-high speed until light and fluffy. Add the remaining cream, one teaspoon at a time, until you reach your desired spreading consistency.
- Once the cupcakes are completely cool, frost them generously with the creamy vanilla buttercream.
Notes
- For the best, moist vanilla cupcake texture, make sure your butter, eggs, and milk are at room temperature before you start mixing.
- Do not overmix the batter once you add the flour; this develops gluten and results in tough cupcakes instead of light and fluffy ones.
- If you want a stronger vanilla flavor, try using vanilla bean paste instead of extract in both the cake and the frosting.
Nutrition
- Serving Size: 1 cupcake
- Calories: 350
- Sugar: 40g
- Sodium: 180mg
- Fat: 18g
- Saturated Fat: 11g
- Unsaturated Fat: 7g
- Trans Fat: 0.5g
- Carbohydrates: 45g
- Fiber: 0g
- Protein: 4g
- Cholesterol: 65mg
