

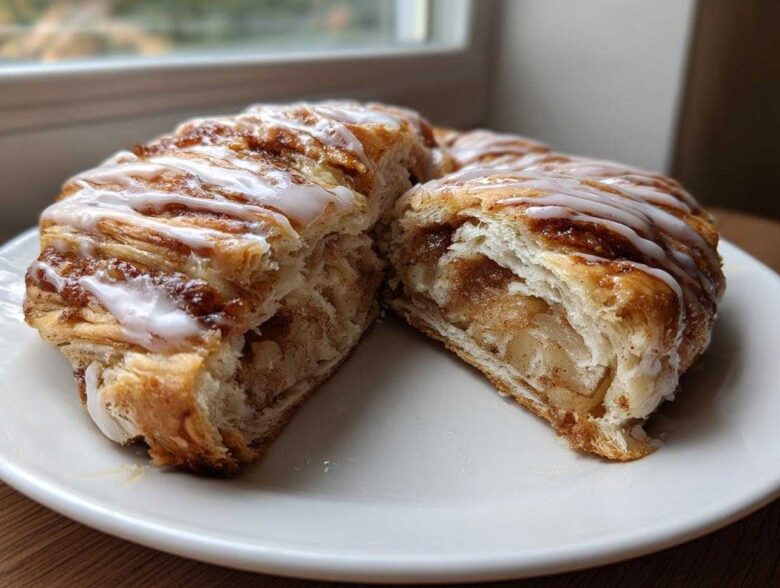
There’s something totally magical about regional baked goods, isn’t there? They carry the history of a place right into your kitchen. For me, nothing screams cozy, special occasion baking quite like a true Wisconsin Apple Kringle. I’ve tried so many recipes over the years, and honestly, most of them just end up being fancy strudels. But this one? This is the real deal. I’m finally sharing my deeply tested, tried-and-true wisconsin apple kringle recipe that gets that flaky, buttery texture just right. Trust me, the effort you put into chilling that dough pays off tenfold when you take that first bite. It’s worth every minute! You can check out my other baking adventures on my main recipe page if you get stuck waiting for that dough to chill!
What Makes This The Best Wisconsin Apple Kringle Recipe?
Okay, so why do I insist that this is the absolute best wisconsin apple kringle recipe out there? It comes down to two things: the pastry technique and the filling’s brightness. It has to nail that delicate balance between rich, buttery layers and a filling that tastes like fresh apples, not apple pie filling dumped from a can!
- The flakiness has to be perfect—that means it’s deeply influenced by traditional Danish pastry making, but with a creamy American twist we all love. If you’ve ever struggled with flaky pastry before, exploring how sugar affects cookie spread might give you an interesting parallel about ingredient temperature!
- The filling has to hold its shape a bit while still being perfectly soft; nobody wants a soupy Kringle that leaks everywhere when you cut it!
When these elements come together, you get something truly special that tastes like it came straight from Racine’s best bakery.
Achieving Authentic Flaky Pastry Dough Tutorial
The secret weapon here isn’t just butter, it’s the cream cheese! This ingredient is what pushes us from good pastry into *great* pastry territory. The combination of cold butter and cold cream cheese in your mix creates incredible tenderness. That’s why this falls right into that sought-after cream cheese pastry dough category. My biggest tip for success is non-negotiable: everything must be ice cold. I swear, if my butter cubes aren’t practically shivering, I don’t even bother starting the cutting-in process. Keep those ingredients icy, and you’ll get beautiful layers.
Selecting The Best Apple Filling for Kringle
Don’t even think about grabbing those overly sweet, mealy red apples! For a true Kringle flavor that cuts through the richness of the pastry, you need acid. Granny Smiths are my go-to because they keep their shape nicely even after cooking. We’re aiming for that perfect soft fruit filling baking stage—tender, but not turned into applesauce. The lemon juice helps brighten everything up and keeps them from oxidizing dark brown while you’re working on your dough.
Gathering Ingredients for Your Wisconsin Apple Kringle Recipe
Laying out your supplies before you start is half the battle won, especially with a recipe this specific! Precision matters when you’re trying to replicate that flaky, bakery-style magic. For this wisconsin apple kringle recipe, we need our ingredients organized into three distinct groups. You want to make sure everything you’re grabbing is exactly as cold (or processed) as I mention. It really helps keep the process smooth, and you can see everything you need for this next level pastry right there on the counter!
Pastry Dough Ingredients
These need to be cold—I mean *cold*. You’ll need two full sticks of cold unsalted butter, cubed, and the full 8 ounces block of cold cream cheese, cubed. Don’t substitute the fat sources here if you can help it! We also need about two and a half cups of all-purpose flour, some salt, and then just enough ice water to bring that shaggy dough together. Remember, we’ll need extra flour later just for dusting the surface when we roll these beauties out.
Apple Filling Components
For the fruit, grab four large Granny Smith apples, peeled, cored, and chopped—the chop should be fairly small so it nests nicely inside the dough. We mix those with the sugars, cinnamon, and nutmeg. The important trick here is the thickener: you need cornstarch mixed with a little cold water right at the end. That cornstarch slurry is what stops our filling from turning into runny soup in the oven!
Glaze Ingredients
The glaze is super simple, thankfully, because we need something quick to balance all that pastry work. Just grab a full cup of powdered sugar (sifted is best!), about two tablespoons of milk or cream, and just a half teaspoon of vanilla extract. You’ll mix this up right at the end, but it’s good to have these items ready to go!
Step-by-Step Homemade Kringle Instructions
Okay, deep breaths! This is the fun part where we bring our chilling ingredients to life. Following these steps carefully for this wisconsin apple kringle recipe ensures you get that signature bakery perfection right in your home oven. We have to tackle the dough first, then the filling, and then we assemble this gorgeous oval pastry dessert!
Making and Chilling the Cream Cheese Pastry Dough
Remember those cubes of cold butter and cream cheese? We need to cut those into the flour and salt mixture. I use my trusty pastry blender—you want it to look like coarse crumbs with some bigger, pea-sized chunks still hanging around. Don’t try to make it uniform! Those chunks are future flakes! Now, drizzle in your ice water, mixing just until it *barely* clumps up. Seriously, stop mixing the second it looks like dough. Divide it in half, form two firm disks, wrap them tight, and tuck those babies into the fridge for a minimum of two hours. Chilling is everything for laminated-style dough like this.
Cooking the Apple Kringle Filling
While the dough chills, we cook the apples. Toss the chopped Granny Smiths with your sugars and spices in a saucepan over medium heat. Let them simmer—you want them just barely softened, not dissolving. They should still have some integrity! This takes about 8 to 10 minutes. When they are just right, whisk up that one tablespoon of cornstarch with a splash of cold water, stir it in, and cook for one more minute until it visibly thickens. Take it off the heat right away and let it cool completely. If it’s even warm when it touches the dough, bye-bye flakiness!
Easy Kringle Shaping Technique
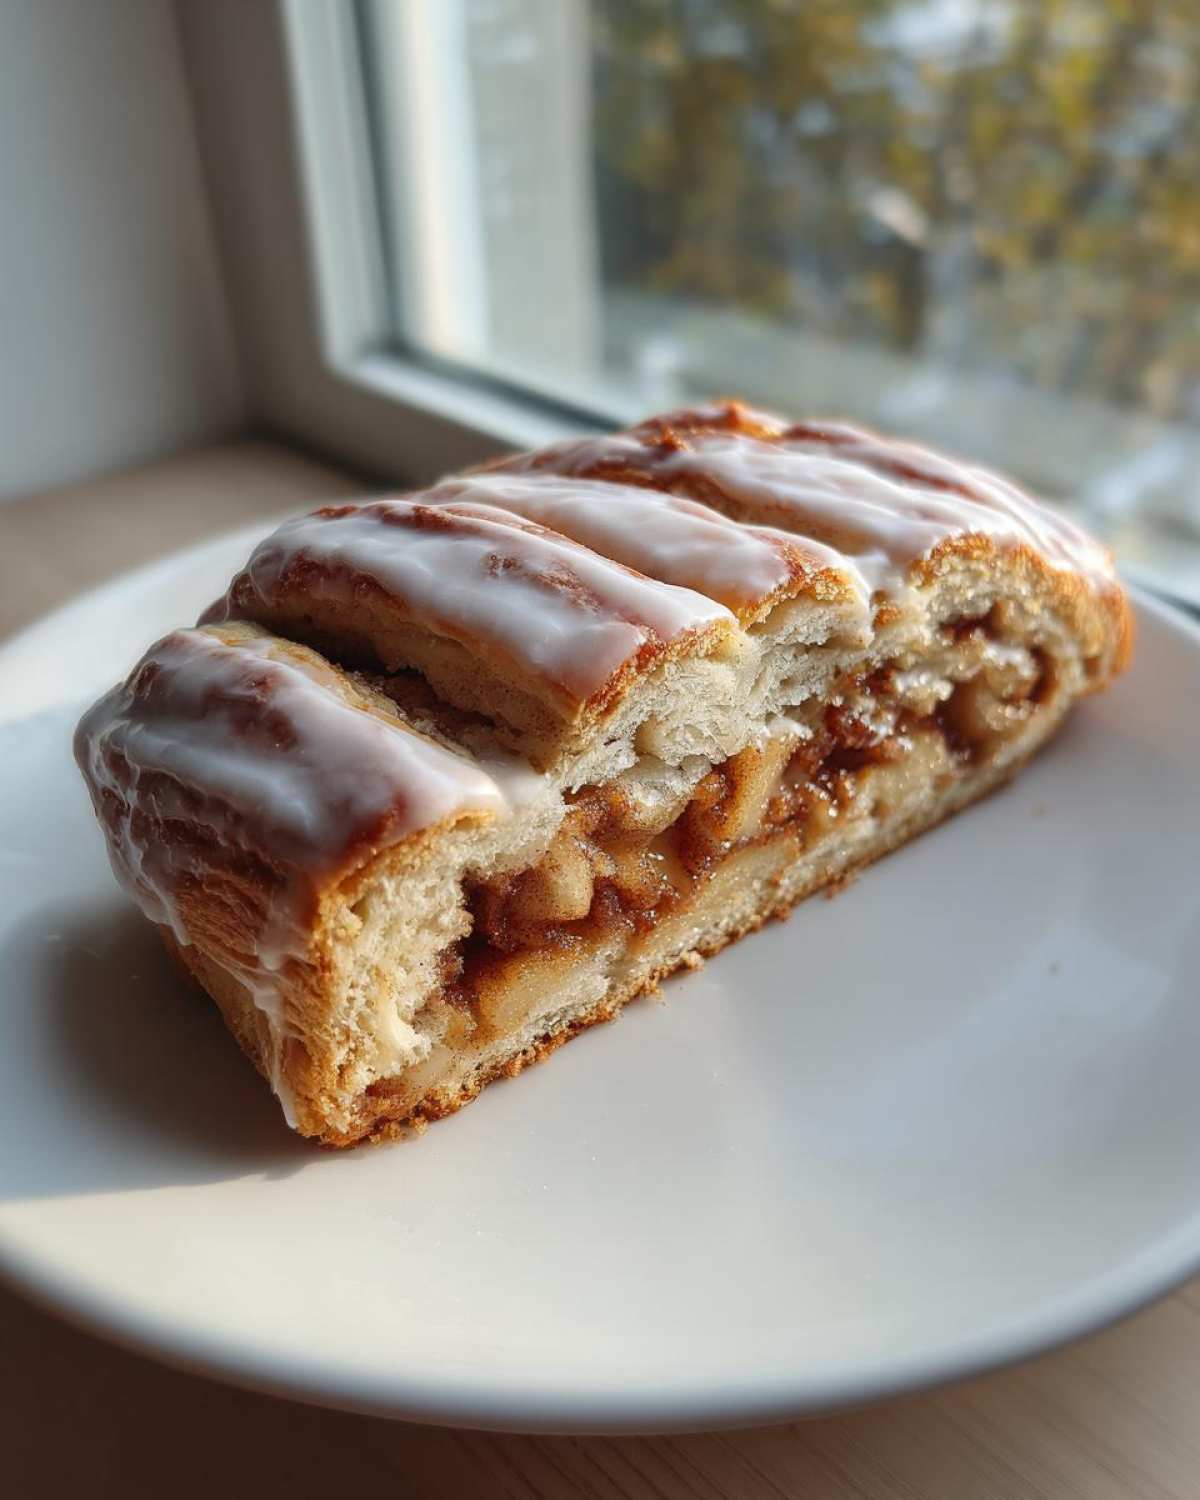
Once chilled, flour your surface and roll one dough disk into a large rectangle—aim for about 10 by 14 inches, keeping it quite thin, maybe 1/8 of an inch. Now, spread half the cooled apple mixture down that center third. Leave about two inches bare on all the long sides. Now for the braiding! Cut 1-inch wide diagonal strips down both long sides, stopping right at the edge of the filling. Fold the short ends over the filling first. Then, you just alternate those strips, folding one over from the left, then one from the right, overlapping them neatly to seal everything in. It looks impressive, but it’s just two sides crossing over each other perfectly! You can see a great visual on how this crossover shapes your danish pastry recipe in action.
Tips for Success When Making This Wisconsin Apple Kringle Recipe
Even with a perfect recipe, baking is all about mastering the small moments. When you’re making this beloved wisconsin apple kringle recipe, a few experience-earned tips can be the difference between a good pastry and the one that makes people ask for the recipe every year. I’ve learned these the hard way, so you don’t have to!
Pastry Texture Secrets
I can’t stress this enough: keep it cold! If you notice your dough getting sticky or soft while you’re rolling it out, stop immediately and pop it back into the fridge for 30 minutes. That cold temperature solidifies the butter and cream cheese, which steam creates those lovely, airy gaps and lamination. If you want to push toward that really traditional, slightly tougher, but incredibly flaky Danish pastry recipe texture, try swapping half the butter for lard. It’s an old-school trick, but wow, does it yield results!
Filling Consistency Check
This is a huge one for preventing blowout! Never, ever put warm filling onto your chilled dough. If that apple filling hasn’t cooled down all the way before you spread it in the center, it will melt the butter right out of the pastry layers. When that happens, the steam can’t lift the dough properly, and you get a greasy, dense pastry instead of a flaky one. Let that filling cool down on the counter until it’s room temperature or even slightly chilled before you layer it up. You can check out some amazing pie filling tips here which share similar cooling principles!
Storage and Reheating Instructions for Your Glazed Fruit Pastry
Once your beautiful glazed fruit pastry is completely cool and the icing has set, storage is important to keep that flaky crust happy. I wrap mine loosely—and I mean *loosely*—in plastic wrap, making sure not to compress the top. They are best eaten the day you make them, honestly! Kringles can dry out quickly, but they usually last fine loosely covered at room temperature for two days, max.
If you absolutely must reheat them, don’t even think about the microwave; it turns that pastry tough. Instead, pop a slice into a toaster oven or a regular oven set very low, maybe 300 degrees, for just about 5 minutes. You want it warm, not cooked again. If you want to see some great comfort food recipes, check out my notes on Italian recovery food right here!
Serving Suggestions for This Traditional Wisconsin Dessert
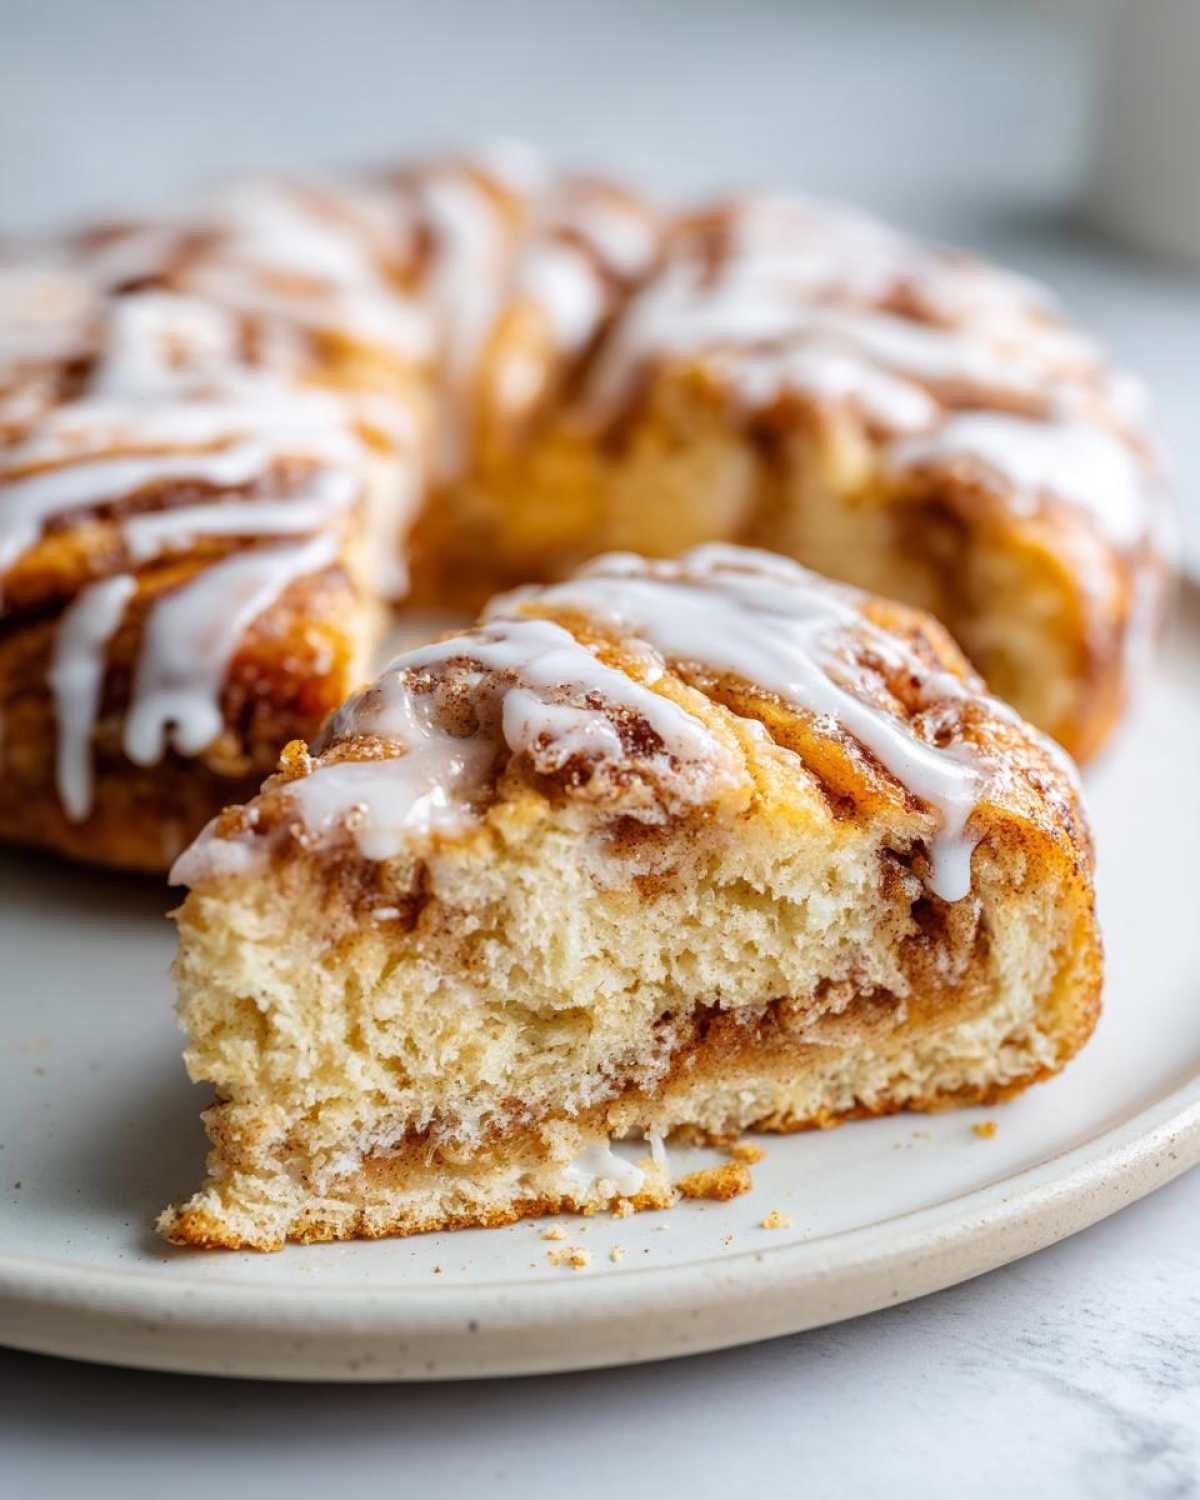
So you’ve got this gorgeous, slightly sweet, cinnamon-spiced traditional Wisconsin dessert sitting on your cooling rack. Now what’s the best way to serve it? For me, Kringle is a natural with coffee—think of it as your perfect morning pastry upgrade!
Warm it up just a hair, and it’s fantastic with a strong cup of black coffee or perhaps some Earl Grey tea. If you’re pulling this out as an actual dessert after dinner, don’t be shy about adding a scoop of good quality vanilla bean ice cream. The contrast between the warm, crisp pastry and the cold, creamy ice cream is just heavenly. For more easy breakfast ideas that might pair well, take a peek at my sheet pan pancake guide!
Variations on the Wisconsin Apple Kringle Recipe
While I really think the classic apple is unbeatable when you follow this wisconsin apple kringle recipe, I love it when bakers start experimenting! Kringle dough is so versatile, which is why it’s a Scandinavian baking staple. If you’ve decided apples aren’t everyone’s favorite this holiday season, don’t sweat it. You can easily swap out the fruit.
Try using a can of tart cherries (drained well, of course!) instead of apples, or even mixing in some chopped pecans with a little extra brown sugar. That nutty flavor is amazing with the flaky layers. If you are looking for some other ways to use up those muffin tins or add veggies to your routine, check out my notes on my egg muffin cups for some baking variation inspiration!
Frequently Asked Questions about How to Make Kringle at Home
It’s totally normal to have questions when tackling a recipe like this—it’s a bit more involved than just whipping up a quick cookie! Since we are going for that true bakery feel, sometimes the little details trip us up. I’ve answered a few things I always get asked when I share this homemade Kringle instructions guide with friends.
Can I use pre-made pastry for this recipe?
You certainly *can* rely on store-bought puff pastry if you’re in a huge rush, but I have to be honest: you’ll miss the magic. The texture of this layered fruit pastry relies heavily on that specific ratio of butter to cream cheese in the dough we made from scratch. Pre-made puff pastry doesn’t have that creamy tenderness that defines this specific style of Scandinavian baking recipe. It will still taste good, but it won’t have that melt-in-your-mouth quality.
What is the best way to get a shiny glaze on my Kringle?
Shine is all about temperature control! If you try to drizzle that sugary liquid over a warm Kringle, the heat will melt it right into the pastry cracks, and you’ll end up with a dull, sticky crust instead of a crisp, shiny one. Wait until the pastry is completely, totally cool—room temperature—before you even think about touching the glaze. Whisk it until it’s silky smooth, and then drizzle with confidence!
Can this be made ahead or frozen?
Yes, you absolutely can make components ahead! The unbaked dough disks are fantastic frozen; just wrap them really well in a couple of layers of plastic wrap and keep them flat. They’ll last a couple of months! If you have leftover baked Kringle, I recommend storing it tightly wrapped, but if you want to freeze the finished product, wrap it tightly *before* glazing. When you reheat, just follow my advice from earlier: low and slow in the oven. You can find some neat ideas on preserving leftovers over in my chicken sausage recipe post, as the principles of wrapping leftovers apply!
Nutritional Estimate for One Serving of Wisconsin Apple Kringle Recipe
Listen, because this is a rich, flaky pastry, we definitely need to talk about macros! Please remember that these numbers are just an estimate based on the ingredients for our delicious wisconsin apple kringle recipe, and they are designed for one slice. If you prefer the details on my lower-carb bakes, check out the notes on my chicken cauliflower rice casserole.
- Serving Size: 1 slice
- Calories: About 350
- Fat: Roughly 22g
- Carbohydrates: Around 35g
- Protein: About 5g
Authentic Wisconsin Apple Kringle Recipe
Make a traditional Wisconsin Apple Kringle featuring flaky, layered pastry and a sweet-tart apple filling, finished with a simple glaze.
- Prep Time: 45 min
- Cook Time: 30 min
- Total Time: 3 hours 15 min
- Yield: 2 Kringles
- Category: Dessert
- Method: Baking
- Cuisine: Scandinavian/American
- Diet: Vegetarian
Ingredients
- 1 cup (2 sticks) cold unsalted butter, cubed
- 8 ounces cold cream cheese, cubed
- 2 1/2 cups all-purpose flour, plus more for dusting
- 1 teaspoon salt
- 1/2 cup ice water
- 4 large Granny Smith apples, peeled, cored, and chopped
- 1/2 cup granulated sugar
- 1/4 cup packed light brown sugar
- 1 teaspoon ground cinnamon
- 1/4 teaspoon ground nutmeg
- 1 tablespoon lemon juice
- 1 tablespoon cornstarch
- 1 large egg, beaten (for egg wash)
- 1 cup powdered sugar
- 2 tablespoons milk or cream
- 1/2 teaspoon vanilla extract
Instructions
- Prepare the pastry dough: Combine the flour and salt in a large bowl. Cut in the cold butter and cream cheese using a pastry blender or your fingers until the mixture resembles coarse crumbs with some pea-sized pieces remaining.
- Gradually add the ice water, mixing just until the dough comes together. Do not overmix. Divide the dough in half, form each half into a disk, wrap in plastic, and chill for at least 2 hours.
- Prepare the filling: In a medium saucepan, combine the chopped apples, granulated sugar, brown sugar, cinnamon, nutmeg, and lemon juice. Cook over medium heat until the apples soften slightly, about 8 to 10 minutes.
- Mix the cornstarch with 2 tablespoons of cold water to create a slurry. Stir the slurry into the apple mixture and cook for 1 minute more until the filling thickens. Remove from heat and let cool completely.
- Preheat your oven to 400 degrees Fahrenheit (200 degrees Celsius). Line two baking sheets with parchment paper.
- On a lightly floured surface, roll out one disk of chilled dough into a large rectangle, about 1/8 inch thick. Trim the edges to make a neat rectangle, approximately 10 by 14 inches.
- Spread half of the cooled apple filling down the center third of the dough, leaving a 2-inch border on the short ends and a 2-inch border on the long sides.
- Cut diagonal strips, about 1 inch wide, along both long sides of the filling, stopping at the edge of the filling.
- Fold the top and bottom edges of the dough over the filling. Then, fold the cut strips alternately over the filling, overlapping them slightly to seal the filling inside, creating a braided or overlapping pattern.
- Carefully transfer the shaped Kringle to a prepared baking sheet. Repeat with the second disk of dough and remaining filling.
- Brush the entire surface of each Kringle with the beaten egg wash.
- Bake for 25 to 30 minutes, or until the pastry is golden brown and flaky. Let cool on the baking sheet for 10 minutes before transferring to a wire rack to cool completely.
- Make the glaze: Whisk together the powdered sugar, milk, and vanilla extract until smooth. Drizzle the glaze generously over the cooled Kringle.
Notes
- For the flakiest pastry, keep all ingredients, especially the butter and cream cheese, very cold before mixing.
- You can substitute lard for half of the butter if you prefer a more traditional Danish pastry texture.
- If you prefer a firmer filling, reduce the cooking time slightly.
Nutrition
- Serving Size: 1 slice
- Calories: 350
- Sugar: 30g
- Sodium: 180mg
- Fat: 22g
- Saturated Fat: 14g
- Unsaturated Fat: 8g
- Trans Fat: 0.5g
- Carbohydrates: 35g
- Fiber: 2g
- Protein: 5g
- Cholesterol: 60mg
