

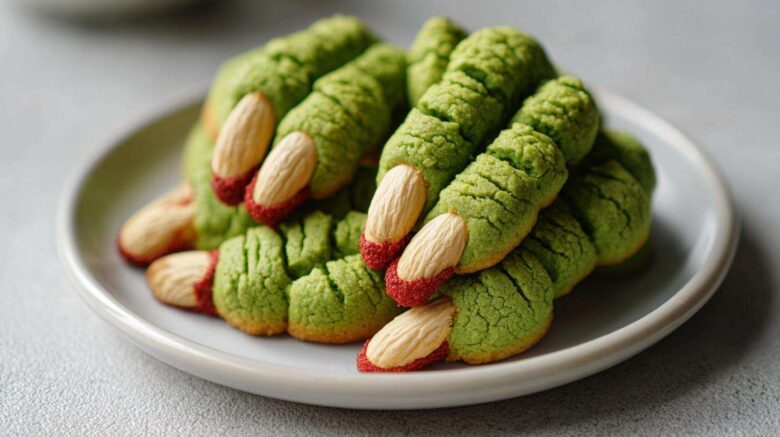
Create Spooky Fun with Witch Finger Cookies (Spooky Treat)
Halloween is my absolute favorite time to bake! I just love transforming my kitchen into a little spooky wonderland. There’s something so magical about creating treats that look just a little bit creepy but taste absolutely delicious. These Witch Finger Cookies (Spooky Treat) are a perfect example of that. They’re surprisingly simple to whip up, making them a fantastic project for any home baker, especially when you want that perfect Halloween vibe without a lot of fuss. My passion for baking really shines when I can make something fun and memorable for the holidays.
Why You’ll Love These Witch Finger Cookies (Spooky Treat)
- They’re incredibly easy to make.
- Kids adore helping with these spooky cookies.
- Their creepy-cute look is perfect for Halloween.
- They taste wonderfully buttery and sweet.
- Witch Finger Cookies (Spooky Treat) are a guaranteed party hit!
A baker’s Tale: From Tariq’s Kitchen to Yours
I remember one Halloween, years ago, when Chef Tariq showed us how to make these. He said the key was to have fun with the shaping. We spent ages laughing, trying to make each finger look uniquely gnarled and twisted. It reminded me that baking isn’t just about the final product; it’s about the joy in the making. These Witch Finger Cookies (Spooky Treat) always bring back that warm, playful memory for me.
Gather Your Ghastly Ingredients for Witch Finger Cookies (Spooky Treat)
Now that we’re all geared up for some Halloween baking fun, let’s talk about what you’ll need. Gathering the right ingredients is the first step to creating these wonderfully spooky Witch Finger Cookies (Spooky Treat). I always believe that using good quality, fresh ingredients makes all the difference in taste and texture. It’s like painting a picture – you need the best colors to make it truly pop! Don’t worry, though; the list is pretty straightforward, and you probably have most of these pantry staples already.
Essential Ingredients for Witch Finger Cookies (Spooky Treat)
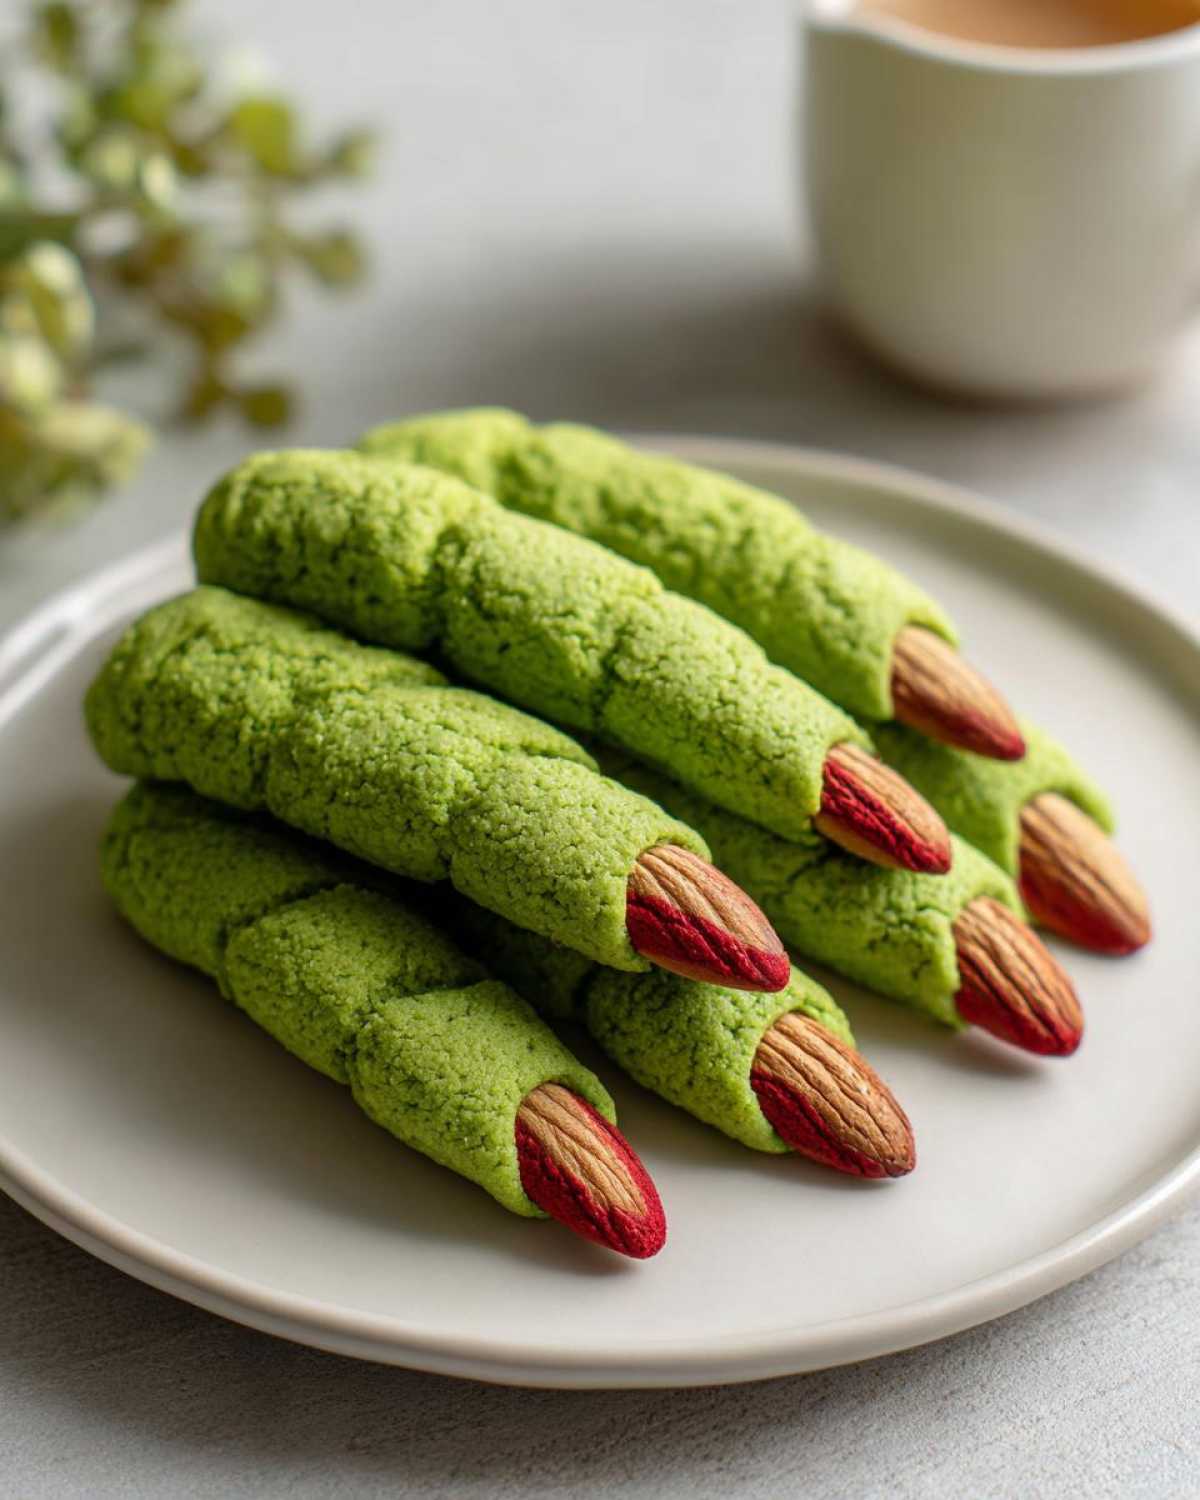
You’ll need 1 cup (that’s two sticks) of softened unsalted butter. Make sure it’s soft, not melted! Then, grab 1 cup of granulated sugar for that perfect sweetness. We’ll use two large eggs, 1 teaspoon of vanilla extract, and 2 teaspoons of almond extract for flavor. For the dry stuff, get 3 cups of all-purpose flour, 1 teaspoon of baking powder, and 1/2 teaspoon of salt. You’ll also need some green food coloring – gel works best for vibrant color. For the creepy fingernails, snag a bag of blanched slivered almonds. Lastly, a tube of red decorating gel will give our Witch Finger Cookies (Spooky Treat) that extra gruesome touch.
Ingredient Notes and Substitutions
Let’s chat about those blanched slivered almonds. “Blanched” just means the skins have been removed, which gives them a cleaner, lighter look for our fingernails. If you can’t find them, regular slivered almonds will work, but they might look a bit darker. For the almond extract, if you’re not a fan, you can simply double the vanilla extract. Just a little tip from my kitchen to yours! And for the green food coloring, gel gives a much richer, deeper color than liquid. It also won’t thin out your dough too much.
Mastering the Art of Witch Finger Cookies (Spooky Treat)
Getting these Witch Finger Cookies (Spooky Treat) ready is where the real fun begins! It’s less about complicated techniques and more about a bit of playful shaping. I find that the process itself is as enjoyable as eating the cookies. You’ll be amazed at how easily the dough comes together. Think of it as a creative session. We’ll go step-by-step, and I’ll share all my little secrets to make sure your cookies look spooktacular and taste amazing. You’ll feel like a baking pro in no time!
Step-by-Step Guide to Making Witch Finger Cookies (Spooky Treat)
First, let’s get our oven ready. Preheat it to 350°F (175°C). Grab a big bowl. Cream together the softened butter and sugar until it’s nice and fluffy. This is key for a tender cookie. Next, add the eggs, one at a time, beating well after each. Stir in the vanilla and almond extracts. In another bowl, whisk together your flour, baking powder, and salt. Gradually add these dry ingredients to the wet ones. Mix until just combined. Don’t overmix! Now for the spooky color. Add green food coloring, a few drops at a time. Mix until you get that perfect witchy hue.
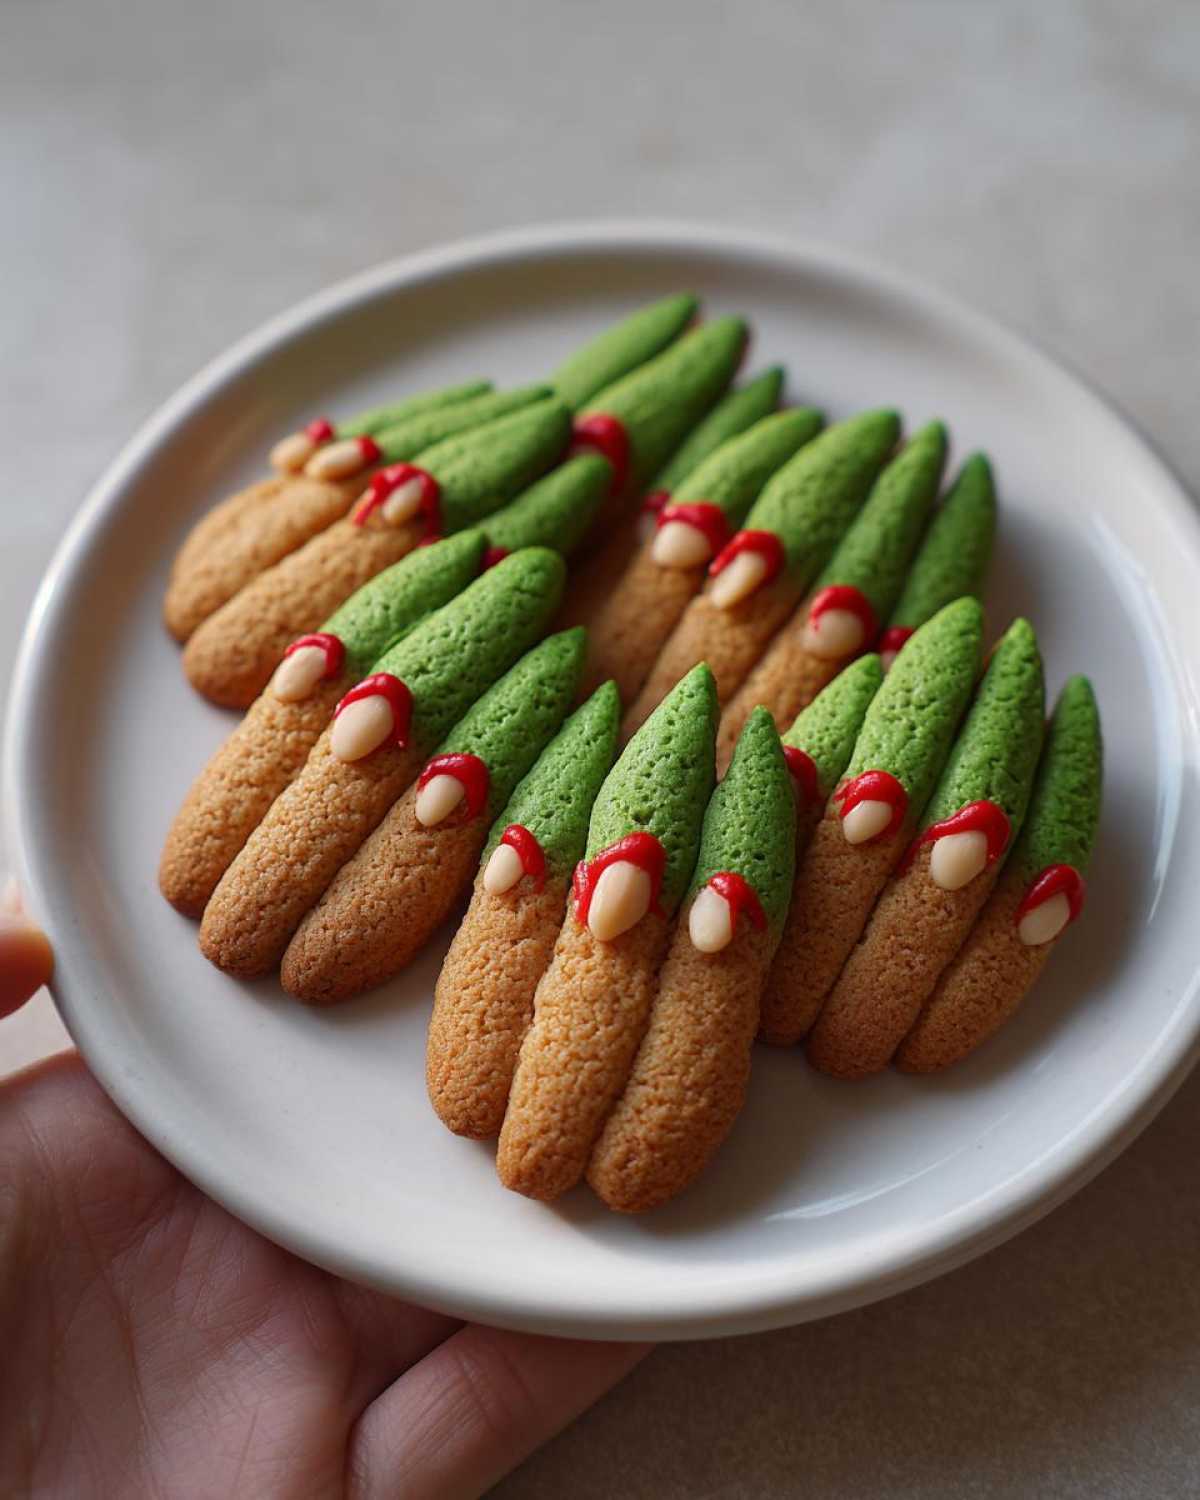
Time to shape! Take about a tablespoon of dough. Roll it into a 1-inch thick log. Taper one end to make a finger shape. Use a knife to score lines for the knuckles. This gives them that realistic, gnarled look. Press a blanched slivered almond onto the tapered end for a fingernail. Place these on a baking sheet lined with parchment paper. Bake for 10 to 12 minutes. You want the edges lightly golden. Let them cool on the sheet for a few minutes. Then, transfer them to a wire rack to cool completely. Once cool, squiggle red decorating gel around the almond nail for a creepy, bloody effect.
Tips for Perfect Witch Finger Cookies Every Time
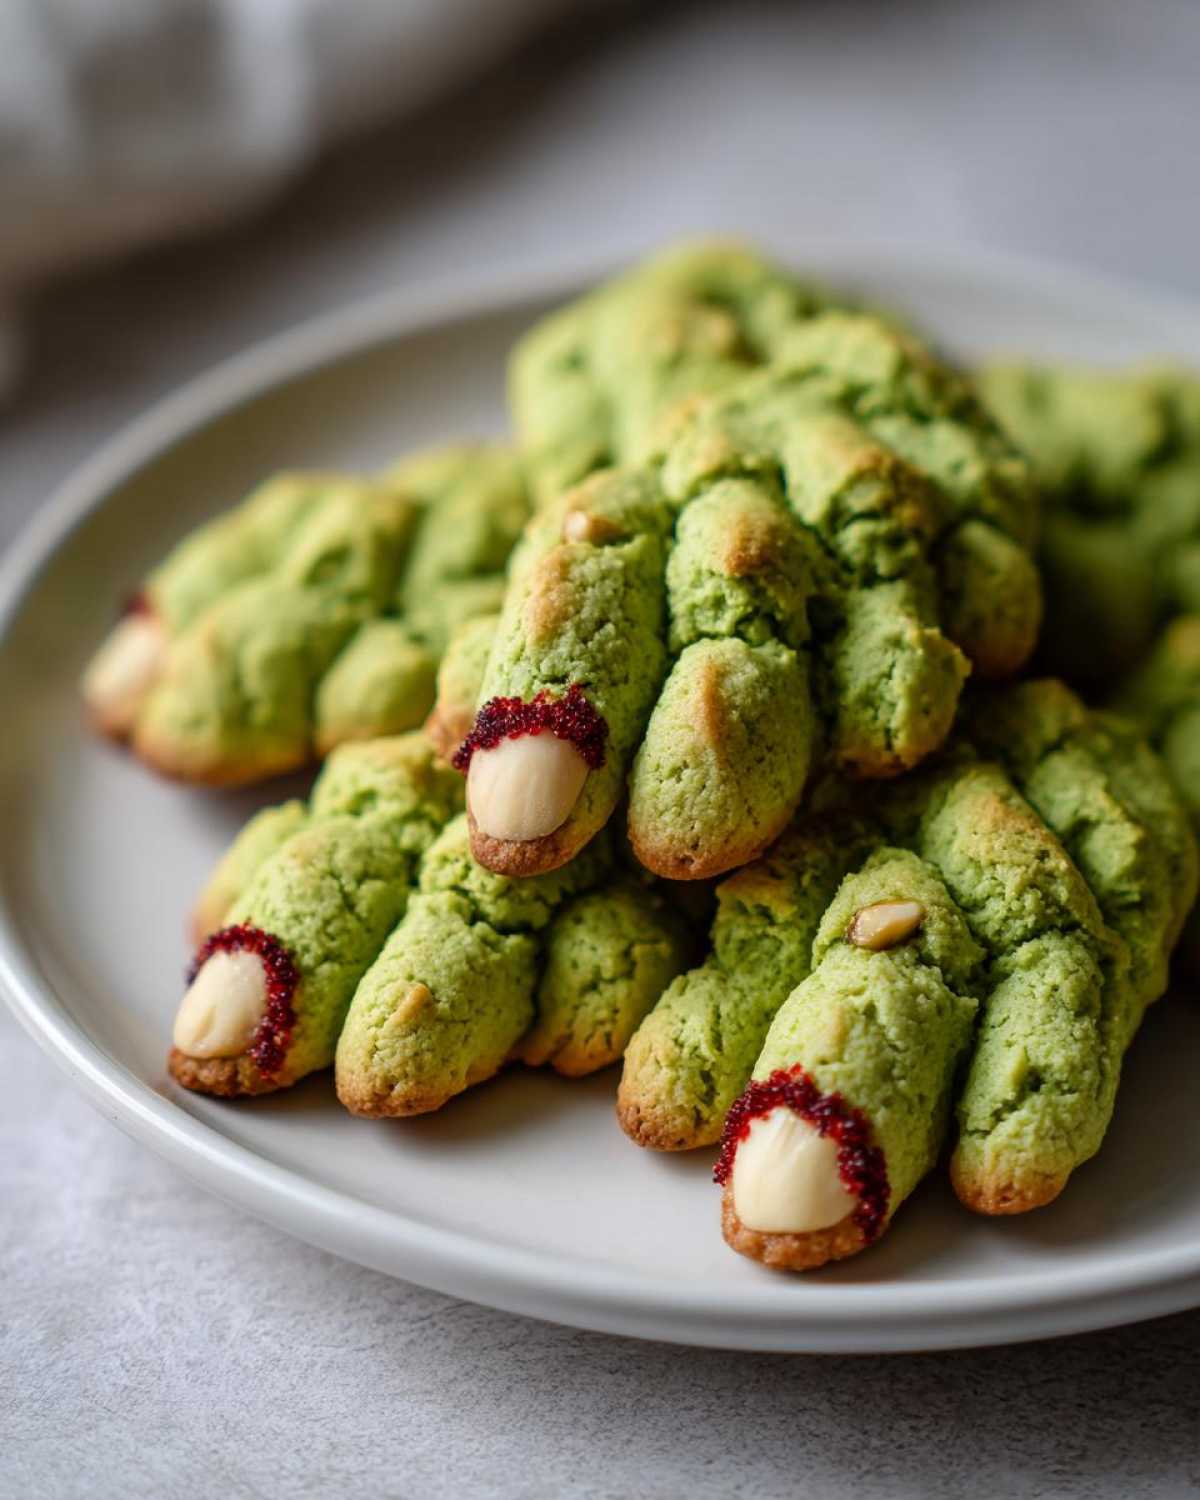
Make sure your butter is truly softened, not melted. This keeps the cookies from spreading too much. Resist the urge to overmix the dough once the flour is in. Overmixing makes cookies tough. Keep an eye on them while baking; ovens vary! They should feel firm to the touch when done. Lastly, let them cool completely before adding the red gel. This prevents the gel from sliding off or smudging. These little tips help make your Witch Finger Cookies (Spooky Treat) perfectly spooky.
Enhancing Your Witch Finger Cookies (Spooky Treat) Experience
Once your Witch Finger Cookies (Spooky Treat) are baked and decorated, it’s time to think about how to present these ghoulish delights! Making them is half the fun, but serving them up makes the whole Halloween experience complete. I love seeing the little gasps of delight (or maybe a little shriek!) when people see these on a platter. It’s all about creating that perfect spooky atmosphere, and these cookies really help set the mood for a fantastic Halloween party.
Spooky Serving Suggestions for Witch Finger Cookies
These creepy cookies are fantastic on their own. But if you want to go the extra mile, serve them with a “witch’s brew” punch. A dark purple or green colored drink works wonders! You could also arrange them on a platter with some candy eyeballs or chocolate “dirt” pudding cups. They look especially fun nestled amongst some Halloween-themed cupcakes. These Witch Finger Cookies (Spooky Treat) are sure to be the talk of your dessert table.
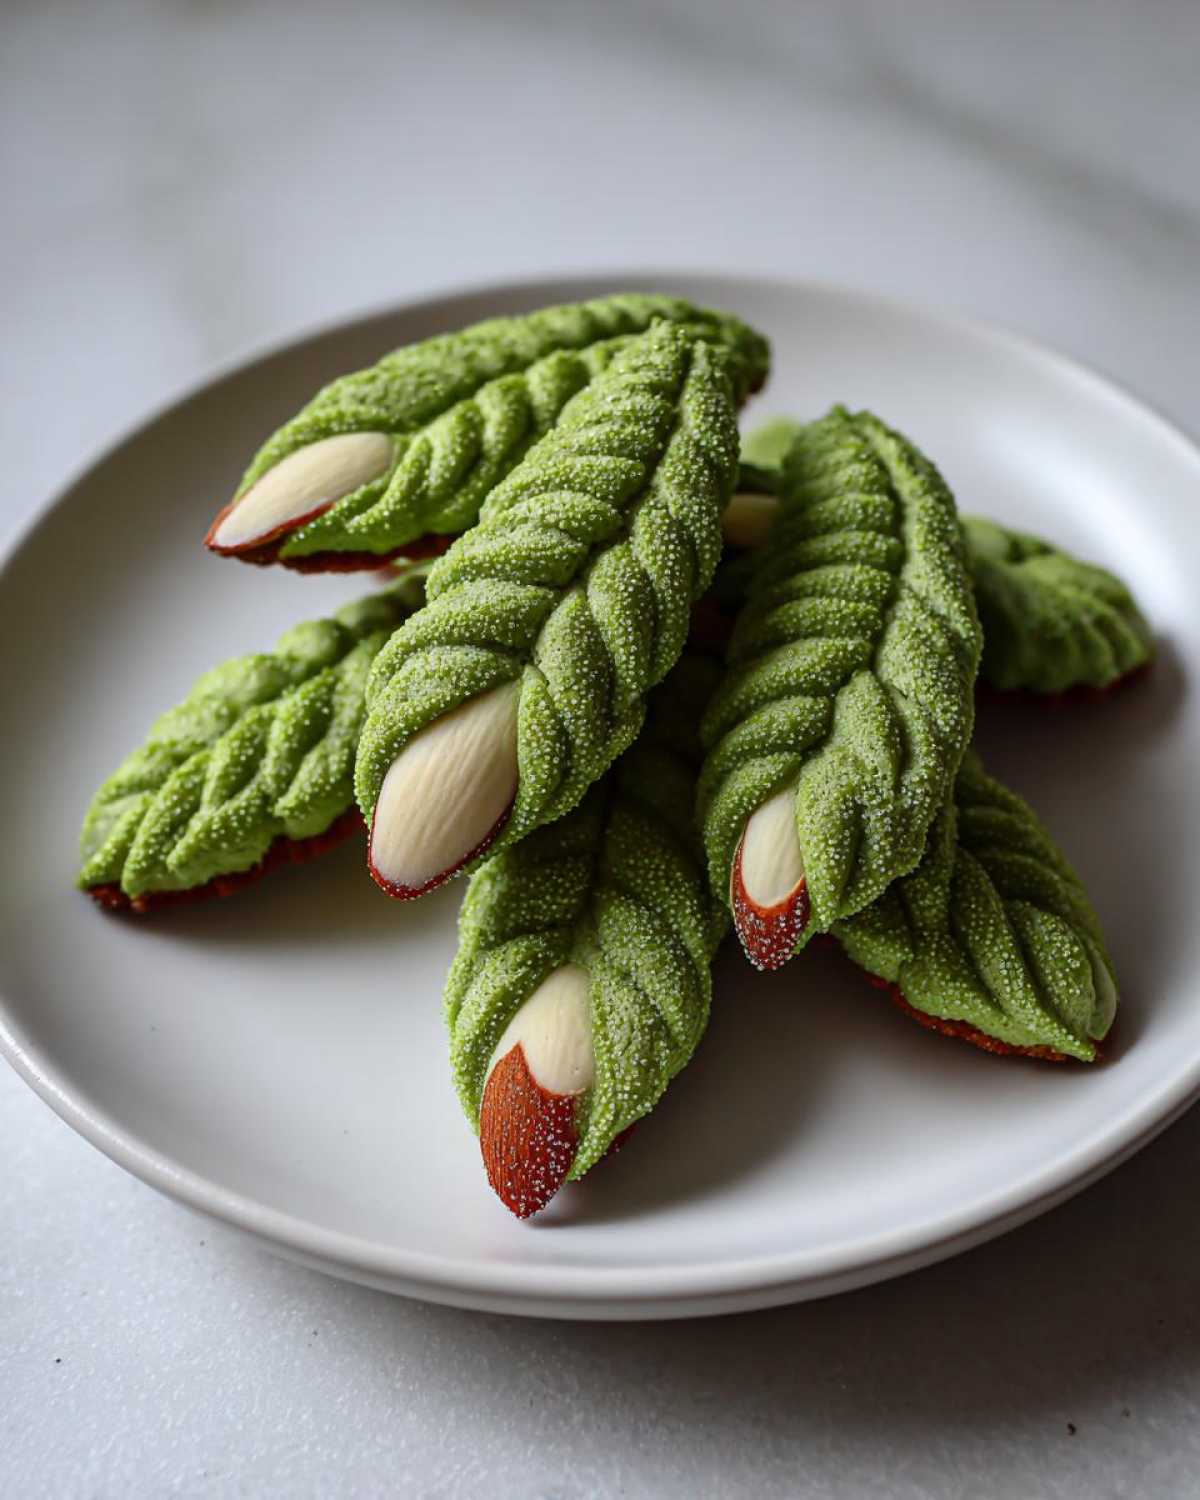
Storing and Reheating Your Witch Finger Cookies
Got leftovers? Lucky you! Store your Witch Finger Cookies (Spooky Treat) in an airtight container at room temperature. They’ll stay fresh for about 3-4 days. I usually pop a small piece of bread in the container; it helps keep them soft. If they seem a little stale after a couple of days, you can gently reheat them in a low oven for a minute or two. Just be sure they’re completely cool before you put them away.
Frequently Asked Questions About Witch Finger Cookies (Spooky Treat)
Got questions about making these spooky Halloween cookies? I’ve got you covered! These Witch Finger Cookies (Spooky Treat) are pretty straightforward, but a few common queries pop up. Let’s dive into them so your baking adventure is smooth sailing. You can also review our privacy policy for more information.
Can I make Witch Finger Cookies ahead of time?
Absolutely! You can prepare the dough for these Witch Finger Cookies (Spooky Treat) a day in advance. Wrap it tightly in plastic wrap and chill it in the refrigerator. The cookies themselves, once baked and cooled, will stay fresh in an airtight container for up to 4 days. This makes them a great make-ahead option for busy Halloween party planners!
How do I get the perfect “knuckle” lines on my Witch Finger Cookies?
To get those realistic knuckle lines, a simple butter knife works wonders. After you’ve shaped your cookie into a finger and scored the fingernail, use the back of the knife or a toothpick. Gently press lines at intervals along the dough to mimic the bends of a finger. Don’t press too hard, or you might flatten the cookie. A little imperfection adds to their creepy charm! For more baking tips, check out our about us page.
What kind of green food coloring works best for Witch Finger Cookies?
For the most vibrant and spooky green color, I highly recommend using gel food coloring. Gel colors are much more concentrated than liquid ones. This means you need less to achieve an intense shade, and it won’t add extra moisture to your dough. Just add a few drops at a time to your cookie dough and mix until you reach your desired witchy hue for your Witch Finger Cookies (Spooky Treat). If you have any questions, feel free to contact us.
Nutritional Estimate for Witch Finger Cookies (Spooky Treat)
Please remember that the nutritional information for these delicious Witch Finger Cookies (Spooky Treat) is an estimate. Factors like ingredient brands and exact measurements can cause variations. Enjoy these spooky delights responsibly! For more details, please see our disclaimer.
PrintSpooky Witch Finger Cookies: 1 ghastly treat

Witch Finger Cookies are a delightfully spooky and easy-to-make treat perfect for Halloween. These creepy-cute cookies are sure to be a hit with party guests, especially kids, offering a fun baking project with minimal preparation.
- Prep Time: 20 minutes
- Cook Time: 12 minutes
- Total Time: 32 minutes
- Yield: Approximately 24 cookies
- Category: Dessert
- Method: Baking
- Cuisine: American
- Diet: Vegetarian
Ingredients
- 1 cup (2 sticks) unsalted butter, softened
- 1 cup granulated sugar
- 2 large eggs
- 1 teaspoon vanilla extract
- 2 teaspoons almond extract
- 3 cups all-purpose flour
- 1 teaspoon baking powder
- 1/2 teaspoon salt
- Green food coloring
- Blanched slivered almonds
- Red decorating gel
Instructions
- In a large bowl, cream together the softened butter and granulated sugar until light and fluffy.
- Beat in the eggs one at a time, then stir in the vanilla and almond extracts.
- In a separate bowl, whisk together the flour, baking powder, and salt.
- Gradually add the dry ingredients to the wet ingredients, mixing until just combined.
- Add green food coloring, a few drops at a time, until you achieve your desired witch finger color. Mix well.
- Shape the dough into 1-inch thick logs, then taper one end to create a finger shape.
- Use a knife to score knuckle lines at intervals along the finger.
- Press a blanched slivered almond onto the tapered end for a fingernail.
- Place the cookies on a baking sheet lined with parchment paper.
- Bake in a preheated oven at 350°F (175°C) for 10-12 minutes, or until the edges are lightly golden.
- Let the cookies cool on the baking sheet for a few minutes before transferring them to a wire rack to cool completely.
- Once cooled, use red decorating gel to add blood details around the fingernails for an extra creepy effect.
Notes
- Ensure the butter is softened but not melted for the best cookie texture.
- Do not overmix the dough after adding the flour to prevent tough cookies.
- Adjust baking time based on your oven; cookies should be firm to the touch.
- Allow cookies to cool completely before decorating with gel to prevent smudging.
Nutrition
- Serving Size: 1 cookie
- Calories: 150
- Sugar: 10g
- Sodium: 50mg
- Fat: 8g
- Saturated Fat: 5g
- Unsaturated Fat: 3g
- Trans Fat: 0g
- Carbohydrates: 18g
- Fiber: 1g
- Protein: 2g
- Cholesterol: 30mg
