

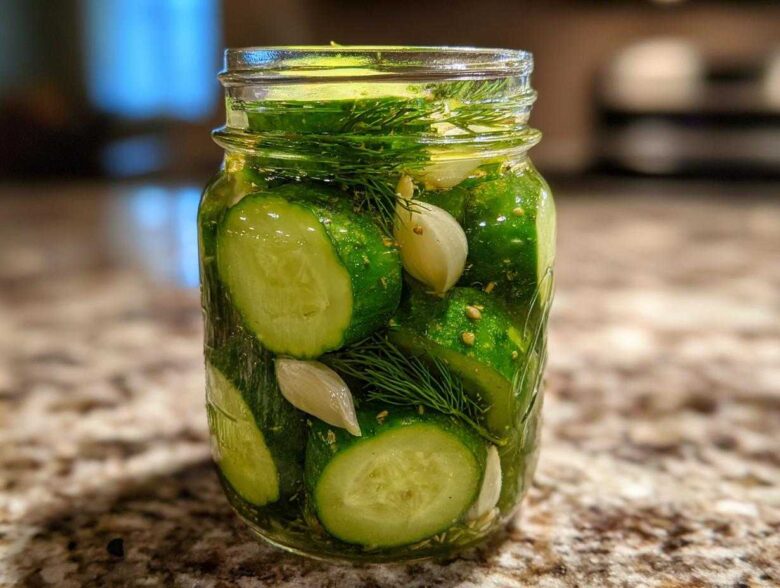
Oh my gosh, is there anything better than biting into a perfectly crisp, cold pickle? That loud, satisfying *CRUNCH* just means business! Honestly, I used to think making **refrigerator pickles** meant waiting around forever or needing complicated canning setups. Nope! I’ve cracked the code, and this method is my absolute favorite secret weapon. After years of tinkering, I landed on this specific no-cook brine that guarantees incredibly crisp cucumbers every single time, ready for snacking the very next day. Seriously, once you try this specific no-cook brine, you won’t go back to the cheap jars from the store!
Why This is the Best Refrigerator Pickles Recipe You Need
If you’re looking for perfectly tart and crunchy deliciousness without the canning fuss, you’ve found it! My goal with these easy fridge pickles was pure simplicity, and boy, did we nail it.
- We’re keeping the ingredient list super short and simple—stuff you probably already have hanging out in your pantry.
- No fancy equipment needed! This whole operation takes place on the stovetop for about five minutes, and then the fridge does the rest of the heavy lifting.
- Most importantly? The crunch is incredible. We’re not messing around with soggy cucumbers here; we’re aiming for that loud, snappy bite!
Quick Pickle Recipe: Ready in Just 24 Hours
I love that this comes together faster than picking up takeout. Your active time is seriously like 20 minutes total to prep the brine and pack the jars. That means you only have to wait overnight! By tomorrow, you have amazing, tangy **refrigerator pickles** ready to go.
Achieving the Ultimate Crispy Cucumber Pickles
Listen, the number one reason people quit making their own pickles is mushiness. Nobody wants a floppy cucumber! To avoid that, my top-tier tip is to soak the cucumbers in ice water while you get the brine ready. Trust me, a good 30-minute ice bath before slicing locks in that amazing texture. That little extra step guarantees you get the absolute best **crispy cucumber pickles** every single time.
Ingredients for Perfect Refrigerator Pickles
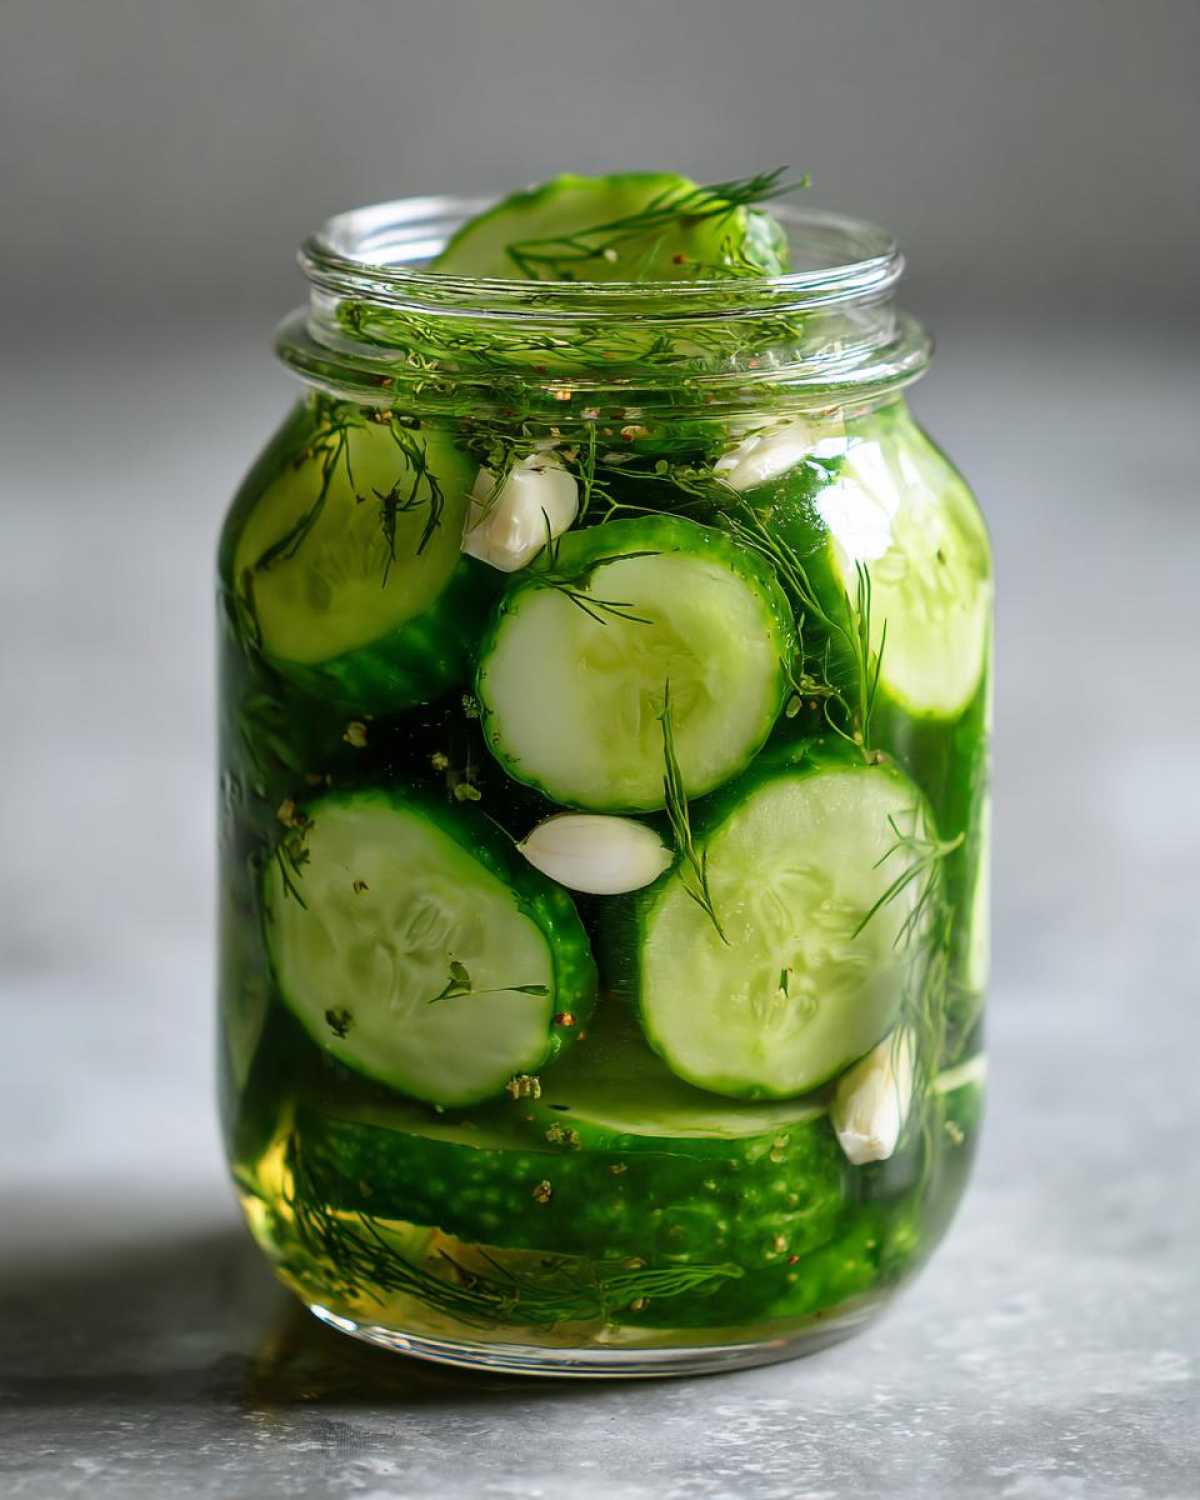
Okay, let’s talk about what goes into the jar. The beauty of these pickles is how few ingredients you actually need to make something this flavorful! We’re focusing on the essentials here to get that perfect brine balance. You’ll want to make sure your salt is pickling or kosher salt—don’t substitute standard table salt if you can help it, okay?
Selecting the Right Cucumbers
This is critical for texture! You absolutely must avoid the big watery slicing cucumbers you find at the store—they turn soft almost instantly in that brine. For the best results in your **refrigerator pickles**, you need firm cucumbers like Kirby or Persian varieties. They stay snappy, no matter what! Spears or rounds work, just pack them tight into those jars.
Step-by-Step Instructions for Easy Fridge Pickles
This is where the magic happens, and honestly, it’s so straightforward you’ll wonder why you ever bought pickles! We’re basically just heating up a simple vinegar solution and pouring it over our cucumbers. Remember, this is one of those wonderful **no cook pickles** recipes where we only heat the brine, and we use this specific method that requires absolutely zero advanced canning skills. It keeps that crisp texture we love so much.
Preparing the Brine for Your Refrigerator Pickles
First things first: let’s make that flavorful liquid. In a saucepan, you’ll mix your water, vinegar, salt, and sugar. Turn the heat to medium-high and just bring it to a gentle boil. You only need to keep it on the heat long enough to stir until those salt and sugar crystals vanish completely—maybe two minutes tops. Once everything is dissolved and the brine is clear, take it off the heat right away! Don’t let it sit and cool down; we want it hot when it hits the jars for the best **refrigerator pickles**.
Packing and Cooling Homemade Dill Pickles
While the brine is heating, make sure your cucumbers are packed snugly into your clean glass jars alongside your dill, garlic, and peppercorns. Pack them in there nice and tight! Now, slowly pour that hot brine right over the cucumbers until they are completely covered. Leave about a half-inch space at the top—don’t fill it to the very brim. Once sealed, set those jars out on the counter for about half an hour to cool down a touch. Once they aren’t searing hot anymore, you get to move them! Pop those lids on tight and get them straight into the fridge. They’ll be tasty after 24 hours, but wow, wait three days for spectacular **refrigerator pickles**!
Flavor Variations for Your Quick Pickle Recipe
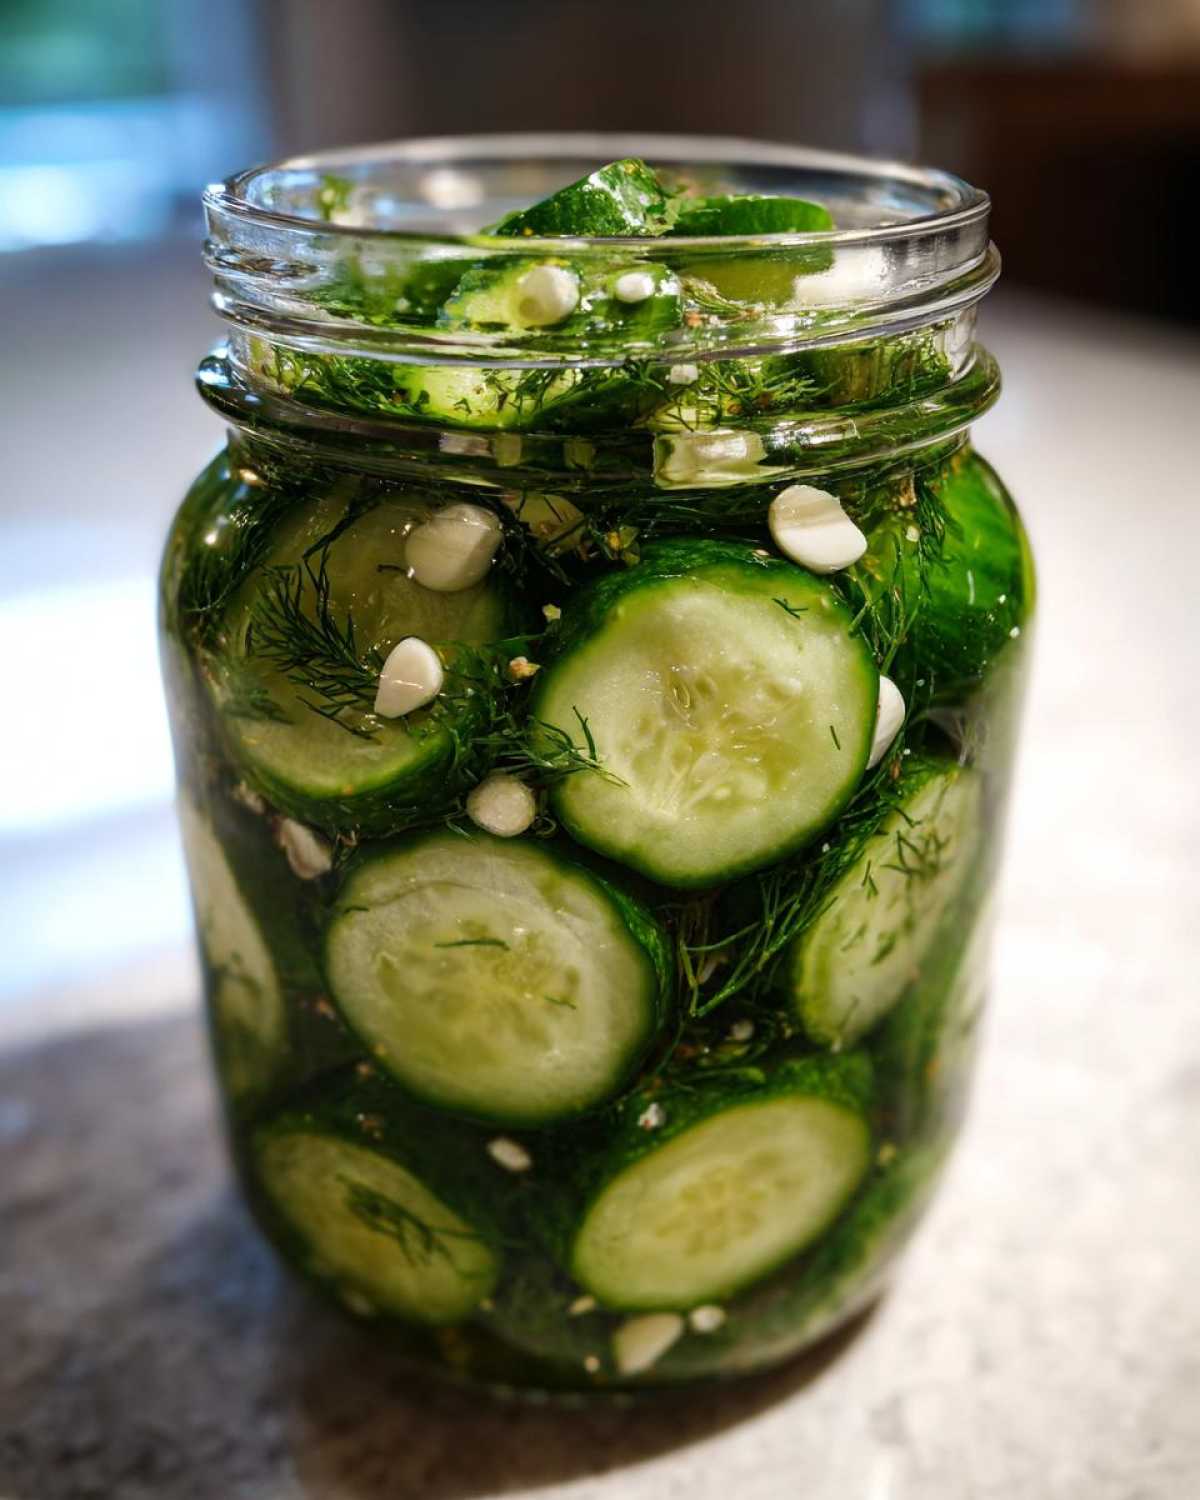
The base recipe is fantastic, but that’s just the starting point! Honestly, once you master making these **refrigerator pickles**, you start wanting to experiment. The great thing is they adapt beautifully to different flavor profiles without messing up that crucial crunch.
If you want something delightfully sweet and tangy, you can easily turn this into a batch of **bread and butter pickles refrigerator** style by adding a tablespoon or two of mustard seed and celery seed to the brine when you heat it. Check out the details for my bread and butter pickles refrigerator guide! Also, don’t forget to increase that sugar just a touch if you go that route!
Creating Kosher Dill Copycat Refrigerator Pickles
Are you a purist? Do you just want that intense, garlicky punch the deli pickles have? That’s easy! For a fantastic **Kosher dill copycat recipe**, ditch the sugar entirely from the brine. By removing the sweetness, the vinegar and salt really shine through, letting the garlic and dill dominate the flavor profile. These sharp, **tangy vinegar pickles** are perfect for loading onto big deli sandwiches. It’s the simplest switch you can make for truly authentic-tasting **refrigerator pickles**.
Tips for Making the Best Refrigerator Pickle Recipe
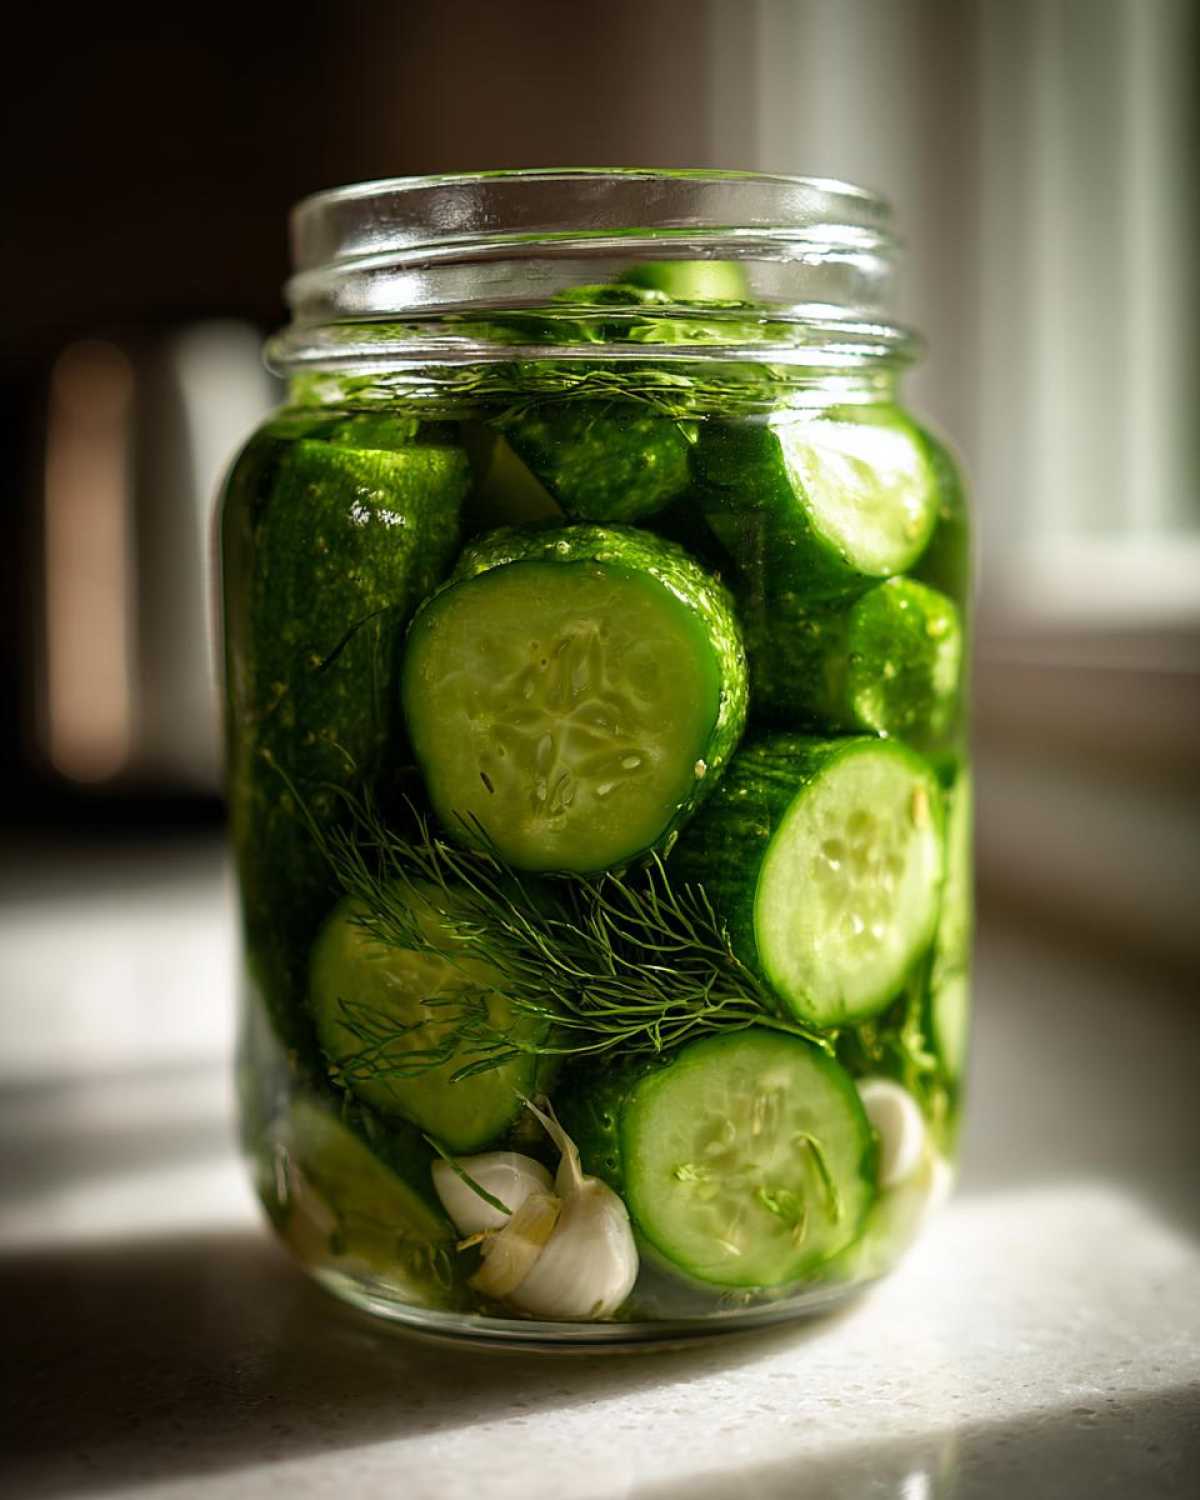
Honing your technique is what separates a decent pickle from one you rave about to everyone you know! Since we aren’t canning these, longevity and texture are totally dependent on a couple of small things we do upfront. Remember that ice bath trick? That is truly the secret sauce for keeping your cucumbers snappy. If you skip it, you risk a slightly softer cucumber, and we can’t have that with our favorite **refrigerator pickles**.
Also, make sure you are using a non-iodized salt—pickling salt is best because it dissolves cleanly without clouding the brine. Also, if you are making a big batch, don’t overstuff the jars! If the cucumbers aren’t submerged by the brine, they can spoil faster. These little details ensure you get the longest life possible out of your **homemade dill pickles** right there in the fridge.
For extra zing on your next batch, grab some fresh dill heads instead of the dried seeds; you can find the full details on spice sourcing in my Kosher dill copycat recipe guide. It really amps up the fresh flavor profile in these **refrigerator pickles**!
Storage and Shelf Life of Homemade Dill Pickles
This is the fun part—you get to enjoy these beauties for weeks! Because this is a true **refrigerator pickles** recipe and we aren’t doing any high-heat pressure canning, they have to stay cold to keep everything safe and crunchy. The rule is simple: sealed jars, all the time, right in the main body of your fridge.
If you follow the directions, these little gems will stay perfectly crisp and delicious for up to three full weeks! I’ve definitely nibbled on some that were closer to four weeks old, but honestly, I usually devour them all before then. Once you open a jar, try to eat those **quick pickled cucumbers** within about ten days, just to make sure you’re getting that fresh, tart flavor with every bite. If you notice the brine getting cloudy or smelling off, toss them. But trust me, if you’ve got that brine hot when you pour it, you won’t have any issues!
Serving Suggestions for Snackable Homemade Pickles
Once you’ve got your fresh pickles chilling, the possibilities are endless! Forget just having them on the side of a burger. I throw these right into my lunch containers because they are such a fantastic, low-calorie crunch factor. They are amazing thinly sliced on turkey sandwiches for a powerful flavor kick. Plus, they make the best little side for a cheese board!
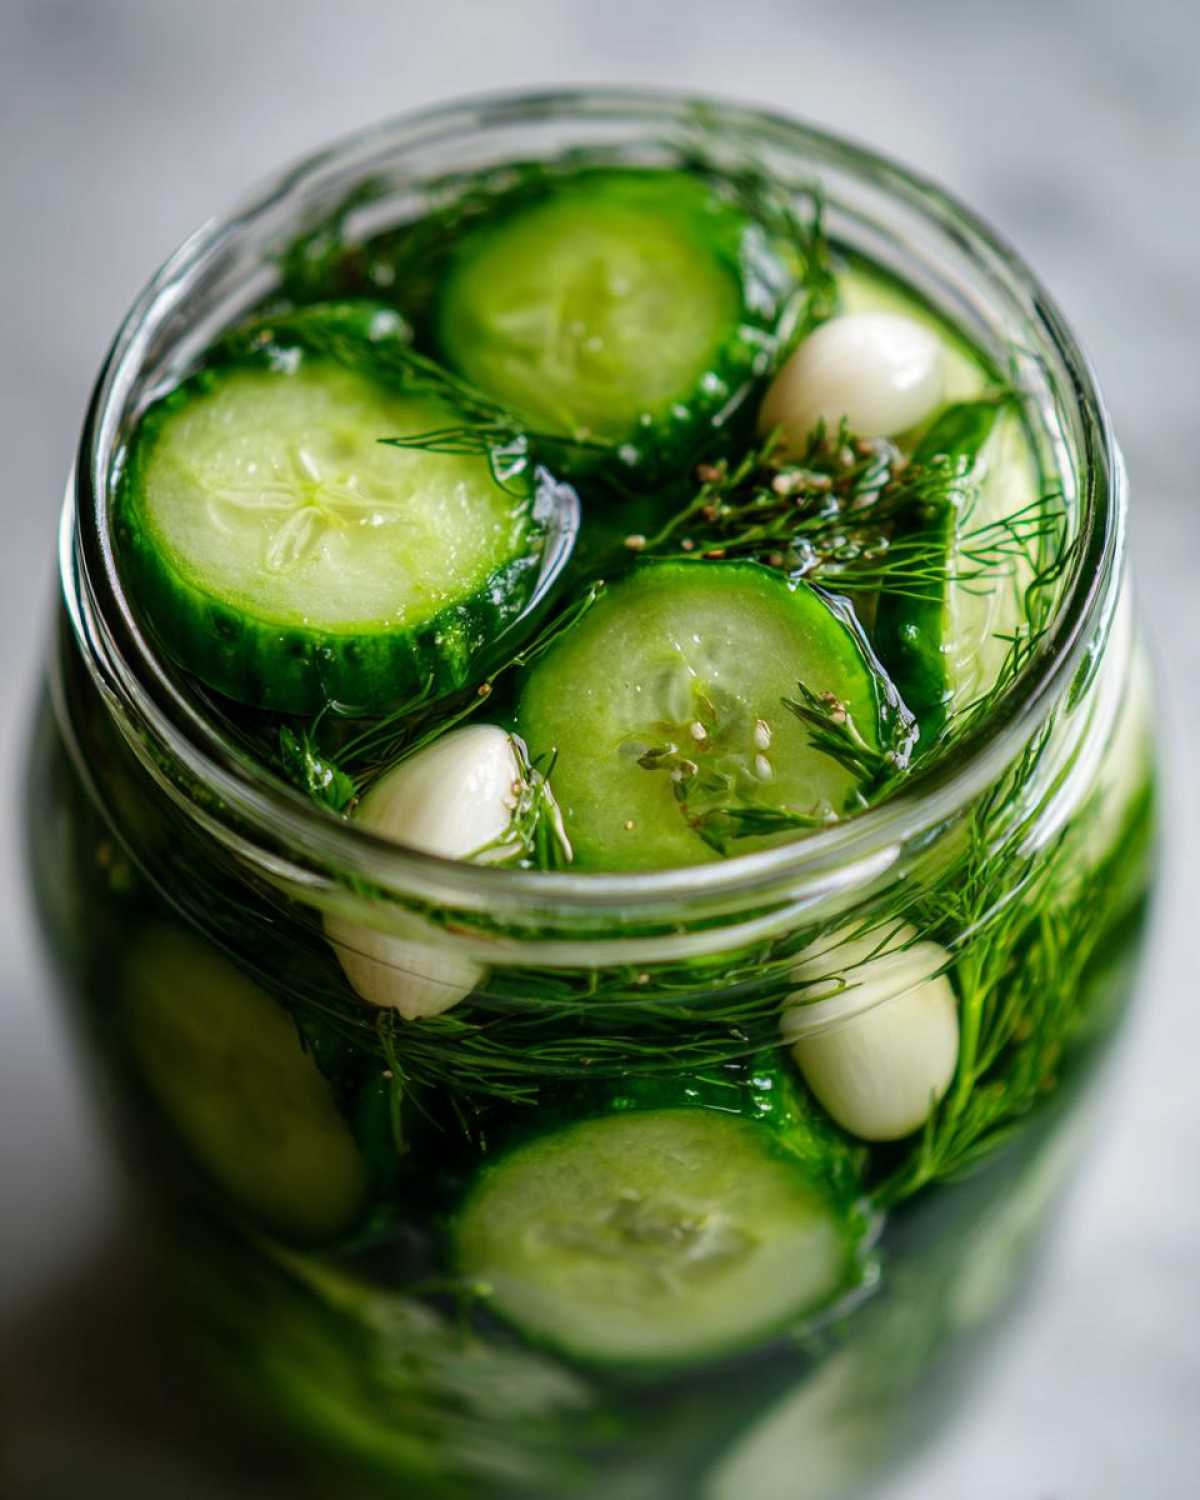
If you’re into making your food look fancy for the week, check out how I incorporate veggies like this into my routine; learning creative ways to store veggies is half the battle! You can grab my favorite ideas for meal prep pickled vegetables right here. These pickles take any sad desk lunch and make it instantly brighter.
Frequently Asked Questions About Refrigerator Pickles
Can I use regular salt instead of pickling salt in my refrigerator pickles?
That’s a great question that pops up a lot! Yes, you absolutely can swap out the pickling salt for kosher salt, and it works perfectly fine in this **refrigerator pickles** brine. Just make sure you are using kosher salt and *not* regular table salt. Table salt has anti-caking agents that can sometimes make your brine cloudy, and we want that beautiful, clear liquid. Kosher salt dissolves just as nicely and keeps those **homemade dill pickles** looking professional!
How long do I need to wait before eating these quick pickled cucumbers?
If you’re dying to try one, you technically *can* sneak a taste after about 12 hours, but honestly, it’s not worth it. You need that full 24 hours for the brine to really penetrate the cucumbers and start developing flavor. For the absolute best texture and that tangy punch you’re expecting from a **quick pickle recipe**, I truly recommend waiting a good three days. After that, they just keep getting better until about the 10-day mark. So worth the wait, I promise! For more tips on making these easy fridge pickles, check out my guide!
Can I use other vegetables to make refrigerator pickles?
Oh, you totally can! This method is fantastic for so many firm veggies. If you want to branch out from cucumbers, try carrots, green beans, or even thin slices of red onion. They all respond wonderfully to this fast brine. You might need to adjust the packing slightly, but the brine measurements work across the board for making delightful **refrigerator vegetable pickles**!
Understanding the Nutrition of Tangy Vinegar Pickles
Everyone asks about the nutrition, and honestly, these are a great snack! Because we use such simple ingredients—vinegar, salt, and water—the calorie count stays super low. Remember, these figures are estimates based on the ingredients list, especially how much salt the cucumbers absorb during brining.
Here’s the quick rundown:
- Serving Size: 4 pickle slices
- Calories: Around 10
- Sugar: Just 1 gram (that’s from what we added to balance the tartness!)
- Sodium: About 290mg (Since salt is a major component, measure that!)
They are basically fat-free and protein-free, making them a delicious, guilt-free crunch!
PrintEasy, Crunchy No-Cook Refrigerator Dill Pickles
Make crisp, flavorful dill pickles in your refrigerator with this simple, no-cook recipe that requires only 24 hours to set.
- Prep Time: 15 min
- Cook Time: 5 min
- Total Time: 20 min
- Yield: About 2 pints
- Category: Side Dish
- Method: No-Cook Brining
- Cuisine: American
- Diet: Vegetarian
Ingredients
- 2 lbs pickling cucumbers (Kirby or Persian), sliced into spears or rounds
- 2 cups water
- 1 cup white distilled vinegar (5% acidity)
- 2 tablespoons pickling salt (or kosher salt)
- 1 tablespoon granulated sugar
- 4 cloves garlic, smashed
- 2 heads fresh dill (or 2 tablespoons dried dill seed)
- 1 teaspoon black peppercorns
Instructions
- Wash and slice your cucumbers. Pack the cucumber slices tightly into one or two clean pint-sized glass jars, leaving about 1 inch of headspace.
- Add the garlic, dill, and peppercorns evenly among the jars.
- In a medium saucepan, combine the water, vinegar, salt, and sugar. Bring the mixture to a boil over medium-high heat, stirring until the salt and sugar dissolve completely. This takes about 2 minutes.
- Carefully pour the hot brine over the cucumbers in the jars, ensuring the cucumbers are fully submerged. Leave about 1/2 inch of headspace at the top.
- Let the jars cool on the counter for about 30 minutes. Once cooled slightly, seal the jars with lids.
- Place the jars in the refrigerator. Allow the pickles to chill for a minimum of 24 hours before eating for best flavor and texture. They are ready to eat after 24 hours but improve after 3 days.
Notes
- For extra crunch, soak the cucumbers in ice water for 30 minutes before slicing and packing.
- If you prefer a Kosher Dill flavor, omit the sugar entirely.
- These pickles last up to 3 weeks in the refrigerator.
Nutrition
- Serving Size: 4 pickle slices
- Calories: 10
- Sugar: 1
- Sodium: 290
- Fat: 0
- Saturated Fat: 0
- Unsaturated Fat: 0
- Trans Fat: 0
- Carbohydrates: 2
- Fiber: 0
- Protein: 0
- Cholesterol: 0
