

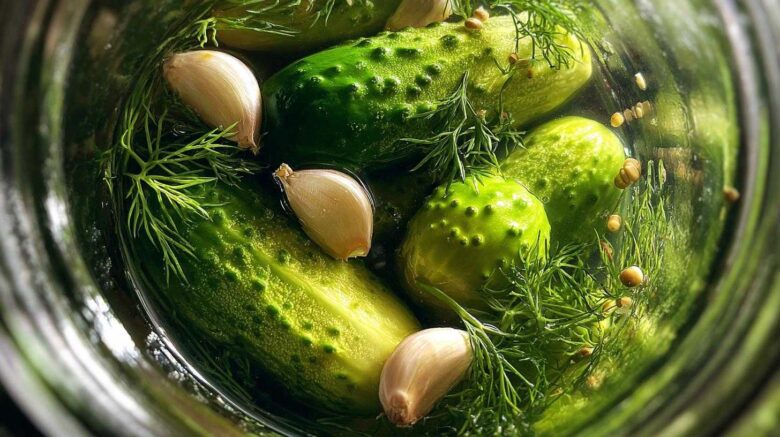
Making your own crunchy refrigerator dill pickles is surprisingly simple. It’s a fantastic way to use up all those cucumbers from the garden. I remember one summer, my little backyard patch went wild. I had cucumbers everywhere! I was looking for an easy way to preserve them. This recipe was a lifesaver. It’s so rewarding to pull a jar of these out of the fridge. They’re perfectly crisp and tangy. You’ll be amazed at how easy it is.
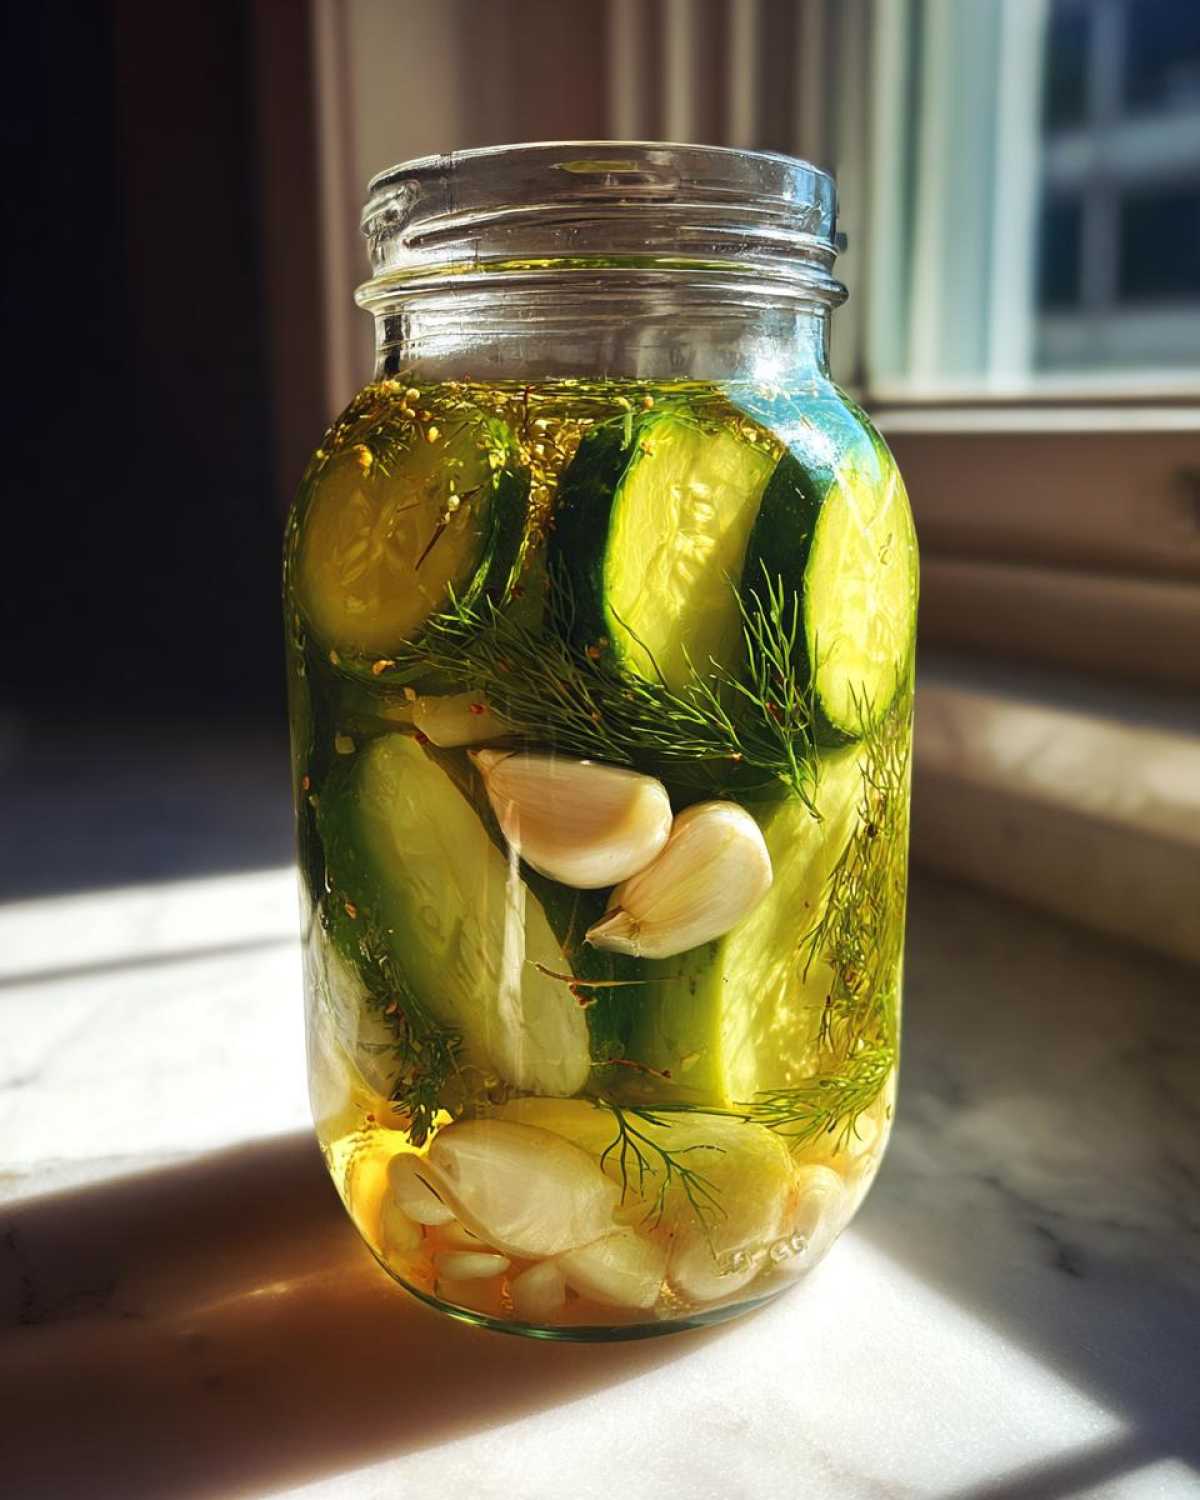
Why You’ll Love These Crunchy Refrigerator Dill Pickles
These pickles are a dream come true for any home cook. They’re:
- Super Quick: Ready overnight!
- So Easy: No special equipment needed.
- Deliciously Tangy: Packed with classic dill pickle flavor.
- Perfectly Crunchy: You’ll get that satisfying snap.
- Great for Preserving: Use up that garden bounty.
Seriously, you can’t go wrong with these pickles. They’re a crowd-pleaser.
A Taste of Tradition with Crunchy Refrigerator Dill Pickles
At Savory Skies, we love recipes that connect us to our roots. Chef Tariq always says that good food starts with respecting the season. Amara learned so much from her grandmother about preserving summer’s best. This recipe honors that tradition. It’s a simple way to capture that fresh cucumber flavor. We think you’ll taste the care in every bite. It’s like a little jar of sunshine.
Gather Your Ingredients for Crunchy Refrigerator Dill Pickles
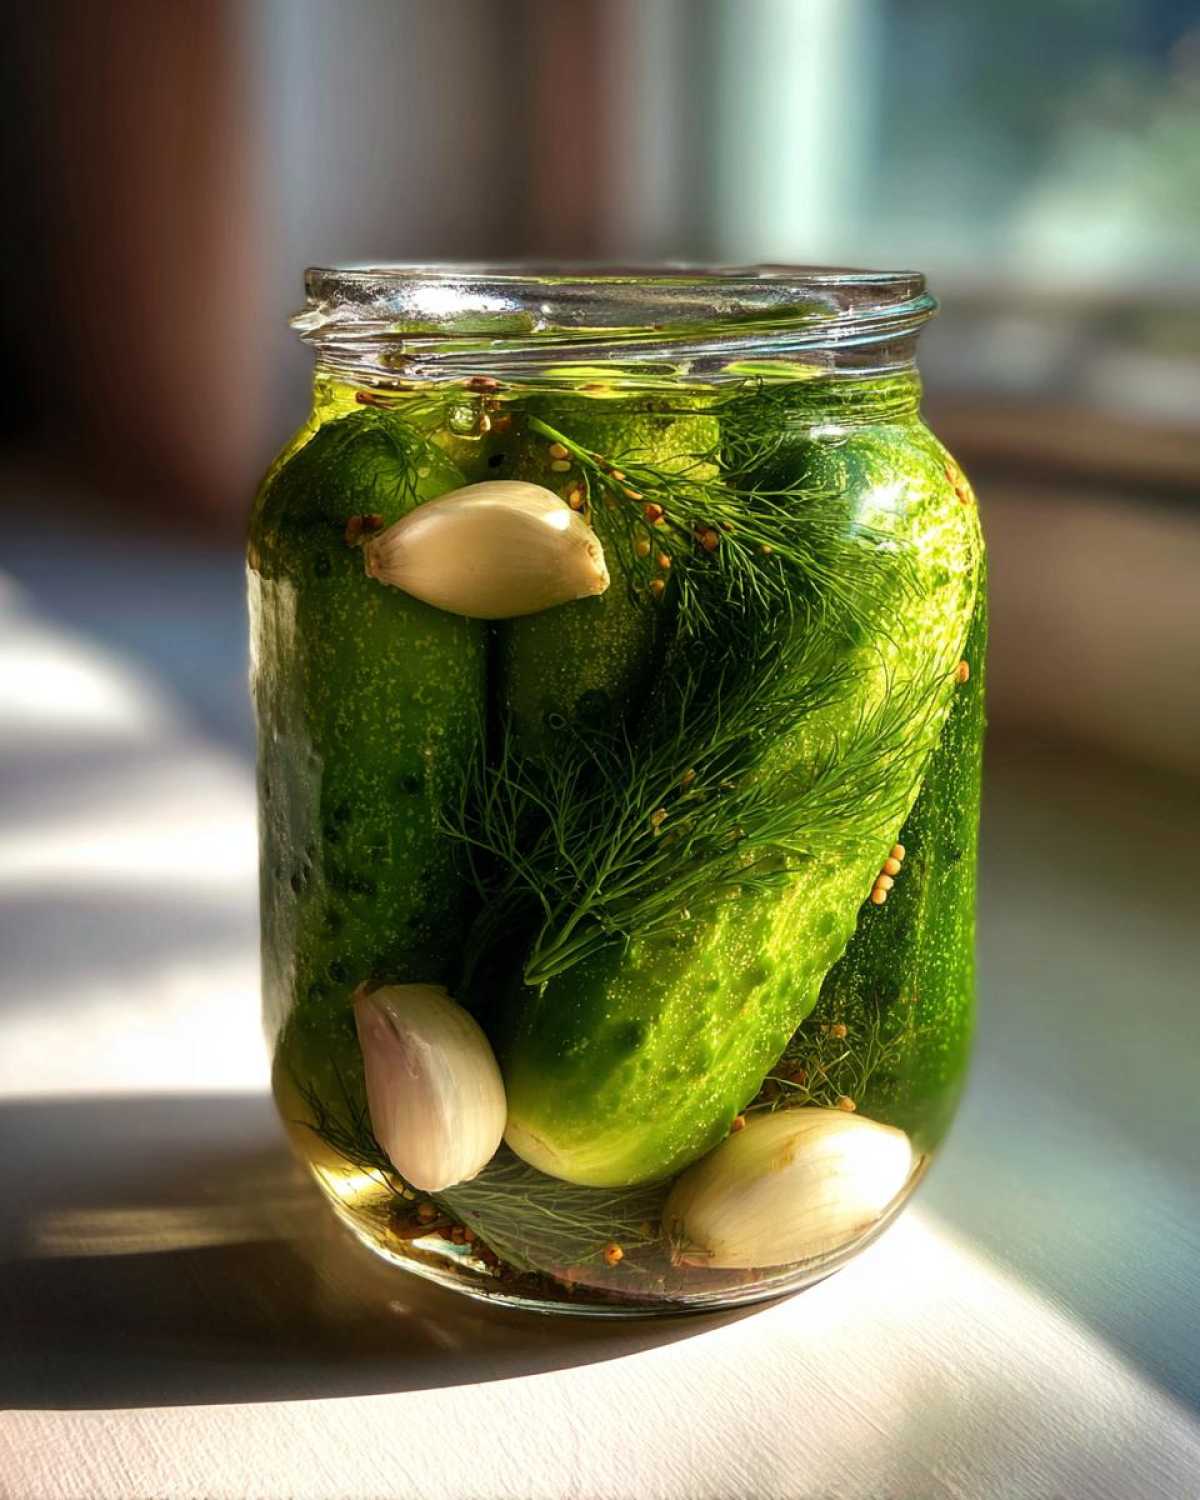
Let’s get everything ready to make these amazing pickles! You’ll need about 3 pounds of pickling cucumbers. These are usually smaller and have thinner skins. You’ll also need 1 gallon of water. For the brine, grab 1 cup of white vinegar and 3 tablespoons of kosher salt. I always use kosher salt; it just dissolves better. Then, for that classic dill pickle flavor, we’ll add 1 tablespoon of mustard seeds, 1 teaspoon of dill seeds, and 1 teaspoon of peppercorns. If you like a little heat, a teaspoon of red pepper flakes is great too. Don’t forget 4-6 fresh dill heads or 2 tablespoons of dried dill. And a few cloves of garlic, smashed, really amp up the flavor. You’ll want about 4-6 jars, like mason jars, to hold all these delicious pickles.
Ingredient Notes for Perfect Crunchy Refrigerator Dill Pickles
Choosing the right cucumber is key for that amazing crunch. Look for pickling varieties like Kirby cucumbers. They’re firm and have fewer seeds. If you can’t find fresh dill heads, dried dill works just fine. Just make sure it’s fresh! For the garlic, smashing it helps release its awesome flavor into the brine. I sometimes add a whole smashed clove to each jar. As for the spices, feel free to play around! If you love garlic, add an extra clove. Not a fan of heat? Skip the red pepper flakes. The beauty of making these at home is you can totally customize them. It’s all about what tastes best to you!
Step-by-Step Guide to Making Crunchy Refrigerator Dill Pickles
Let’s get these pickles made! It’s a simple process. Just follow along. You’ll have delicious pickles soon.
Preparing Your Cucumbers and Jars
First, give your cucumbers a good wash. Trim off the blossom end. This is important. It helps keep them crisp. Then, get your jars ready. Make sure they are super clean. Any airtight container works. Mason jars are perfect. This prep step is quick. It sets you up for success.
Crafting the Flavorful Brine
Grab a big pot. Combine the water, white vinegar, and kosher salt. Heat this mixture. Stir it well. You want the salt to dissolve completely. Once it boils, take it off the heat. Let the brine cool down a bit. It shouldn’t be piping hot. Just warm is good. This step is crucial for safety.
Packing Your Jars for Crunchy Refrigerator Dill Pickles
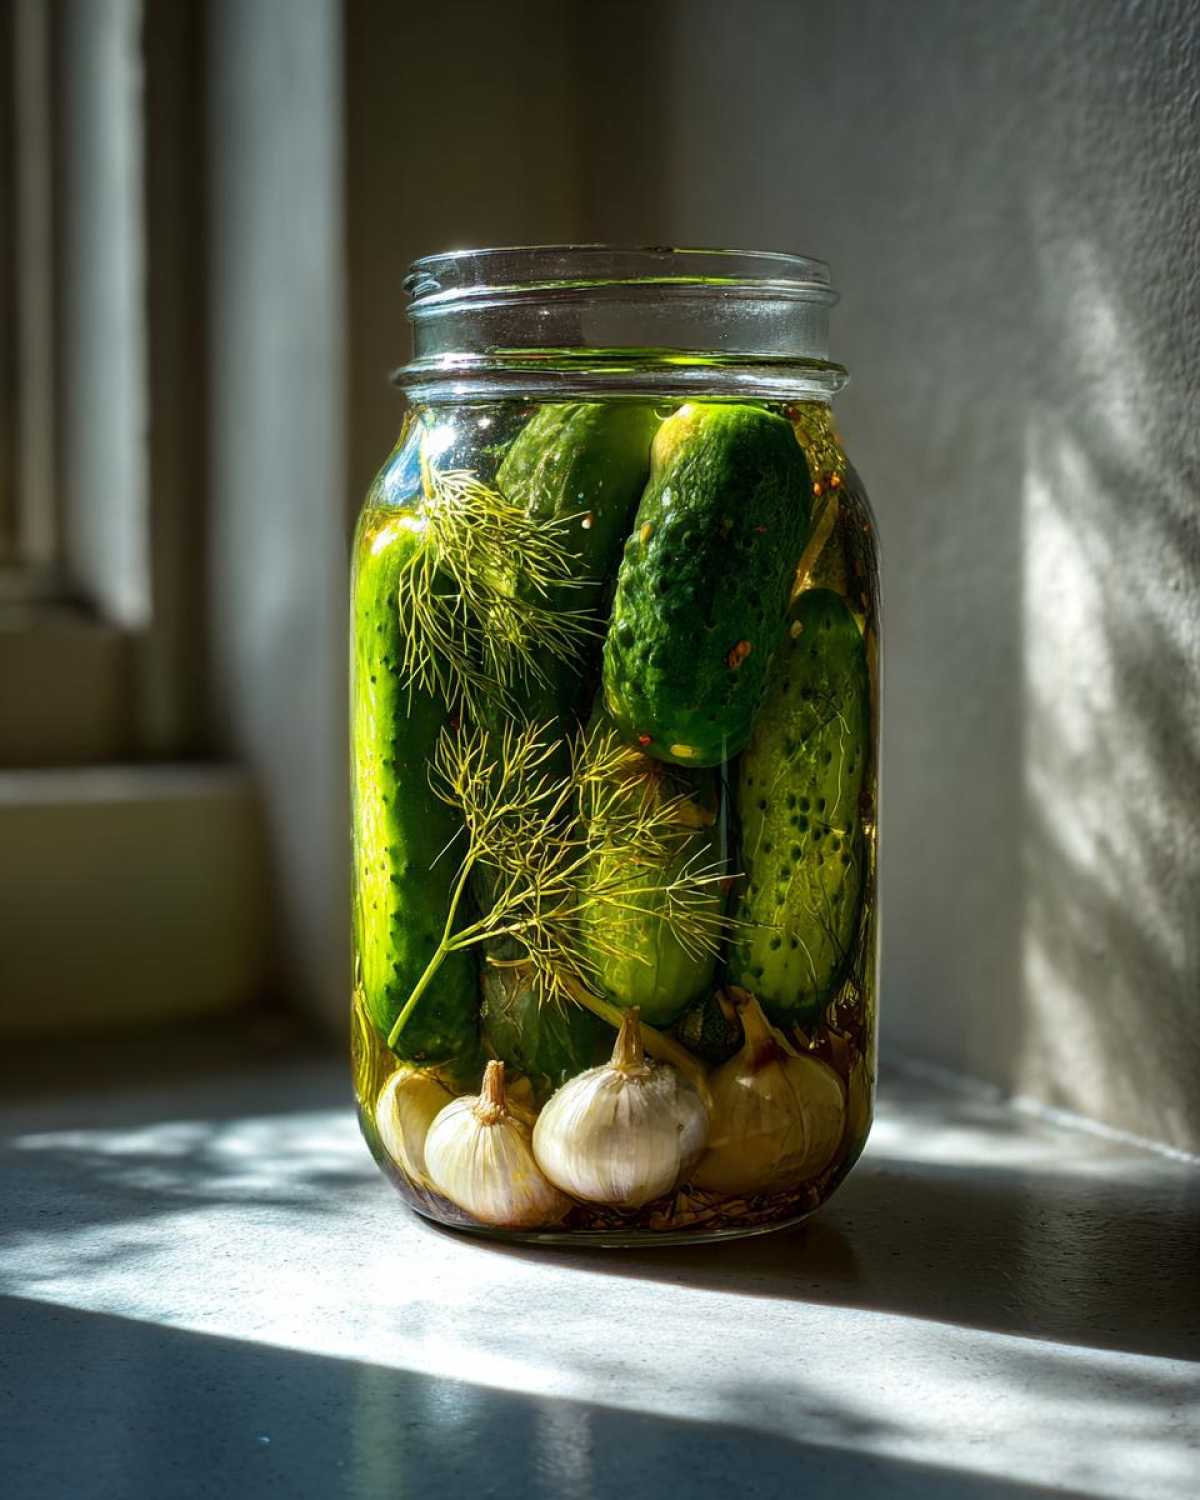
Now for the fun part! Pack those cucumbers into your jars. Pack them in there nice and snug. Don’t be shy! Add your fresh dill heads. Toss in the smashed garlic cloves. Sprinkle in the mustard seeds, dill seeds, and peppercorns. If you like heat, add the red pepper flakes now. Make sure you get some of everything in each jar. This layering creates amazing flavor.
Sealing and Storing Your Crunchy Refrigerator Dill Pickles
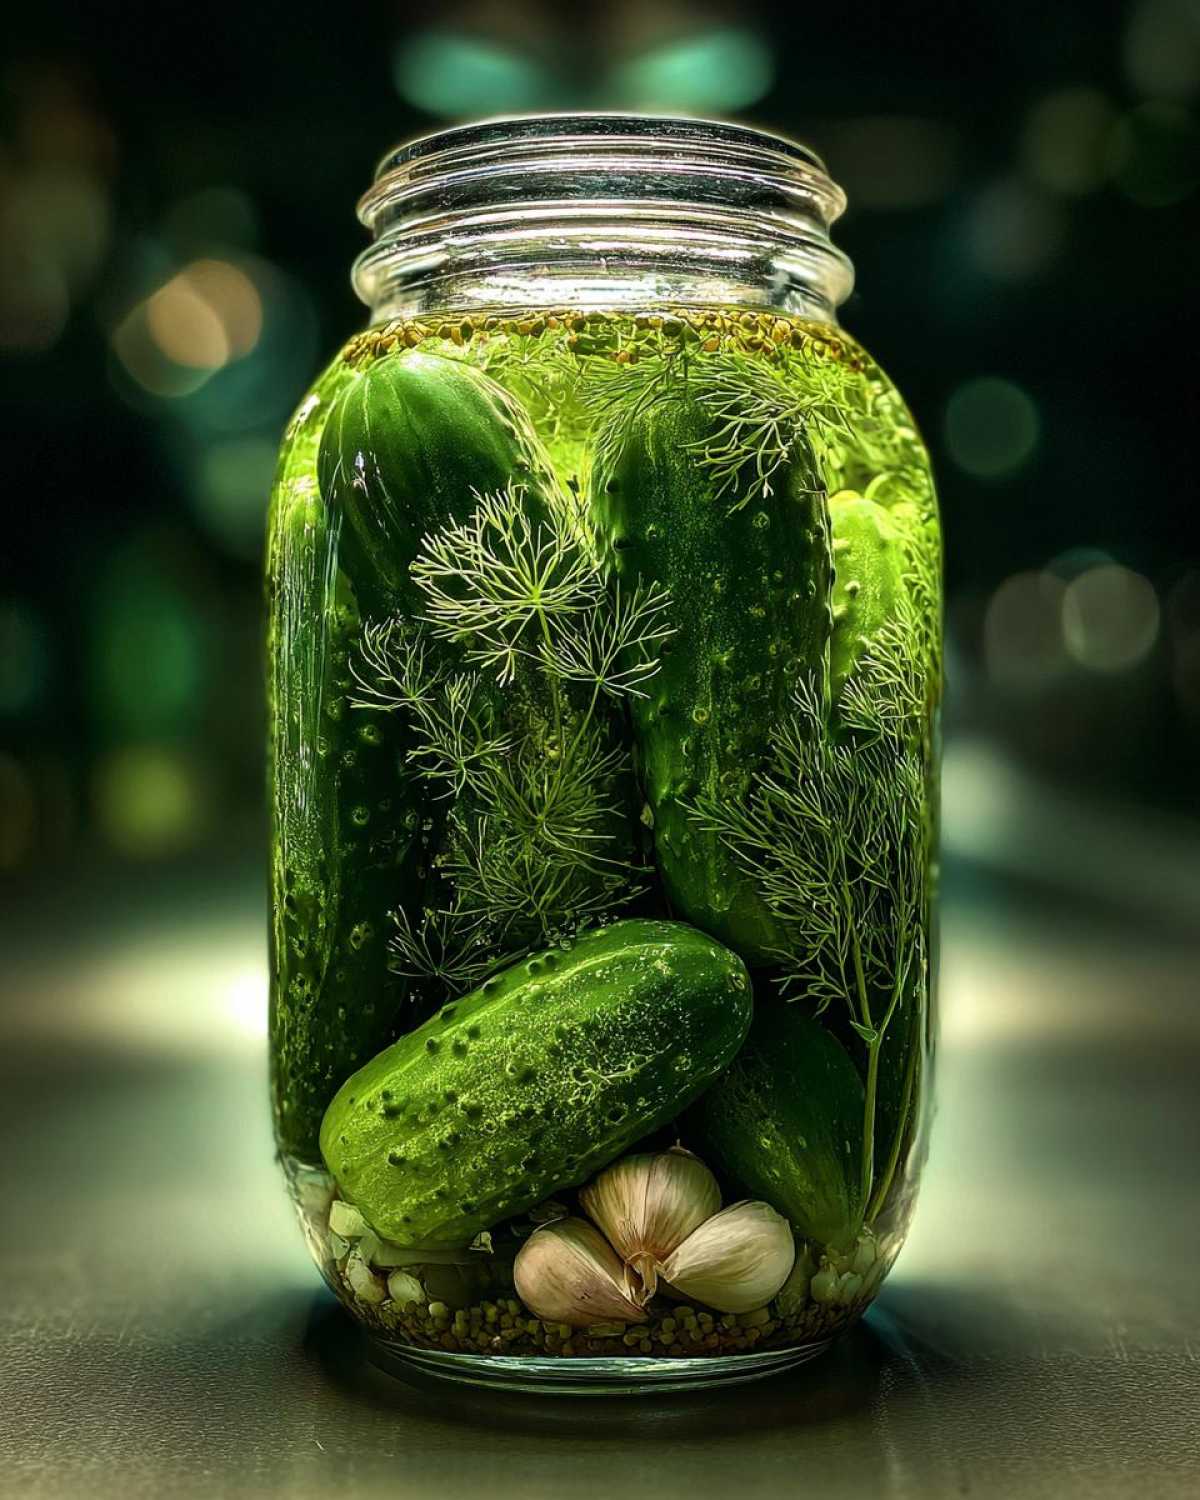
Pour the slightly cooled brine over the cucumbers. Make sure they are fully covered. Leave a little space at the top. Seal the jars tightly. Let them cool to room temperature on the counter. Then, move them to the refrigerator. Patience is key here. Wait at least 24 hours before you dive in!
Tips for Extra Crunchy Refrigerator Dill Pickles
Want pickles with that perfect snap? I’ve got a couple of tricks up my sleeve! A great tip is to add a grape leaf or a bit of horseradish leaf to each jar. These leaves have tannins that help keep the pickles firm. My grandmother swore by this method. It really does make a difference. And make sure your cucumbers are super fresh! Don’t use old, soft ones. Also, trim off that blossom end really well. It contains enzymes that can make pickles soft. Pack your jars nice and tight, too. This helps keep everything submerged and crisp. Happy pickling!
Frequently Asked Questions About Crunchy Refrigerator Dill Pickles
Got questions about making these yummy pickles? I’m happy to help!
How long do these pickles last? They’re great in the fridge for several weeks. I usually try to finish them within a month. They just taste so fresh!
Can I adjust the spice level? Absolutely! This recipe is super adaptable. Like it spicier? Add more red pepper flakes. Prefer less heat? Just leave them out. You can also adjust the garlic and dill to your taste.
What kind of cucumbers are best? Pickling cucumbers are ideal. Look for varieties like Kirby. They’re firm and perfect for this. If you can’t find pickling cukes, use the freshest, firmest slicing cucumbers you can find. Avoid overly large ones with soft seeds.
Do I really need to wait 24 hours? Yes, please! That waiting time lets all those amazing flavors meld together. It’s tough, but it’s worth it for the best taste and crunch.
Understanding the Nutrition of Crunchy Refrigerator Dill Pickles
Just a little note on the nutrition facts you see for these delicious crunchy refrigerator dill pickles. Keep in mind that these numbers are estimates. They can totally change depending on the specific brands of ingredients you use. Plus, how much spice or dill you add can also make a difference. It’s all part of the fun of making them your own way!
Share Your Crunchy Refrigerator Dill Pickle Success
I’d absolutely love to hear about your pickling adventures! Did you try this recipe for crunchy refrigerator dill pickles? How did they turn out for you? Please share your experience in the comments below. Let us know if you added any personal twists! Your feedback helps our whole Savory Skies family. We’re always looking for new ideas. Happy cooking!
PrintCrunchy Refrigerator Dill Pickles: 4 Quick Steps to Amazing Flavor
Learn how to make crunchy refrigerator dill pickles with this simple, no-canning-required recipe. Perfect for using up extra cucumbers, you’ll have tangy, crisp pickles ready to enjoy overnight.
- Prep Time: 20 minutes
- Cook Time: 10 minutes
- Total Time: 24 hours 30 minutes
- Yield: 6-8 cups
- Category: Pickles
- Method: Refrigerator Pickling
- Cuisine: American
- Diet: Vegetarian
Ingredients
- 3 pounds pickling cucumbers (about 6-8 medium)
- 1 gallon water
- 1 cup white vinegar
- 3 tablespoons kosher salt
- 1 tablespoon mustard seeds
- 1 teaspoon dill seeds
- 1 teaspoon peppercorns
- 1 teaspoon red pepper flakes (optional)
- 4-6 fresh dill heads or 2 tablespoons dried dill
- 4-6 cloves garlic, smashed
Instructions
- Wash cucumbers and trim off the blossom end.
- In a large pot or Dutch oven, combine water, white vinegar, and kosher salt. Bring to a boil, stirring until salt dissolves.
- Remove from heat and let the brine cool slightly.
- While the brine cools, prepare your jars. You can use mason jars or any clean, airtight containers.
- Pack the jars tightly with cucumbers. Add dill heads or dried dill, smashed garlic cloves, mustard seeds, dill seeds, peppercorns, and red pepper flakes (if using) to each jar.
- Pour the slightly cooled brine over the cucumbers, ensuring they are completely submerged. Leave about 1/2 inch of headspace at the top of each jar.
- Seal the jars tightly with lids.
- Let the pickles cool to room temperature, then refrigerate.
- Wait at least 24 hours before enjoying your crunchy refrigerator dill pickles.
Notes
- For extra crunch, you can add a grape leaf or a piece of horseradish leaf to each jar.
- Adjust the amount of garlic, dill, and spices to your preference.
- These pickles will last for several weeks in the refrigerator.
Nutrition
- Serving Size: 1/4 cup
- Calories: 15
- Sugar: 1g
- Sodium: 300mg
- Fat: 0g
- Saturated Fat: 0g
- Unsaturated Fat: 0g
- Trans Fat: 0g
- Carbohydrates: 3g
- Fiber: 1g
- Protein: 0g
- Cholesterol: 0mg
