

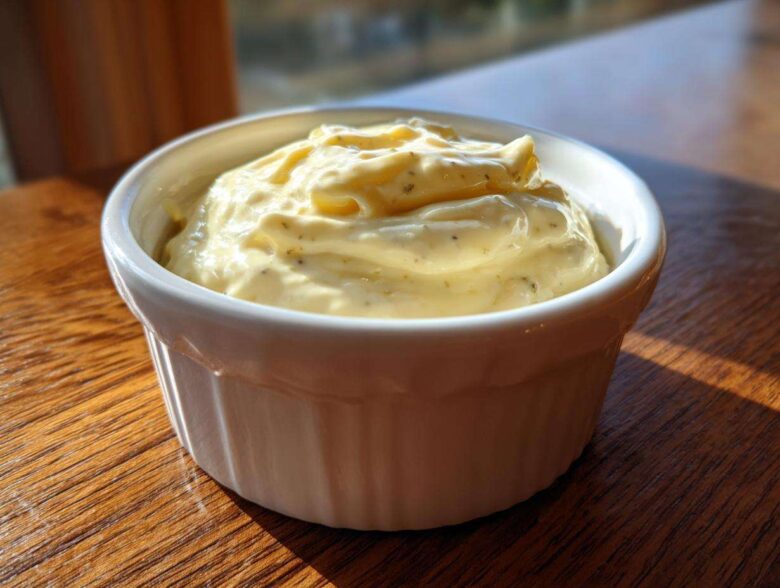
Okay, you know how sometimes you just can’t find a good dipping sauce? Store-bought stuff is usually too sweet or tastes like chemicals—bleh! That’s why I finally mastered the art of the creamy emulsion, and now I’m sharing my absolute best recipe for homemade garlic aioli. Forget everything you thought you knew about complicated sauces; this is the real deal. It’s hands-down the creamiest, richest garlic aioli you’ll ever make, and once you nail that slow oil dribble, you’ll feel like a culinary genius. Trust me, once you taste this fresh, vibrant sauce, you won’t go back. If you’re worried about raw eggs, check out my tips for easy homemade mayonnaise recipe—the technique is almost identical! It genuinely takes less than 10 minutes!
Why This Homemade Garlic Aioli Recipe Works So Well
This isn’t just another runny sauce! If you’ve ever tried making a sauce from scratch and ended up with oil swimming at the bottom, I feel your pain. But this particular method is a game-changer because it focuses entirely on building a strong foundation. It’s an incredibly easy aioli recipe, provided you trust the process. We are building a true, thick, creamy garlic sauce here, not just mixing ingredients!
- It’s shockingly fast—we’re talking minutes once you get the hang of it.
- The texture stays stable and won’t separate easily once chilled.
- It allows you to control the freshness of the garlic, which is everything!
Achieving Restaurant Style Aioli Texture
When you go slow with that oil, you are creating tiny, perfect fat spheres surrounded by the egg yolk and acid. That slow introduction is what guarantees a proper emulsion. That’s how you get that dense, glossy, luxurious mouthfeel you find in the best restaurants. It transforms the sauce into a proper restaurant style aioli that just coats whatever you dip into it.
The Secret to Perfect Garlic Aioli Flavor
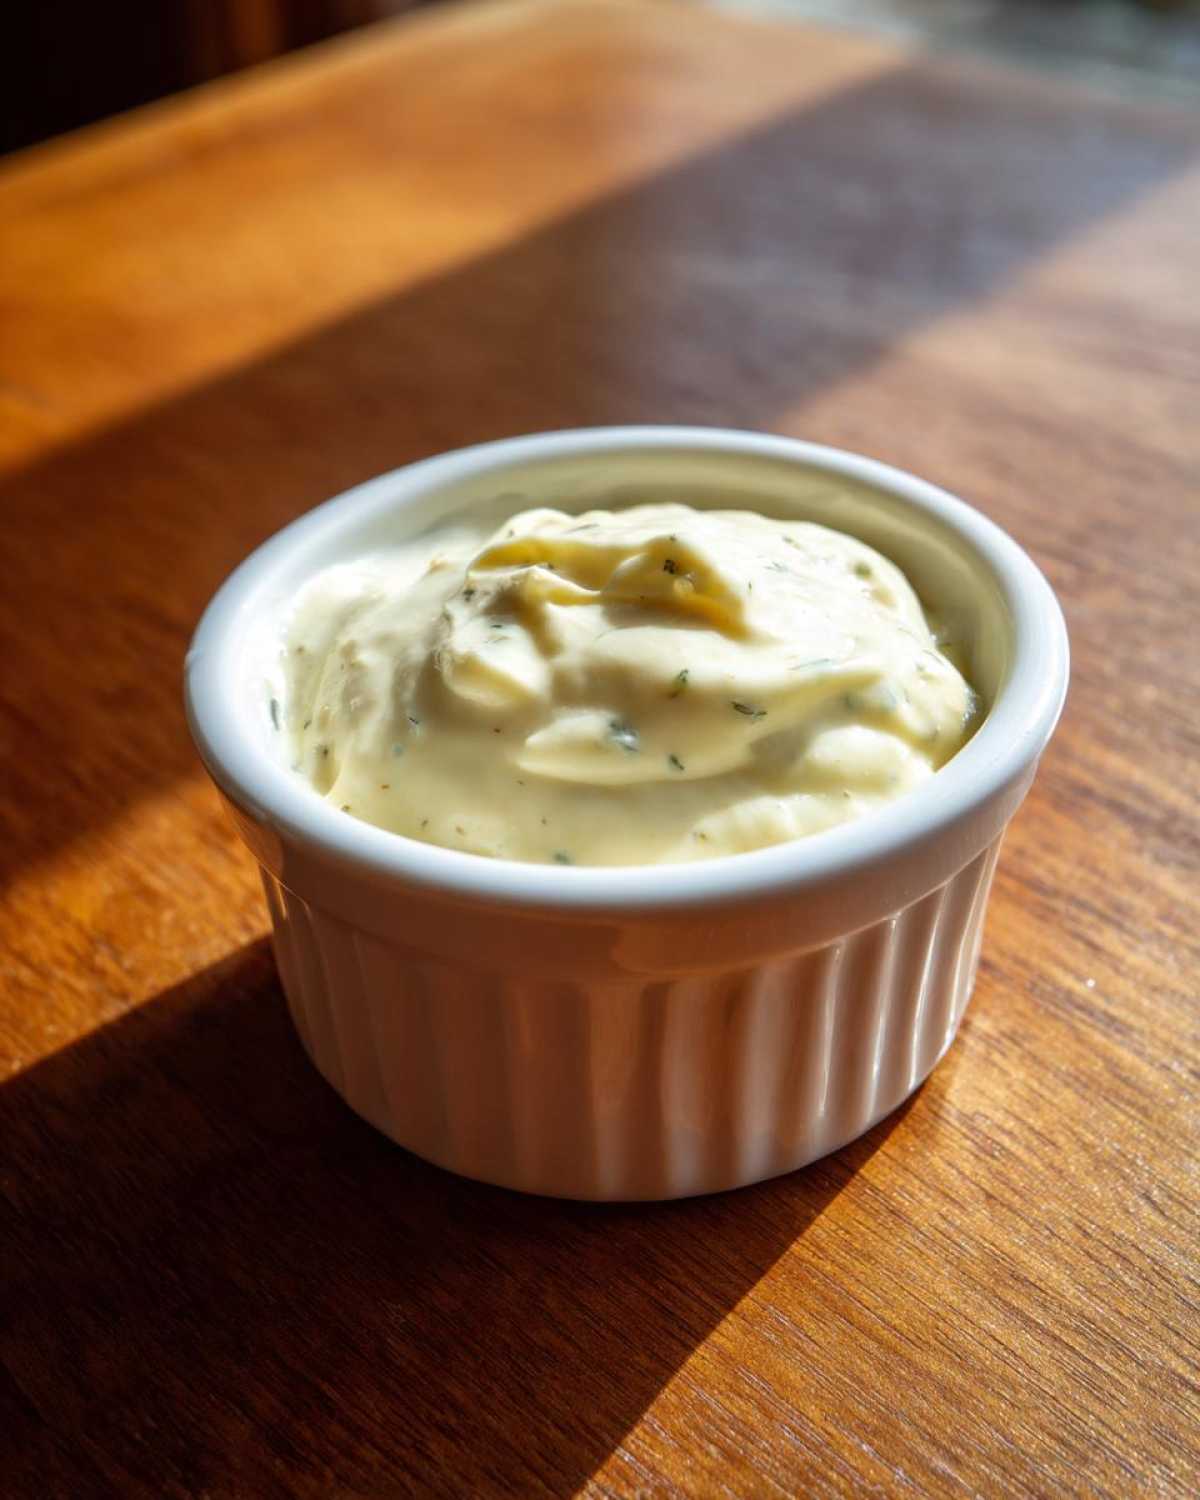
The flavor profile is all about balance. That tiny bit of Dijon mustard might seem simple, but it acts as an extra helper in the emulsion *and* brightens the taste. The lemon cuts through the richness perfectly. If you decide to add the roasted garlic, wow—that deep sweetness elevates this into the realm of the best dipping sauce for just about anything.
Ingredients Needed for Creamy Garlic Aioli
Gathering your ingredients ahead of time is essential here, especially because the whisking goes so fast! Once you start adding the oil, there’s no time to wander off looking for the mustard. You need everything ready to go. For this recipe, which yields about a generous cup of sauce, here is what you’ll need:
- 1 large egg yolk (freshness counts!)
- 2 cloves garlic, minced finely
- 1 teaspoon Dijon mustard
- 1/2 teaspoon salt
- 1/4 teaspoon black pepper
- 1 tablespoon fresh lemon juice
- 1 cup neutral oil (like canola or grapeseed)
- Optional: 1 roasted garlic clove, mashed
Ingredient Notes and Substitutions for Garlic Aioli
Let’s talk oil first. You absolutely must use a neutral oil—canola, grapeseed, or even a light vegetable oil work perfectly. Olive oil is too strong and will make your beautiful garlic aioli taste bitter, trust me! We need that fresh egg yolk because it’s the hero of the emulsification, making this a true egg yolk aioli recipe.
If you absolutely hate mincing garlic, you *can* use jarred minced garlic, but you’ll need to use less, and the flavor intensity won’t be as clean, which is a real shame when you’re making something this special.
How to Make Aioli From Scratch: Step-by-Step Garlic Aioli Instructions
Alright, pull out your whisk and brace yourself! We are about to tackle exactly how to make aioli from scratch. If you have all your ingredients prepped, this really can be a 5 minute aioli situation. Remember, the goal is to combine the yolk, garlic, mustard, salt, pepper, and lemon juice first. Give that a really good whisk until it looks pale and completely uniform. This mixture is our base, and we need it happy before the oil comes into play.
- Place the egg yolk, minced garlic, Dijon mustard, salt, pepper, and lemon juice in a medium bowl. Whisk these ingredients together until they are well combined and slightly pale.
- Begin adding the oil very slowly, drop by drop, while whisking constantly and vigorously. This step is crucial for emulsification.
- Once the mixture starts to thicken slightly after about a quarter of the oil is added, you can increase the oil stream to a thin, steady drizzle, still whisking without stopping.
- Continue adding the oil until all of it is incorporated and the mixture is thick and creamy, resembling mayonnaise.
- If using, whisk in the mashed roasted garlic for a deeper flavor.
- Taste the aioli and adjust salt or lemon juice as needed.
- Cover and refrigerate for at least 30 minutes before serving to allow the flavors to meld.
The Emulsification Process for Perfect Garlic Aioli
Listen, this is where commitment matters! When you start adding that oil in Step 2, you have to whisk like your life depends on that sauce being perfect. Initially, you are only adding oil almost one drop at a time. If you rush this, you’ll end up with runny, sad egg oil soup. Keep whisking hard until you physically see the mixture change its texture—it will get glossy, lightened in color, and start holding peaks. That’s the sign! Once it’s visibly thicker, you can finally relax your arm a tiny bit and switch to that slow, steady drizzle.
Finishing and Flavor Adjustments for Your Garlic Aioli
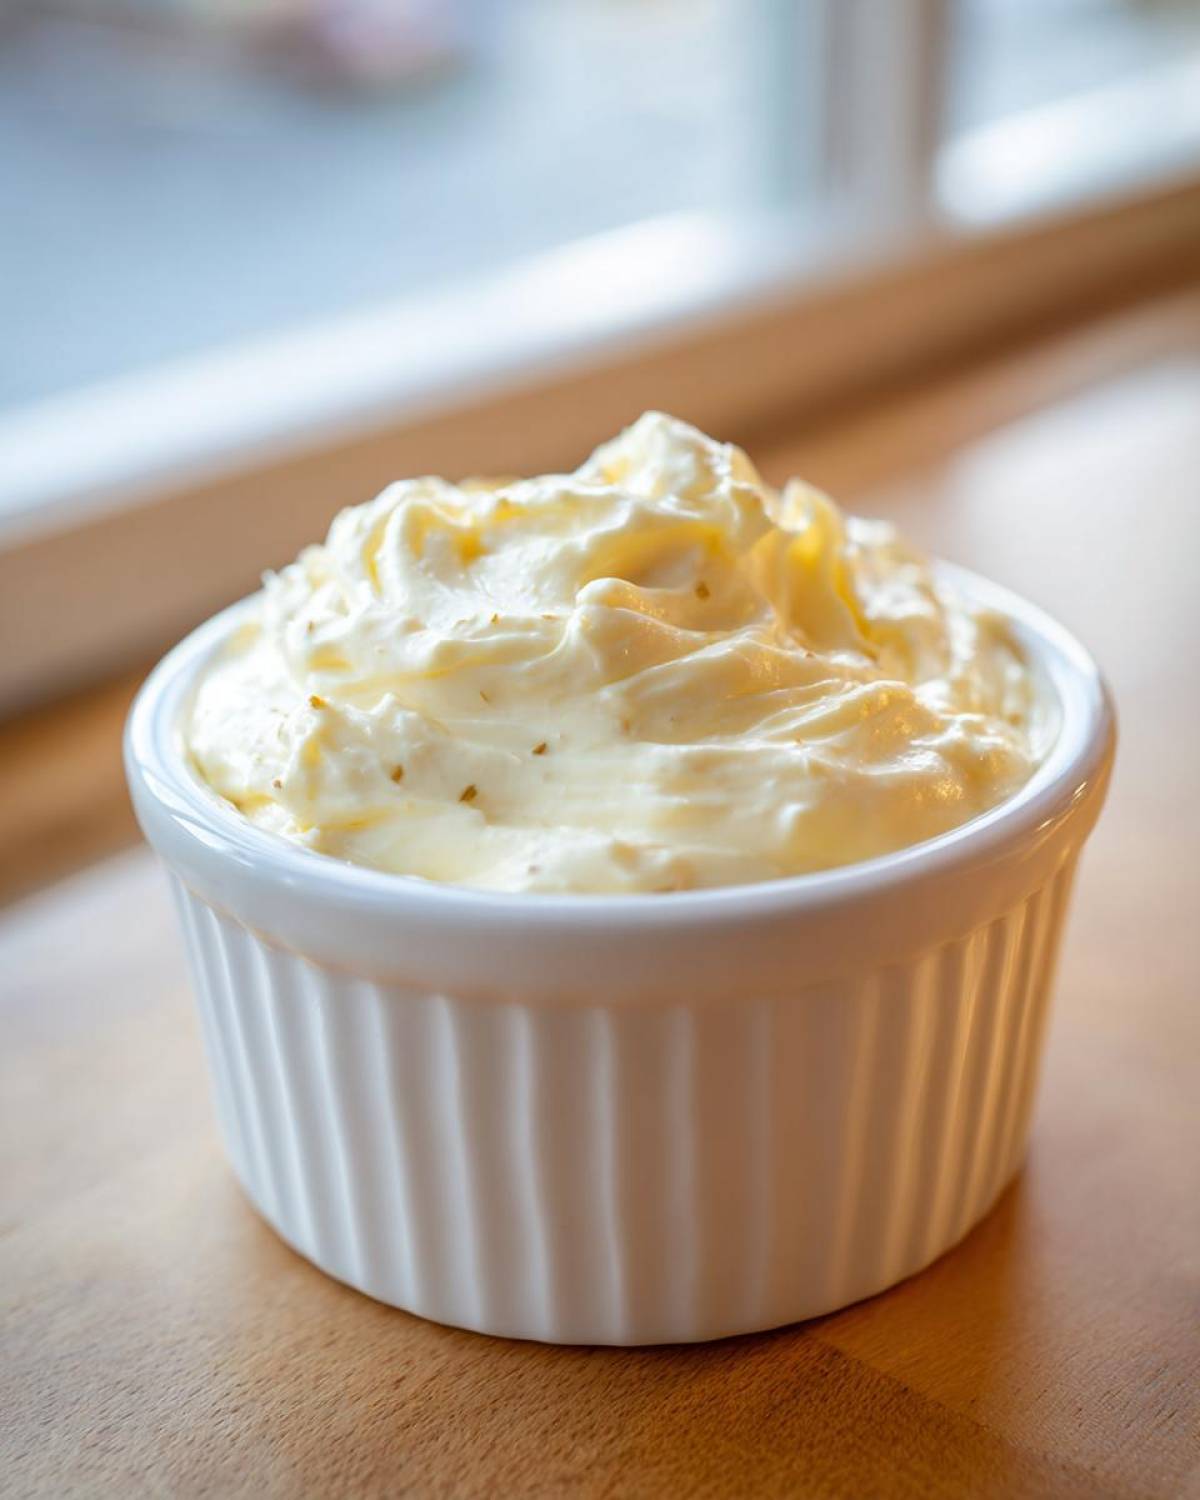
Once all the oil is in and you have your gorgeous, thick base, it’s time for the final touches. If you roasted that garlic clove, whisk it in now. It adds this incredible mellow sweetness. But here’s my golden rule for every savory homemade sauce: taste it! Does it need another squeeze of lemon to wake it up? Is the salt just right? Don’t skip this step! After adjusting, cover it up tightly and stick it in the fridge for at least 30 minutes. That chilling time is non-negotiable; it lets all those raw garlic notes mellow down and marry into the fat. It makes the final product so much smoother.
Troubleshooting Common Garlic Aioli Issues
If you’ve followed every step and suddenly your beautiful base has turned into watery, oily soup, don’t panic! Seriously, everyone—even chefs—has accidentally broken a batch of garlic aioli. It’s usually because the oil went in too fast, too soon, or maybe your egg yolk was too cold. It looks ruined, but it’s not! You just need to coax it back together.
The fix requires a clean bowl and a renewed commitment to whisking. Take one teaspoon of warm water—yes, plain warm tap water—and whisk it vigorously into the broken mixture. It will look very unhappy for about three seconds, but stick with it! Then, you start adding the separated oil back in, but this time, you go back to the original rule: drop by drop!
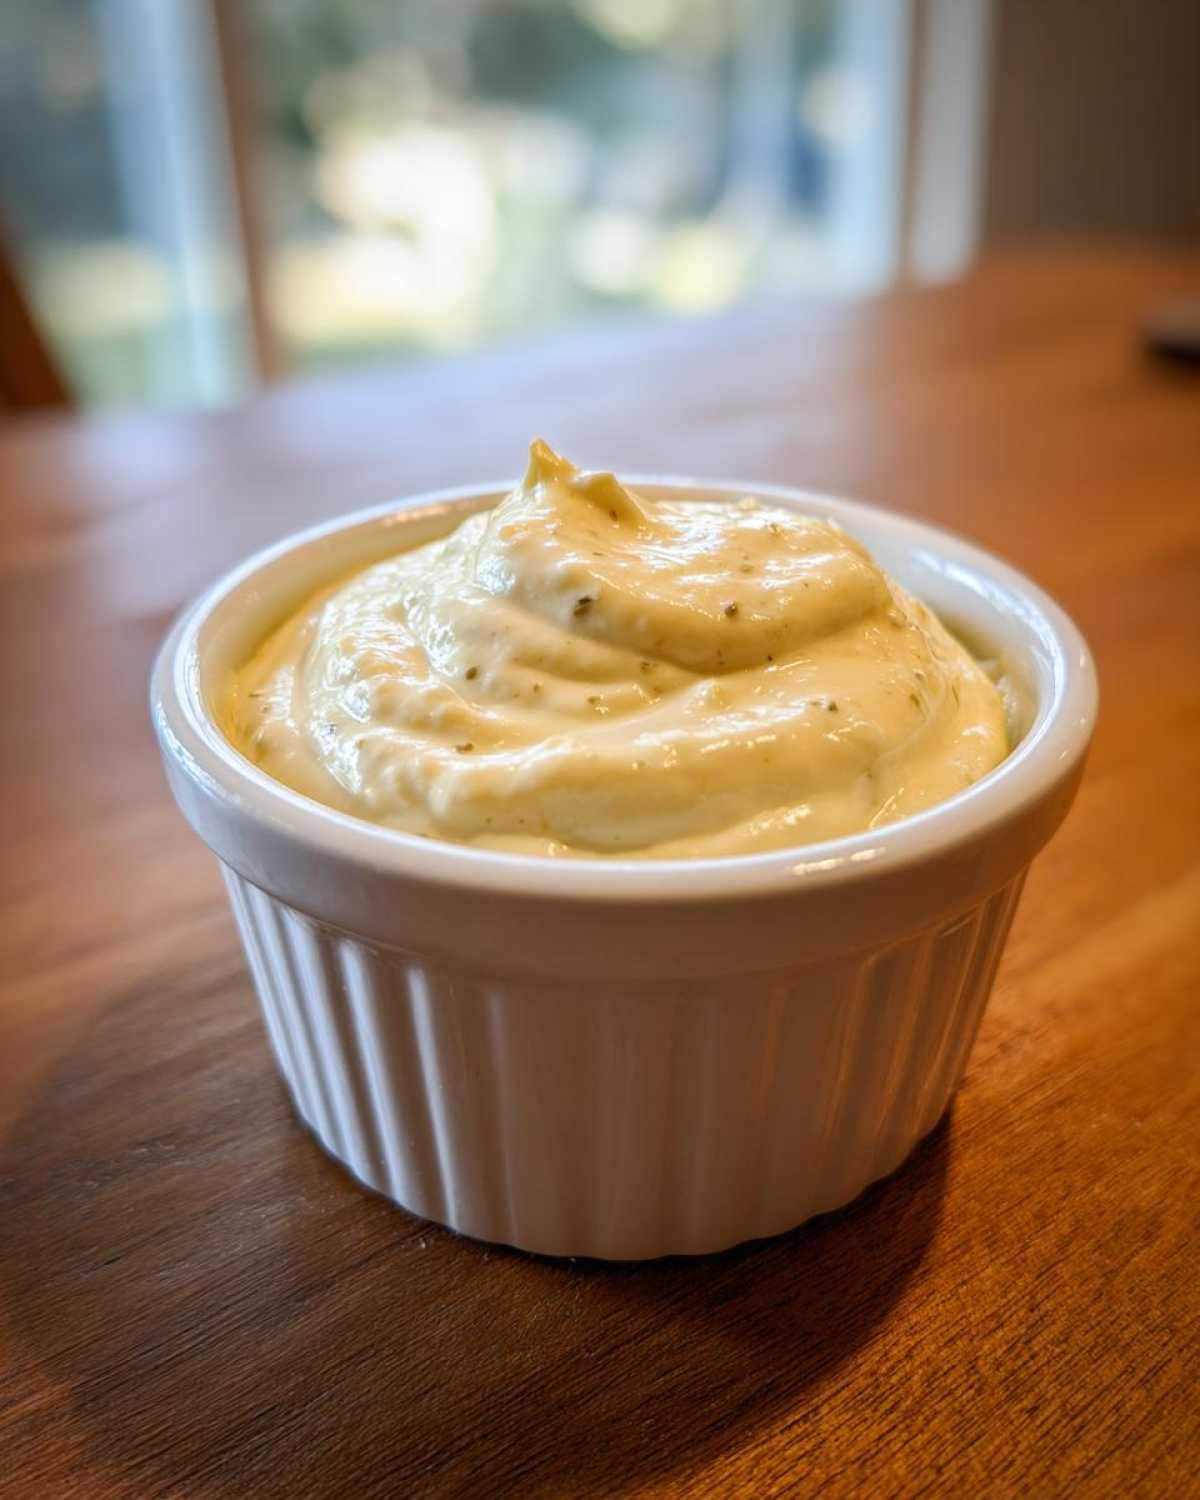
This process essentially starts a new, tiny, successful emulsion that grabs onto the broken oil and pulls it back into the fold. If you add that oil slowly enough, you’ll end up with a perfect, thick batch of savory homemade sauces again. It’s truly amazing what a little patience can save in the kitchen!
Versatile Applications for Your Garlic Aioli
This is honestly my favorite part about making this sauce! Once you’ve successfully created this rich, homemade garlic aioli, you realize it’s not just a one-trick pony. It elevates everything it touches. Why use plain mayo or ketchup when you have this flavor bomb ready to go? It turns a basic weeknight meal into something that tastes like it came from a fancy bistro. It’s the ultimate upgrade to your collection of condiments and dips!
Serving Garlic Aioli with Fried Foods
Let’s start with the classics, right? You absolutely must try this as the ultimate aioli for fries. Forget the standard options; the richness of the aioli paired with the salty crispness of a good potato fry is just heavenly. But don’t stop there! It is divine drizzled over roasted asparagus or drizzled liberally over crispy sweet potato wedges. You just add a dash of pepper, and suddenly, boring vegetables feel special.
Using Garlic Aioli as a Burger or Sandwich Spread
If you’re making burgers, skip the standard condiments. This thick, garlicky creation makes the perfect gourmet sandwich spread. Slather it onto toasted brioche before adding grilled chicken or a veggie patty. I swear it makes the whole sandwich taste immediately gourmet! It’s also incredible simply spread on toast with a little salt before topping with sliced tomato.
If you are bringing the seafood into the mix, remember that zingy lemon note? If you add that extra zest when finishing the sauce, it transforms into a wonderful, bright accompaniment for grilled shrimp or flaky white fish. It’s lighter than a tartar sauce but just as satisfying!
Storage and Reheating Instructions for Garlic Aioli
Now that you’ve created this glorious, creamy batch of garlic aioli, you need to treat it well! Since we used a fresh egg yolk and no commercial preservatives, we have to be smart about storage. The good news is that because this is an emulsion packed with oil and acid, it keeps quite well!
You can store your homemade creation in any clean, airtight container—I usually just use a small glass jar with a tight lid. I generally find that it lasts beautifully for up to a full week in the refrigerator. The flavors actually get better overnight as the fresh garlic mellows a tiny bit, so don’t stress if you make it the day before you need it!
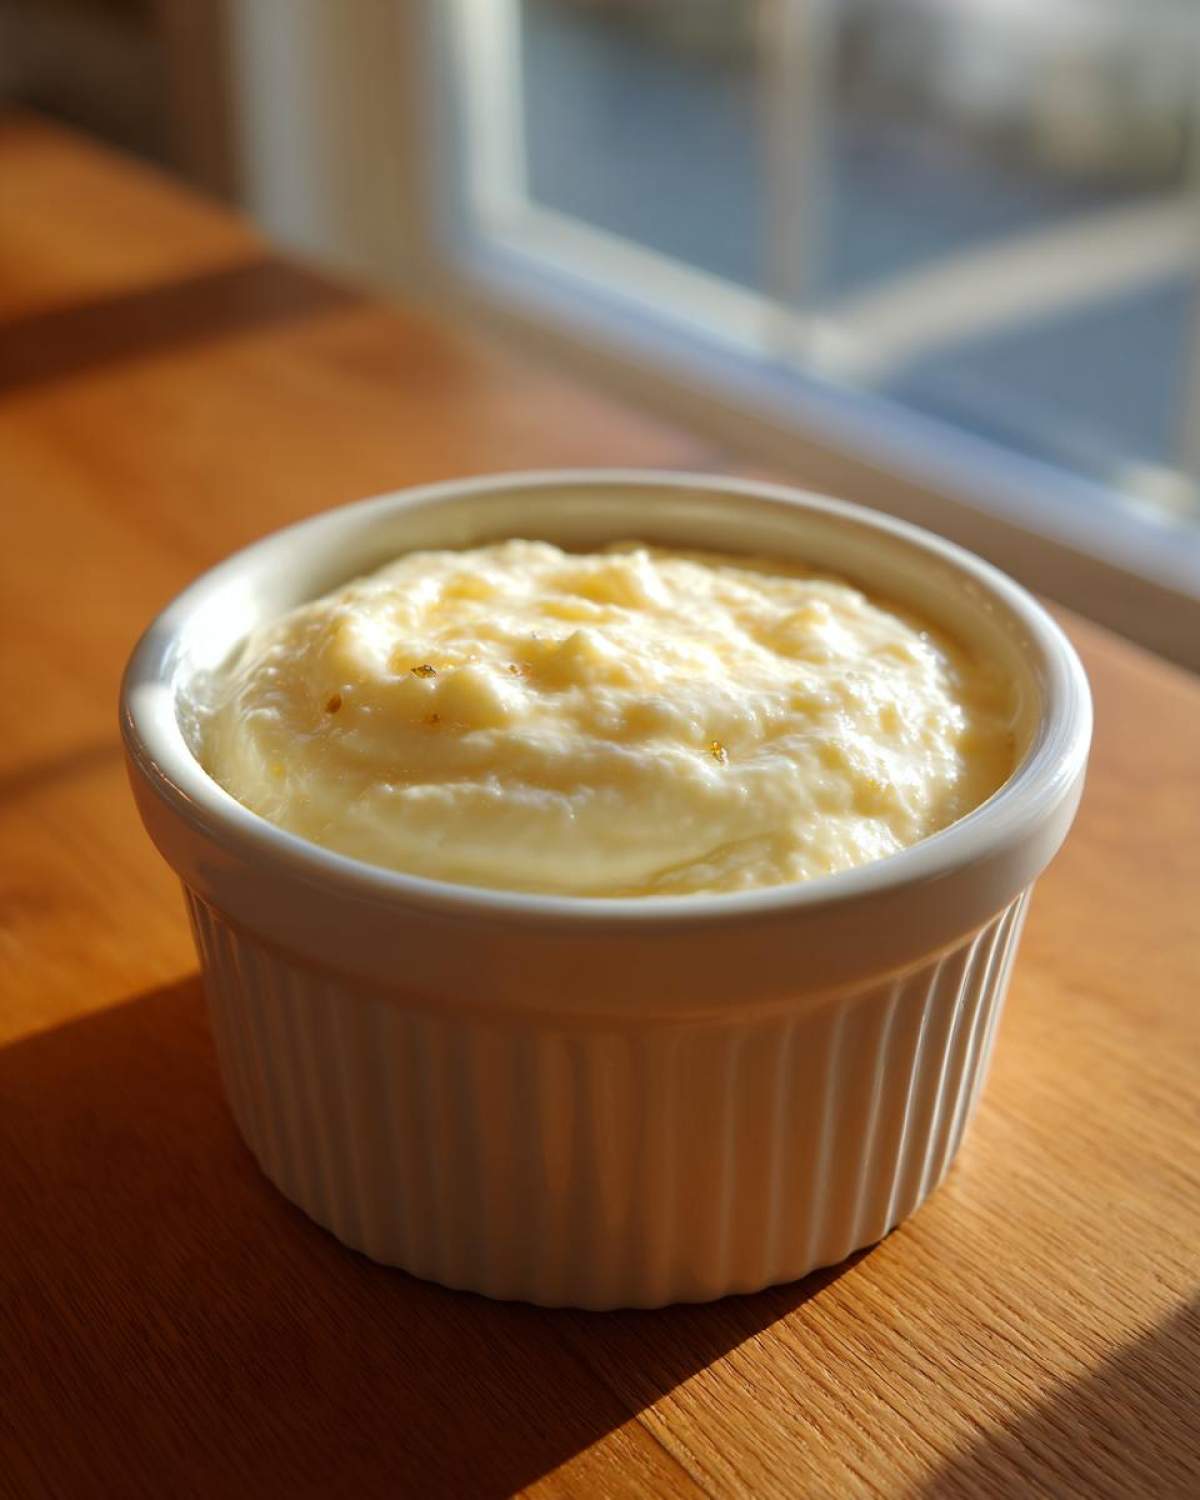
Here’s the important part: Do not try to reheat it! Seriously, don’t even think about microwaving it or putting it near heat. That heat will instantly break that delicate emulsion we worked so hard to create, and you’ll be back to square one with oily sadness. If you want to use your garlic aioli and it feels too stiff straight from the fridge—which it will—just let the jar sit on the counter for about 15 to 20 minutes before serving. That slight warming relieves the chill, softens the texture just enough, and brings those lovely garlic notes right back to the forefront. If you need more recipes to keep your fridge stocked, my main blog always has something new cooking!
Frequently Asked Questions About Homemade Garlic Aioli
It’s funny how even the simplest sauces can bring up a ton of questions! People always worry about the raw egg or whether they can change the ingredients around. I’ve gathered the most common things people ask me when they try to make their first batch of this amazing garlic aioli. Hopefully, this helps you get comfortable making it!
Can I make this garlic aioli recipe without egg yolk?
That’s a really common worry, especially for folks who aren’t keen on using raw eggs. If you want to stick strictly to the recipe instructions, the egg yolk is your emulsifier—it’s what holds the oil together. However, if you absolutely must skip it, you have two options. The easiest is starting with 3/4 cup of good quality, plain, store-bought mayonnaise—this instantly turns it into a fantastic mayonnaise based aioli, and then you just whisk in your garlic, lemon, and seasonings. It’s cheating a little, but it works!
The fancier route for a vegan version or an egg-free option is using aquafaba. Use about 2-3 tablespoons of the liquid from a can of chickpeas in place of the yolk, but be warned: you need to whisk that liquid much longer until it starts getting foamy before you *ever* introduce the oil.
How long does homemade garlic aioli last?
Because this recipe relies on a fresh, raw egg yolk, we have to be careful about safety. I always tell people that if you’re using the freshest ingredients possible, your garlic aioli will keep safely sealed in an airtight container in the coldest part of your fridge for about one week. If you feel anxious about that timeline, use it up within four or five days. If you use that pasteurized liquid egg product instead of a fresh yolk (which I don’t recommend for texture!), it might last a few days longer, but for the best flavor, stick to the one-week rule.
What is the difference between aioli and mayonnaise?
Ah, the classic question! Traditionally, true Provençal aioli was just garlic smashed into a paste with a pinch of salt, and then olive oil was slowly emulsified in—it was basically a very potent garlic paste, no egg involved! Mayonnaise, conversely, started as an egg yolk and oil emulsion, period.
Now? Nobody uses the strict definition anymore! In America, we call almost any creamy, egg-based, savory dip a garlic spread or aioli. If it’s heavy on the garlic and lemon, we call it aioli. If it’s milder, it’s mayo. The way we make this particular sauce—starting with the yolk—means we are essentially following the mayonnaise method, we’re just making sure we use a lot more garlic to earn that “aioli” title!
Tips for Success with Your Garlic Aioli
Before you clean up your station and put that beautiful garlic aioli away, I want to share three tiny things that always guarantee success for me. These aren’t in the main steps, but they make a huge difference between a good sauce and a *wow* sauce. Think of these as my final, whispered secrets!
First, make sure your egg yolk and lemon juice are at least room temperature before you start. Super cold ingredients sometimes fight the oil and can actually make it harder to get that initial, stable emulsion going. A slightly warmer base is much more cooperative when that oil starts coming in!
Second, control your whisking surface. If you are using a big, wide bowl, the whisk might glide instead of agitating the ingredients enough. I prefer using a slightly smaller bowl that allows the whisk to really dig into the mixture and whip upward. You need that vertical action to properly incorporate air early on, especially when you’re just starting to drizzle that neutral oil in. Keep that whisk speed high and steady!
Finally, don’t be afraid of seasoning aggressively! Since this is an intensely savory sauce containing a lot of fat, it needs a good amount of salt and acid to really sing. Taste it, add a pinch more salt, whisk, taste again. If it tastes dull, it needs acid (lemon). If it tastes flat, it needs salt. This final trip to the flavor finish line is what really separates a homemade sauce from one you might buy. You can even explore some fun additions like a tiny dash of smoked paprika for a unique twist next time you whip up a batch!
If you’re looking for something hearty to serve alongside this perfect dip, you absolutely have to try my easy Salisbury steak recipe with gravy—the aioli is fantastic dolloped right on top!
Nutritional Estimates for Garlic Aioli
I always tell people that when you’re making something this rich and delicious from scratch, you shouldn’t worry too much about the numbers, but I know some of you like to keep track! Since this garlic aioli is primarily made of oil, the fat content is definitely leaning toward the higher side, as expected. Remember, because we are using simple, whole ingredients, the nutrition is much cleaner than anything you buy pre-made, but values can swing wildly based on the specific oil you choose!
These figures below are estimates only, calculated for a serving size of 2 tablespoons, which is usually more than enough for dipping or spreading!
- Serving Size: 2 tablespoons
- Calories: 180
- Fat: 20g (with 2g saturated fat)
- Carbohydrates: 0g
- Protein: 1g
- Sugar: 0g
- Cholesterol: 45mg
- Sodium: 150mg
Please keep in mind that if you substitute the neutral oil for, say, avocado oil, or if you used a store-bought egg yolk, those numbers are going to shift a bit. This is just a general guide to show you what you’re working with when you create this wonderful, decadent sauce at home!
PrintClassic Creamy Homemade Garlic Aioli
Make a rich, creamy garlic aioli from scratch. This versatile sauce works well as a dip for fries, a spread for burgers, or a topping for seafood.
- Prep Time: 10 min
- Cook Time: 0 min
- Total Time: 10 min
- Yield: About 1.25 cups
- Category: Condiment
- Method: Whisking/Emulsifying
- Cuisine: Mediterranean
- Diet: Vegetarian
Ingredients
- 1 large egg yolk
- 2 cloves garlic, minced finely
- 1 teaspoon Dijon mustard
- 1/2 teaspoon salt
- 1/4 teaspoon black pepper
- 1 tablespoon fresh lemon juice
- 1 cup neutral oil (like canola or grapeseed)
- Optional: 1 roasted garlic clove, mashed
Instructions
- Place the egg yolk, minced garlic, Dijon mustard, salt, pepper, and lemon juice in a medium bowl. Whisk these ingredients together until they are well combined and slightly pale.
- Begin adding the oil very slowly, drop by drop, while whisking constantly and vigorously. This step is crucial for emulsification.
- Once the mixture starts to thicken slightly after about a quarter of the oil is added, you can increase the oil stream to a thin, steady drizzle, still whisking without stopping.
- Continue adding the oil until all of it is incorporated and the mixture is thick and creamy, resembling mayonnaise.
- If using, whisk in the mashed roasted garlic for a deeper flavor.
- Taste the aioli and adjust salt or lemon juice as needed.
- Cover and refrigerate for at least 30 minutes before serving to allow the flavors to meld.
Notes
- If the aioli separates (breaks), stop adding oil. Whisk one teaspoon of warm water into the broken mixture, then slowly whisk in a few drops of oil until it re-emulsifies.
- For a roasted garlic variation, roast one head of garlic until soft, squeeze out the cloves, and mash them before adding in step 5.
- Use this aioli immediately or store it in an airtight container in the refrigerator for up to one week.
Nutrition
- Serving Size: 2 tablespoons
- Calories: 180
- Sugar: 0
- Sodium: 150
- Fat: 20
- Saturated Fat: 2
- Unsaturated Fat: 18
- Trans Fat: 0
- Carbohydrates: 0
- Fiber: 0
- Protein: 1
- Cholesterol: 45
