

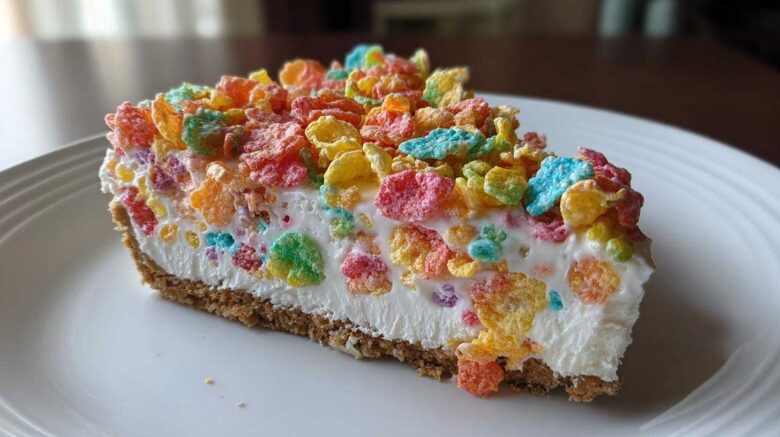
Discover the Magic of Fruity Pebbles No-Bake Cheesecake
Remember those bright, colorful mornings fueled by a bowl of Fruity Pebbles? I certainly do! Bringing that same burst of joy into a dessert is pure magic. That’s exactly what this Fruity Pebbles No-Bake Cheesecake does. It’s a dessert that just screams fun. It’s so easy, even if you’re new to baking, you can whip this up.
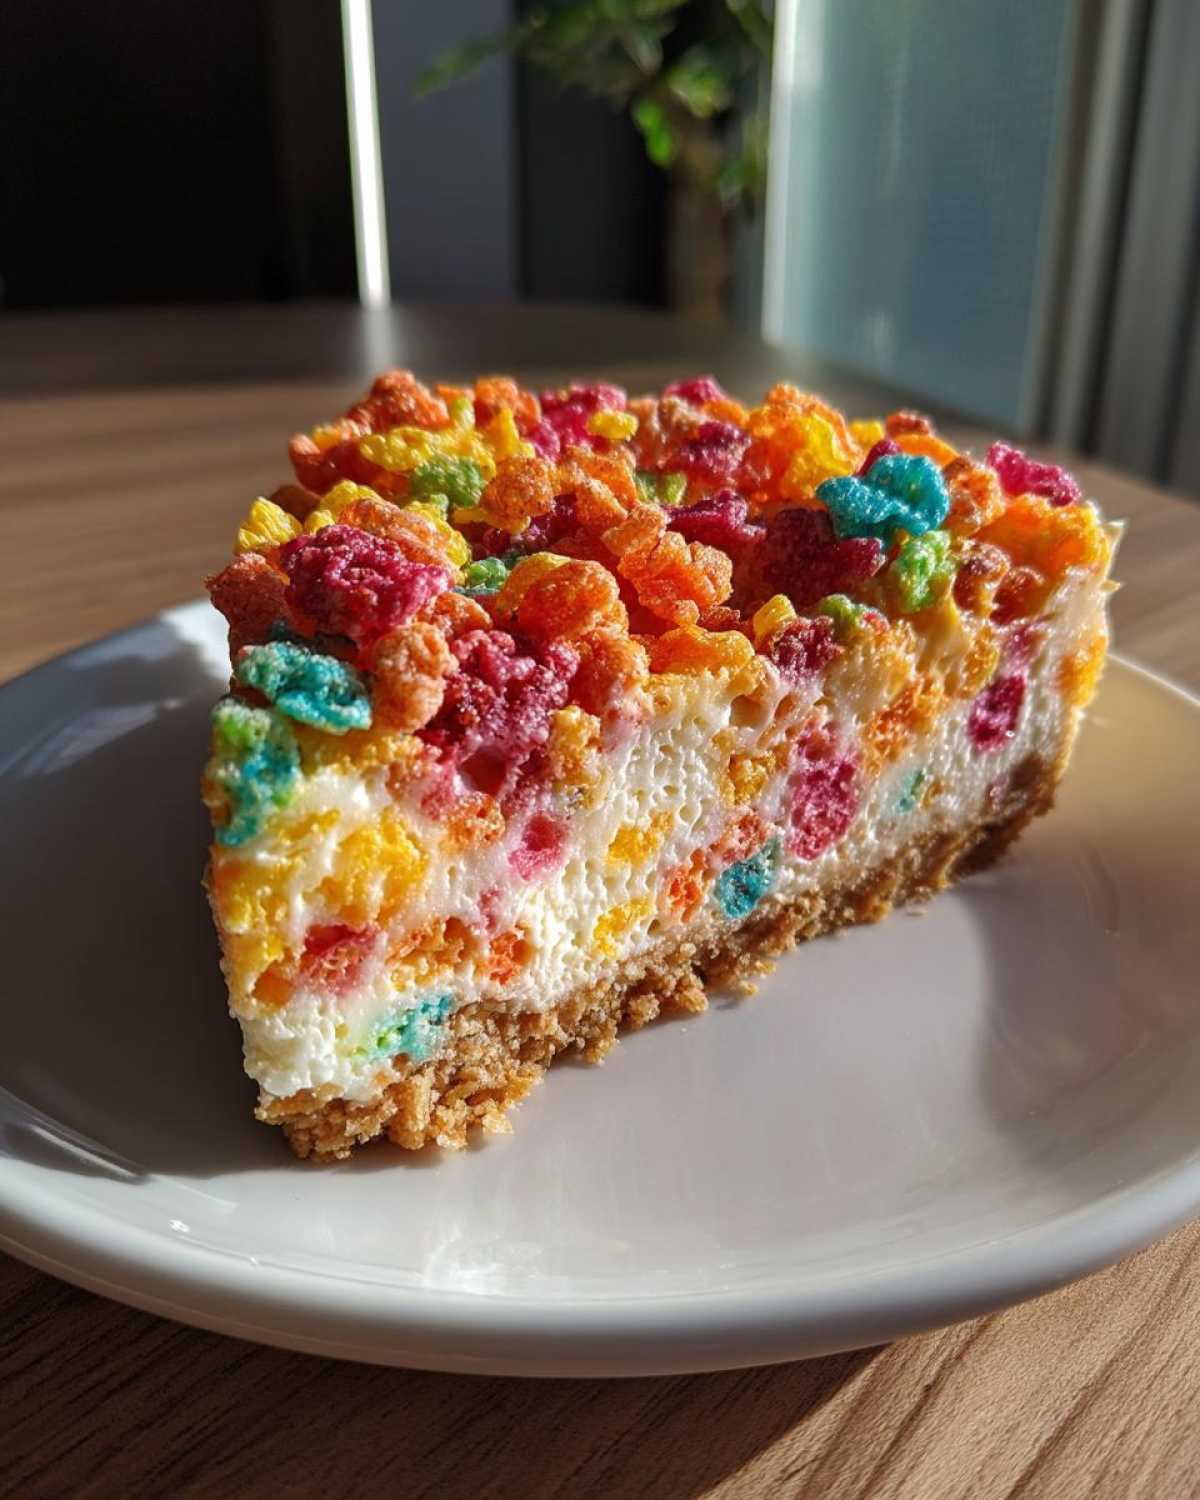
From my kitchen at Savory Skies, where Amara, Chef Tariq, and I love to experiment, this recipe feels like a happy throwback. It’s a simple way to make any day feel like a celebration. Get ready for a treat that’s as delightful to look at as it is to eat.
Why You’ll Love This Fruity Pebbles No-Bake Cheesecake
This Fruity Pebbles No-Bake Cheesecake is a total winner for so many reasons:
- It’s incredibly easy to make.
- No oven needed, just chill and enjoy!
- The colors are so vibrant and cheerful.
- It brings back sweet childhood memories with its nostalgic flavor.
- Everyone loves it, making it a fantastic crowd-pleaser.
- It’s perfect for birthdays, parties, or just because.
A Taste of Nostalgia with Fruity Pebbles No-Bake Cheesecake
There’s something truly special about Fruity Pebbles. It’s more than just cereal; it’s a taste of childhood. This cheesecake captures that essence perfectly. The sweet, fruity notes mingle with the creamy cheesecake. It’s like a flavor explosion from your past. Every bite is a reminder of simpler times. It’s a delightful way to share those happy memories.
Gather Your Ingredients for Fruity Pebbles No-Bake Cheesecake
Let’s get our kitchen ready for some fun! Making this Fruity Pebbles No-Bake Cheesecake is straightforward. You’ll need just a few key items.
First, grab 1 tablespoon of unsalted butter. Make sure it’s melted. Then, you’ll need 1 1/4 cups of Fruity Pebbles cereal. We’ll crush these up. A food processor works great. Or, put them in a zip-top bag and use a rolling pin.
For the creamy part, get 8 ounces of cream cheese. It needs to be softened. This helps it blend smoothly. You’ll also need 1/2 cup of powdered sugar. Sifting it is a good idea.
Don’t forget 1 teaspoon of vanilla extract for that lovely flavor. And finally, 1/2 cup of heavy cream. Make sure it’s nice and chilled for whipping. We’ll also save a little cereal for topping later!
Ingredient Notes and Substitutions for Fruity Pebbles No-Bake Cheesecake
The magic of this Fruity Pebbles No-Bake Cheesecake really comes down to a few simple things. Softened cream cheese is a must. It ensures a super smooth filling without lumps. Just leave it on the counter for about an hour.
Chilled heavy cream whips up so much better. This gives our filling that lovely, airy texture.
While Fruity Pebbles are the star, if you can’t find them, you could try other colorful, sweet cereals. However, the classic Fruity Pebbles flavor is what makes this dessert truly special. It’s like a colorful hug from your childhood.
Crafting Your Fruity Pebbles No-Bake Cheesecake
Now for the fun part! Let’s bring this Fruity Pebbles No-Bake Cheesecake to life. It’s easier than you think. We’ll build it layer by layer. Get ready for a dessert that tastes amazing. It also looks super cheerful.
Preparing the Fruity Pebbles Crust
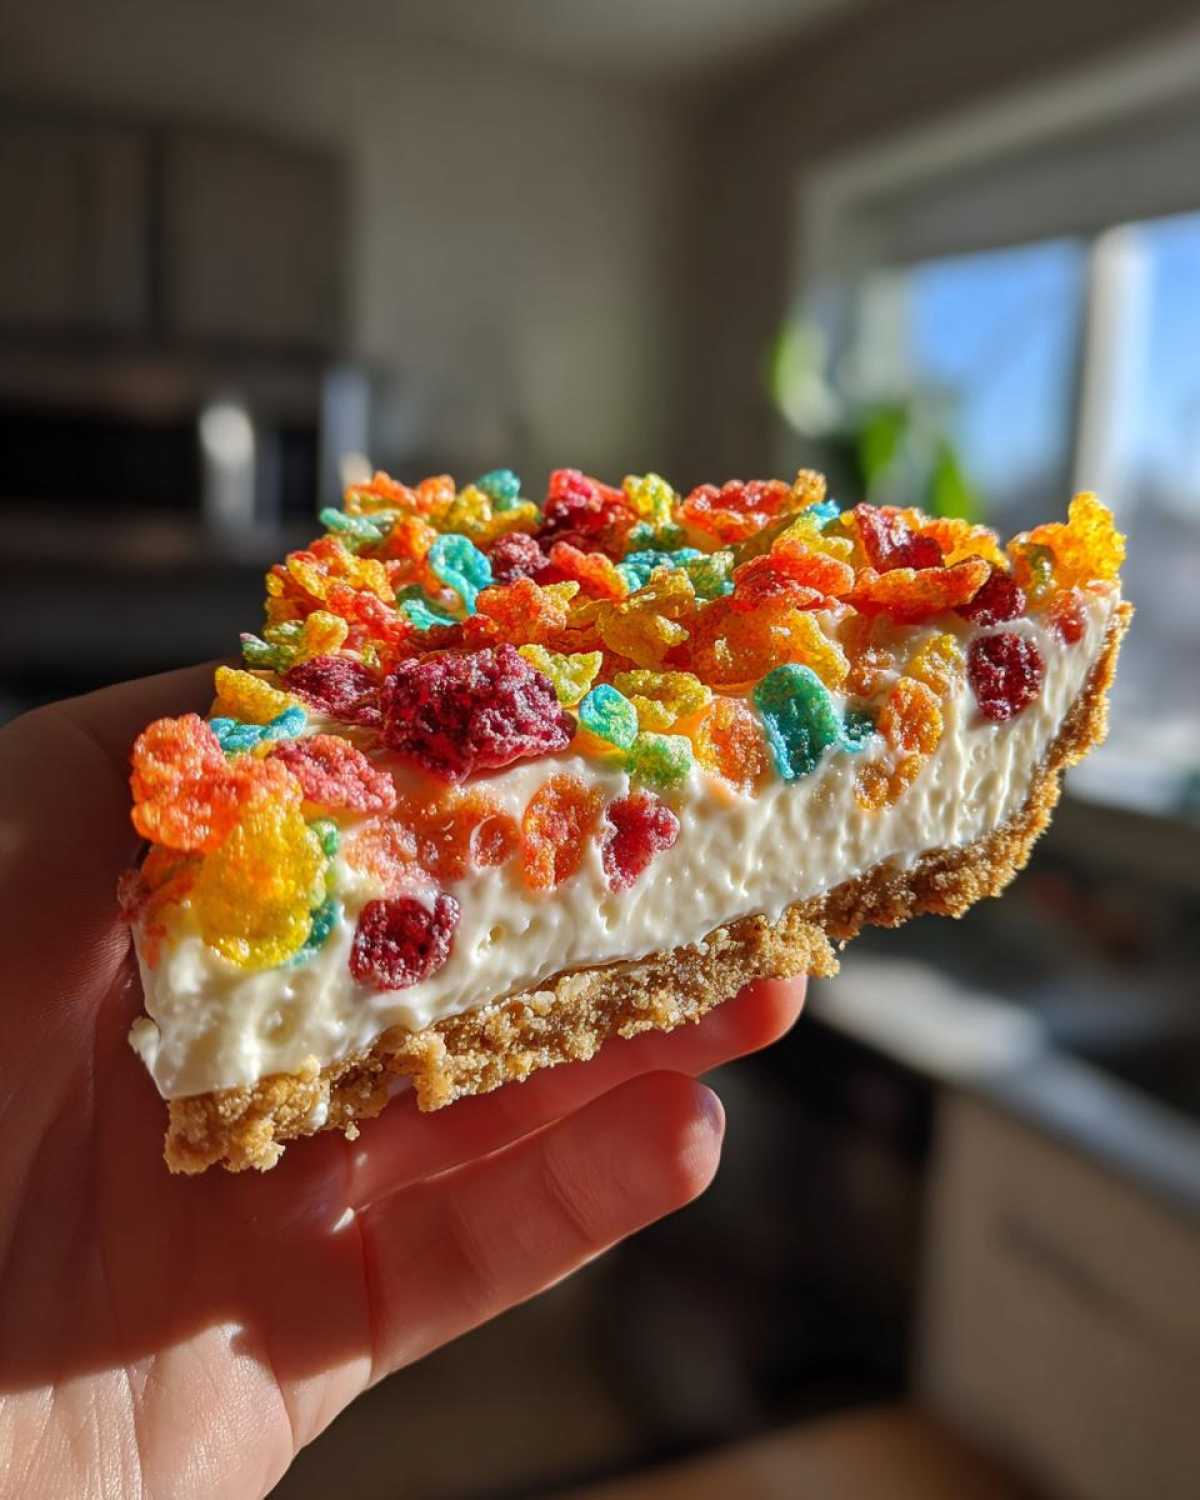
First, let’s make that colorful base. Mix the melted butter with your crushed Fruity Pebbles. I like to put them in a bag and use a rolling pin. It gives a nice texture. Press this mixture firmly into the bottom of your pie plate or springform pan. This creates our crunchy, sweet foundation. If you want an extra firm crust, you can bake it for about 8-10 minutes. Let it cool though, before adding the filling.
Creating the Creamy Cheesecake Filling
Next up is the creamy filling. In a big bowl, beat your softened cream cheese with the powdered sugar. Keep going until it’s really smooth. No lumps allowed! Then, stir in that teaspoon of vanilla extract.
In a separate bowl, whip your chilled heavy cream. Whip it until stiff peaks form. This makes the filling light and airy. Now, gently fold the whipped cream into the cream cheese mixture. Be gentle! You want to keep that airiness. Mix until it’s just combined. Don’t overmix it.
Assembling and Chilling Your Fruity Pebbles No-Bake Cheesecake
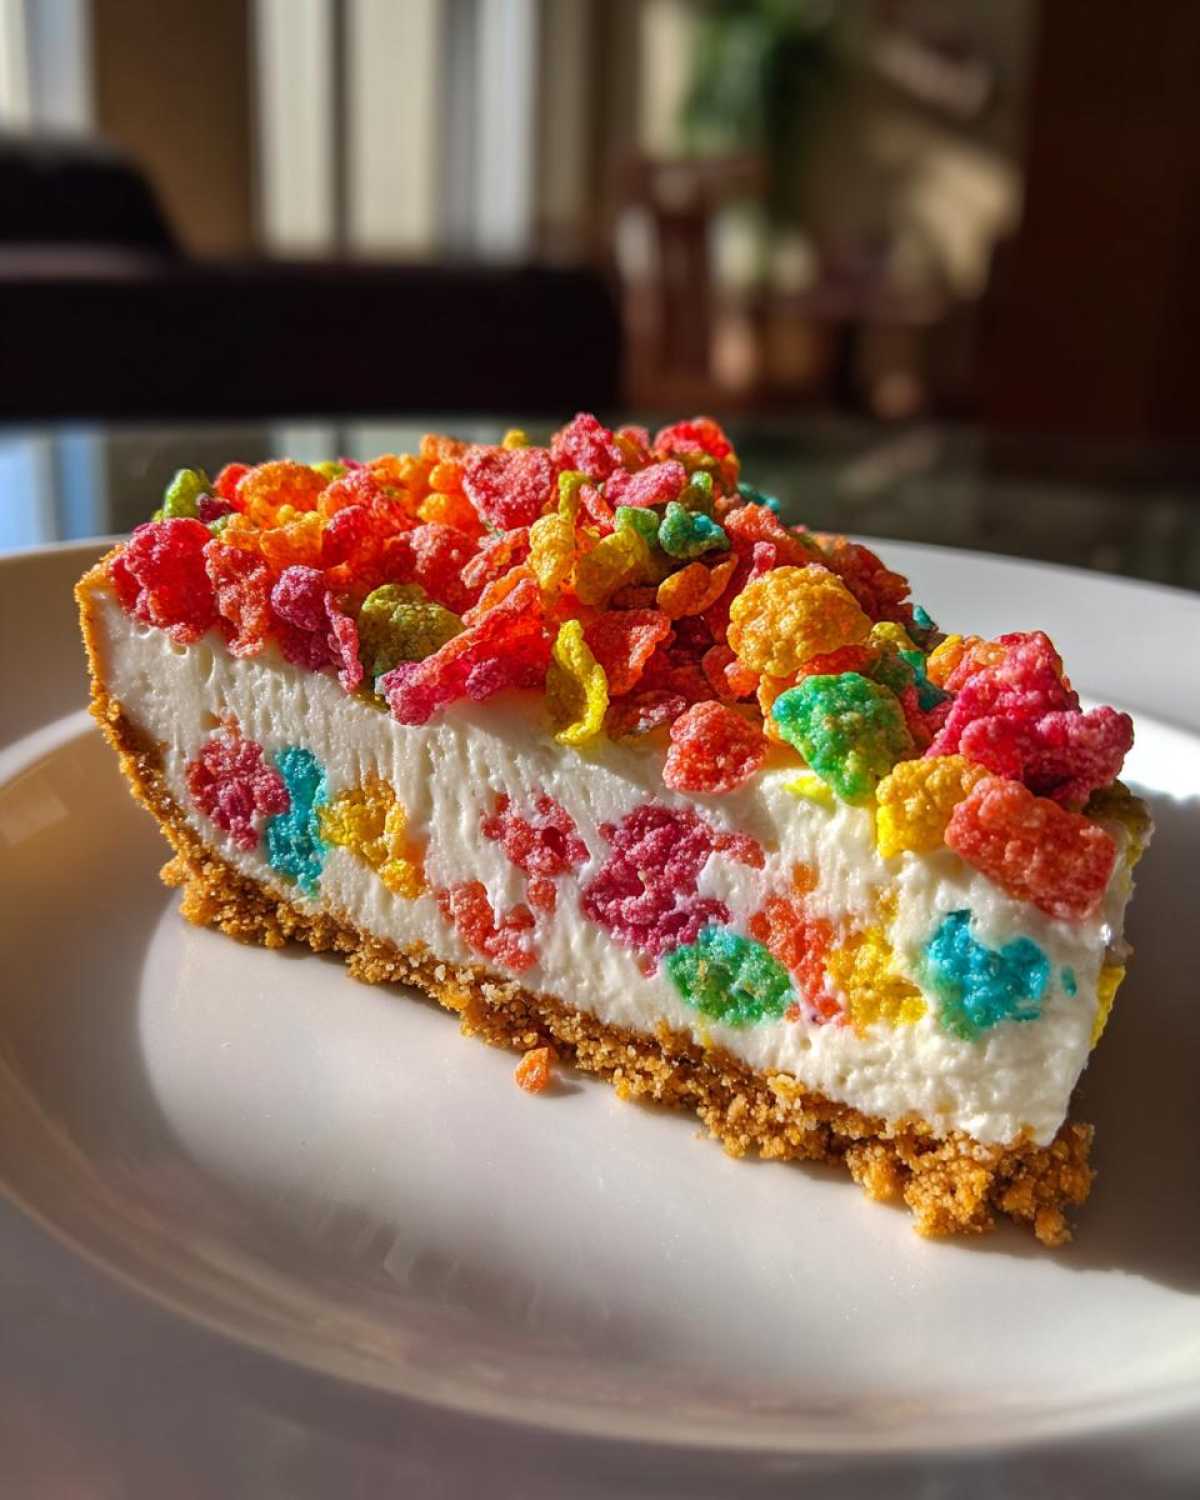
Time to put it all together! Pour that lovely, creamy filling right over your Fruity Pebbles crust. Smooth the top gently with a spatula. Now, the hardest part: waiting! Pop the cheesecake into the refrigerator. It needs to chill for at least 4 hours. This lets it firm up perfectly. Patience is key here for the best Fruity Pebbles No-Bake Cheesecake.
Serving and Storing Your Fruity Pebbles No-Bake Cheesecake
Once your Fruity Pebbles No-Bake Cheesecake has chilled perfectly, it’s time for the grand finale! Just before serving, sprinkle the top with those remaining colorful Fruity Pebbles. It adds a delightful crunch and makes it look extra special. Slice it up and watch your guests smile.
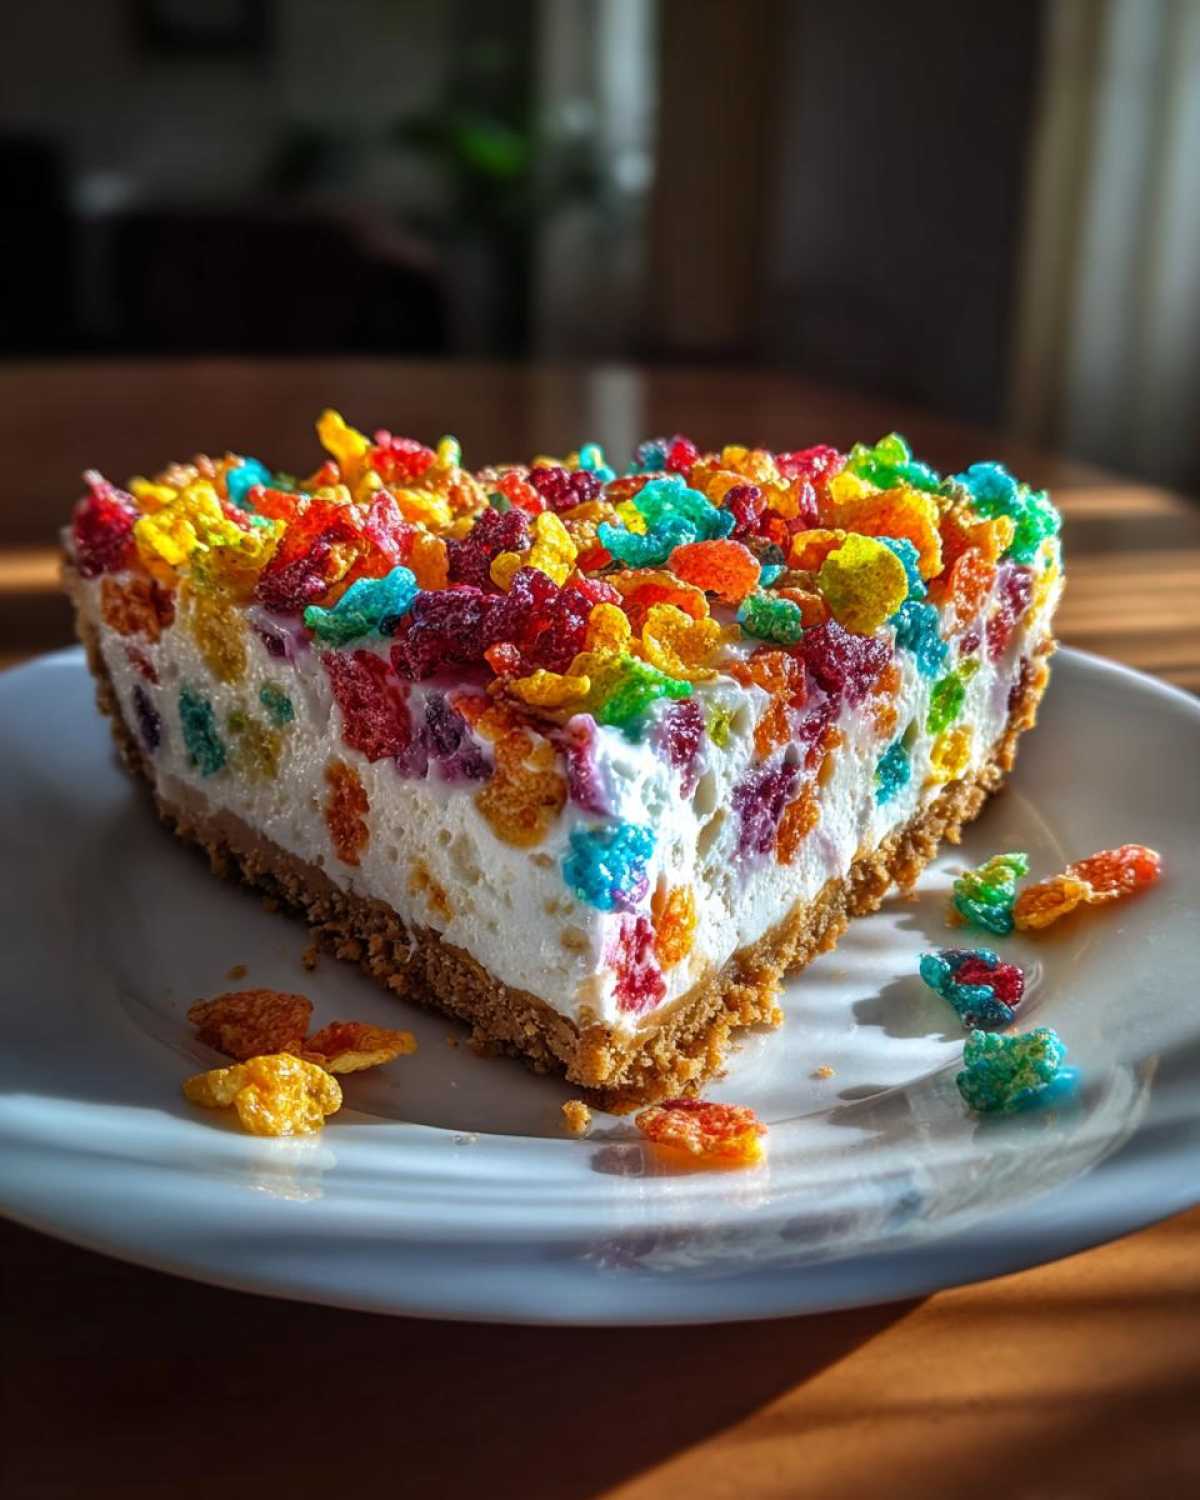
Got leftovers? Lucky you! Cover the cheesecake tightly with plastic wrap or foil. Store it in the refrigerator. It will stay wonderfully fresh for about 3 to 4 days. This dessert is best served chilled. It doesn’t need reheating, but if you really wanted to, a very gentle microwave zap might work. Just be careful not to melt it!
Frequently Asked Questions About Fruity Pebbles No-Bake Cheesecake
Got questions about our Fruity Pebbles No-Bake Cheesecake? I’ve got answers!
Can I use a different cereal for this no-bake cheesecake?
While this recipe shines with Fruity Pebbles, you can try other colorful, sweet cereals. Just know the flavor and look will change. Fruity Pebbles offer that perfect nostalgic taste.
How do I get a smooth cream cheese filling?
Make sure your cream cheese is truly softened. Beat it well with the sugar until there are no lumps. This step is crucial for a creamy texture. For more tips on achieving the perfect cheesecake texture, you can explore Food Network’s cheesecake guide.
Can this Fruity Pebbles no-bake cheesecake be made ahead of time?
Absolutely! It’s actually best made ahead. It needs at least 4 hours to chill and set properly. This makes it perfect for parties.
What’s the best way to crush the Fruity Pebbles cereal?
You have options! A food processor works wonders for a fine crumb. Or, pop them in a zip-top bag. Then, use a rolling pin to crush them. This gives a slightly coarser texture, which I love. Learning about different cookie and cracker crushing techniques can be helpful for various baking projects.
Estimated Nutritional Information for Fruity Pebbles No-Bake Cheesecake
This Fruity Pebbles No-Bake Cheesecake is a delightful treat. Here’s a look at its typical nutritional breakdown per serving. Expect around 300 calories. It contains about 18g of fat and 30g of carbohydrates. You’ll also get about 4g of protein. These numbers are estimates, of course. They can change based on your ingredients. For more information on general nutritional information for cheesecake, resources like MyFitnessPal can be useful.
PrintFruity Pebbles No-Bake Cheesecake: Magical 1-Tier Treat
A whimsical and colorful no-bake cheesecake infused with the nostalgic flavor of Fruity Pebbles cereal. This easy-to-make dessert is perfect for parties or a fun treat.
- Prep Time: 15 minutes
- Cook Time: 0 minutes
- Total Time: 4 hours 15 minutes
- Yield: 8 servings
- Category: Dessert
- Method: No-Bake
- Cuisine: American
- Diet: Vegetarian
Ingredients
- 1 tablespoon unsalted butter, melted
- 1 1/4 cups Fruity Pebbles cereal, crushed
- 1/4 cup granulated sugar
- 8 ounces cream cheese, softened
- 1/2 cup powdered sugar
- 1 teaspoon vanilla extract
- 1/2 cup heavy cream
- 1/4 cup Fruity Pebbles cereal, for topping
Instructions
- In a small bowl, combine the melted butter and crushed Fruity Pebbles cereal. Press this mixture evenly into the bottom of a pie plate or springform pan.
- In a large bowl, beat together the softened cream cheese and powdered sugar until smooth.
- Stir in the vanilla extract.
- In a separate bowl, whip the heavy cream until stiff peaks form.
- Gently fold the whipped cream into the cream cheese mixture until just combined.
- Pour the cream cheese filling over the cereal crust.
- Chill the cheesecake in the refrigerator for at least 4 hours, or until firm.
- Before serving, sprinkle the top with the remaining Fruity Pebbles cereal.
Notes
- For a firmer crust, you can bake it for 8-10 minutes at 350°F (175°C) and let it cool completely before adding the filling.
- You can crush the cereal in a food processor or by placing it in a zip-top bag and crushing it with a rolling pin.
Nutrition
- Serving Size: 1 slice
- Calories: 300
- Sugar: 25g
- Sodium: 150mg
- Fat: 18g
- Saturated Fat: 10g
- Unsaturated Fat: 8g
- Trans Fat: 0.5g
- Carbohydrates: 30g
- Fiber: 1g
- Protein: 4g
- Cholesterol: 40mg
