

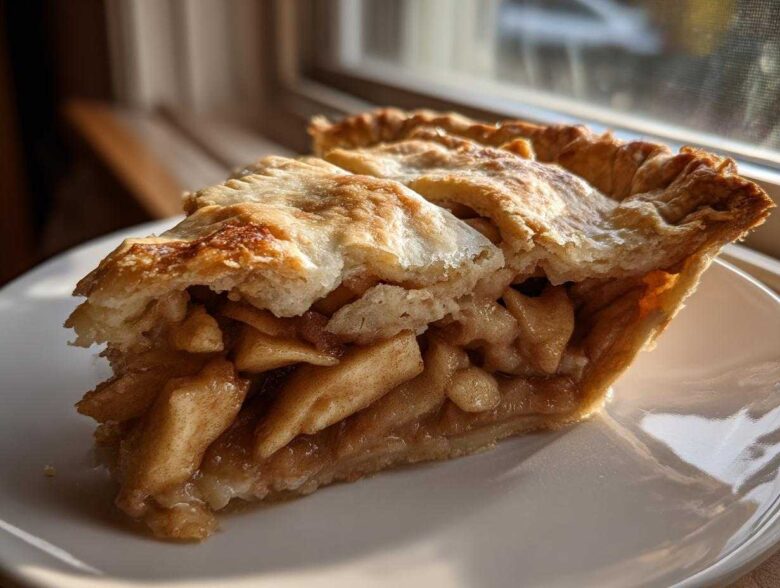
Oh, there is just nothing in the whole world that smells better than a genuine, homemade apple pie baking away in the oven. That scent just instantly transports me back to chilly autumn nights and huge family gatherings. Forget those store-bought imposters; we are going straight for the real deal! I’ve spent years messing up dough, ending up with soupy fillings, and generally learning the hard way so you don’t have to. Seriously, this **apple pie recipe** is the one. It’s my definitive, foolproof method for getting that impossibly flaky, buttery crust layered over a filling so juicy and perfectly spiced you’ll swear it came straight from a famous bakery. Stick with me, and I promise you’ll be slicing perfect wedges every single time. This is how you make the best dessert for any occasion. If you want to see more of my baking adventures, check out my main blog updates over at Savory Skies!
Why This Classic Apple Pie Recipe Delivers The Best Homemade Apple Pie
I know you’ve probably tried a dozen **apple pie recipes**, and maybe some ended up… well, disappointing. That’s usually because the focus is only on the apples, not the structure of the whole thing! This recipe fixes all those common headaches.
What makes my pie the *best*? It comes down to a few non-negotiable things:
- A Truly Flaky Crust: We use ice-cold butter and our special technique to guarantee those beautiful, shatteringly crisp layers. No more tough or crumbly dough!
- Juicy, Never Watery Filling: I include a secret trick using finely chopped apples along with the flour to perfectly thicken the juices so you get that lovely, cinnamon-packed consistency.
- Solving the Soggy Bottom: We make sure the bottom crust gets cooked through! Baking it on a preheated sheet pan is crucial for a crisp base every single time.
If you love that comforting, old-fashioned taste but want bakery-level results, this is the one. For another easy, comforting fruit dessert, you might enjoy my Easy Apple Crisp Recipe, too!
Ingredients for the Buttery Flaky Pie Dough and Juicy Cinnamon Apple Filling
Okay, this is where the magic—and the structure—comes from! If you want that flaky crust that melts in your mouth, the secret is keeping everything ridiculously cold. I mean, my workspace looks like a blizzard hit when I make the dough! But trust me, this precision pays off big time when you bite into that perfect crust.
When we get to the filling, I always suggest using a mix of apples—Granny Smith are amazing for that necessary tartness, but throwing in a Honeycrisp or two keeps things interesting. The combination of spices we use here is spot-on for that classic aroma. Don’t skip that finely chopped apple, either; that’s my little insurance policy against a watery bottom!
If you’re looking for other handheld fall treats, you should check out my recipe for Caramel Apple Hand Pies!
For the Buttery Flaky Pie Dough
Remember, the butter needs to be straight from the freezer, cut into small cubes. Seriously, if you think it’s cold enough, chill it for 10 more minutes!
- 2 1/2 cups all-purpose flour
- 1 teaspoon salt
- 1 cup (2 sticks) unsalted butter, very cold and cubed
- 1/2 cup ice water, plus more if needed
For the Juicy Cinnamon Apple Filling
This mix comes together quickly, but make sure you toss everything gently so the apples don’t break down too much before they even hit the oven.
- 6 large Granny Smith apples, peeled, cored, and sliced 1/4 inch thick
- 1/4 cup Granny Smith apple, finely chopped (for thickening)
- 3/4 cup granulated sugar
- 1/4 cup packed light brown sugar
- 1 teaspoon ground cinnamon
- 1/4 teaspoon ground nutmeg
- 1/8 teaspoon ground allspice
- 2 tablespoons all-purpose flour
- 1 tablespoon lemon juice
- 1 large egg, beaten with 1 teaspoon water (for egg wash)
- 1 tablespoon coarse sugar for sprinkling
How to Make Apple Pie From Scratch: The Apple Pie Recipe Instructions
Alright, let’s get down to business! Making this from scratch is incredibly rewarding, and following these steps ensures you get that easy flaky pie crust tutorial perfection—it just takes a little organization. I’ve found that breaking it down into smaller pieces makes it actually simple, not scary at all. Seriously, stick to the cold rules, and you’ll be fine! Grab your bowl and let’s go!
Mixing and Chilling the Dough
First things first, the dough. Whisk your flour and salt together, then get that ultra-cold butter in there. Use a pastry blender—or honestly, just your fingers if you work fast! You are looking for coarse crumbs, and you must see some pea-sized chunks of butter still floating around. Those butter pieces are the key to the flakiness later on! After that, trickle in the ice water until it *just* barely holds together. Don’t knead it, please! Split that dough into two flat disks, wrap it up tight, and straight into the fridge it goes for at least an hour. This chilling time is non-negotiable for success!
Assembling the Juicy Cinnamon Apple Filling
While your dough is getting happy in the cold, we mix the filling. Grab your sliced apples, sugars, all those warm spices—cinnamon, nutmeg, allspice—and the flour/lemon juice. Toss it all together gently so you coat everything evenly. You only need to let this mixture sit for about 15 minutes while the dough finishes chilling. Giving those apples a little soak time helps pull out the excess moisture that we chopped up earlier, which avoids that runny mess nobody wants while baking.
Constructing and Baking the Double Crust Apple Pie
Once chilled, roll out one disk for the bottom crust and gently drape it into your pie plate. Now for the secret to avoiding that notorious soggy bottom: stick your pie plate right onto a baking sheet that’s been sitting in the oven while it preheats to 425 degrees F! Fill your bottom shell with the apple mix. Then top it with the second crust, crimp those edges together tightly—I like to make a rope pattern—and cut a few steam vents on top. Brush on that egg wash and sprinkle with coarse sugar for shine. Bake at that high 425°F for 15 minutes, then drop the heat down to 375°F for another 40 to 50 minutes. The absolute hardest part is cooling it completely—at least 3 hours—so your slices are clean and beautiful!
Tips for Success: Achieving a Bakery Style Apple Pie Secrets
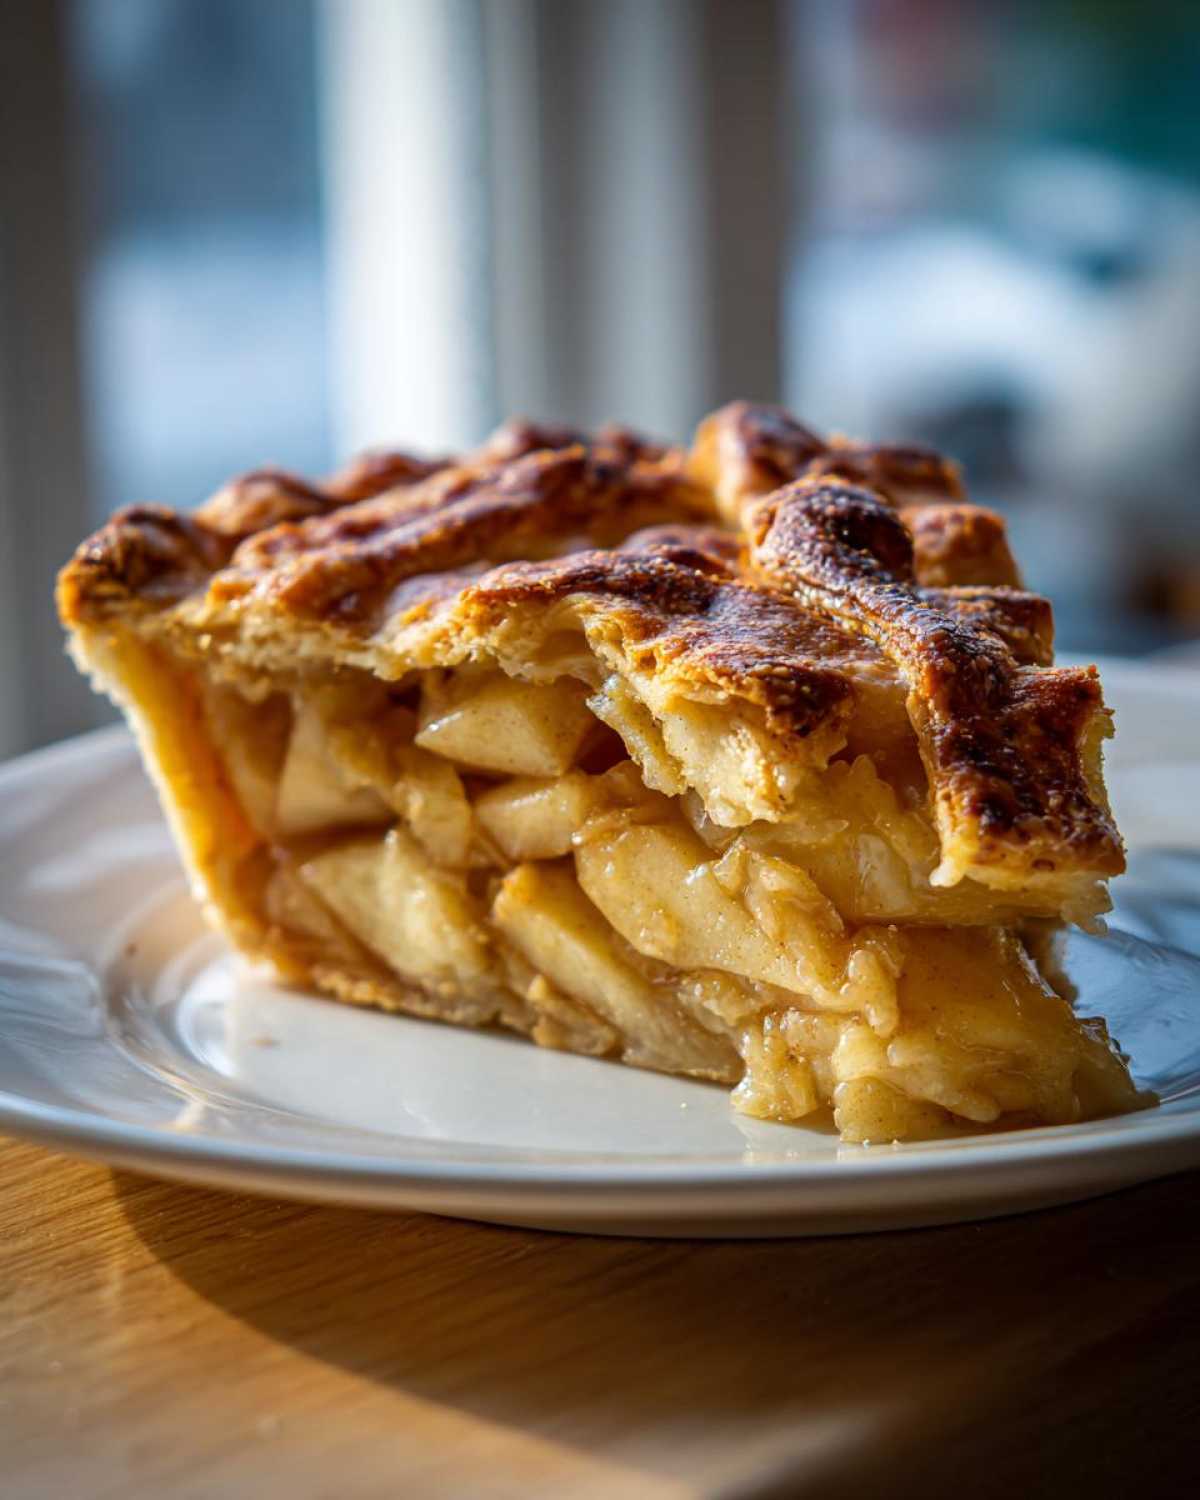
I’ve baked this **classic apple pie recipe** dozens of times, and I’ve finally figured out the little tricks that separate a good pie from something you’d line up for at the bakery. It’s usually not about changing the ingredients, but how you use the equipment you already have!
My biggest goal for you is beating the dreaded soggy bottom, which is the bane of every baker’s existence. Remember that step where we preheated the baking sheet? That’s your MVP!
- The Hot Seat: Always place your pie onto a hot surface—that baking sheet preheated to 425°F. The intense, immediate heat hits the bottom crust before the apple juices have time to fully leach out and steam it soggy. It cooks the bottom perfectly alongside the top. You can read more about why getting a crisp bottom matters so much over here.
- Apple Selection Matters: While you need Granny Smiths for that tartness, I always mix in something firm like Braeburn or Golden Delicious. If you use apples that break down too fast, your filling turns to mush. Firm apples hold their shape, which gives you those amazing slices.
- Don’t Skip the Drain: If your apples sit for their 15 minutes and release a lot of liquid into the bowl—more than just a light glaze—drain some of that excess juice off before you load the filling into the crust. We want juicy filling, not apple soup!
- Patience During Cooling: This one is so hard, but crucial! That filling takes hours to set properly after it leaves the oven. If you slice into it piping hot, it will run everywhere. Let it cool completely on a wire rack—I know, it’s torturous, but it results in those clean, perfect slices everyone raves about.
Ingredient Notes and Substitutions for Your Apple Pie Recipe
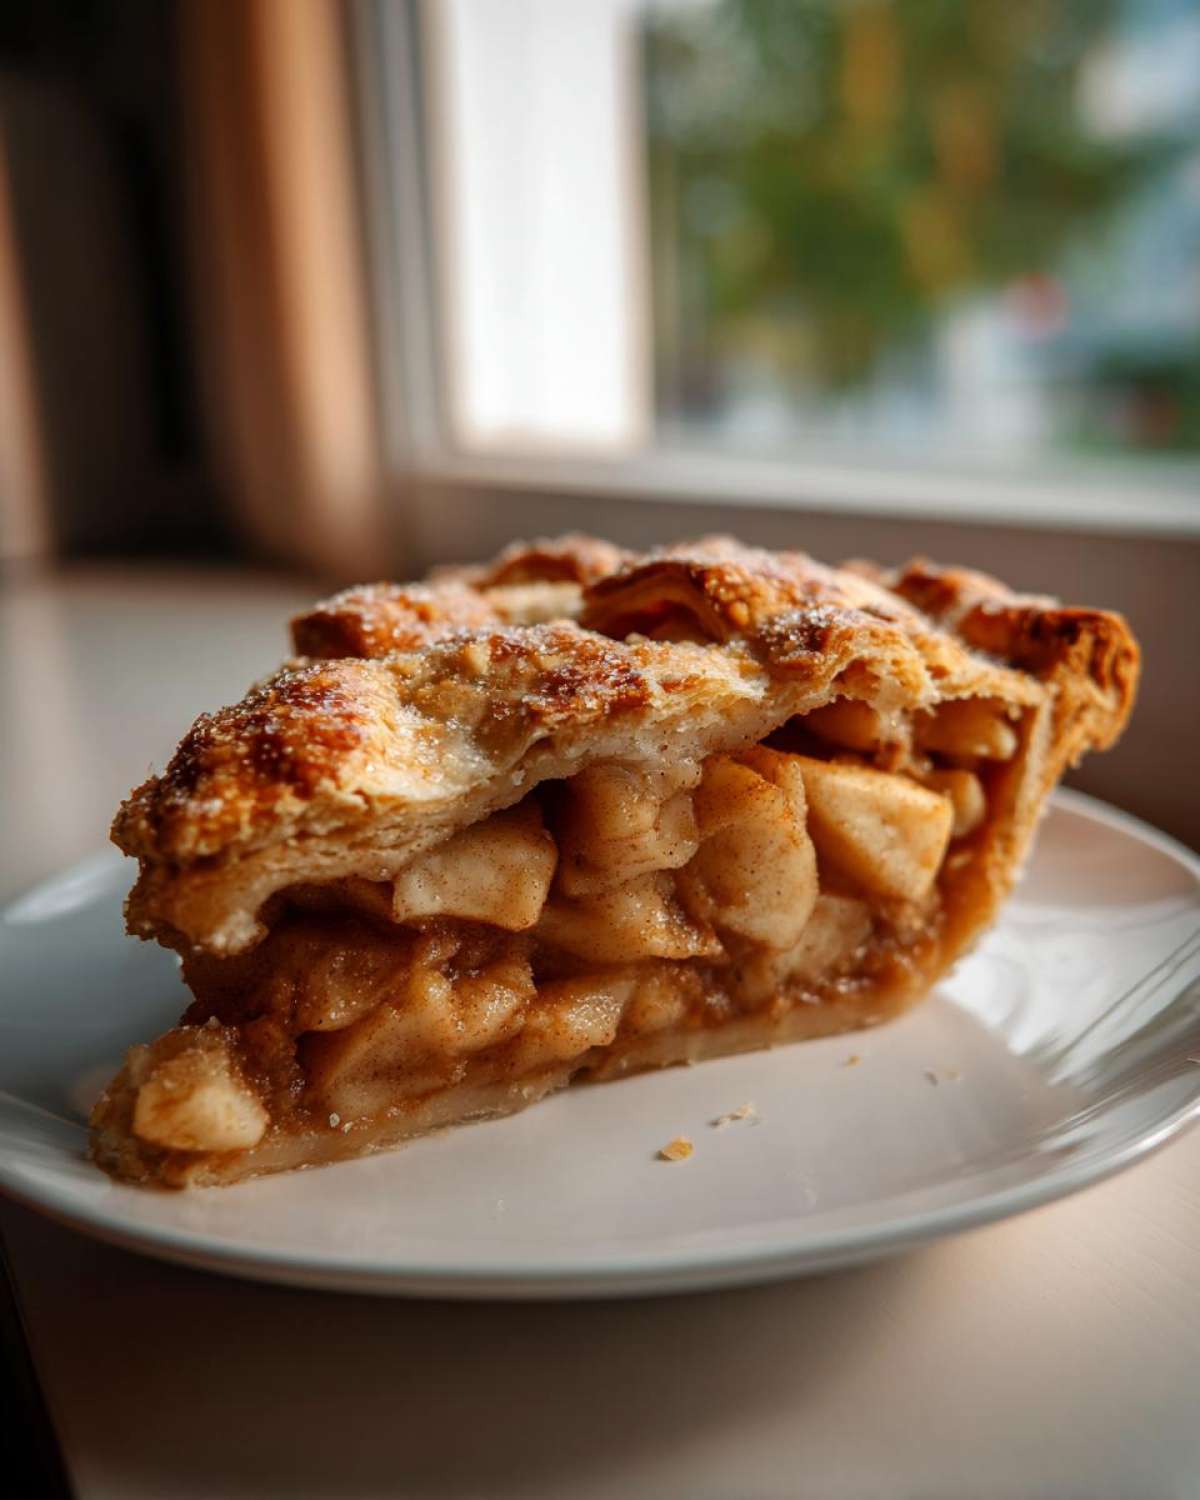
Let’s talk ingredients because they are the foundation of any great **homemade apple pie recipe**. The crust really sings when you use enough fat. For the flakiest dough possible, I swear by using 100% unsalted butter. I know some folks try to swap in shortening or lard for half the butter, and while that works fine for structure, you lose that incredible, rich, buttery flavor that makes my pie dough so good.
If you are ever stuck, though, I won’t judge you for taking a shortcut! If you absolutely cannot make dough from scratch for your **apple pie recipe**, picking up two high-quality, all-butter, store-bought crusts is okay for beginners. Just make sure they are pliable, not rock hard!
For the spices, if you happen to be out of allspice, you can just double down on the nutmeg you already have. It won’t be exactly the same, but it keeps that warm depth. I actually made an amazing savory tart once using that technique I wrote about for caramelized onions—it shows how shifting one small element can change everything!
Storage & Reheating Instructions for Leftover Apple Pie Recipe
Oh, the aftermath of the perfect pie! If, by some miracle, you have leftovers of this incredible **apple pie recipe**, you want to make sure you treat them right. They deserve respect after all that hard work, right?
The first thing you need to know is about cooling. Remember how I badgered you about letting it cool for three hours? That setting time is also the start of the storage process. Don’t cover it while it’s still warm!
Storing Your Homemade Apple Pie
Where you keep it depends on how quickly you plan to eat it. Because this pie is packed with juicy apples and has that eggy wash on top, it’s best treated like a slightly delicate pastry.
If you know you’ll finish the whole pie within two days, it’s perfectly fine to keep it at cool room temperature, covered loosely with foil or a large overturned bowl. I keep mine on a wire rack so the air circulates underneath. Don’t wrap it tightly in plastic wrap while it’s whole, though; that traps moisture and ruins the top crust texture almost instantly!
If you need to keep it longer than two days, or if your kitchen is really warm, get it into the fridge. It’ll last about four to five days wrapped snugly in plastic wrap followed by foil. Just know that the crust will soften up considerably while refrigerated.
The Best Way to Reheat Slices
Nobody wants a cold, sad slice of pie! Reheating is crucial if you want to bring back some of that fresh-from-the-oven glory, especially if it’s been in the fridge. Microwaving is the enemy here—it makes everything instantly soft and chewy.
For the absolute best result, get a small oven-safe plate or a cookie sheet out. Reheat individual slices at about 350 degrees F (175 degrees C). It only takes about 8 to 10 minutes. This low, dry heat warms the apples through nicely while crisping up the bottom crust again. If you’re feeling decadent, serve that warm slice with a scoop of vanilla ice cream!
Serving Suggestions for This Classic Apple Pie Recipe
Now that you’ve mastered the flaky crust and tamed those juicy cinnamon apples, the only hard part left is deciding how to serve this masterpiece! Honestly, this **apple pie recipe** is so perfectly balanced that it really doesn’t *need* anything extra, but why stop perfection when you can enhance it, right?
The presentation really elevates the experience. We aren’t just eating pie; we’re creating an event!
The Classic A La Mode Approach
If you ask me, a slice of warm apple pie needs something cold and creamy right next to it. A generous scoop of high-quality vanilla ice cream is the gold standard. The way the cold cream melts down over the slightly warm, spiced apples and soaks into the buttery crust? Immediate comfort food heaven right there.
I sometimes whip up my own frosting, which I know sounds crazy for a pie, but for special events, a thin drizzle of my Vanilla Buttercream Frosting over the top of the lattice before baking adds a lovely, shiny sweet crackle. But for everyday enjoyment, ice cream wins.
The Unexpected Savory Pairing
This is a tip passed down from my aunt who grew up on a dairy farm: try a slice of sharp cheddar cheese along with your pie. I know, I know, it sounds odd, but the salty, tangy bite of a good, aged cheddar cuts through the sweetness of the apples and the butter of the crust so perfectly. It truly makes the cinnamon flavor pop!
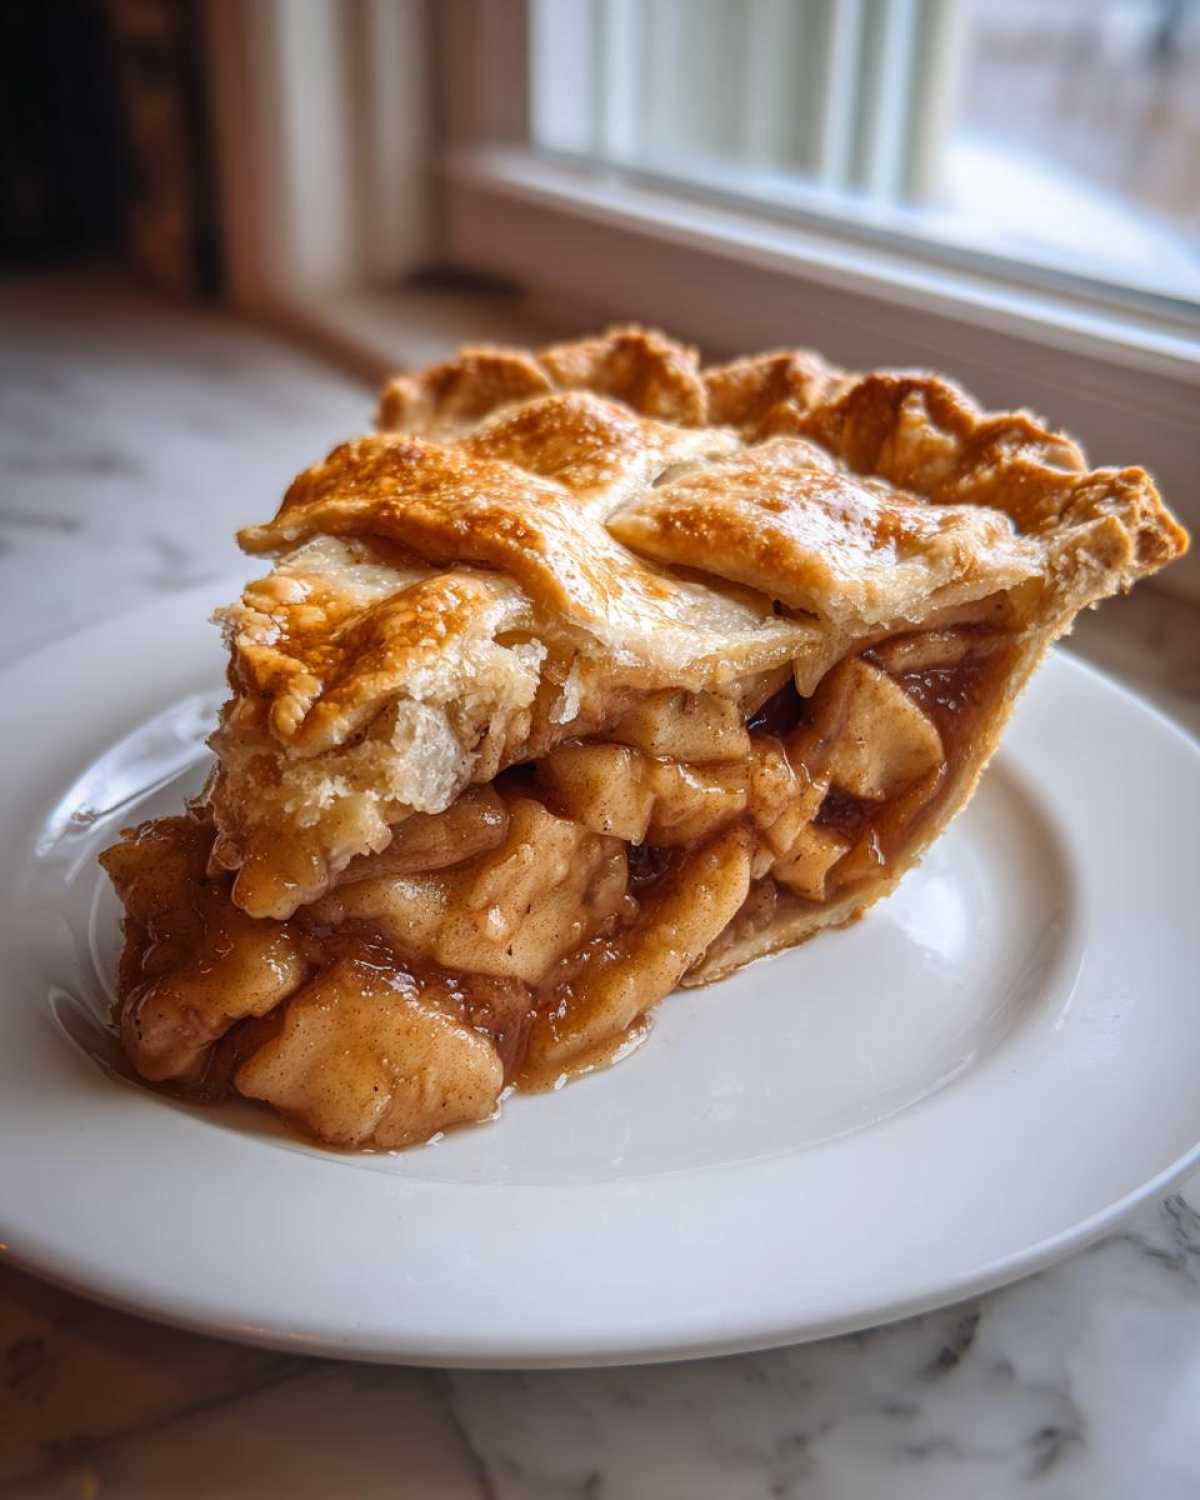
Make sure the cheese is room temperature so it softens just slightly as you eat it with the warm pie. It’s an old-fashioned combination, but it works wonders!
Simple Presentation Touches
If you don’t want any major accompaniments, focus on texture on top. If you skipped the coarse sugar sprinkle before baking, try dusting the cooled pie very lightly with powdered sugar right before serving. It gives it that beautiful, frosty look.
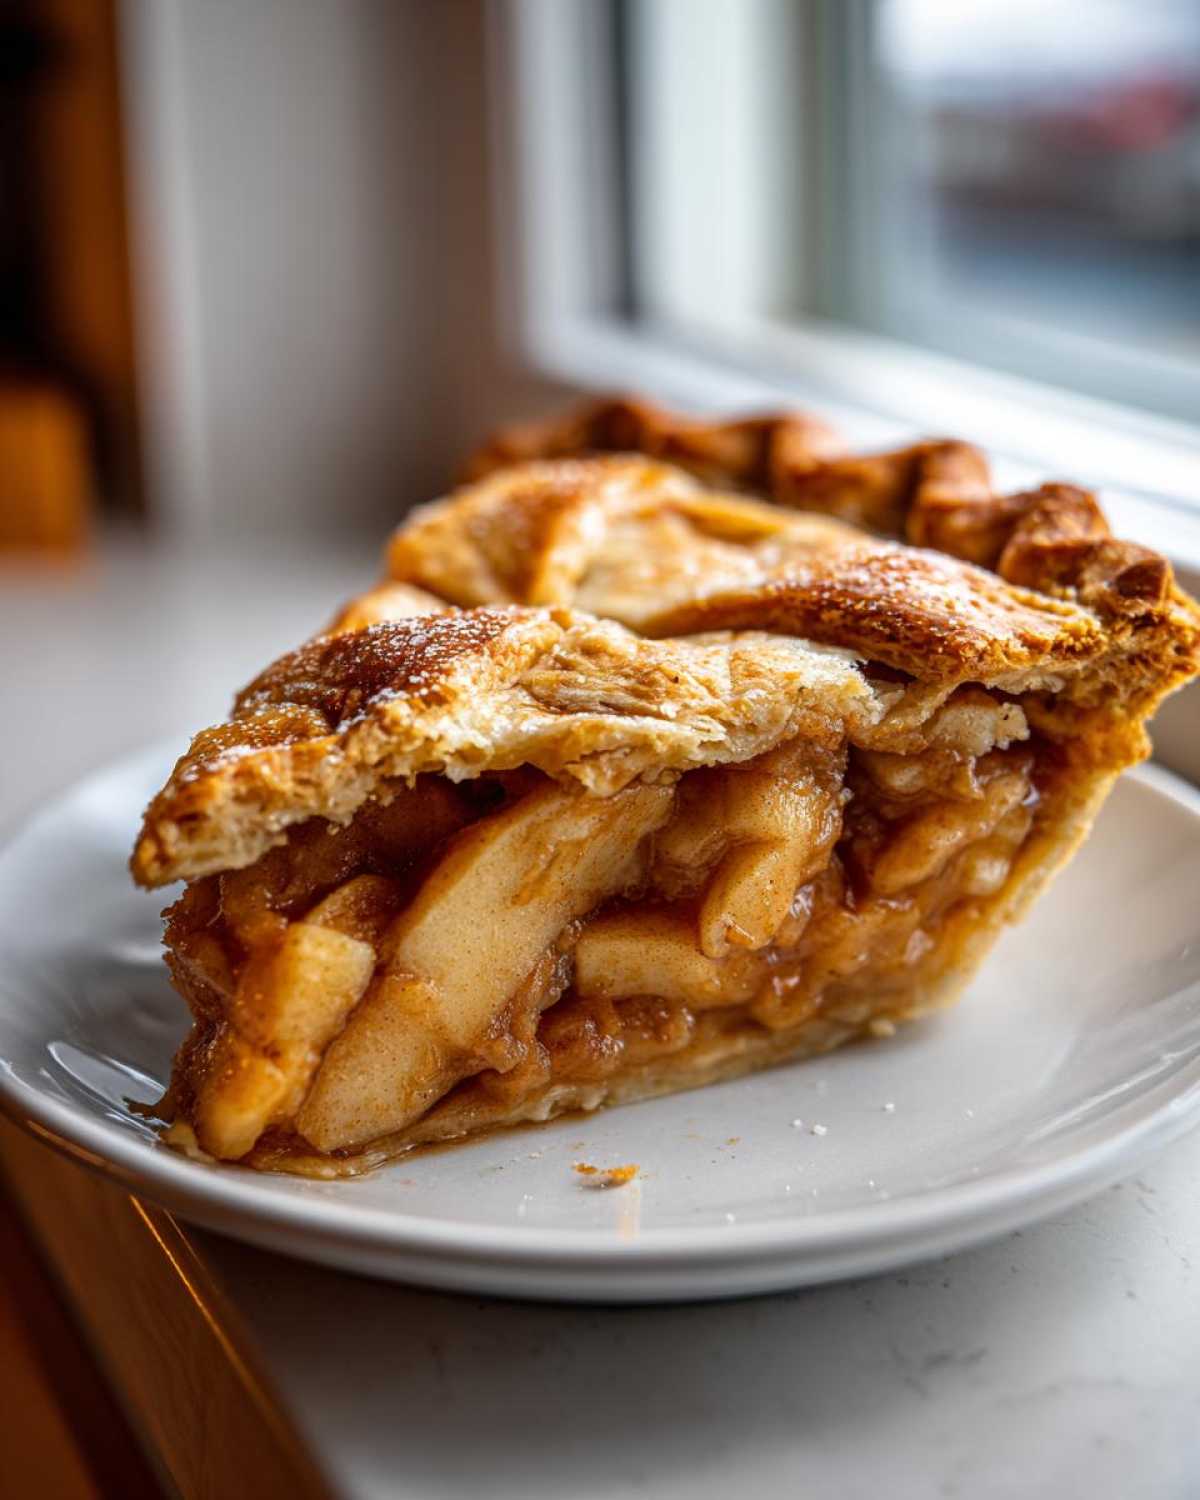
For a rustic finish, especially if you used a decorative edge, just serve it on a simple white plate. No extra fuss needed—let that golden-brown crust and the visible spice mixture do all the talking!
Frequently Asked Questions About Making Apple Pie Recipe
I know that even with the best **apple pie recipe** written down, questions always pop up when you’re standing there with flour on your hands! Baking is science, but it’s also intuition, so let me clear up some common sticking points I’ve run into over the years. Don’t worry if you ever struggle with a weeping filling or dough that decides to run away; we’ve all been there!
What is the best type of apple to use for this apple pie recipe?
This is my favorite question because the apple choice really dictates the entire experience of your **classic apple pie recipe**! You absolutely need a mix, trust me on this. You want tartness to balance that sugar, but you also need firmness so your filling doesn’t turn into apple sauce when you bake it.
For structure, Granny Smith is my go-to bedrock—they hold up beautifully. But for flavor dimension, I always toss in about a third of a mix of something like Honeycrisp, Jonagold, or even a firm Gala. That combo gives you the best texture in every slice, which is essential for a truly **best homemade apple pie**!
How can I prevent my apple pie filling from being too runny?
Runny filling is the number one reason pies don’t slice cleanly! If you follow my instructions, you’ve already got two major safeguards in place, but here’s the rundown:
- Use the Chopped Apple Trick: Remember I asked you to finely chop a tiny bit of apple and mix that with the flour? That finely chopped bit absorbs liquid better than the sliced apples, creating a perfect thickening base.
- The Cooling Wait: Seriously, you have to wait the full three hours after it comes out of the oven. That liquid needs to cool down and gelatinize; it won’t become firm until it sets up properly. Resist the urge to peek after an hour!
If you find your filling is still a bit looser than you’d like, next time you can try dusting the apples with just a touch more flour. It takes practice to get that perfect balance for a **perfect apple pie slices cleanly**!
Can I make the dough for this apple pie recipe ahead of time?
Oh, yes! Making the dough ahead is a huge time-saver, especially if you’re tackling this **double crust apple pie** recipe during a busy holiday like Thanksgiving. The dough actually deepens its flavor when it chills longer than just the minimum hour.
After you mix your two disks, wrap them tightly in plastic wrap—like you’re prepping them for a trip!—and they can chill in the refrigerator for up to 3 days. They must stay cold, though.
If you need to make them even further out, you can freeze them! Wrap them extra well, maybe toss them in a freezer bag, and they’ll be perfect for up to two months. Thaw them overnight in the fridge before you plan to roll them out. It’s great for keeping your kitchen cool, too!
For all my other dough-related hacks and tips on keeping things perfectly shaped, check out my guide on making cookies that hold their shape—the principles of cold management are the same!
Review and Share Your Perfect Apple Pie Recipe Experience
Whew! Congratulations, friend! You have just successfully tackled what I genuinely believe is **the best apple pie recipe** anyone could ask for. That golden crust, that juicy, cinnamon-spiced filling—that is the taste of home, baked fresh by you!
Now that you’ve let it cool down (and bravely resisted slicing into it immediately!), I really, truly want to hear about it. I rely on your feedback to make sure this recipe is serving up perfection for everyone.
Did the crust turn out flaky? Did your family approve of the spice blend? Did you make any little adjustments based on what you had on hand? Don’t be shy!
Rate this Classic Apple Pie Recipe
If you followed along, please give this recipe a star rating below. Five stars means you achieved pie perfection and are ready to serve this at your next big gathering—maybe even alongside some of that festive Thanksgiving Punch!
If you gave it four stars, let me know in the comments what you think I can tweak to make it absolutely five-star worthy next time. We’re all learning together here!
Share Your Baking Adventures!
I absolutely love seeing what you create in your kitchens! Snap a picture of your beautifully baked, cleanly sliced **homemade apple pie** and share it on social media. Make sure you tag me so I can see your gorgeous lattice work or crimping skills!
Leave a detailed comment below. Hearing how this **apple pie recipe** performed in your oven inspires me to keep sharing all my kitchen secrets. Thank you so much for trusting me with your holiday baking and comfort food cravings. Happy baking!
PrintClassic Double-Crust Apple Pie Recipe
A reliable recipe for a classic homemade apple pie featuring a buttery, flaky crust and a juicy, cinnamon-spiced filling. Follow these steps to achieve a perfect slice every time.
- Prep Time: 45 min
- Cook Time: 65 min
- Total Time: 110 min
- Yield: 8 servings
- Category: Dessert
- Method: Baking
- Cuisine: American
- Diet: Vegetarian
Ingredients
- 2 1/2 cups all-purpose flour
- 1 teaspoon salt
- 1 cup (2 sticks) unsalted butter, very cold and cubed
- 1/2 cup ice water, plus more if needed
- 6 large Granny Smith apples, peeled, cored, and sliced 1/4 inch thick
- 1/4 cup Granny Smith apple, finely chopped (for thickening)
- 3/4 cup granulated sugar
- 1/4 cup packed light brown sugar
- 1 teaspoon ground cinnamon
- 1/4 teaspoon ground nutmeg
- 1/8 teaspoon ground allspice
- 2 tablespoons all-purpose flour
- 1 tablespoon lemon juice
- 1 large egg, beaten with 1 teaspoon water (for egg wash)
- 1 tablespoon coarse sugar for sprinkling
Instructions
- Prepare the Crust: In a large bowl, whisk together the flour and salt. Cut in the cold butter using a pastry blender or your fingers until the mixture resembles coarse crumbs with some pea-sized pieces of butter remaining. Gradually add the ice water, one tablespoon at a time, mixing until the dough just comes together. Do not overmix. Divide the dough in half, flatten each half into a disk, wrap in plastic, and chill for at least 1 hour.
- Prepare the Filling: In a large bowl, combine the sliced apples, chopped apple, granulated sugar, brown sugar, cinnamon, nutmeg, allspice, 2 tablespoons flour, and lemon juice. Toss gently to coat. Let the mixture sit for 15 minutes while you roll out the dough.
- Assemble the Bottom Crust: On a lightly floured surface, roll out one dough disk into a 12-inch circle. Carefully transfer the dough to a 9-inch pie plate. Trim the edges, leaving a 1-inch overhang. Place the plate in the refrigerator.
- Pre-Bake Preparation (Optional for Soggy Bottom Prevention): Place a baking sheet in the oven and preheat to 425 degrees F (220 degrees C).
- Fill the Pie: Pour the apple mixture into the chilled bottom crust. Mound the apples slightly in the center.
- Assemble the Top Crust: Roll out the second dough disk into an 11-inch circle. Place it over the filling. Trim the edges, leaving a 1-inch overhang. Crimp the top and bottom crust edges together to seal. Cut several slits in the top crust to allow steam to escape.
- Bake: Brush the top crust with the egg wash and sprinkle with coarse sugar. Place the pie on the preheated baking sheet. Bake at 425 degrees F (220 degrees C) for 15 minutes.
- Reduce heat to 375 degrees F (190 degrees C) and continue baking for 40 to 50 minutes, or until the crust is golden brown and the filling is bubbling thickly. If the edges brown too quickly, cover them loosely with foil.
- Cool: Cool the pie completely on a wire rack for at least 3 hours before slicing to allow the filling to set.
Notes
- Keep all crust ingredients cold. Cold butter creates steam pockets, resulting in a flaky crust.
- If your apples release a lot of liquid, drain off some of the excess juice before filling the pie shell.
- Baking the pie on a preheated baking sheet helps cook the bottom crust faster, reducing the chance of a soggy bottom.
Nutrition
- Serving Size: 1 slice
- Calories: 450
- Sugar: 35g
- Sodium: 250mg
- Fat: 25g
- Saturated Fat: 15g
- Unsaturated Fat: 10g
- Trans Fat: 0g
- Carbohydrates: 58g
- Fiber: 4g
- Protein: 5g
- Cholesterol: 60mg
