

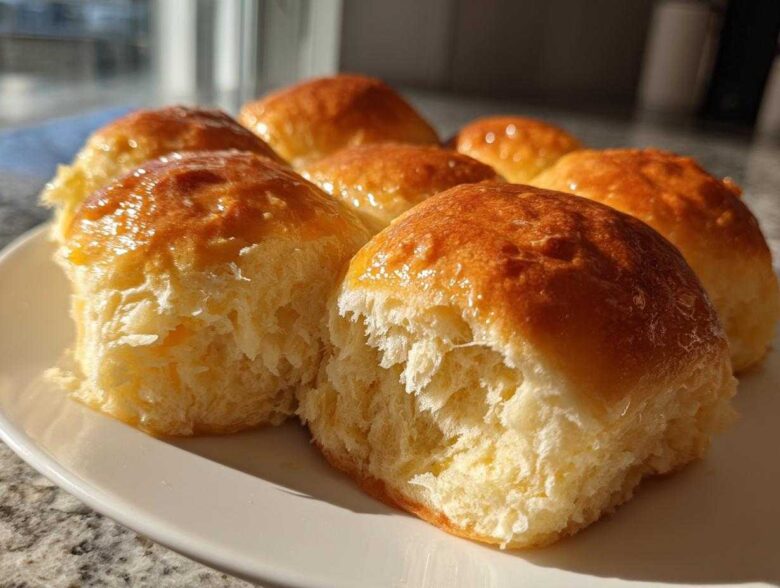
Oh, I know that feeling! That sudden, overwhelming craving for warm, homemade bread straight from the oven. Forget anything store-bought; when guests are coming or even when you just need a hug in carbohydrate form, nothing beats the real deal. These rolls are my absolute go-to recipe. They truly deliver that pillowy soft texture you dream about, and the best part? We’re talking buttery, fluffy goodness in about an hour total time. Seriously, I’ve timed it! They were the star of every Thanksgiving table long before I even learned to drive, and they work just as well for a Tuesday night soup night. Trust me, this recipe is tested, tried, and totally fool-proof.
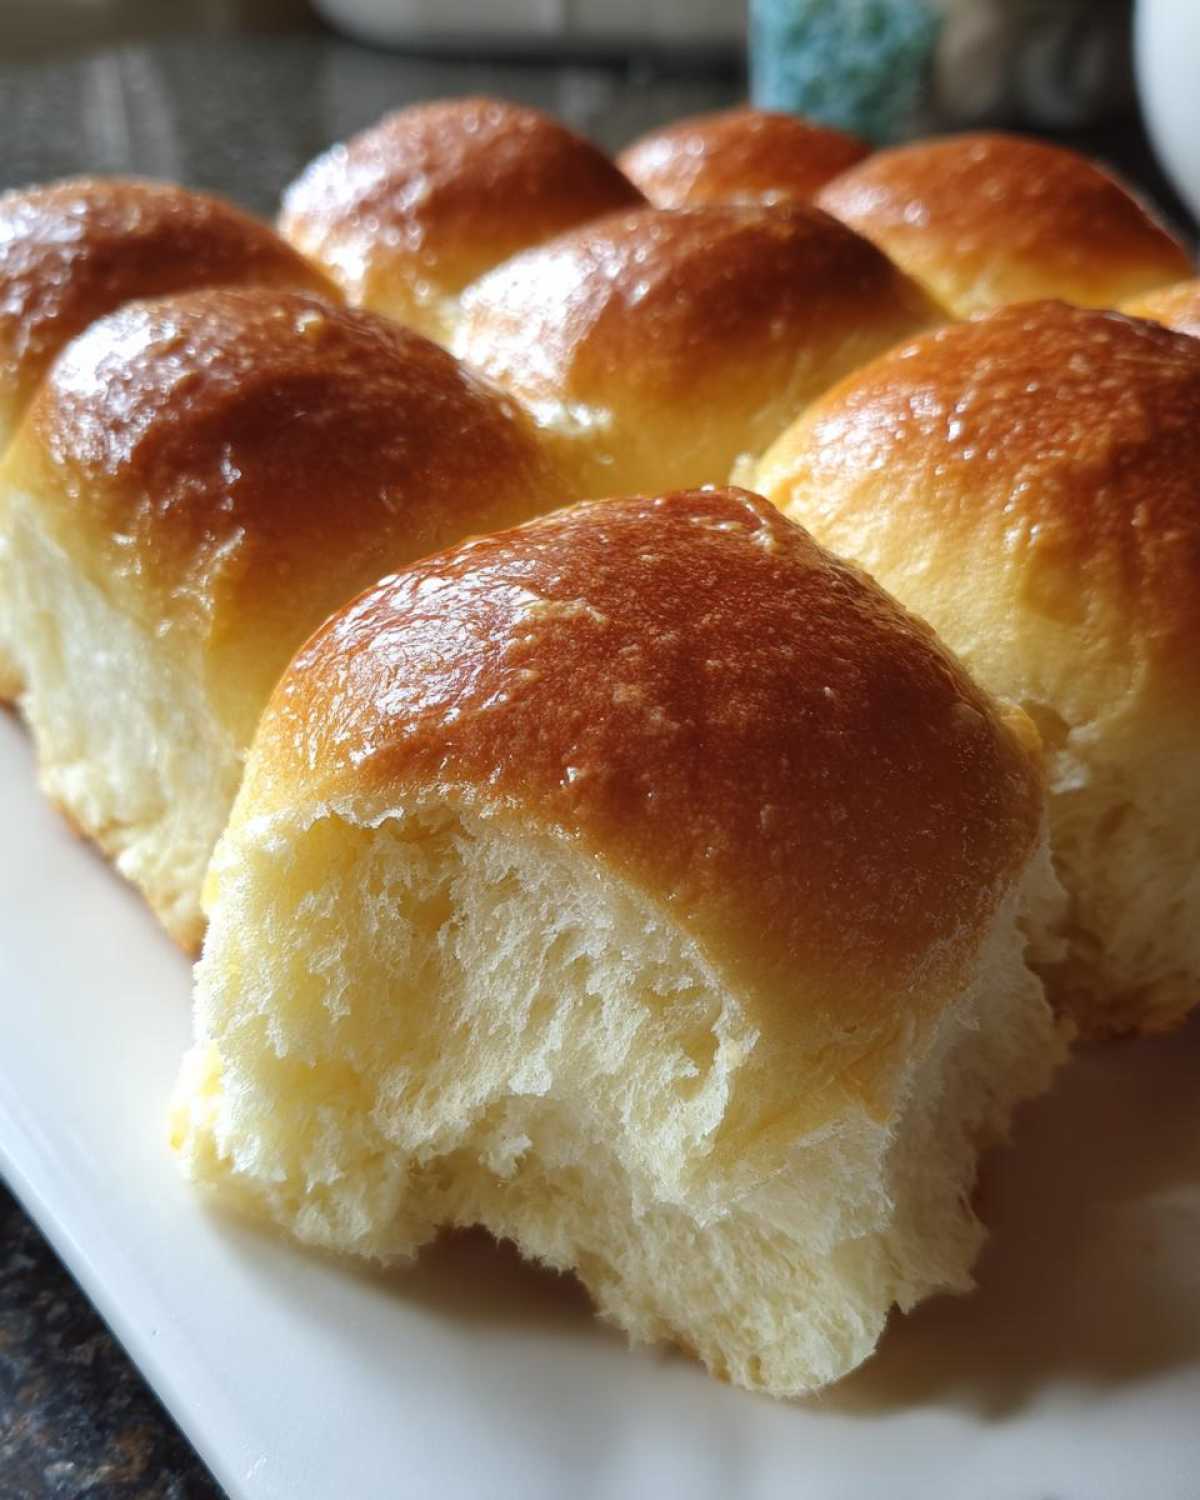
Why You Will Make These Soft and Buttery Dinner Rolls Repeatedly
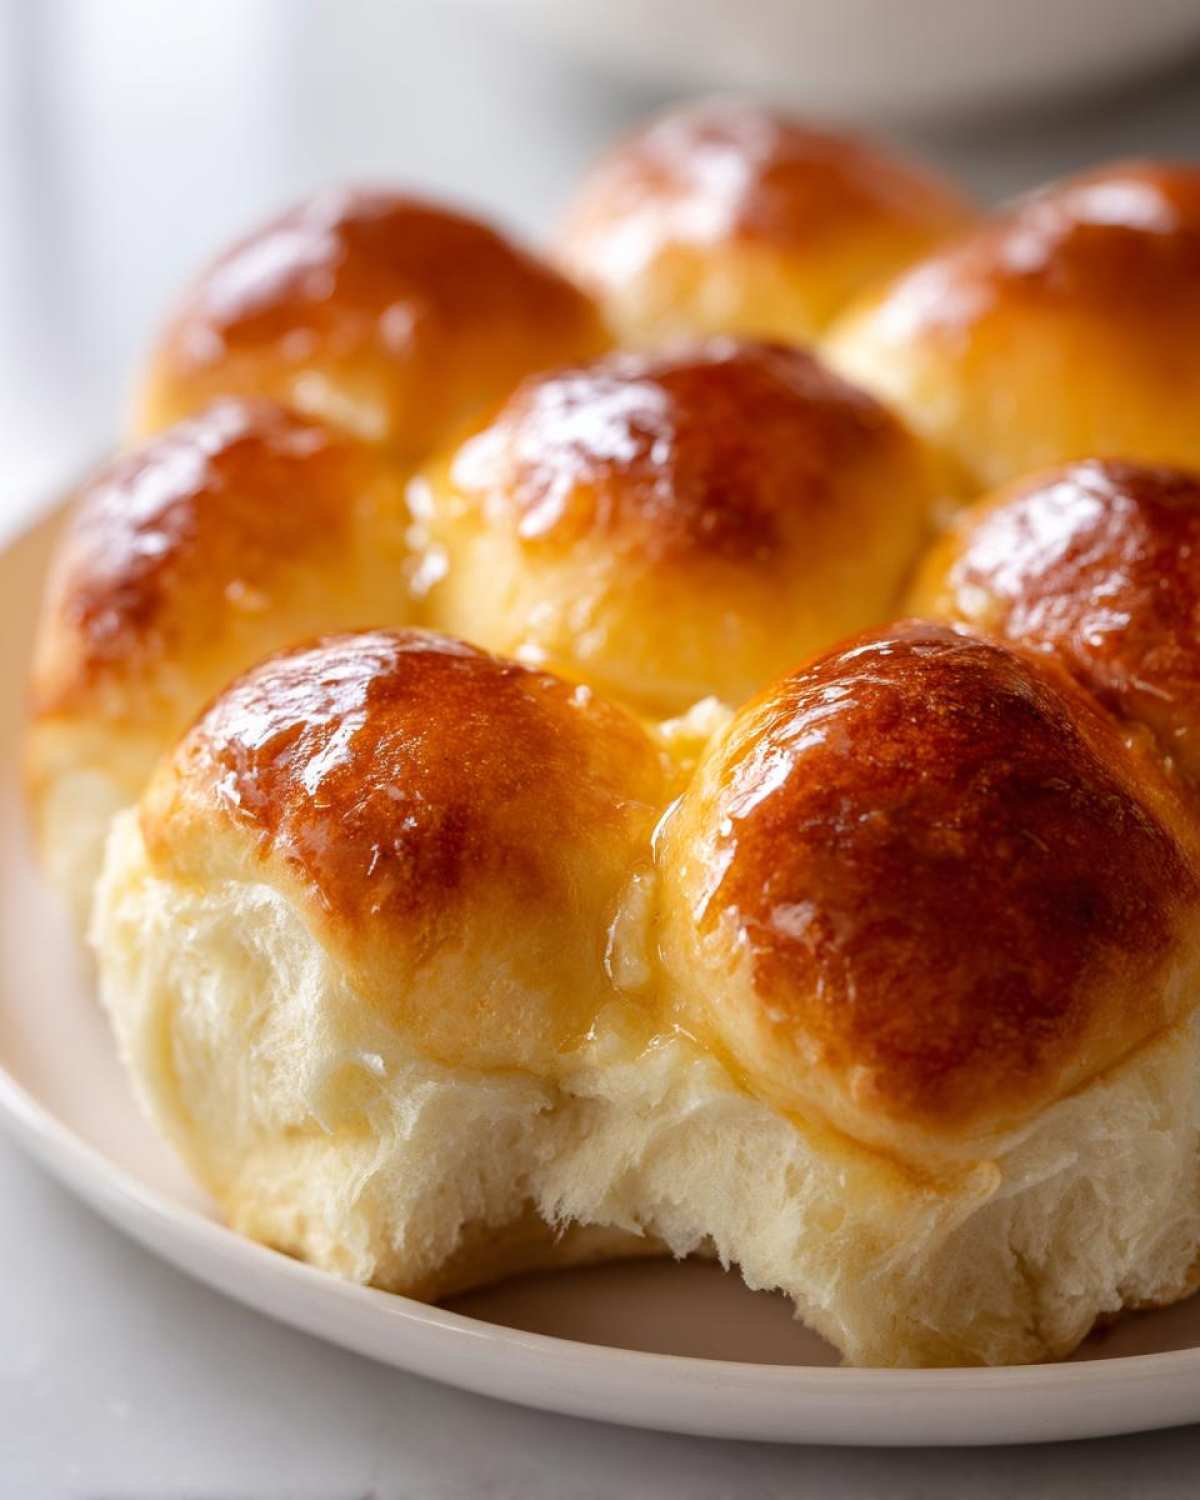
Look, I know we all have busy lives, but when you crave that perfect, buttery side bread, you need speed! These rolls are absolutely the best thing you can do with an hour of your time. They bake up gorgeously golden and stay soft for days if you have any leftovers.
- They are genuinely ready from start to finish in about an hour.
- The texture is unbelievably soft and pillowy—seriously the softest rolls you’ll bake.
- That rich, pure butter flavor sinks right into every single crumb.
- They are perfect for soaking up gravy or just eating plain!
You won’t believe how quickly you get such impressive, comforting results.
Essential Ingredients for Perfect 1-Hour Dinner Rolls
Okay, so the magic in this homemade dinner rolls recipe comes from keeping things simple but using the right details. Since we’re moving fast, precision matters! The first thing you need is warm milk, and I mean *exactly* warm milk—think 105 to 115 degrees Fahrenheit. Too cold, and your yeast won’t wake up; too hot, and you’ve killed your little floaty friends. Don’t skip that temperature check!
Here’s what you’ll gather for the dough:
- 1 cup warm milk (aiming for 105-115°F—this is key for the yeast!)
- 2 1/4 teaspoons active dry yeast
- 1/4 cup granulated sugar
- 1/2 cup (one full stick!) unsalted butter, melted, plus extra for brushing later
- 1 large egg, make sure it’s room temperature, just like Grandma taught us
- 1 teaspoon salt
- 3 1/2 cups all-purpose flour, plus some for dusting everything!
A quick note on the butter, because this is important for flavor: Don’t try swapping out the butter for oil here. That melted butter is what gives these buttery yeast rolls their rich, unmistakable taste. If you want to level up the final look, that optional glaze is just a tiny bit of melted butter mixed with garlic powder—you can find my favorite way to whip up quick garlic butter right here!
Step-by-Step Guide to Making Your Softest Fluffy Bread Rolls
This is where the magic happens, and honestly, it moves fast! Once the yeast is active, we combine everything quickly to get those perfect pillowy soft rolls happening. My biggest piece of advice? Have all your flour measured out and ready to go before you even touch the yeast. You don’t want to stop and measure while the yeast is waiting patiently. If you love this fast method, check out how I keep my whole wheat bread soft, too, because the principles are similar!
Activating the Yeast and Mixing the Rolls Dough
First order of business: Check that milk temperature! If it feels just lukewarm to your wrist, it’s probably good. Pour it into your big mixing bowl and sprinkle the yeast right over the top, along with a tiny pinch of that sugar to feed it. Let it sit for about five minutes. I always look for a layer of thick foam—that’s your visual cue that the yeast is happy and ready to work! Once it’s foamy, stir in the rest of the sugar, the melted butter, your room temperature egg, and the salt.
Kneading and the First Rise for Fluffy Rolls
Now, start adding that flour, but only about half at first. Mix it until it’s incorporated, then start adding the rest gradually. When it turns into a shaggy mess, dump the whole thing out onto a lightly floured counter. This is the fun part! You need to knead this dough for about 5 to 7 minutes. You should be stretching and folding until the dough stops sticking to your hands and feels smooth and elastic—like a baby’s cheek! Then, oil up a clean bowl, toss the dough in, cover it with plastic wrap, and let it chill out in a warm spot for 30 minutes until it’s doubled. That short rise is what makes these quick homemade bread recipes possible!
Shaping and Second Proofing of the Dinner Rolls
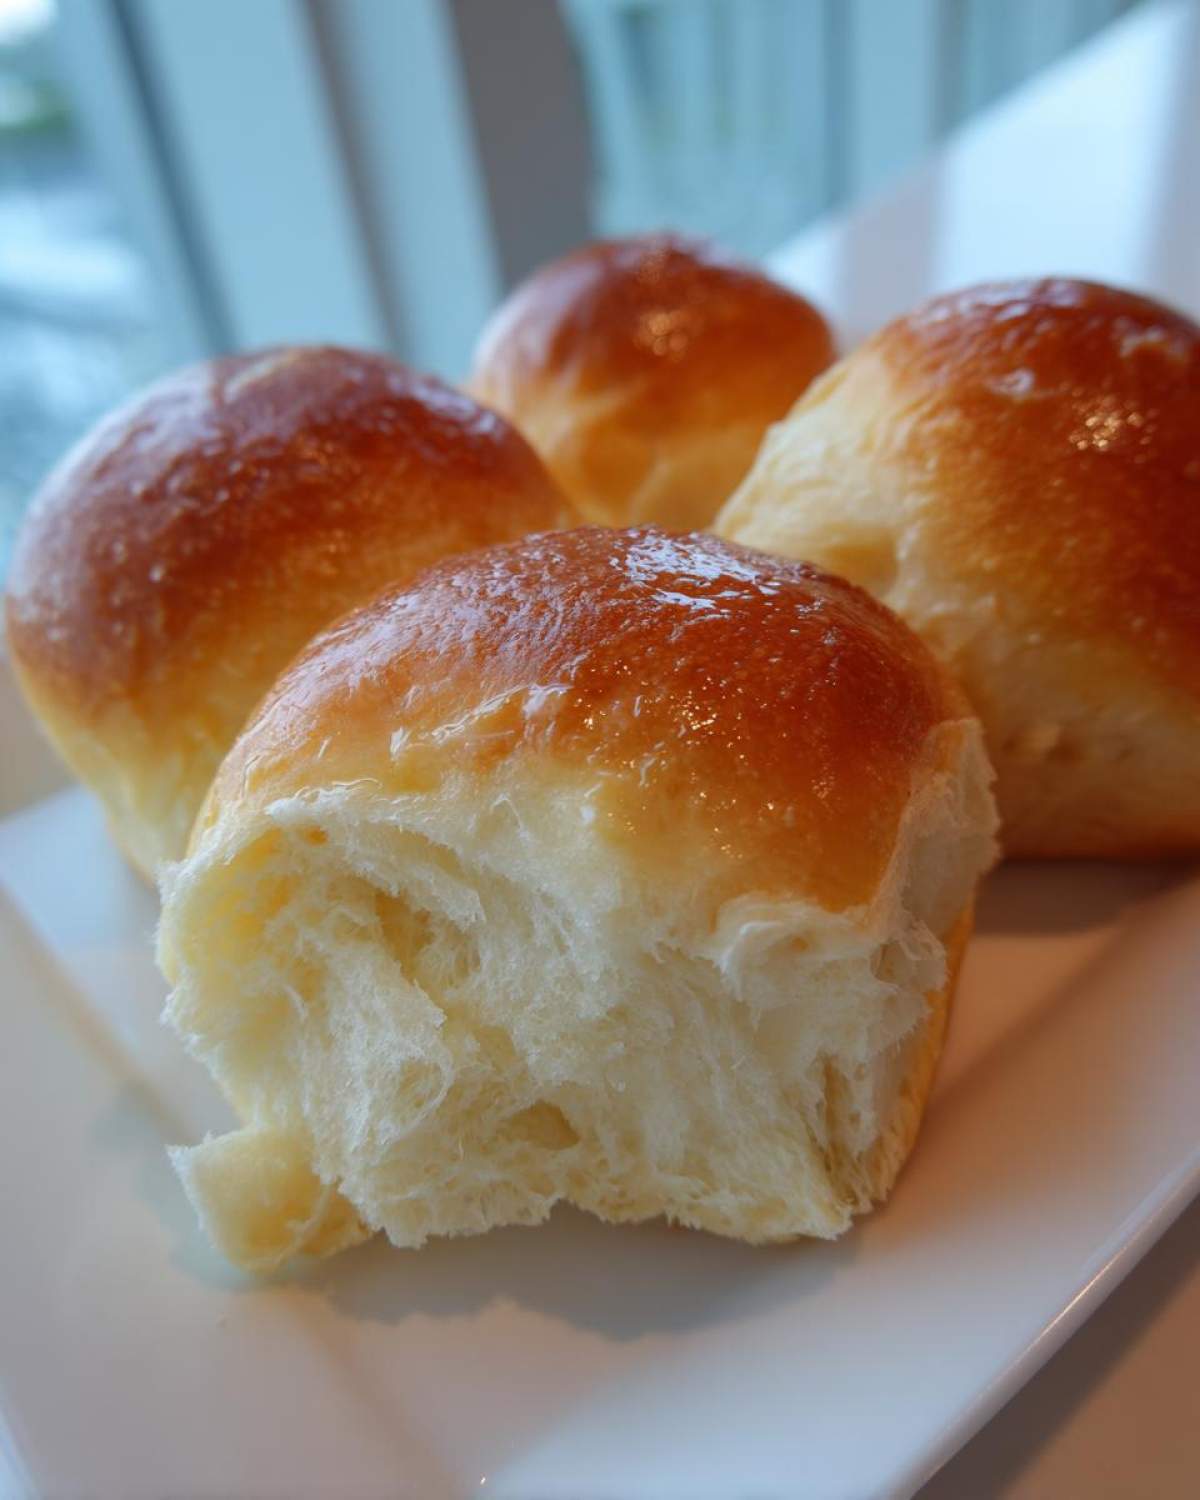
After 30 minutes, gently punch the air out of the dough—don’t abuse it! Now, divide that beautiful dough into 12 equal pieces. I use a kitchen scale sometimes just to be sure they are all the same size. Roll each piece firmly between your palms into a perfect little ball. Place these beauties into your greased 9×13 pan, leaving a little space between them so they can cuddle up as they grow. Cover the pan again and let them have a second, shorter rest for about 20 minutes. This second proofing is what guarantees they’ll bake up high and light on the sides.
Baking and Glazing Your Buttery Rolls
Right when that 20 minutes is almost up, go ahead and crank that oven to 375°F (190°C). The rolls should look puffier and totally ready to go when the oven is hot. Bake them for 15 to 18 minutes. Watch them closely! You want them a lovely golden brown on top. As soon as they come out—and I mean *immediately*—brush the tops generously with extra melted butter or that yummy garlic glaze. They absolutely must be served warm! That first 10 minutes out of the oven is when they are their absolute softest.
Tips for Perfect Buttery Yeast Rolls Every Time
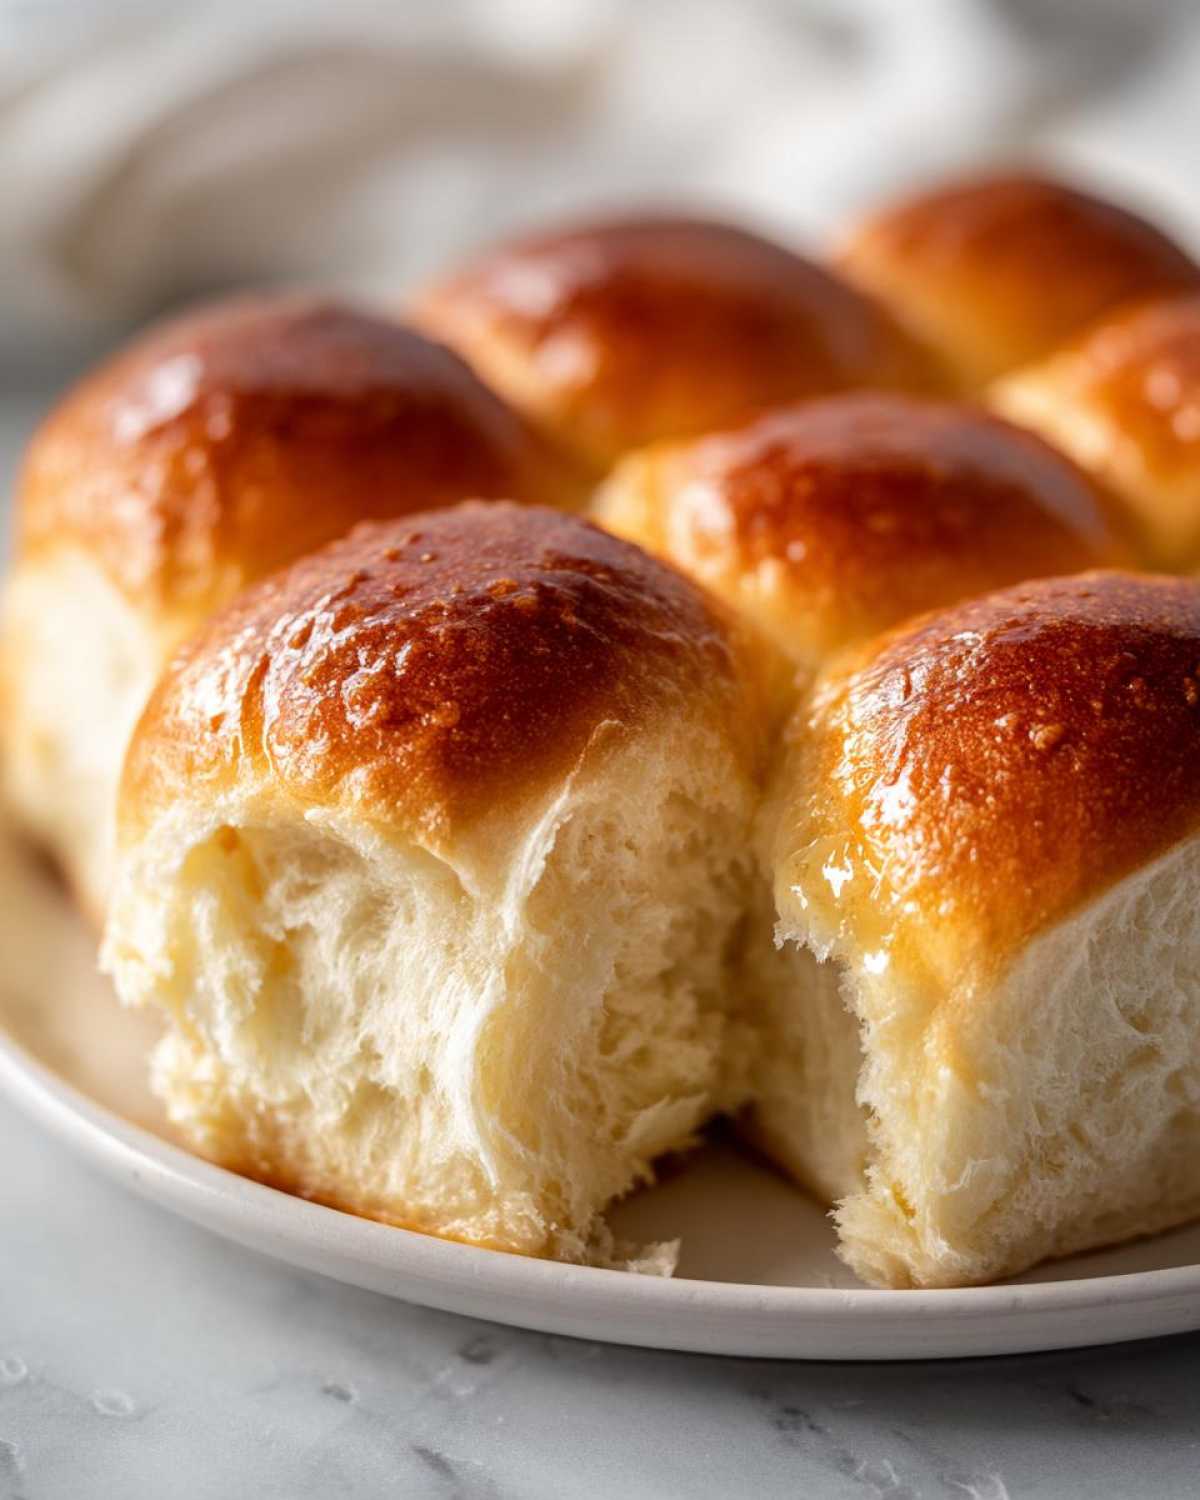
Even with a great recipe, sometimes things go a little sideways in the kitchen, right? So here are my little insider secrets to make sure these rolls are always perfect. If your dough isn’t getting puffy, don’t panic! Usually, your kitchen is just too cool. Try putting the covered bowl in the oven with *only* the light on—that little bit of warmth does wonders. Also, please don’t over-knead once you add all the flour; that develops too much gluten and makes them tough instead of fluffy.
My biggest tip for keeping them soft? Watch the oven time like a hawk! These are thin and tender, so 18 minutes is often plenty. If they look too dark on top but feel squishy when you tap them, take them out early and brush them with that extra butter right away. It stops the residual heat from drying out the tops. If you are making these ahead for a party, always under-bake them by just two minutes, cool them down completely, and then reheat them later! For more tips on shaping, I used similar techniques when perfecting my famous breadsticks, which you can check out right here.
Variations: Making Garlic Butter Dinner Rolls or Parker House Rolls
While I absolutely adore these rolls just brushed with plain melted butter—it keeps that pure, yeasty sweetness shining through—I totally get wanting to shake things up! The beauty of this dough is that it’s the perfect blank canvas for some serious flavor dressing.
For the garlic flavor everyone begs for, you’re going to use that optional glaze I mention in the ingredients list. It’s simple: take about 2 tablespoons of melted butter and whisk in maybe half a teaspoon of garlic powder. As soon as those hot rolls come out of the oven, drizzle or brush that mixture right over the tops! It melts right in, creating those irresistible, slightly crispy, garlicky tops you sometimes find at those famous chain restaurants. You can find my full breakdown on how I make the best garlic butter for dipping or drizzling, too!
Now, if you want to get fancy and make something that screams, “I planned ahead and I’m fancy!” you need to try shaping them like Parker House rolls. After you divide and shape the dough into balls (Step 6), instead of setting them round in the pan, you flatten each ball slightly into an oval shape using your palm.
Here’s the fold trick: Brush the top of the oval lightly with melted butter. Then, fold one long side halfway over the center, and then fold the other long side over that first fold, making a little three-layer packet. Pinch the seam shut gently and set that packet seam-side down in your baking dish. They still puff up beautifully, but they look so classic and elegant when baked. They are technically still wonderful rolls, just dressed up for a special occasion!
Storage and Reheating Instructions for Leftover Rolls
Even though it’s tough to have leftovers—these vanish so fast!—I always plan ahead by preparing these rolls for the next day. If you have any left, keep them stored loosely covered at room temperature for up to two days. Don’t seal them tightly immediately, or you trap steam and make them soggy!
If you know you won’t eat them for a few days, they freeze beautifully. Cool them completely first, then zip them into an airtight freezer bag. You can see how I pack things for longer trips right here, and the principle is the same!
The trick to making them taste fresh again is reheating. Pop them on a sheet pan and warm them in a 350°F oven for about 8 to 10 minutes. That gentle heat brings back all that wonderful, pillowy softness we worked so hard for!
Serving Suggestions for These Homemade Dinner Rolls Recipe
The best part about having these incredible, warm sides ready is deciding what to smother them in! Honestly, they are so flavorful thanks to the butter that they stand alone perfectly fine. But why stop there?
These are my ultimate comfort food bread sides for almost any big meal. If you’re serving roasted chicken or a big ham for the holidays, these are a non-negotiable item on the table. They are sturdy enough to handle heavy sauces and gravy—don’t let their fluffiness fool you; they have strength!
My absolute favorite way to eat the leftovers? Dipped into a big bowl of hearty stew or soup. They mop up every last delicious drop. They pair especially well with richer, thicker soups, like my creamy roasted butternut squash soup or a beef stew. Trust me, you’ll want to make a double batch just so you can have them for dunking the next day!
Frequently Asked Questions About Quick Homemade Bread Rolls
Since these are such popular rolls, people always have questions, especially when they are trying to fit baking into a busy schedule! I get it—we want quality results even when we’re aiming for speed. Here are the ones I hear the most often about achieving that perfect texture.
Can I use bread flour instead of all-purpose flour for these rolls?
Oh, you absolutely *can*! But I have to warn you: bread flour has more protein, which means more gluten development. While they will still be delicious, they are going to come out chewier than the recipe intends. This recipe is specifically balanced for the softer structure you get from all-purpose flour, making them the best dinner rolls for holidays when you want that light melt-in-your-mouth feeling. If you use bread flour, just be careful not to knead quite as long, or you risk making them tough!
What is the secret to making truly pillowy soft rolls?
That secret comes down to two things: fat and time in the oven. The generous amount of melted butter combined with the whole milk in this recipe creates softness you can’t beat. But the #1 killer of soft texture is over-baking! Pull them out the second they look golden brown—maybe even a minute early. Those last few minutes in the oven are usually just drying them out unnecessarily. Keep them under-baked by a hair, and they’ll stay pillowy soft rolls!
How long can I let the dough rise if I am not making 1 Hour Dinner Rolls?
If you’re having a slow weekend and don’t need these to be 1 hour dinner rolls, you can actually get an even better flavor by letting the first rise go slow and cold. After you put the dough in the oiled bowl (Step 4), cover it tightly and stick it in the fridge overnight, or even for up to 24 hours. This slow, cold fermentation builds deeper flavor. Just bring the dough back to room temperature for about an hour before you punch it down and shape it for the second rise!
Nutritional Estimates for These Buttery Rolls
Now, I’ll be honest with you—these are rich, comforting treats, not birdseed! Because they are loaded with real butter and sugar for that amazing flavor and fluffiness, we certainly aren’t counting calories when we make these for the holidays. But, for those of you who like to keep track, I ran the numbers based on the ingredients list for an average serving size.
Use these figures as a general guideline only! The exact amounts of fat and sugar will change based on the type of milk you use or if you skip the optional garlic butter brush. Remember, these are home-baked, so precision is more for fun than strict diet tracking!
- Serving Size: 1 roll
- Calories: 210
- Sugar: 5g
- Sodium: 250mg
- Fat: 9g
- Saturated Fat: 5g
- Carbohydrates: 30g
- Protein: 5g
If you’re using whole milk instead of 2% or adding an extra big brush of butter on top, those numbers will creep up, but so does the delicious factor, right? Enjoy these knowing they are made with real ingredients and tons of love!
Print1-Hour Soft and Buttery Dinner Rolls

Make soft, fluffy, buttery yeast rolls from scratch in about one hour. These rolls are perfect for weeknight dinners or holiday meals.
- Prep Time: 20 min
- Cook Time: 18 min
- Total Time: 1 hour 8 min
- Yield: 12 rolls
- Category: Side Dish
- Method: Baking
- Cuisine: American
- Diet: Vegetarian
Ingredients
- 1 cup warm milk (105-115°F)
- 2 1/4 teaspoons active dry yeast
- 1/4 cup granulated sugar
- 1/2 cup (1 stick) unsalted butter, melted, plus extra for brushing
- 1 large egg, room temperature
- 1 teaspoon salt
- 3 1/2 cups all-purpose flour, plus more for dusting
- Optional Glaze: 2 tablespoons melted butter mixed with 1/2 teaspoon garlic powder
Instructions
- In a large bowl, combine the warm milk and yeast. Let stand for 5 minutes until foamy.
- Stir the melted butter, sugar, egg, and salt into the yeast mixture.
- Gradually add the flour, mixing until a shaggy dough forms.
- Turn the dough out onto a lightly floured surface and knead for 5 to 7 minutes until the dough is smooth and elastic.
- Place the dough in a lightly oiled bowl, turning to coat. Cover the bowl with plastic wrap and let it rise in a warm place for 30 minutes, or until doubled in size.
- Punch the dough down gently. Divide the dough into 12 equal pieces. Roll each piece into a smooth ball.
- Arrange the dough balls in a greased 9×13 inch baking pan, leaving a small space between each roll.
- Cover the pan loosely and let the rolls rise again in a warm place for 20 minutes.
- Preheat your oven to 375°F (190°C).
- Bake for 15 to 18 minutes, or until the tops are golden brown.
- Immediately brush the tops of the hot rolls with extra melted butter, or the optional garlic butter glaze.
- Serve warm.
Notes
- For extra soft rolls, use whole milk instead of low-fat milk in the recipe.
- If you are short on time, you can let the first rise happen in a slightly warm oven (turned off) for 20 minutes.
- These rolls freeze well after baking; cool completely, place in an airtight bag, and freeze for up to three months. Reheat in a 350°F oven for 10 minutes.
Nutrition
- Serving Size: 1 roll
- Calories: 210
- Sugar: 5
- Sodium: 250
- Fat: 9
- Saturated Fat: 5
- Unsaturated Fat: 4
- Trans Fat: 0
- Carbohydrates: 30
- Fiber: 1
- Protein: 5
- Cholesterol: 30
