

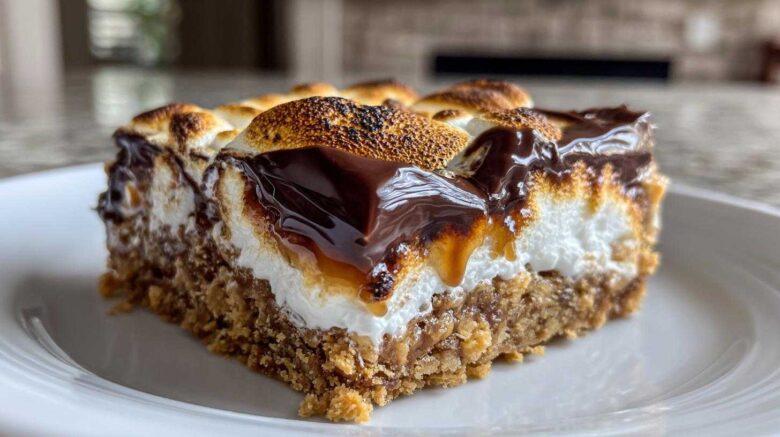
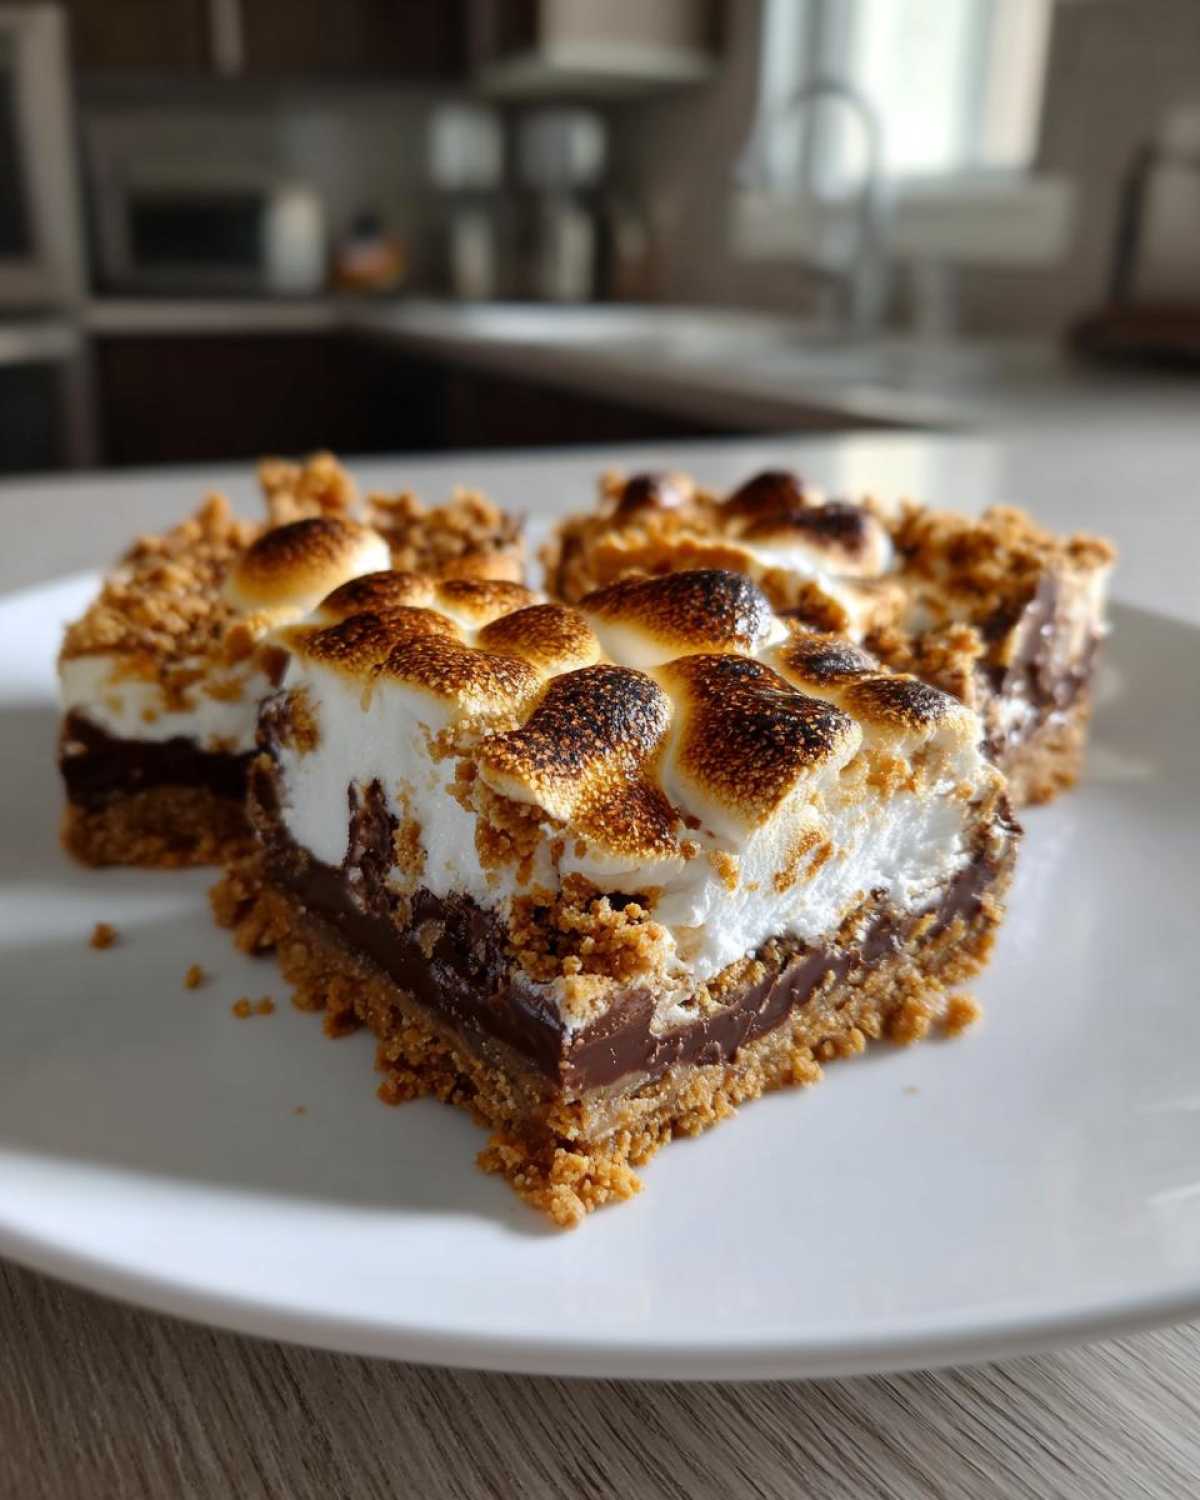
There’s something so special about s’mores, isn’t there? That perfect bite of gooey marshmallow, melty chocolate, and crunchy graham cracker just screams campfire memories. I remember countless nights huddled around a fire, perfecting the art of the s’more. Now, you can capture all that magic right in your own kitchen with these incredible S’mores Bars! They’re my absolute favorite way to bring that nostalgic, smoky-sweet taste to any occasion, no campfire required. Seriously, they’re sunshine in a pan!
Why You’ll Love These S’mores Bars
These bars are a total winner for so many reasons. They’re incredibly simple to whip up. Plus, they taste just like the real deal. Everyone goes crazy for them. They’re perfect for parties or just a sweet treat any day.
Quick and Easy Preparation
You won’t believe how fast these S’mores Bars come together. Seriously, minimal fuss. Even if you’re new to baking, you’ll nail these. They’re so straightforward.
Unforgettable Campfire Flavor
Get ready for that classic taste! We’re talking gooey marshmallows. Rich, melty chocolate. And that satisfying crunch. It’s pure s’mores bliss in every bite.
Gather Your S’mores Bars Ingredients
Alright, let’s get our ingredients ready for these amazing S’mores Bars. Having everything measured out beforehand makes baking so much smoother. I always lay mine out on the counter. It’s like setting the stage for a delicious performance! We’ll need a few things for the base and then some goodies for that irresistible topping.
Crust Ingredients for S’mores Bars
For our crumbly foundation, we’ll need:
- 1 cup (2 sticks) unsalted butter, melted
- 2 cups graham cracker crumbs
- 1/4 cup granulated sugar
- 1 teaspoon vanilla extract
- 1/2 teaspoon salt
Gooey Filling Ingredients for S’mores Bars
And for that dreamy, gooey layer:
- 1 cup granulated sugar
- 1/4 cup milk
- 1 cup chopped semi-sweet chocolate
- 1 cup mini marshmallows
Step-by-Step Guide to Perfect S’mores Bars
Alright, let’s get these delicious S’mores Bars into the oven! It’s a pretty simple process, but paying attention to a few little things will make all the difference. I’ve made these more times than I can count, and I’ve learned a few tricks along the way. Don’t worry, though; it’s all very manageable, and the result is so worth it!
Preparing the Graham Cracker Crust
First things first, let’s preheat your oven to 350°F (175°C). Grab a 9×13 inch baking pan and give it a good grease and flour. In a bowl, mix your melted butter, graham cracker crumbs, 1/4 cup of sugar, vanilla, and salt. Press this mixture firmly and evenly into the bottom of your pan. This forms our base, so make sure it’s packed down well!
Crafting the Chocolate Filling
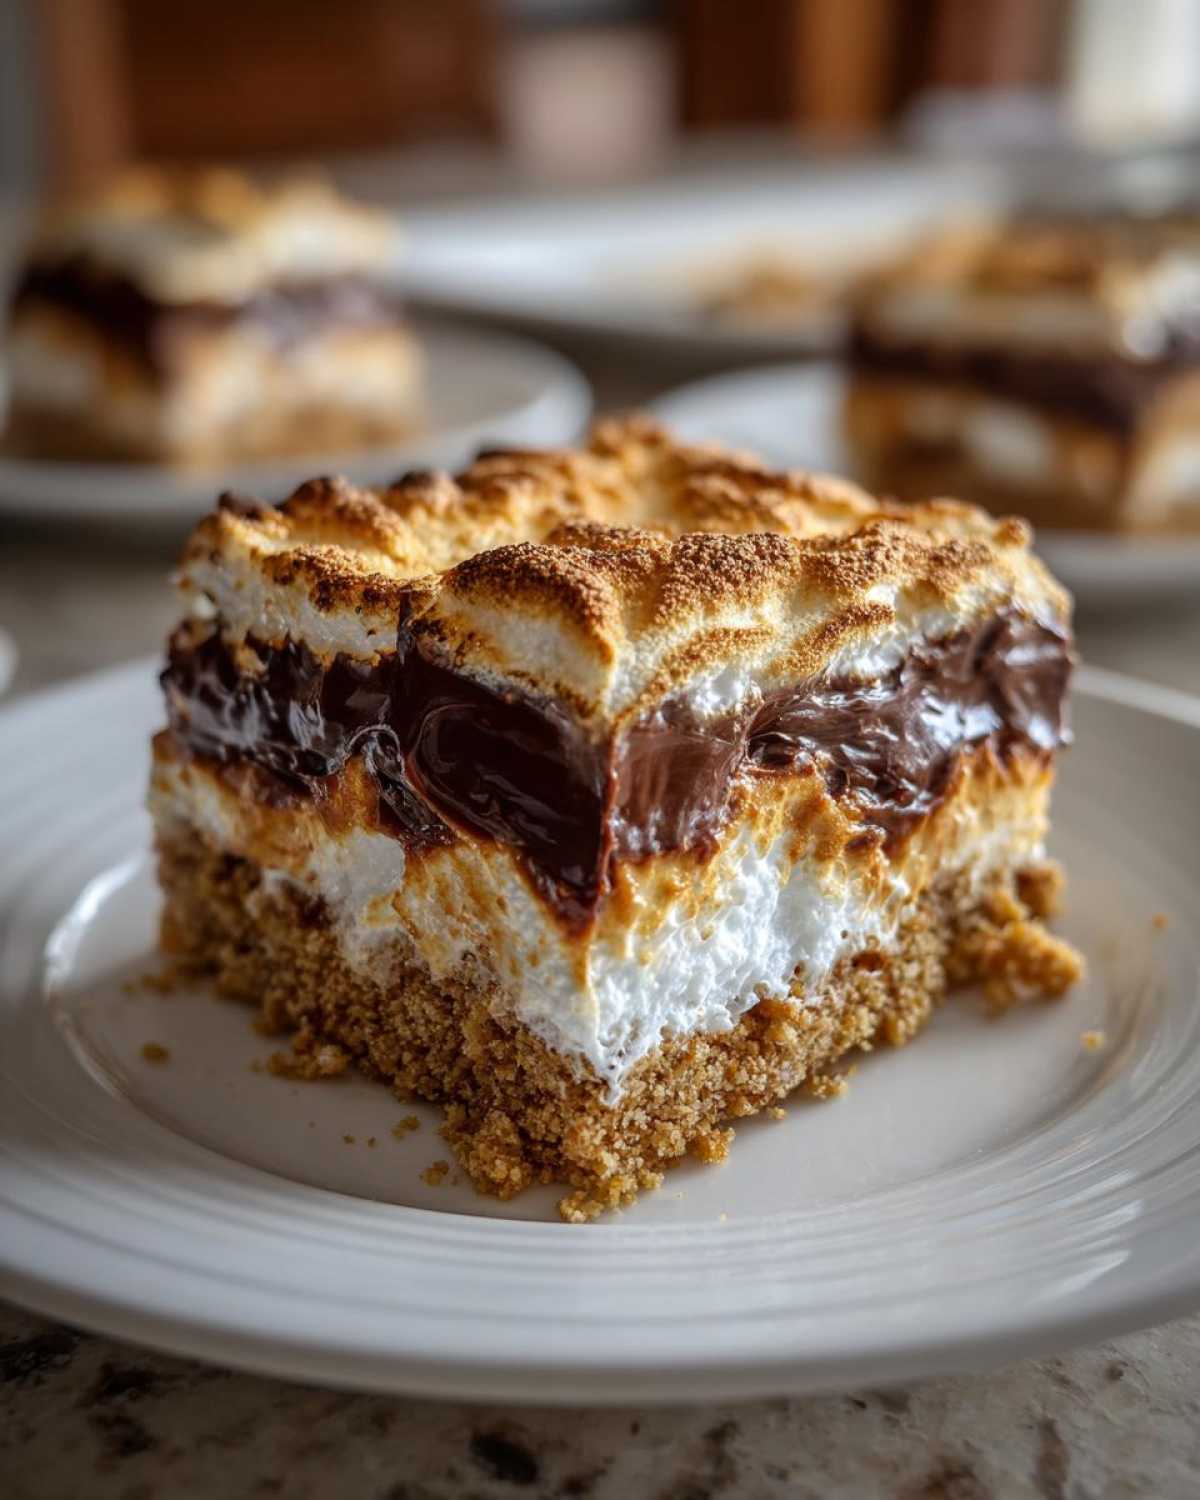
While that crust is getting a head start in the oven for about 10 minutes, let’s whip up the chocolate magic. In a small saucepan, combine the remaining 1 cup of sugar and the milk. Heat this over medium heat, stirring constantly. You want that sugar to dissolve completely, making a smooth, lovely mixture. Once it’s smooth, take it off the heat and stir in your chopped chocolate. Keep stirring until it’s all melted and glossy. It should look like liquid velvet!
Assembling and Baking Your S’mores Bars
Now for the fun part! Carefully pour that glorious chocolate mixture over your partially baked graham cracker crust. Spread it out evenly so every bite gets that rich chocolate goodness. Then, comes the best bit: sprinkle those mini marshmallows all over the top. Try to get an even layer. Pop the pan back into the oven for another 15-20 minutes. You’re looking for those marshmallows to get puffed up and beautifully golden brown. It smells amazing at this stage! Once they’re done, let the bars cool completely in the pan. This is key for clean cuts.
Tips for S’mores Bars Success
Making these S’mores Bars is a joy, and a few little tricks from my kitchen can help you get perfect results every time. It’s all about those simple details that make a big difference. I’ve learned that patience is key, especially with the cooling!
Achieving the Perfect Gooeyness
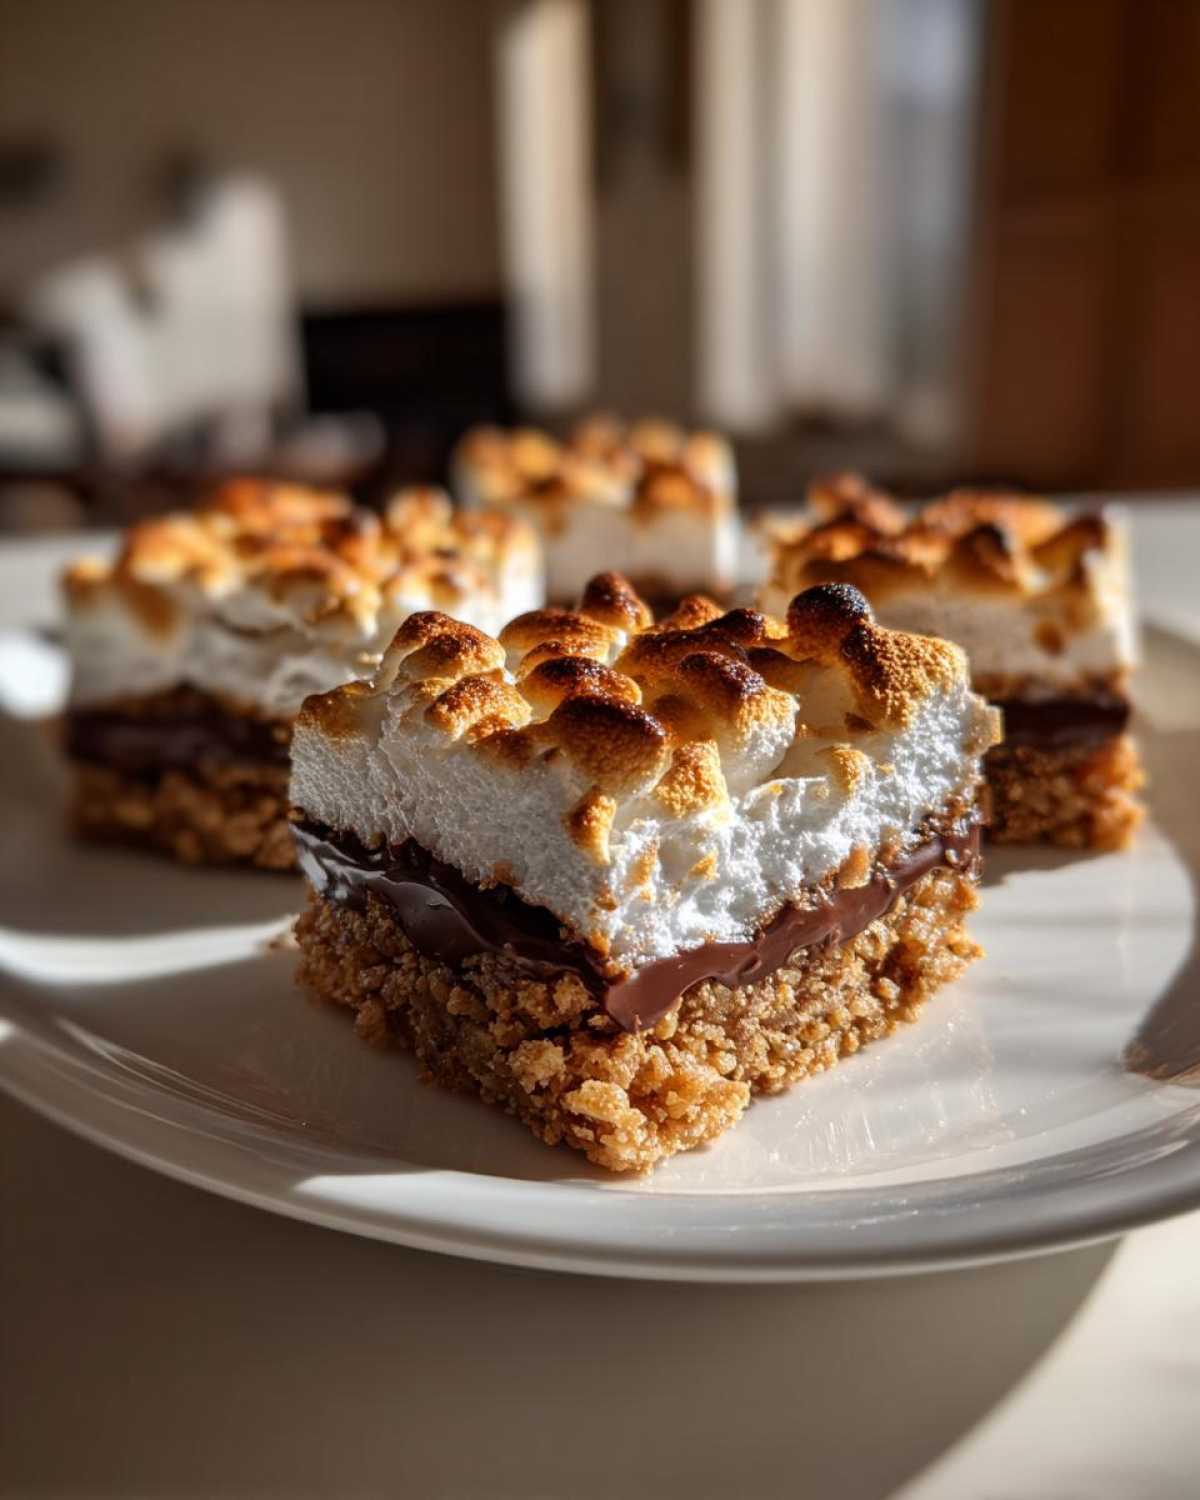
For that signature gooey marshmallow, watch them closely in the oven. You want them golden, not burnt. A slightly underbaked marshmallow is better than a scorched one. It will continue to set as it cools.
Cooling for Clean Cuts
This is super important for neat S’mores Bars. Let them cool completely in the pan. Seriously, resist the urge to cut them warm! They need time to set up properly. This ensures clean slices, not a gooey mess.
S’mores Bars Ingredient Notes and Substitutions
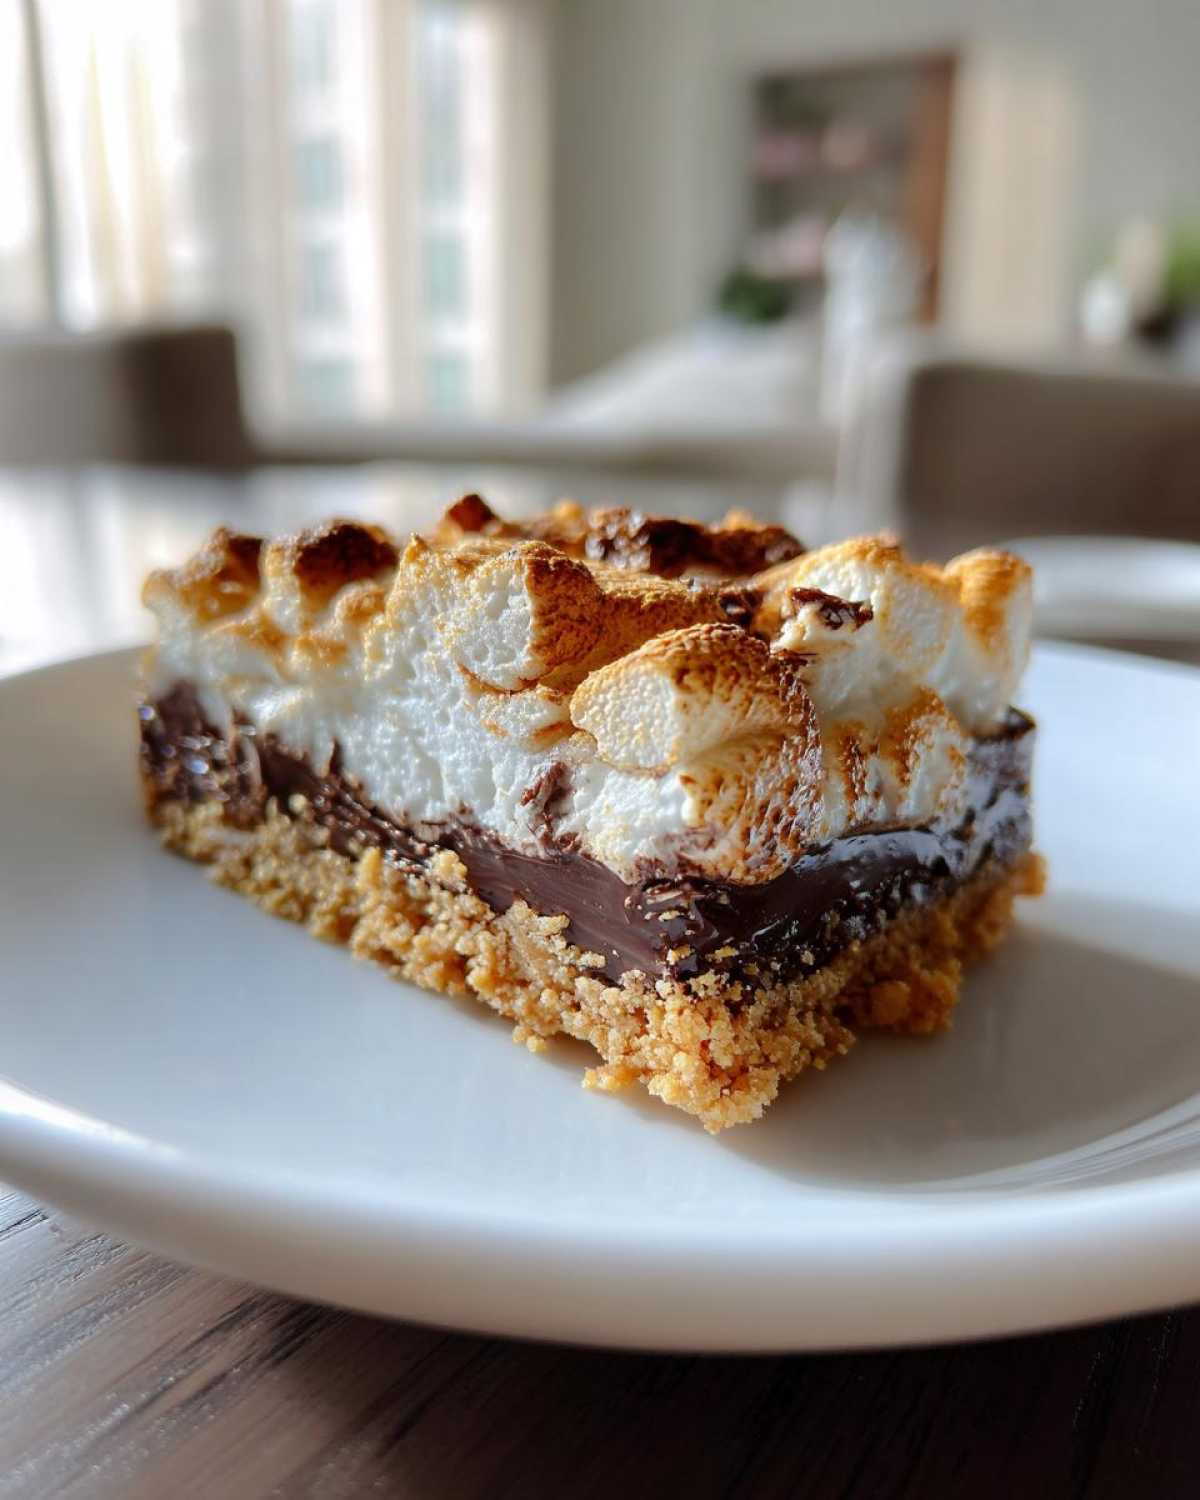
Sometimes, you might not have exactly what the recipe calls for. That’s totally okay! I love experimenting with ingredients. It’s all part of the fun of making these S’mores Bars. Let’s look at a couple of things.
Graham Cracker Options
The classic graham cracker is great. But you can totally switch it up. Try cinnamon graham crackers for a little spice. Or even chocolate graham crackers for extra chocolatey goodness. Shortbread cookies also make a delicious crust base!
Chocolate and Marshmallow Swaps
Semi-sweet chocolate is lovely. But dark chocolate chips add a richer flavor. Milk chocolate works too if you prefer it sweeter. And if you can’t find mini marshmallows, just chop up larger ones. They’ll melt just as beautifully.
Serving and Storing Your S’mores Bars
These delightful S’mores Bars are best enjoyed at room temperature. They’re perfect on their own. Or, serve them with a cold glass of milk. That’s how my kids love them!
Best Ways to Serve S’mores Bars
Letting them cool completely is best. Serve them at room temperature. A glass of cold milk pairs perfectly. They’re truly a treat.
Storing Leftover S’mores Bars
Store any leftover bars in an airtight container. Keep them at room temperature for up to three days. They stay wonderfully soft and chewy.
Frequently Asked Questions about S’mores Bars
Got questions about whipping up these amazing S’mores Bars? I totally get it! Baking is a science, but it’s also an art, and sometimes you just need a little clarity. Here are a few things people often ask me.
Can I make these S’mores Bars ahead of time?
Yes, you absolutely can! These bars are fantastic for making a day in advance. They actually taste even better when the flavors have had a chance to meld. Just store them in an airtight container at room temperature.
What if I don’t have graham crackers?
No worries! You can use crushed digestive biscuits or even vanilla wafers for the crust. They’ll give a slightly different but equally delicious base for your s’mores dessert. Just measure them out the same way.
How do I get the marshmallows to be golden brown without burning?
Keep an eye on them! Ovens can be tricky. If your marshmallows are browning too quickly, you can loosely tent the pan with foil for the last 5-10 minutes of baking. This protects them from direct heat.
Can I add anything else to these bars?
Of course! Feel free to sprinkle in some chopped nuts like pecans or walnuts with the marshmallows for extra crunch. A little sea salt on top before baking is also divine. Get creative with your s’mores bars!
About the Savory Skies Family and Our Passion
Here at Savory Skies, food is our absolute love language. It’s me, Leo, along with Amara and Chef Tariq. We’re a team fueled by passion. We believe that great food brings people together. That’s why we pour our hearts into recipes like these S’mores Bars. We want to share that same kitchen joy with you. It’s about creating delicious memories. Our goal is to inspire your own culinary adventures. We hope these bars bring smiles.
PrintWarm S’mores Bars: 10 Min Prep
Enjoy the classic campfire taste of s’mores in an easy-to-make bar. These bars feature layers of gooey marshmallow, rich chocolate, and crunchy graham crackers, perfect for any occasion.
- Prep Time: 15 minutes
- Cook Time: 25 minutes
- Total Time: 40 minutes
- Yield: 24 bars
- Category: Dessert
- Method: Baking
- Cuisine: American
- Diet: Vegetarian
Ingredients
- 1 cup (2 sticks) unsalted butter, melted
- 2 cups graham cracker crumbs
- 1 1/4 cups granulated sugar
- 1/4 cup milk
- 1 teaspoon vanilla extract
- 1/2 teaspoon salt
- 1 cup chopped semi-sweet chocolate
- 1 cup mini marshmallows
Instructions
- Preheat your oven to 350°F (175°C). Grease and flour a 9×13 inch baking pan.
- In a medium bowl, combine melted butter, graham cracker crumbs, 1/4 cup of the granulated sugar, vanilla extract, and salt. Press this mixture evenly into the bottom of the prepared pan.
- Bake the crust for 10 minutes.
- While the crust bakes, prepare the filling. In a small saucepan, heat the remaining 1 cup of granulated sugar and milk over medium heat, stirring constantly, until the sugar dissolves and the mixture is smooth.
- Remove the saucepan from the heat and stir in the chopped chocolate until it is completely melted and the mixture is smooth.
- Pour the chocolate mixture evenly over the baked graham cracker crust.
- Sprinkle the mini marshmallows evenly over the chocolate layer.
- Bake for an additional 15-20 minutes, or until the marshmallows are golden brown and puffy.
- Let the bars cool completely in the pan before cutting into squares.
Notes
- For a stronger chocolate flavor, use dark chocolate chips.
- If you don’t have mini marshmallows, you can use larger marshmallows cut into pieces.
- Ensure the bars are completely cooled before cutting to prevent them from falling apart.
Nutrition
- Serving Size: 1 bar
- Calories: 200
- Sugar: 25g
- Sodium: 50mg
- Fat: 10g
- Saturated Fat: 6g
- Unsaturated Fat: 4g
- Trans Fat: 0g
- Carbohydrates: 28g
- Fiber: 1g
- Protein: 2g
- Cholesterol: 25mg
