

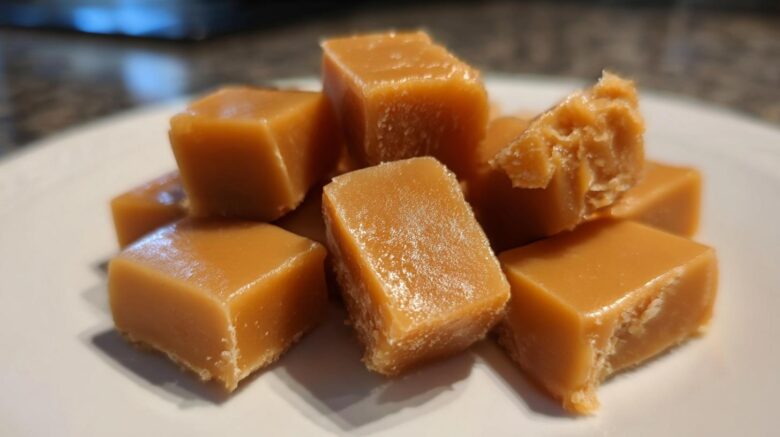
Hey everyone, Leo here! If you’re craving something sweet and delightfully chewy, you’ve come to the right place. I’m so excited to share my go-to recipe for Microwave Caramels with you all. Honestly, making these feels like a little bit of kitchen magic! I remember Chef Tariq, our mentor, always emphasizing that great flavors don’t always need hours of work. He’d be so proud of how simple this recipe is. These caramels are wonderfully easy to whip up, perfect for those moments you need a quick treat or want to make some lovely homemade gifts.
Why You’ll Love These Microwave Caramels
Get ready to fall in love with these little squares of joy. They’re:
- Super speedy to make.
- Incredibly easy, even for beginners.
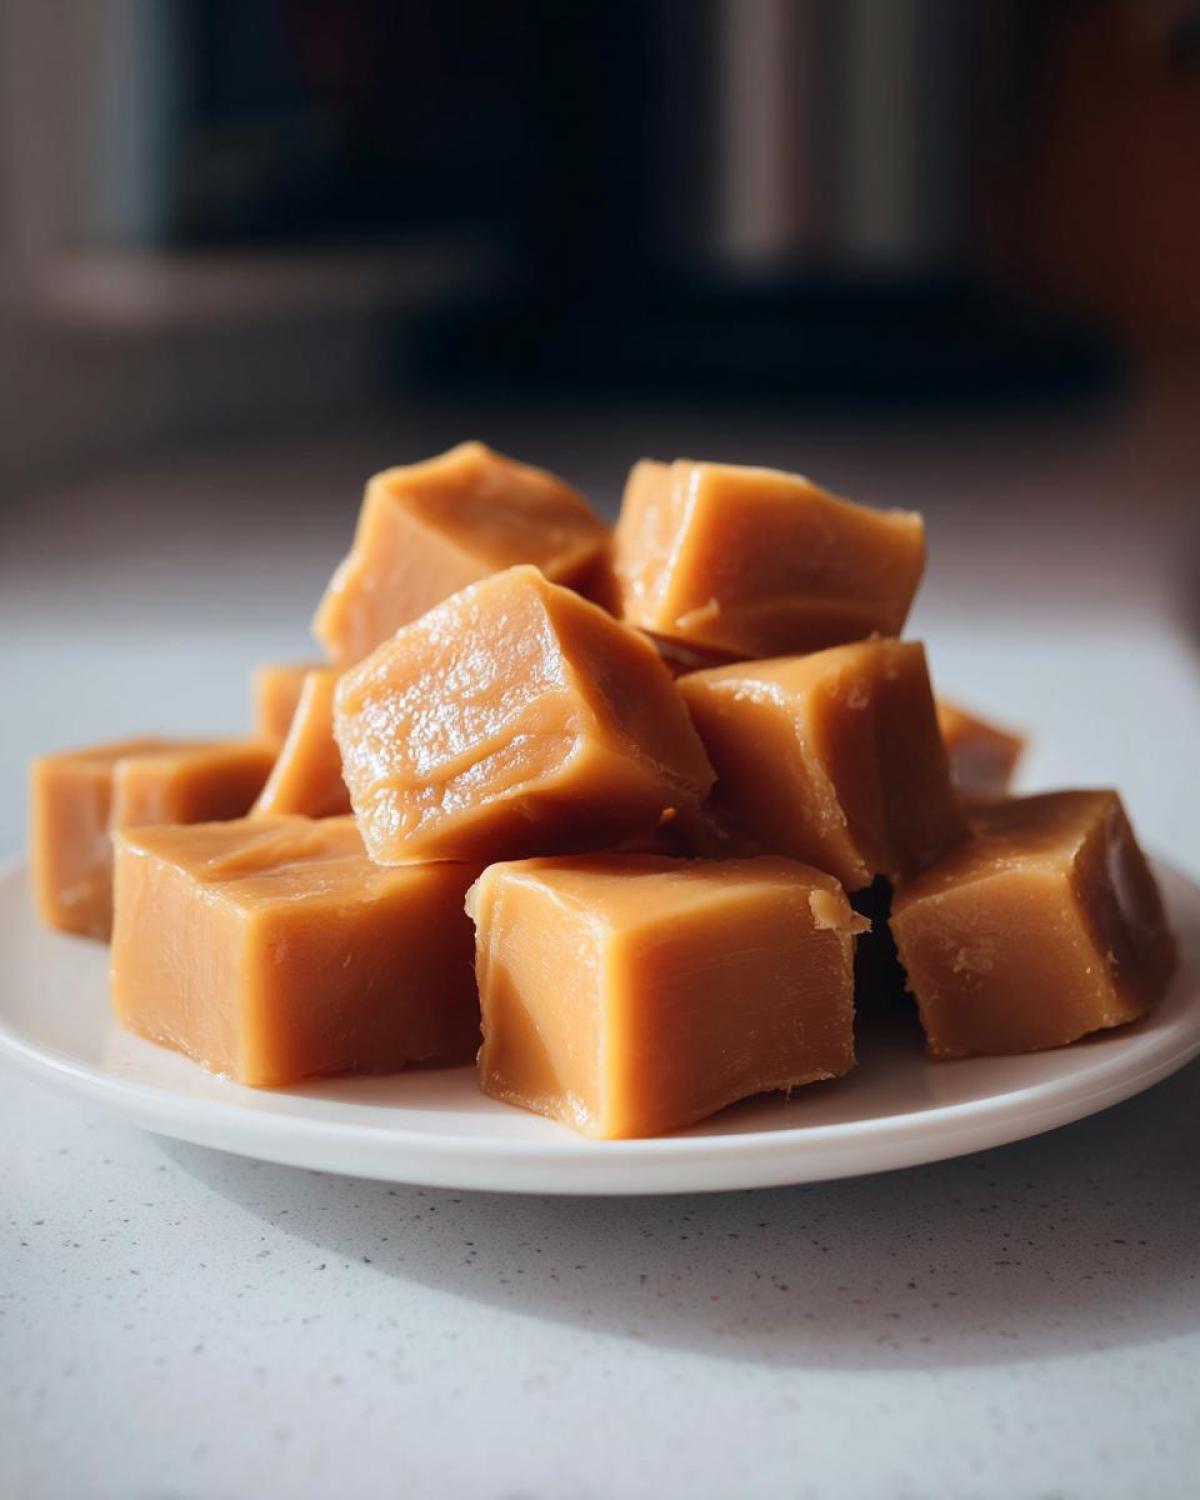
- Deliciously soft and chewy.
- Perfect for gifting or just treating yourself!
A Sweet Story from Savory Skies
I must have been 23 when Chef Tariq first showed me this microwave caramel trick. We’d just finished a crazy dinner service, and I was exhausted but still buzzing. Chef, with that twinkle in his eye, said, “Leo, sometimes the best rewards come from the simplest methods.” He grabbed a microwave-safe bowl and we tossed everything in. I was a bit skeptical, honestly. Microwaving candy? But as the mixture bubbled and transformed, I was mesmerized. We had a minor scare when a little overflowed, making a sticky mess on the counter, but we laughed it off. Chef just calmly said, “See? Even a small mistake teaches you to watch closely.” That lesson in careful observation, combined with the sheer delight of those warm, chewy caramels, has stayed with me ever since. They remind me that patience and a little care go a long way, just like Chef Tariq taught us.
Gathering Your Ingredients for Microwave Caramels
Let’s get our pantry ready for some caramel-making fun! The beauty of these microwave caramels is that they use simple, everyday ingredients you likely already have. No need for fancy trips to specialty stores.
First up, we need 1 cup of granulated sugar. This is our sweet foundation. Then, we’ll grab 1/2 cup of light corn syrup. This little helper is key to that smooth, chewy texture and prevents the sugar from crystallizing.
Next, we’ll need 1/4 cup of butter. I always use unsalted butter, cut into a few pieces to help it melt evenly. For that creamy richness, we’ll use 1/4 cup of evaporated milk. It’s a pantry staple that works wonders here.
A splash of 1 teaspoon of pure vanilla extract will add a lovely warm flavor. And finally, just a pinch of fine sea salt to balance all that sweetness. It’s amazing how these few simple things come together to create something so special.
Step-by-Step Guide to Making Microwave Caramels
Alright, let’s get down to business! Making these microwave caramels is a breeze, but like Chef Tariq always taught me, a little attention to detail makes all the difference. We’re going to break this down into simple steps so you get perfect results every time.
Preparing Your Pan and Initial Mix
First things first, grab an 8×8 inch baking pan. You’ll want to grease it really well. I use a little butter or cooking spray, making sure to get into all the corners. This prevents our lovely caramels from sticking later on.
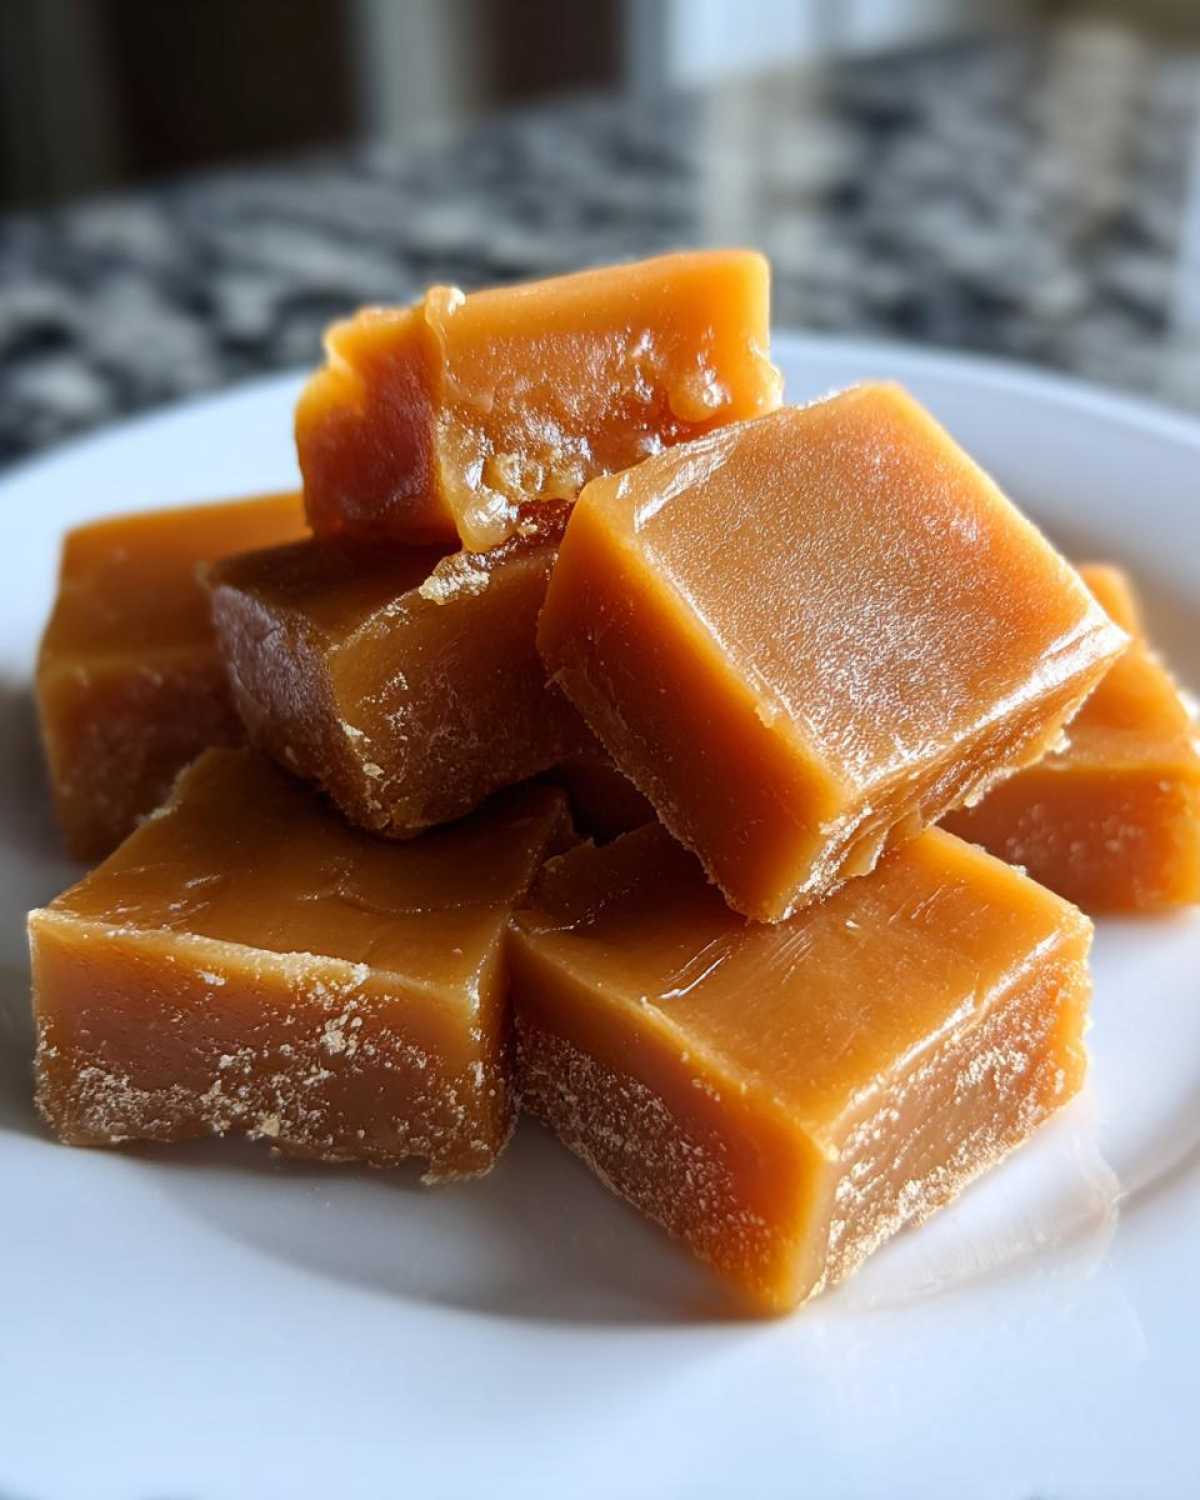
Now, find a microwave-safe bowl. Make sure it’s big enough, as the mixture will bubble up quite a bit. Into this bowl, combine your sugar, corn syrup, butter, evaporated milk, and that pinch of salt. Give it a good stir to mix everything together before it even hits the microwave. Remember, safety first; the bowl and its contents will get hot!
The Microwave Cooking Process for Microwave Caramels
This is where the magic happens! Place your bowl in the microwave. We’ll start with a 5-minute blast on high power. Once that’s done, carefully take it out and give it a really good stir. You’ll see it start to thicken.
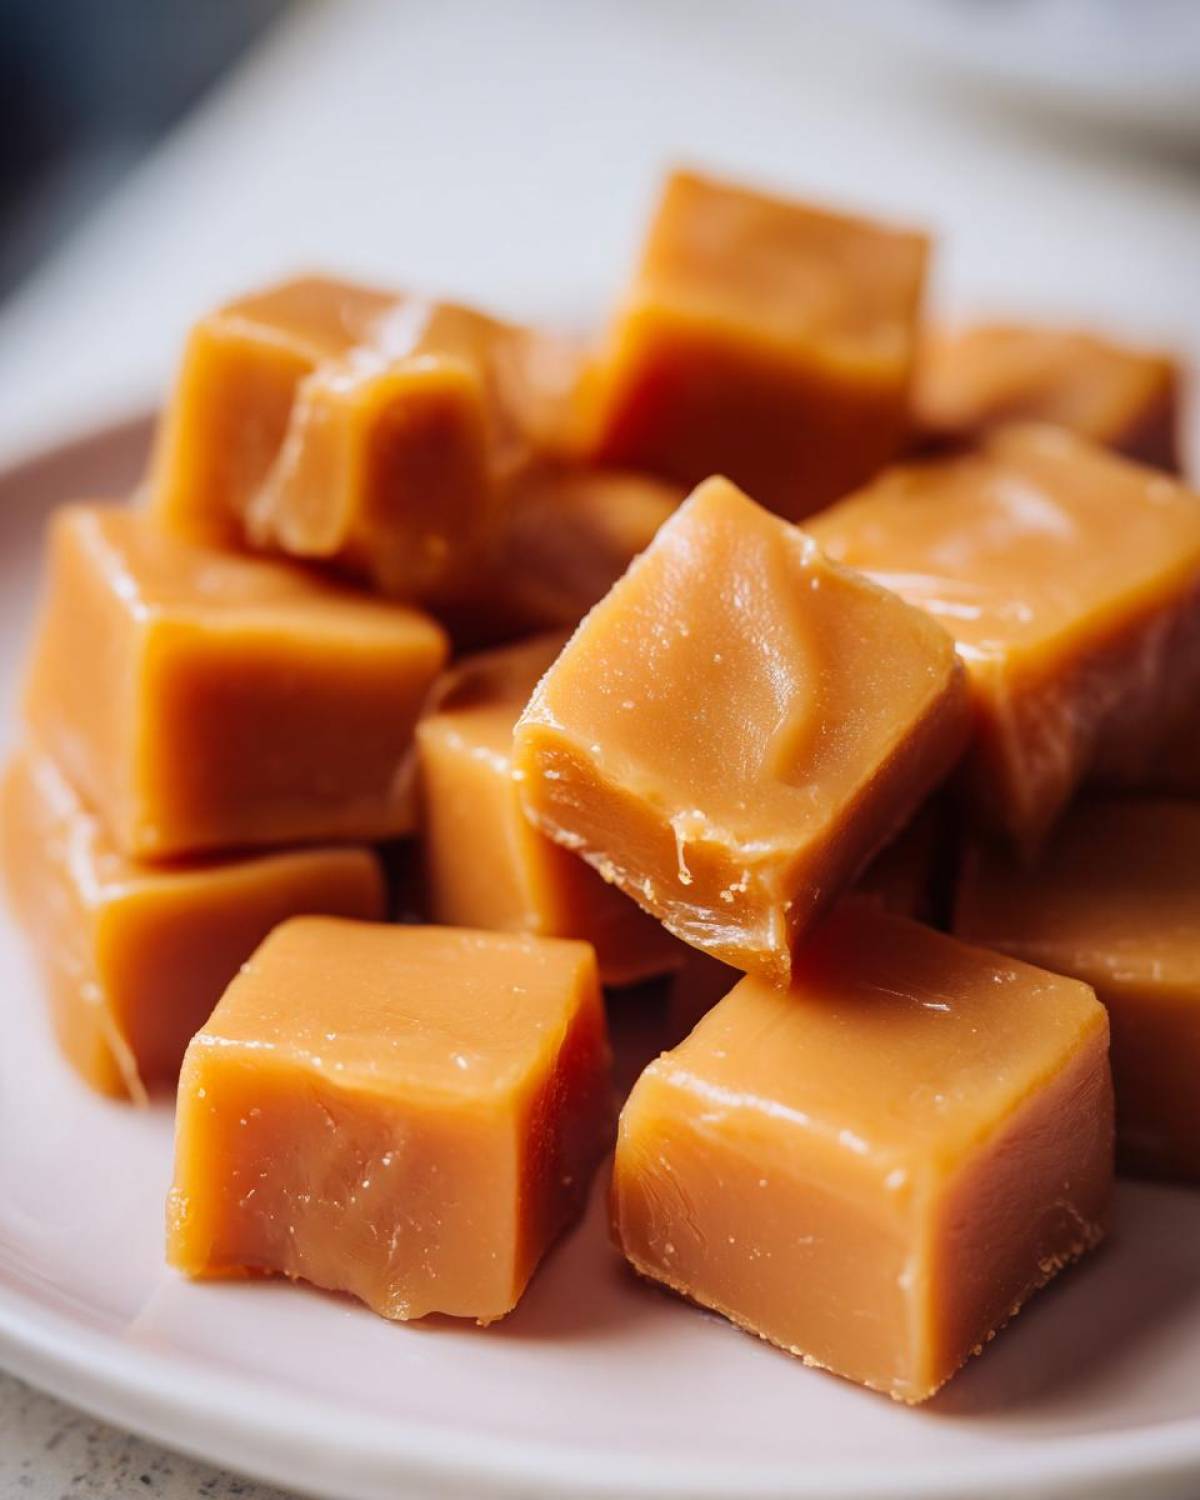
Now, we continue microwaving, but in 1-minute intervals. Stir well after each minute. This is crucial for even cooking. You’re looking for the mixture to reach 240 degrees F (115 degrees C). This is called the soft-ball stage. It usually takes about 10 to 15 minutes total in the microwave, but microwaves can vary, so keep an eye on it. Don’t rush this part; patience here ensures perfect microwave caramels.
Finishing Touches and Cooling
Once your caramel reaches that perfect soft-ball stage, carefully stir in the vanilla extract. The aroma alone is amazing!
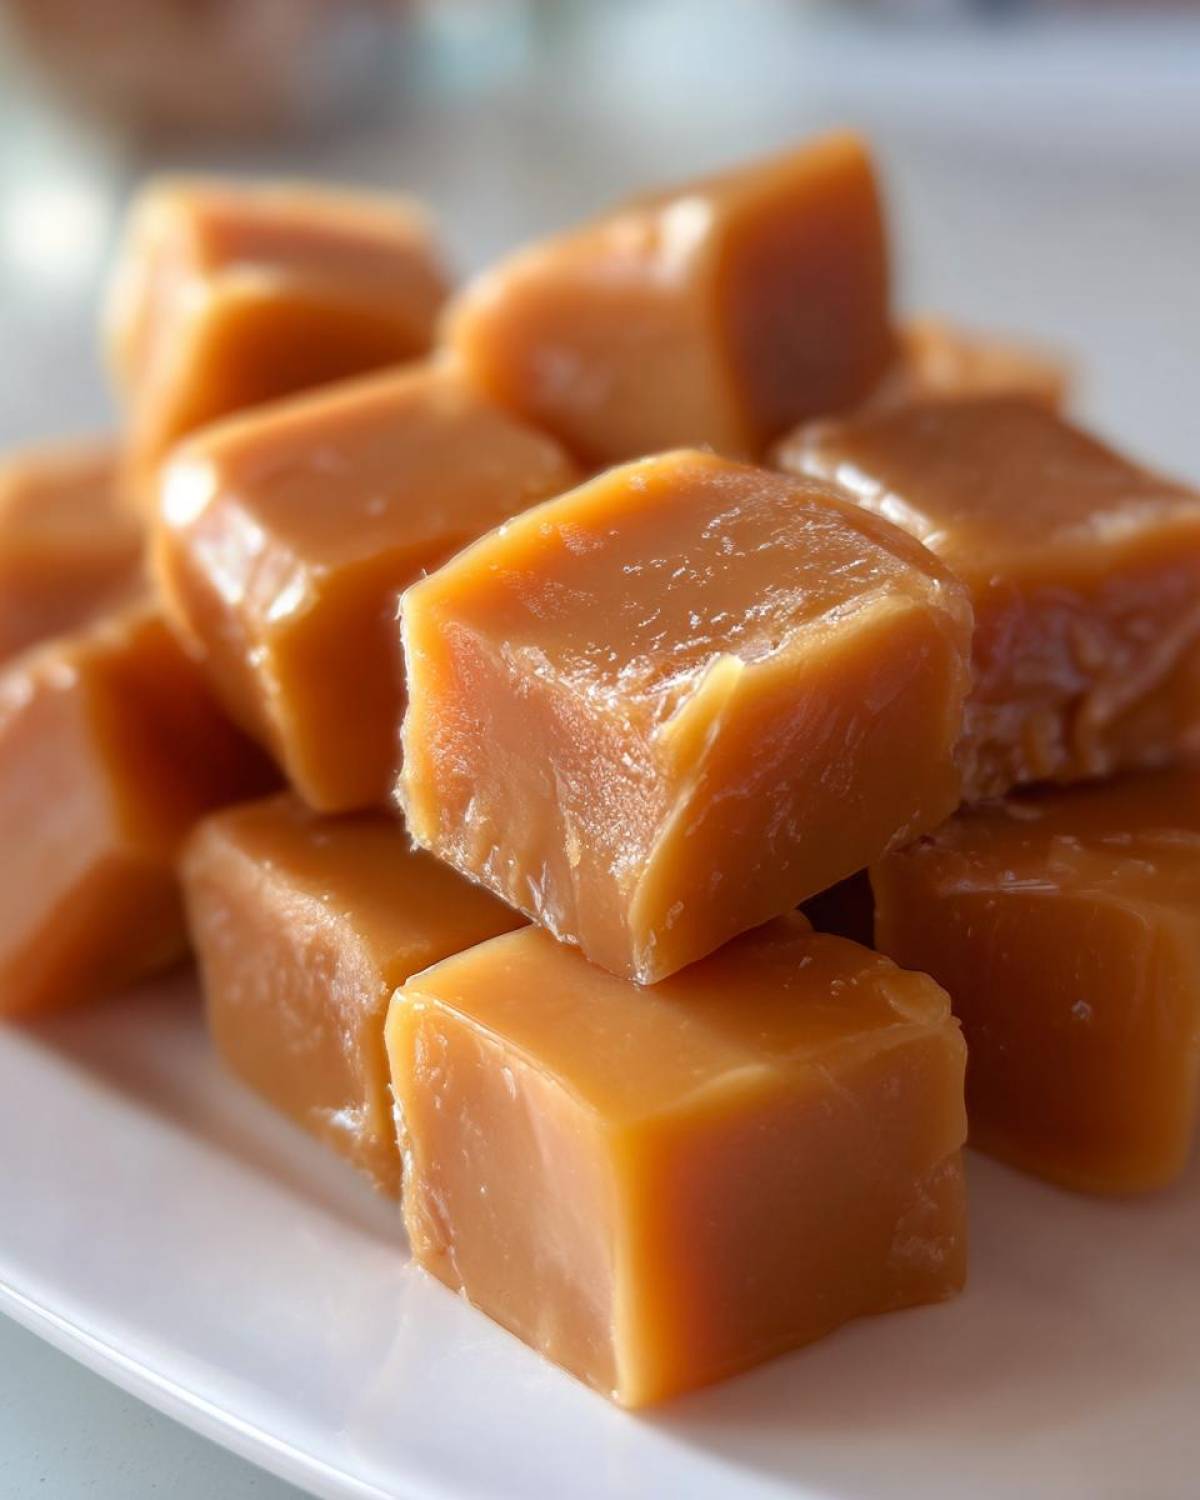
Now, very gently, pour this glorious, hot mixture into your prepared baking pan. Spread it out evenly. Be super careful; hot caramel can cause serious burns. Let it cool completely on the counter. This usually takes a couple of hours. Resist the urge to touch it while it’s still warm!
Tips for Achieving Perfect Microwave Caramels
Making these microwave caramels is mostly straightforward. But a few little tricks from my time in the kitchen with Chef Tariq can really help.
First, use a bowl that’s definitely large enough. The mixture really puffs up! I learned this the hard way; a messy counter is not a fun post-cooking cleanup.
Watch your cooking time closely. Microwaves vary. Use a candy thermometer if you have one. Aim for that soft-ball stage. Overcooking means harder caramels. Undercooking makes them too runny.
Stirring between intervals is key. It helps everything cook evenly. This ensures you get that lovely, consistent chewy texture we all adore.
Creative Variations for Your Microwave Caramels
Ready to put your own spin on these delicious microwave caramels? It’s so easy to get creative!
Try swapping the vanilla for a different extract. A little almond or peppermint extract can create a whole new flavor profile.
Before you pour the caramel into the pan, why not stir in some chopped nuts? Pecans or walnuts are fantastic choices.
Or, for a touch of fancy, sprinkle some flaky sea salt on top right after pouring. It adds a wonderful sweet and salty contrast. These little tweaks make your homemade candy uniquely yours! You can find more sweet treat inspiration on our blog.
Serving and Storing Your Homemade Microwave Caramels
Once your microwave caramels have cooled completely, it’s time for the fun part! I like to lift the whole slab out of the pan using the parchment paper if I used it, or just by gently running a knife around the edges. Then, I cut them into bite-sized squares.
To store them, wrap each caramel individually in wax paper or parchment paper. This keeps them from sticking together. Pop them into an airtight container. They’ll stay wonderfully chewy at room temperature for about a week.
If they happen to get a little too firm, you can gently warm them for just a few seconds in the microwave. This brings back that lovely soft texture.
Frequently Asked Questions About Microwave Caramels
Got some questions buzzing around your head about making these delightful microwave caramels? I totally get it! It’s always good to have a little extra guidance.
Can I use a different type of sugar? While granulated sugar is best for classic microwave caramels, you can experiment cautiously. Brown sugar adds a lovely molasses note but can affect texture. Stick to granulated for predictable results.
How do I know when the caramel is done? The most reliable way is a candy thermometer. You’re aiming for the soft-ball stage, which is 240°F (115°C). If you don’t have one, test by dropping a tiny bit into cold water. It should form a soft, pliable ball.
Why are my caramels too hard or too soft? This usually comes down to cooking time and temperature. If they’re too hard, you likely cooked them a little too long or too hot. If they’re too soft and don’t set, they probably needed a bit more microwave time to reach that crucial soft-ball stage. Chef Tariq always said practice makes perfect!
Share Your Delicious Microwave Caramels!
I’d absolutely love to hear about your caramel-making adventures! Did you try any fun variations? How did they turn out for your family or friends?
Please share your thoughts or a picture of your amazing microwave caramels in the comments below. Your sweet success stories really make my day!
PrintEasy Microwave Caramels: 10 Minute Sweet Magic
Create delicious, chewy caramels in your microwave. This recipe is perfect for a quick sweet treat or for making homemade gifts.
- Prep Time: 5 minutes
- Cook Time: 15 minutes
- Total Time: 20 minutes
- Yield: Approximately 1 pound
- Category: Candy
- Method: Microwave
- Cuisine: American
- Diet: Vegetarian
Ingredients
- 1 cup granulated sugar
- 1/2 cup light corn syrup
- 1/4 cup butter
- 1/4 cup evaporated milk
- 1 teaspoon vanilla extract
- Pinch of salt
Instructions
- Grease an 8×8 inch baking pan.
- In a microwave-safe bowl, combine sugar, corn syrup, butter, evaporated milk, and salt.
- Microwave on high for 5 minutes. Stir well.
- Continue microwaving in 1-minute intervals, stirring after each interval, until the mixture reaches 240 degrees F (115 degrees C) or soft-ball stage. This may take 10-15 minutes total.
- Carefully stir in the vanilla extract.
- Pour the mixture into the prepared baking pan.
- Let cool completely before cutting into squares.
Notes
- Ensure your microwave-safe bowl is large enough to prevent overflow.
- Be very careful when handling hot caramel mixture.
- For softer caramels, ensure you do not overcook.
Nutrition
- Serving Size: 1 piece (approx. 1 oz)
- Calories: 100
- Sugar: 20g
- Sodium: 15mg
- Fat: 3g
- Saturated Fat: 2g
- Unsaturated Fat: 1g
- Trans Fat: 0g
- Carbohydrates: 18g
- Fiber: 0g
- Protein: 0g
- Cholesterol: 10mg
