

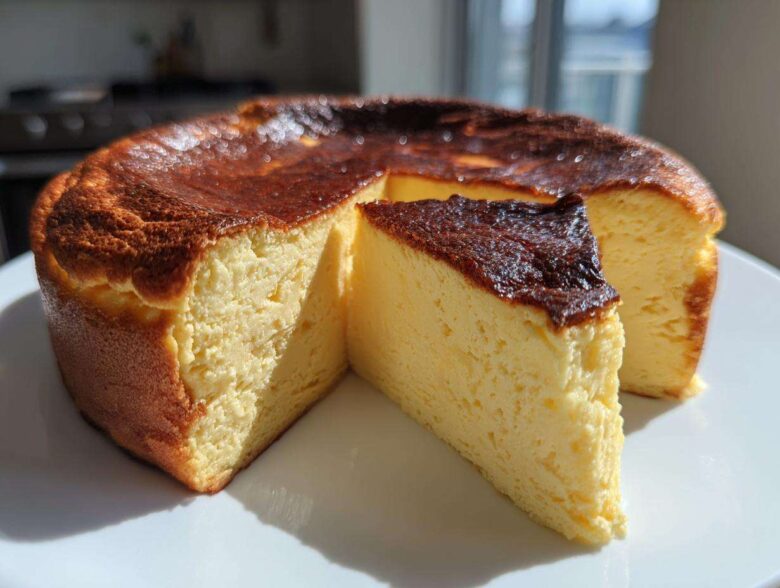
Oh my goodness, have you seen the pictures? That dramatically dark, almost black-topped cheesecake that somehow manages to look completely reckless and yet utterly sophisticated all at once? That’s the magic of the **Basque burnt cheesecake**, and let me tell you, it’s the showstopper your dinner party needs. I’ve followed so many different baking trends over the years that I feature on my main blog over at A Little Bit of Baking Chaos, but this one truly changed the game.
I spent ages trying to get that signature look right. I thought it needed complicated water baths or some secret Spanish ingredient, but nope! I finally cracked the code for what I honestly think is the best Basque cheesecake out there.
This recipe is absolutely the easiest cheesecake you will ever make. It’s crustless, zero fuss, and requires no delicate water bath—we are skipping all the scary steps! Trust me, nailing that deeply caramelized exterior while keeping the inside unbelievably creamy is simpler than you think. If I, a slightly chaotic home cook, can do it, you definitely can!
Why This is the Best Basque Burnt Cheesecake Recipe
Why mess around with complicated techniques when you can have perfection with barely any effort? This recipe truly embodies what baking should be: impressive results with minimal stress. It guarantees a perfect basque burnt cheesecake every single time. You can see how I approach achieving perfect texture in other recipes, like my deep-dive into my ultra-smooth red velvet cheesecake, but this one is truly streamlined!
- It delivers that dreamy, lush, and velvety center we all crave.
- You get that signature, deep, caramelized crust without needing any special equipment.
- It’s naturally crustless, cutting down on prep time significantly.
If you’re looking for a truly show-stopping, easy cheesecake recipe, stop scrolling. This is it.
Achieving Velvety Texture with Minimal Effort
The secret sauce for that ridiculously creamy interior is simply the high heat! We bake this basque burnt cheesecake much hotter and faster than a traditional one—and crucially, we skip the water bath. That gentle, steamy environment isn’t necessary here. The high heat sets the outside quickly while keeping the inside loose and luxurious, creating a texture that’s almost like a firm mousse when chilled. It’s pure velvet!
The Signature Caramelized Top Dessert
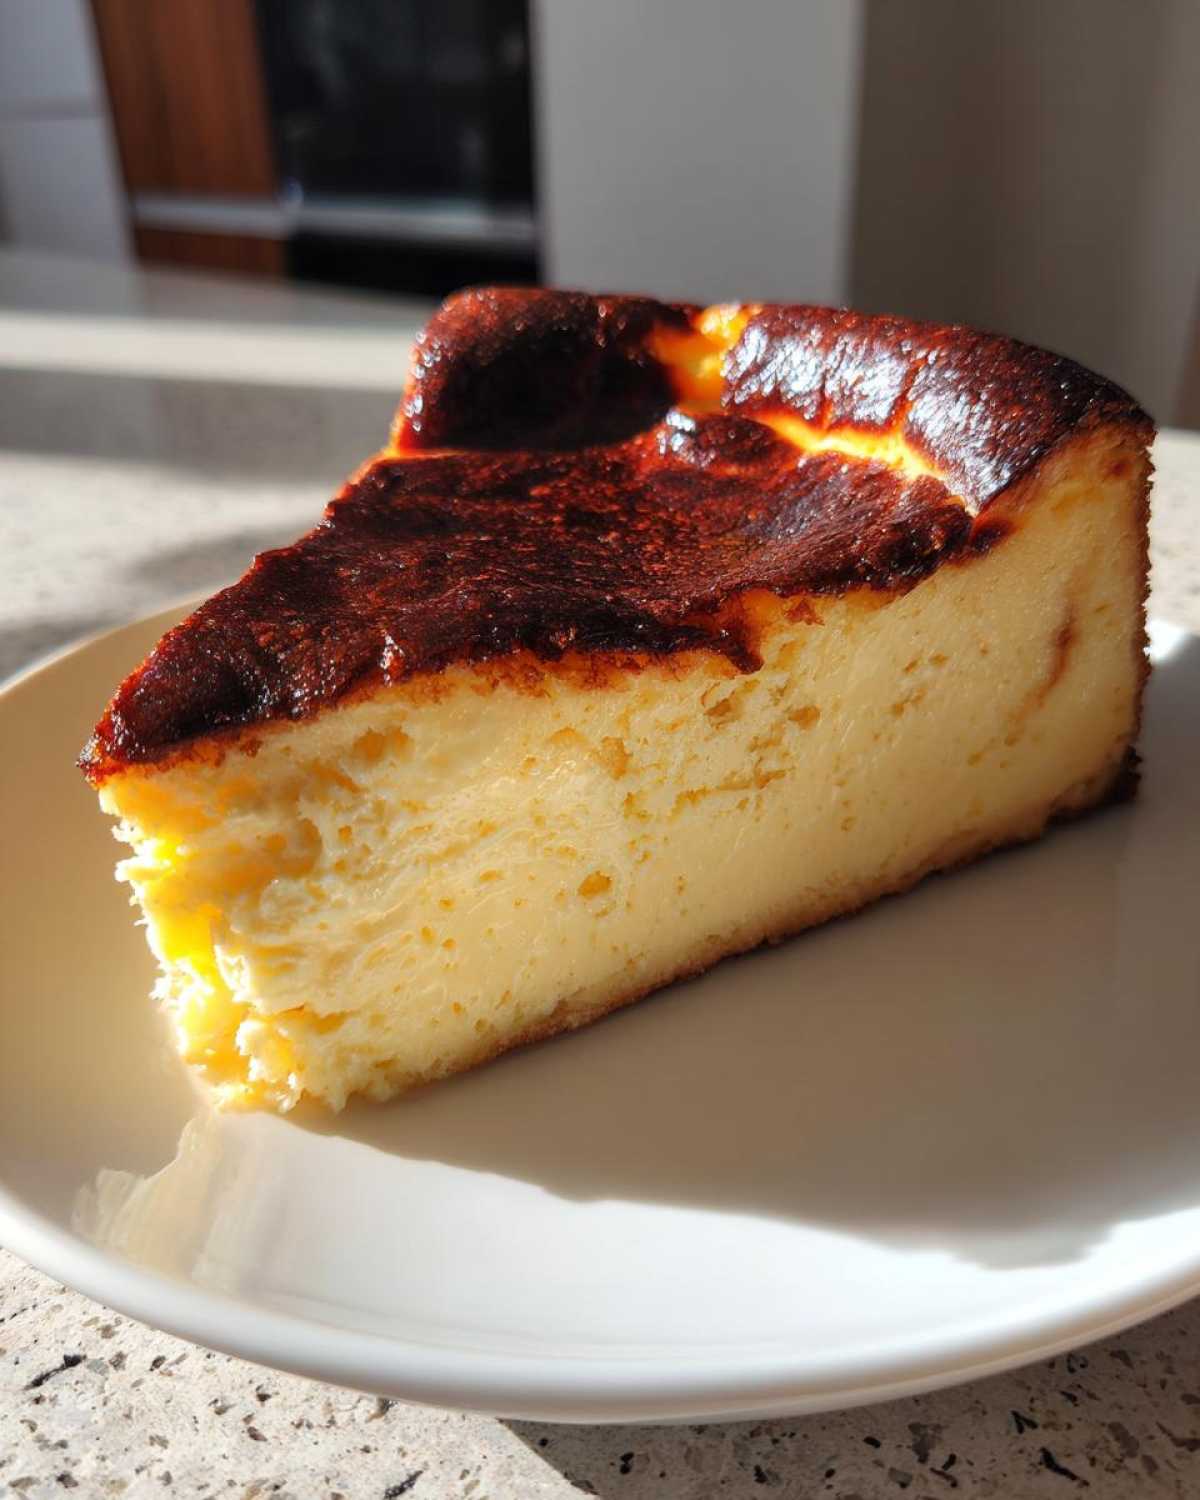
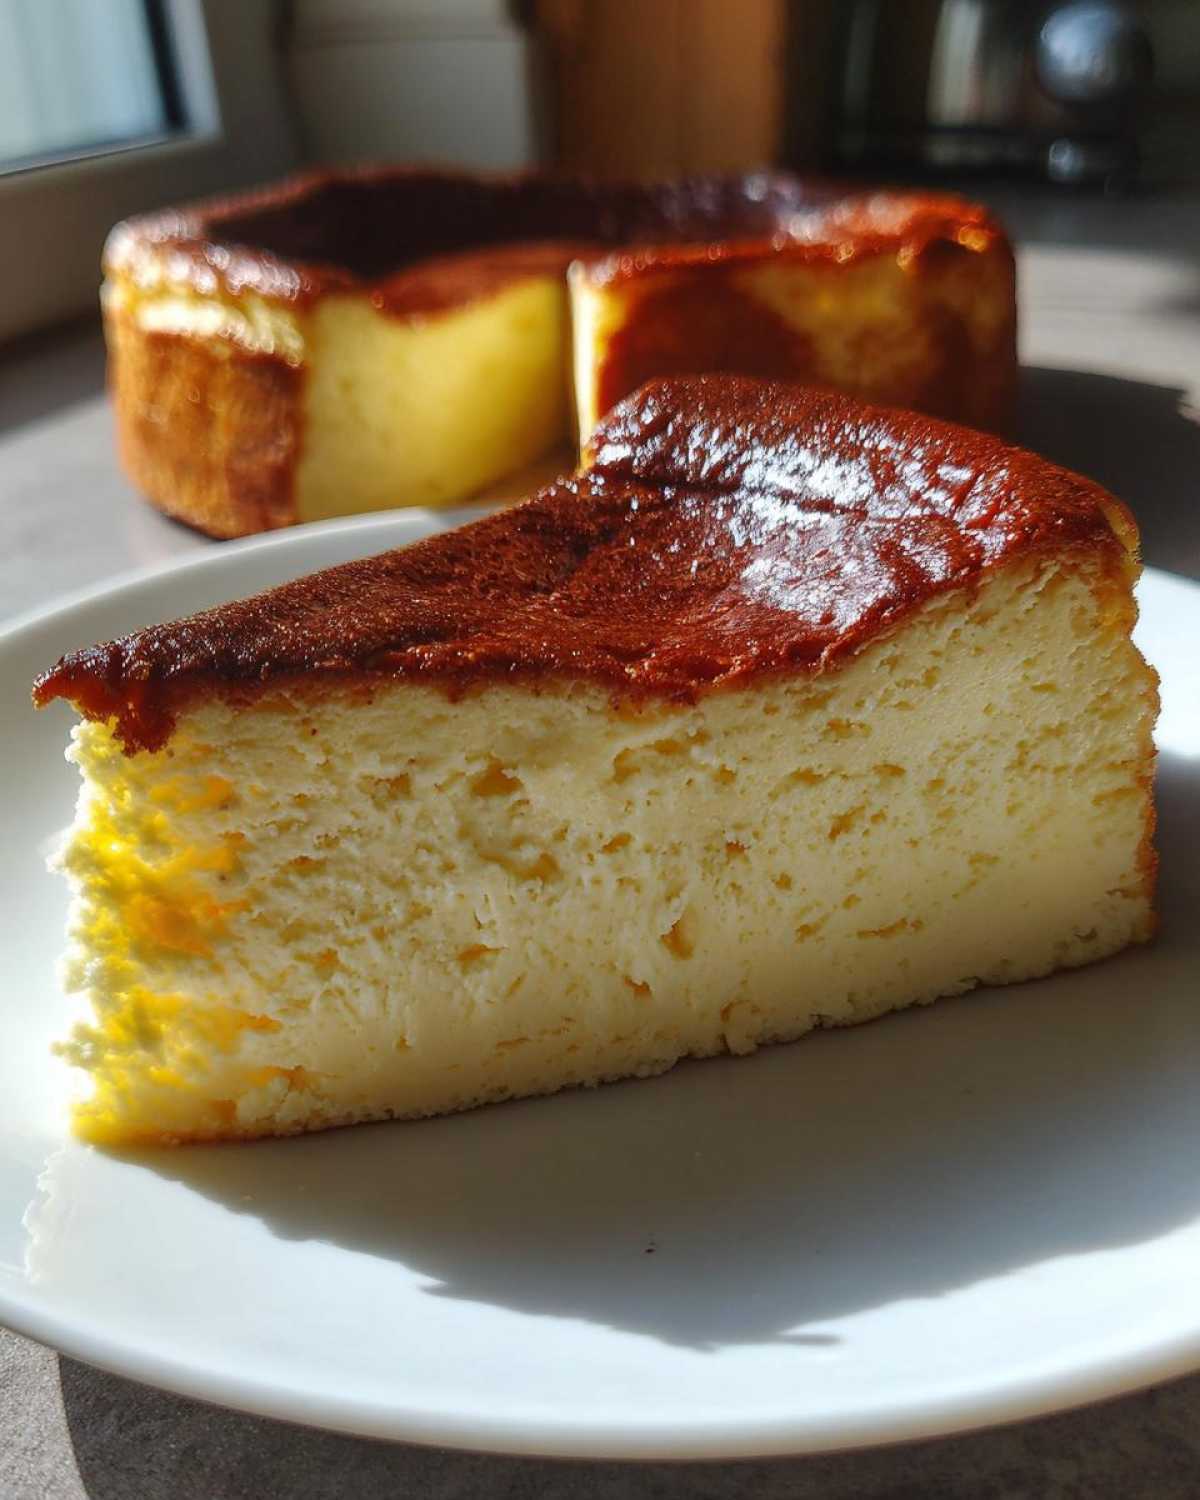
Don’t panic when I tell you the top needs to look dark. Seriously, push past the urge to pull it out early because you think you’ve ruined it! That deep brown, bordering on black, exterior is what defines a proper basque burnt cheesecake. That dark color isn’t bitterness, it’s beautiful, nutty caramelization. It adds an incredible depth of flavor that balances the rich sweetness underneath. It’s the mark of a truly authentic caramelized top dessert.
Gathering Your Ingredients for Basque Burnt Cheesecake
Okay, time to raid the fridge! For this basque burnt cheesecake recipe, precision really matters, even though the method is so easy. Using room-temperature ingredients is my number one non-negotiable tip here. If your cream cheese is cold, you’ll end up with lumps, and we don’t want lumps when chasing that perfect texture! Trust me, set everything out about an hour before you actually plan to mix.
We need heavy cream—and I mean the good, high-fat stuff, about 35% or higher. Low-fat alternatives just won’t give you that rich, luscious mouthfeel our creamy burnt cheesecake needs. Another thing: we aren’t messing with a crust here, so this is proudly a crustless cheesecake! Fewer things to worry about, right?
Here’s what you need to gather up for a stunning 9-inch cake:
- 900 g cream cheese, super soft (like butter!)
- 300 g granulated sugar
- 6 large eggs (definitely room temperature!)
- 600 ml heavy cream (that’s the heavy whipping cream, remember!)
- 1 teaspoon vanilla extract
- 1/4 teaspoon salt (don’t skip this—it balances the sweetness!)
- 45 g all-purpose flour (measured right!)
Ingredient Notes and Substitutions for Creamy Burnt Cheesecake
Let’s talk quality control. For the best results in your basque burnt cheesecake, always opt for full-fat cream cheese. Anything labeled ‘light’ or whipped won’t give you the necessary density to handle that high oven heat. When it comes to the cream, if you can’t find heavy cream labeled as 35%, just look for the ‘whipping cream’ with the highest butterfat percentage possible.
Also, remember that little bit of flour? That’s what just barely helps stabilize this naturally wobbly dessert. Since this is a truly crustless cheesecake, that small amount of flour is doing heavy lifting! If someone asks, just tell them you’re keeping it simple, authentic, and delicious. No substitutions needed for the core five elements—cream cheese, sugar, eggs, cream, and that pinch of salt!
Step-by-Step Instructions for Your Easy Cheesecake Recipe
This is where we bring it all together! Honestly, preparing this basque burnt cheesecake is more about gentle guidance than aggressive mixing. We want all those lovely ingredients to blend smoothly, but we do NOT want to whip in a ton of air. Too much air, and you get cracking later, which we want to avoid, even in this rustic style. If you’ve seen how I handle the delicate folding in my lemon blueberry cake, the principle is similar—gentle incorporation is your friend!
We’re using a 9-inch springform pan here, but honestly, this recipe is forgiving, which is why it’s such an easy cheesecake recipe. Just follow these steps precisely, and you’ll have that glorious, creamy burnt cheesecake wonder.
Preparing the Pan and Oven for the Basque Burnt Cheesecake
First things first: Preheat that oven way up high to 200°C (400°F). This high heat is essential for getting that signature dramatic top. Now for the pan. You need a 9-inch springform pan, but here’s the trick: use two large sheets of parchment paper crisscrossed over each other. You want lots of paper hanging way over the sides—like a little skirt! This parchment acts as your release agent and stops the cheesecake from touching the metal pan sides where it shouldn’t. Do NOT grease the sides, just let the paper do the work for your perfect basque burnt cheesecake.
Mixing the Batter: Avoiding Over-Aeration
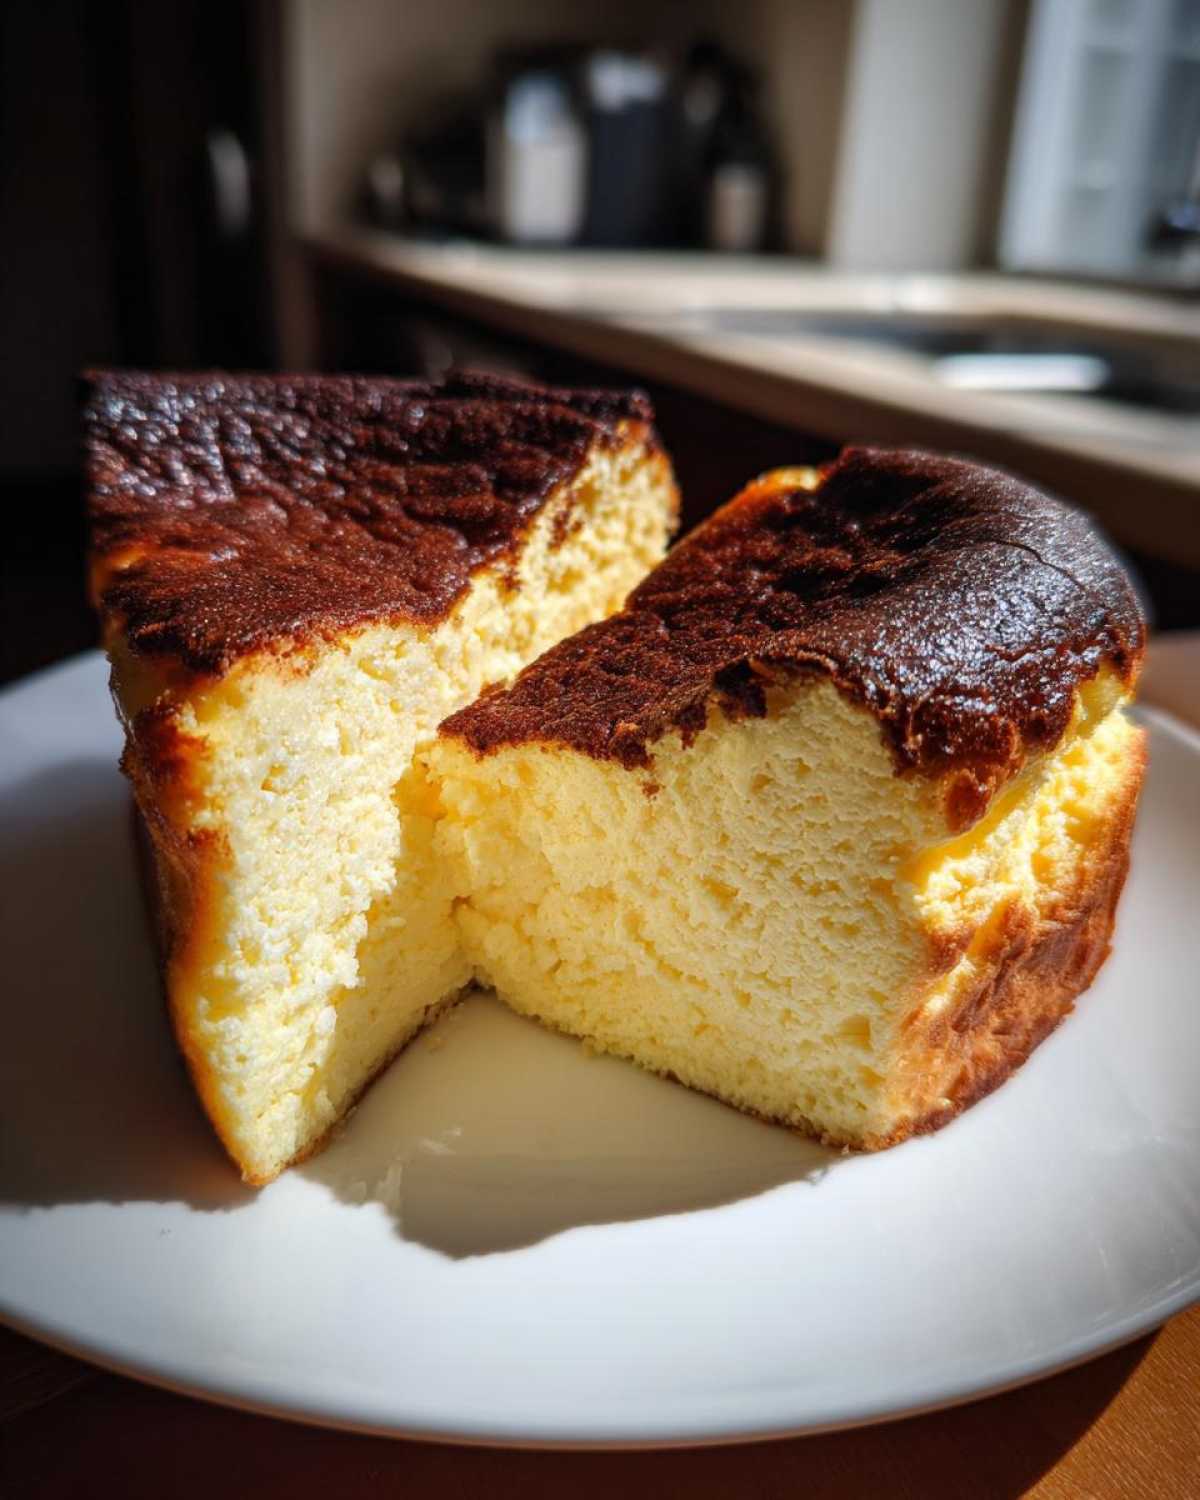
Start by beating your soft cream cheese and sugar until it looks perfectly smooth. Then, and this is vital, introduce the eggs one by one, mixing just until they disappear into the batter. If you beat them too long after this point, you’re whipping in air bubbles that will cause trouble later. Next, stir in the cream, vanilla, and salt until uniform. Finally, sift the flour right over the top and mix on the absolute lowest speed until you just can’t see any white streaks anymore. The batter will look decidedly thin; that’s precisely what you want for this style!
Baking and Cooling: The Critical Setting Phase
Pour that thin batter into your parchment-lined pan and pop it into that hot oven for about 50 to 60 minutes. You are looking for a top that is deeply browned, maybe even black—don’t be shy! When you pull it out, the edges should look set, but the middle MUST wobble significantly, like soft gelatin. This wobble is your insurance policy for a velvety cheesecake! Let it cool completely on the counter for at least three hours. Seriously, don’t touch it! Then you cover it loosely and chill it overnight. That long, slow chill is what transforms that wobbly center into pure magic.
Tips for the Best Basque Cheesecake Success
I can’t stress enough how much of this incredible basque burnt cheesecake rests on a few tiny details. You followed the mixing steps, you used the parchment paper, but these last-minute checks are what separate a good one from the best one.
So, here are my top secrets to guarantee you get that amazing, ridiculously creamy burnt cheesecake texture every time you bake:
- Room Temp is Non-Negotiable: I mentioned it before, but I’ll say it again because people skip this! If your cream cheese is even slightly cool, it won’t fully incorporate with the sugar, leading to tiny, hard clumps in your finished cake. Take it out well ahead of time—at least 90 minutes for a block that cold.
- Trust the Wobble, Not What You See on Top: When you pull the basque burnt cheesecake out, you might think it’s underbaked because the center is so gooey. That’s perfect! If the center is firm, you’ve baked it too long, and it will be dense when cold, not creamy. If it wobbles like Jell-O, you nailed it. It sets up fully during that crucial cooling time on the counter.
- Don’t Fear the Dark: If you pull your cake out and the top is golden blonde, you didn’t bake it long enough or hot enough. A true san sebastian cheesecake top should look deeply caramelized, almost burnt, before you take it out. That dark color is flavor, not failure! Crank that heat up next time, or give it five more minutes!
Stick to those three things, and you’re set! You can find more general baking tips and tricks I rely on over at my main site, right here.
Variations on the Classic Basque Burnt Cheesecake
Now, I know the pure, unadulterated basque burnt cheesecake is perfection on its own, but sometimes you just want to play around a bit, right? The beauty of this recipe is that because the flavor base is so rich and creamy, it handles gentle additions really well without getting complicated. We aren’t adding layers or making fillings; we are just jazzing up the batter slightly to keep that ‘easy’ appeal for a simple dessert idea.
You don’t need a whole new recipe to try something different! Think of these as little hints of flavor that blossom perfectly right before the cheesecake sets.
My absolute favorite way to switch things up is using citrus. A little bit of finely grated zest goes a long way in cutting through that incredible richness. Try adding the zest of one full lemon or one large orange right in with the vanilla extract. It brightens the entire profile beautifully! You can see how I pair citrus with warm flavors in my cranberry orange cake; it’s a winning combination!
If you’re looking for something a little more grown-up, a splash of liqueur works wonders too. A tablespoon of Grand Marnier or even a nice dark rum stirred in right at the end with the vanilla acts just like perfume for the batter. It adds a subtle warmth that is just delicious once chilled. Just remember to keep additions small—we aren’t changing the fundamental structure of this amazing dessert!
Serving Suggestions for Your Caramelized Top Dessert
Alright, you’ve waited the agonizing 12 hours (or more!) and the basque burnt cheesecake is perfectly chilled and set. Pulling it out of the fridge for the first time is honestly such a moment, isn’t it? You’ve got this masterpiece, this incredible caramelized top dessert that looks like it came straight from a Michelin-starred restaurant, but you made it right there in your kitchen. How cool is that?
Because the flavor of the crustless cheesecake itself is so incredibly rich, creamy, and complex due to that intense caramelization, you really don’t need to do much. I often find that adding too many heavy toppings just distracts from how amazing the cheesecake already is. If you were looking for a truly impressive baking recipe that requires minimal fuss in the presentation department, you picked the right one!
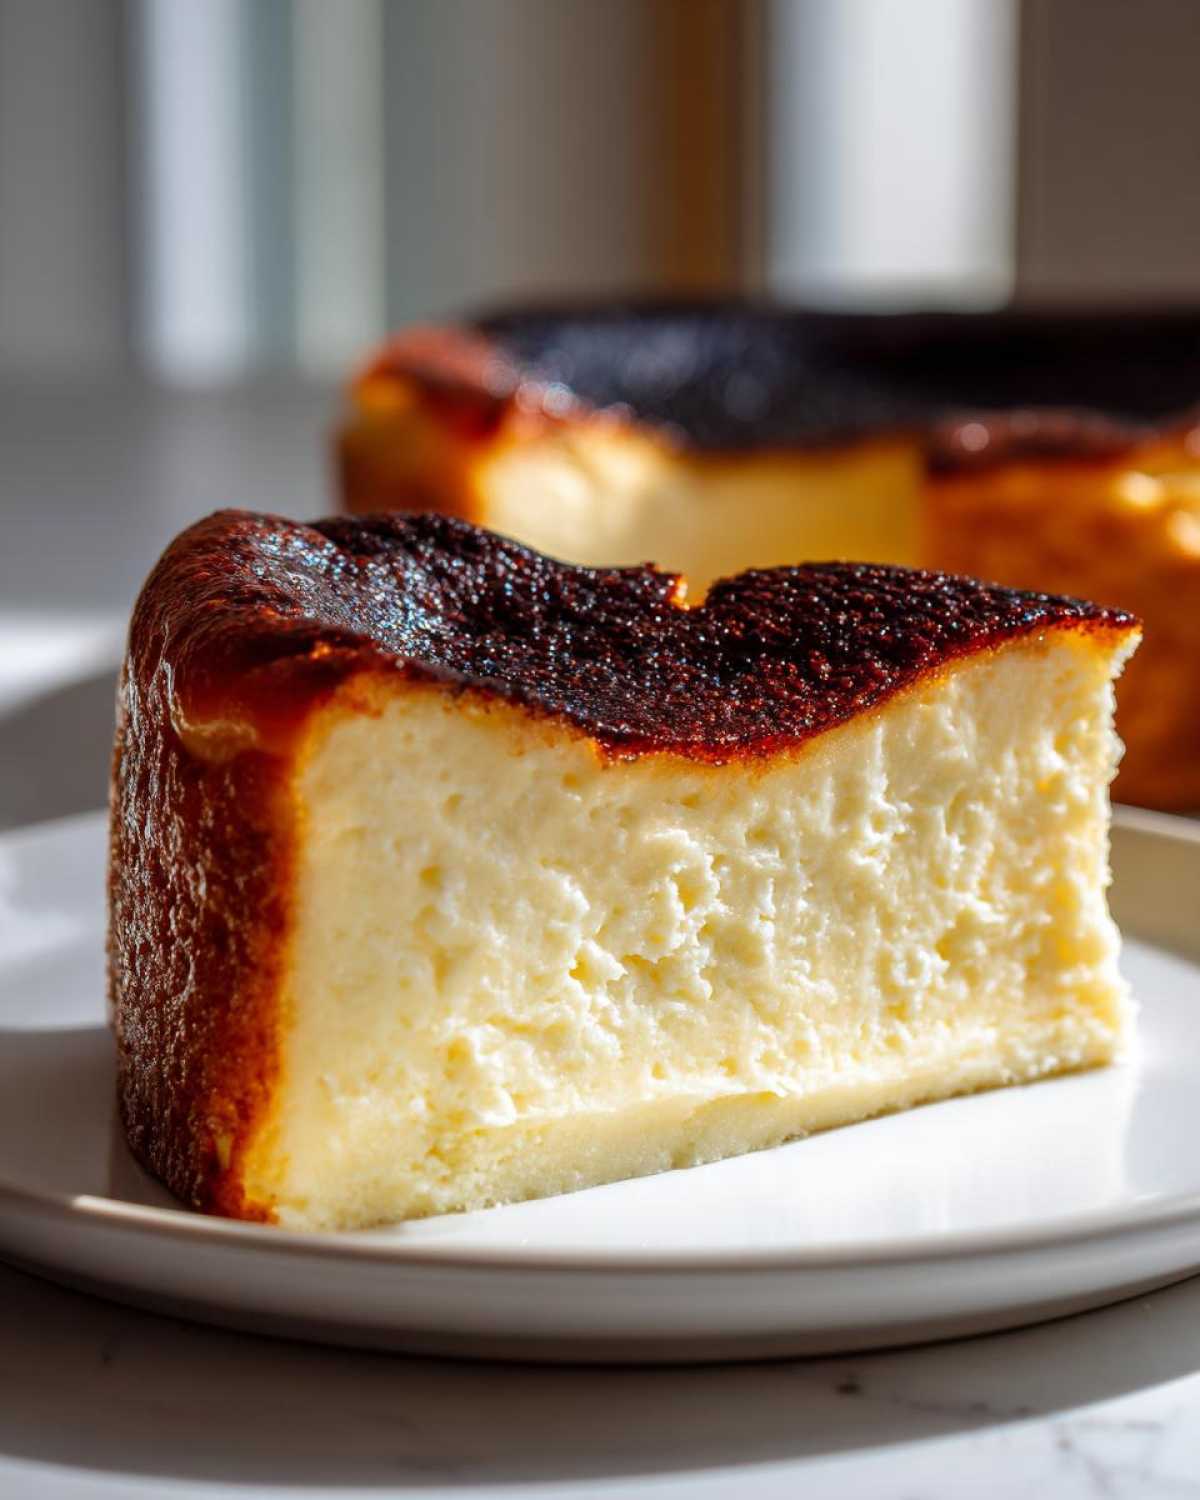
Here’s how I serve ours—simple, elegant, and letting that dark top shine:
- Straight Up: Honestly, the number one way we eat it is just sliced straight out of the pan. The contrast between the dark, slightly crisp edges and the cool, velvety center is textural heaven. Don’t overthink it!
- A Light Dusting: If you feel like you *must* garnish it, go for a very light, delicate dusting of powdered sugar over the entire top just before serving. It highlights the dark patches without dulling the color. It just gives it that finishing touch.
- Bright, Fresh Berries: If you need color contrast, use vibrant, slightly tart berries. A small pile of fresh raspberries or thinly sliced strawberries on the side of the plate works perfectly. They offer a little acidity to cut the richness. I know I usually talk about savory things like my mayo recipe, but trust me, pairing richness with acid is always the best plan!
Whatever you choose, slicing it cold straight from the fridge is the key. Enjoy watching everyone’s face when they realize how simple yet decadent this basque burnt cheesecake turned out to be!
Storage and Reheating Instructions for Basque Burnt Cheesecake
This is the easy part, honestly! After all that anticipation waiting for the full chill time, keeping your finished basque burnt cheesecake fresh is super simple because it loves the cold. One thing you need to remember is that this dessert completely transforms after chilling. That gooey center that was wobbling when it came out of the oven firms up into that signature dense, cool velvet. It truly gets better overnight!
It’s like having a small bit of gourmet dessert ready for you whenever you crave it!
Make sure you let the cheesecake cool completely on the counter—we are talking three or four hours minimum—before you even think about wrapping it up! If you cover it while it’s warm, you’ll get condensation, and that’s just sad for any cheesecake, even our rugged no water bath cheesecake!
- Once totally cool, cover the springform pan loosely with plastic wrap or foil. You don’t want it tightly sealed at first.
- Then, pop it into the refrigerator. You need a minimum of six hours, but come on, you know you want the best texture. Aim for overnight! The longer it rests, the better the flavors meld, and the texture stabilizes into that amazing creamy consistency.
- When stored properly—covered—this beautiful basque burnt cheesecake will last brilliantly in the fridge for about 4 to 5 days. It tastes fantastic on day two, day three, and yes, even day four!
Now, about reheating? Forget about it! This is one dessert that absolutely must be served cool or chilled. Trying to warm up a cheesecake, especially one this rich, usually results in a soupy mess. The entire point of the basque burnt cheesecake experience is that fantastic contrast between the deep, almost bitter caramel top and that icy cold, creamy interior. So keep it tucked away in the fridge and enjoy it cold!
Frequently Asked Questions About Basque Burnt Cheesecake Recipe
It’s totally normal to have a few jitters before baking something that looks so unique! People ask me about the dark top constantly, and usually, the fixes are super simple tweaks to time or temperature. I want everyone to succeed in making this basque burnt cheesecake recipe masterpiece, so let’s tackle the things that usually trip folks up.
Why is my Basque Burnt Cheesecake not burnt enough?
Oh, this is the most common worry! If you pull yours out and it looks golden instead of deeply burnished, don’t stress, but definitely adjust next time. For true, authentic flavor, you need that intense caramelization—that’s the signature of a proper San Sebastian Cheesecake. It usually means your oven wasn’t hot enough, or you pulled it out too early. For this recipe, you really need that 200°C (400°F) blast! If your oven runs cool, you might even need to let it bake for 5 or 10 minutes longer than the specified time, just watching that top darken beautifully.
Can I make this recipe in a smaller pan, like a loaf pan?
Yes, you totally can! Sometimes you just don’t want to commit to a full 9-inch cake, and I get it. This recipe is very forgiving, which really makes it an easy cheesecake recipe. If you switch to a loaf pan—which should definitely be lined very well with parchment, by the way—you need to watch the baking time because the cake will be thicker in that smaller footprint. It might need an extra 10 to 15 minutes to set in the middle as the heat has further to travel. So, yes to the loaf pan cheesecake recipe idea, just add time slowly!
What is the difference between this and a New York cheesecake?
That’s a fantastic question, and it gets right to the heart of why this dessert is trending! Think of it this way: they are total opposites in technique and texture, but both delicious in their own way. A New York style cheesecake is dense, smooth, usually baked low and slow with a water bath to prevent cracking, and it always has a graham cracker crust. Our basque burnt cheesecake is the wild cousin! We use high heat, no water bath, no crust, and we actually *want* it wobbly in the center when it comes out. The NY style is firm and chilled; ours is rich, almost like a velvety cheesecake when served cold.
If you want even more hints and support as you bake, feel free to check out my main baking hub for general tips on all my kitchen adventures!
Share Your Creamy Burnt Cheesecake Creations
And there you have it! You’ve conquered the famous, dramatically beautiful basque burnt cheesecake. I truly hope you enjoyed the process as much as I do. There is something so satisfying about taking those simple, room-temperature ingredients and turning them into something that looks like it should belong in a fancy pastry case.
I really want to hear from you! Did you manage to get that perfect deep, dark caramelization? Did you find that the overnight chill made the difference for you? This whole recipe is a fun one, and watching everyone succeed with this homemade cheesecake tutorial is seriously the best part of running this blog.
If you made this recipe, please do me a huge favor and leave a rating right down in the comments so other nervous bakers know that this easy cheesecake recipe is truly reliable. And if you snapped a photo of your stunning, crustless creation—especially if the top turned out perfectly dark—I would absolutely love to see it! You can tag me on social media or reach out through my contact page. Happy baking, and enjoy every rich, velvety slice of your incredible basque burnt cheesecake!
PrintEffortless & Creamy: The Ultimate Basque Burnt Cheesecake Recipe (No Water Bath, Crustless Perfection)
Make the famous Basque Burnt Cheesecake with this simple, crustless recipe. Achieve a deeply caramelized exterior and a rich, velvety interior without needing a water bath.
- Prep Time: 15 min
- Cook Time: 60 min
- Total Time: 7 hours 15 min
- Yield: 10 servings
- Category: Dessert
- Method: Baking
- Cuisine: Spanish (Basque)
- Diet: Vegetarian
Ingredients
- 900 g cream cheese, softened
- 300 g granulated sugar
- 6 large eggs
- 600 ml heavy cream (35% fat)
- 1 teaspoon vanilla extract
- 1/4 teaspoon salt
- 45 g all-purpose flour
Instructions
- Preheat your oven to 200°C (400°F). Line a 9-inch springform pan with two large sheets of parchment paper, allowing the paper to overhang significantly on all sides. Do not grease the pan sides.
- In a large bowl, beat the softened cream cheese and sugar together with an electric mixer until smooth. Scrape down the sides of the bowl.
- Add the eggs one at a time, mixing well after each addition until just combined. Do not overmix.
- Slowly mix in the heavy cream, vanilla extract, and salt until the batter is uniform.
- Sift the flour over the batter and mix on low speed until no streaks of flour remain. The batter will be thin.
- Pour the batter into the prepared springform pan.
- Bake for 50 to 60 minutes. The top should be very dark brown, almost black, and the edges should look set. The center should still have a significant wobble, like soft gelatin.
- Remove the cheesecake from the oven and let it cool completely on a wire rack at room temperature for at least 3 hours. The center will continue to set as it cools.
- Once cool, cover the pan loosely and chill in the refrigerator for at least 6 hours, or preferably overnight, before serving.
- To serve, carefully remove the parchment paper sides and place the cheesecake on a serving plate.
Notes
- Use room temperature ingredients for the smoothest batter.
- Do not worry about the dark color; this is the signature ‘burnt’ caramelization.
- If your oven runs hot, check the cheesecake closer to the 50-minute mark.
- If you do not have a 9-inch pan, this recipe works well in a 1.5-quart loaf pan lined with parchment. Adjust baking time slightly.
Nutrition
- Serving Size: 1 slice
- Calories: 450
- Sugar: 35
- Sodium: 150
- Fat: 35
- Saturated Fat: 22
- Unsaturated Fat: 10
- Trans Fat: 0.5
- Carbohydrates: 28
- Fiber: 0
- Protein: 8
- Cholesterol: 180
