

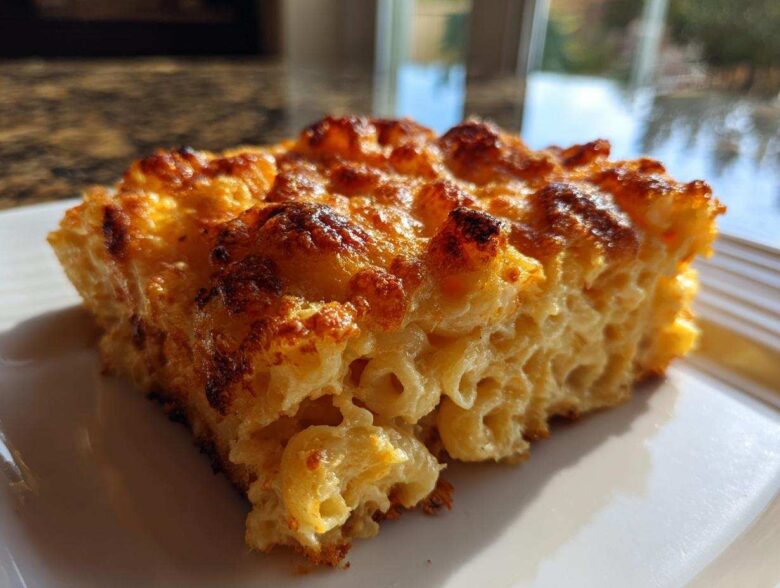
Oh, I am so excited you’re here! Look, if you ask me what the ultimate hug in a bowl tastes like, it’s going to be the perfect baked mac and cheese. I’ve spent years messing around with cheese ratios and sauce thickness, and I finally cracked the code on what I call the ‘Forever Recipe.’ Forget dry pasta! This version is impossibly creamy on the inside—like velvet—but it gets that glorious, bubbly, golden-brown, crunchy top when it comes out of the oven. It’s the kind of homemade macaroni and cheese that makes people stop talking when you bring it to the table. Trust me, you’ll want to bookmark this one right now because it’s the only one you’ll ever need. If you love achieving that perfect, smooth texture, I swear by the methods I use for my famous cheese grits, too—you can check that recipe out right here!
Why This Creamy Baked Mac and Cheese Stands Out
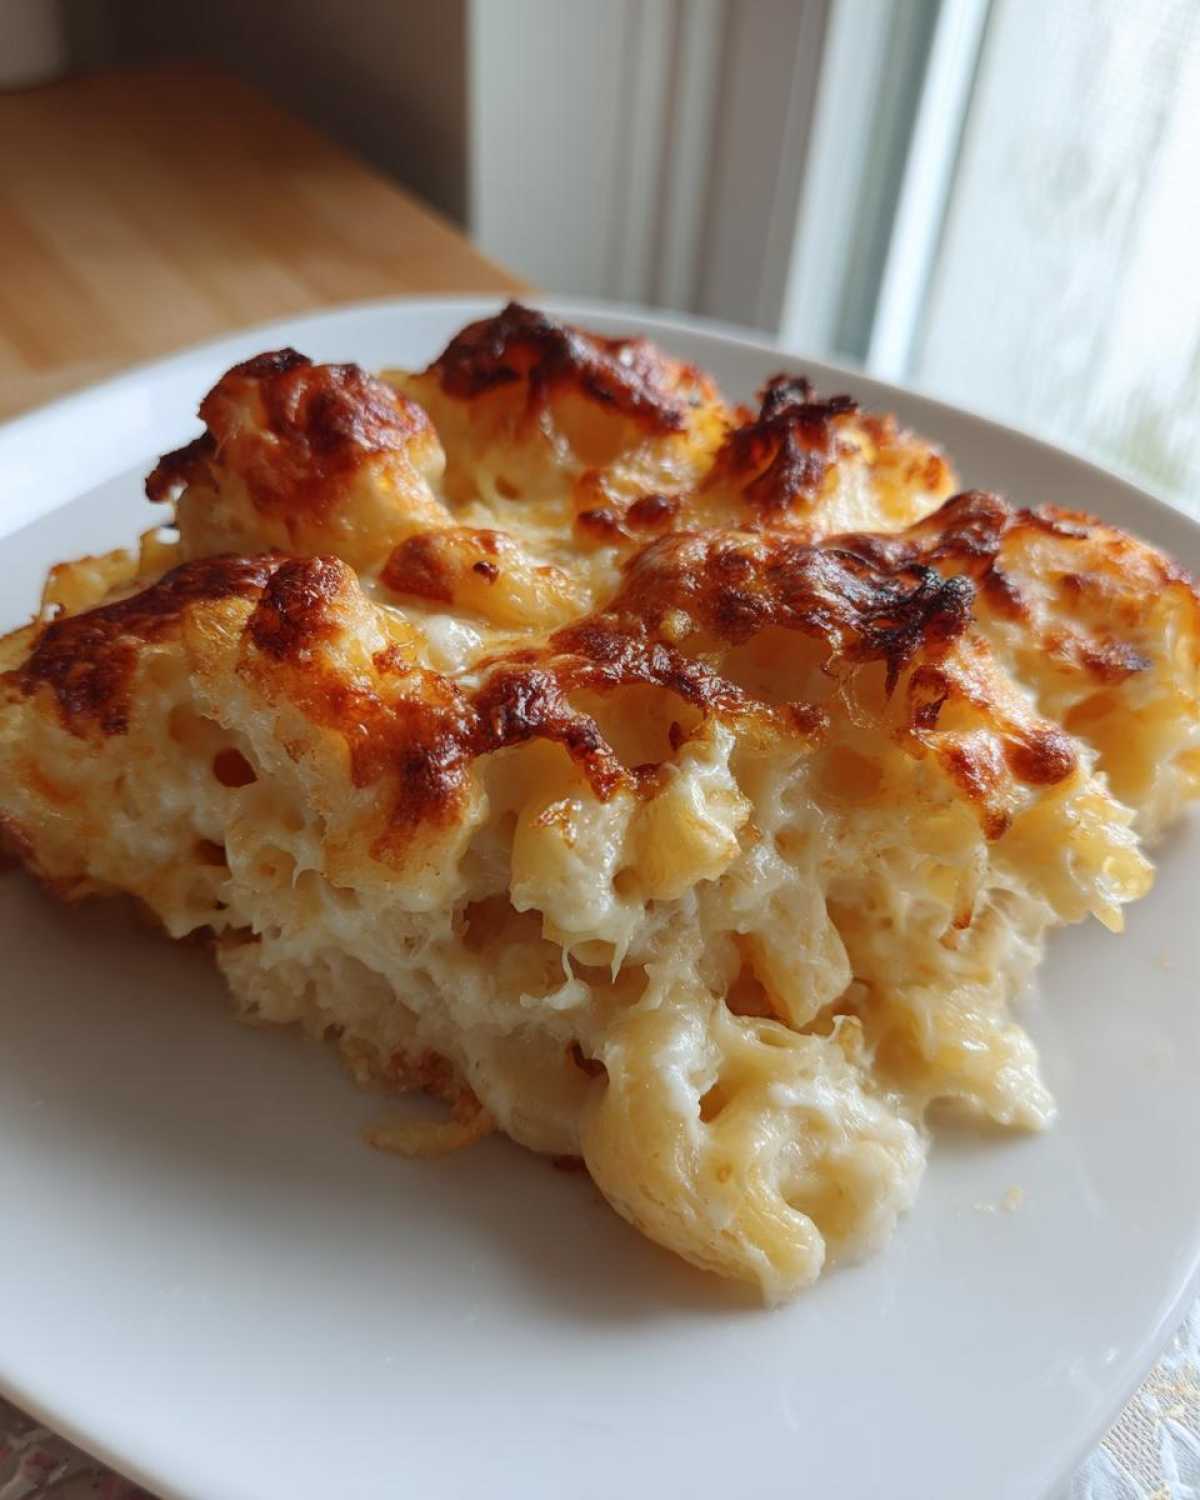
There’s a reason this specific baked mac and cheese gets requested for every holiday and gathering. It’s all about that textural conversation happening in every bite! You get the smooth, decadent cheese sauce playing against that crisp baked crust. It just doesn’t quit!
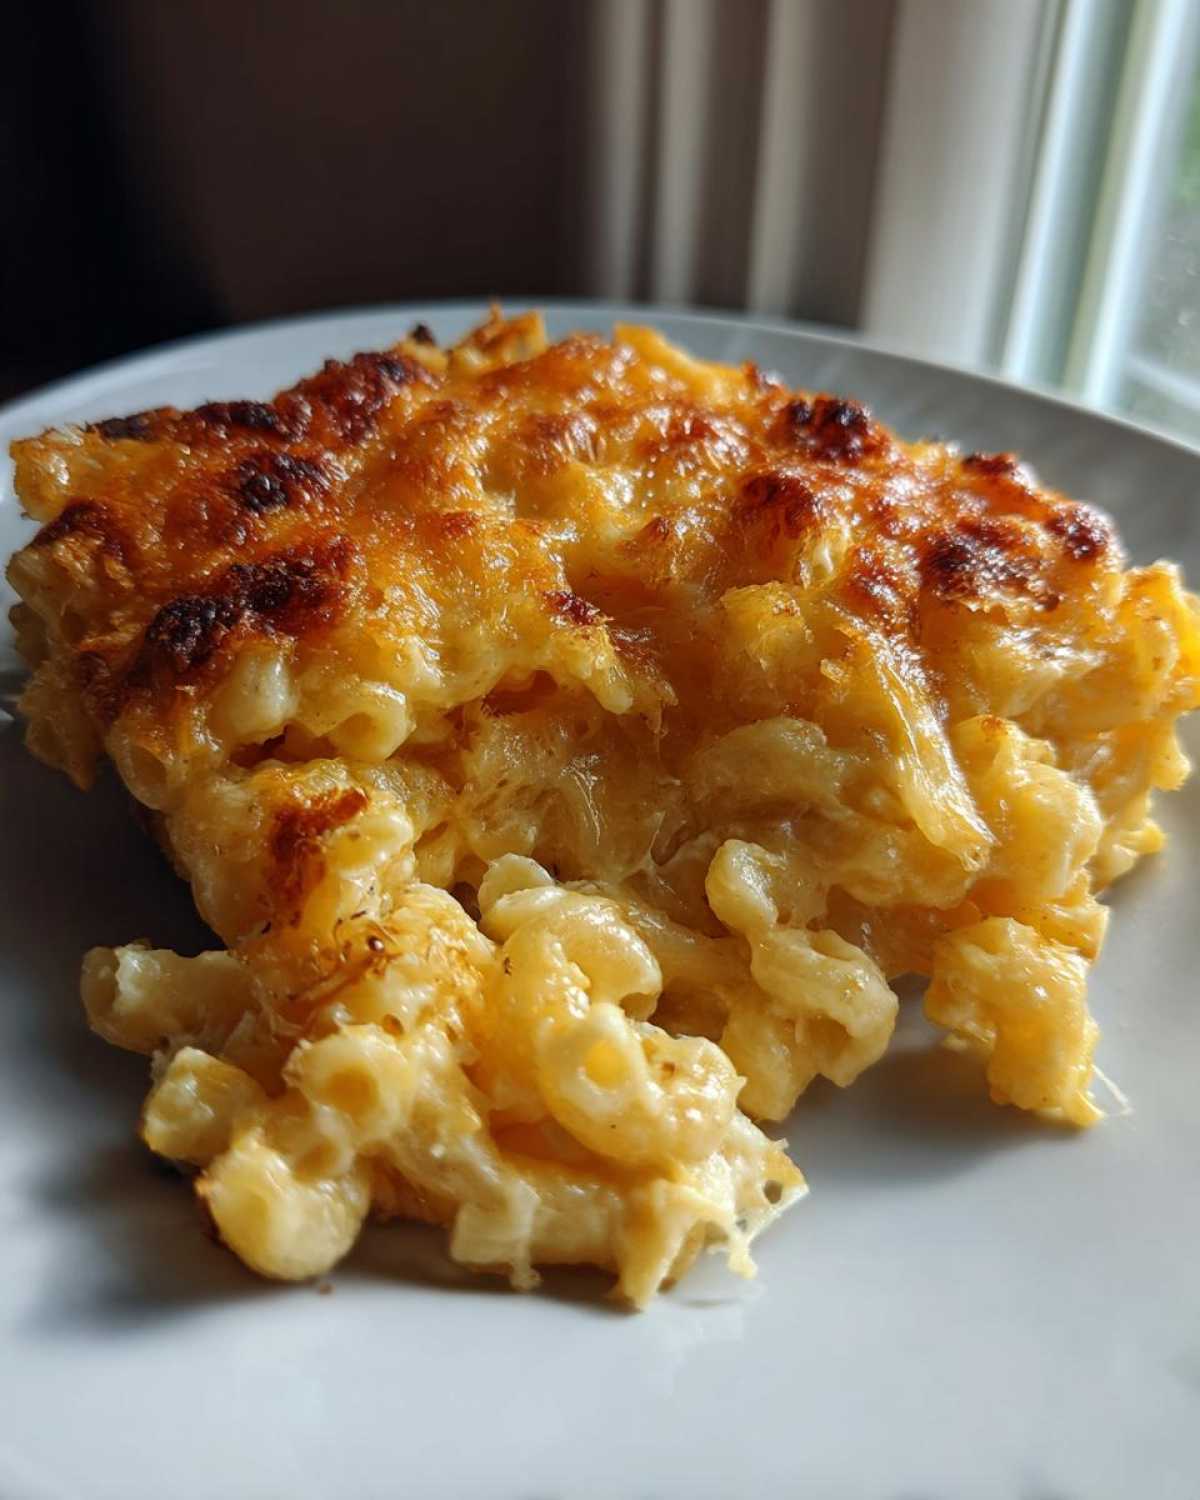
Achieving the Ultimate Creamy Baked Pasta Texture
The secret to avoiding that sad, gritty mac and cheese is the base. We don’t just dump cheese into hot milk, oh no! We build a proper roux, and we always, always use warm milk. That combination keeps your sauce smooth as silk for that perfect creamy baked pasta experience every time.
The Perfect Golden, Bubbly Top for Your baked mac and cheese
Let’s talk about the topping. If you want that satisfying crunch—that little bit of resistance when you dig in—you need Panko breadcrumbs, not the regular stuff. Tossing them in a bit of melted butter before they hit the oven guarantees you get those wonderful golden spots and an unbeatable crunch on top of your three cheese mac and cheese.
Ingredients for the Best homemade macaroni and cheese
You can’t have spectacular results without spectacular starting materials, right? This ingredient list builds the foundation for real indulgence. My absolute biggest rule here, which you’ll see underlined in my notes, is to shred your cheese yourself! Pre-shredded stuff has additives that make your creamy sauce turn grainy, and we just can’t have that in our homemade macaroni and cheese.
I always keep a few good sides ready for family dinners, like this fantastic garlic parmesan chicken when I need a main dish that’s ready fast.
Cheese Selection for Three Cheese Mac and Cheese
This is where the flavor gets serious! We use three cheeses because they each play a role. We need the sharp bite from the 8 ounces of sharp cheddar, the nutty depth from the 4 ounces of Gruyère, and the ultimate smooth melt from the 4 ounces of Monterey Jack. Shredding these blocks yourself is non-negotiable for the creamiest texture!
Topping Ingredients for Baked Mac and Cheese
For the top layer, keep it simple but effective. You just need 1 cup of Panko breadcrumbs—they crisp up so much better! And we mix those with 2 tablespoons of melted butter. That’s all it takes to create the ultimate crunchy contrast for your baked mac and cheese.
Step-by-Step Instructions for Perfect baked mac and cheese
Putting this together is actually so relaxing once you get into the rhythm of it. It flows just like my favorite chicken noodle casserole—you build a base, you mix it all up, and then you wait for the magic to happen in the oven! We’re starting at 375 degrees F and making sure that 9×13 dish is already greased up and ready to go.
Preparing the Pasta and Roux Base
First, cook your pound of elbow macaroni until it’s just *al dente*. You don’t want mush! Drain it well. Now, while that cools slightly, grab a big saucepan. Melt those 6 tablespoons of butter over medium heat—nice and slow. Whisk in your flour and cook it for exactly one minute, stirring constantly. That’s your roux, the foundation for everything good here!
Creating the Rich Cheese Sauce for creamy baked pasta
This part needs a little patience. Take your saucepan off the heat briefly if needed, and whisk in your warmed milk *gradually* until everything is smooth. Put it back on the heat and let it simmer, stirring often, until it thickens enough to coat the back of a spoon nicely—usually about five to seven minutes. Do not let it boil like a volcano! Once thickened, pull it off the heat completely. Stir in your salt, pepper, nutmeg, and paprika. Then, add your shredded cheddar, Gruyère, and Jack cheeses stirring smoothly until that beautiful, rich cheese sauce forms.
Assembly and Baking the Comfort Food Casserole
Now, gently fold that cooked macaroni right into all that gooey sauce until every single piece is coated in cheesy goodness. Pour it all into your prepared dish. For the top, just toss those Panko breadcrumbs with the 2 tablespoons of melted butter and sprinkle them evenly over the whole top. Pop it in the oven for 25 to 30 minutes. You’re looking for bubbling sides and a deeply golden, crunchy top. And PLEASE—let it rest for ten minutes when it comes out! It sets up so much better.
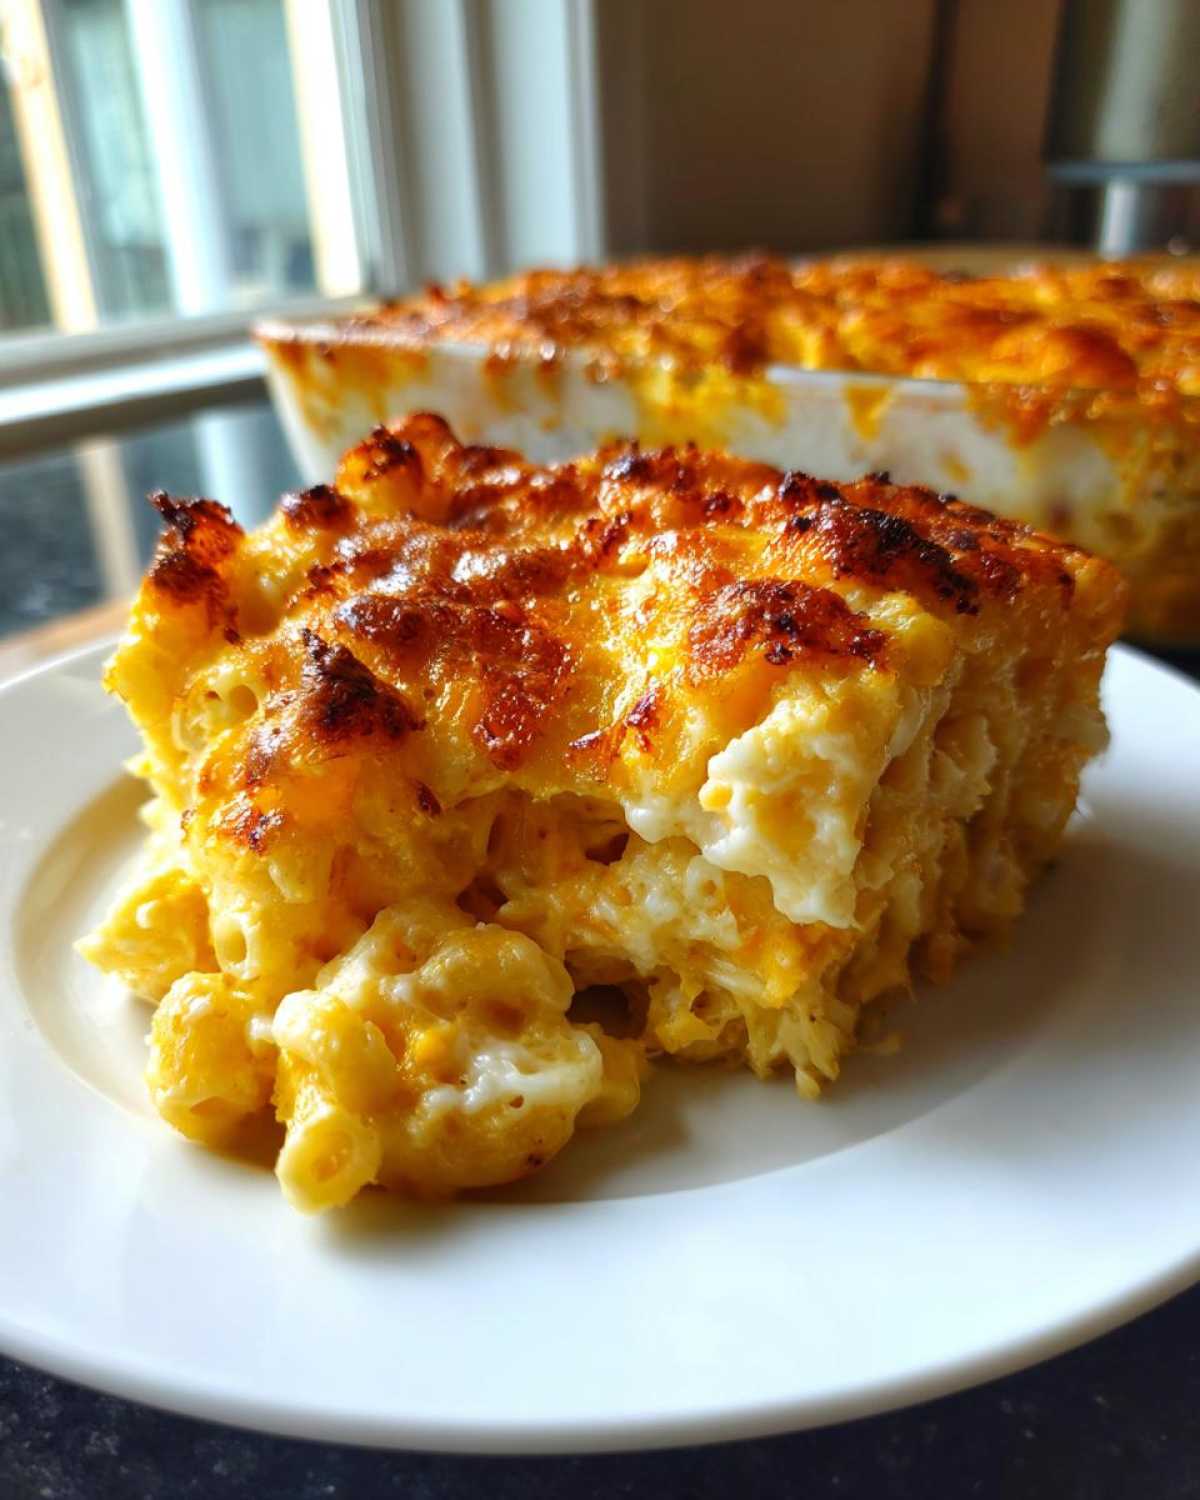
Expert Tips for the Ultimate baked mac and cheese
Okay, I have a few tricks up my sleeve that take this from good to unforgettable. These are the hard-won lessons from my kitchen that I want to pass on so you nail this perfect comfort food casserole every single time. If you want to keep your sanity on big cooking days, you need to know these secrets!
If you’re planning a big meal, especially around the holidays, you need to know how to prep ahead. Trust me on this one; you’ll thank me later! For extra advice on making creamy things ahead of time, check out how I handle my famous deviled eggs over here.
Make Ahead and Storage for your holiday side dish ideas
This recipe is fantastic to prep in advance—that’s why it’s one of my favorite holiday side dish ideas! You can mix everything up, assemble it completely in your baking dish, cover it tightly with foil, and stick it in the fridge for up to 24 hours. When it’s time to bake, don’t just toss it in the hot oven. You need to add an extra 10 to 15 minutes to the baking time because it’s starting out cold. If you forget to let it sit out for half an hour before baking, just plan on a longer wait time for that bubbly top!
Variations on Classic baked mac and cheese
While this recipe is perfect as is, sometimes you just need to sneak in one more layer of awesome, especially when feeding hungry folks! It’s so easy to customize your baked mac and cheese. If you want extra flavor, try adding smoked paprika instead of plain paprika in the sauce—it gives a wonderful background warmth.
For texture lovers, reserve half a cup of that shredded Gruyère and sprinkle it right on top of the pasta *before* you put the Panko crumb mixture on. That way, you get a gooey, chewy cheese layer directly under that golden crunch! If you’re looking for inspiration on stretching a casserole, I have a great chicken cauliflower casserole recipe that uses similar principles!
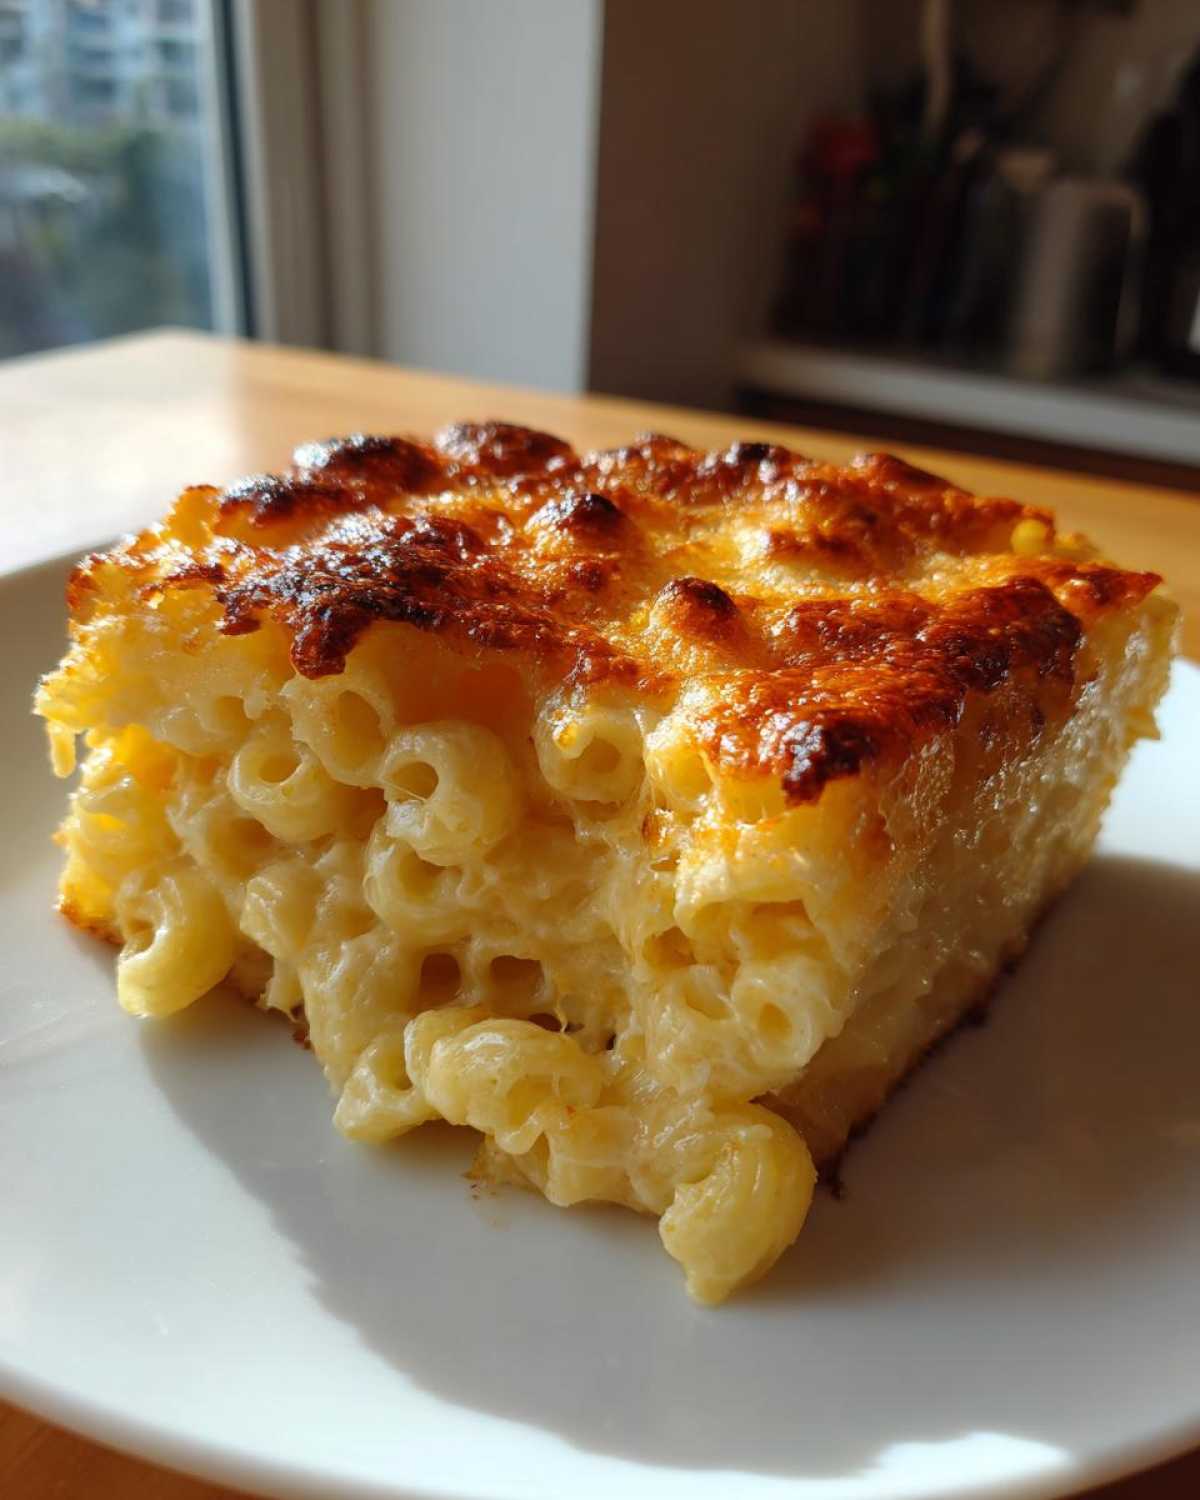
Serving Suggestions for this family favorite dinner recipes
When you pull a dish this decadent out of the oven, you’ve gotta balance it out, right? All that rich cheese needs something bright next to it. Honestly, my go-to main dish when I serve up this family favorite dinner recipes staple is a simple, perfectly seared Salisbury steak with rich gravy—you can find my simple recipe right here!
If you’re serving it as a side, keep the rest of the plate light. Think crispy, tangy coleslaw or a massive platter piled high with fresh green salad and a sharp vinaigrette. That acidity cuts through the creaminess like a dream!
Storage and Reheating Instructions for baked mac and cheese
So, you have leftovers. Aren’t you lucky! To keep that amazing creamy texture of your baked mac and cheese alive, cover the dish tightly with plastic wrap or foil, and pop it straight into the fridge. It should be good for about three to four days.
When it’s time to reheat, the oven is your best friend! Add a little splash of milk or cream into the dish before covering it with foil and reheat at 350 degrees F until heated through. If you’re in a rush, the microwave works, but stir it frequently so it doesn’t dry out on the edges. That little bit of extra liquid really helps bring it back to life!
Frequently Asked Questions About Creamy Baked Pasta
I get so many questions when people try this recipe for the first time—it’s just that good! Here are a few things I hear often when folks are trying to nail that perfect texture in their creamy baked pasta. If you ever want to see what else I’m cooking up, you can always browse my main blog page!
Can I use pre-shredded cheese in this baked mac and cheese?
Look, I know it’s tempting. It saves a few minutes, right? But please, please, please—shred it yourself! Pre-shredded cheese is coated in stuff like potato starch or cellulose so it doesn’t clump in the bag, and that stuff stops it from melting smoothly into your sauce. You absolutely need to start with block cheese if you want that truly decadent, clump-free, ultra-creamy texture in your baked mac and cheese.
How do I prevent my homemade macaroni and cheese from getting grainy?
Graininess is the nightmare of every home cook! It almost always comes down to temperature. Remember when I said to take the sauce off the heat before adding the shredded cheese? Do that! You need to cool the flour and milk mixture down just slightly so the cheese melts slowly. Also, make sure that milk you use is already warm—dumping cold milk into a hot roux is a recipe for curdled disaster. Stick to those cues, and your homemade macaroni and cheese will be silk!
What is the best pasta shape besides elbow macaroni for this comfort food casserole?
Elbows are classic, they hold the sauce perfectly in the cup shape, but if you want to mix things up, I love using cavatappi! They’re those little corkscrews, and they hold onto the Gruyère and cheddar sauce beautifully. Shells work great too, especially the medium-sized ones. The key for any comfort food casserole like this is choosing a short pasta with ridges or cups so it traps that creamy sauce in every bite.
Nutritional Estimates for Your Baked Mac and Cheese
So, let’s talk about the delicious reality of what we just made! If you’re keeping track of things, here’s a general idea of what one serving of this gorgeous, rich baked mac and cheese looks like. I want to be super clear—this is based on dividing the whole casserole into 8 equal servings using standard ingredients, and it’s just an estimate. When you add bacon or use different kinds of specialty cheeses, those numbers shift!
We certainly aren’t making diet food here; this is pure, glorious comfort! But knowing the basics helps when you’re planning the rest of your meal. Next time you’re looking for something lighter, maybe try out one of my other veggie-heavy sides!
- Serving Size: 1 serving
- Calories: About 550
- Fat: Around 32g (Yes, that’s a big one, but butter and cheese are worth it!)
- Carbohydrates: About 48g
- Protein: A solid 25g!
- Sodium: Close to 580mg
Remember, nutrition labels are guidelines, and this remains one of the best homemade macaroni and cheese recipes out there for holidays or family gatherings. Enjoy it!
PrintClassic Creamy Baked Macaroni and Cheese
A recipe for rich, creamy baked macaroni and cheese with a browned, bubbly top and a slight crust, suitable for family meals or gatherings.
- Prep Time: 15 min
- Cook Time: 35 min
- Total Time: 50 min
- Yield: 8 servings
- Category: Main Dish
- Method: Baking
- Cuisine: American
- Diet: Vegetarian
Ingredients
- 1 pound elbow macaroni
- 6 tablespoons unsalted butter
- 1/2 cup all-purpose flour
- 4 cups whole milk, warmed
- 1 teaspoon salt
- 1/2 teaspoon black pepper
- 1/4 teaspoon nutmeg
- 1/4 teaspoon paprika
- 8 ounces sharp cheddar cheese, shredded
- 4 ounces Gruyère cheese, shredded
- 4 ounces Monterey Jack cheese, shredded
- 1 cup panko breadcrumbs
- 2 tablespoons melted butter
Instructions
- Preheat your oven to 375 degrees Fahrenheit. Grease a 9×13 inch baking dish.
- Cook the macaroni according to package directions until al dente. Drain well and set aside.
- In a large saucepan, melt 6 tablespoons of butter over medium heat. Whisk in the flour and cook for 1 minute, stirring constantly to make a roux.
- Gradually whisk in the warm milk until the mixture is smooth. Cook, stirring often, until the sauce thickens enough to coat the back of a spoon, about 5 to 7 minutes. Do not let it boil rapidly.
- Remove the sauce from the heat. Stir in the salt, pepper, nutmeg, and paprika.
- Add the shredded cheddar, Gruyère, and Monterey Jack cheeses to the sauce, stirring until completely melted and smooth. This is your cheese sauce.
- Fold the cooked macaroni into the cheese sauce until everything is evenly coated.
- Pour the mixture into the prepared baking dish.
- In a small bowl, toss the panko breadcrumbs with 2 tablespoons of melted butter. Sprinkle the breadcrumbs evenly over the top of the pasta mixture.
- Bake for 25 to 30 minutes, or until the sauce is bubbly and the topping is golden brown.
- Let the mac and cheese rest for 10 minutes before serving.
Notes
- Shred your own cheese from blocks for the best melting quality. Pre-shredded cheese contains anti-caking agents that affect creaminess.
- You can prepare the dish up to the baking step, cover it, and refrigerate for up to 24 hours. Add 10 to 15 minutes to the baking time if baking directly from the refrigerator.
- For an extra cheesy crust, reserve 1/2 cup of the shredded Gruyère and sprinkle it over the pasta before adding the breadcrumbs.
Nutrition
- Serving Size: 1 serving
- Calories: 550
- Sugar: 6
- Sodium: 580
- Fat: 32
- Saturated Fat: 19
- Unsaturated Fat: 13
- Trans Fat: 1
- Carbohydrates: 48
- Fiber: 2
- Protein: 25
- Cholesterol: 95
