

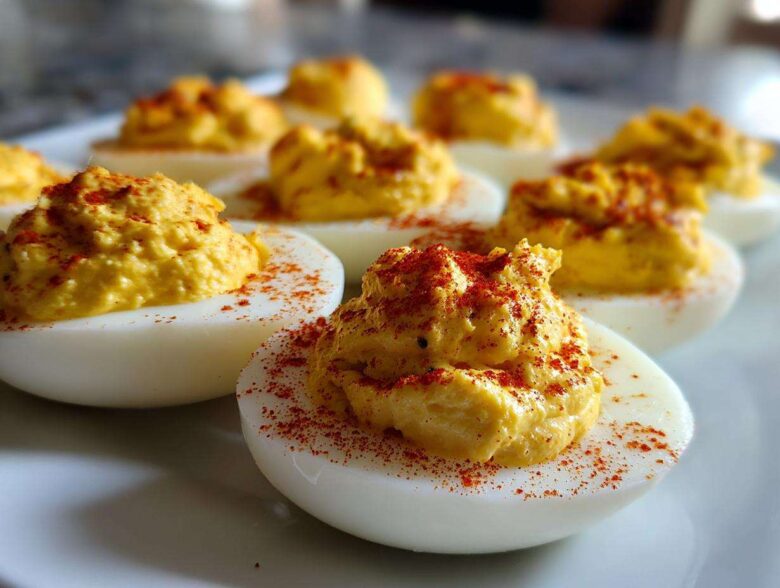
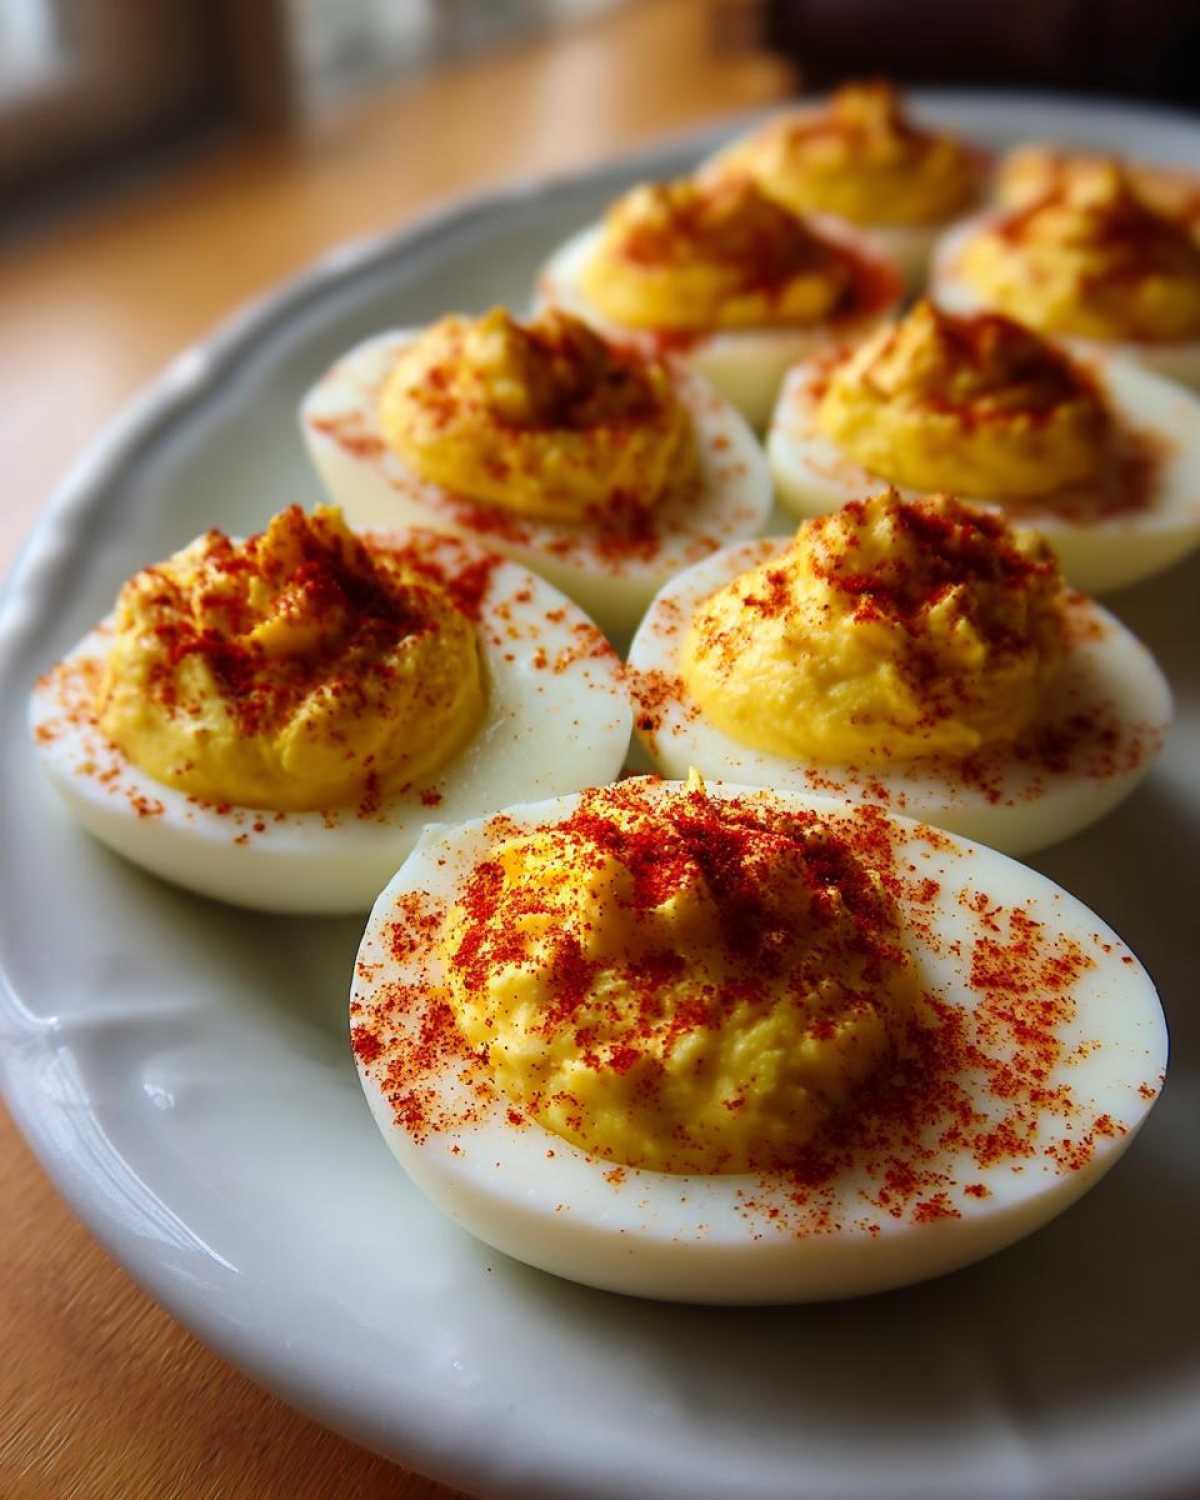
Forget those dry, crumbly deviled eggs you sometimes see at church potlucks! When I’m bringing an appetizer to a gathering, I want something that disappears almost instantly because everyone goes back for seconds. That’s why I guard this specific recipe so fiercely. This isn’t just good; it’s the Ultimate Creamy Deviled Eggs Recipe, and I’ve spent years perfecting the filling so it’s rich, smooth, and utterly addicting. Trust me, once you master the technique for this perfect egg delivery system, you’ll never go back to the store-bought stuff. They truly are the best deviled egg filling you’ll ever make!
Why This Creamy Egg Recipe is the Best Deviled Egg Recipe
So, what makes this particular recipe stand head and shoulders above the rest? Honestly, it’s all about that luxurious, cloud-like texture. If you’re tired of fillings that feel like sand, you’re in the right place! This recipe proves that perfecting the humble egg makes all the difference.
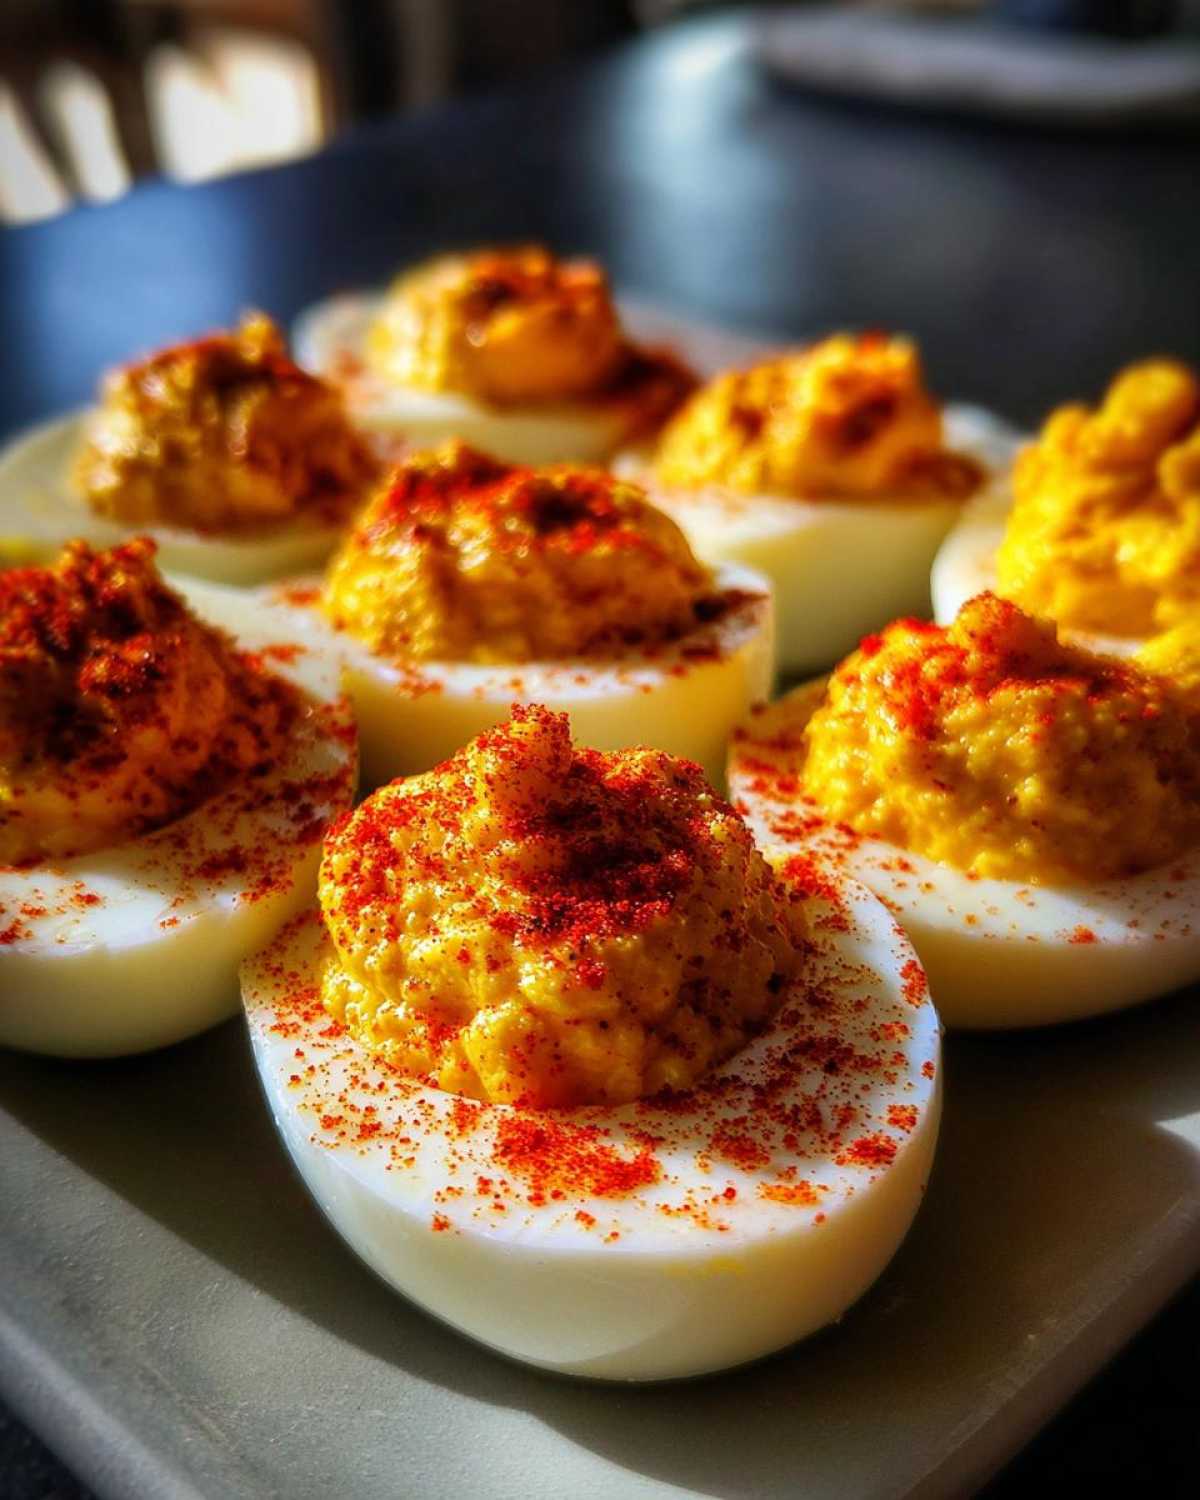
Here’s why I insist this is the absolute best deviled egg preparation. If you love a good creamy classic egg salad, you’ll adore this filling!
- Superior Creaminess: We use just the right amount of mayo and Dijon to create a melt-in-your-mouth experience.
- Classic Flavor Profile: It nails that nostalgic, tangy taste everyone expects from a good appetizer.
- Perfect Texture: Absolutely no lumps, guaranteed!
- Make-Ahead Magic: You can prep the filling days early, which is an absolute lifesaver when hosting.
Essential Ingredients for Perfect Creamy Egg Filling
Okay, ingredient shopping time! This is where we lay the groundwork for that incredible creaminess. You only need a handful of things, but quality matters, especially when dealing with something as simple and beautiful as a good egg. Don’t worry, I’ve made sure every measurement is totally foolproof. You won’t need a million exotic spices here; just the basics done right.
If you’re feeling ambitious, I even have a recipe for homemade mayonnaise that takes these deviled eggs over the top, but the store-bought stuff works just fine in a pinch!
Here is what you need for 24 perfect halves:
- 12 large eggs – You need a good sturdy egg for the best results here.
- 1/2 cup mayonnaise – Use your favorite brand; it needs to be really creamy!
- 1 tablespoon Dijon mustard – This brings the necessary tang.
- 1 teaspoon white vinegar – A little acid helps brighten everything up.
- 1/4 teaspoon salt and 1/8 teaspoon black pepper – Adjust to your taste, but start here.
- Paprika, for garnish – This is purely for that classic pop of color on top!
Step-by-Step Guide to Making the Ultimate Deviled Egg
Alright, let’s get these puppies cooked! The secret to the best deviled egg isn’t just in the filling; it’s in how perfectly you cook and peel the hard-boiled egg first. If you mess up here, the whole presentation can fall apart. Follow this boiling method exactly, and you’ll have whites that peel like magic. It sounds finicky, but it takes less than twenty minutes total, promise!
Perfectly Boiling and Peeling Your Hard-Boiled Egg
Grab a saucepan and place your 12 eggs inside. Cover them with cold water so there’s about an inch of water sitting above the shell. Bring that water to a full, rolling boil over high heat. The second it starts boiling hard, kill the heat completely, slap a lid on the pan, and set your timer for 12 minutes. This standing time is crucial for a perfectly set yolk!
When the timer rings, dump those hot eggs immediately into a big bowl of ice water—an ice bath! Don’t skip this step; the shock helps the inner membrane pull away from the white, making peeling so much easier. Let every precious egg cool down completely, sometimes 10 minutes or so, before you even attempt to peel it. Happy peeling!
Creating the Smooth and Creamy Egg Filling
Once you’ve sliced all your cooled, peeled eggs in half lengthwise, gently scoop out those bright yellow yolks into a mixing bowl. Now, grab a sturdy fork and mash those yolks until they are totally fine—I mean *tiny* crumbs. We really don’t want any gritty bits in our final product! If you love a good classic old-fashioned egg custard pie recipe, I promise you appreciate that smooth texture, and we bring that same care here.
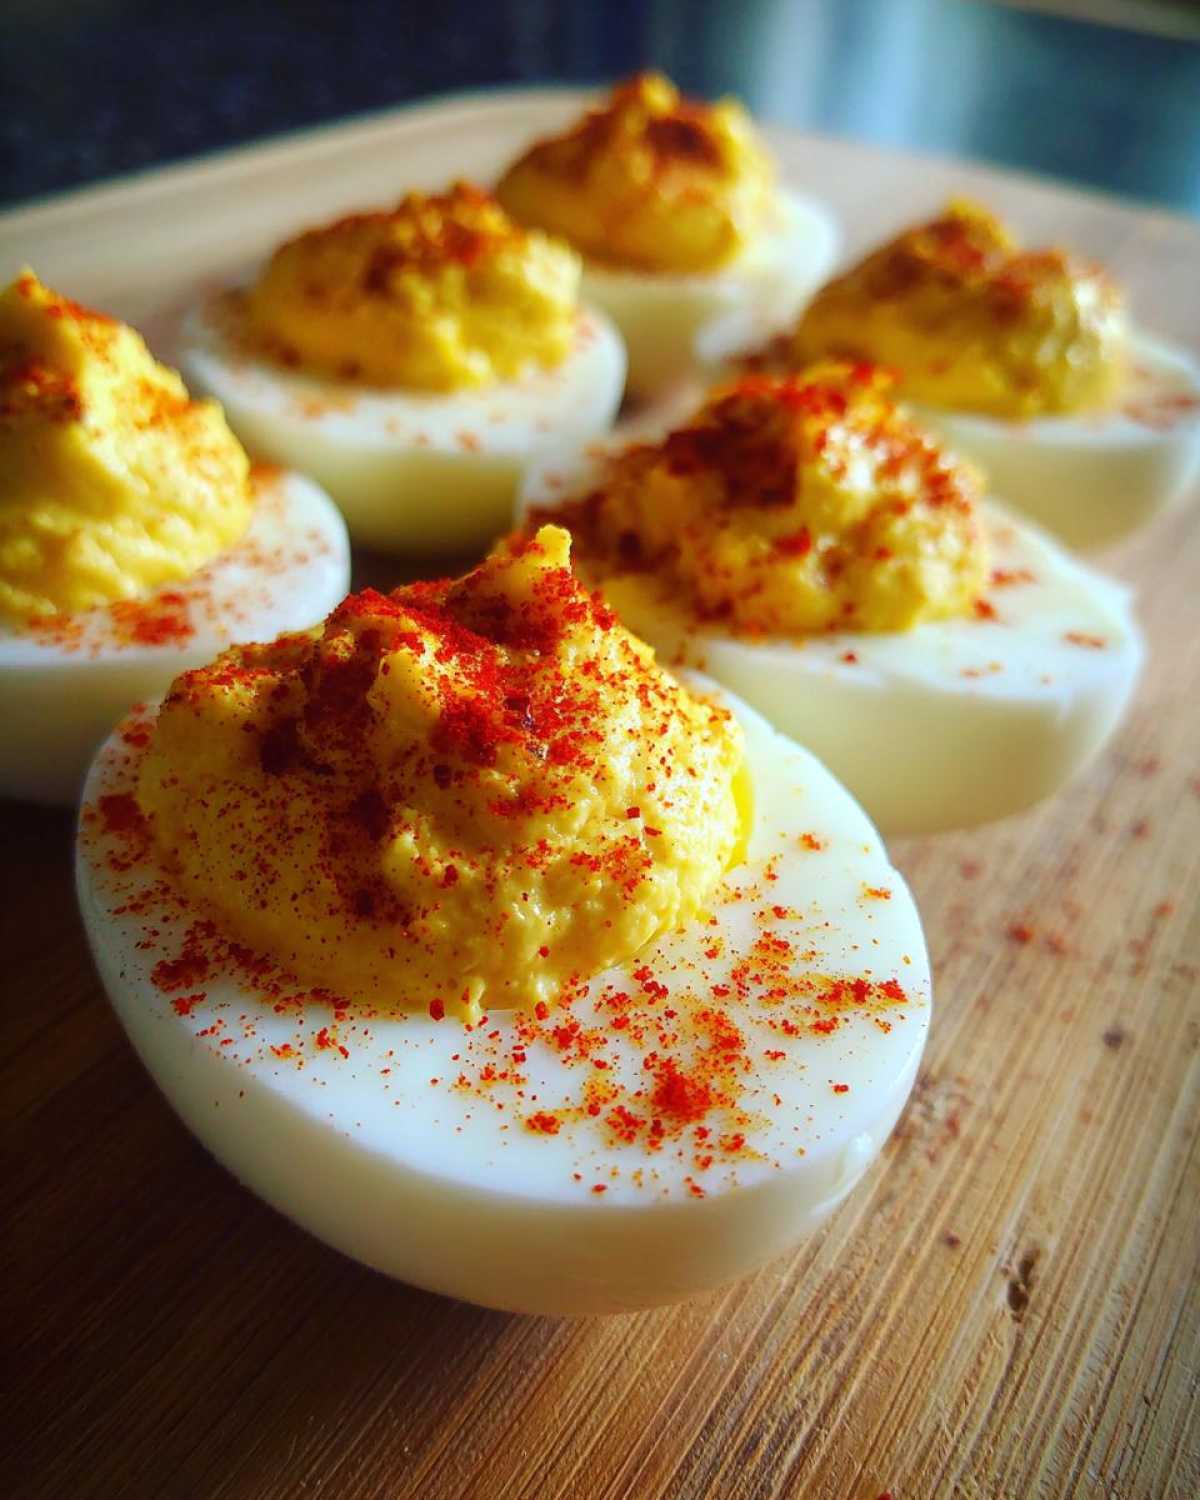
Once mashed well, you add your mayonnaise, mustard, vinegar, salt, and pepper. Mix, mix, mix! Keep stirring until that whole mixture turns into a homogenous, fluffy paste. It needs to be absolutely smooth—that’s the key to an amazing deviled egg filling. If you still see lumps, just keep mixing!
Expert Tips for Next-Level Deviled Egg Preparation
I’ve shared the foolproof method, but now we level up! These little tricks are what take your appetizer from ‘nice’ to ‘absolutely legendary.’ My goal is always to minimize kitchen stress when I’m hosting, and these tips really help me pull that off without sacrificing that perfect, creamy texture.
First off, and this is a huge one for easy peeling: don’t use eggs straight from the carton! I let my eggs sit in the fridge for about a week before boiling them for this recipe. Slightly older shells release much easier than super fresh ones. It’s a little secret that saves you a ton of frustration trying to peel that delicate white.
Next, presentation matters, even for something as simple as a party staple. While you can use two spoons to create that classic swirl, I highly recommend using a piping bag or even a sturdy Ziploc bag with the corner snipped off. Piping the filling back into the whites—instead of spooning it—gives you beautiful, uniform swirls every single time. It makes them look so professional!
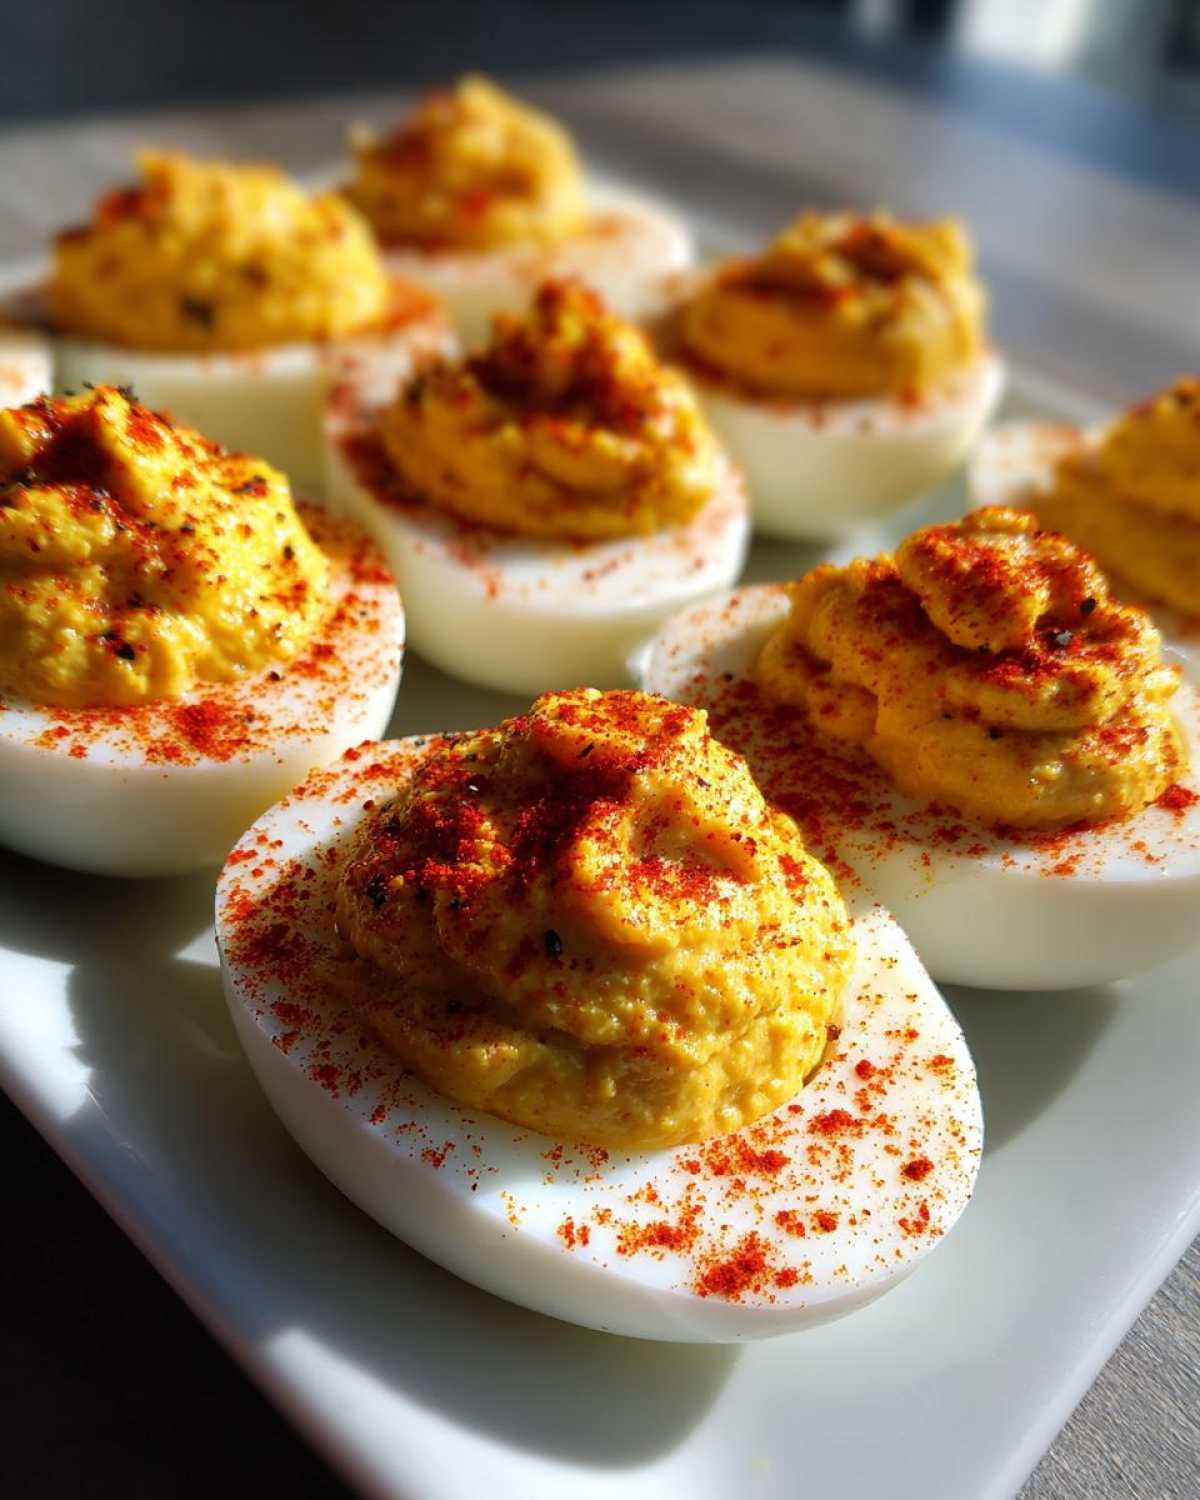
If you want to get fancy with your flavor, check out the recipe for loaded avocado deviled eggs sometime, but for this classic version, you can gently fold in 1/2 teaspoon of finely minced cornichon pickles right at the end of mixing the filling. It adds a wonderful little crunch and brightness!
Make Ahead and Storage Tips for Your Egg Appetizer
I know most of you are planning parties or big brunches, so you need to know how to manage your timing! Don’t stress about making these last minute. The secret weapon here is storing the filling separately. You can absolutely make the creamy yolk mixture up to a full 24 hours ahead of time. I mix it up the night before, slap some plastic wrap right onto the surface—to prevent any weird skin from forming—and pop it in the fridge.
When you’re ready to serve, just pull out your beautifully cooked and peeled egg whites. Transfer that chilled filling into a piping bag, and fill those whites right before your guests arrive. This keeps the filling super fresh and prevents the white from getting soggy, which is what happens when you let them sit assembled for too long.
If you absolutely have to assemble them ahead of time—maybe you’re running late or taking them to an event—you can do that too! Just treat them gently. Cover them tightly with plastic wrap, making sure the wrap isn’t actually touching the paprika garnish. You can keep assembled deviled eggs safe in the fridge for about 4 to 6 hours, but honestly, that beautiful egg presentation is best when done closer to serving time. For more clever holiday ideas, check out these spooky spider deviled eggs!
Variations on the Classic Deviled Egg Recipe
Look, I love the classic flavor profile—I really do—but sometimes you need to spice things up, right? This recipe’s amazing base makes it the perfect jumping-off point for all sorts of gourmet egg creativity. You don’t need a whole new recipe; you just need a few fun additions! Think of the creamy yolk mixture as a blank canvas just waiting for your personal flair. This showcases why this is such a versatile appetizer!
If you’re looking to sneak some extra flavor into your next batch of easy egg recipes, try one of these fun swaps:
- Spicy Kick: Add 1/4 teaspoon of your favorite hot sauce (Sriracha works great!) into the mixing bowl along with the mayo. It gives a nice little warmth that cuts through the richness of the yolk perfectly.
- Herby Goodness: Fold in 1 tablespoon of finely chopped fresh herbs when you mix the filling. Dill and chives are my absolute favorites because they bring such a fresh, springy flavor.
- The Tangy Twist: If you didn’t pick up the pickle relish earlier, try adding 1/2 teaspoon of whole-grain (or Dijon) mustard instead of plain Dijon. It adds a bit more texture and bite to the final egg.
- Southwest Flavor: Mix in a tiny pinch of chili powder and swap the white vinegar for a squeeze of fresh lime juice. Wow, that wakes everything up!
And hey, if you ever find yourself with tons of leftover boiled eggs and just can’t face another deviled platter, you absolutely need to try turning this concept into a creamy pasta salad! Check out my recipe for deviled egg pasta salad—it’s absolutely divine for picnics!
Serving Suggestions for This Great Egg Appetizer
These creamy bites are so versatile! Since they are naturally low in carbs, they pair wonderfully with richer party foods or lighter daytime brunch spreads. If you’re setting out a snack spread, try serving them alongside some savory pastries. My personal favorite companion is a plate of hot, cheesy sausage pinwheels—they balance the coolness of the filling perfectly!
For an easy brunch setup, these go great next to fresh fruit like melon and grapes, or maybe a beautiful smoked salmon platter. You can find my easy recipe for sausage pinwheels if you need another crowd-pleaser that comes together quickly. They disappear fast, so make sure you have plenty of everything else on the table!
Frequently Asked Questions About Making the Best Egg
I know you might have a few last-minute questions swirling around before you dive into making these! It’s totally normal, especially when dealing with something classic that everyone has an opinion on. Whether you’re prepping these for a huge brunch or looking for quick egg meals that impress, I’ve got the answers you need to guarantee success. Mastering the hard-boiled egg is half the battle, and the filling is the fun part!
How long can I keep the filling for my egg dish refrigerated?
This is the best part of this recipe! If you’re planning ahead for game day or a big holiday, you are in luck. You can mix up the entire creamy yolk filling—mayo, mustard, spices, everything—and store it safely in an airtight container in the refrigerator for up to 24 hours. Seriously, overnight makes the flavors marry so nicely! Just don’t put the paprika on top yet. Keep the filling separate from the peeled whites until about an hour before you plan to serve them.
What is the secret to making the yolk mixture light and fluffy?
It all comes down to those initial mashing powers! You must mash the cooked yolks until they are absolutely fine and powdery before you even introduce the mayonnaise. If you have lumps, your filling will be lumpy—it’s that simple. I use a sturdy fork and press down hard against the bottom of the bowl, scraping the mayo in bit by bit until it’s perfectly smooth. Also, make sure your mayonnaise is room temperature or slightly soft; cold mayo straight from the fridge can sometimes make the mixture look heavier initially. A little elbow grease ensures a light, fluffy, dream-like egg texture!
Can I use fresh eggs for this classic egg recipe?
You can use them, but I strongly, strongly advise against it if peeling is involved! This is one of those little tricks that chefs use all the time for beautiful halved egg presentations. Super fresh eggs—like, just laid yesterday fresh—have high acidity that causes the inner membrane to cling stubbornly to the egg white. If you want the shells to glide right off cleanly (which helps keep your whole boiled egg intact!), use eggs that are at least a week old. They cooperate so much better after that week in the fridge!
For more tips on getting that perfect texture, especially if you’re looking for other great homemade egg salad variations perfect for quick weeknight meals, check out that guide!
Nutritional Snapshot of This Classic Egg Preparation
Okay, so while these delightful bites are totally packed with flavor, I know a lot of you are watching your macros, especially since this is such a fantastic low-carb appetizer. I calculated the approximate nutrition facts based on the standard ingredient list we used above. Just remember, this is an estimate!
We based these numbers on a standard serving size of two filled halves. Since we’re using whole eggs and good quality mayonnaise, they do carry some healthy fats, but they keep the carbs super low, which is great for keeping you satisfied!
- Serving Size: 2 halves
- Calories: Approximately 95 per serving
- Fat: Around 8.5g (with 2.0g Saturated Fat)
- Protein: A solid 3.0g
- Carbohydrates: Very low at about 0.5g
- Sugar: Less than 1 gram!
- Cholesterol: Around 75mg
This snapshot shows why these are such popular appetizers—protein-packed, low-carb, and super satisfying without derailing your whole snack plan. Isn’t it nice when party food is also something you can feel good about enjoying?
Share Your Ultimate Creamy Egg Creation
I hope you are just as excited about making these creamy delights as I am about sharing them! Seriously, seeing your photos and hearing how much your friends and family loved them is the absolute best part of blogging. This is truly the pinnacle of egg appetizer recipes, and now it’s yours to customize!
Once you’ve finished your batch—perhaps you went rogue and added smoky chipotle powder or a hint of avocado, like my friend Sarah did last summer—I want to know everything! Please take a quick moment to leave a rating below. Five stars if you agree this cures all bad deviled egg days, and tell me exactly what you added to your filling mixture if you tried a fun variation!
Don’t forget to tag me on social media when you post pictures of your stunning platter! If you have any lingering questions or need a hand troubleshooting the consistency of that perfect filling, you can always reach out to me directly through my contact page. Happy serving, and enjoy every single bite of your ultimate creamy egg creation!
PrintUltimate Creamy Deviled Eggs Recipe
Make classic deviled eggs with a creamy, rich filling perfect for any gathering or appetizer spread.
- Prep Time: 20 min
- Cook Time: 12 min
- Total Time: 32 min
- Yield: 24 halves
- Category: Appetizer
- Method: Boiling
- Cuisine: American
- Diet: Low Carb
Ingredients
- 12 large eggs
- 1/2 cup mayonnaise
- 1 tablespoon Dijon mustard
- 1 teaspoon white vinegar
- 1/4 teaspoon salt
- 1/8 teaspoon black pepper
- Paprika, for garnish
Instructions
- Place eggs in a large saucepan and cover with cold water by one inch. Bring water to a rolling boil over high heat.
- Once boiling, remove the pan from the heat, cover it, and let the eggs stand for 12 minutes.
- Immediately transfer the eggs to an ice bath and let them cool completely, about 10 minutes.
- Peel the cooled eggs and slice them in half lengthwise. Gently scoop the yolks into a medium bowl.
- Place the empty egg white halves on a serving platter.
- Mash the yolks thoroughly with a fork. Add the mayonnaise, Dijon mustard, vinegar, salt, and pepper. Mix until the filling is smooth and creamy.
- Spoon or pipe the yolk mixture back into the egg white halves.
- Sprinkle the tops of the filled eggs with paprika before serving.
Notes
- For easier peeling, use eggs that are about one week old, not fresh.
- You can make the filling up to 24 hours ahead and store it covered in the refrigerator. Fill the egg whites just before serving.
- For extra flavor, add 1/2 teaspoon of pickle relish to the yolk mixture.
Nutrition
- Serving Size: 2 halves
- Calories: 95
- Sugar: 0.5
- Sodium: 150
- Fat: 8.5
- Saturated Fat: 2.0
- Unsaturated Fat: 6.5
- Trans Fat: 0.0
- Carbohydrates: 0.5
- Fiber: 0.1
- Protein: 3.0
- Cholesterol: 75
