

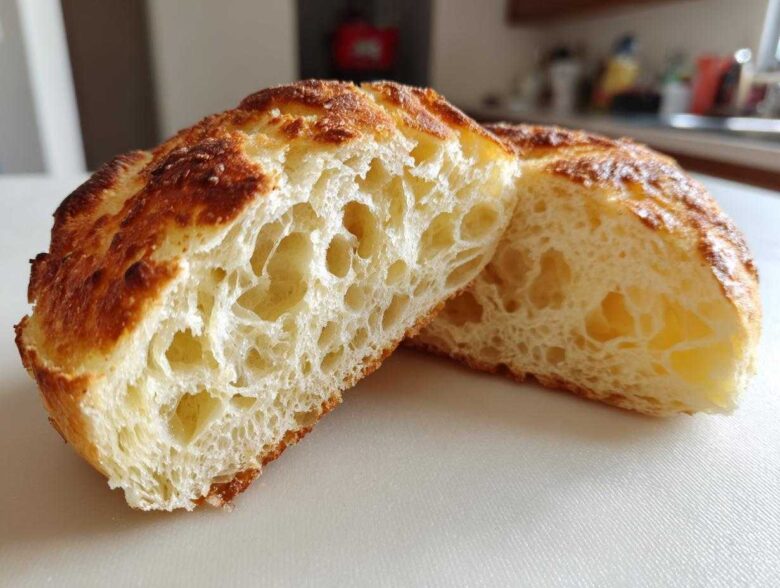
Oh, you simply have to trust me on this one—there is *nothing* that beats the smell of a freshly made, warm bread product cooking slowly on a griddle, and absolutely nothing beats a homemade one. Forget those sad, plastic-wrapped discs from the grocery store; they don’t even come close! This recipe for **english muffins** is the one I finally nailed after way too many flat, sad attempts. I’m telling you, this formula gives you that unbelievably fluffy interior and the essential, buttery craters we all crave. Yes, I am talking about those glorious nooks and crannies!
I finally got the measurements just right on the milk temperature and rolling thickness, and now I can whip up what I honestly think are the best english muffin recipe versions anywhere. They’re even better when toasted up with a huge slab of melting butter. I even linked my favorite pancake recipe for those weekend mornings when you need serious carbs: fluffy homemade pancakes are always a hit!
Why Our Homemade english muffins Recipe Stands Above the Rest
If you’ve only ever bought packaged ones, you are in for such a treat! Store-bought **english muffins** are usually dense and honestly taste a bit… cardboard-y? Not ours! We are aiming for that authentic, bakery style english muffins texture that melts in your mouth, and we do it all right on your stove. That’s the beauty of mastering this easy english muffin recipe.
- The flavor is infinitely richer once you use real milk and butter instead of all those shelf stabilizers.
- You have complete control over the thickness, guaranteeing a fluffy interior every single time.
- It’s a terrific make ahead breakfast idea since they store so well!
Achieving True english muffins Nooks and Crannies
This is the fun, slightly scientific part! To get those famous little holes, you need patience while cooking. You must use medium-low heat—if it’s too hot, the outside burns before the inside cooks, and you get a solid disk, not a sponge!
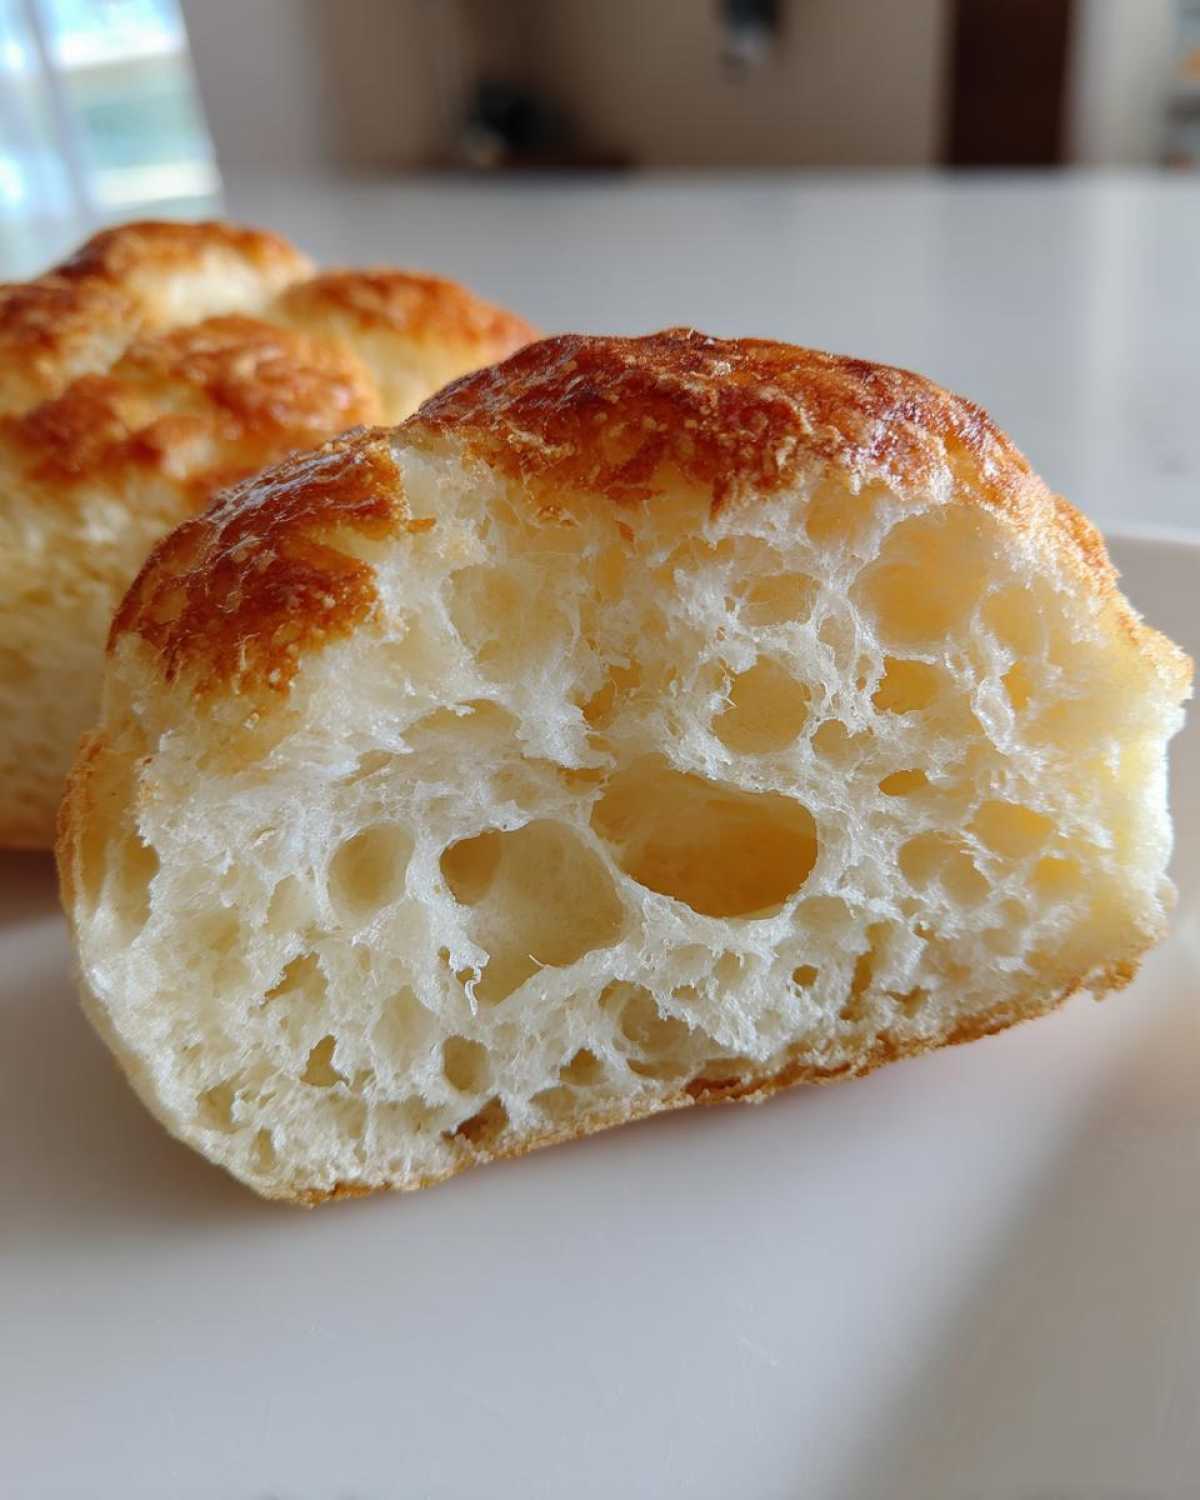
And whatever you do, please do not press down on the muffins with your spatula while they cook. Seriously, don’t touch them! Pressing them squeezes out the air pockets you worked so hard to create. That untouched steam is what creates all those perfect, buttery **nooks and crannies**.
Essential Ingredients for Perfect english muffins
When you’re making something this classic, you can’t skimp on the basics. My goal here was honestly to make the best english muffin recipe using ingredients you likely already have for your homemade breakfast bread. I’ve tried using baking powder before, but the yeast gives you that real, satisfying rise and flavor!
Here is exactly what you need on hand. I really wish I could take credit for everything, but my cousin Tina was the one who insisted on adding the baking soda at the end—it helps with browning! Also, while you’re grabbing supplies, maybe see if you need a recipe for classic lemonade because morning baking always makes me crave something bright!
- 3 cups all-purpose flour—no specialty flour needed!
- 1 tablespoon sugar
- 1 teaspoon salt
- 1 packet active dry yeast (that’s 2 1/4 teaspoons, if you buy it in bulk)
- 1 1/4 cups warm milk—and pay attention here, it needs to be between 105 and 115°F for the yeast to wake up!
- 1/4 cup melted butter, plus you need extra just for brushing the griddle.
- 1 teaspoon baking soda—this is Tina’s secret for browning!
- Extra flour or cornmeal for dusting the surface beautifully.
Step-by-Step Guide: how to make english muffins at home
Okay, let’s get down to business. This is where your patience pays off, but honestly, the actual hands-on work is super minimal! We are making great fluffy english muffins here, and that means respecting the yeast and letting things rise properly. I put together a super simple guide to easy baking steps if you ever get stuck, but this process is foolproof.
Mixing and First Rise for Fluffy english muffins
First, you just whisk together all your dry stuff—flour, sugar, salt, and yeast—in a big bowl. Once that’s done, you need your milk to be perfectly warm, that 105°F sweet spot so the yeast wakes up happy. Pour that warm milk and your melted butter right into the dry mixture. Mix it just until it looks like a shaggy mess—don’t overdo it here!
Then, you turn that shaggy dough out onto a lightly floured counter. You need to knead this for about five to seven minutes until it feels smooth and elastic. Put it in a lightly oiled bowl, cover it up, and let it rest in a warm spot for a good hour to an hour and a half. It should look absolutely massive when it’s doubled!
Cutting and Resting the english muffins Rounds
This is the slightly messy part, so have that extra dusting flour ready! Gently poke down the dough when it’s risen. You’ll fold in that teaspoon of baking soda—just a few folds, remember, we don’t want to deflate all those air bubbles we just built!
Now, roll the dough out to about exactly half an inch thick. Using a 3-inch cutter (a sturdy glass works in a pinch!), cut out your rounds. Lay them on a parchment-lined sheet and then cover them loosely. They need a 30-minute nap right there before they hit the griddle. This brief rest is key to their structure!
Mastering the Stovetop english muffins Cooking Technique
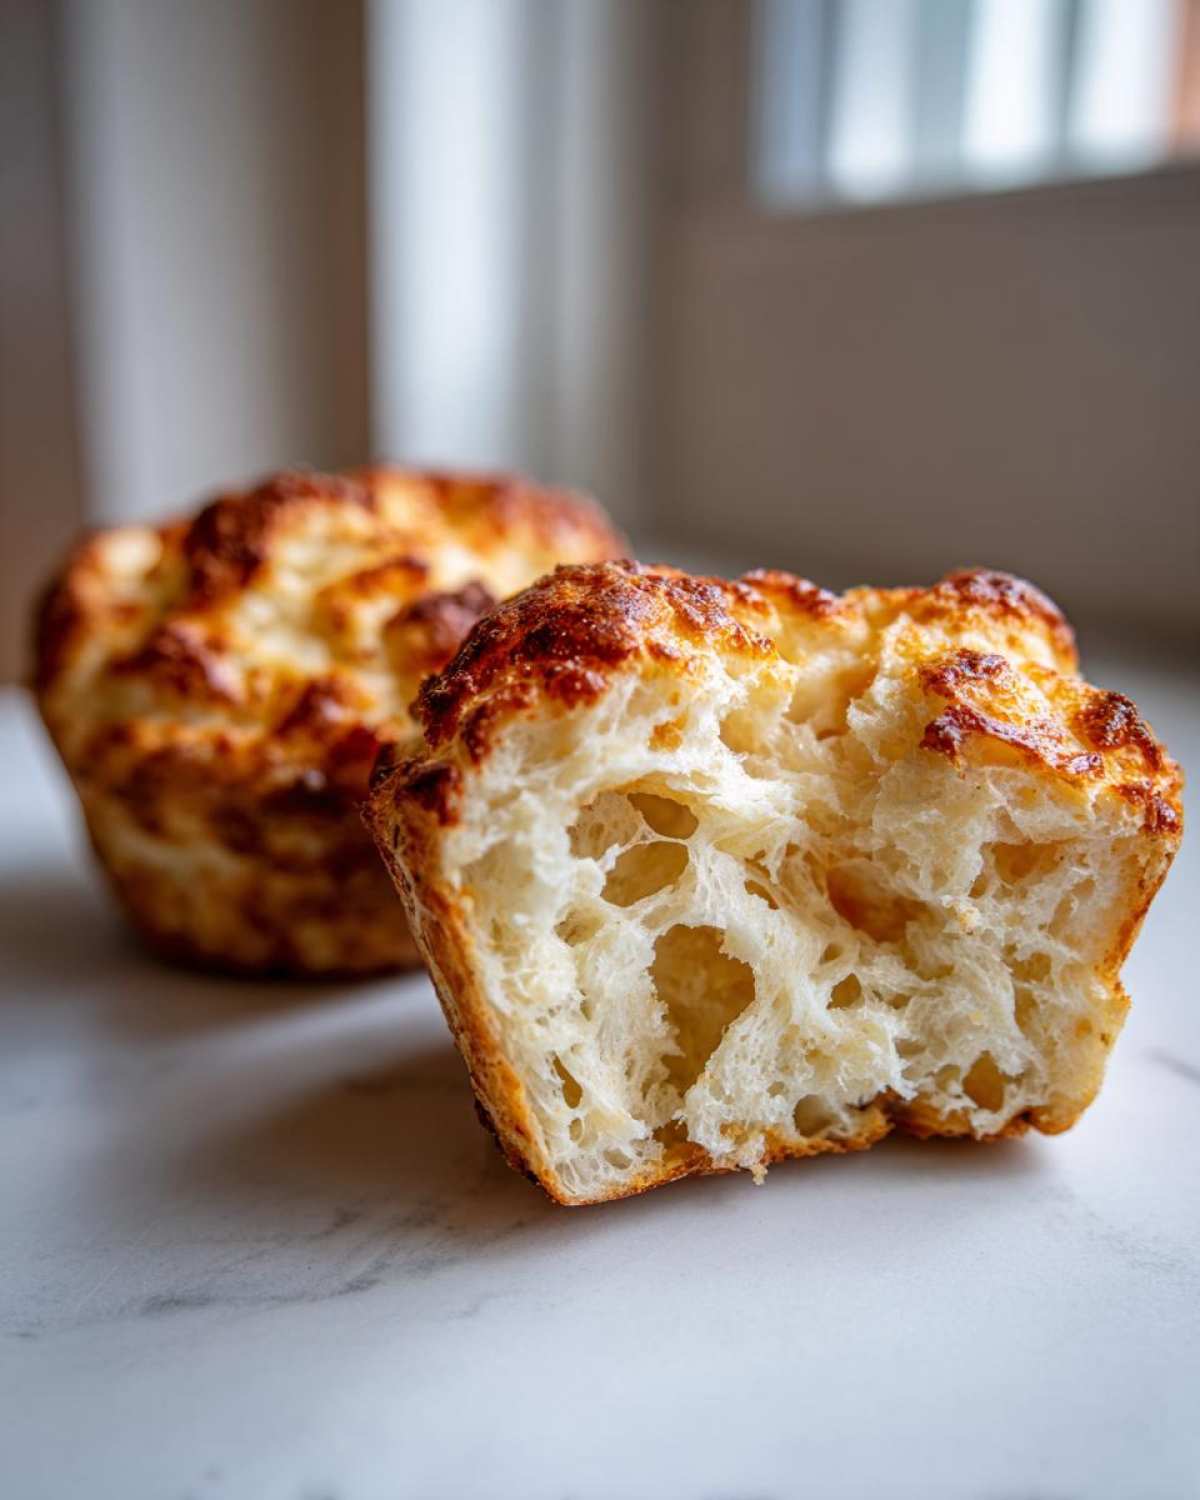
This is the part where we turn dough into actual, textbook stovetop english muffins! If you’ve ever tried baking these in the oven, you might have ended up with little hockey pucks. The secret to getting those beautiful inside holes is cooking them low and slow, right on the griddle!
I use my heaviest cast iron skillet, or sometimes a flat bottomed electric griddle set to medium-low heat. You want that heat to penetrate slowly. We are looking at about eight to ten minutes on the first side. This long cooking time is what steams the inside perfectly, building those internal air pockets. And I have to remind you again: please, *please* resist the urge to squish them down with your spatula! If you press, you lose the craters.
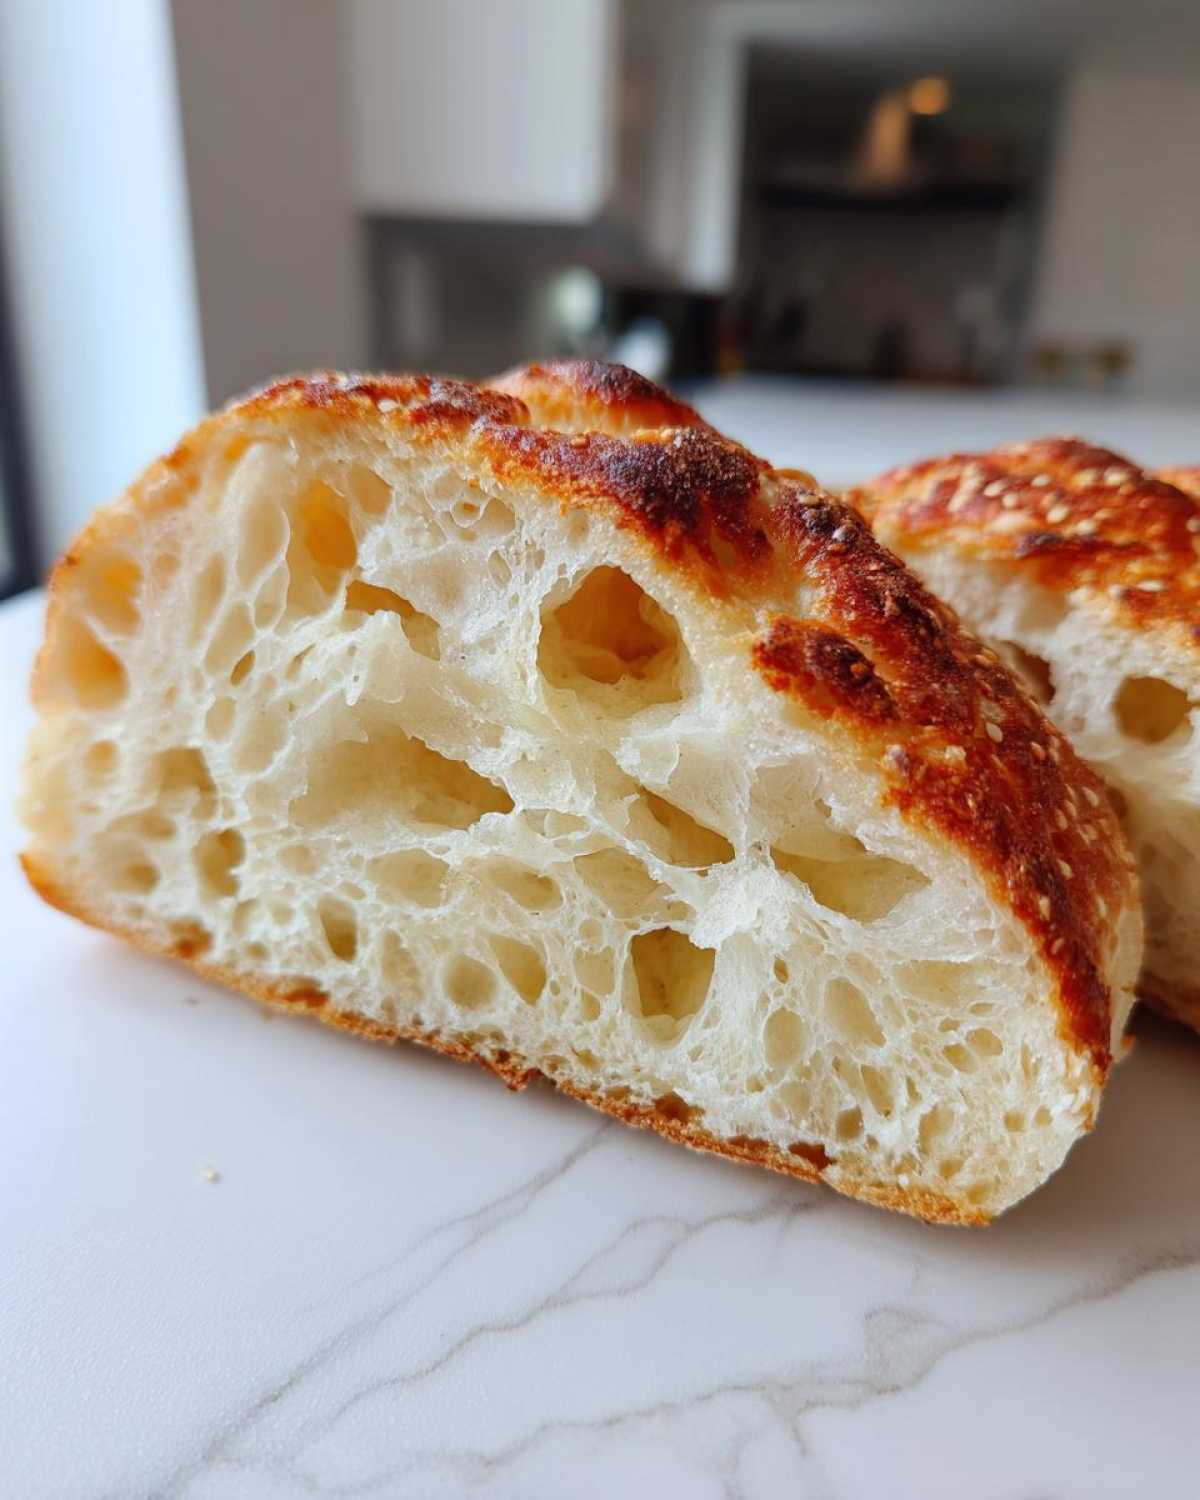
Once they’re deeply golden brown on the bottom, give them a gentle flip. The second side usually takes a little less time, maybe seven or eight minutes. This whole process is what keeps them soft inside while getting that gorgeous color. I even have an article on making stovetop naan bread if you want more griddle practice!
Tips for achieving golden brown stovetop english muffins
While I usually recommend cooking these completely dry, especially if you want the utmost authenticity, you can totally tweak the exterior! If you like a bit more crispness or a richer color right out of the gate, just lightly brush your griddle with a little melted butter right before you put the next batch of rounds down.
Don’t use too much, or it will start to burn before the muffin is cooked through. A very thin sheen of butter adds just that little bit of extra richness that makes these feel like a treat. It’s a super small change, but totally worth trying for your next batch of buttery english muffins!
Serving Suggestions for Your Homemade english muffins
All that work for those perfect crevices deserves the best serving method, you know? The absolute classic, of course, is slicing them in half—but please, use a fork to break them open, not a knife! I know it feels weird, but splitting them with a fork literally pulls apart those internal nooks, creating even more wonderful little pockets for that melting butter to soak right into.
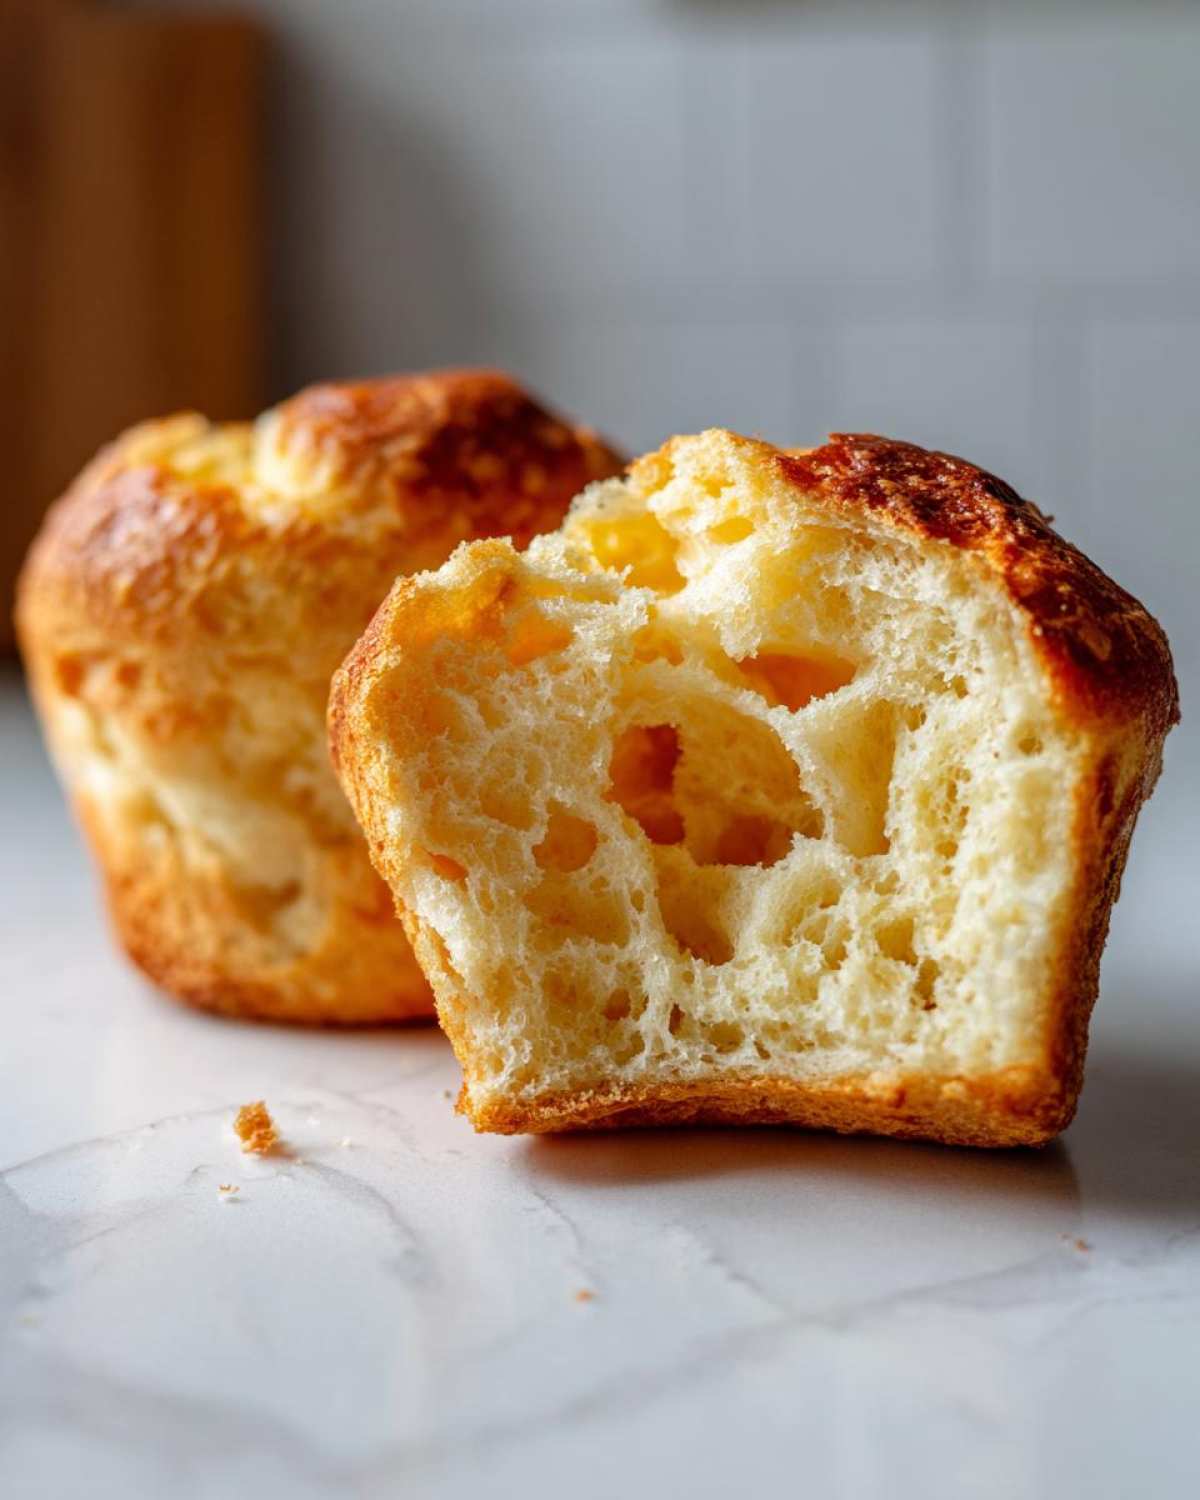
Once they are split and perfectly toasted so they are golden brown on the edges, you can keep it simple with some high-quality jam or honey. They are fantastic like that. But if you’re really looking to elevate your Sunday morning, these are the ultimate base for a proper breakfast sandwich. Forget fast-food versions; these homemade **english muffins** are ready for bacon, cheese, and a perfectly fried egg.
If you are making filling ahead of time, I actually have a great recipe for veggie-packed egg muffin cups that you can quickly sandwich inside these toasted beauties. It’s such an easy way to make a full meal!
Storage and Make Ahead english muffins Tips
Listen, I know once you taste these fresh off the griddle, you’ll want to eat all ten at once! But the great news is these are fantastic for your freezer friendly breakfast rotation. You just have to be patient for one small step first.
You must let the **english muffins** cool down completely on a wire rack before you bag them up. If you trap any steam, you’re asking for sogginess, and we worked too hard for soggy muffins! Once they are totally cool, zip them into an airtight freezer bag.
They keep beautifully for nearly three months this way. When you are ready to eat one, just pull it out and pop it straight into the toaster! Seriously, no need to thaw. If you want more brilliant ideas for prepping ahead of time, check out my guide on make ahead breakfast ideas—it’s a lifesaver on busy weekdays!
Troubleshooting Common english muffins Issues
Don’t worry if your first batch doesn’t look exactly like the magazine picture—it happens to everyone! The most common issue I hear about is density; if your english muffins turn out heavy and flat, you probably either over-kneaded the dough, which builds too much gluten, or you didn’t let that first rise happen long enough. Give that yeast time to work its magic!
If your muffins are pale and look kind of sad after cooking, that’s an easy fix: your griddle wasn’t hot enough. Medium-low is the goal, but if they aren’t getting that beautiful tan color after 5 minutes, crank the heat up just a hair. Remember, we are slow-cooking them to protect those precious airy interiors!
Frequently Asked Questions About english muffins
I get asked the same things all the time about making **english muffins**, so I figured I’d just clear up a few common worries right here! These little bread rounds seem intimidating, but once you know the tricks, they are total cake from here on out.
Can I use bread flour instead of all-purpose flour?
You certainly can! Since bread flour has more protein, you will get a slightly chewier result, which some people actually prefer for that classic, hearty bite. Just be aware that you might need to add a tiny splash more milk because the bread flour will absorb liquid faster. For this **easy english muffin recipe**, I stick to AP flour, but bread flour works great if you like a firmer texture.
Can I skip the yeast and use baking powder instead?
Oh, you want a quick english muffin recipe, I get it! You can absolutely use baking powder instead of yeast, but it changes the whole game. If you use baking powder, you get a texture closer to a biscuit or a soda bread muffin—it will be fluffier, but you lose that distinct, slightly tangy flavor that yeast gives us. It also skips the whole kneading and rising time, which is nice in a pinch, but it won’t give you those deep **nooks and crannies** that the yeast dough creates.
What is the exact best temperature for the milk?
This is probably the most crucial step for success! You absolutely need that milk to be between 105°F and 115°F. If it’s colder, the yeast just sort of naps and won’t bubble up properly, leading to dense muffins. If it’s too hot—over 120°F—you actually kill the yeast instantly! Trust your thermometer or use the “warm bath water” test. A happy yeast means fluffy english muffins!
If you want to check out a few faster methods for weeknights, I wrote about my go-to quick english muffin recipe—though this one is still my absolute favorite for weekends!
Estimated Nutrition Facts for Homemade english muffins
Now, I’m no nutritionist, so please take these numbers with a grain of salt—or maybe I should say, a dusting of cornmeal! These estimates are based on the ingredients list for this homemade english muffins recipe and standard component values. Since you skip out on all the weird stabilizers and preservatives found in store-bought versions, these are definitely healthier, even if you slather them thick when toasting!
This data is just a guideline to help you plan your day, especially if you’re building out a killer **breakfast sandwiches bread** menu for the week. I used the yield of 10 muffins for these calculations.
- Serving Size: 1 muffin
- Calories: Approximately 180
- Fat: About 4g (only 2g saturated—thanks, butter!)
- Carbohydrates: Around 32g
- Protein: Roughly 6g
- Sugar: Just 2g (most from the milk and a touch of added sugar)
- Sodium: About 250mg (you can cut this back if you use lower sodium salt, too!)
See? Pretty good for such a satisfying, griddle cooked bread treat! Enjoy knowing exactly what you’re putting into your body when you make up a big batch of these buttery english muffins.
PrintHomemade English Muffins with Perfect Nooks and Crannies
Make classic, bakery-style English muffins at home using this straightforward recipe, cooked entirely on the stovetop for a soft interior and slightly crisp exterior.
- Prep Time: 45 min
- Cook Time: 20 min
- Total Time: 1 hour 45 min
- Yield: 10 muffins
- Category: Breakfast
- Method: Stovetop Griddle Cooking
- Cuisine: American
- Diet: Vegetarian
Ingredients
- 3 cups all-purpose flour
- 1 tablespoon sugar
- 1 teaspoon salt
- 1 packet active dry yeast (2 1/4 teaspoons)
- 1 1/4 cups warm milk (about 105-115°F)
- 1/4 cup melted butter, plus more for griddle
- 1 teaspoon baking soda
- Extra flour or cornmeal for dusting
Instructions
- In a large bowl, whisk together the flour, sugar, salt, and yeast.
- Warm the milk until it is between 105 and 115 degrees Fahrenheit. Pour the warm milk and melted butter into the dry ingredients. Mix until a shaggy dough forms.
- Turn the dough onto a lightly floured surface. Knead for 5 to 7 minutes until the dough is smooth and elastic.
- Place the dough in a lightly oiled bowl, turning to coat. Cover the bowl and let it rise in a warm place for 1 to 1.5 hours, or until doubled in size.
- Gently punch down the risen dough. Mix the baking soda into the dough by folding it in a few times. Do not overmix.
- On a surface dusted with flour or cornmeal, roll the dough out to about 1/2 inch thickness.
- Use a 3-inch round cutter to cut out the muffins. Place the cut rounds on a baking sheet lined with parchment paper, lightly dusted with cornmeal.
- Cover the cut muffins loosely and let them rest for 30 minutes.
- Heat a dry, heavy-bottomed skillet or griddle over medium-low heat.
- Cook the muffins for 8 to 10 minutes per side. You are looking for a golden brown color. Do not press down on them while cooking; this prevents the nooks and crannies from forming.
- Remove the muffins from the griddle and let them cool completely on a wire rack.
- To serve, split them open using a fork, rather than a knife, to maximize the nooks and crannies. Toast before serving.
Notes
- For the best texture, split the cooled muffins using a fork instead of slicing with a knife. This action pulls apart the interior structure, creating more pockets for butter.
- If you prefer a slightly crispier exterior, lightly brush the griddle with melted butter before cooking each batch.
- These muffins freeze well. Cool them completely, place them in a freezer-safe bag, and freeze for up to three months. Toast directly from frozen.
Nutrition
- Serving Size: 1 muffin
- Calories: 180
- Sugar: 2
- Sodium: 250
- Fat: 4
- Saturated Fat: 2
- Unsaturated Fat: 2
- Trans Fat: 0
- Carbohydrates: 32
- Fiber: 1
- Protein: 6
- Cholesterol: 15
