

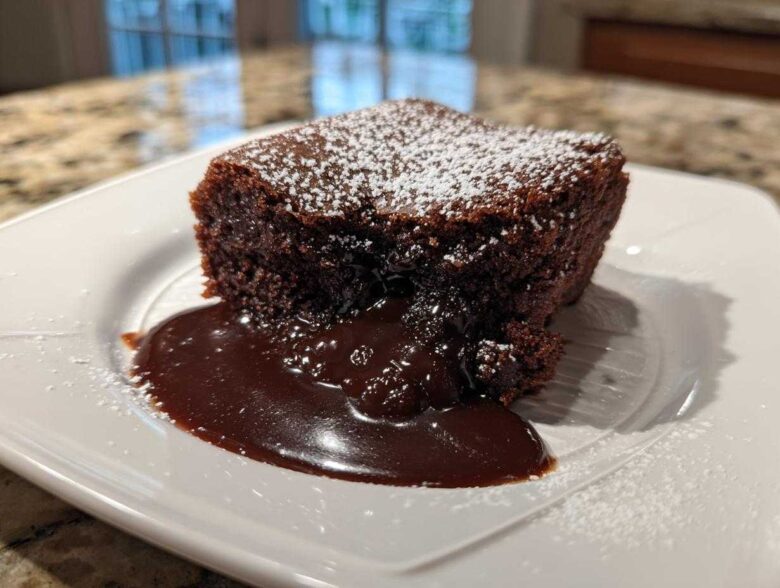
Oh, my goodness, are you ready for some serious comfort? When the weather turns chilly, or honestly, whenever I just need a hug in a bowl, nothing—and I mean *nothing*—beats digging into a truly decadent, slightly messy, warm chocolate dessert. Forget fancy layered cakes; we are talking about the real deal here. This Old-Fashioned Self-Saucing chocolate cobbler is, without question, my go-to when I need something impressive but don’t want to spend hours fussing in the kitchen. It’s classic Southern baking magic, where you dump everything in one pan and walk away. Trust me, the results are pure gooey fudge perfection, and it always reminds me of my Aunt Clara’s weekend gatherings.
Why This Old-Fashioned Chocolate Cobbler Recipe Works (The Gooey Secret)
So, what’s the big deal about this chocolate cobbler? The magic, honey, is that it does all the hard work for you! This is a true Southern Chocolate Dessert because it’s resourceful. You mix all the ingredients together, pour them into the pan, and then you—get this—pour BOILING water right over the top and *don’t stir it*. As it bakes, gravity and chemistry separate everything perfectly. The heavier sugary cocoa mix sinks to the bottom while the lighter batter rises up!
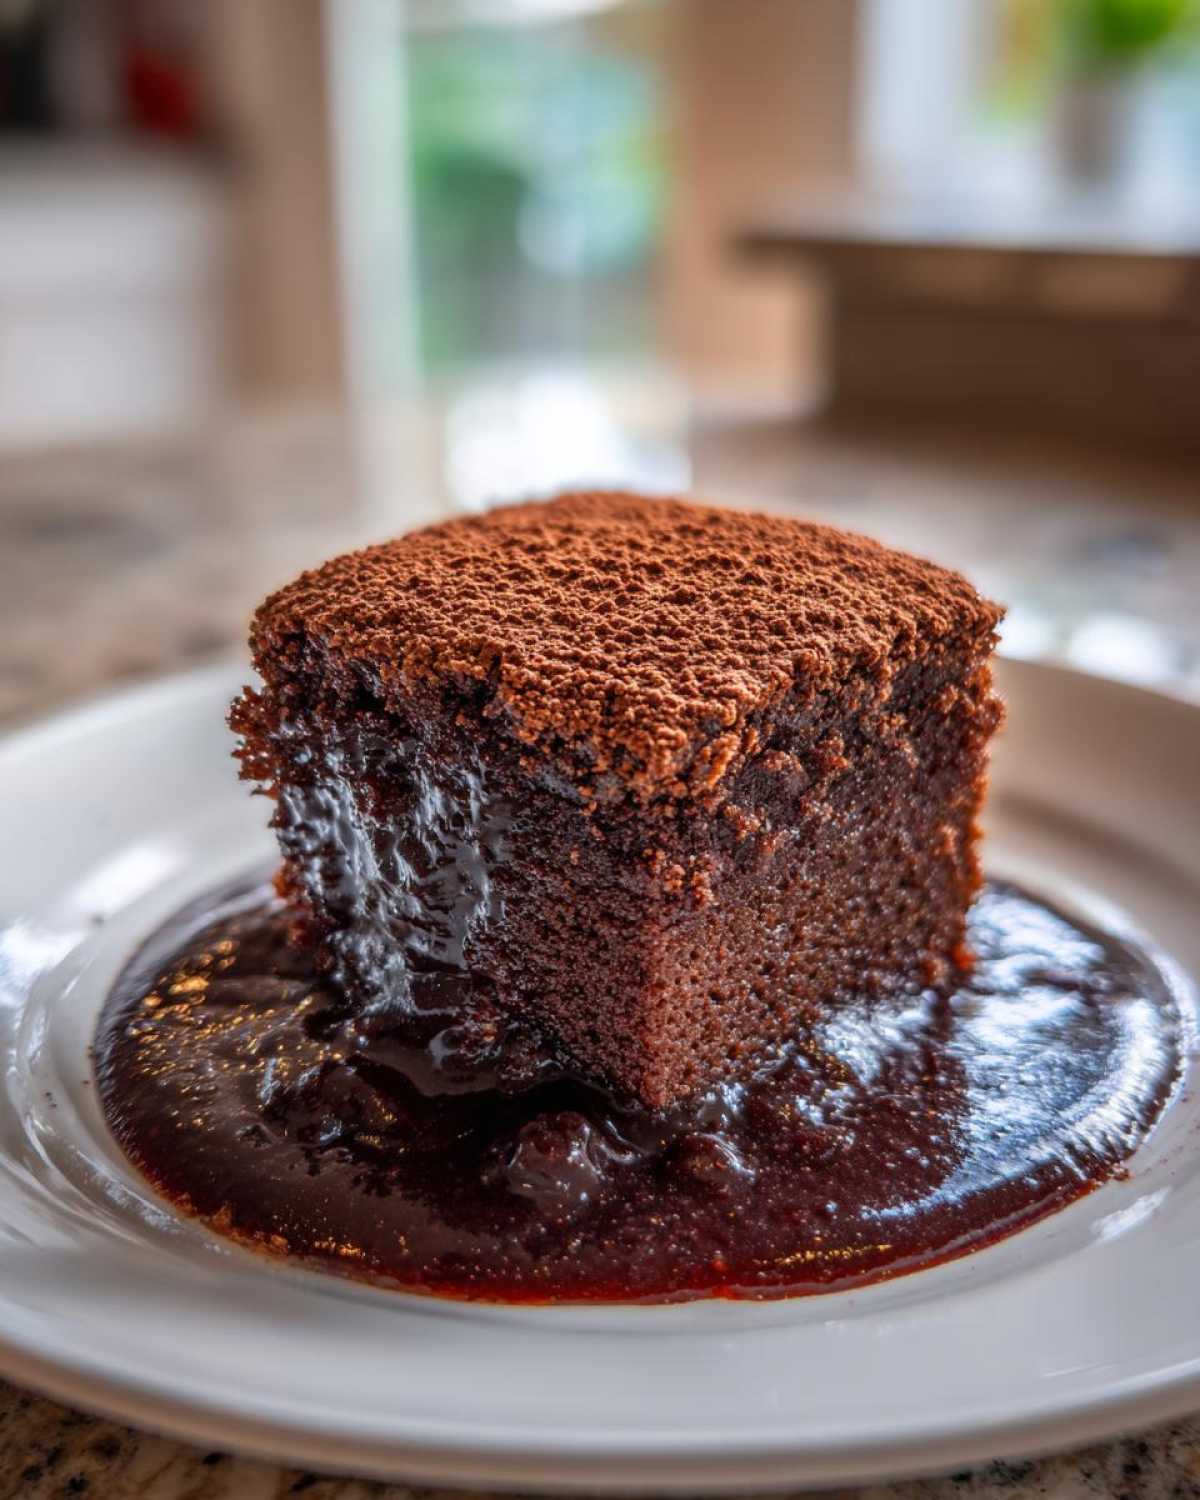
When it comes out of the oven, you have this gorgeous, slightly firm, cakey top layer that’s just begging for a scoop of ice cream, sitting right above a pool of rich, warm, molten fudge sauce. It’s the easiest way to create a two-texture wonder! People think this takes hours, but it’s one of the simplest bakes I know.
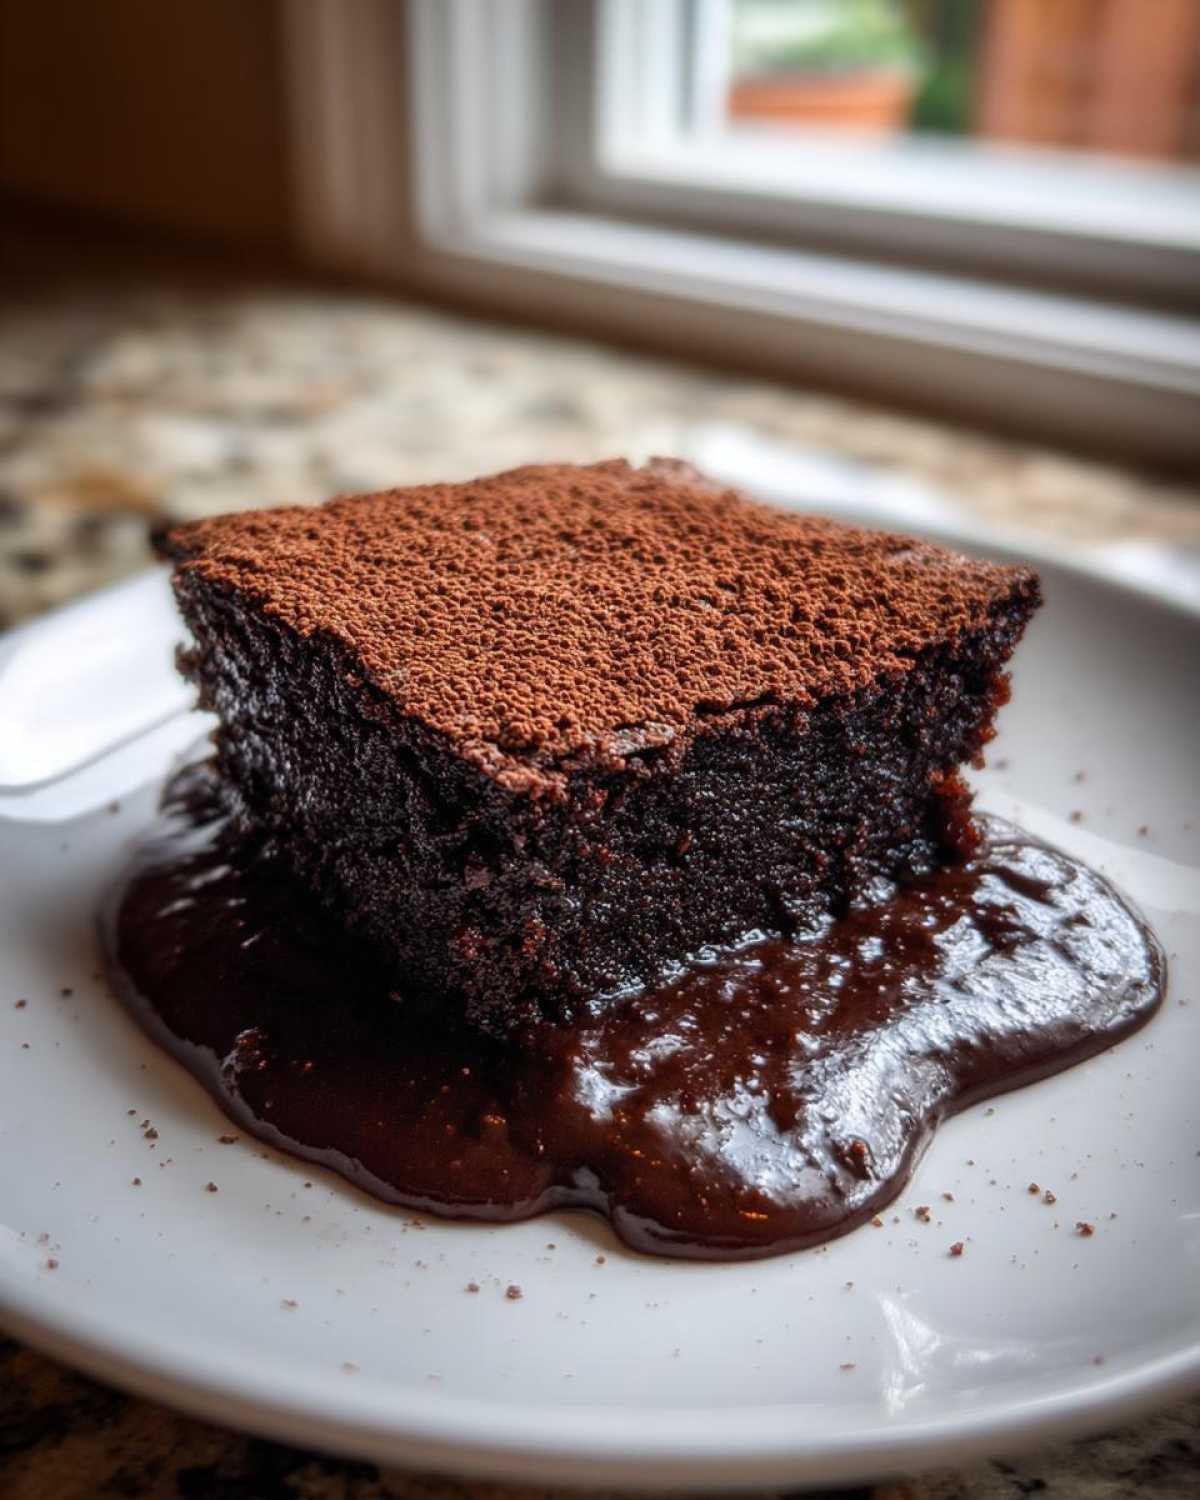
Key Attributes of This Fudgy Chocolate Cobbler
- It’s incredibly Easy—truly a dump-and-go recipe!
- It’s authentically Self-Saucing; the fudge sauce magically forms itself at the bottom.
- You get that perfect, slightly crisp Cakey Top layer every single time.
- It must, must, *must* be served Warm for the absolute best gooey experience.
Gathering Ingredients for Your Chocolate Cobbler
This is the best part because honestly, the ingredient list is mostly pantry staples! You probably have most of this right now. But listen closely, because the technique relies on exact measurement, especially when it comes to the water. Don’t skimp on the quality of your cocoa powder, either. If you use that cheap, dusty stuff, your fudgy chocolate cobbler won’t have that deep, dark, decadent flavor we’re aiming for. Think rich, like you’d use in a homemade chocolate fudge!
The absolute non-negotiable ingredient here is the boiling water. It’s what separates the layers! If you accidentally use warm water or tap water, the sauce part just mixes into the batter, and you end up with a flat, muddy cake. We want drama in this pan, not mud. So, make sure your kettle is ready to whistle!
Ingredient Clarity and Preparation Notes
It really helps to lay everything out so you don’t confuse the sugar and cocoa meant for the batter versus the topping. They look similar, but they play very different roles in this easy chocolate dessert.
- Flour Mix: You’ll need 1 1/2 cups all-purpose flour, 1 cup granulated sugar, 1/2 cup unsweetened cocoa powder, 1 teaspoon baking soda, and 1/2 teaspoon salt for the base batter.
- Wet Ingredients: Whisk together 1 cup cold water, 1/2 cup milk, 1/4 cup vegetable oil, and 1 teaspoon vanilla extract.
- Top Layer Dry Mix: Keep these separate! You need 1 cup granulated sugar and 1/4 cup unsweetened cocoa powder for sprinkling on top.
- The Magic Pour: You absolutely need 1 1/2 cups of BOILING water to pour over everything when assembling.
Quick tip: If you want to deepen that chocolate flavor even more—and I highly recommend it—you can swap that 1 cup of cold water in the wet mix for 1 cup of cold brewed coffee. It won’t taste like coffee, I promise; it just makes the chocolate taste intensely chocolatey, which is perfect for a decadent chocolate treat.
Step-by-Step Instructions for the Easiest Chocolate Cobbler
Okay, let’s get baking! You’ve got your ingredients lined up—and please tell me that water is boiling! This homemade cobbler recipe is so straightforward that I feel like I’m barely even making a dessert, more like assembling a chocolate science project. Preheat your oven to 350°F and make sure that 8×8 baking dish is nice and lightly greased, you don’t want anything sticking later!
Mixing the Batter for the Molten Chocolate Cobbler
First things first: we dump all the dry base ingredients—that’s the flour, 1 cup of sugar, 1/2 cup of cocoa, baking soda, and salt—into a big bowl and give them a good whisk. In another bowl, mix your wet stuff: cold water (or coffee!), milk, oil, and vanilla. Now, pour the wet into the dry. This is my most important warning for any good warm chocolate cake: Mix it until it’s *just* combined. Seriously, stop stirring when you see the last bit of flour disappear. If you beat this batter like you’re whipping cream, you develop gluten, and guess what? No cakey top, just a dense brick. We want a light top sitting over that sauce!
Creating the Self-Saucing Layers of the Chocolate Cobbler
Once the batter is smooth enough, pour it right into your prepared dish. It’s going to look thin, but hang in there! Next, take those reserved sugar and cocoa topping ingredients and sprinkle them evenly over the batter. Don’t press it down, just let it sit there like a cozy blanket. Now comes the moment of truth for our Self Saucing Dessert. Very slowly, pour that 1 1/2 cups of actual BOILING water right over the top, trying to cover all the dry sprinkles. Don’t stir it! I repeat, do not stir it! The water sinks, dissolves the sugar and cocoa underneath, and that’s how you get that incredible, luscious, gooey chocolate dessert layer on the bottom while the top bakes into cake. Pop it in the oven for about 30 to 35 minutes until the top looks set.
Expert Tips for the Best Chocolate Cobbler Results
Now that you know the basic steps, let me give you the little tricks I’ve picked up over the years trying to achieve that perfect, messy, scoopable treat. When I first tried this amazing chocolate cobbler recipe, I pulled it out, and it looked great! But when I dug in, the sauce was thin—more like hot chocolate than thick fudge. I learned the hard way that timing is everything!
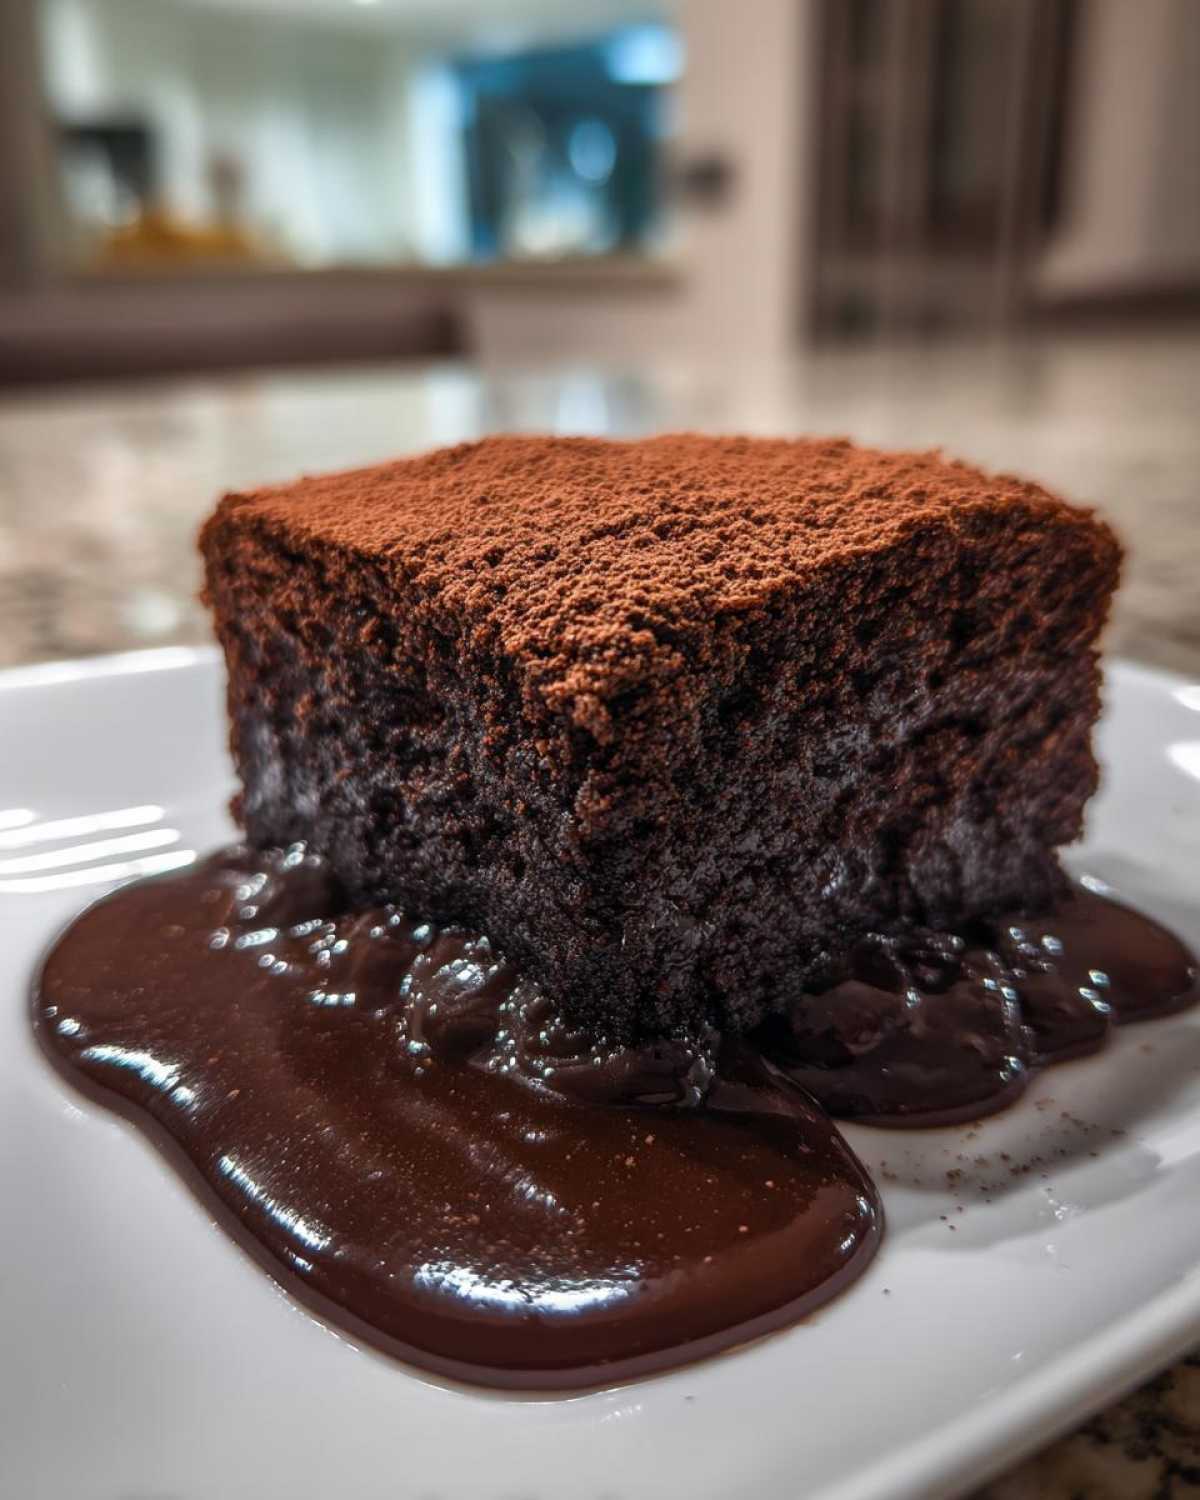
My biggest piece of advice for getting that beautiful, thick layer of sauce—that rich, molten chocolate cobbler experience—is this: Do *not* overbake it. If you wait until the top is dry all the way to the center, you’ve waited too long. The cake needs to be set, meaning it’s no longer actively jiggly, but the center should still look slightly wet under the surface. The residual heat will finish setting that sauce as it cools slightly. We are aiming for moist, not bone-dry cake sitting on top of pudding!
Baking Time Adjustments for Your Fudgy Chocolate Cobbler
The recipe calls for a standard 8×8 inch dish, which is great because it’s deep enough to let that sauce really form. But maybe your family is bigger than six people, or maybe you only have a 9×13 pan—we have to adjust! If you use a bigger, shallower dish, like a 9×13, you are spreading that batter super thin. This means it will cook much faster, probably closer to 25 minutes. You have to watch the edges, not the center.
Now, if you use an even *deeper* dish, like a square brownie pan or a small Dutch oven, that heat has a longer way to travel to the middle. For those deep vessels, you might need to bump that time up to 40 or even 45 minutes. Always use the visual cue: when the top layer looks like a set, matte cake, it’s done. Pop it in the oven, check it at the 25-minute mark, and adjust from there. Remember, using cold or room-temperature water in the batter keeps the process steady, but that final pour of boiling water is what starts the magic separation quickly. Remember what I said about my first attempt? It was under-baked, but you know what? It was still delicious, just messy! We learned, we adapted, and now we nail this easy chocolate dessert every time!
Serving Suggestions for Your Warm Chocolate Cake
Listen, you could eat this chocolate cobbler straight out of the pan with a spoon and I wouldn’t judge you. Honestly! But if you are feeling like you want to elevate this simple, comfort food dessert into a showstopper for guests (or just for yourself on a Tuesday night), the temperature and toppings are everything.
Because this dessert is so rich and fudgy underneath that cakey top, the absolute number one pairing you must try is something cold and creamy to balance that intense chocolate heat. We are talking about a massive scoop of good quality vanilla bean ice cream. The way the cold cream melts right into the hot fudge sauce? Oh, my goodness, that’s the definition of Chocolate Cobbler and Ice Cream perfection right there. That contrast is mandatory!
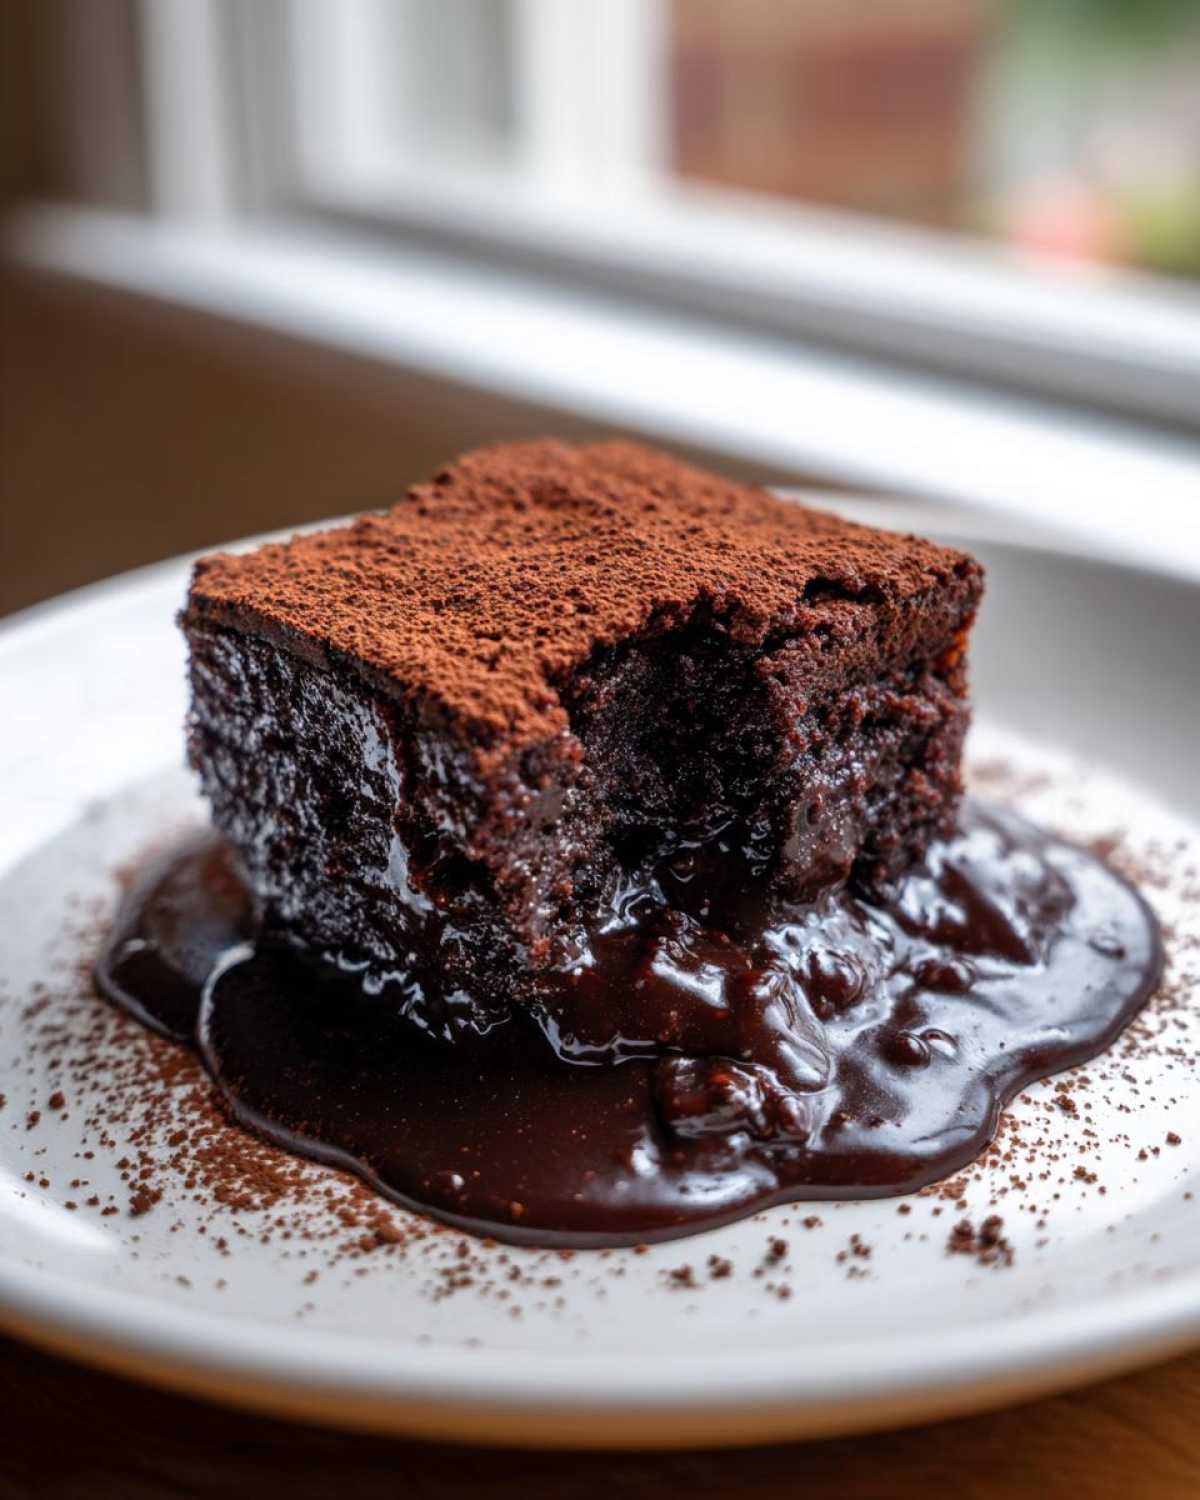
But if you’re feeling extra ambitious and want to bring a little something bright or crunchy to the party, I have a few favorite ways I dress mine up. Keep in mind, we don’t want to overshadow that incredible homemade sauce, just accent it!
- Whipped Cream with a Twist: Skip the plain whipped cream and whip yours with just a tiny dash of espresso powder or a splash of Kahlua. It picks up on the deep chocolate notes beautifully.
- Nuts for Texture: Toast some chopped pecans or walnuts. The crunch is such a lovely contrast to the soft cake and gooey sauce. A little sprinkle on top right before serving is all you need.
- A Little Salty Goodness: Try a sprinkle of flaky sea salt right over the top after you add the ice cream. It sounds weird, I know, but salt makes chocolate taste even more intensely chocolatey. It’s a game-changer for any deep decadent chocolate treat.
- Caramel Drizzle: If serving the fudgy chocolate cobbler warm, a drizzle of good quality caramel sauce (maybe homemade, maybe store-bought if you’re tired!) makes it taste almost like a super-rich brownie a la mode.
Whatever you choose, make sure you bring it to the table while it’s still warm enough that the sauce is perfectly liquid. That gooey factor is non-negotiable for this specific dessert with fudge sauce!
Storing and Reheating Your Homemade Cobbler Recipe
Okay, let’s talk about leftovers, because while this is truly best eaten hot on the day you make it—when that dessert with fudge sauce is at peak gooey glory—sometimes you just can’t finish the whole 8×8 pan in one sitting. Since this chocolate cobbler relies on that fresh boiling water to create the sauce, the consistency changes a bit overnight; the sauce gets thicker and almost pudding-like, and the cake top firms up more. That’s okay! It’s still delicious, but we need to bring it back to life properly.
The best way to store any leftovers is sealed tight in an airtight container at room temperature for maybe a day, or you can pop it in the fridge for up to three days. I prefer room temp storage for the first 24 hours because the texture stays a little closer to fresh, which is important for this old fashioned cobbler.
Now for reheating, this is crucial. You can’t just blast the whole thing in the microwave. That will turn the cake top into a rubbery mess! We need gentle heat to re-liquefy that fudge hiding underneath.
Reviving the Sauce in Your Baked Chocolate Pudding Cake
If you are only reheating a single serving—maybe you cut a square that’s looking a little firm—put that piece in a microwave-safe bowl. Then, here’s the trick: add just a tablespoon of water or milk right into the bowl *next* to the piece of cobbler, not on top of it. Cover it loosely with a paper towel or microwave-safe lid. Heat it on about 50% power for 30 seconds, check it, and repeat in 15-second bursts. That little bit of added moisture keeps the cake from drying out while the heat melts that thick sauce back into liquid gold.
If you are trying to reheat a larger portion, say half the pan, I actually recommend using the oven. Cover the dish tightly with foil—keep that moisture locked in!—and warm it at a low temperature, like 300°F, for about 10 to 15 minutes. Check the center to make sure it’s warmed through. This gentle heat ensures the cake stays tender while the sauce loosens up just enough. It won’t be quite as saucy as fresh from the oven, but it will still be an amazing gooey chocolate dessert experience. Don’t try to store it for too long, though; this simple chocolate bake really shines brightest the day it’s made!
Variations on the Classic Southern Chocolate Dessert
While this chocolate cobbler is perfection as written—after all, why mess with a true classic Southern baking masterpiece?—sometimes I just can’t resist tweaking things a little bit, just to keep things interesting. The beauty of this recipe is that the structure (the batter, the dry topping, and the boiling water) is so robust that it can handle a little extra personality without collapsing into a hot mess. We’re talking about enhancements, not total overhauls here!
My favorite way to switch things up is by playing with the chocolate intensity. If you find yourself staring into your pantry and realizing you have half a bag of chocolate chips staring back at you—don’t hesitate! Toss about half a cup of semi-sweet or dark chocolate chips right into the batter when you mix the wet into the dry ingredients. They melt slightly while baking, resulting in extra pockets of unbelievable molten chocolate right there in your cake layer. It just enhances that gooey chocolate dessert factor!
Another simple swap that adds a little warmth and complexity is exploring spices. This is a chocolate dessert, yes, but a tiny little nudge can make it so much deeper. I’m not talking about going full Mexican hot chocolate here, but try adding just a tiny pinch—maybe 1/8th of a teaspoon—of ground cinnamon to your base batter mix. It plays so nicely with the cocoa when it bakes. For the brave souls out there, a small, tiny pinch of cayenne pepper added right alongside the cinnamon gives you the most amazing little warmth on the finish that totally elevates this simple chocolate bake.
If you want to enhance the cakey top texture slightly, you can substitute the 1 cup of granulated sugar you use for the top sprinkle with a mix of 3/4 cup of light brown sugar and 1/4 cup of granulated sugar. The molasses in the brown sugar caramelizes just a bit differently, giving the top a chewier crust. Whatever you try, remember the purpose is to get that amazing contrast between the cake and the sauce. It’s such a wonderfully adaptable, easy chocolate dessert!
Frequently Asked Questions About Making Chocolate Cobbler
I know when you see that magic self-saucing thing happen, your brain starts going a mile a minute with questions! This easy chocolate dessert is so unique that readers often want to double-check their steps. Here are the things I get asked most often when people are diving into making their first batch of this gooey chocolate dessert.
Can I make this chocolate cobbler ahead of time?
The short answer is yes, but you have to be strategic! For the absolute best texture, where the sauce is perfectly liquid and the cake is light, you should bake it right before you plan on eating it. This homemade cobbler recipe is honestly best eaten the day it’s made. However, if you want to prep, you can mix up your batter and your topping dry mix completely and keep them separated in the fridge. You can even pour the batter into the greased dish and cover it. Just don’t add the boiling water until you are ready to pop it straight into the preheated oven. If you add the water too early, it starts working, and the texture gets weird when you store it.
What is the difference between this and a baked chocolate pudding cake?
That’s a great question because they are cousins! A traditional baked chocolate pudding cake usually has the batter and the liquid poured together, and it bakes up into one uniform, dense, pudding-like dessert. This specific classic chocolate cobbler recipe is different because of that crucial extra step: sprinkling the dry sugar/cocoa mix on top and pouring the boiling water over *that*. That dry layer mixed with the hot water creates a distinct, separate layer that bakes into the crumbly cake top, leaving the heavier, wetter layer underneath to become that separate pool of fudge sauce you want. It’s the deliberate layering that makes it self-saucing rather than just pudding-like!
Why didn’t my sauce form properly?
This is the most common heartache for new cobbler makers! If your molten chocolate cobbler turned out more like a uniform, slightly wet cake, it almost always comes down to one of two things. First, did you use boiling water? If you used warm water, it won’t be hot enough to shock the layers apart properly. Second, and this is huge, did you stir after pouring the water? If you stirred, even a little bit, you mixed the sugar topping right into the batter base before it had a chance to separate. Remember, no stirring! Just let the oven do its work!
Can I use cold brew coffee instead of water in the wet mix?
Absolutely, yes! I mentioned this in the tips, and I love when people try it. Cold brewed coffee—not hot, but cold—is a fantastic swap for that cup of cold water in the batter mix. It won’t make the dessert taste like coffee at all. Instead, the acidity and deep roast flavor of the coffee just intensify the cocoa powder, giving your fudgy chocolate cobbler an even richer, deeper, more complex chocolate flavor. It’s a great way to make this easy chocolate dessert taste like it took way more effort than it did!
What kind of cocoa powder works best?
Use the best quality, unsweetened cocoa powder you can find, especially for the dry topping. Dutch-processed cocoa tends to give a smoother, darker flavor, which is lovely for this rich dessert. If you only have natural unsweetened cocoa (like Hershey’s standard), it will still work great, especially since the recipe uses baking soda, which reacts perfectly with the acidity in natural cocoa. Just know that Dutch-processed generally gives a slightly milder, deeper chocolate note.
Nutritional Snapshot of This Comfort Food Dessert
Now, I know what you’re thinking when you look at that glorious, gooey chocolate swimming in the bottom of the pan: “Is this going to bankrupt my diet?” Well, my dear, this is a comfort food dessert, and those are never meant to be low-calorie, bless their hearts! But I always like to give you an idea of what you’re getting into so you can serve it up without any guesswork. This nutritional breakdown is based on dividing the entire recipe into 6 hearty servings, as outlined in our instructions.
Keep in mind, these are just estimates based on standard ingredient amounts. If you sneak an extra spoonful of sugar on top or use a different oil, things might shift slightly! But here is the general picture for one generous serving of our heavenly chocolate cobbler, especially before you load it up with, say, three extra scoops of ice cream!
For one serving, you’re looking at roughly 350 calories. That sugar content is definitely up there at 45 grams—remember, that’s the sugar from the batter AND the gorgeous topping that turns into sauce! We’re sitting at about 12 grams of total fat, with only about 3 grams coming from saturated fats, which is pretty good for something this decadent. You get about 60 grams of carbohydrates and a respectable 3 grams of fiber to help balance it out. Remember, this is meant to be a treat, the kind of Southern chocolate dessert you make for special Sunday dinners, not an everyday snack. Enjoy every single molten spoonful!
PrintOld-Fashioned Self-Saucing Chocolate Cobbler
Make this easy, old-fashioned chocolate cobbler that creates its own gooey fudge sauce while baking, resulting in a cakey top and a molten bottom layer.
- Prep Time: 10 min
- Cook Time: 35 min
- Total Time: 45 min
- Yield: 6 servings
- Category: Dessert
- Method: Baking
- Cuisine: American
- Diet: Vegetarian
Ingredients
- 1 1/2 cups all-purpose flour
- 1 cup granulated sugar
- 1/2 cup unsweetened cocoa powder
- 1 teaspoon baking soda
- 1/2 teaspoon salt
- 1 cup cold water
- 1/2 cup milk
- 1/4 cup vegetable oil
- 1 teaspoon vanilla extract
- 1 cup granulated sugar (for topping)
- 1/4 cup unsweetened cocoa powder (for topping)
- 1 1/2 cups boiling water (for pouring over top)
Instructions
- Preheat your oven to 350 degrees Fahrenheit (175 degrees Celsius). Lightly grease an 8×8 inch baking dish.
- In a large bowl, whisk together the flour, 1 cup sugar, 1/2 cup cocoa powder, baking soda, and salt.
- In a separate bowl, mix the cold water, milk, vegetable oil, and vanilla extract.
- Pour the wet ingredients into the dry ingredients and mix until just combined. Do not overmix. Pour this batter into the prepared baking dish.
- In a small bowl, mix the remaining 1 cup sugar and 1/4 cup cocoa powder for the topping. Sprinkle this dry mixture evenly over the batter in the dish.
- Carefully pour 1 1/2 cups of boiling water over the top of the sugar and cocoa mixture. Do not stir.
- Bake for 30 to 35 minutes, or until the top appears set and cake-like. A fudgy sauce will form at the bottom of the dish.
- Let the cobbler cool slightly before serving warm, preferably with vanilla ice cream.
Notes
- The boiling water creates the self-saucing effect; pour it slowly and evenly over the top layer.
- For a richer flavor, you can substitute the cold water with cold brewed coffee.
- This dessert is best eaten the day it is made for the best sauce consistency.
Nutrition
- Serving Size: 1 serving
- Calories: 350
- Sugar: 45
- Sodium: 250
- Fat: 12
- Saturated Fat: 3
- Unsaturated Fat: 9
- Trans Fat: 0
- Carbohydrates: 60
- Fiber: 3
- Protein: 4
- Cholesterol: 5
