

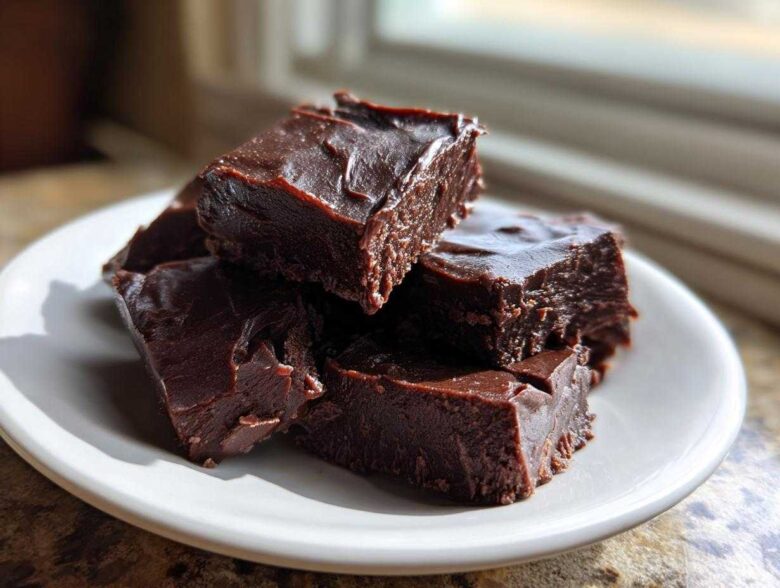
Look, I get it. You see those gorgeous, ultra-smooth blocks of chocolate candy in the store, and you think, “That is the best fudge ever, but I’ll never make it at home.” I used to think that too! Every recipe I tried before this one ended in a grainy mess, or I ended up sweating next to a candy thermometer wishing I’d just bought the stuff.
Well, toss out those worries right now. This homemade chocolate **fudge** recipe is my absolute masterpiece because it’s shockingly easy. Seriously, after years of failed attempts with tricky sugar work, I finally perfected this foolproof fudge recipe. We use sweetened condensed milk, so you’ll never need to worry about that tricky temperature gauge again. You get decadent, melt-in-your-mouth goodness in under 15 minutes of active cook time. If you want to see how simple the absolute easiest versions are out there, check out my easy 3-ingredient fudge recipe! Trust me, once you try this simple sweet treat, you won’t buy it from anywhere else!
Why This Easy Fudge Recipe is Your New Go-To
What’s not to love about this batch? It’s the definition of a win-win situation in the kitchen, especially when you need a stunning, rich dessert in a hurry. Forget the stress of traditional candy making!
- It produces undeniably **creamy fudge** that ruins all other versions for you.
- It’s the ultimate **No Candy Thermometer Fudge**—seriously, just keep an eye on the stove!
- You get incredible results, which is why this pops up often when people search for simple sweet treats.
Achieving Perfect Creamy Fudge Texture
The magic here isn’t luck; it’s science made easy. Because we rely on the already-sweetened condensed milk, we skip the whole ordeal of boiling sugar crystals to a precise stage. The high concentration of milk solids naturally stabilizes everything for you. This means you get that beautiful, smooth, melt-in-your-mouth texture every single time without any annoying graininess getting in the way. It’s just pure, decadent chocolate bliss!
Quick Dessert Treats for Any Occasion
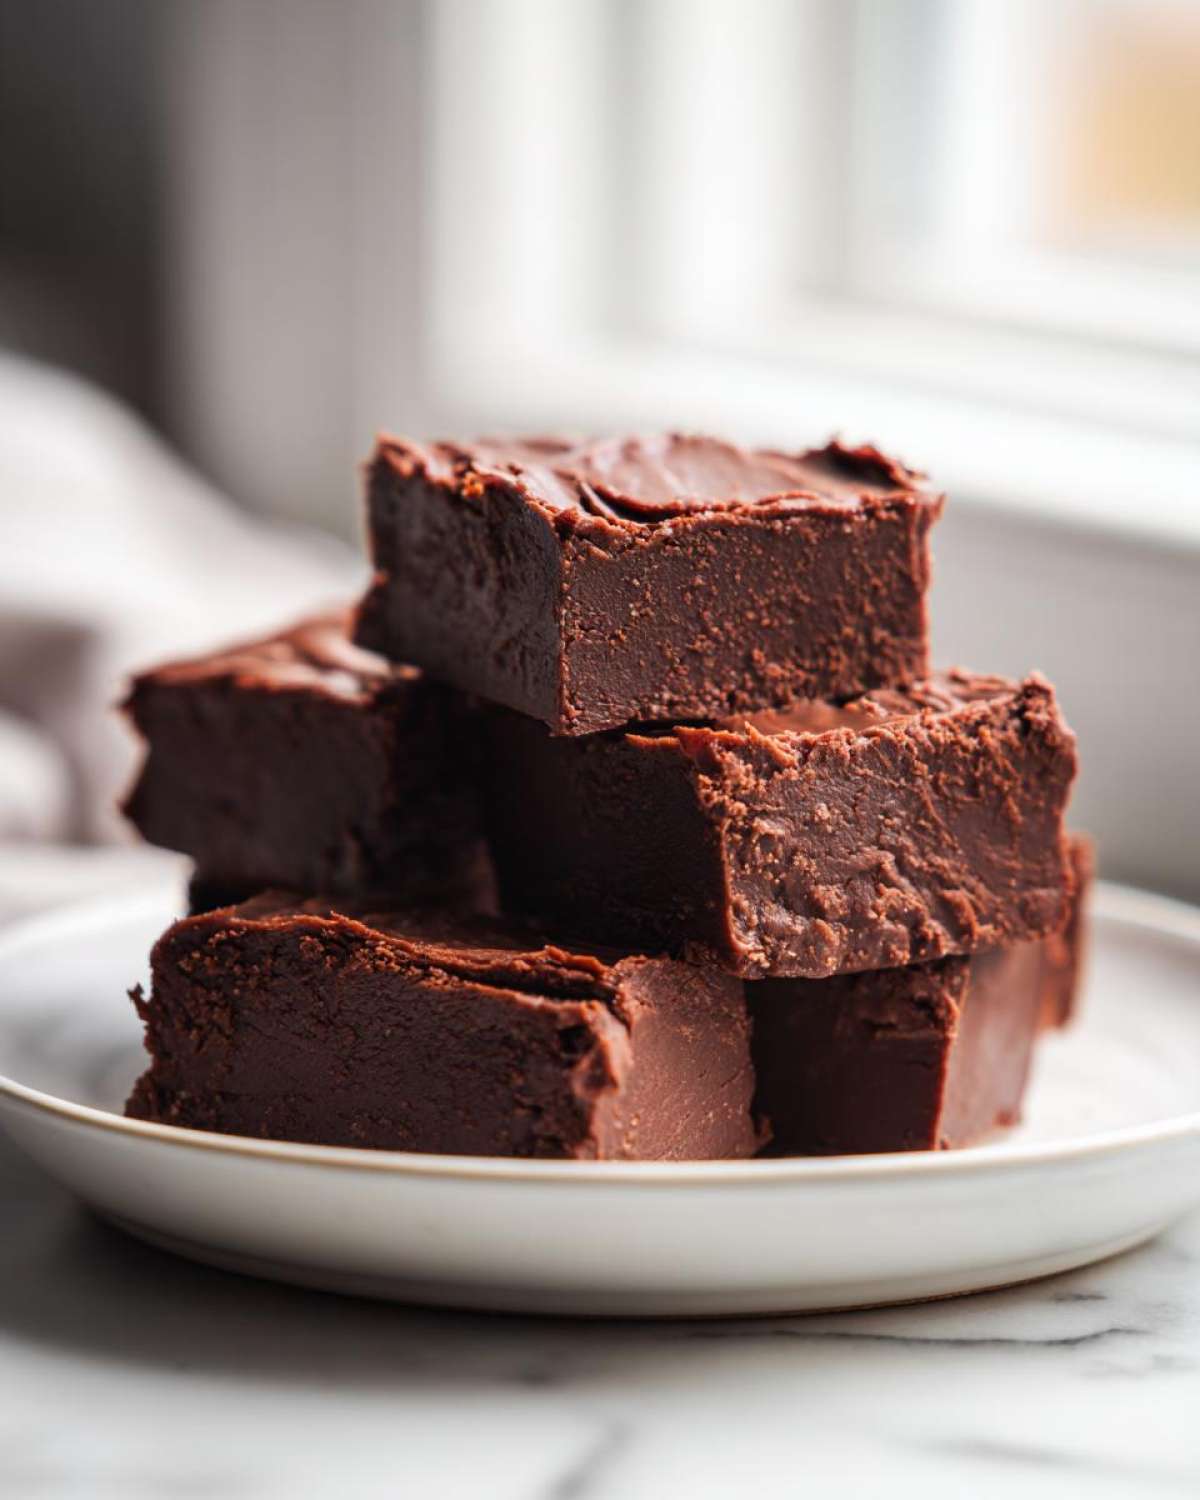
If you’re staring down a sudden craving or realizing you forgot to bake for tomorrow’s potluck, this **fudge** saves the day. We’re talking about 5 minutes of active cooking time on the stovetop! After that short stint, it just needs a little chill time in the fridge. It easily qualifies as one of the best **quick dessert treats** you can whip up before bed and have ready to serve the next morning.
Ingredients Needed for the Best Chocolate Fudge
You won’t believe how few things you need to grab from the pantry for this amazing batch of **fudge**! I always keep these basics stocked now. You absolutely must measure everything accurately, especially that condensed milk, because that’s our stabilizer here. Don’t start prepping anything else until you’ve checked that you have these items ready to go.
For the next level of flavor, take a look at my fudgy date brownies recipe next time you want a different twist!
- One 14-ounce can of sweetened condensed milk—make sure it’s the sweetened kind!
- One 12-ounce package of semi-sweet chocolate chips.
- One tablespoon of unsalted butter, cut into small cubes.
- One teaspoon of pure vanilla extract.
- Half a cup of chopped nuts, if you’re feeling adventurous, but this is optional.
Step-by-Step Instructions for Homemade Fudge
This is where the magic happens, and honestly, the steps are so simple you’ll wonder why you ever feared making **fudge** before! First things first: prep your pan. You’ll want an 8×8 glass dish—line it with parchment paper so an overhang sticks out on two opposing sides. I like to grease the paper lightly with a little spray or butter under the hang-over parts so they don’t stick to the counter while we mix.
Now, grab a medium saucepan. Everything else is quick! If you’re worried about messing up your first try, check out my guide on no bake candy making for some extra confidence boosters.
Melting and Combining the Fudge Base
Keep your stovetop heat set to low—seriously, low heat is your best friend here! Combine the condensed milk, chocolate chips, and butter right in that pan. You must stir constantly until everything is melted down into this gorgeous, glossy pool. I can’t stress this enough: Do NOT let this mixture boil! If you see even one frantic bubble, pull the pan off the burner immediately. Boiling will ruin the smooth consistency we worked so hard for.
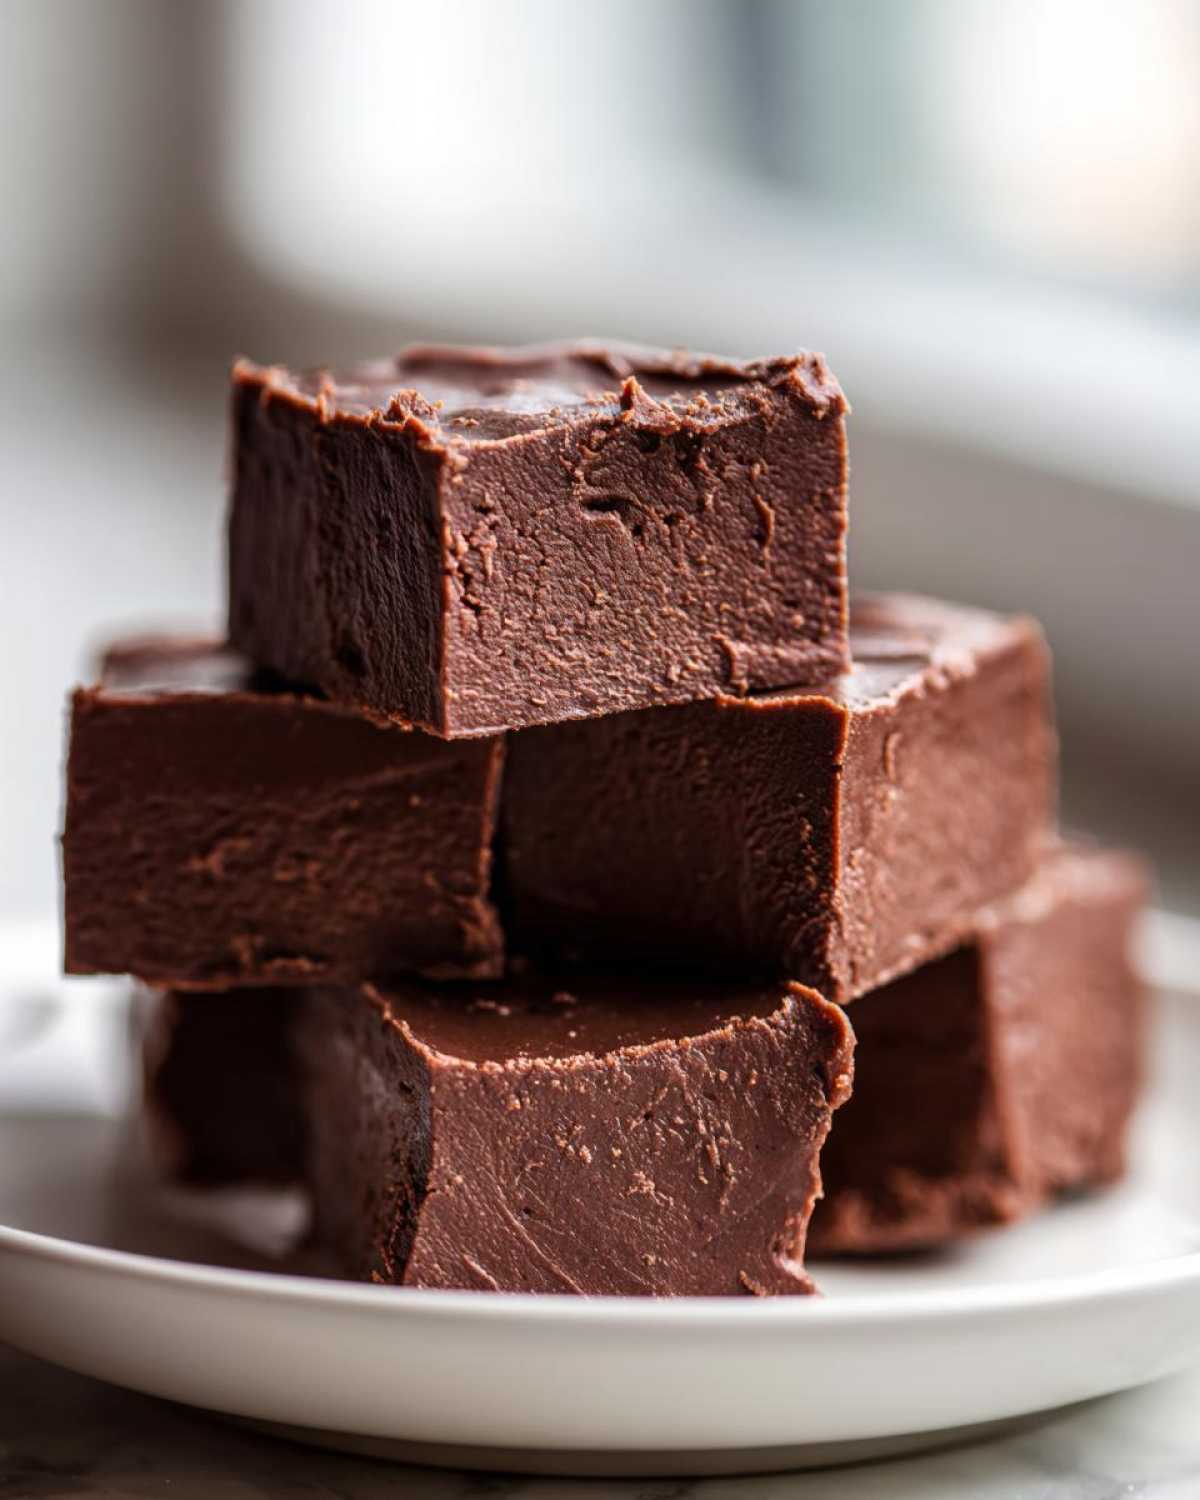
Once it’s silky smooth, take it totally off the heat. Stir in your vanilla extract and those optional chopped nuts if you’re adding them. Pour that beautiful, decadent **fudge** mixture into your prepared pan and spread it out evenly. Try not to mess with it too much once it’s in the pan!
Setting and Cutting Your Fudge Squares
Now comes the hardest part: waiting! You need to let the **fudge** firm up, which means popping that pan into the refrigerator for at least two hours. Don’t try to rush me by putting it in the freezer; that can sometimes make it too hard.
When it’s totally set and solid, use those parchment paper overhangs like handles to lift the entire block right out onto your cutting board. For the cleanest cuts, run a large, sharp knife under hot water and dry it off before each slice. This helps prevent sticking. Slice it into cute little 1-inch squares, and you’re done! Perfection!
Tips for Mastering Your Homemade Fudge
Once you nail this base recipe for chocolate **fudge**, you’re going to want to experiment. That’s the fun part about easy, no-bake candy! Since the recipe relies on a very stable base, it does a fantastic job taking on other mix-ins and flavor tweaks. Check out my fudgy chocolate cake recipe for inspiration if you ever want to move beyond simple squares!
Adapting Your Fudge for Different Flavors
Want something different from the standard chocolate **fudge**? You’ve got options right in the notes! If you’re dreaming of salty-sweet goodness, you can swap out the chocolate chips entirely for 1 cup of creamy peanut butter and slightly reduce the condensed milk. It becomes incredible **Peanut Butter Fudge**!
For a completely different mouthfeel—super light, almost whipped—fold in about a cup of marshmallow fluff right after you take the pan off the heat but before you stir in the vanilla. It makes for a fluffier texture rather than the dense **creamy fudge** we usually aim for. It’s a keeper!
Achieving Old Fashioned Fudge Richness
When a recipe is this simple, the quality of the chocolate really sings through. If you want to lean into that deep, classic flavor profile people associate with **Old Fashioned Fudge**, here’s my favorite little cheat: Don’t use *only* semi-sweet chips for this batch.
Try substituting half—about 6 ounces—of the semi-sweet chips with an equal amount of good quality, chopped bittersweet chocolate. You’ll notice immediately that the resulting **fudge** has a deeper, less sweet, almost sophisticated chocolate finish. It’s a step up for gifting!
Variations on Classic Chocolate Fudge
Okay, so we have our perfect, smooth, classic chocolate **fudge**, but sometimes you just need to go wild, right? That’s the beauty of using condensed milk as the base—it’s so sturdy that it holds up to all sorts of crunchy and flavorful additions. I’m always stuffing things into my batches. If you want to see something really fun that incorporates that richness, you absolutely have to check out my fudgy Oreo brownies recipe!
When you decide to start remixing your **fudge**, just remember that you need to add these extras right at the end, after you’ve melted everything but before you pour it into the pan. You want them suspended beautifully, not melted away!
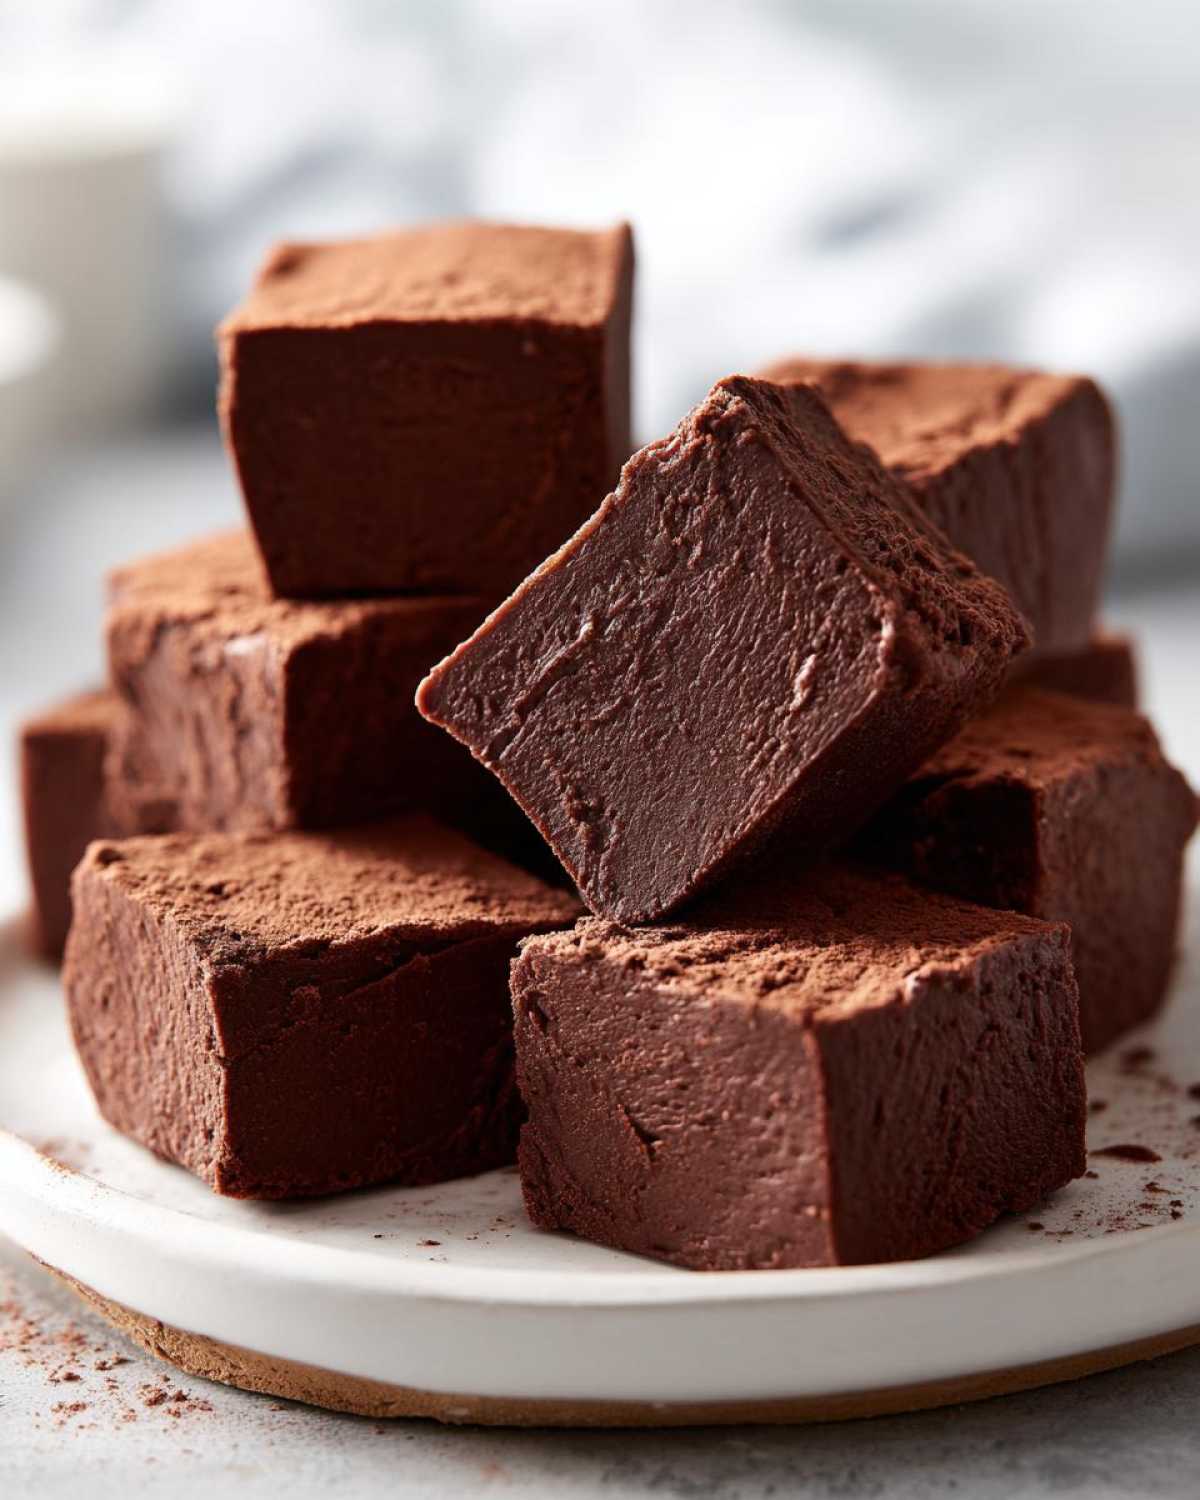
Here are a few of my favorite ways to elevate these **Homemade Fudge Recipes**:
- The Cookie Monster Fudge: Fold in about a cup of crushed Oreos. You get that dark, chocolatey crunch throughout every square. It’s fantastic!
- Peppermint Patties Inspired: Add about half a teaspoon of pure peppermint extract right along with the vanilla. If you want extra color and texture, scatter some crushed candy canes right on top before it chills. This is essential for my **Holiday Candy** platter.
- Salted Caramel Swirl: This one feels super fancy but is so easy. Dollop about 1/4 cup of thick, store-bought caramel sauce across the top of the still-warm fudge once it’s in the pan. Drag a butter knife lightly through the caramel a few times to create gorgeous swirls. A sprinkle of flaky sea salt seals the deal!
- The Classic Nut Lover’s Dream: If you skipped the nuts earlier, this is your chance! Walnuts are traditional, but pecans make my **fudge** absolutely incredible. Just make sure they are toasted lightly first to bring out their flavor.
Honestly, once you get the hang of this base, you can stop searching for a million different **Simple Sweet Treats** recipes and just customize this one endlessly. Enjoy the experimentation!
Making Fudge for Gifting and Storage
Once you’ve managed to cut this amazing **fudge** without eating half of it yourself, you’ll realize it’s the perfect thing for **fudge for gifting**. Because this recipe is thermostable (thanks to that condensed milk!), it holds up so much better than traditional cooked candy. You don’t have to worry about it melting into a puddle when it leaves your countertop. This makes it a total lifesaver when putting together **Holiday Candy** trays.
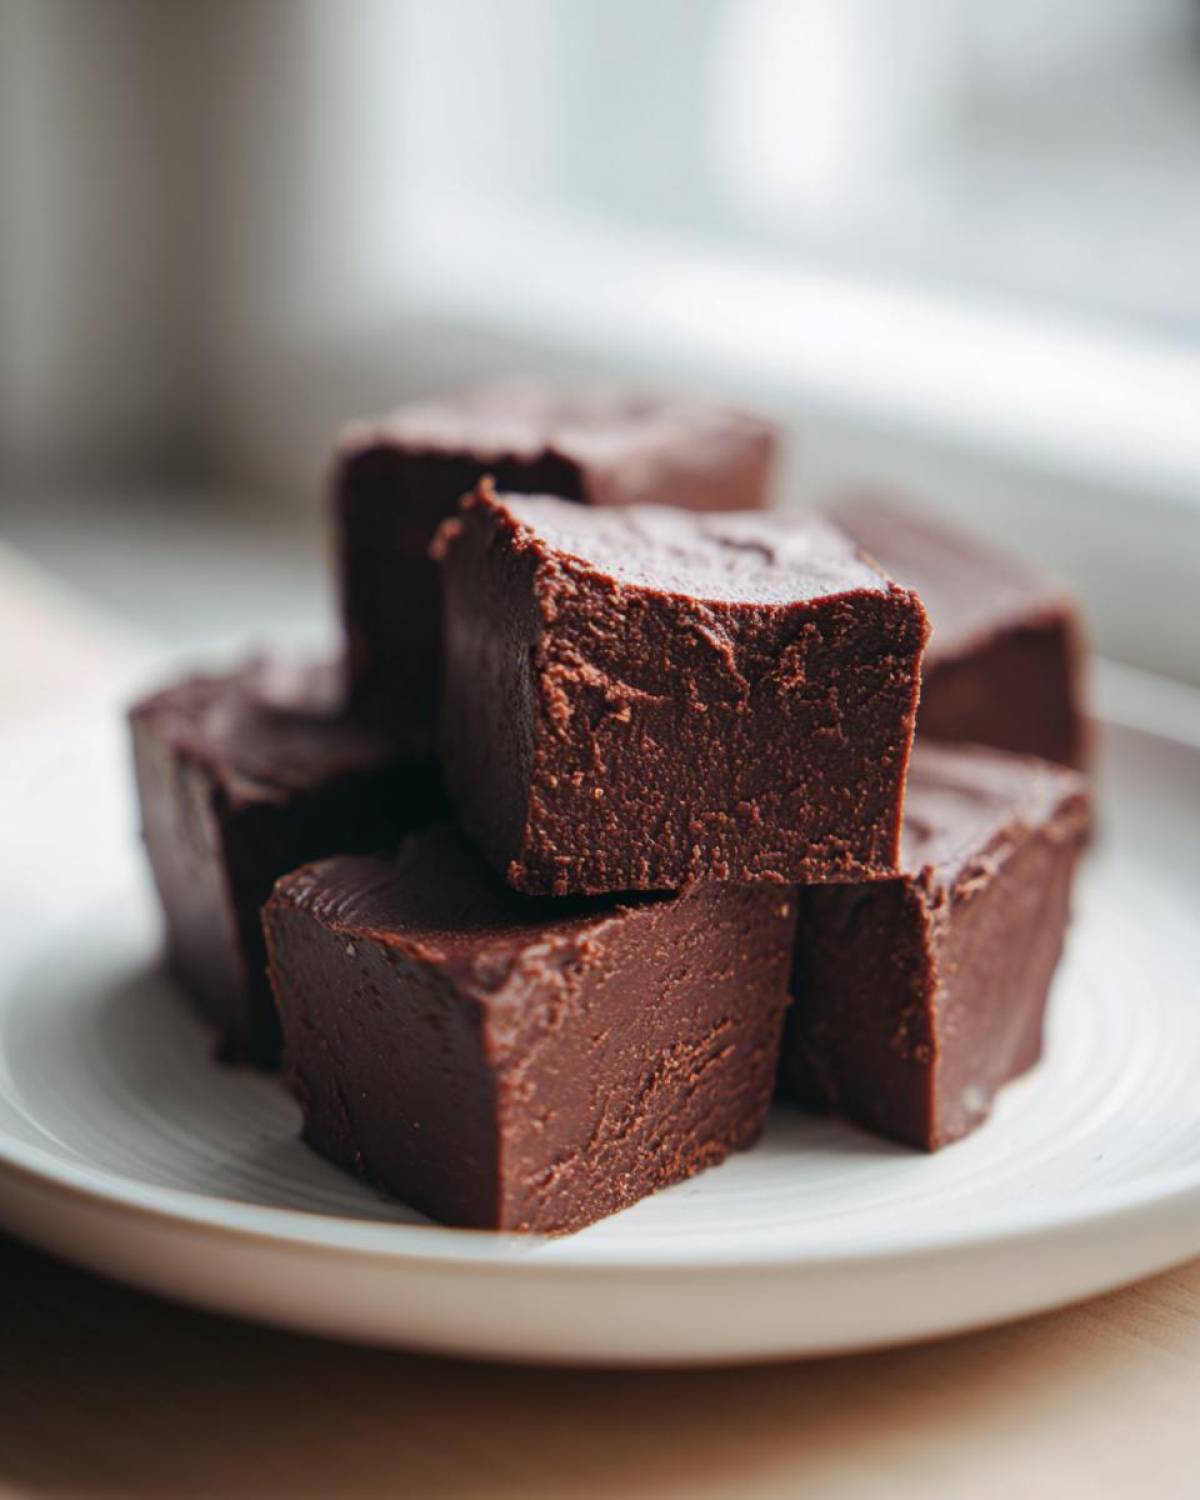
For storage, keep it simple. Once it’s set, you can cut it and store it in a completely airtight container at cool room temperature for about a week. It stays perfectly soft and delicious! If you plan on keeping it longer, pop that airtight container into the fridge—it lasts for maybe two full weeks that way. For gifting, wrap the individual squares tightly in cellophane or wax paper before arranging them in a decorative tin. See how easy it is to make something this decadent for everyone? If you are whipping up other savory items for a party platter, make sure you check out my guide on easy homemade mayonnaise recipe!
Frequently Asked Questions About Making Fudge
I know you might have a few questions swirling around after seeing just how simple this recipe looks. Don’t worry, I’ve answered the things I always used to wonder about when I was first diving into making **Homemade Fudge Recipes**. If you follow these tips, you’ll be turning out perfect **Simple Sweet Treats** every time!
Can I make this fudge without sweetened condensed milk?
You absolutely *can* make fudge other ways, but not this specific recipe! This method is what lets us avoid a candy thermometer, which is the whole point here. The sweetened condensed milk is what stabilizes the sugar for us, ensuring that beautiful **No Candy Thermometer Fudge** result. If you want to use evaporated milk or cream, you’ll need a candy thermometer and much more patience. Stick to the can for this easy version!
How do I prevent my fudge from becoming grainy?
This is the eternal question of the candy maker! For this recipe, the key is heat management. Remember when I said to keep the heat on low? That’s rule number one. Rule number two: Do not, under any circumstance, let that mixture boil hard. If you stir constantly over gentle heat until everything is melted smooth, you keep the sugar crystals from forming large, gritty structures. Gentle melting equals smooth **fudge**!
What is the best way to cut perfectly uniform fudge squares?
Cutting properly is the final step that makes your **fudge** look professional, especially if you’re prepping for a party or gifting. My favorite trick is using dental floss! Seriously, just run a piece of clean, unflavored dental floss under hot water, dry it off, and use it like a little saw to slice through the chilled slab. It gives you the cleanest edges possible! If you don’t trust floss, a very sharp chef’s knife dipped in hot water and wiped dry between every slice works wonders too. For more amazing recipes like this one, don’t forget to pop over and check out my divine 3-step hot chocolate brownies magic!
Nutritional Estimate for This Fudge Recipe
I always feel a little guilty looking at the nutrition for homemade **fudge**, but hey, we needed a quick, decadent treat, right? Before you panic, remember that we are cutting this into 36 small squares, so one little bite isn’t too terrible! These numbers are just estimates, of course, based on measuring everything out exactly as the recipe calls for (and skipping the optional nuts).
If you’re looking for lighter fare overall, you can always browse my main recipe index right here at the blog! But for this rich, homemade goodness, here’s the breakdown per serving:
- Serving Size: 1 square
- Calories: 120
- Sugar: 15g (That’s where all the deliciousness is hiding!)
- Fat: 6g
- Saturated Fat: 3.5g
- Carbohydrates: 16g
- Protein: 2g
- Sodium: 25mg
Share Your Decadent Fudge Creations
Now that you have successfully navigated the world of easy, no-fuss homemade **fudge**, I really want to hear about it! This recipe is designed to be fun and flexible, whether you went full-on classic chocolate or tried that amazing **Peanut Butter Fudge** variation I mentioned.
Please, please, please leave a star rating down below once you’ve tried it. Those ratings really help other folks see that making amazing candy doesn’t have to be a scary chore. Also, tell me in the comments which mix-in you chose! Are you a peppermint person? Did you go wild with the Oreos? I love seeing the creative ways you all enjoy these **Simple Sweet Treats**.
If you enjoyed mastering this batch of **fudge** and want even more straightforward, flavor-packed recipes delivered straight to you, make sure you’re following along! Come say hello and connect with me over on the contact page. I’m always adding new **Homemade Fudge Recipes** and **Quick Dessert Treats** to the rotation, and I can’t wait to see what you whip up next!
PrintEasy Homemade Chocolate Fudge
Make rich, creamy chocolate fudge without a candy thermometer. This simple recipe sets up perfectly for a melt-in-your-mouth dessert.
- Prep Time: 10 min
- Cook Time: 5 min
- Total Time: 130 min
- Yield: 36 small squares
- Category: Dessert
- Method: Stovetop
- Cuisine: American
- Diet: Vegetarian
Ingredients
- 1 (14 ounce) can sweetened condensed milk
- 1 (12 ounce) package semi-sweet chocolate chips
- 1 tablespoon unsalted butter
- 1 teaspoon vanilla extract
- 1/2 cup chopped nuts (optional)
Instructions
- Line an 8×8 inch baking pan with parchment paper, leaving an overhang on the sides for easy removal. Lightly grease the paper.
- In a medium saucepan over low heat, combine the sweetened condensed milk, chocolate chips, and butter.
- Stir constantly until the chocolate and butter are completely melted and the mixture is smooth. Do not let it boil.
- Remove the pan from the heat. Stir in the vanilla extract and chopped nuts, if using.
- Pour the fudge mixture into the prepared pan and spread evenly.
- Refrigerate for at least 2 hours, or until firm.
- Lift the fudge out of the pan using the parchment paper overhang. Cut into 1-inch squares before serving.
Notes
- For a richer, more traditional flavor, substitute 1/2 cup of the chocolate chips with an equal amount of good quality bittersweet chocolate.
- To make Peanut Butter Fudge, replace the chocolate chips with 1 cup of creamy peanut butter and reduce the sweetened condensed milk to 10 ounces.
- If you prefer a fluffier texture, stir in 1 cup of marshmallow fluff after removing the mixture from the heat, before adding vanilla.
Nutrition
- Serving Size: 1 square
- Calories: 120
- Sugar: 15
- Sodium: 25
- Fat: 6
- Saturated Fat: 3.5
- Unsaturated Fat: 2.5
- Trans Fat: 0
- Carbohydrates: 16
- Fiber: 0.5
- Protein: 2
- Cholesterol: 10
