

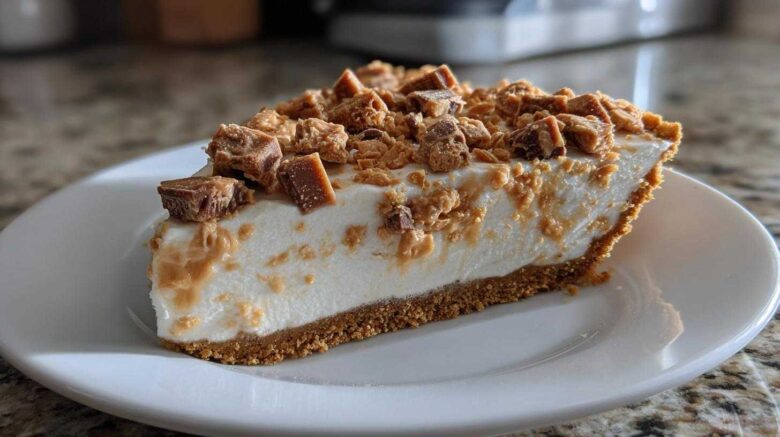
Indulge in the Irresistible Butterfinger Pie
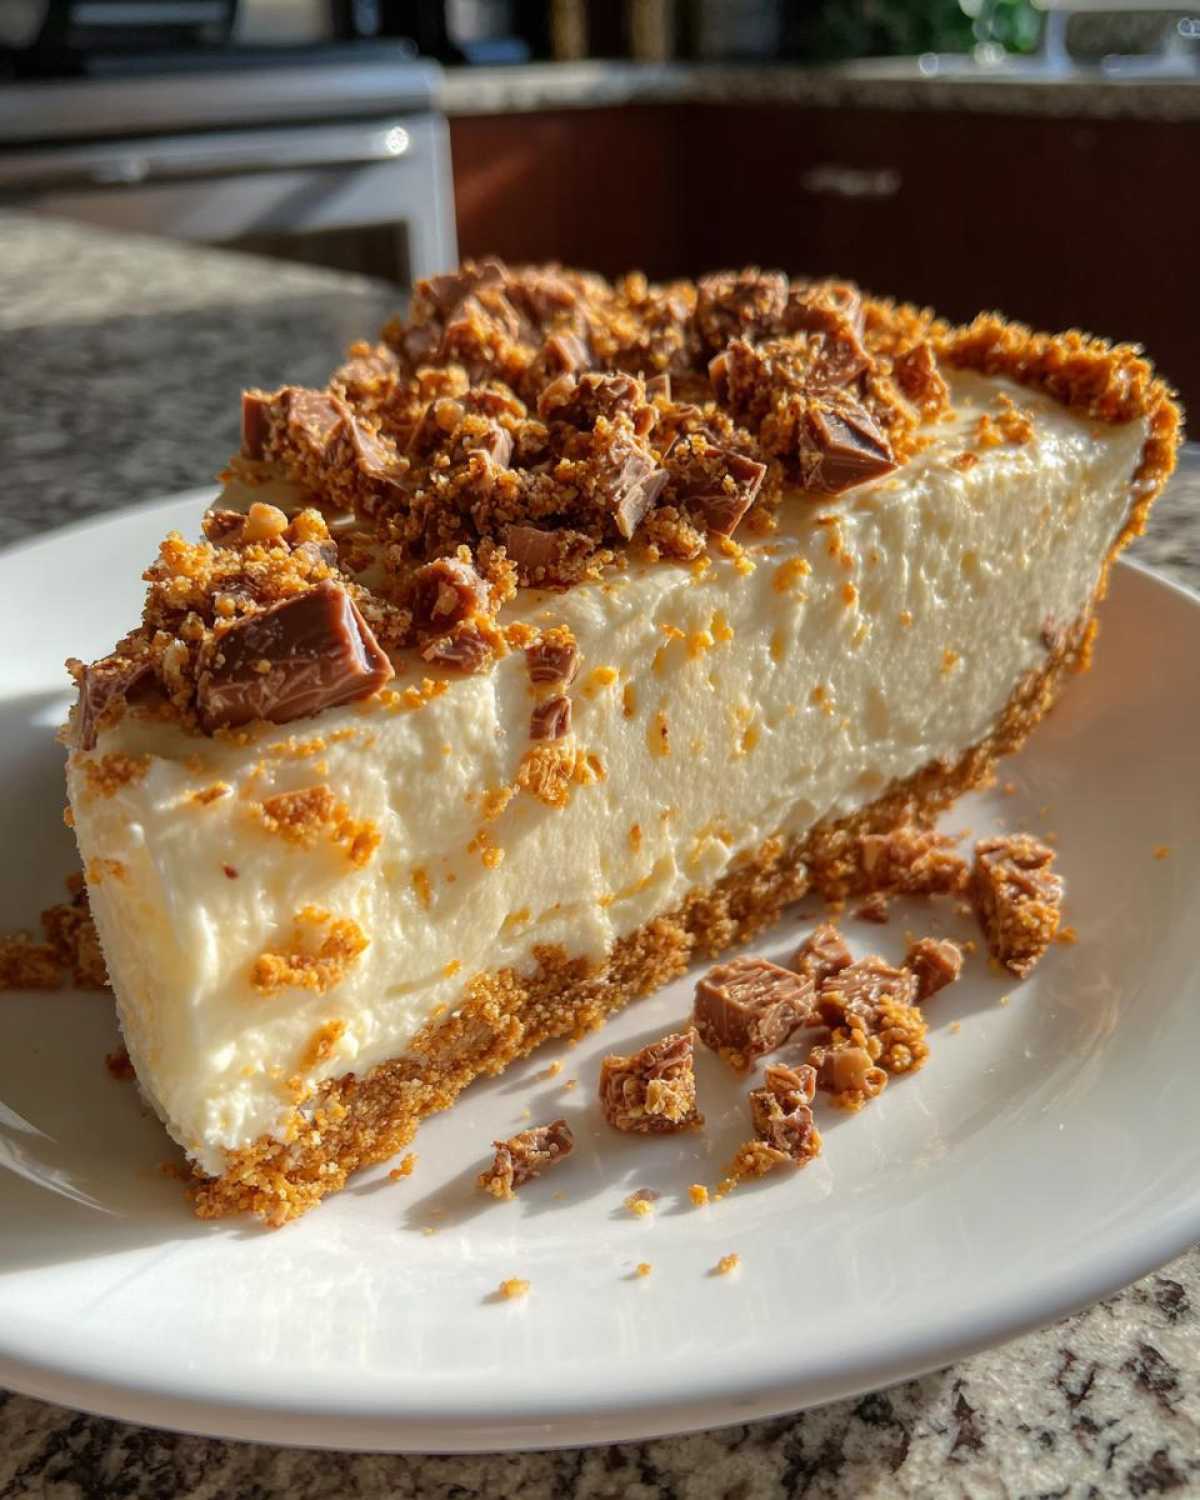
There’s something truly magical about a Butterfinger Pie. It’s a symphony of textures and flavors. Imagine a crisp, buttery graham cracker crust. Then, a filling so creamy and packed with peanut butter goodness. It’s topped with those signature crunchy, flaky Butterfinger pieces. This Butterfinger Pie is a showstopper. It looks fancy, but it’s so easy. I first made this years ago. Chef Tariq, our mentor at Savory Skies, always said simple food can be the most profound. This pie proves that. It’s the kind of dessert that makes people ask for seconds. It brings smiles and happy memories. It’s a perfect no-bake treat for any gathering. You’ll love how few steps it takes. We want to share that joy with you.
Why You’ll Love This Butterfinger Pie
- It’s incredibly easy to make.
- No oven needed — perfect for any season!
- The peanut butter and Butterfinger combo is a huge hit.
- It looks super impressive with minimal effort.
- Great for parties or just a special treat.
- This Butterfinger Pie is a guaranteed crowd-pleaser.
You’ll find this candy bar pie is a real winner. It brings together sweet, salty, and crunchy. It’s a dessert that just makes everyone happy.
Gather Your Ingredients for Butterfinger Pie
Let’s get ready to make this amazing Butterfinger Pie! Gathering your ingredients is the first step. You’ll need 1 1/2 cups of graham cracker crumbs. Make sure they are finely crushed. We also need 6 tablespoons of unsalted butter. It needs to be melted. For sweetness, grab 1/4 cup of granulated sugar.
The creamy filling starts with 8 ounces of cream cheese. It’s important that it’s softened. This makes it easy to mix. Then, we need 1 cup of creamy peanut butter. A 14-ounce can of sweetened condensed milk adds richness. Don’t forget 1 teaspoon of vanilla extract. It gives a lovely flavor. We also need 1/4 cup of milk.
For that airy, light texture, we’ll use 1 (8-ounce) container of whipped topping. Make sure it’s thawed. Finally, the star of the show: 2 Butterfinger candy bars. Give them a good chop. Having everything ready makes baking this Butterfinger Pie a breeze!
Crafting Your Perfect Butterfinger Pie
Now for the fun part! Let’s bring this delicious Butterfinger Pie to life. It’s really quite simple. We’ll build it layer by layer. The result is pure magic.
Preparing the Graham Cracker Crust for Your Butterfinger Pie
First, let’s make that perfect base. Grab your graham cracker crumbs. Add the melted butter and sugar. Mix it all up well. You want it to look like wet sand. Press this mixture firmly into your pie plate. Use the bottom of a glass or your hands. Make sure it covers the bottom and sides evenly. This firm crust holds everything together. It gives a great crunch with every bite.
Creating the Creamy Peanut Butter Filling
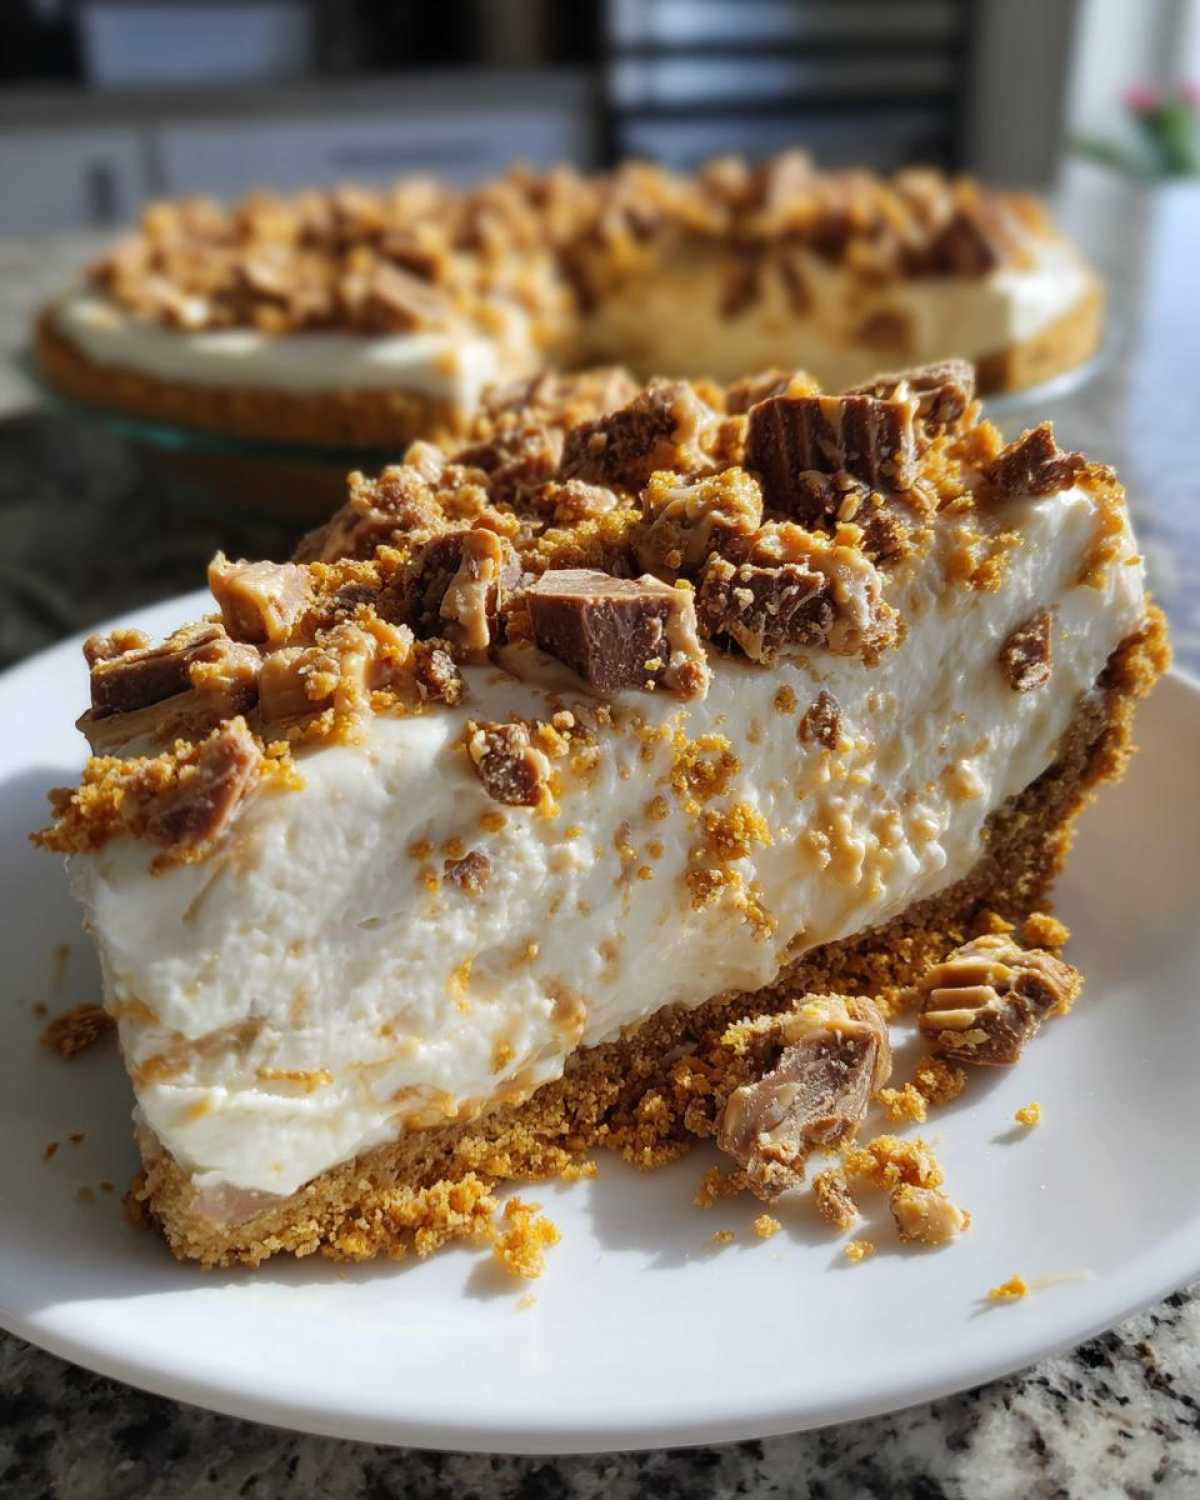
Next, we make the star of the show: the filling. In a big bowl, beat your softened cream cheese. You want it super smooth. No lumps allowed! Then, add the peanut butter. Beat them together until they are perfectly combined. It should look creamy and delicious. Now, slowly add the sweetened condensed milk. Mix it in gradually. Add the vanilla extract too. Beat until the mixture is smooth and pourable. It smells amazing already!
Now, for that airy lightness. Gently fold in the thawed whipped topping. Do this with a spatula. You don’t want to deflate it. Keep folding until it’s just combined. You should see no streaks of white. This makes the filling light and fluffy. It’s the perfect contrast to the crust.
Assembling and Chilling Your Butterfinger Pie
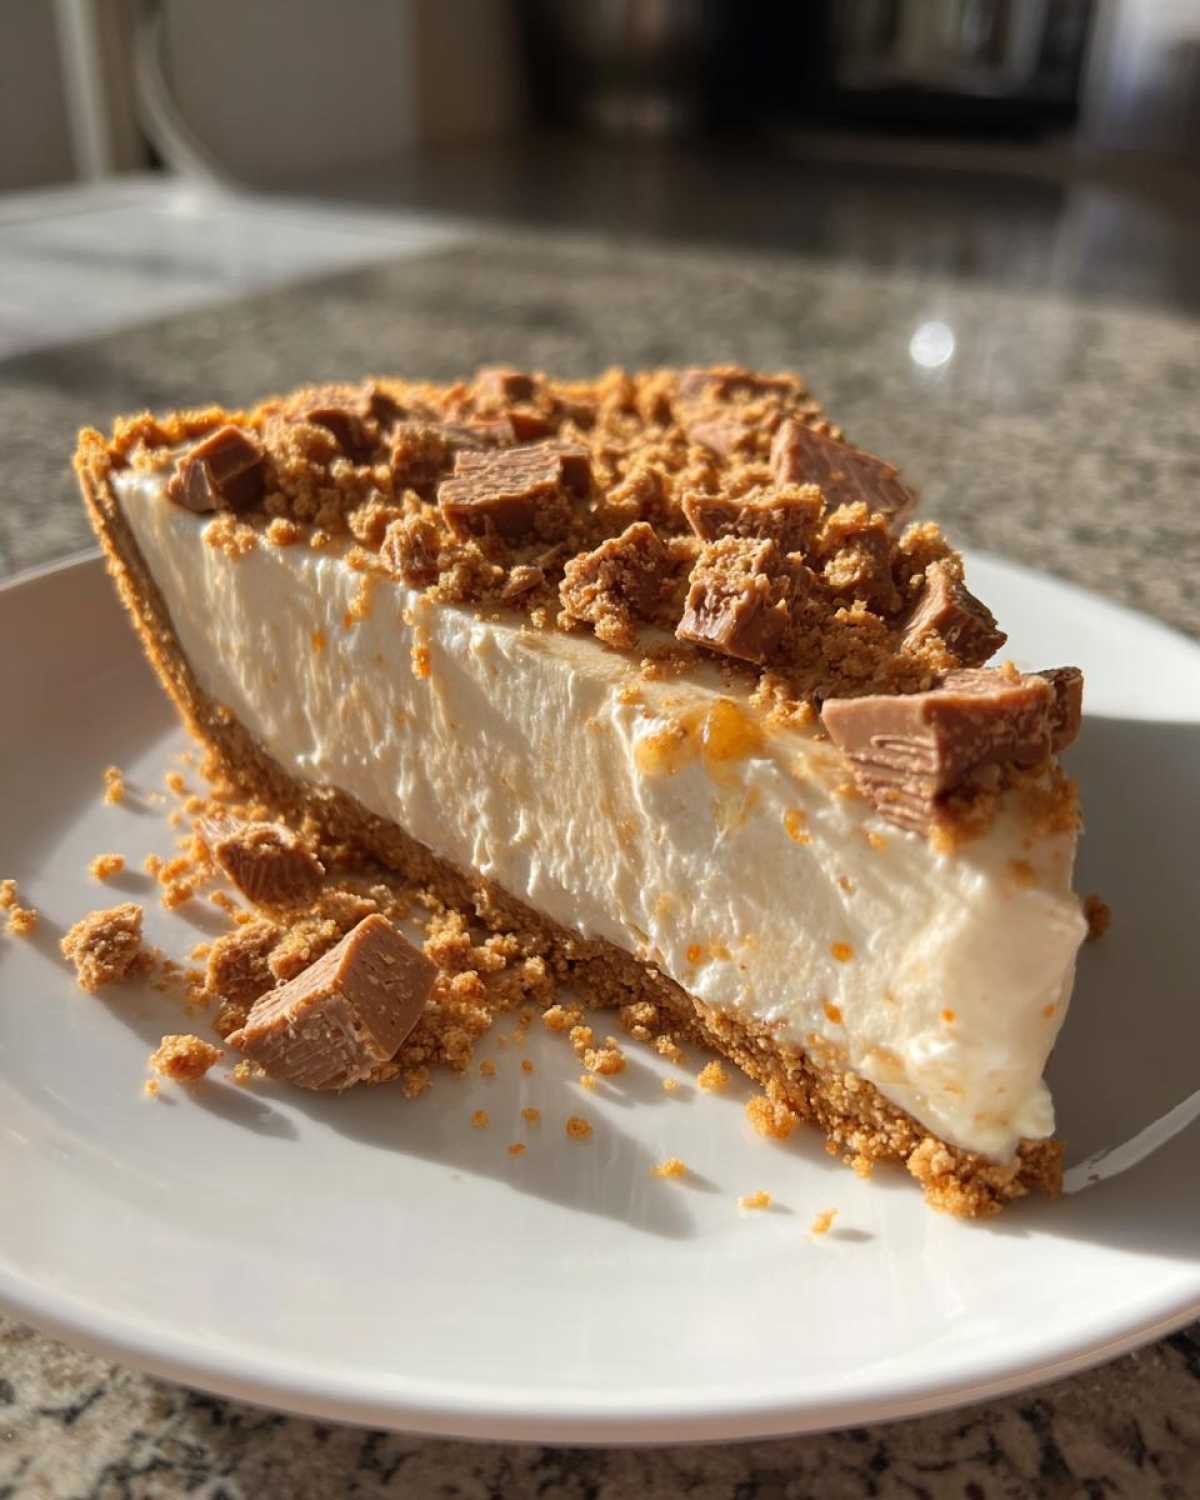
We are almost there! Pour this glorious peanut butter filling into your prepared graham cracker crust. Spread it out evenly. Make sure the top is nice and smooth. Now for the final touch. Sprinkle those chopped Butterfinger bars all over the top. Get good coverage. This adds that signature crunch and flavor. It looks so pretty!
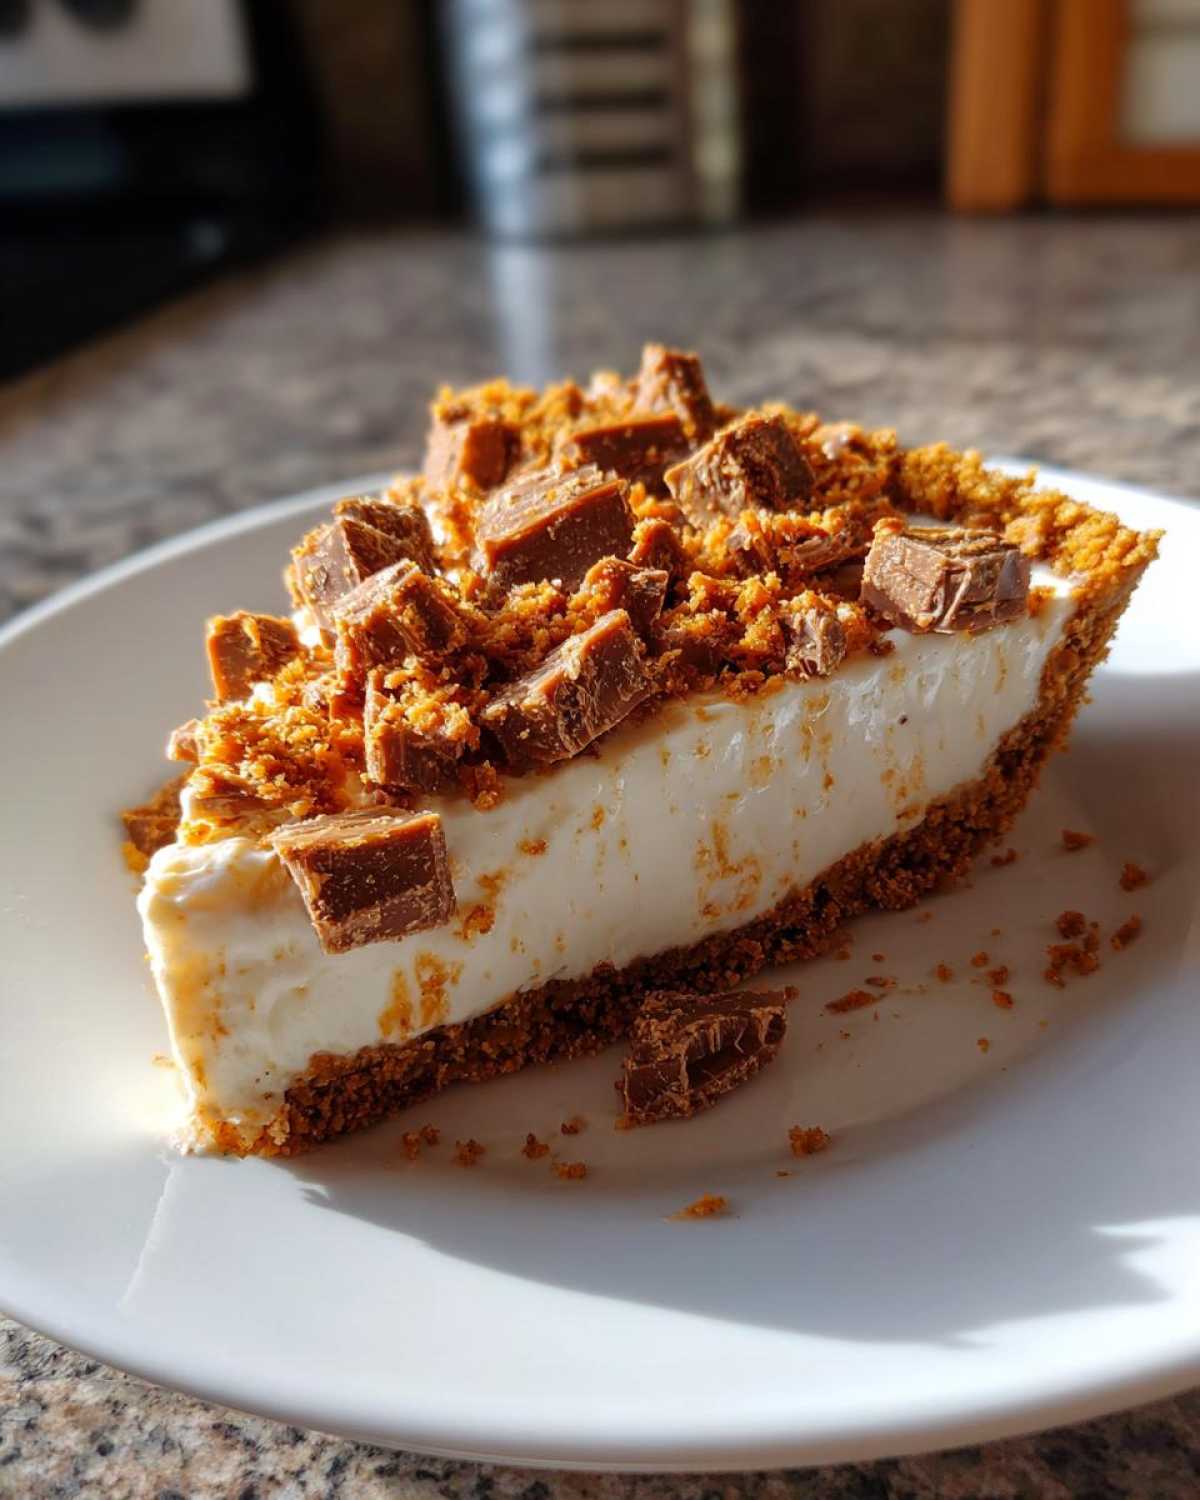
This Butterfinger Pie needs time to set. Cover it loosely with plastic wrap. Pop it into the refrigerator. You need to chill it for at least 4 hours. Longer is even better. This is crucial. It allows the filling to firm up. It makes the pie slice cleanly. Don’t skip this step! The wait is worth it. You’ll have an amazing Butterfinger Pie.
Tips for Butterfinger Pie Success
Chef Tariq always says, “Little details make big differences.” For this Butterfinger Pie, room temperature cream cheese is key. It ensures a super smooth filling. No lumps, just creamy perfection!
When you fold in the whipped topping, be gentle. Use a spatula. You want to keep that airy texture. Overmixing can make the filling dense. Tariq also taught me to press the crust firmly. This stops it from crumbling.
And remember, patience with the chilling time is a must. It really lets the Butterfinger Pie set up properly. Trust the process!
Serving and Storing Your Delicious Butterfinger Pie
Now that your Butterfinger Pie is perfectly chilled, it’s time to serve! Slice it with a sharp knife. For the cleanest cuts, dip your knife in hot water and wipe it dry between slices. This helps the Butterfinger candy pieces slice through easily.
This pie is wonderful on its own. You can also add a dollop of extra whipped topping or a drizzle of chocolate sauce if you like. It’s a fantastic dessert for parties or family nights.
Got leftovers? No problem! Cover the Butterfinger Pie tightly with plastic wrap or foil. Store it in the refrigerator. It should stay fresh and delicious for about 3-4 days. The crust might soften a bit over time, but the flavor remains amazing.
Frequently Asked Questions About Butterfinger Pie
Got questions about making this amazing Butterfinger Pie? I’ve got answers!
Can I use a different candy bar in this Butterfinger Pie? Absolutely! While Butterfinger is classic, feel free to get creative. Snickers, Heath bars, or even Reese’s Peanut Butter Cups would be delicious. Just chop them up and sprinkle them on top!
How do I ensure my pie filling is smooth? The secret is room temperature cream cheese. Make sure it’s fully softened. Beat it until it’s lump-free before adding other ingredients. Also, don’t rush adding the sweetened condensed milk. Gradual mixing helps create that silky texture.
My crust seems crumbly. What did I do wrong? You might need a bit more butter or to press it more firmly. For a sturdier crust, try using 10 tablespoons of butter instead of 6. Pressing it into the pie plate with the bottom of a glass really helps compact it.
Can I make this Butterfinger Pie ahead of time? Yes! It’s actually best made a day in advance. This gives the filling plenty of time to set properly. It’s a perfect make-ahead dessert.
Why does my pie need to chill for so long? Chilling is crucial for this no-bake pie. It allows the filling ingredients to meld and firm up. This is what gives the Butterfinger Pie its structure. It ensures clean slices every time.
Estimated Nutritional Information for Butterfinger Pie
When you slice into this delightful Butterfinger Pie, each serving is estimated to contain around 450 calories. It provides about 28g of fat, with 12g being saturated fat. You’ll get roughly 48g of carbohydrates and 7g of protein.
Remember, these numbers are just an estimate. They can change based on the specific brands you use and any little tweaks you make. Enjoy every bite!
PrintAmazing Butterfinger Pie in 4 hours
Create a delightful no-bake Butterfinger Pie with a crunchy graham cracker crust and a creamy, peanut-buttery filling. This impressive dessert is surprisingly easy to make and perfect for any occasion.
- Prep Time: 20 minutes
- Cook Time: 0 minutes
- Total Time: 4 hours 20 minutes
- Yield: 8 servings
- Category: Dessert
- Method: No-Bake
- Cuisine: American
- Diet: Vegetarian
Ingredients
- 1 1/2 cups graham cracker crumbs
- 6 tablespoons unsalted butter, melted
- 1/4 cup granulated sugar
- 8 ounces cream cheese, softened
- 1 cup peanut butter
- 1 (14 ounce) can sweetened condensed milk
- 1 teaspoon vanilla extract
- 1/4 cup milk
- 1 (8 ounce) container whipped topping, thawed
- 2 Butterfinger candy bars, chopped
Instructions
- Combine graham cracker crumbs, melted butter, and sugar. Press into the bottom and up the sides of a 9-inch pie plate.
- In a large bowl, beat cream cheese until smooth.
- Add peanut butter and beat until well combined.
- Gradually beat in sweetened condensed milk and vanilla extract until smooth.
- Stir in milk until the mixture is pourable.
- Gently fold in whipped topping.
- Pour filling into the prepared crust.
- Sprinkle chopped Butterfinger bars over the top.
- Chill for at least 4 hours, or until firm.
Notes
- For a richer crust, use 10 tablespoons of butter.
- You can substitute other candy bars for Butterfinger if desired.
- Ensure the cream cheese is at room temperature for smooth mixing.
- Chill time is crucial for the pie to set properly.
Nutrition
- Serving Size: 1 slice
- Calories: 450
- Sugar: 35g
- Sodium: 250mg
- Fat: 28g
- Saturated Fat: 12g
- Unsaturated Fat: 16g
- Trans Fat: 0g
- Carbohydrates: 48g
- Fiber: 2g
- Protein: 7g
- Cholesterol: 40mg
