

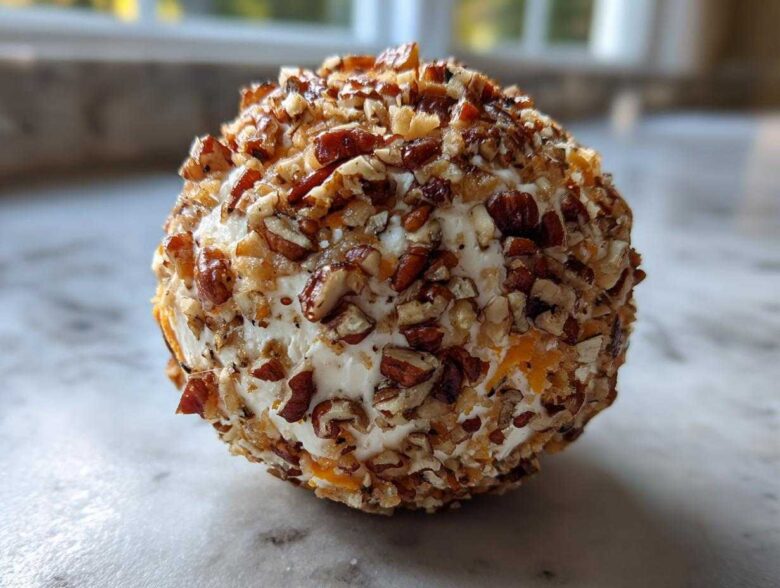
Oh, party planning! It’s exciting, but trying to make ten different things look perfect right before everyone walks in? Total nightmare, right? I’ve been there more times than I can count, sweating over a hot oven when I should be pouring drinks. That’s why this **cheese ball recipe** is my absolute secret weapon. It’s the classic appetizer everyone expects, the one that disappears first, but it takes maybe fifteen minutes of active work! Seriously, this savory spread looks stunning nestled on a platter, ready to go straight from the fridge. The first time I used this recipe was for a huge holiday open house; everything else was collapsing, but this hero sat there, looking gorgeous and delicious. It’s foolproof, which is exactly what we busy cooks need. If you want more simple snack ideas for the big day, check out my recipe for sausage pinwheels, but for now, let’s focus on pure cheese bliss.
Why This is the Ultimate Easy Cheese Ball Recipe (Crowd Pleasing Appetizer)
Listen, when it comes to party food, I need things that work hard so I don’t have to. This cheddar cheese ball recipe gives you huge payoff for almost zero effort. It’s truly the definition of a crowd-pleasing appetizer! I want you to look at your clock and see how little time you spent on this savory snack idea.
- It only takes about 15 minutes of hands-on prep time. You can’t beat that for a cold appetizer.
- It uses simple pantry staples—stuff I usually have on hand anyway, so no last-minute grocery dashes!
- It’s the champion of the make ahead appetizer list; chill it days before you need it.
- The classic cream cheese dip flavor? Everyone loves it, from Aunt Carol to the college kids.
When you’re planning holiday party food or gearing up for game day, ease is everything. This is truly the best cheese ball flavor because it is balanced, requires no cooking, and honestly, it makes any simple finger foods look fancy!
Speaking of other easy dips, if you are looking for something warm for the next gathering, you absolutely must try my easy creamy beer cheese dip recipe. It’s heavenly with soft pretzels!
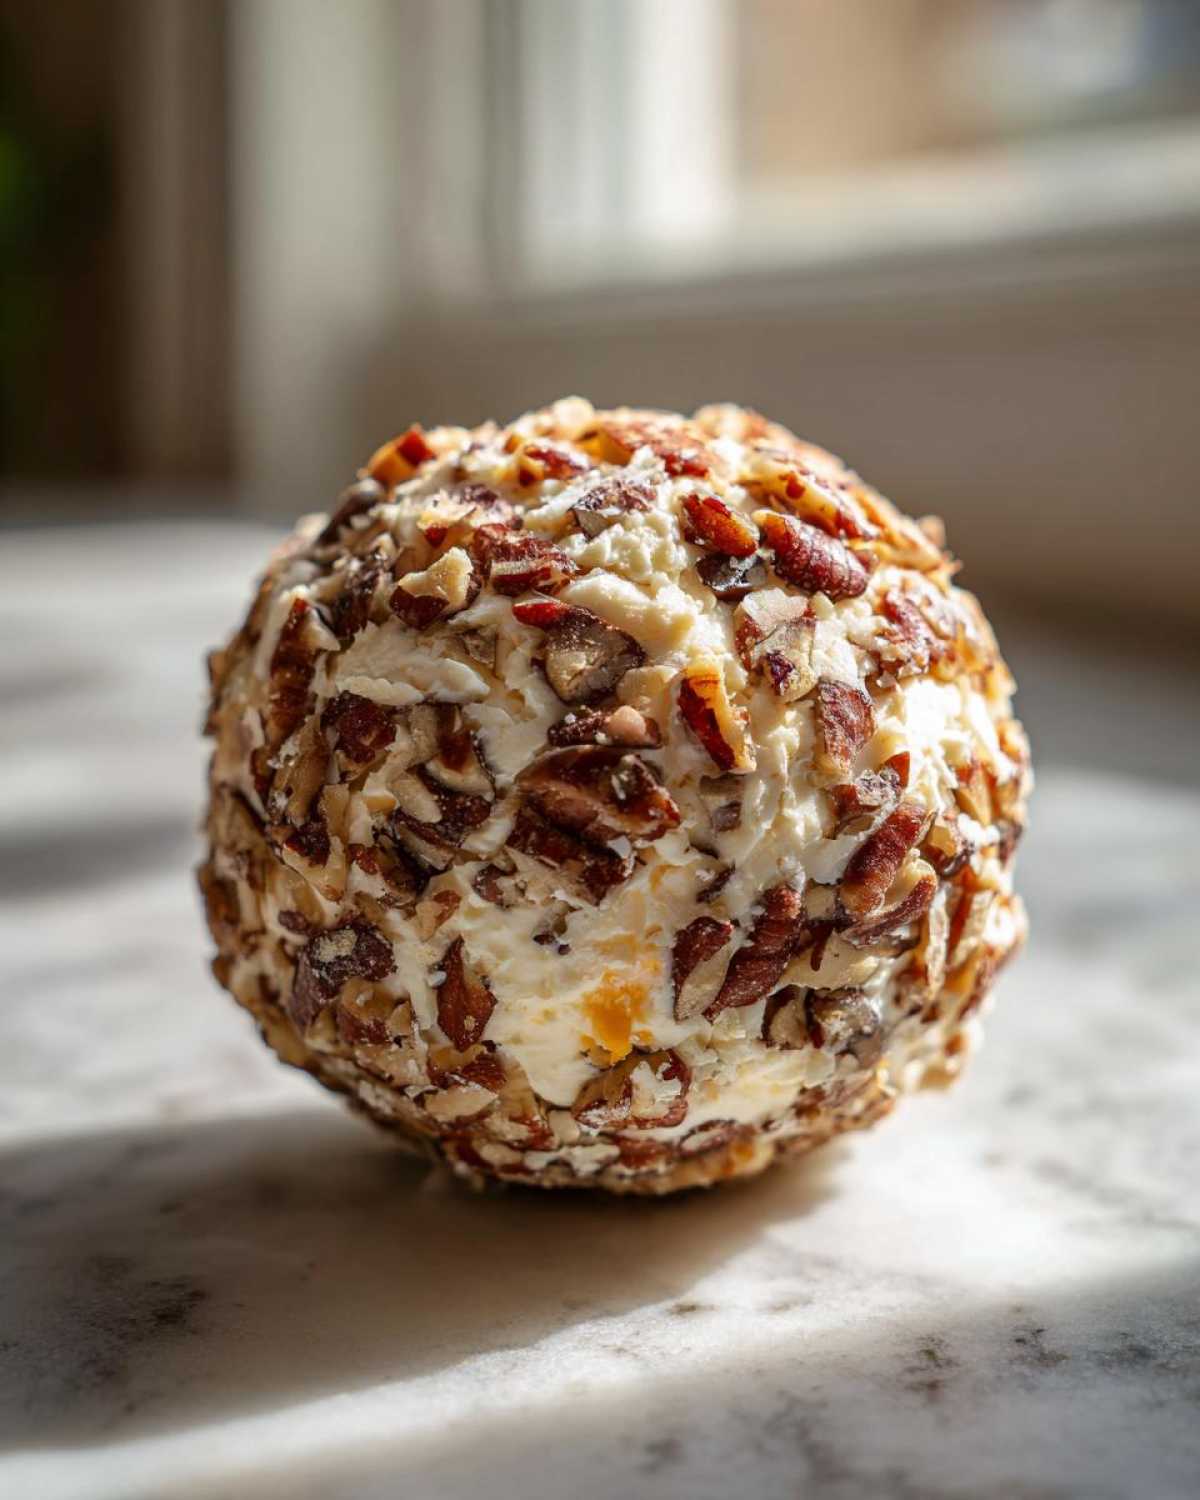
Ingredients for Your Classic Cheese Ball Recipe
When you have your mix ready, precision matters! This recipe is straightforward, but paying attention to the state of the ingredients—especially the cheese—makes all the difference between a smooth spread and a lumpy mess. Keep in mind, this is our core, best cheese ball flavor profile; it’s simple but powerful. I always make sure my cream cheese is truly soft, not just slightly yielding.
Here is exactly what you need for your appetizer spreads:
- 8 ounces cream cheese, very softened (please let this sit out for an hour!)
- 8 ounces sharp cheddar cheese, freshly shredded (I mean it, shred it yourself, it matters!)
- 1/4 cup finely chopped pecans, plus 1 full cup reserved strictly for coating
- 2 tablespoons Worcestershire sauce (don’t skip this; it brings the deep flavor!)
- 1 teaspoon onion powder
- 1/2 teaspoon garlic powder
- 1/4 teaspoon salt—just a touch!
- 1/4 teaspoon black pepper
- 2 slices bacon, cooked until crispy and then crumbled (This part is totally optional, but honestly, why would you skip bacon?
I know it seems funny to list the pecans twice, but trust me, separating the ‘inside’ pecans from the ‘outside coating’ pecans keeps that outer layer nice and crisp for presentation. If you are making this for a potluck and worried about bacon, don’t stress; it’s great without it. If you need more inspiration for your next gathering, I have a fantastic bacon pecan cheese ball recipe variation that amps up the savory notes even further—but this classic is where we start!
Step-by-Step Instructions for the Perfect Cheese Ball Recipe
Okay, this is where the magic happens! Remember what I said about the cream cheese? If it’s not ridiculously soft, your hand mixer (or wooden spoon, if you’re feeling old-school) will struggle, and you’ll end up with chunks that refuse to blend. You want it looking almost pudding-like before you even touch the cheddar. This recipe moves fast once you start mixing, so make sure everything is prepped and ready to go!
Here are the steps to get your amazing appetizer spread ready for its beauty sleep in the fridge. If you are looking for another fast, cheesy winner, I highly recommend my easy 3-ingredient chili cheese dip for texture variety!
Mixing the Savory Cheese Spread Base
First up, we combine the heavy hitters. In a solid mixing bowl, toss in that soft cream cheese, your freshly shredded sharp cheddar, those inside pecans you set aside, the Worcestershire sauce, and all those wonderful dry seasonings—onion powder, garlic powder, salt, and pepper. If you decided to crumble that bacon, throw it in now, too! You need to mix this until it’s homogenous. I usually start low and slow with a sturdy spatula, making sure every bit of cream cheese gets acquainted with the seasonings. You don’t want any pocket of plain cheese in the middle of your savory cheese spread, trust me!
Shaping and Coating Your Pecan Coated Cheese Ball
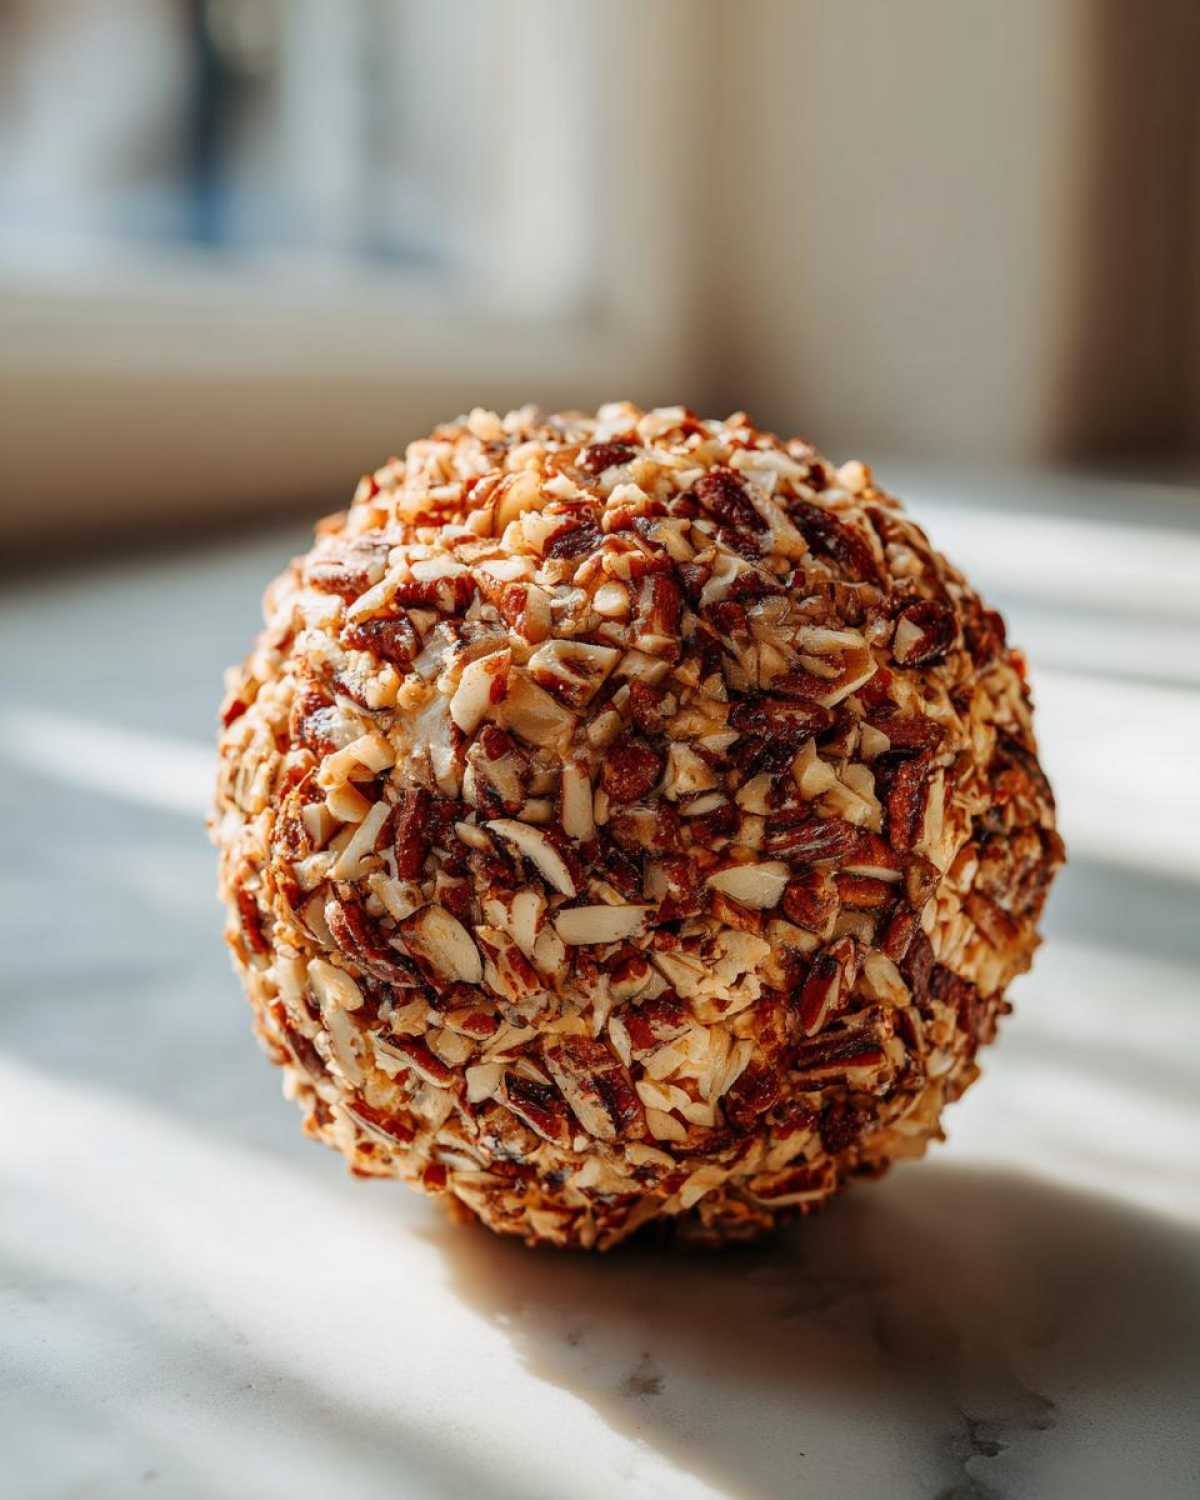
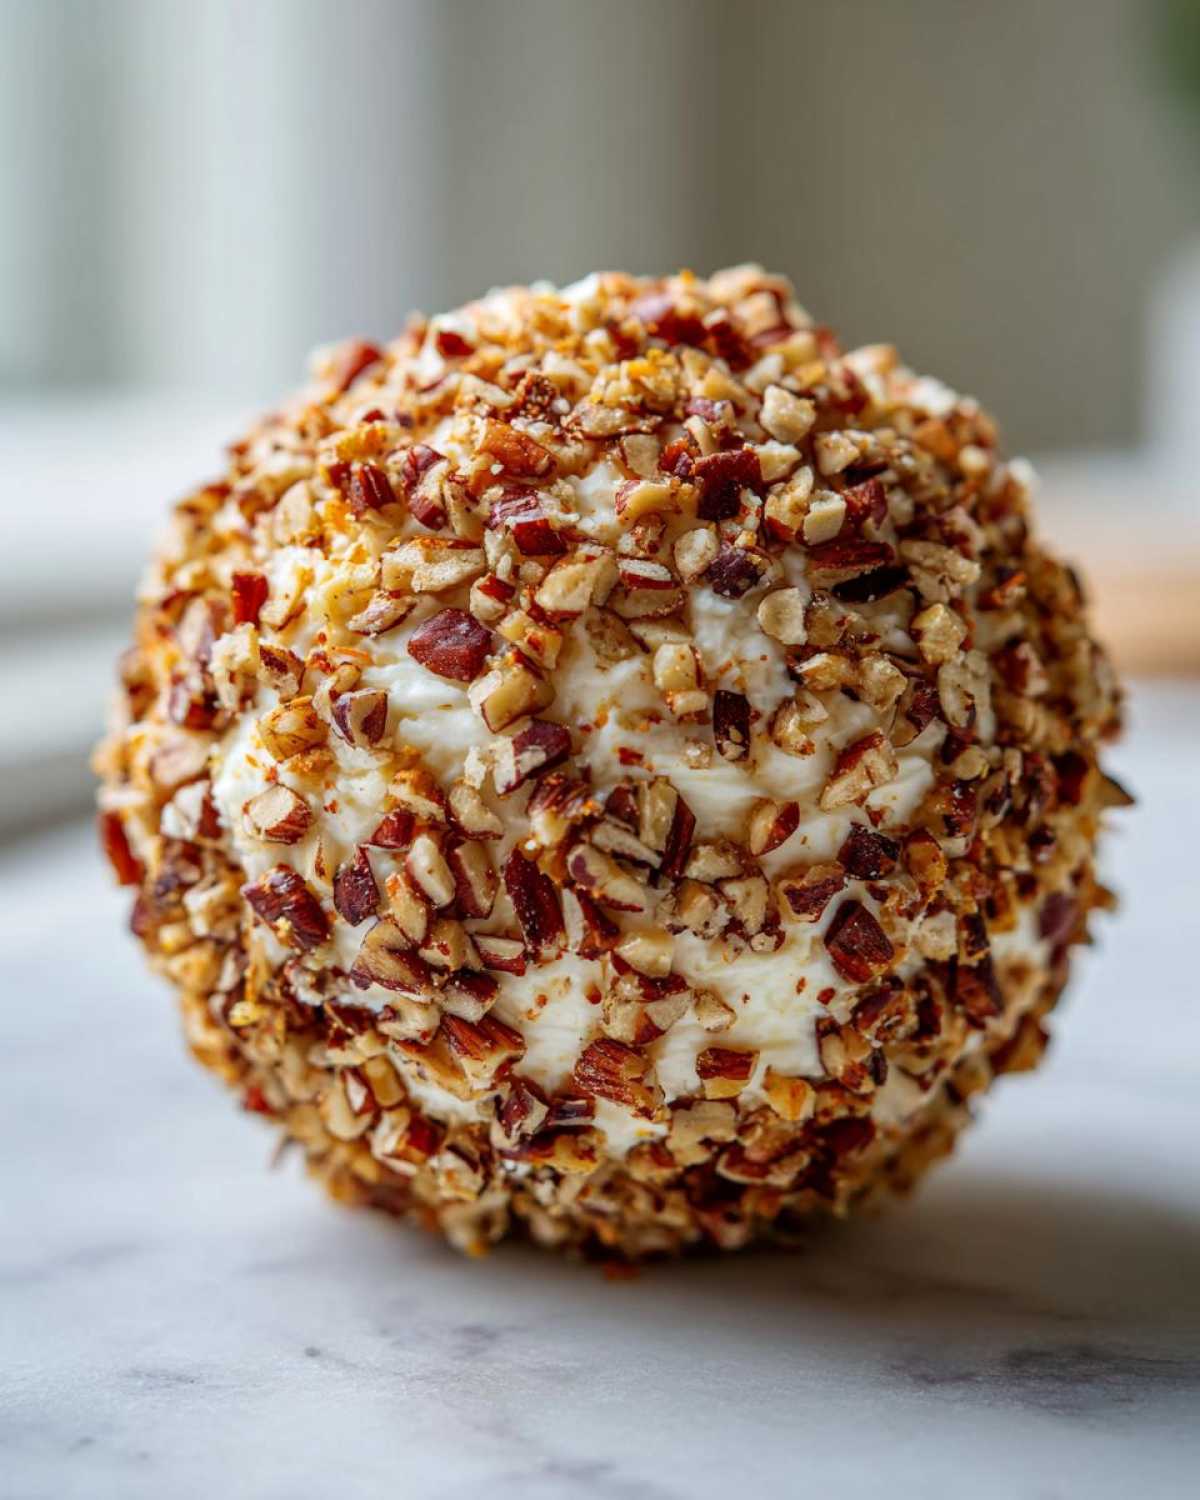
Once everything is perfectly mixed, put on your clean kitchen gloves—or just wash your hands really well—and start shaping. Gently use your hands to tuck and press the mixture into a nice, tight ball shape. It shouldn’t be sticky all over anymore if you mixed it well. Now, grab that shallow plate piled high with the extra cup of pecans. Roll your formed ball around until it is completely coated in that nutty crunch. This pecan coated cheese ball needs that crunchy exterior for the best texture contrast against the creamy interior, plus it just looks so festive!
Chilling: The Essential Make Ahead Appetizer Step
This is the toughest part, waiting! Wrap that beautiful sphere tightly in plastic wrap—and I mean TIGHTLY, no air pockets allowed. This needs to chill in the refrigerator for a minimum of two hours. This chilling time is not just about making it safe to handle; it’s essential! It allows those sharp cheddar and Worcestershire flavors to really deepen and meld together, turning it into a truly classic appetizer. You can absolutely leave this beauty wrapped up in the fridge for up to three full days. Pull it out about 20 minutes before you plan to serve it, place it on your platter, and get ready for compliments!
Ingredient Notes and Substitutions for Your Cheese Ball Recipe
Even though this is the best cheese ball flavor, I totally understand wanting to switch things up, especially if you’re entertaining a crowd with different tastes. We’re using sharp cheddar here because it really cuts through the richness of the cream cheese, giving you that necessary flavor punch. Using mild cheddar just doesn’t give you the same wow factor; I learned that the hard way trying to save a few pennies!
But if you need to swap out the coating, I have great suggestions for customizing this **cheese ball recipe** while keeping that savory edge. Feel free to play around, but remember, any substitutions for the base ingredients might change the texture, so approach them cautiously!
Here are some brilliant swaps you can try:
- For the Nuts: If you have a nut allergy crisis at your party, ditch the pecans entirely. My favorite substitution is using finely chopped fresh parsley mixed with a tiny bit of dried dill. It looks vibrant green and tastes wonderfully fresh. Alternatively, you can mix dried cranberries with chopped walnuts for a sweeter, autumnal twist instead of just pecans.
- For the Cheese: Sharp cheddar is king, but if you want a slightly tangier spread, try replacing half the cheddar with good quality Gruyère. That melts beautifully and adds a nutty dimension. I’ve even seen people swap out the cheddar for smoked Gouda for a **game day appetizer** that tastes amazing!
- For the Worcestershire: This sauce brings that deep, savory background note that makes people wonder what your secret seasoning is! If you absolutely cannot find it, a teaspoon of balsamic vinegar or a dash of soy sauce can mimic some of that umami depth, though I prefer the original.
Trying out different coatings is such a fun way to give this classic appetizer a new look every time you serve it. Make sure you check out my recipe for Mexican street corn dip if you like adding layers of unexpected flavor to your entertaining bites!
Serving Suggestions for This Classic Appetizer
Alright, you’ve made this magnificent, perfectly chilled **pecan coated cheese ball**. Now what? You can’t just set it on the counter naked! The whole point of this amazing cold appetizer recipe is making it a centerpiece ready for grabbing. Presentation matters, and having the right dipping vehicles turns this from a tasty snack into a true spread!
When I prepare this cheesy snack idea for a crowd, I try to offer a variety of textures for maximum appeal. We are aiming for simple finger foods here, things that guests can easily grab while juggling a drink. Don’t overthink this part—the cheese ball does all the heavy lifting flavor-wise!
Here are my go-to pairings that always work perfectly with this **cheese ball recipe**:
- Crunchy Sturdy Crackers: Forget those flimsy water crackers that break the second you touch them. You need something robust to hold up to this thick, savory cheese spread. Think Entertainment crackers, hearty rye crisps, or even pretzel thins.
- Fresh Bread: Sliced baguette that you briefly toast works wonders. I love taking thinly sliced bread, brushing it lightly with olive oil, and setting it next to the cheese ball. You can even use my rosemary olive oil crackers recipe if you feel ambitious—it adds a lovely herbaceous note!
- Vegetables for Contrast: If you have folks watching carbs or just wanting that crisp snap, veggie sticks are fantastic. Celery stalks, vibrant carrot sticks, and perhaps some crunchy bell pepper strips provide color and a refreshing counterpoint to the richness.
- Sweet Touches: This is a game-changer for parties! Thinly sliced Granny Smith apples or firm pear slices provide a little sweetness that pairs unbelievably well with the sharp cheddar and savory seasonings. It elevates this from just a simple holiday party food to something truly gourmet.
No matter what you surround it with, just make sure there’s plenty of room for people to hover around the platter. This appetizer for potluck success is going to disappear fast, so set out a good amount of dippers!
Storage and Reheating Tips for Your Make Ahead Appetizer
This is where our **cheese ball recipe** really shines again! Since we established that this is the ultimate make ahead appetizer, we need to talk about what happens *after* the party, or what happens when it’s sitting out for four hours while everyone mingles.
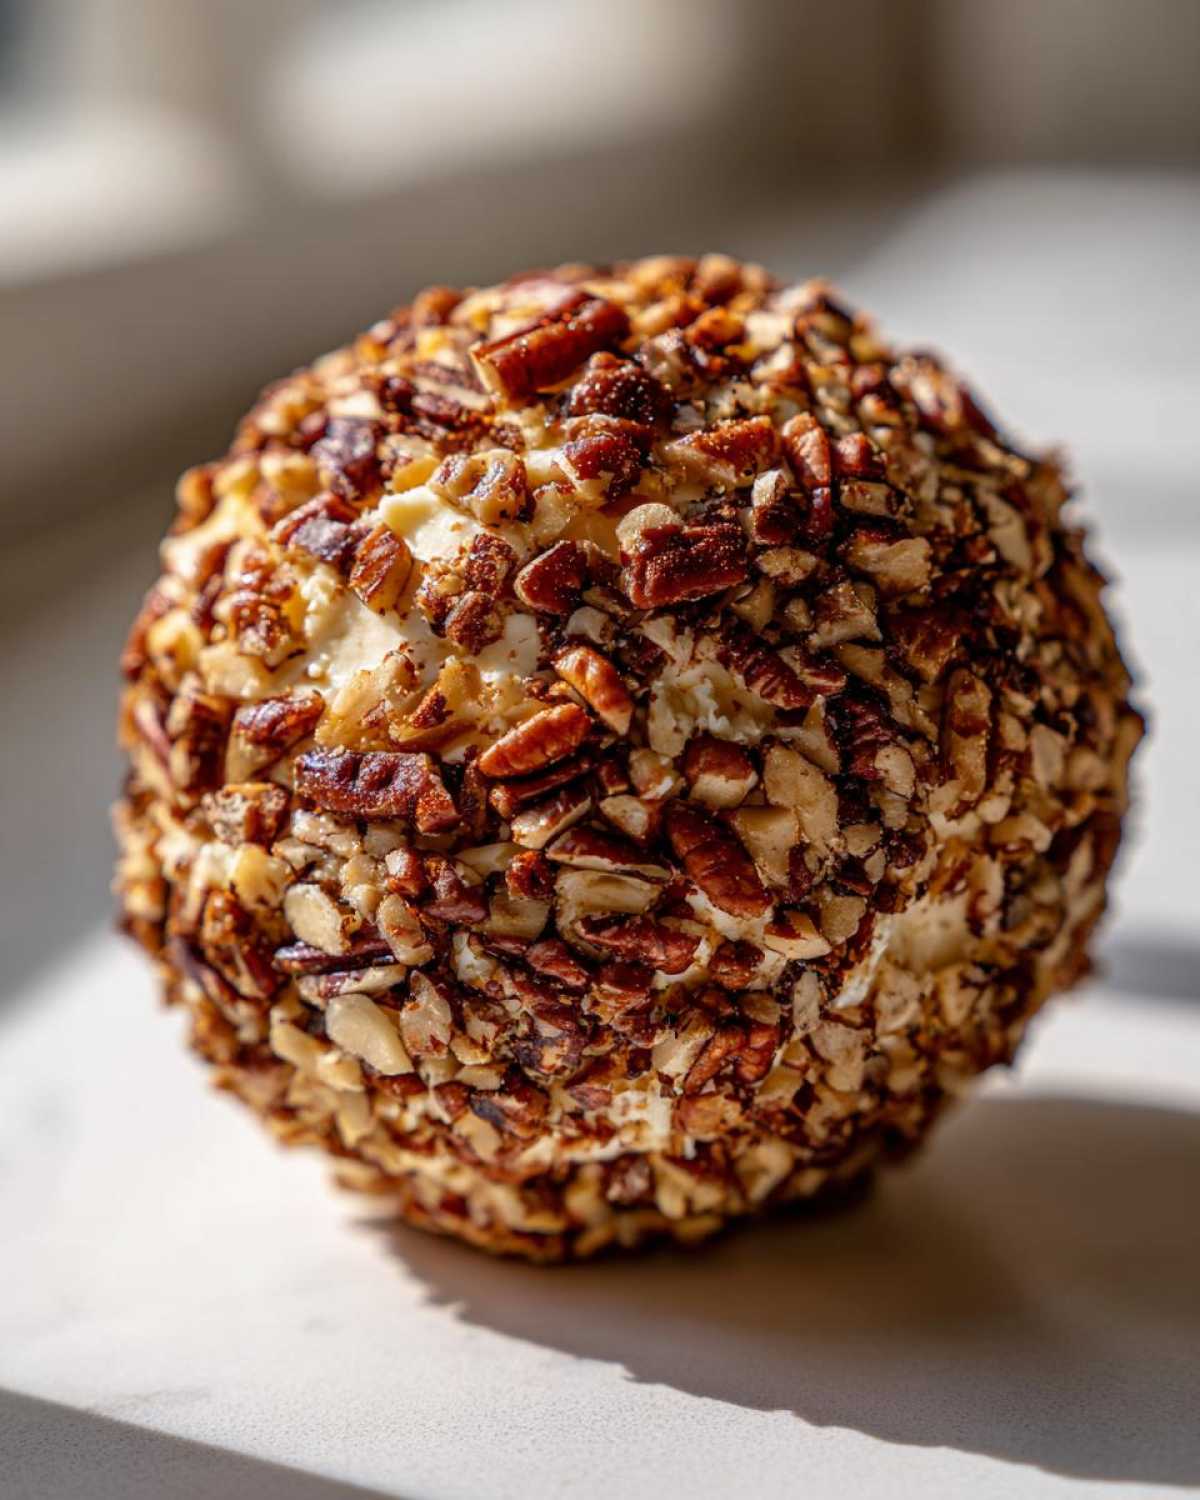
If you have leftovers (which, let’s be honest, you probably won’t if the crowd is hungry enough!), storage is super simple. Just like chilling it initially, you need to wrap it up like you mean it. Use a double layer of plastic wrap or put it in a truly airtight container. Because it’s loaded with cream cheese and cheddar, it should stay fresh and delicious in the refrigerator for a good three to four days. It’s still going to taste amazing, maybe even a little better as the flavors keep sinking into that cheddar!
Now, let’s talk about the “softening problem.” As it sits on the serving platter, getting all that love, it will naturally start to warm up, especially if your house is bustling. If you notice it getting a little too mushy or sad-looking mid-party, don’t panic! Just whisk it away and pop it back into the fridge for about 15 or 20 minutes. It will firm right back up, looking refreshed and ready for action. This quick chill is the secret to keeping this party snack idea looking stellar throughout the whole event.
I actually made my own homemade mayonnaise once—you can find that recipe right here—and I learned that airtight wrapping is non-negotiable for any cold dairy-based spread. Air is the enemy of freshness, so wrap tight, chill long, and enjoy this fantastic make ahead appetizer whenever the mood strikes!
Variations on the Best Cheese Ball Flavor Profile
While I stand by the fact that this classic combination of sharp cheddar, Worcestershire, and pecans is basically the gold standard for a **cheese ball recipe**, sometimes you need to mix it up! I mean, if you’re serving the same thing for every single gathering, people start getting bored, right? Even the best party snack ideas need a little refresh now and then. Customizing this recipe is incredibly easy because the base is so sturdy, which means you can introduce bolder flavors without the whole thing falling apart.
These are some of my favorite ways to totally transform the flavor profile of this cold appetizer recipe without needing an entirely new shopping list. If you’re looking for another spicy, cheesy showstopper, you should absolutely check out my recipe for cheesy jalapeno corn dip!
Here are two heavy-hitting flavor variations I rotate through during the holiday season:
Smoked Paprika & Herb Delight
If you want something smoky and sophisticated, this is your go-to swap. Ditch the bacon entirely for this one, and instead, grab some smoked paprika. Smoked paprika smells incredible when you’re mixing the base, and it gives the entire cheddar cheese ball this deep, gorgeous reddish hue. I add about one full teaspoon of the smoked variety, along with a couple of tablespoons of fresh, finely snipped herbs like chives and parsley mixed right into the body of the spread. For the coating, swap the pecans for a mix of finely chopped walnuts and black sesame seeds. It offers an amazing contrast in color and a slightly earthier crunch!
The Tangy Goat Cheese Version
For a brighter, tangier cheese ball recipe, we’re going to swap out one cheese entirely. Take your 8 ounces of cream cheese, but instead of using cheddar, use 8 ounces of plain, soft goat cheese (chèvre). Goat cheese is naturally tangier and slightly brighter, which cools down the richness. Since goat cheese is usually softer than cheddar, you might need to chill the mixed base for an extra 30 minutes before shaping it—it’s stickier! For the coating, I highly recommend finely chopped dried cranberries mixed with toasted slivered almonds. It makes for a truly elegant, slightly sweet appetizer spread that perfectly complements the tang!
Pro Tip for Flavor Boosting
No matter which version you pick, always taste for seasoning right before you form the ball. Since you are changing the primary cheese (like switching to goat cheese), you might need to adjust the salt or pepper slightly. Remember, the flavor is only going to get stronger and more concentrated as it chills.
Frequently Asked Questions About the Cheese Ball Recipe
I get so many emails asking about little details for this **cheese ball recipe**, and honestly, most of the questions come down to making sure you get that perfect texture for your **game day appetizer** or **holiday party food**! Don’t worry if you’re new to making these savory spreads; I’ve gathered the top things people always ask me below. We want success for every **simple holiday recipe** you try!
Can I use pre-shredded cheese for this cheese ball recipe?
Oh, I really, really advise against it! Pre-shredded cheese is fantastic for sprinkling on top of a casserole, but for a smooth **cream cheese dip** base like this, nope. Those bags of cheese are coated with anti-caking agents, usually cellulose or starch, to keep them from sticking together in the bag. When you mix that into your batter, those agents prevent everything from melting and blending beautifully. You end up with a slightly grainy, less homogenous mix. For the best results where the cheddar melts seamlessly with the cream cheese, please, please shred your own sharp cheddar fresh. It makes the final product so much better!
What is the best cheese for a cheese ball recipe?
The absolute key to this recipe being a winner is the foundation: a perfect mix of textures and fat content. The best cheese combination is always a high-quality brick of **sharp cheddar cheese** combined with full-fat cream cheese. The cream cheese is your binder and provides the necessary softness, and the sharp cheddar brings the real, necessary flavor punch. If you use only cream cheese, it ends up too soft and might not hold its shape well. If you use cheeses that are too hard, it won’t blend properly into that smooth appetizer spread we want. Stick to that 50/50 cream cheese to cheddar ratio, and you’ll nail this **classic appetizer** every single time!
How long can I leave the cheese ball out during serving?
This is an important food safety question, especially since this is a **cold appetizer recipe** based heavily on dairy. Because it’s made with cream cheese, you generally want to keep an eye on it. For best quality and safety, try to serve it straight from the fridge and aim to bring it back in within about two hours, especially if your party room is warm. If you notice it getting a little too soft while it’s sitting out, just do like I mentioned before: scoop it off the platter, wrap it tightly, and pop it back in the fridge for a short chill break. It will firm up perfectly and be ready for round two!
Can I make this recipe ahead of time, and how far in advance?
Yes, yes, and yes! This is one of the main reasons I absolutely love this **make ahead appetizer**. You can make the entire ball—mix, shape, and roll it in the pecans—up to three full days before you need it. Just make sure it’s wrapped super tightly in plastic wrap so it doesn’t pick up any funny smells from inside your fridge. When you’re ready to serve your **entertaining bites**, just unwrap it, put it on a pretty platter surrounded by your favorite crackers, and let it sit on the counter for maybe 15 minutes before anyone touches it. It tastes even better the next day!
Are there any variations besides the pecan coated cheese ball?
Definitely! While the pecan coated cheese ball is the standard, you can get creative with the exterior coating! If you’re looking for different **cheesy snack ideas**, try rolling the chilled ball in dried cranberries and chopped walnuts for a sweet-and-savory spin. Or, for a really fresh look, use finely chopped parsley mixed with dried dill for a vibrant green coating that hides how quick and easy this **simple finger foods** option is. You can even use crushed, toasted cornflakes for an extra-crispy texture if you dare mix it up a bit!
If you’re looking for more amazing dishes that require minimal effort but maximum flavor, you should check out my recipe for the best creamy classic egg salad recipe. It’s a totally different vibe but just as reliable!
Share Your Perfect Cheese Ball Recipe Experience
Okay, now that you have the secret to making the absolute best, no-fuss **cheese ball recipe**, I desperately want to hear about it! Seriously, I live for feedback on these party hits. Did you make the classic bacon version, or did you get brave and try the tangy goat cheese swap I mentioned? Don’t keep your secrets to yourself!
This whole blog is about building a community of cooks who aren’t afraid to make amazing food without spending their whole day in the kitchen. So, please, let me know how it went. Were your guests fighting over the last cracker? Did someone ask you for the recipe immediately?
Take a minute and leave me a rating right below this section—five stars if it saved your party, naturally! If you post a picture of your stunning **pecan coated cheese ball** on social media, tag me! I love seeing how you present these **entertaining bites** in your own homes. Or, if you think of a pairing I missed, like using bell pepper halves instead of crackers, let me know! I’m always looking to update my list of serving suggestions.
If you’re looking for even more reliable recipes that are guaranteed hits, head over to the main blog page and browse around. Happy dipping, everyone!
PrintThe Ultimate Easy Make-Ahead Classic Cheese Ball Recipe

Prepare this simple, classic cheese ball ahead of time for an impressive and crowd-pleasing appetizer perfect for any gathering.
- Prep Time: 15 min
- Cook Time: 0 min
- Total Time: 15 min
- Yield: 12 servings
- Category: Appetizer
- Method: No Bake
- Cuisine: American
- Diet: Vegetarian
Ingredients
- 8 ounces cream cheese, softened
- 8 ounces sharp cheddar cheese, shredded
- 1/4 cup finely chopped pecans, plus 1 cup for coating
- 2 tablespoons Worcestershire sauce
- 1 teaspoon onion powder
- 1/2 teaspoon garlic powder
- 1/4 teaspoon salt
- 1/4 teaspoon black pepper
- 2 slices bacon, cooked and crumbled (optional)
Instructions
- In a medium bowl, combine the softened cream cheese, shredded cheddar, 1/4 cup chopped pecans, Worcestershire sauce, onion powder, garlic powder, salt, and pepper. If using, mix in the crumbled bacon.
- Mix all ingredients thoroughly until well combined.
- Shape the mixture into a ball using your hands or a spatula.
- Place the remaining 1 cup of pecans on a shallow plate. Roll the cheese ball in the pecans until it is completely coated.
- Wrap the cheese ball tightly in plastic wrap.
- Refrigerate for at least 2 hours, or up to 3 days, before serving.
- When ready to serve, place the cheese ball on a serving platter and surround it with crackers, bread slices, or vegetable sticks.
Notes
- You can make this cheese ball up to three days in advance. Keep it tightly wrapped in the refrigerator.
- For a different flavor, substitute the pecans with chopped fresh parsley or dried cranberries mixed with walnuts.
- If the cheese ball softens too much while sitting out, return it to the refrigerator for 15 minutes to firm up before continuing to serve.
Nutrition
- Serving Size: 1/12 of ball
- Calories: 150
- Sugar: 1
- Sodium: 210
- Fat: 14
- Saturated Fat: 7
- Unsaturated Fat: 7
- Trans Fat: 0
- Carbohydrates: 2
- Fiber: 0
- Protein: 6
- Cholesterol: 35
