

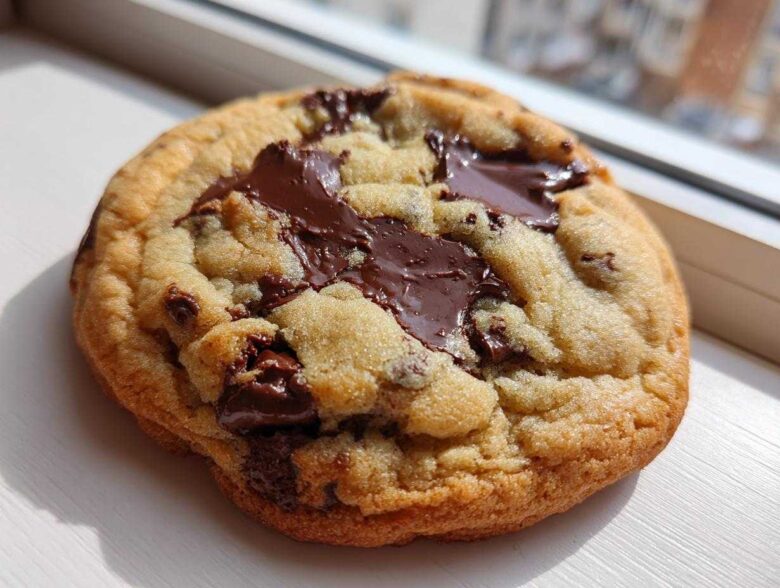
If you’ve ever walked into one of those fancy bakeries and smelled those giants of the cookie world—thick, packed with chocolate, and somehow perfectly soft right in the middle—and thought, “I could never make that,” well, I’m here to tell you, you absolutely can! Trust me on this one; I spent years messing around with temperature and sugar ratios until I cracked the code.
This, my friends, is my ultimate, bakery-style soft and chewy chocolate chip cookie recipe. We aren’t messing around with thin, boring cookies here. We are going for that irresistible combination: wonderfully chewy edges that snap just a tiny bit, and centers that are basically molten pools of chocolate. I learned some amazing things about manipulating butter flavor when working on my brown butter batch, but for this classic, we stick to precision. This cookie isn’t just a recipe; it’s the result of many, many batches of delicious trial and error right here in my own messy kitchen.
Why This is the Ultimate Chocolate Chip Cookie Recipe
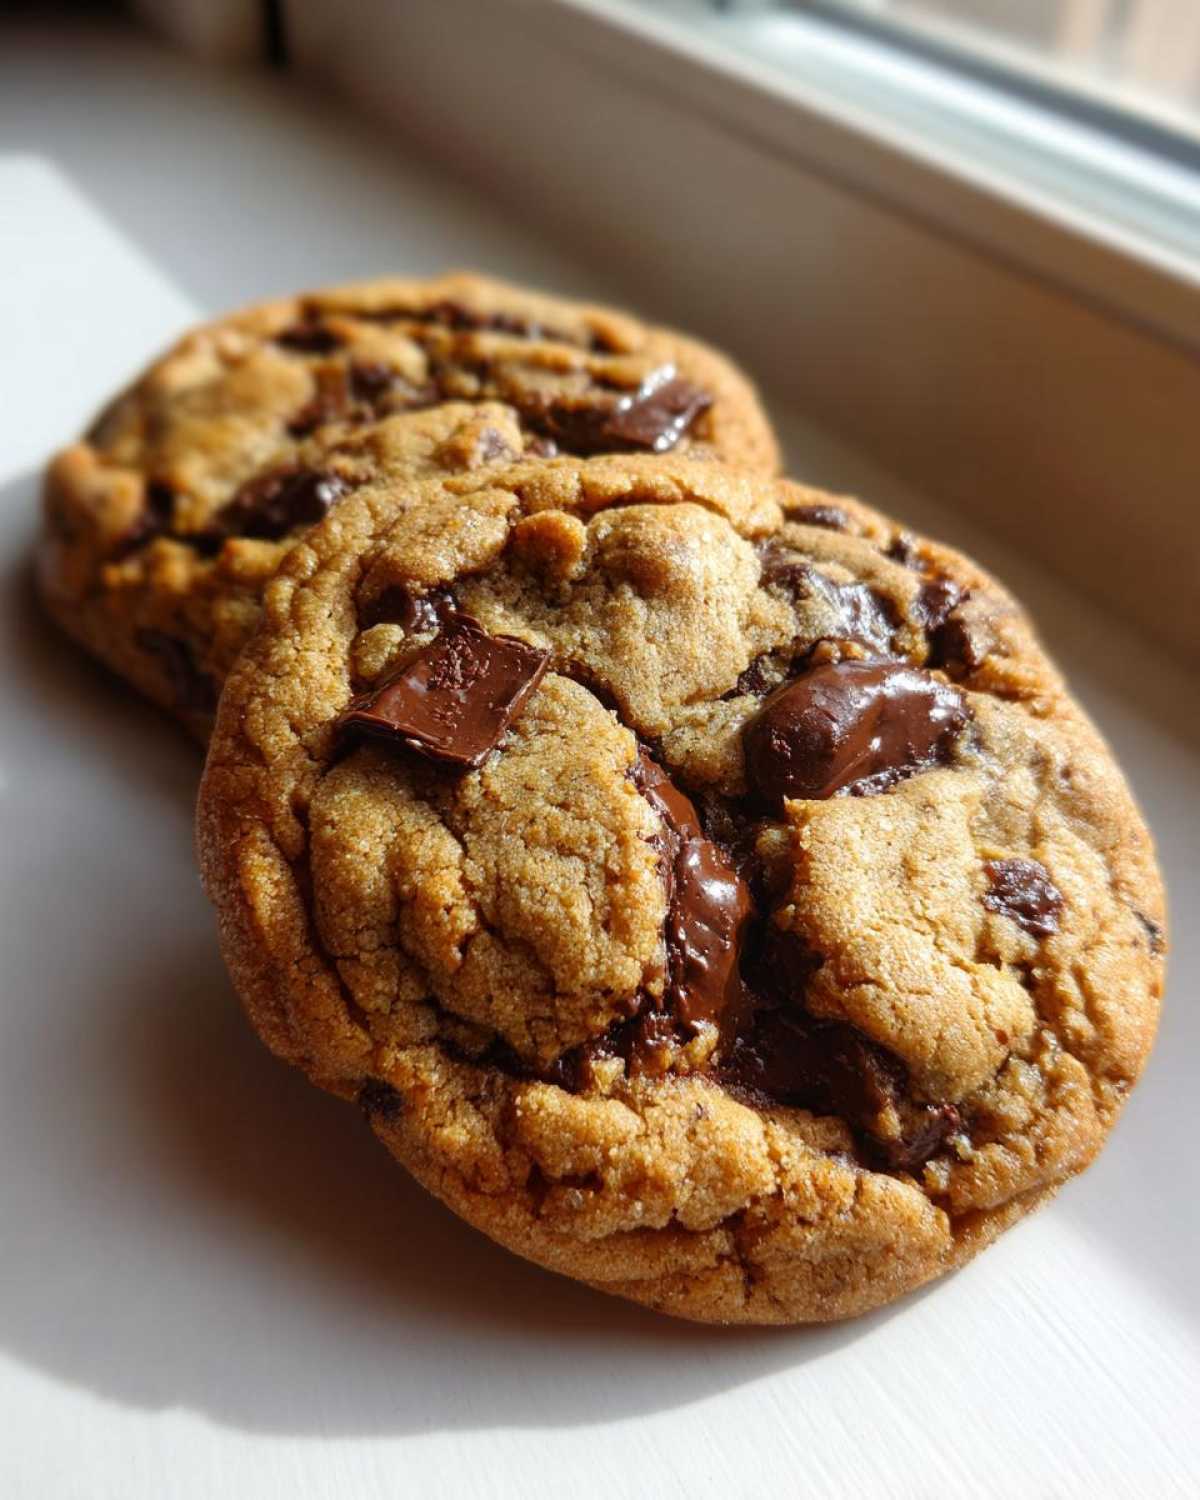
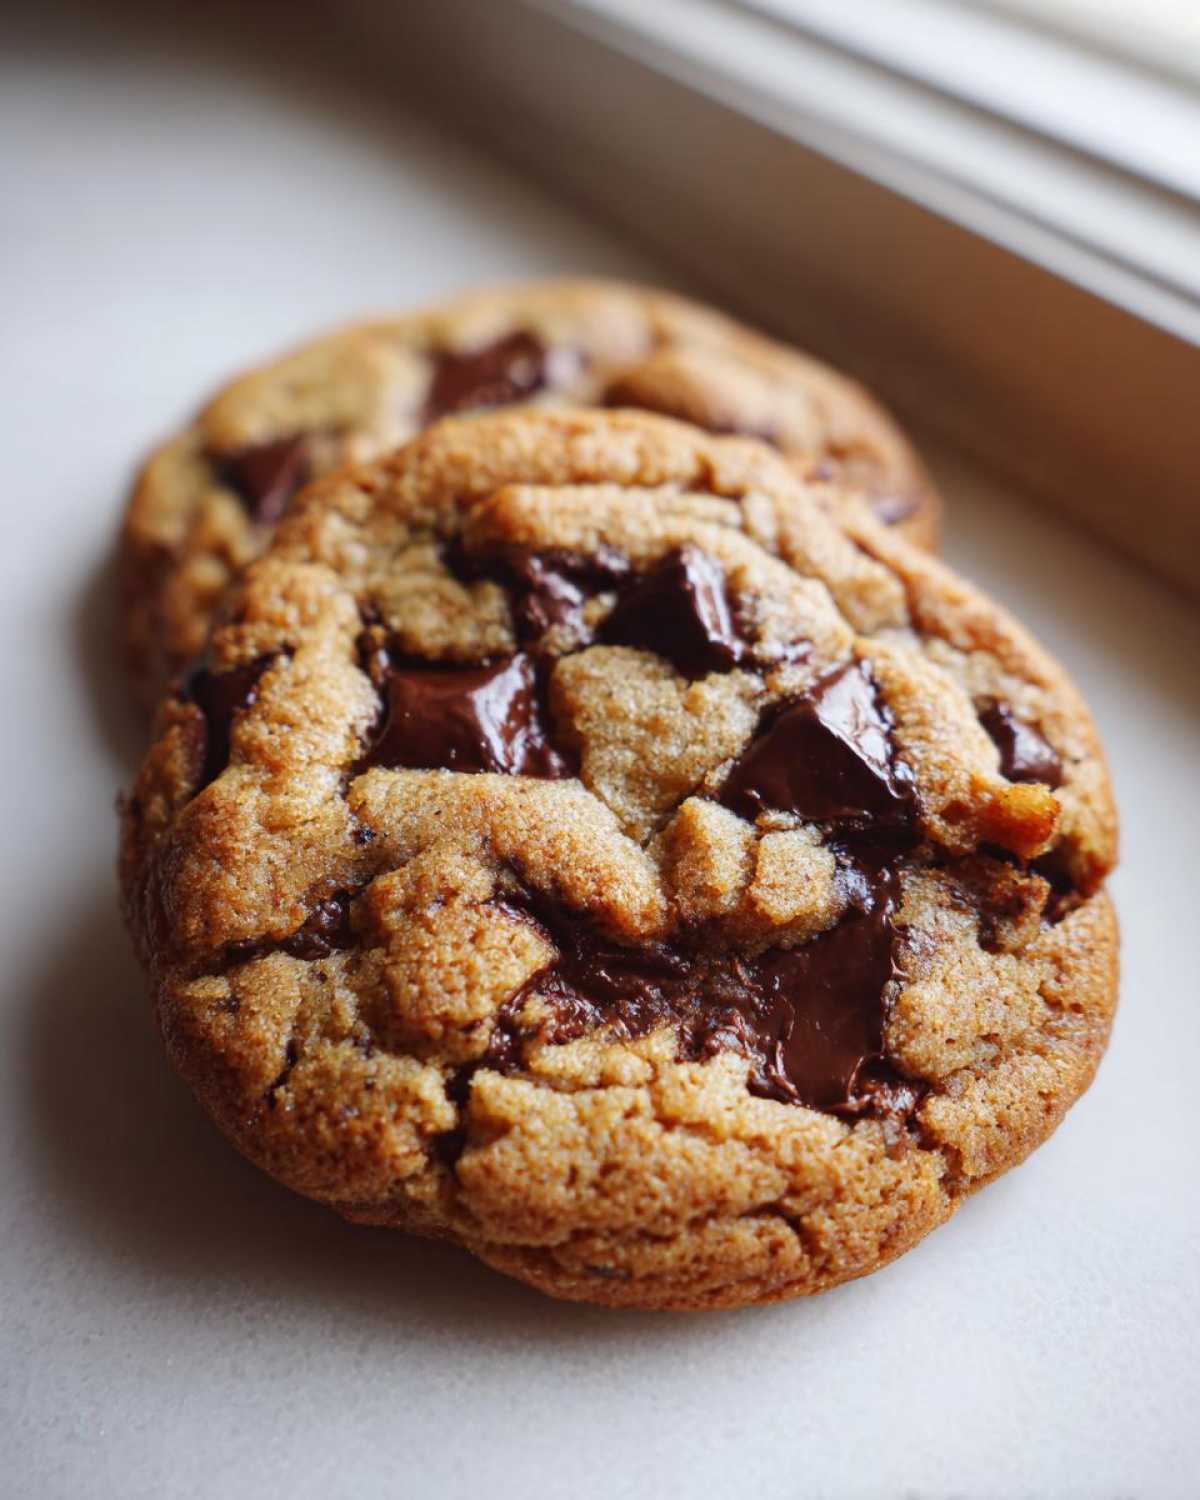
What makes this stand out from the thousand other attempts at the best chocolate chip cookie recipe out there? Honestly, it’s all about the texture contrast. We aren’t aiming for flat, crunchy discs. We want thick chocolate chip cookies that scream ‘bakery-fresh’ the second you grab one. I’ve tested everything—from using brown butter in my other batches to trying out different sugars—but this approach consistently delivers the most satisfying result. It’s why I keep coming back to this version!
This particular method nails the trifecta: soft interior, wonderfully chewy perimeter, and those precious puddles of chocolate in the center. The secret lies in starting with melted butter—it changes how the flour hydrates. Plus, a little bit of patience in the chilling phase locks in all that richness and prevents them from spreading too thin during baking. It’s a foolproof combination that yields the best soft chocolate chip cookies time and time again. If you check out my notes on getting the chewy snickerdoodles, you’ll see I take texture seriously!
Achieving Bakery Style Cookies at Home
Most recipes ask you to cream softened butter with sugar to incorporate air, right? Well, this recipe skips that step! We use melted butter that’s been allowed to cool slightly. This technique results in denser cookies because less air is whipped in initially. This density is exactly what you need for those sturdy, bakery style cookies with height. It avoids that light, cakey texture we are trying to avoid. If you want a fun alternative, look at how I manage moisture in my other favorite cookie recipe.
Tips for Gooey Center Cookies Every Time
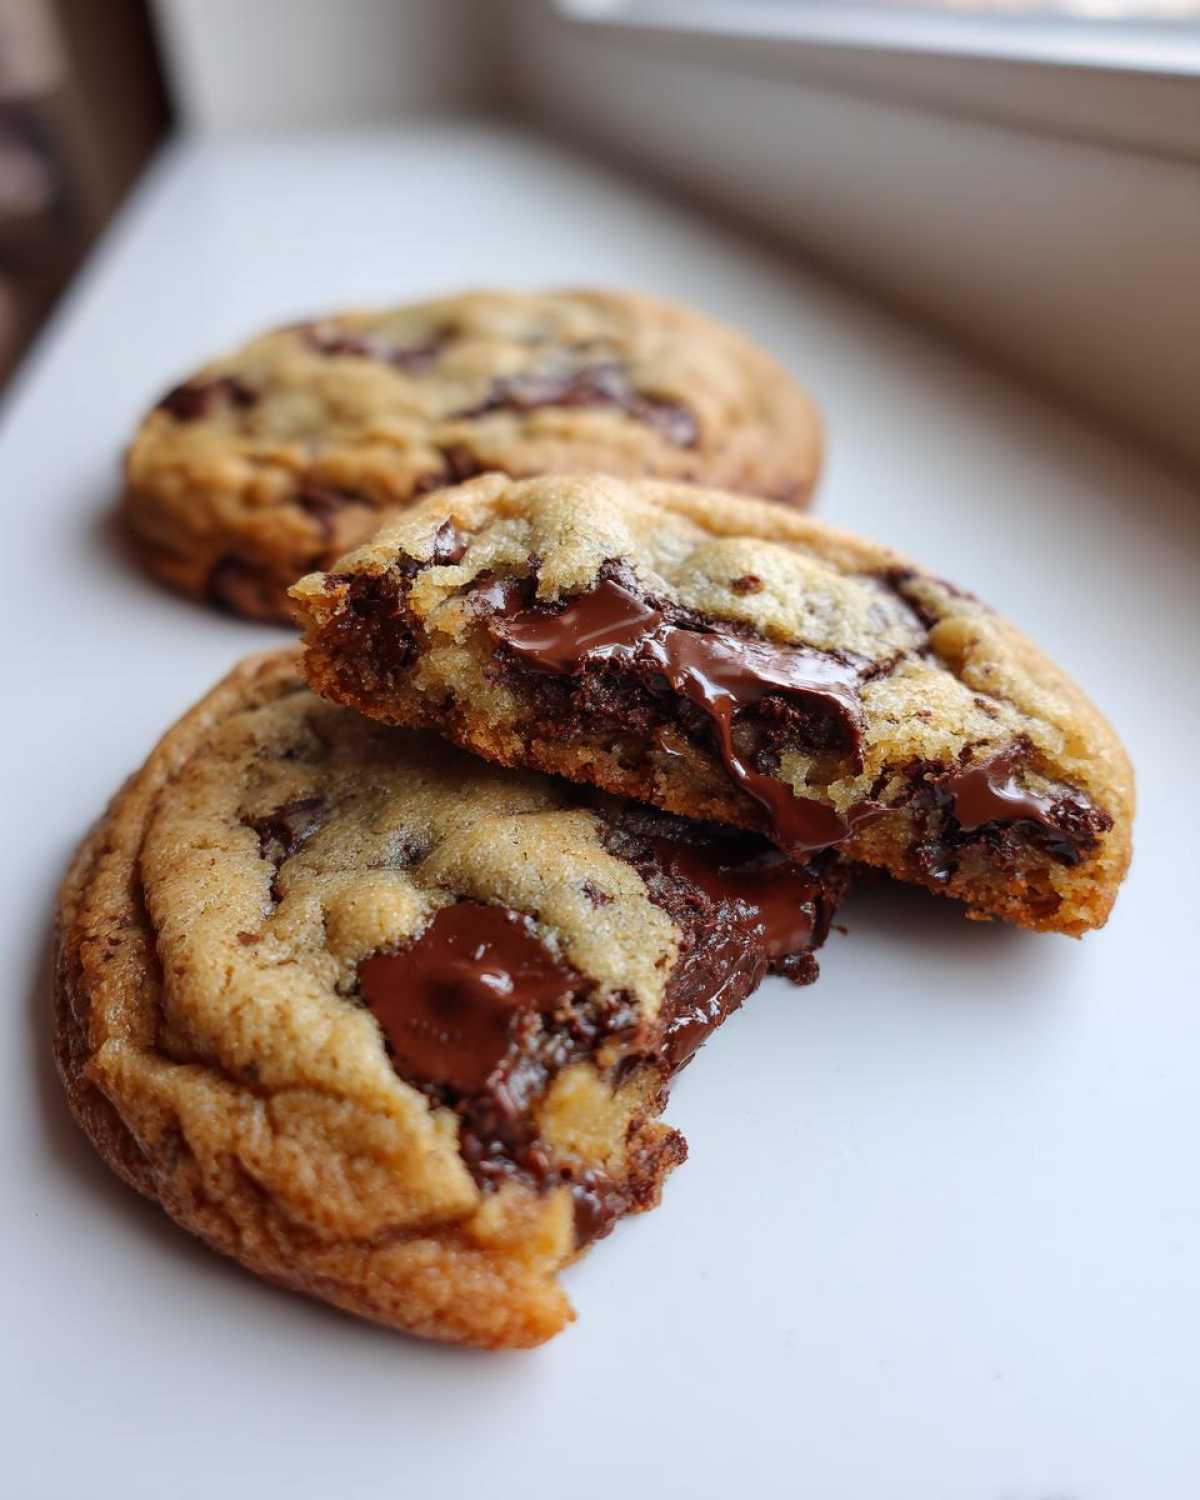
If you want that beautiful, molten middle, you have to be brave when you pull them out! Remember the ‘Note’ section? The biggest tip for gooey center cookies is to trust your eyes, not the clock exactly. Bake them until the edges are set and golden, but the very middle still looks just a little bit pale and underdone. They firm up perfectly on the hot pan after you take them out of the oven. Seriously, resist the urge to put them back in!
Gathering Ingredients for the Perfect Chocolate Chip Cookie
Okay, don’t panic about the list; it looks long, but I promise these are all standard pantry heroes coming together for something amazing. We are making sure we have the absolute best foundation for these chocolate chip cookies. Think of this as stocking your culinary secret weapon cabinet!
You need the right fats and sugars to get that chewiness we talked about. The brown sugar is key here for that deep, molasses flavor that makes these seem store-bought or, even better, bakery-bought. Also, please, please remember the eggs need to be at room temperature. It seems fussy, but it helps everything blend into one smooth, beautiful batter—that smoothness is vital for texture.
- 1 cup (2 sticks) unsalted butter, melted and slightly cooled down
- 1 cup packed light brown sugar (don’t pack it too tightly!)
- 1/2 cup granulated sugar
- 2 large eggs, and they have to be room temperature, you hear?
- 1 tablespoon of vanilla extract—use the good stuff if you have it!
- 2 1/4 cups all-purpose flour
- 1 teaspoon baking soda
- 1/2 teaspoon salt (I always use fine sea salt)
- 1 1/2 cups semi-sweet chocolate chips or chunks (I prefer chunks for texture!)
Essential Equipment for Making Your Chocolate Chip Cookie Dough
You don’t need fancy gadgets for this one, thank goodness! We’re keeping it simple and focusing on what gets the job done right. Having the right simple tools makes the whole process feel so much less rushed.
What you’ll need on your counter before you start mixing:
- A couple of good-sized mixing bowls—one for the wet stuff, one for the dry.
- A sturdy whisk or an electric mixer for blending the sugars and butter.
- A flexible rubber spatula for scraping down the sides.
- Baking sheets—line them! It saves so much cleanup later.
- Parchment paper, which is non-negotiable for perfect release!
That’s really it. Keep it organized, and you’re halfway to perfection.
Step-by-Step Instructions for Soft Chocolate Chip Cookies
Now we get to the fun part—turning those beautiful ingredients into dough! This process moves fast right at the beginning, so make sure your butter is melted and has cooled down for about ten minutes before you start. You don’t want scrambled eggs! The initial steps are all about getting that rich, buttery base ready before we introduce the dry stuff.
Once everything is combined, we have to respect the dough’s need for a little nap in the fridge. Don’t skip this, trust me; it’s the difference between a great cookie and an utterly spectacular one. This entire process, from start to finish, is designed to ensure you get the ultimate chewy chocolate chip cookies.
Mixing the Wet and Dry Components
First, whisk that slightly cooled melted butter vigorously with both sugars until it looks nice and smooth—that’s your base! Then, beat in the room temperature eggs one by one, followed by the vanilla. In a separate bowl, go ahead and whisk your flour, soda, and salt together thoroughly. Now, add those dry ingredients to the wet mixture on low speed just until you see no more white streaks. Stop immediately! Overmixing flour means tough cookies, and we absolutely don’t want that.
The Crucial Dough Chilling Step for Chewy Chocolate Chip Cookies
This step holds the secret to those wonderfully thick, chewy chocolate chip cookies. Cover that bowl—make sure it’s tightly covered—and stick it in the refrigerator. Thirty minutes is the minimum magic time, which is great if you need cookies quickly. But if you can manage 24 hours, wow, you get flavor development and maximum chewiness!
Chilling solidifies the fat, which means the dough spreads less when it hits the heat, guaranteeing those gorgeous, tall cookies. I’ve got a whole post detailing how making brown butter changes flavor profiles, which you can see right here, but chilling is key for texture in any great recipe.
Baking Temperature and Time for Classic Chocolate Chip Recipe
Alright, the dough is chilled—now for the real trial by fire! Preheating your oven correctly is seriously important here. We are setting our oven to 375 degrees Fahrenheit, which is about 190 degrees Celsius. That medium-high heat is what gives us that beautiful outer edge without totally drying out the middle. I always use an oven thermometer because I swear my dials lie to me!
Line those baking sheets with parchment paper; this helps achieve that slightly crispy edge without burning the bottom. Scoop out about two tablespoons of dough per cookie. Place them about two inches apart because even though we chilled the dough, they still need elbow room to spread a little.
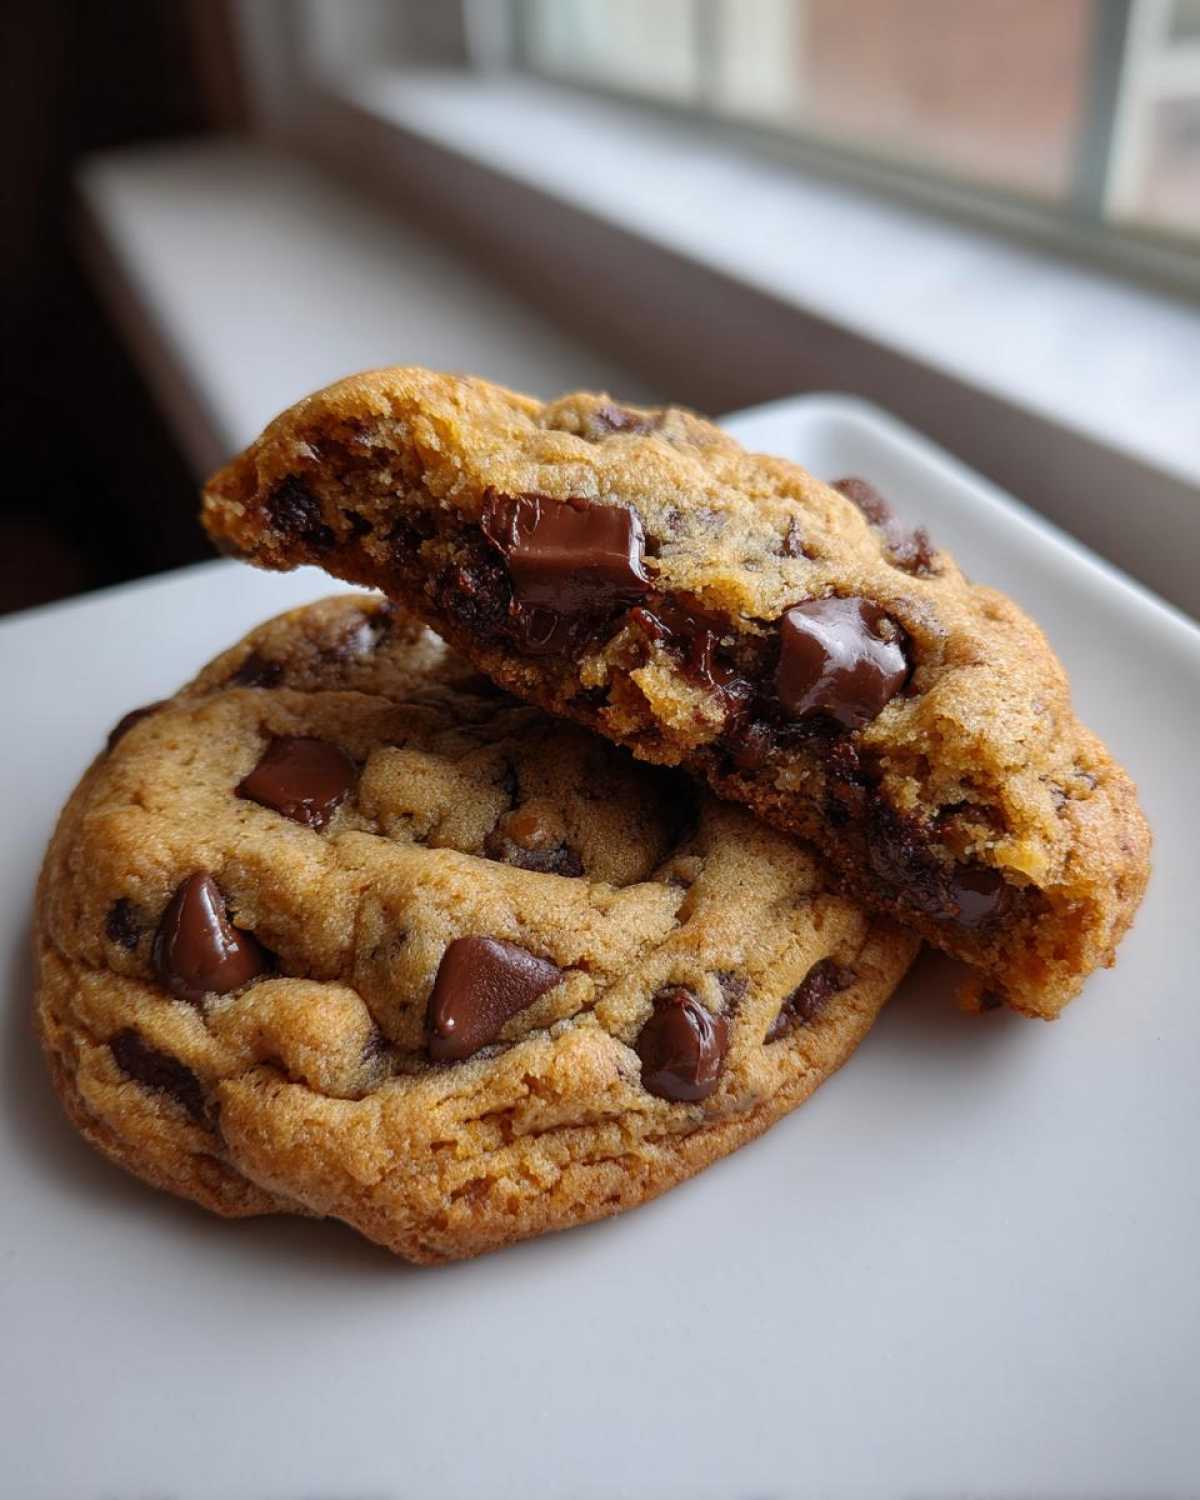
Now, watch them closely during the baking window, which is usually between 10 and 13 minutes. The trick to how to make perfect cookies every time is recognizing when they look *almost* done. You want those edges to look nicely golden brown and set. But the absolute center? It should still look slightly soft, maybe even a little puffy. If you wait until the center looks totally baked, by the time they cool down, they’ll be hard as rocks. Trust the gooey center!
For extra tips on ensuring flawless baking temperatures across your oven, check out my guide on the best cookie technique!
Ingredient Notes and Substitutions for Your Chocolate Chip Cookie
We went over the main cast of characters, but I know life happens, and sometimes your pantry isn’t a perfectly stocked bakery display case. That’s okay! Substitutions can totally work, especially if you know the role each ingredient plays. I always tell people that knowing the ‘why’ is more important than following directions blindly.
For instance, if you’re completely out of brown sugar? You can actually mix granulated sugar with a tablespoon of molasses per cup to fake it, but honestly, the molasses adds that specific depth we want for these butter cookies. If you use all white sugar, the cookie will be lighter in color and slightly crispier, losing some of that deep, chewy character. It won’t be bad, just different than the intended result!
Also, regarding the chocolate—use what you love! If semi-sweet isn’t hitting the spot, go for dark chocolate for a richer flavor, or even mix in some milk chocolate chips for extra sweetness. And just one last gentle reminder: room temperature eggs are non-negotiable! Cold eggs will seize up the melted butter, and suddenly, you’re fighting your batter instead of making those delightful melt in your mouth cookies. You can always make sure your eggs are ready by popping them in a bowl of warm tap water for five minutes before you start whipping things up. Check out my notes on ultra-fluffy bases in my butter cookie feature for more on fat science!
Troubleshooting Common Chocolate Chip Cookie Issues
So, you pulled your tray out, and something looks…off? Don’t you dare toss them! Even the best bakers have days where the dough rebels. Usually, if you’re having hiccups with these, it comes down to just one or two specific steps you might have missed or rushed.
If your cookies spread too thin and ended up looking like crispy lace, you probably skipped the chilling step. When the butter is too warm, it melts instantly in the oven, and BAM—you get a puddle. Next time, stick to the minimum 30 minutes in the fridge. That dough needs to firm up!
Now, if you find your treats are surprisingly hard and already taste stale, chances are they stayed in the oven just a touch too long. Remember, we are aiming for those slightly soft centers when you pull them out. They will continue to set on the hot pan. Next time, pull them out a minute earlier, and you’ll immediately notice the difference in chewiness!
Storage and Reheating Instructions for Soft Chocolate Chip Cookies
These chocolate chip cookies are honestly best eaten within about 24 hours, but who are we kidding? If you have leftovers, we need to make sure they stay soft!
Store your cookies in an airtight container at room temperature. Never put them in the fridge, or they’ll turn hard on you instantly! If they look a little sad on day two, don’t worry. Pop one on a microwave-safe plate for about 10 seconds. That heat reactivates the melted butter just enough to make it feel warm and gooey again. Perfection restored!
Frequently Asked Questions About This Chocolate Chip Cookie Recipe
I get asked about these cookies all the time, especially when friends try to shortcut the process! Here are my go-to answers for the most common curveballs people throw at this recipe. It’s usually just a small tweak away from being perfect!
Can I skip chilling the dough completely for a ‘no-chill cookie recipe’?
You absolutely can, but you have to know the trade-off! If you skip chilling entirely, you are opting for a quicker fix, but you sacrifice texture. A no-chill cookie recipe will spread much more in the oven. You’ll end up with flatter, crisper cookies instead of the thick, ultimate chocolate chip cookies we are aiming for here. They will still taste buttery and wonderful—they just won’t have that signature height.
How do I ensure I get those promised crispy edge cookies?
The crisp edges come from two things working together: making sure your butter is melted (which encourages spread) and baking them until the edges are truly golden brown while the center still looks soft. If you want extra crispness, use slightly more granulated sugar than brown sugar next time you bake, as white sugar yields crispness faster. This is the key to balancing that satisfying snap with the gooey center!
Is there a way to make this a super quick cookie recipe?
If you are desperately craving cookies *right now*, you can shorten the chilling time to about 30 minutes, which is definitely faster than an overnight chill. I have a separate post dedicated to a true quick cookie recipe if speed is your number one priority, but for this style, that minimum chill time is worth the wait. You just can’t rush fat crystallization!
What if I only have salted butter?
That’s fine! Since this is a classic chocolate chip recipe, salt is important for balancing the sweetness. If you only have salted butter, just skip adding the extra 1/2 teaspoon of salt called for in the dry ingredients. Taste the dough before adding any extra salt just to be safe. Remember, we want balance, not a salt lick!
PrintUltimate Bakery-Style Soft and Chewy Chocolate Chip Cookies

This recipe produces thick, bakery-style chocolate chip cookies with gooey centers and slightly crispy edges using simple techniques for a classic, buttery flavor.
- Prep Time: 15 min
- Cook Time: 13 min
- Total Time: 28 min
- Yield: About 2 dozen cookies
- Category: Dessert
- Method: Baking
- Cuisine: American
- Diet: Vegetarian
Ingredients
- 1 cup (2 sticks) unsalted butter, melted and slightly cooled
- 1 cup packed light brown sugar
- 1/2 cup granulated sugar
- 2 large eggs, room temperature
- 1 tablespoon vanilla extract
- 2 1/4 cups all-purpose flour
- 1 teaspoon baking soda
- 1/2 teaspoon salt
- 1 1/2 cups semi-sweet chocolate chips or chunks
Instructions
- Melt the butter and let it cool for about 10 minutes. In a large bowl, whisk the melted butter, brown sugar, and granulated sugar together until smooth.
- Beat in the eggs one at a time, then stir in the vanilla extract.
- In a separate medium bowl, whisk together the flour, baking soda, and salt.
- Gradually add the dry ingredients to the wet ingredients, mixing on low speed until just combined. Do not overmix.
- Fold in the chocolate chips.
- Cover the dough and chill in the refrigerator for at least 30 minutes, or up to 24 hours, for best texture.
- Preheat your oven to 375 degrees Fahrenheit (190 degrees Celsius). Line baking sheets with parchment paper.
- Scoop the dough into balls, about 2 tablespoons each, and place them 2 inches apart on the prepared sheets. For thicker cookies, press the dough balls slightly from the top down.
- Bake for 10 to 13 minutes, or until the edges are golden brown but the centers still look slightly soft.
- Let the cookies cool on the baking sheet for 5 minutes before transferring them to a wire rack to cool completely.
Notes
- For extra gooey centers, press a few extra chocolate chips onto the tops of the dough balls immediately after removing them from the oven.
- Using room temperature eggs helps the dough emulsify better, leading to a softer cookie structure.
- If you skip chilling the dough, the cookies will spread more and result in thinner, crispier edges.
Nutrition
- Serving Size: 1 cookie
- Calories: 220
- Sugar: 18
- Sodium: 110
- Fat: 13
- Saturated Fat: 8
- Unsaturated Fat: 5
- Trans Fat: 0
- Carbohydrates: 26
- Fiber: 1
- Protein: 2
- Cholesterol: 40
