

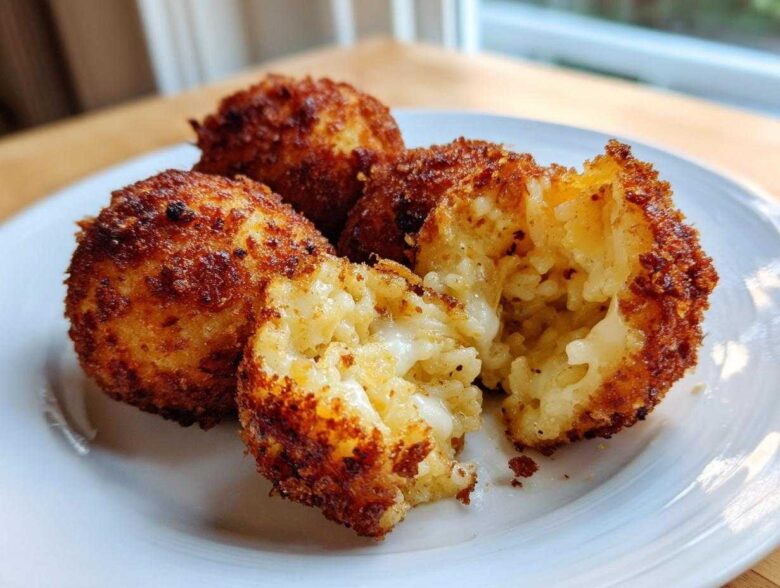
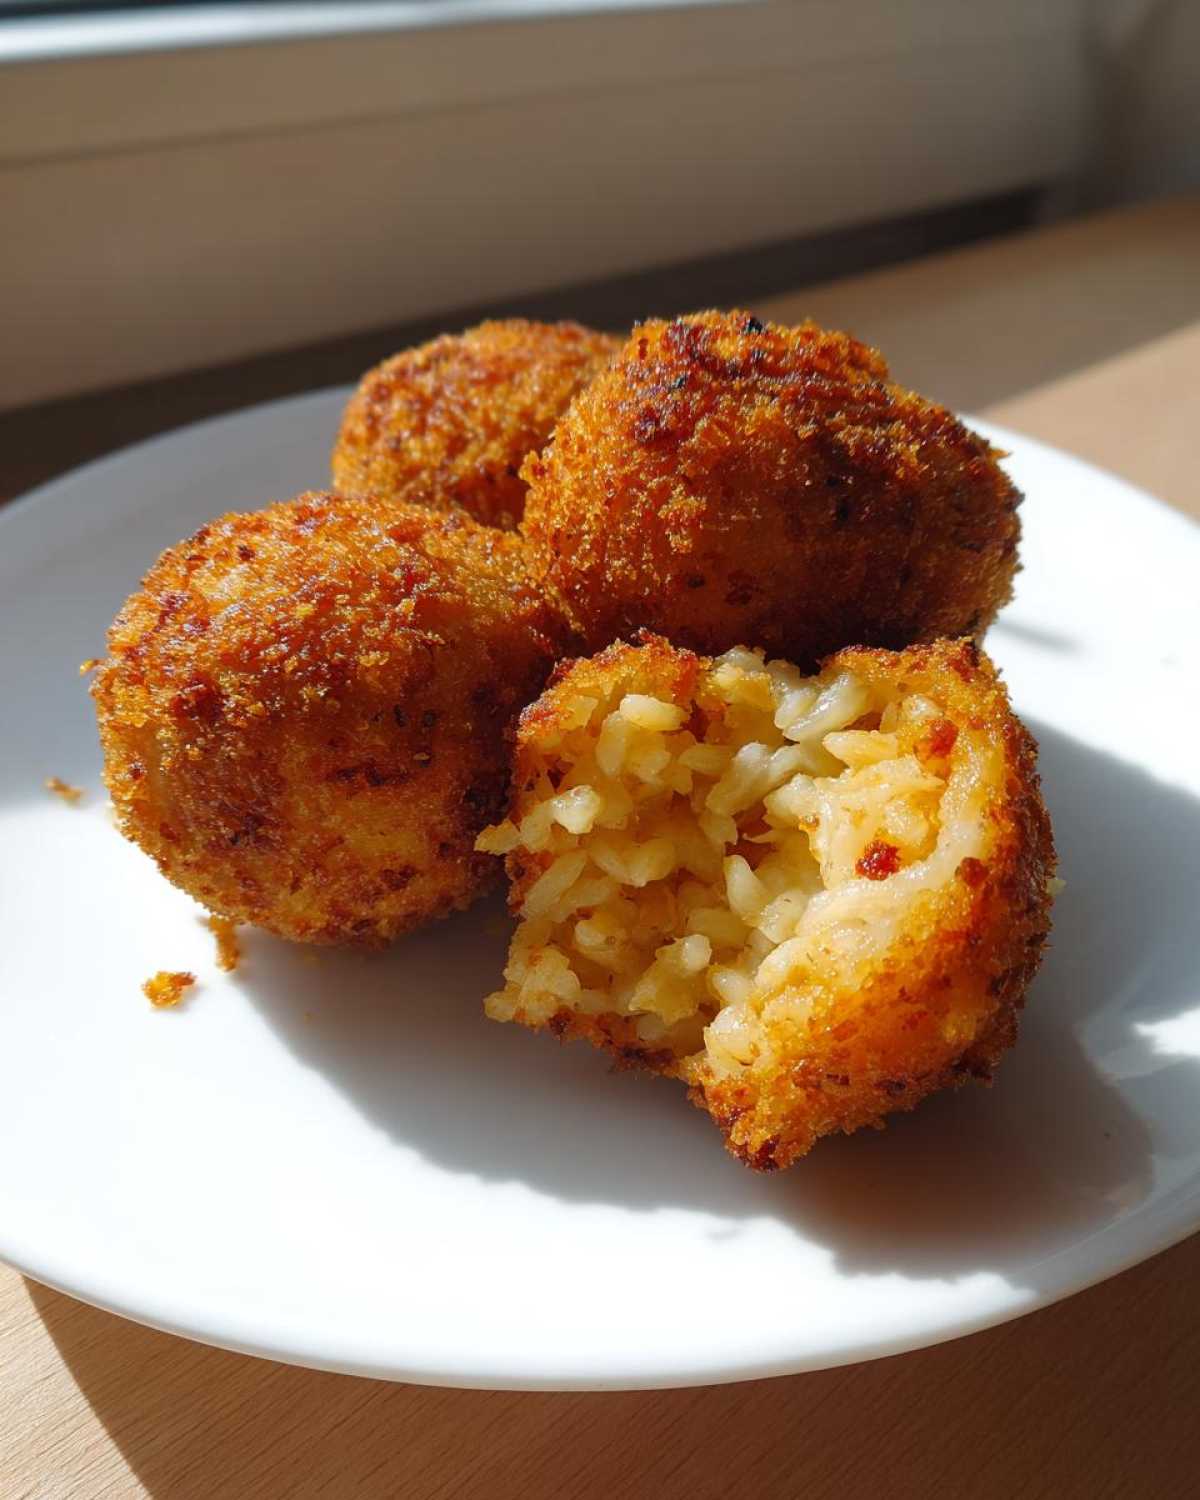
Oh my gosh, if you need me, I’ll be happily hiding in the kitchen devouring these golden, gooey pockets of happiness! There is nothing more comforting than a perfectly crispy exterior giving way to hot, melted cheese. Forget fancy dinner parties; these Easy Cheesy Arancini—or fried rice balls, as I call them when I’m being lazy—are the ultimate way to transform sad, leftover rice into the star of the show. Trust me, I spent ages figuring out the trick to getting them shatteringly crisp without being greasy. Once you nail that part, you’ll be rolling these babies all the time!
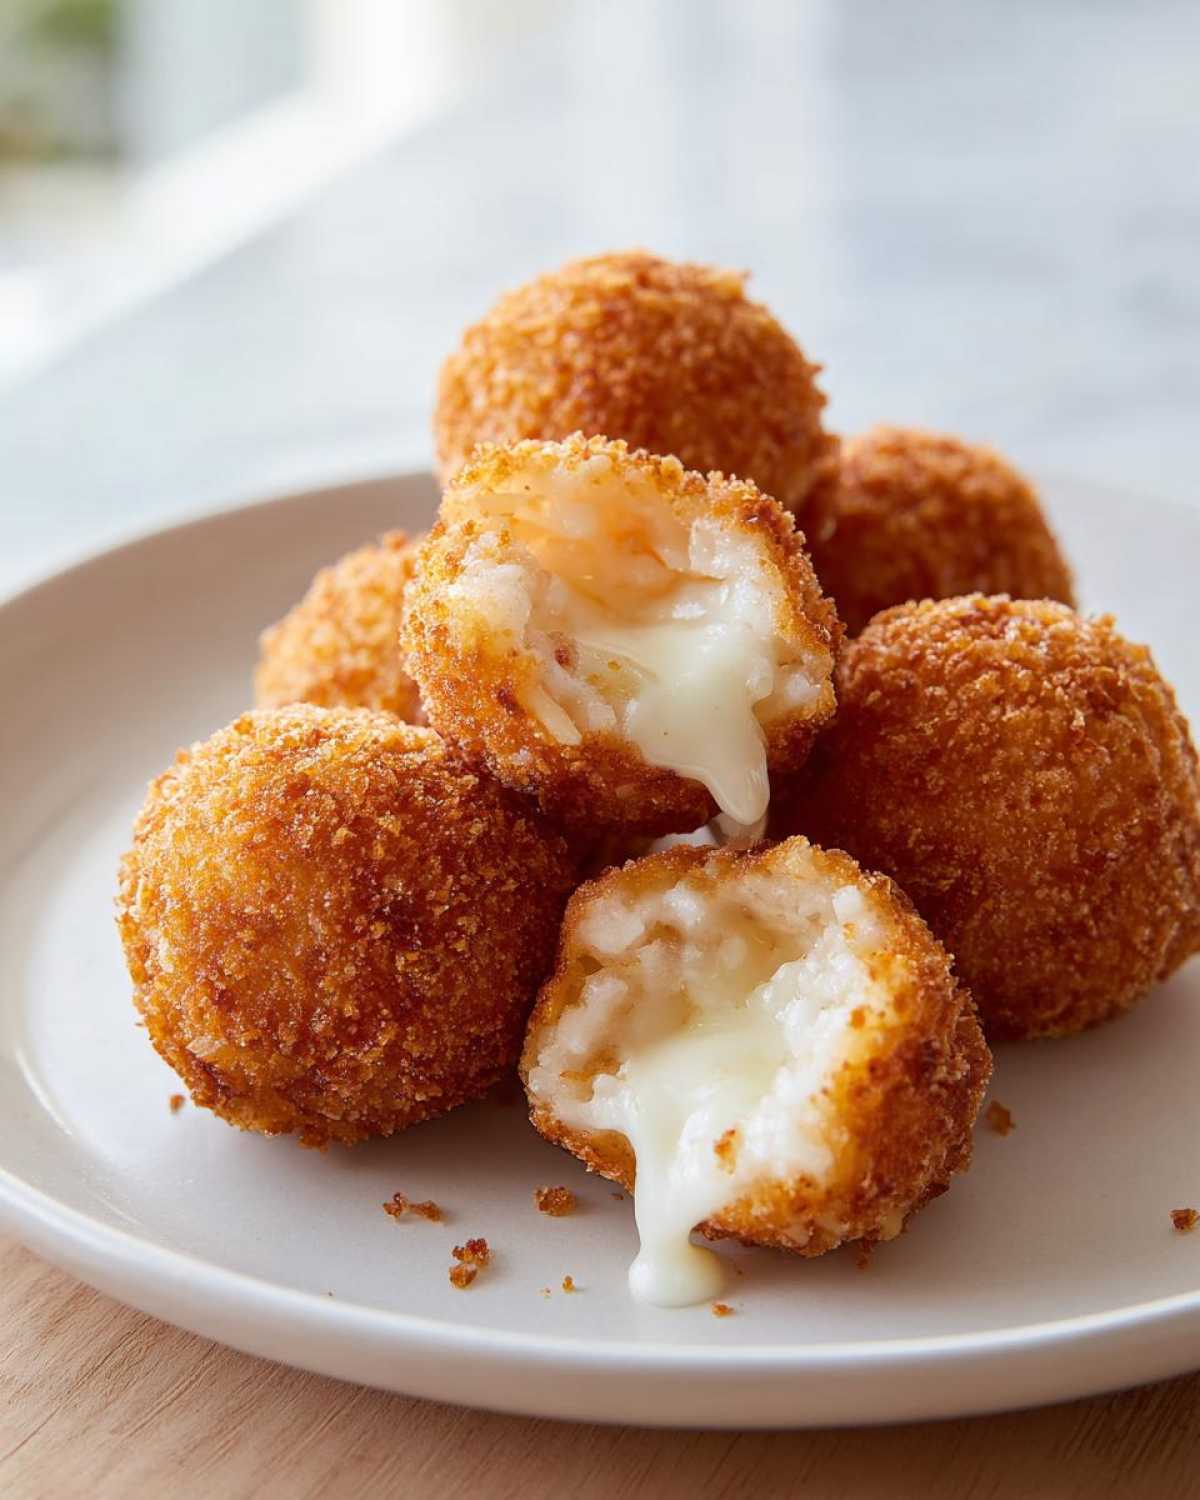
Why You Will Make These Easy Cheesy Rice Balls Again and Again
Why mess with perfection? These aren’t just leftovers; they are a complete transformation. I love making these because they are ridiculously fast, especially if you’re smart and have that cold rice waiting for you. Seriously, it’s the best Leftover Rice Hack you’ll ever learn.
- Total time is only 30 minutes—appetizer heaven made in a flash!
- That salty Parmesan combined with gooey mozzarella? Perfection.
- They freeze beautifully, making them the ultimate make-ahead snack.
- They satisfy that deep, savory, crispy comfort food craving instantly.
Essential Ingredients for Perfect Fried Rice Balls
Okay, let’s talk supplies. You don’t need a whole pantry for these, which is why they are so brilliant for using up what you have! For about a dozen wonderful homemade rice balls, you’ll need 3 cups of cooked, cold leftover rice—and I mean *cold*, folks. That’s the secret glue! Then we mix in 1 cup of shredded mozzarella because we want that glorious cheese pull, and 1/2 cup of Parmesan for that sharp, salty flavor hit. We bind it all with one lightly beaten large egg, 1/4 cup of flour to help things stick together, and basic salt and pepper.
Finally, for the outside layer, you absolutely want Panko breadcrumbs if you can grab them! They give you that high-quality crispiness that regular breadcrumbs just can’t match when frying. You’ll also need a bit of flour for dredging and plenty of vegetable oil when it comes to the actual frying step. Keep everything measured out, and you are halfway to golden perfection!
Ingredient Notes and Substitution Tips for Your Rice Balls
The temperature of the rice is non-negotiable; seriously, use rice straight from the fridge. Warm rice gets gummy and makes it impossible to keep those tight little balls together! We use mozzarella for the stretch and Parmesan for the flavor depth, so try not to swap those out unless you must—maybe use Provolone if short on mozzarella.
If Panko is nowhere to be found, finely crushed saltine crackers work in a pinch, but they change the texture a bit. Also, if you don’t have regular vegetable oil, canola oil works just as well for maintaining that clean frying temperature. Remember, the success of these rice balls hinges on that cold rice base!
Step-by-Step Instructions: How to Make Crispy Rice Balls
Alright, here is where the magic happens! This process is shockingly quick, but you have to move with purpose. We are aiming for a lovely, Crispy Rice Appetizer, and that means paying attention to the mixing and the heat. Don’t rush the shaping, but don’t dawdle either, or the mixture will get warm and floppy on you!
Mixing and Shaping Your Rice Balls
First up, grab a bowl and gently combine the cold rice, the mozzarella, the Parmesan, the egg, flour, salt, and pepper. I mean *gently*—we don’t want to smash the rice grains! Mix until it’s *just* combined, no more. Next, scoop out about two tablespoons of the mixture and roll it between your palms into a tight ball shape. If the mixture feels like it’s fighting you because it’s sticking everywhere, just quickly wet your hands with a little cold water; that stops the mess immediately.
Coating and Frying the Fried Rice Balls
Once those beauties are shaped, roll every single ball completely in your breadcrumbs, giving them a nice, firm press so those crumbs really stick. Now, the frying part! Pour about two inches of vegetable oil into a heavy pot and get it up to 350°F (175°C). This temperature is key for those perfect Golden Fried Spheres! Carefully drop 3 or 4 balls in—never overcrowd the pot, or the oil temperature will crash! Let them bubble and turn deep golden brown for about 3 to 4 minutes, turning them so they cook evenly. Use a slotted spoon to pull them out and let them drain on paper towels immediately. Serve them hot so that cheese is still molten!
Tips for Success: Mastering Homemade Rice Balls
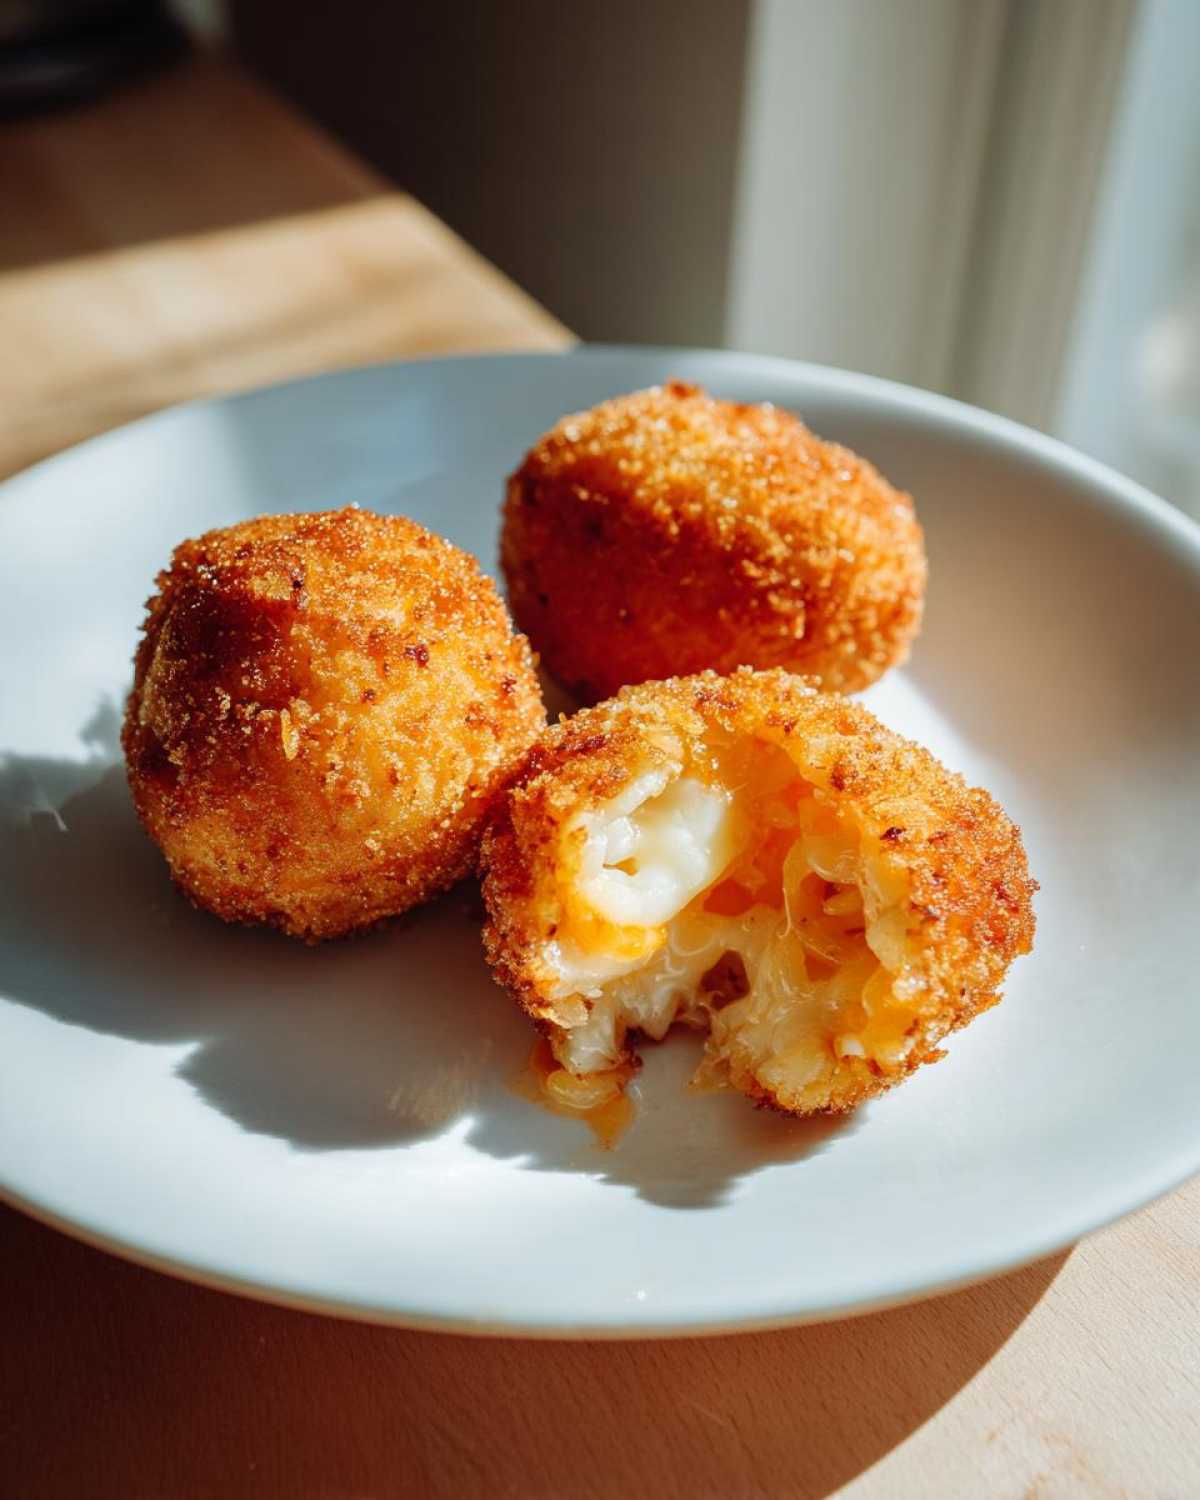
You know, even with the recipe right in front of you, I find that paying attention to a few tiny details makes the difference between good homemade rice balls and absolutely *unforgettable* ones. The number one thing I stress is the cold factor. If your rice mixture is even slightly warm when you start rolling, it gets super soft, and you’ll end up with flat, greasy blobs instead of perfect spheres. So, if the day is hot, roll fast!
Handling stickiness is easy; just keep a small bowl of water near your rolling station and dip your hands quickly between every few balls. Don’t be afraid to really press those Panko crumbs onto the surface during the dredging step, either. That coating is your armor against the hot oil!
If you’re looking to explore the Best Rice Ball Filling territory, remember those optional additions I mentioned? Stirring in finely chopped cooked ham or some frozen peas (make sure they’re thawed first!) right into the cheese mixture adds another layer of texture and flavor. It’s a great way to use up little bits of forgotten leftovers, too!
Variations on Classic Italian Rice Balls
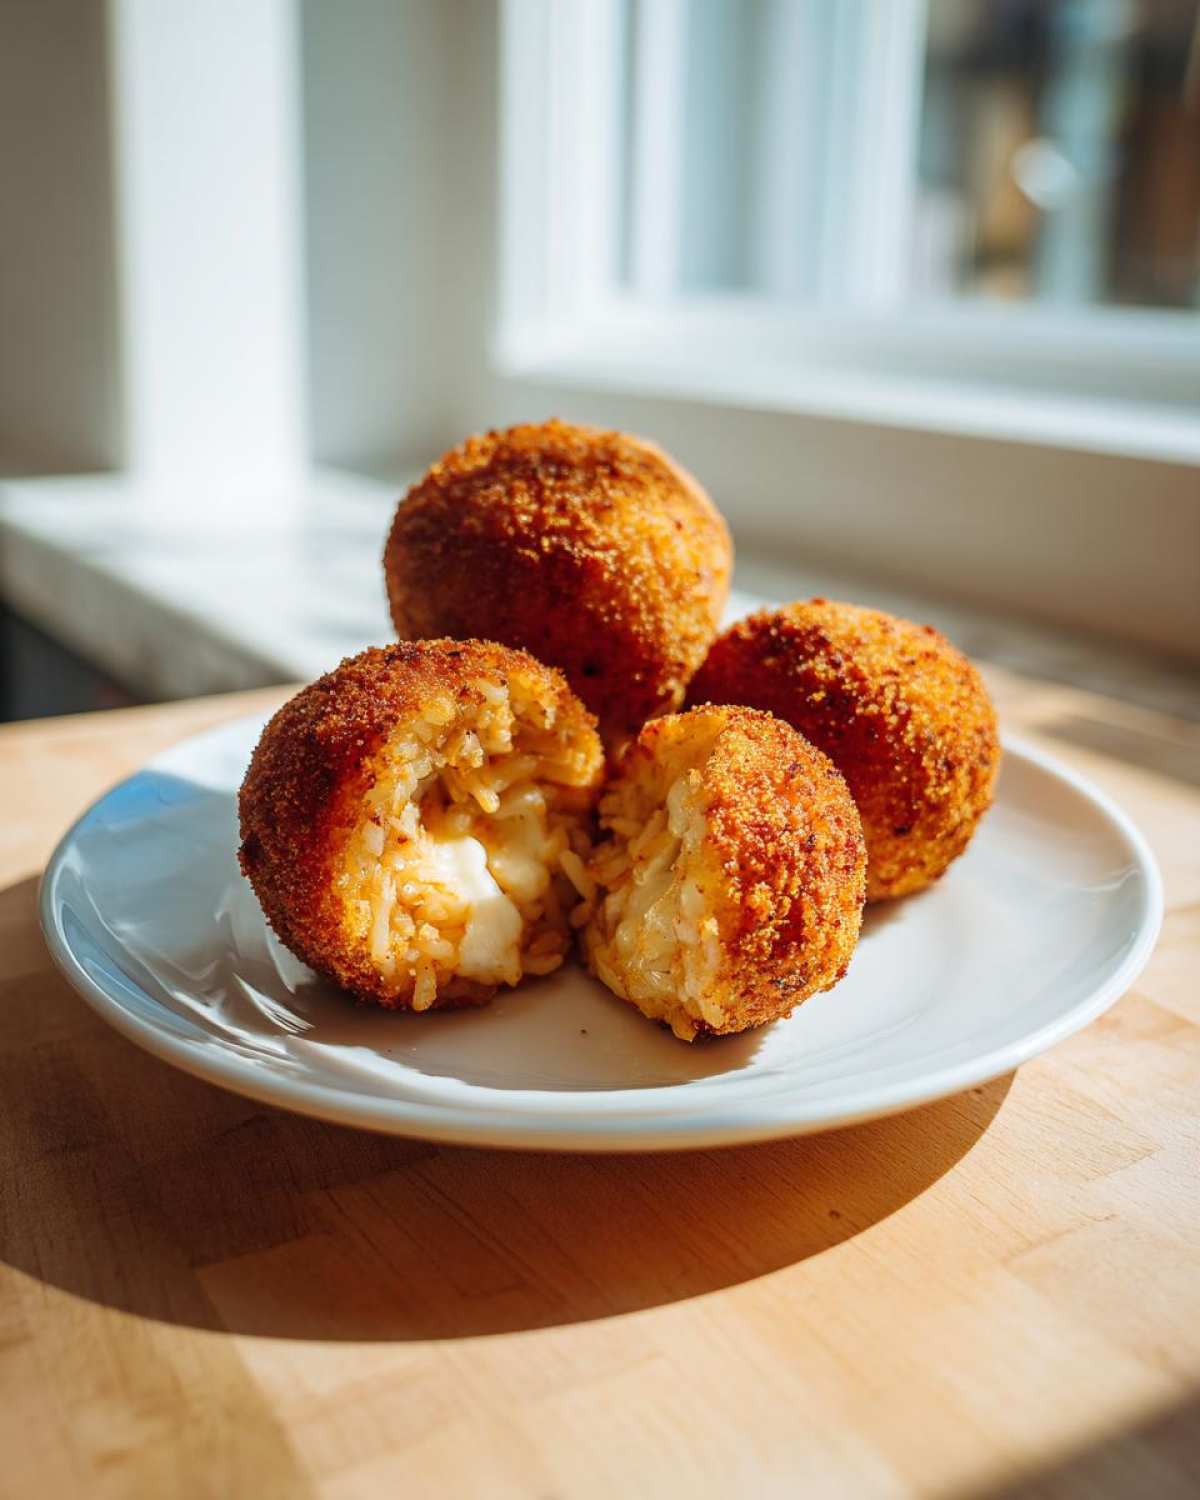
While the cheesy, savory Arancini is certainly my go-to comfort food, sometimes you need to mix things up based on what you have or what mood you’re in! Showing off a little recipe versatility is always fun, and these rice balls are surprisingly adaptable. You can definitely veer away from mozzarella and Parmesan if you’re feeling adventurous.
If you want a great meatless option that still offers incredible flavor, we can go straight for Vegetarian Rice Balls! Instead of meat, try finely chopping mushrooms—sautéed first so they release all their water—and mixing them in with the cheeses. Or, for something a bit bolder, swap out half the mozzarella for smoked provolone and add a teaspoon of dried oregano and a dash of garlic powder to the mix. That smoky flavor is fantastic.
For those who like a little heat, a spicy variation is super easy. When you mix your rice, toss in a tablespoon of finely minced jalapeño (seeds removed, of course!) and use Pepper Jack for your melting cheese instead of mozzarella. A little cayenne in the flour coating won’t hurt either! They turn out bright, exciting, and perfect for serving alongside a cool ranch dip.
Serving Suggestions for Your Cheesy Rice Balls
Now that you’ve successfully fried up these amazing, golden orbs of cheesy goodness, the next question is: what do we eat them with? Honestly, they are fantastic standing all by themselves—I can’t tell you how many times I’ve made a batch just to eat them plain standing over the sink! But if you’re feeling generous and want to present them nicely, dipping sauces are definitely the way to go.
Classic Italian style demands a really bold, warm tomato or marinara sauce. You want something that has a nice garlic and herb punch to cut through the richness of the fried coating and the melted mozzarella inside. If you have a favorite homemade marinara simmering, that’s the winner right there. If you’re feeling less traditional, you can never go wrong with a creamy garlic aioli or even a spicy ranch dressing—that cool tang contrasts the heat so nicely!
People often ask me if these count as a vegetable side dish, and well, no, they don’t, bless their hearts! But they absolutely can substitute for starchy Simple Sides with Rice dishes like plain mashed potatoes or rice pilaf when you’re serving something like roasted chicken or meatballs. They are hearty enough to stand in for bread on the side of a big bowl of soup, too. Keep a bowl of them warm on the counter for parties, and watch them disappear before the main course even hits the table!
Storage and Reheating Instructions for Leftover Rice Balls
Okay, you’ve made an entire batch, and somehow, you have a few of these glorious make ahead rice appetizer bites left over? Don’t panic! They are still delicious, but we need to respect that crispy coating, and that means no soaking them in steam.
To store them properly, let the rice balls cool completely on a wire rack first. If you trap any heat inside them, they’ll get soggy, and we just can’t have that. Once fully cooled, tuck them into an airtight container layered with a paper towel—the towel is important because it catches any stray moisture.
They keep really well in the fridge for about three days. Now, for the reheating—this is crucial for bringing back that Italian grandma-approved crunch!
Do NOT use the microwave! Microwaves are the enemy of crispy coatings; they just turn everything soft and chewy. Honestly, the best way is to pop them in an air fryer if you have one. Set it to about 375°F and let them go for 4 to 6 minutes, checking halfway through. They heat up fast and get that gorgeous crust back!
If you don’t have an air fryer, the standard oven works great too. Spread the cooled rice balls on a baking sheet and bake them at 375°F (190°C) for about 10 to 12 minutes. You just want them heated through with a little crisp returning to the breading. If you follow these steps, your leftovers will taste almost as good as fresh!
Frequently Asked Questions About Making Rice Balls
I always get so many great questions when people try this recipe for the first time! It’s a fantastic Quick Rice Snack Idea, but sometimes little execution questions pop up. Here are a few things I hear most often when folks are preparing their Stuffed Rice Balls Recipe.
Can I bake these rice balls instead of frying them?
Oh, definitely, you can bake them, and I totally recommend it if you’re watching the oil consumption! However, you have to adjust your expectations a little bit. Baked rice balls are wonderful—they’ll be golden and satisfying—but they will never achieve that deep, craggy, perfectly sealed crunch that deep frying provides. If you bake, spread them on a greased baking sheet, spray them lightly with cooking oil first, and bake at about 400°F (200°C) for 18 to 20 minutes, flipping halfway through.
What kind of rice works best for rice balls?
This is such an important question! For the best ability to stick together and hold that cheesy center, you absolutely want to stick with a short-grain or medium-grain rice, like Arborio or Calrose. These varieties have higher starch content, which is what makes them sticky and pliable when cold. Long-grain rice, like Basmati or Jasmine, tends to stay too separate and fluffy, meaning your Comfort Food Rice Bites might crumble apart when you try to roll them or drop them in the oil!
Can these be made ahead of time?
Yes! In fact, I prefer making the uncooked balls ahead of time. You can roll all your balls, place them on a parchment-lined tray, and freeze them individually until solid—this is a great method for a Make Ahead Rice Appetizer plan. When you’re ready to cook them, just add an extra 3 or 4 minutes to the frying time, and make sure your oil is nicely hot!
What is the best way to serve Onigiri rice balls if I don’t want fried ones?
That is a great question, but this specific recipe is for the Italian Arancini style, which relies on frying that starchy, cheesy base for its texture! If you are looking to make Japanese Onigiri, which tends to be baked or just served as-is, you’ll want to ditch the cheese and flour binder entirely. Onigiri usually uses plain sticky rice, a different filling like tuna mayo or salmon, and often has seaweed wrapped around it. They are a totally different, but equally delicious, type of Easy Lunchbox Rice Idea!
Share Your Experience Making These Rice Balls
Now that you’ve mastered the art of turning leftover grains into pure gold, I genuinely want to know how it went! Did you manage to get that perfect, shatteringly crisp exterior on your first go-around? Did you stick to the classic mozzarella mix, or did you sneak in some sneaky ham like I suggested?
Please take a moment down in the comments below to give this recipe a star rating if you loved it—it really helps other cooks decide if they should dive into this rice balls adventure!
And seriously, post a picture if you can! I love seeing what fillings people come up with; maybe you did something totally brilliant that I haven’t even thought of yet. Happy rolling, my friends!
PrintEasy Cheesy Arancini Using Leftover Rice

Make crispy, cheesy Italian Arancini quickly using leftover cooked rice. These fried rice balls make a satisfying appetizer or snack.
- Prep Time: 15 min
- Cook Time: 15 min
- Total Time: 30 min
- Yield: About 12 balls
- Category: Appetizer
- Method: Frying
- Cuisine: Italian
- Diet: Vegetarian
Ingredients
- 3 cups cooked, cold leftover rice
- 1 cup shredded mozzarella cheese
- 1/2 cup grated Parmesan cheese
- 1 large egg, lightly beaten
- 1/4 cup all-purpose flour
- 1 teaspoon salt
- 1/2 teaspoon black pepper
- 1 cup breadcrumbs (Panko preferred)
- Vegetable oil, for frying
Instructions
- In a medium bowl, combine the cold rice, mozzarella cheese, Parmesan cheese, egg, flour, salt, and pepper. Mix gently until just combined. Do not overmix.
- Scoop about 2 tablespoons of the rice mixture and roll it firmly into a tight ball. If the mixture is too sticky, lightly wet your hands.
- Place the breadcrumbs in a shallow dish. Roll each rice ball completely in the breadcrumbs, pressing lightly so they adhere well.
- Pour about 2 inches of vegetable oil into a deep, heavy-bottomed pot or Dutch oven. Heat the oil over medium-high heat until it reaches 350°F (175°C).
- Carefully place 3 to 4 rice balls into the hot oil, ensuring you do not overcrowd the pot.
- Fry for 3 to 4 minutes, turning occasionally, until the exterior is deep golden brown and crispy.
- Remove the arancini with a slotted spoon and place them on a plate lined with paper towels to drain excess oil.
- Serve immediately while the cheese is melted.
Notes
- For best results, ensure your leftover rice is completely cold before mixing.
- If you do not have leftover rice, cook short-grain rice and spread it thinly on a baking sheet to cool quickly.
- You can add 1/4 cup of finely chopped cooked peas or ham to the rice mixture for extra flavor.
Nutrition
- Serving Size: 2 balls
- Calories: 280
- Sugar: 1
- Sodium: 450
- Fat: 14
- Saturated Fat: 6
- Unsaturated Fat: 8
- Trans Fat: 0
- Carbohydrates: 28
- Fiber: 1
- Protein: 10
- Cholesterol: 45
