

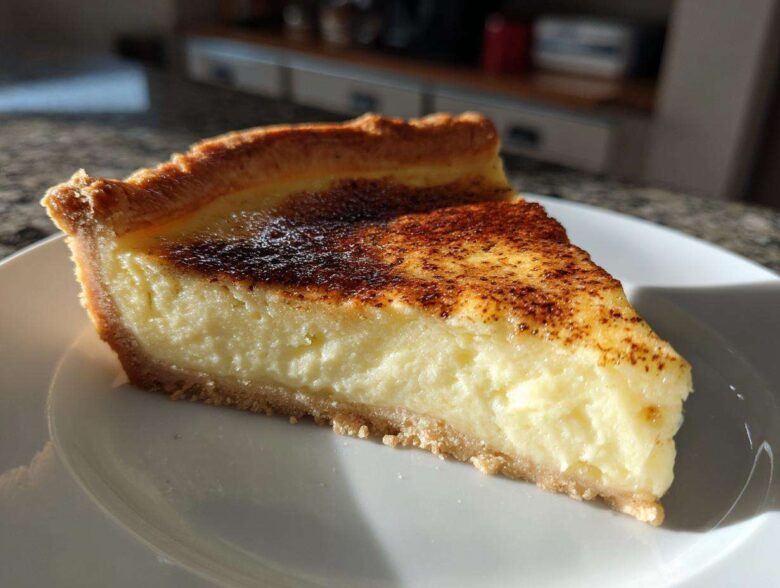
When the weather turns cool, or sometimes, when you just need a hug you can eat, there’s nothing quite like a slice of classic baked dessert. Forget fussy techniques; we are diving straight into what I think is the absolute best comfort food: our Fail-Proof Old Fashioned Egg Custard Pie. This isn’t just any dessert; it’s the blueprint for the perfect creamy **egg custard** filling. Amara practically grew up on recipes like this—her grandmother’s touch is definitely felt in how simple and reliable we made this pie. Trust me when I say this traditional dessert will be on repeat all year!
Why This Old Fashioned Egg Custard Pie is Your New Favorite
We aren’t just giving you another standard recipe here; we’re handing you the keys to guaranteed comfort food success. This pie hits all those notes people look for when they search for a classic, homemade dessert. It’s simple, deeply satisfying, and thanks to our careful steps, it’s completely trustworthy. We know you want reliability, and this old-fashioned approach delivers!
- It’s the definition of an old fashioned dessert—nostalgia in every slice!
- It uses only pantry staples, making it one of the best easy holiday pies you can whip up last minute.
- Most importantly? It delivers that melt-in-your-mouth texture every single time. Honestly, you should also check out our tips on making creamy classic egg salad because smooth textures are our specialty!
We incorporated some tricks that Tariq taught us, ensuring that even the most nervous baker walks away with perfect results. Check out how we guarantee your success right here!
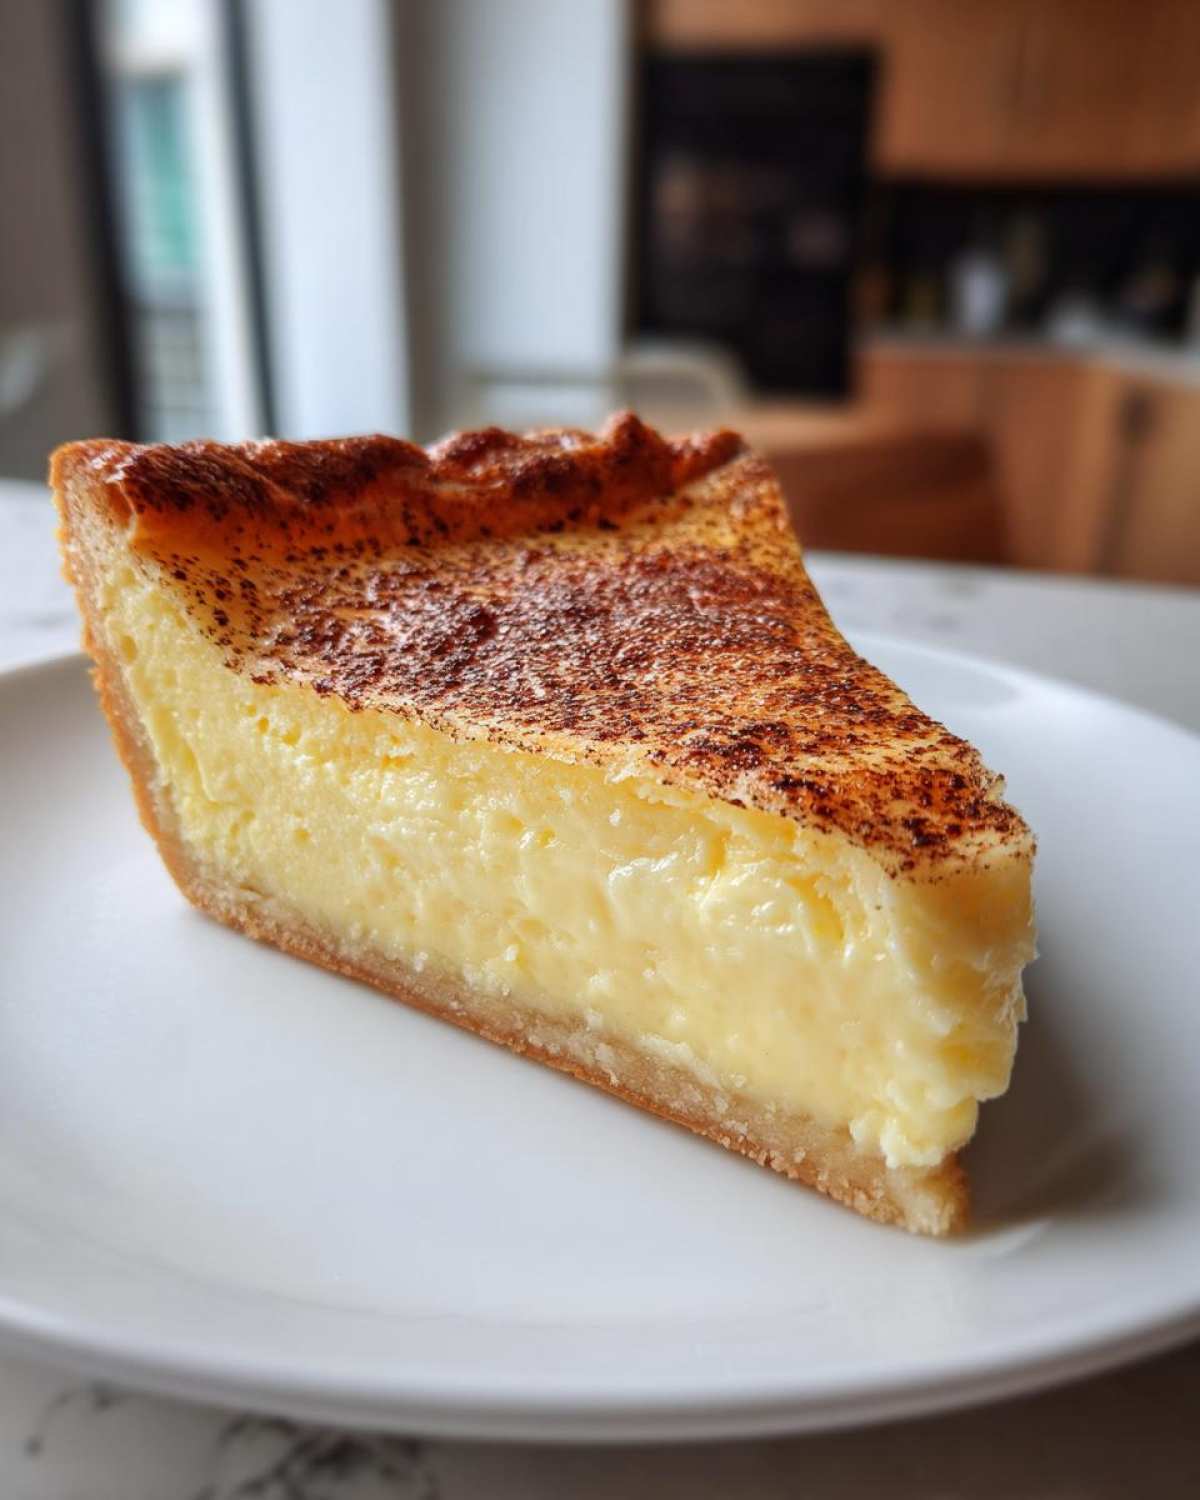
Achieving That Perfect Creamy Egg Custard Filling
The secret to getting that ultra-smooth texture, the one that makes people sigh when they taste it, is twofold. First, we gently whisk the eggs—no crazy frothing allowed! That introduces air bubbles, and air bubbles equal cracks! Second, we always strain that final mixture. It’s a tiny extra step that eliminates any strange bits and guarantees that creamy egg custard filling Leo raves about.
A Truly Easy Egg Custard Recipe for Any Baker
Seriously, if you can whisk milk and sugar, you can nail this. There’s no fussy double-boiler, no tempering that takes forever, and no bizarre ingredients. This is an easy egg custard recipe that actually works, which is why it’s become such a go-to for Amara during busy holiday baking seasons. It’s quick prep for big payoff!
Gathering Ingredients for Your Homemade Egg Custard
Okay, let’s talk supplies! Since this is an old fashioned dessert, we don’t need a crazy list of exotic things. What we use is what makes this a true classic, and getting the measurements exact is key to making this a fail proof baking tips success story. We’re sticking to the essentials Tariq taught us—high-quality basics equal high-quality results!
You’ll need:
- 1 unbaked 9-inch pie crust – Grab your favorite store-bought one, or if you’re feeling ambitious, our homemade crust recipe is amazing!
- 3 large eggs – Make sure they are room temperature if you can, it helps everything blend nicely.
- 1/2 cup granulated sugar – Just plain old white sugar works perfectly here to keep that nostalgic sweet spot.
- 2-2/3 cups whole milk – Don’t skimp on the fat here; that’s what gives us that luxurious mouthfeel.
- 1 teaspoon pure vanilla extract – Use the real stuff; the imitation just doesn’t have the same warmth.
- 1/4 teaspoon salt – A little bit of salt is vital; it wakes up all the other flavors!
- 1/4 teaspoon ground nutmeg, plus extra for sprinkling – This is that classic top note we all crave.
See? I told you it was simple. Having everything measured out before you start mixing is what Leo calls ‘mise en place,’ but honestly, it just keeps me from accidentally forgetting the salt, which has definitely happened before! If you’re looking for other kitchen staples made from scratch, you should take a peek at how Amara makes her easy homemade mayonnaise recipe.
Step-by-Step Instructions for the Best Egg Custard
This is where the magic happens, and honestly, it’s so straightforward! Don’t let the word “custard” scare you off—this is one of those simple baked desserts that truly comes together without a fuss, provided you follow just a couple of key rules Leo picked up watching Tariq work his charm.
Preparing the Base and Mixing the Simple Custard Recipe
First things first: heat up your oven to a cozy 350 degrees F. Get that unbaked 9-inch pie crust settled nicely into its plate. Now, for the eggs, this is important: only whisk them lightly! Stop as soon as they are just combined. We are aiming for smooth, not fluffy, remember? Lightly whisk in your sugar, the salt, and that 1/4 teaspoon of nutmeg. Whisk until the sugar starts feeling like it’s disappearing. Then, slowly pour in your milk and your glorious vanilla extract. Whisk everything just until it blends. Don’t go crazy whisking!
The Secret to a Smooth Custard Technique Before Baking
Here’s the pro move that separates good custard from *great* custard, and it’s just one move! Once your liquid mixture is combined, grab a fine-mesh sieve—Amara insists on using the tiny one from her grandmother’s set! Pour the entire liquid custard through the sieve into a bigger bowl or a large measuring cup. This strains out any bits of egg membrane or sugar that didn’t dissolve completely. It’s essential for that flawless, creamy egg custard filling we promised you. It really takes this homemade egg custard straight to restaurant quality.
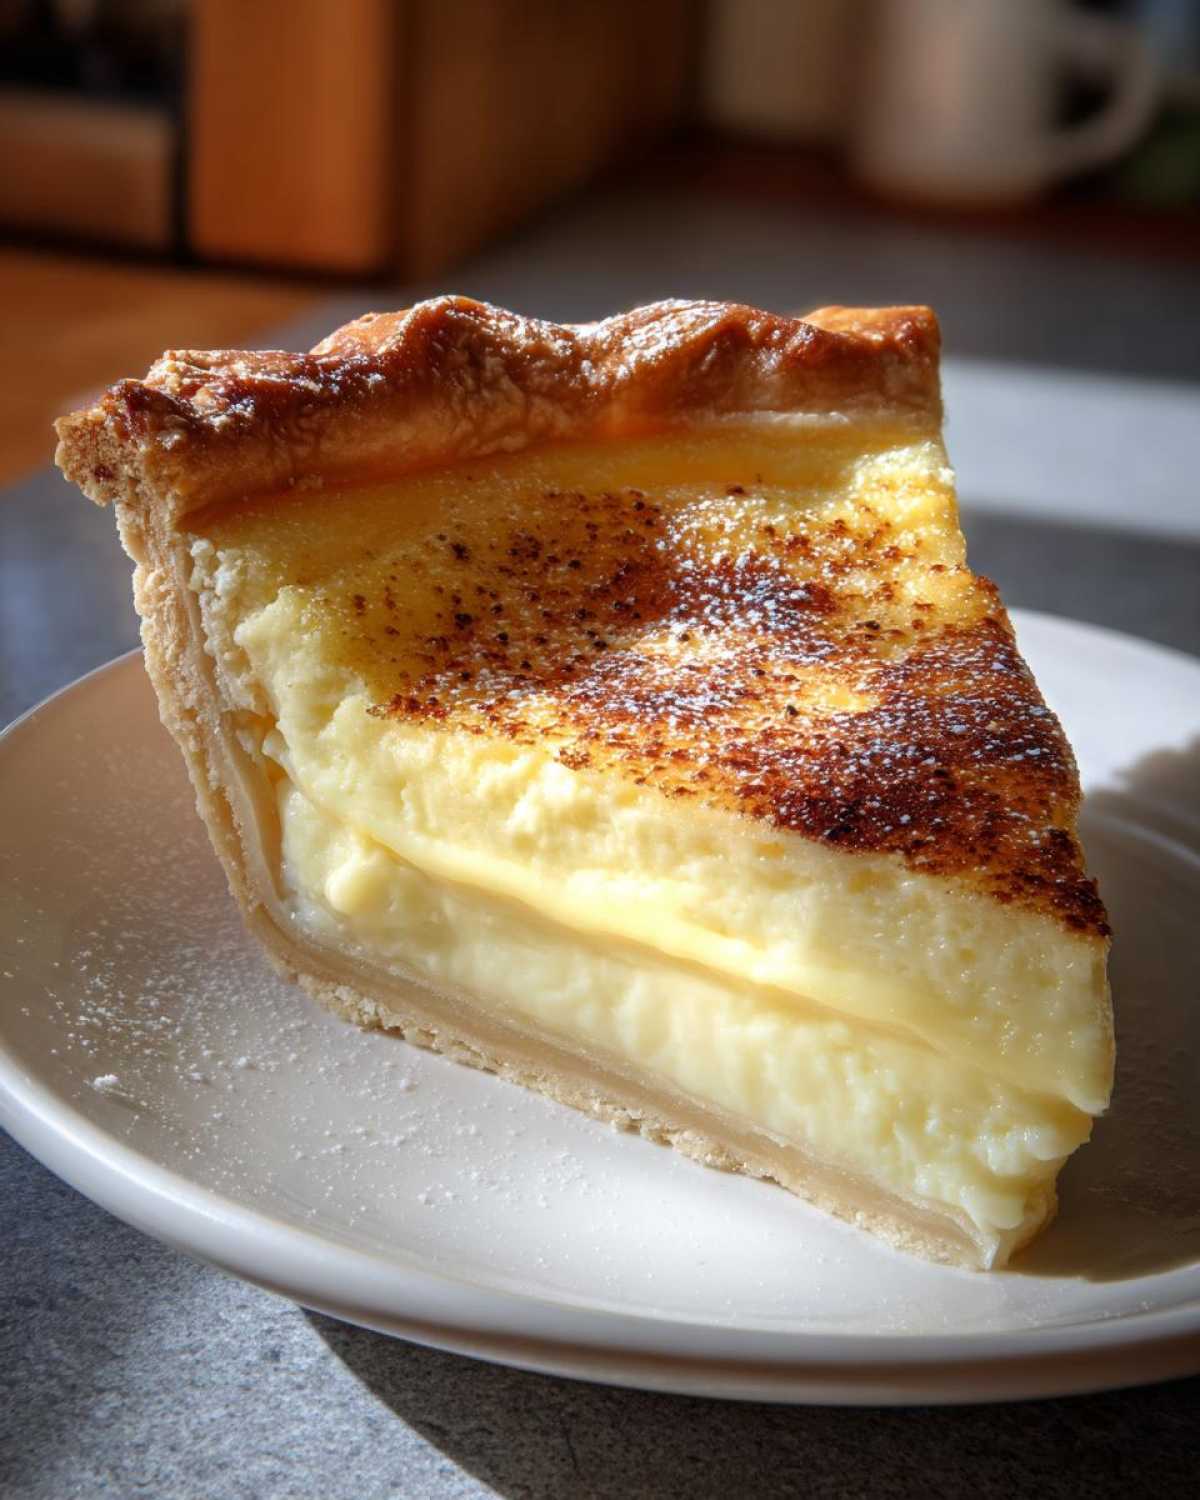
Baking and Setting the Classic Baked Custard
Carefully pour that beautifully strained liquid into your waiting pie shell. Now, be generous with the final touch: sprinkle a light, even layer of extra ground nutmeg right over the top of the liquid. Slide it into the oven and plan to bake it for about 45 to 55 minutes. You know it’s done when the edges look firm, but if you give the pan a gentle shake, the very center has a tiny wobble, like Jell-O. If you’re trying out some of my ideas on preventing cracks, you might want to check out my post on failproof caramel apple recipe because the water bath logic crosses over! Most importantly, let that pie cool completely on a rack. It keeps setting up as it cools, which is how we lock in that perfect texture.
Expert Tips for a Fail Proof Egg Custard Pie
Even though we call this our fail proof baking tips recipe, there are always little things that can trip you up, right? These are the little nuggets of wisdom Tariq passed on to us, covering everything from keeping those crust edges from burning to actually guaranteeing that smooth, flat top that makes this classic baked custard so gorgeous. Learning these small tricks is what turns a good recipe into a cherished family staple.
First, let’s talk about the edges of your pie crust. They always brown way too fast while that creamy center needs more time to cook. If you see the crust getting too dark midway through baking, just grab a square of aluminum foil—the cheap, thin stuff works great—and loosely cover just the rim of the pie plate. It shields Tthe edges without trapping steam over the filling. It’s such an easy fix!
Now, for the real confidence booster: the water bath. Tariq swears by this technique, especially if you’re nervous about cracks appearing on your beautiful egg custard when it cools down. It’s often called a bain-marie, which sounds fancy, but it’s just putting the pie dish inside a bigger baking pan. Once the pie is in the roasting pan, pour in some hot water until it comes about halfway up the sides of your pie plate. The water creates gentle, moist heat around the custard as it bakes, leading to zero cracks and an even creamier set. You can find a similar pro tip hidden away on this resource about fail-proof techniques, but trust me, using the water bath is game-changing.
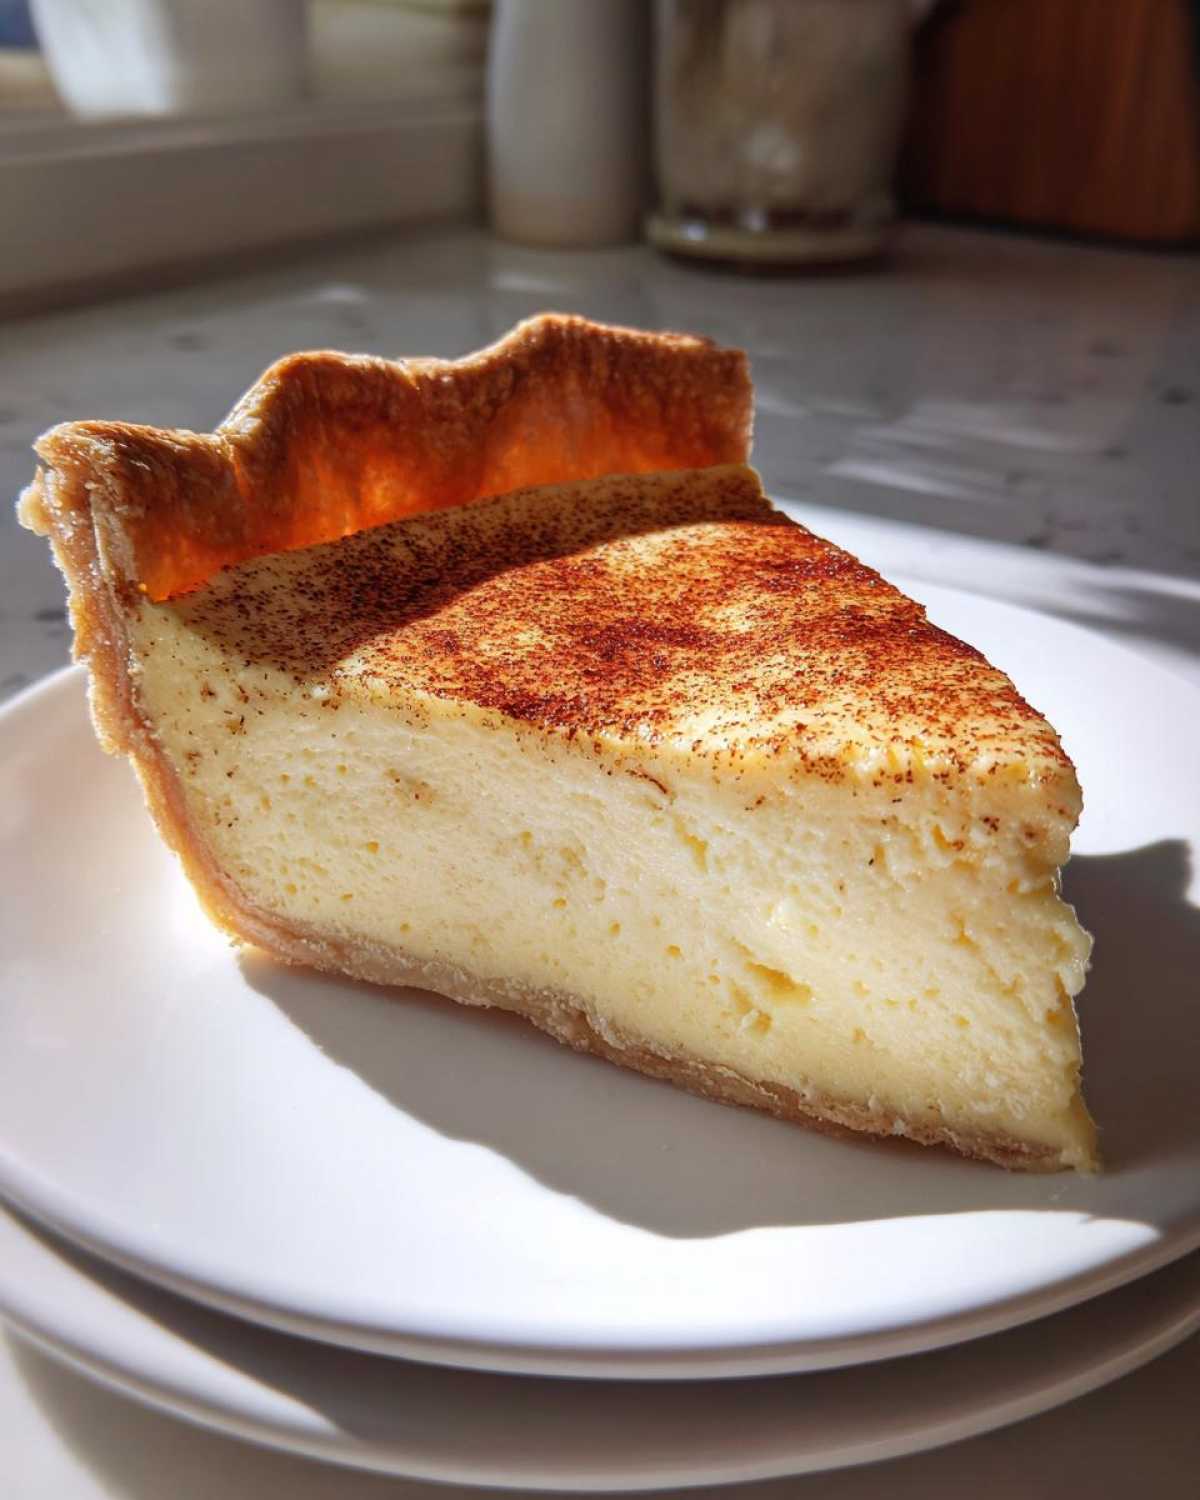
Finally, remember that richer flavor we talked about? If you want to elevate this traditional custard dessert just a tiny bit, try swapping out half a cup of that whole milk for heavy cream. It adds just a little more richness without changing the texture at all. Honestly, mastering these small adjustments is what makes this whole experience fun! Don’t forget to check out the rest of our baking adventures over at the main Savory Skies blog when you’re done.
Serving Suggestions for This Traditional Custard Dessert
So, your gorgeous, creamy egg custard pie is perfectly chilled and set—hallelujah! Now what? While a slice of this classic baked custard stands entirely on its own, Leo loves making a simple platter look a little extra special with minimal effort. After all, we made this beauty; we deserve to show it off, right?
When I serve this old fashioned dessert, I usually stick to flavors that complement the warm nutmeg without fighting the delicate vanilla base. Honestly, nothing beats simplicity here. A tiny dollop of freshly whipped cream is always perfect; just whip heavy cream with a spoonful of powdered sugar until soft peaks form. It melts beautifully right into the cool custard.
If you want a pop of color, fresh berries are an absolute home run. Raspberries work wonderfully because their tartness cuts through the richness. Amara sometimes arranges a few thin slices of ripe peach around the edge of the plate, especially when peaches are in season. The slight acidity balances the milk and sugar perfectly. It’s elegant, fresh, and keeps true to that simple, comforting vibe we love.
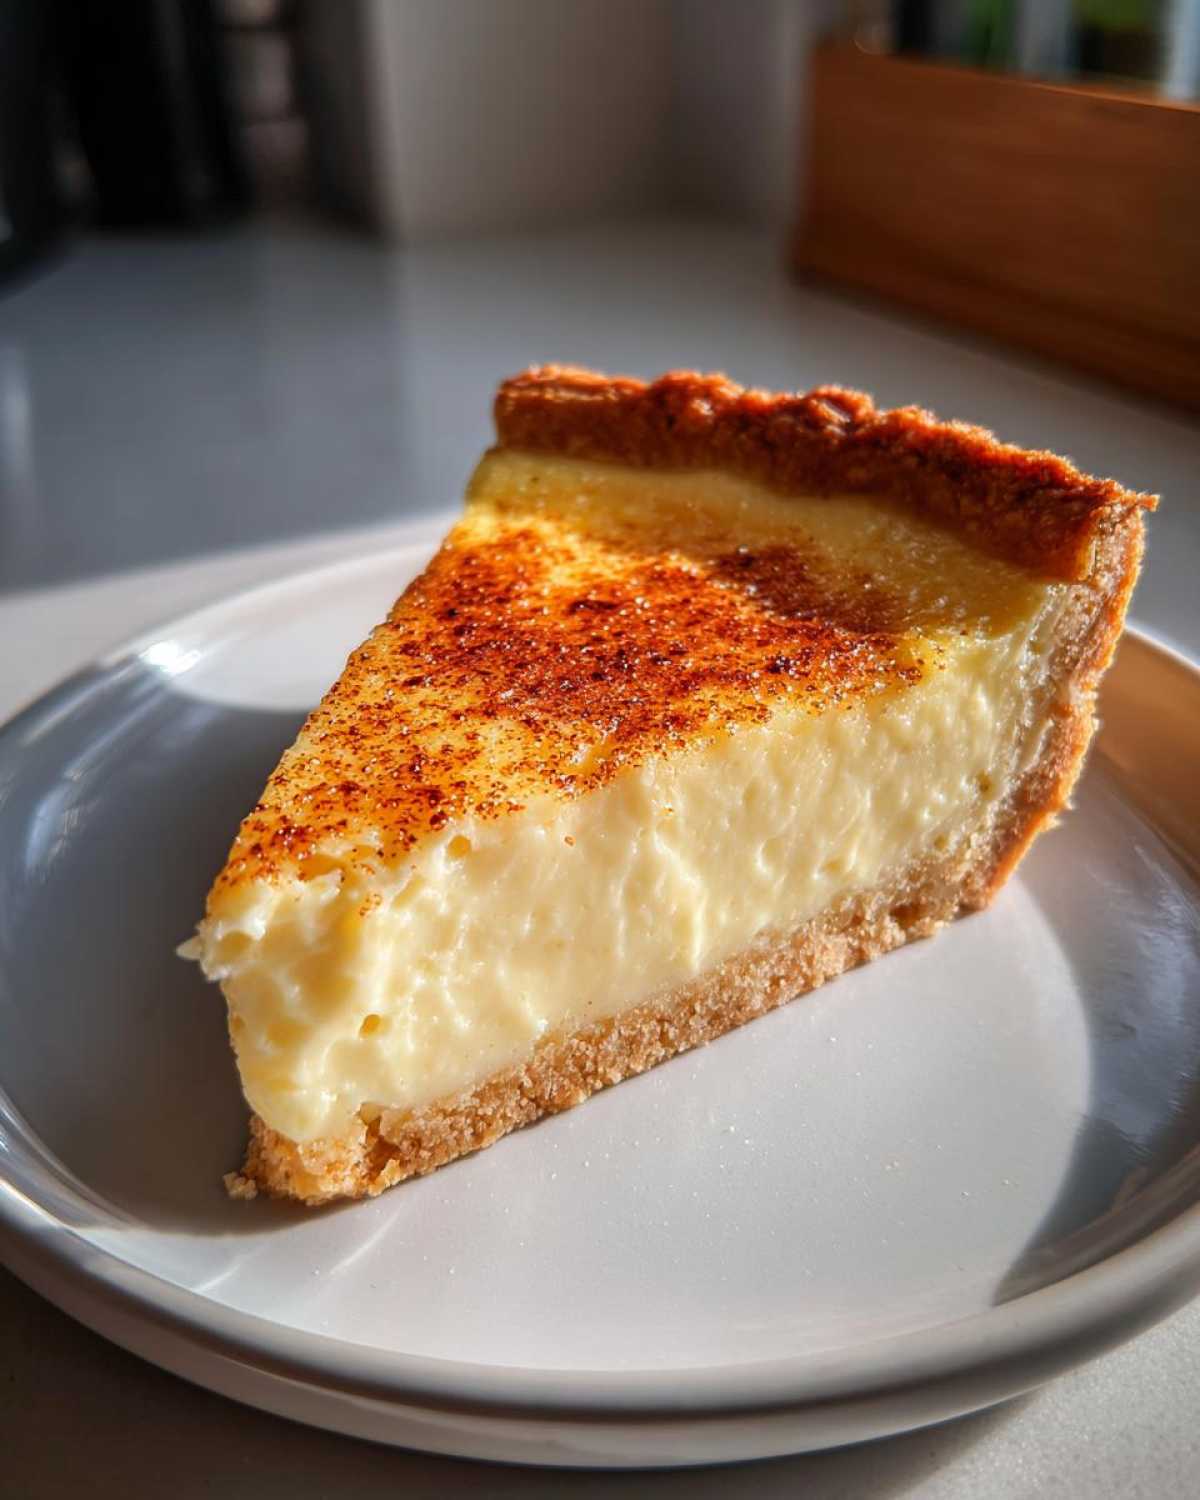
If you’re ever looking for something totally different but equally craveable—maybe a savory break after all that sweet goodness—you should check out how we do our easy creamy beer cheese dip. But for this pie? Keep the toppings light, let that smooth texture shine through, and enjoy every single bite!
Storage and Reheating Instructions for Leftover Egg Custard
Saving leftovers of this incredible homemade egg custard is almost as important as making it! Since this pie relies on that beautiful, tender set where the eggs and milk solidify completely, temperature management is really key to keeping that amazing texture intact. I’ve learned this the hard way—trying to rush perfection!
The number one rule for leftover egg custard pie is: it needs to stay cold! Once the pie has cooled down completely after baking (and I mean *completely*—give it at least four hours on the counter first), cover it tightly with plastic wrap or foil and tuck it straight into the refrigerator. It holds up wonderfully for three to four days this way. Honestly, this pie tastes even better the next day when it’s nice and cold.
Now, about reheating—don’t do it! Seriously, put the oven mitts down. When you reheat a delicate milk-and-egg filling like this, you risk scrambling the proteins or making the custard grainy and shaky again. We are aiming for that silky smooth result, and heat just won’t cooperate on day two.
So, serve it cold, straight from the fridge, or let a slice sit out on the counter for about 15 minutes before you dig in. That little bit of warming just takes the chill off enough to let those vanilla and nutmeg notes really pop! If you’re looking for storage tips on other things that can go bad quickly, Amara has some genius advice on keeping dips fresh over in her post about the Neiman Marcus Dip, though it definitely doesn’t apply to this glorious pie!
Frequently Asked Questions About Egg Custard Pie
When you’re making an old fashioned dessert, you always have questions! Especially when you’re trying to nail the texture. I gathered up the things Amara and I get asked most often about this easy egg custard recipe. Hopefully, these clear up any lingering doubts so you can get baking!
Can I make this egg custard recipe without a pie crust?
That’s a great question! Yes, you absolutely can make a crustless version if you want something more like a baked pudding or a keto-friendly option. If you skip the crust, you’ll need to bake it directly in buttered ramekins or a small baking dish instead of a pie plate. Just remember that the provided recipe is designed specifically for a 9-inch pie shell, so you might need to adjust your baking time slightly, and you definitely won’t get that beautiful flaky edge!
Why did my homemade egg custard curdle or crack?
Ugh, cracking is the enemy! This almost always comes down to two things, even in an easy egg custard recipe. First, if you whisk the eggs too vigorously when starting out, you incorporate too much air, and that air expands too quickly in the oven, causing the top to burst or crack. Second, you might have baked it a little too long or at too high a heat. To keep this from ever happening to you, pull out the trick from our expert section: use that water bath! It keeps the heat gentle, which prevents curdling and ensures that lovely, nutmeg sprinkled dessert top stays smooth.
What is the best substitute for whole milk in this simple custard recipe?
Whole milk is standard because its fat content helps stabilize the set, but you have options! If you want a richer flavor—and who doesn’t?—you can swap half of the whole milk for heavy cream, just like we suggest on the notes card. If you’re trying to manage fat intake but still want a decent texture, using 2% milk will work, but the final homemade egg custard might be slightly softer. Avoid skim milk if you can; it just doesn’t create that classic, luxurious mouthfeel we’re aiming for.
If you experimented with making these smooth custard techniques work for something else, like a pan of brownies, you should share your success over on the blog! Maybe you even tried an unexpected flavor variation—I love hearing those “what if” moments! Feel free to drop your own tips on keeping this recipe simple, or check out my recipe for Caprese Panini with Balsamic Glaze if you need a savory break before dessert again!
Nutritional Estimate for Your Classic Baked Custard
Okay, while we’re busy focusing on the pure joy and comfort of this traditional custard dessert, I know some of you are curious about the numbers. Tariq always tells us to respect the ingredients, and that includes understanding what’s going into the fuel we make for our bodies! Keep in mind these figures are just estimates based on the recipe using standard ingredients and an 8-slice cut. Your results might swing a little bit depending on the brand of pie crust you choose, so take these as a happy guideline!
This delicious pie is surprisingly wholesome for what feels like such a rich treat. Here’s a quick snapshot of what’s in one slice of our homemade egg custard:
- Serving Size: 1 slice
- Calories: 250
- Sugar: 22g (That sugar gives it the structure, remember!)
- Sodium: 150mg
- Fat: 10g
- Saturated Fat: 5g
- Unsaturated Fat: 5g
- Trans Fat: 0g (Yay for simple ingredients!)
- Carbohydrates: 30g
- Fiber: 1g
- Protein: 9g (Thanks to those lovely eggs!)
- Cholesterol: 110mg
See? A decent amount of protein to keep you satisfied after enjoying this easy holiday pie. It proves that sometimes, the old fashioned dessert recipes are the most perfectly balanced ones because they rely on simple, whole components. If you want to see some truly show-stopping desserts that are a little more complex but still incredible, Amara’s post on the lavender lemon blueberry cheesecake is seriously next level!
Share Your Perfect Egg Custard Creation
Now you have the blueprint for the creamiest, smoothest, most comforting egg custard pie imaginable. But honestly, this feels like only half the fun! We put all our shared knowledge—Tariq’s precision, Amara’s heart, and my love for simple success—into this recipe so you could try it risk-free. I am dying to know how it turns out for you!
Did this easy egg custard recipe live up to the hype? Did your pie top stay perfectly smooth? Or maybe you experimented with serving—did you use fresh berries or stick with the classic nutmeg sprinkle? Please, please leave a comment below and let us know! Seriously, rating the recipe helps other bakers find this guaranteed success, and I love reading your feedback about nailing that perfect creamy egg custard filling.
If you managed to snap a photo of your beautiful, jiggly slice resting on my favorite vintage plates, tag us on social media! Seeing your creations is the best reward for us. It proves that the magic we found late at night in the kitchen is spilling out into homes everywhere. It really makes the whole venture worthwhile.
If you mastered this pie and now you’re looking for something hearty and savory to make for dinner before you serve up dessert, you absolutely have to check out our recipe for slow cooker Moroccan chickpea stew. But enjoy that cool, perfect pie first!
PrintFail-Proof Old Fashioned Egg Custard Pie

Make a creamy, smooth, classic baked egg custard pie using this simple, fail-proof recipe. This traditional dessert is perfect for holidays or any time you need comforting homemade pie.
- Prep Time: 15 min
- Cook Time: 50 min
- Total Time: 5 hr 5 min
- Yield: 8 servings
- Category: Dessert
- Method: Baking
- Cuisine: American
- Diet: Vegetarian
Ingredients
- 1 unbaked 9-inch pie crust
- 3 large eggs
- 1/2 cup granulated sugar
- 2-2/3 cups whole milk
- 1 teaspoon pure vanilla extract
- 1/4 teaspoon salt
- 1/4 teaspoon ground nutmeg, plus extra for sprinkling
Instructions
- Preheat your oven to 350 degrees F. Place the unbaked pie crust in a 9-inch pie plate.
- In a medium bowl, lightly whisk the 3 large eggs until they are just combined. Do not over-beat the eggs, as this can cause bubbles.
- Whisk in the sugar, salt, and 1/4 teaspoon of nutmeg into the eggs. Mix until the sugar begins to dissolve.
- Slowly pour in the milk and vanilla extract. Whisk gently until everything is just blended. You want a smooth mixture.
- For the smoothest custard filling, pour the mixture through a fine-mesh sieve into a large measuring cup or bowl. This removes any chalazae or unmixed bits.
- Carefully pour the strained custard mixture into the unbaked pie shell.
- Sprinkle a light, even layer of extra ground nutmeg over the top of the liquid filling.
- Bake for 45 to 55 minutes. The custard is done when the edges are set, but the center still has a slight jiggle when you gently shake the pan. A knife inserted near the edge should come out clean.
- Remove the pie from the oven and let it cool completely on a wire rack. The center will continue to set as it cools.
- Chill the pie for at least 4 hours, or preferably overnight, before slicing and serving. This ensures a creamy texture.
Notes
- To prevent the crust edges from browning too quickly, cover them loosely with aluminum foil halfway through the baking time.
- For a truly fail-proof, crack-free custard, bake the pie in a water bath (bain-marie). Place the pie plate inside a larger roasting pan, and pour hot water into the roasting pan until it comes halfway up the sides of the pie plate before baking.
- If you prefer a richer flavor, you can substitute 1/2 cup of the whole milk with heavy cream.
Nutrition
- Serving Size: 1 slice
- Calories: 250
- Sugar: 22
- Sodium: 150
- Fat: 10
- Saturated Fat: 5
- Unsaturated Fat: 5
- Trans Fat: 0
- Carbohydrates: 30
- Fiber: 1
- Protein: 9
- Cholesterol: 110
