

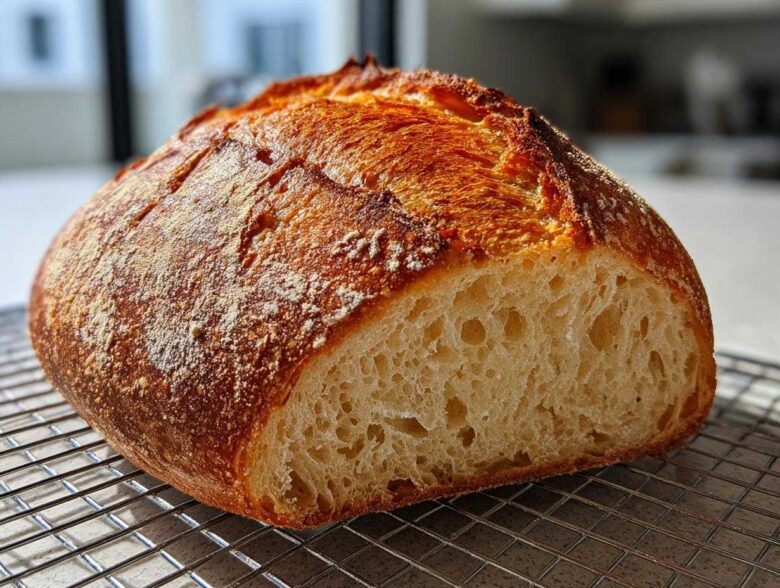
Oh, seriously, there is nothing—and I mean nothing—that beats the smell of fresh Italian bread baking. It just floods the whole house with that warm, comforting, wonderful bakery vibe, right?
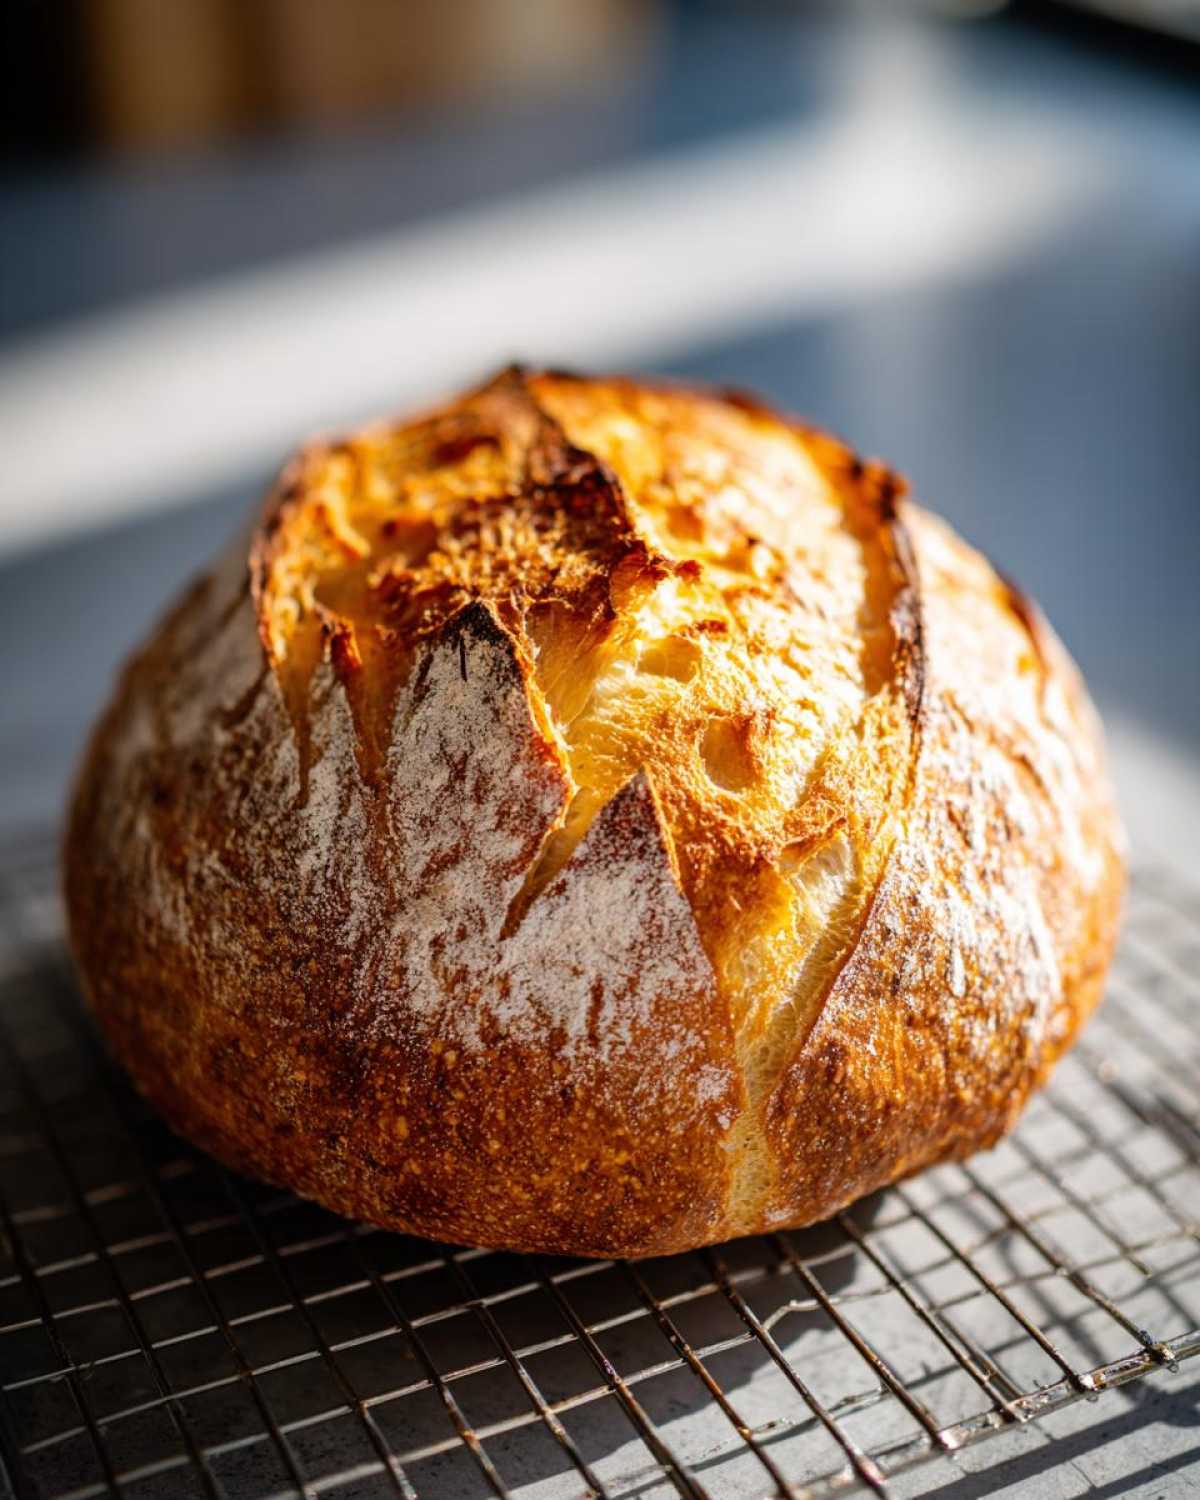
When Leo and Amara first started here at Savory Skies, I told them: “You can buy fancy ingredients, you can use fancy mixers, but if you don’t get that crust right, it’s just a sad loaf.” That crispy, golden exterior giving way to that soft, chewy center? That’s the magic touch we’re aiming for.
Don’t get intimidated; this isn’t some fussy, all-day artisan project. I’ve taken the traditional methods—the ones that build real structure and flavor—and streamlined them so even if you’re just starting out in bread making, you’ll nail that bakery-style loaf on your very first try. Trust me on this, that perfect crust is totally achievable right in your home oven!
Why This Homemade Italian Bread Recipe Works for Everyone
I know what you’re thinking: bread is hard, right? That’s the rumor mill talking! Chef Tariq drilled it into us that making truly fantastic Italian bread doesn’t need a culinary degree. This recipe is designed to be your new go-to friend, especially if you are nervous about easy crusty bread baking.
Here is why Leo and Amara keep coming back to this one:
- It uses basic pantry staples—no weird flours that you have to order online!
- The rising times are quick enough for a weeknight, unlike some sourdough nightmares.
- You get that dreamy soft inside crusty outside bread texture every single time.
- It sets a fantastic foundation for your own creativity down the road when you feel like experimenting.
If you need more inspiration once you master this, check out a few other great recipes over at the Savory Skies blog!
Gathering Ingredients for Perfect Italian Bread
Okay, before we get our hands messy, we need to talk about the players in this culinary team. With simple Italian bread, every single ingredient has to pull its own weight, so we can’t skip out on quality!
My biggest piece of advice from Chef Tariq is precision here, especially with the water. Yeast is alive, folks! If the water is too hot, you’ll kill it dead, and if it’s too cold, it’ll just nap. We need happy, active yeast for that rise, so get that thermometer ready. Here’s exactly what you need to pull together.
Essential Components for Your Italian Bread Loaf
- 3 1/2 cups all-purpose flour
- 1 1/2 teaspoons salt
- 1 teaspoon granulated sugar
- 2 1/4 teaspoons active dry yeast (that’s one standard packet, don’t overthink it!)
- 1 1/2 cups warm water (aim for right around 105-115°F—it should feel warm, not hot, on your wrist)
- 2 tablespoons olive oil, plus more for coating the bowl later
Step-by-Step Instructions for Bakery Style Italian Loaf
Alright, apron on! This is where the fun starts, and honestly, where the magic happens. Making this Italian bread is all about process consistency. We’ve got two main rises this dough needs to take, and we absolutely cannot rush the kneading if we want that beautiful, slightly chewy Italian loaf texture. Pay attention to the timing on these steps, and you’re already miles ahead! Building structure this way almost feels like cheating!
Mixing and Developing the Italian Bread Dough
First thing’s first: grab your big bowl! Mix all your dry stuff—the flour, salt, sugar, and that active yeast—just give it a quick whisk so everything is evenly distributed. Now, pour in that perfectly warmed water and your two tablespoons of olive oil. Stir it up with a sturdy wooden spoon until you get what I call a ‘shaggy mess.’ That’s normal! Now, turn that mess out onto a lightly floured surface.
Here’s the elbow grease part: we need to knead this dough for a solid 8 to 10 minutes. Seriously, set a timer. You’re looking for the dough to stop sticking to everything and feel smooth and elastic under your hands. Developing that gluten structure is exactly what separates a great loaf from a tired one. It’s hard work, but so satisfying! If you ever need a simple spread for this fresh bread later, my easy homemade mayonnaise recipe is a winner once the bread cools!
The Rises: First Proofing and Shaping the Italian Bread
Once you’ve got that smooth, happy ball of dough, lightly coat a clean bowl with some olive oil—don’t skip this, or it’ll glue itself to the bowl! Tuck your dough in there, give it a flip to coat both sides, cover it up tight, and let it sit in a warm spot. We need this guy to double in size, which usually takes about an hour to an hour and a half. That’s your first rise!
When it’s looking beautifully puffed up, gently punch the air out—no slamming! Turn it onto your counter and shape it into that classic, rustic log shape. Lay it on parchment paper you’ve got ready. Cover it loosely again, and let it chill out for another 30 to 45 minutes while you crank up that oven. Your oven needs to hit 400°F (200°C) during the end of this second rise.
Achieving the Golden Brown Crust Bread Finish
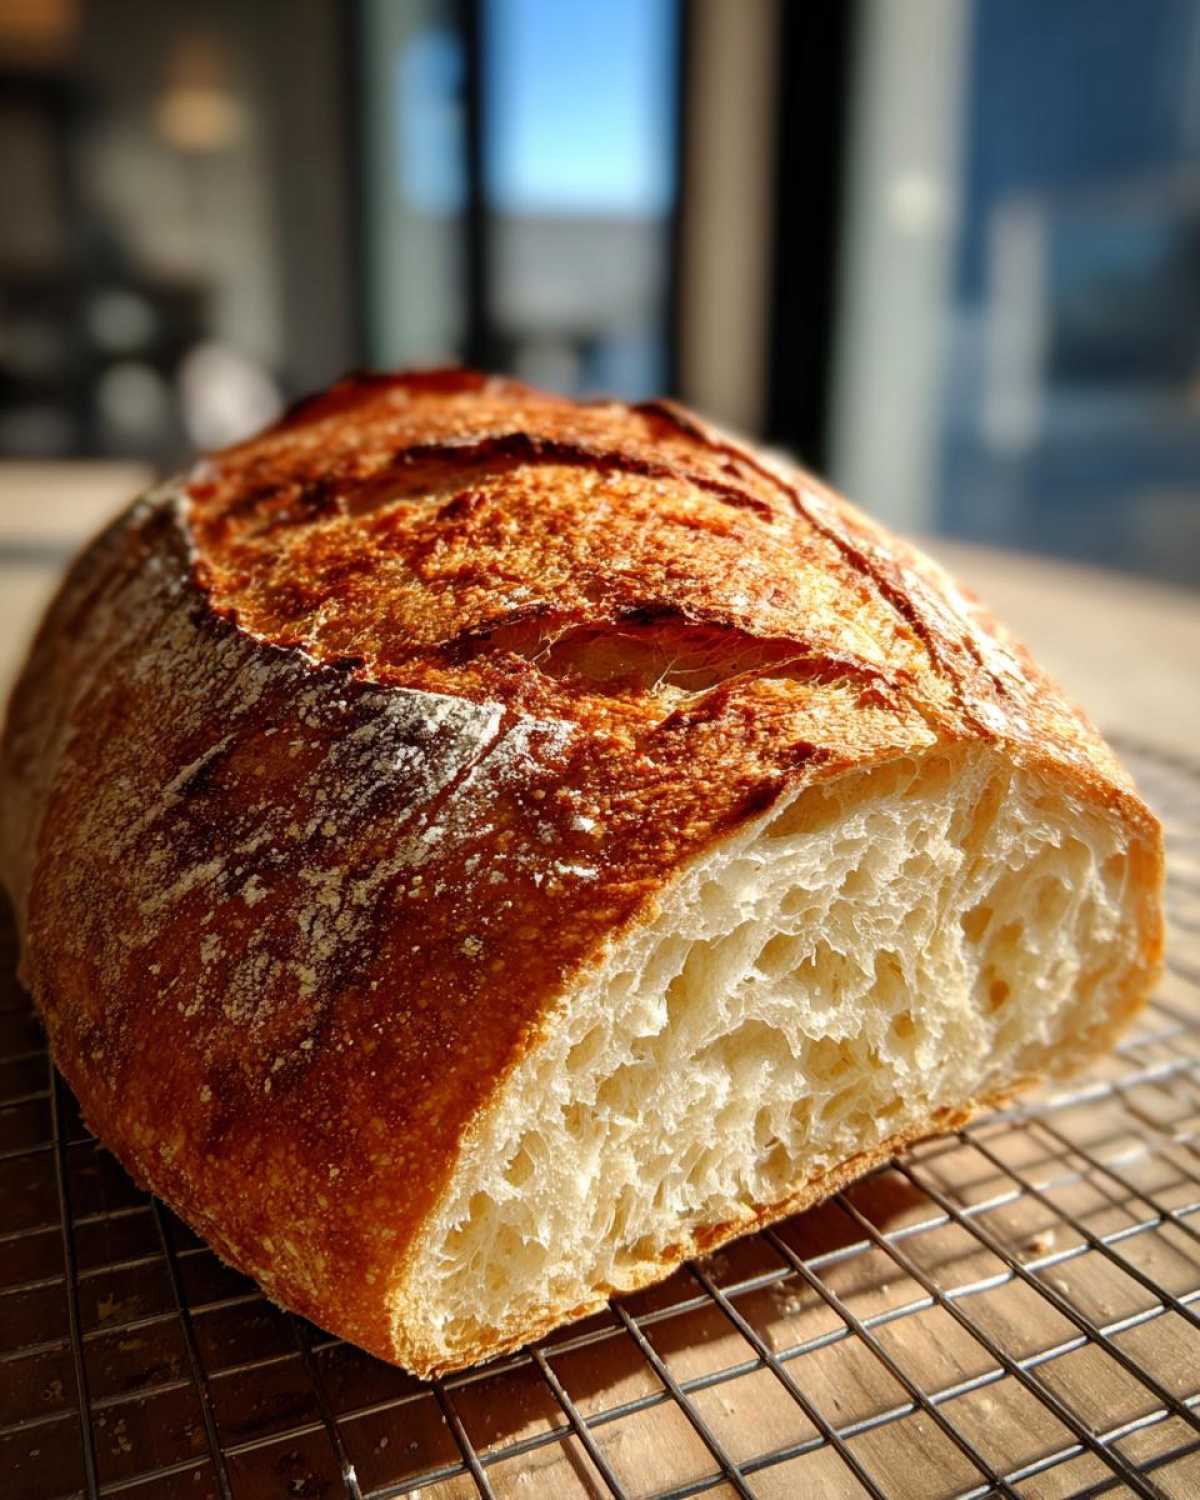
This next trick is non-negotiable if you want that amazing bakery look. While the oven is heating, stick a shallow pan—like an old metal brownie pan—on the bottom rack. When you slide your loaf in, you’re going to carefully pour 1 cup of hot water into that hot bottom pan. That rush of steam creates the best environment for a fantastic, crackly exterior. It makes such a difference, just like the folks over at Property Tasty Food recommend for getting that perfect crust!
Brush the top lightly with water (I skip the egg wash, I like the rustic look), and then score the top 2 or 3 times with a really sharp knife—this lets the bread expand without ripping randomly. Bake it for 30 to 35 minutes. You’re done when the crust sounds hollow underneath. Pop it onto a rack so it can cool down completely. Don’t cheat and slice it too soon, or you’ll deflate all that hard work!
Expert Tips for Your Best Italian Bread Yet
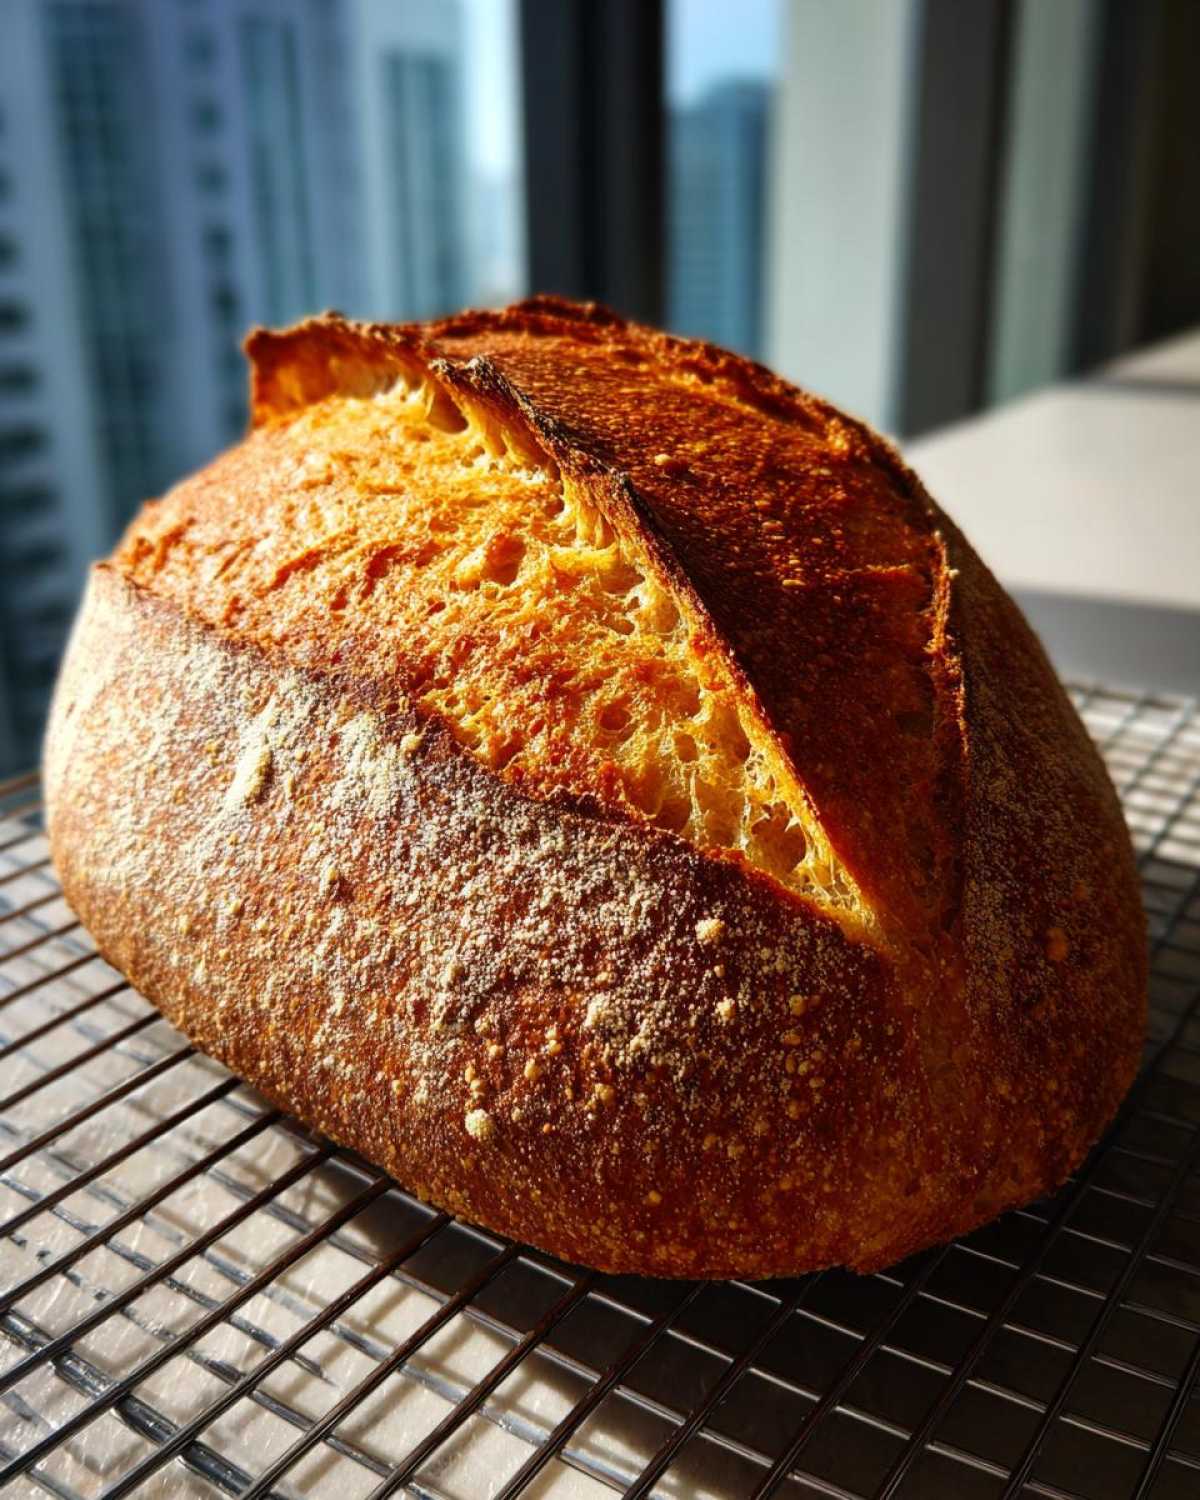
Chef Tariq always says that baking is just science you can eat, but the final touch—the crust—is pure soul. Remember that steam pan we used? If you want an even more aggressive, crackly shell for your Italian bread, you can carefully mist the oven walls with water a couple of times during the first 10 minutes of baking. Just be quick opening that door!
Now, if you’re serving this with a saucy pasta dish, maybe you don’t want that super hard, crackly crust. Tariq recommends skipping that steam pan entirely if you prefer a softer exterior. It still gives you a lovely golden brown crust bread, just less aggressive!
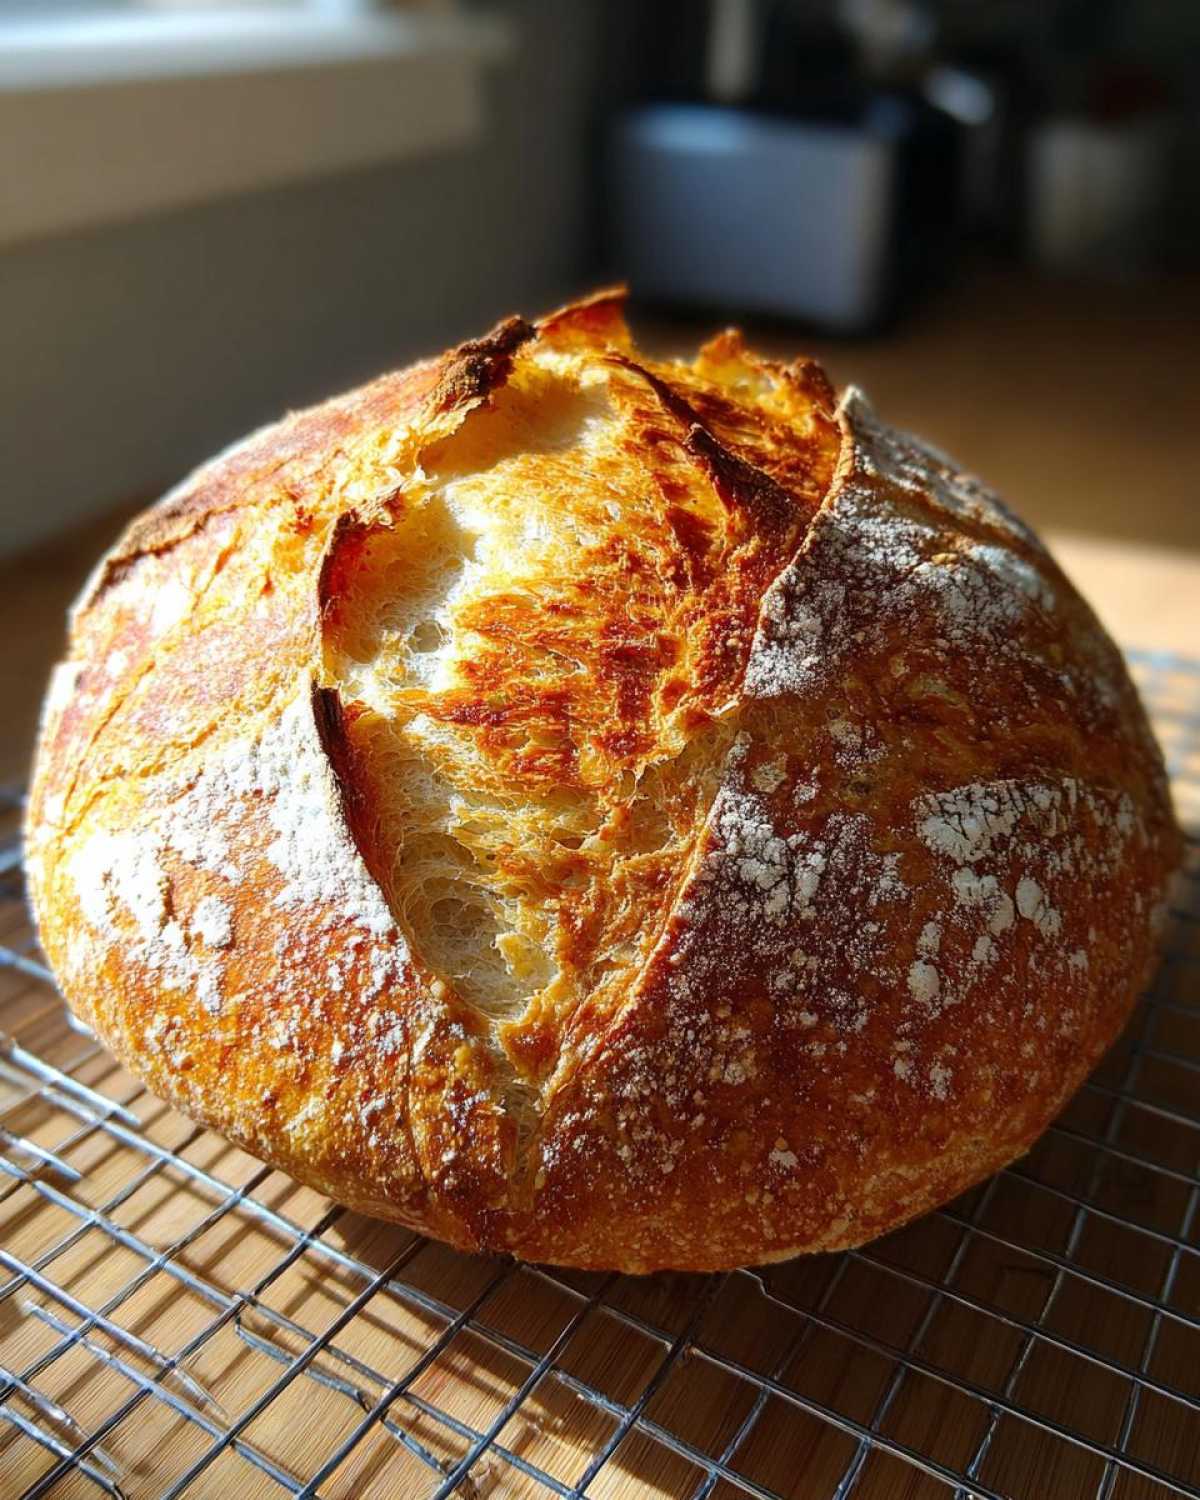
He told me once, “Leo, the difference between good bread and great bread is the crust you listen to.” Seriously, tap it! If it sounds hollow, it’s done. For dipping later, I always suggest making my easy creamy beer cheese dip—it’s amazing with this loaf. For more crust inspiration, check out the tips from the good folks over at Naya Baker’s crusty Italian bread recipe.
Serving Suggestions for Fresh Baked Bread Aromas
That moment you pull a loaf of this homemade Italian bread out of the oven, the whole house smells incredible! It just begs to be eaten immediately, doesn’t it? I find that the true test of good bread is how well it stands up to whatever you plan to smother it in.
This loaf is fantastic on its own, of course, but it shines as the ultimate vehicle for just about anything. It’s one of the best Dipping Bread Recipes out there—seriously, cut thick slices, warm them up, and dunk them deep into good quality olive oil and balsamic vinegar. That’s pure joy!
But let’s talk dinner. This is your new best friend for hearty meals. It slices up perfectly for sopping up the last bit of sauce from a rich Bolognese. It’s the ideal Dinner Side Bread Recipes addition that makes even a simple weeknight meal feel special. Or, better yet, use those chewy slices for big, messy sandwiches the next day. If you’re pairing it with soup, you absolutely have to try pairing it with my creamy potato leek soup recipe; they are a match made in heaven!
Storage and Reheating Instructions for Crusty Italian Bread
Now, listen up, because this is where people ruin a perfect loaf of Italian bread. You want to keep the crust crackling, right? Do NOT put it in the fridge! Refrigeration is the enemy of crispiness; it makes bread go stale super fast. Just wrap your cooled loaf loosely in a clean kitchen towel or stick it in a paper bag at room temperature. It’s best eaten the day it’s baked, plain and simple.
If you happen to have any leftover—which, good luck to you if you do—you can bring it back to life! Just give it a quick spritz of water and pop it into a 350°F oven for about five minutes. That brings back the aroma and makes that crust sing again. For more super reliable baking guidance, check out the tips on this quick recipe!
Frequently Asked Questions About Homemade Italian Bread
I always get tons of messages asking me to clarify a few things about this recipe, so I figured we’d tackle the most common ones right here. Don’t be shy! If you’re aiming for that perfect loaf, knowing the little differences makes a huge impact, especially when we talk about texture and that amazing crust.
Can I use bread flour instead of all-purpose flour for this Italian bread?
Oh, absolutely, you can! That’s a great question if you’re looking for a slightly more structured loaf. All-purpose flour gives us that tender but still substantial interior, which I love for general dipping and serving. However, if you swap in bread flour, because it has higher protein, you’re going to end up with a noticeably chewier loaf. It’s a trade-off between classic softness and that hearty, rustic chewiness you often find in true artisan bread at home. Both are delicious, but the chew factor goes up with bread flour!
What is the secret to getting that perfect artisan bread at home crust?
Look, I keep saying it, but I can’t stress this enough: steam is your non-negotiable secret weapon for getting that crisp, crackly exterior that shouts “bakery!” A dry oven bakes bread; a steamy oven creates a crust. You need that initial blast of humidity to keep the surface of your dough soft long enough for the oven spring to happen. Once the loaf has expanded, the steam dissipates, and suddenly that crust hardens right up into that beautiful, shattering shell we want for our crusty Italian bread.
How long does this simple sandwich bread stay fresh?
If you manage to leave any leftover, which is a huge accomplishment in my house, this simple sandwich bread is at its absolute peak—crust and crumb intact—for about 24 hours stored loosely at room temperature. If you wrap it too tightly, the crust softens immediately, and we don’t want that! After day two, it’s still great toasted or used in croutons, but for that “fresh baked bread aromas” experience, eat it fast!
Nutritional Estimates for Your Italian Bread Loaf
Now, I know some of you lovely bakers out there are keeping an eye on the numbers, and I totally get that! Remember, since this is homemade Italian bread made with ingredients lovingly measured by hand, these are just sweet estimates. Chef Tariq always said nutrition is important, but honestly, tasting success is the real reward here!
Based on how we measured things out for one large loaf:
- Serving Size: 1 slice
- Calories: Roughly 150
- Fat: About 2 grams
- Carbohydrates: 30 grams
- Protein: Around 4 grams
See? Simple ingredients make for nice, balanced numbers. It’s just flour, water, yeast, oil… real food! Enjoy a second slice of that gorgeous homemade loaf guilt-free!
Share Your Crusty Italian Bread Creations
Whew! Now that you’ve filled your kitchen with that unforgettable fresh baked bread aromas, I really want to see what you made! Don’t be shy—I live for seeing photos of your perfectly baked, golden loaves. Seriously, tag us!
Let me know in the comments if this became your favorite homemade Italian bread recipe. Did you manage to get that huge, crackling crust we talked about? If you have any questions or just want to chat about baking, don’t hesitate to reach out via our contact page. Happy baking, everyone!
PrintEasy Crusty Homemade Italian Bread: Bakery-Style Loaf
You can bake perfect, bakery-style Italian bread at home! This recipe focuses on achieving a golden, crunchy crust and a soft, chewy interior using simple ingredients. It is a beginner-friendly tutorial perfect for serving with dinner or making sandwiches.
- Prep Time: 20 min
- Cook Time: 35 min
- Total Time: 2 hours 45 min
- Yield: 1 large loaf
- Category: Bread
- Method: Baking
- Cuisine: Italian
- Diet: Vegetarian
Ingredients
- 3 1/2 cups all-purpose flour
- 1 1/2 teaspoons salt
- 1 teaspoon granulated sugar
- 2 1/4 teaspoons active dry yeast (1 packet)
- 1 1/2 cups warm water (about 105-115°F)
- 2 tablespoons olive oil, plus more for the bowl
Instructions
- In a large bowl, mix together the flour, salt, sugar, and yeast.
- Add the warm water and 2 tablespoons of olive oil to the dry ingredients. Mix with a wooden spoon until a shaggy dough forms.
- Turn the dough out onto a lightly floured surface. Knead the dough for 8 to 10 minutes until it becomes smooth and elastic. This develops the gluten for a chewy texture.
- Lightly oil a clean large bowl with olive oil. Place the dough in the bowl, turning it once to coat. Cover the bowl with plastic wrap or a clean kitchen towel.
- Let the dough rise in a warm place for 1 to 1.5 hours, or until it has doubled in size. This is your first rise.
- Gently punch down the risen dough to release the air. Turn it out onto a lightly floured surface.
- Shape the dough into a long, round loaf or an oval shape. Place the shaped loaf onto a baking sheet lined with parchment paper or into a prepared loaf pan.
- Cover the loaf loosely and let it rise again for 30 to 45 minutes, or until it looks puffy. This is the second rise. Preheat your oven to 400°F (200°C) during the last 15 minutes of the second rise.
- For a crispier crust, place a shallow pan on the bottom rack of the oven while preheating. Just before baking, carefully pour 1 cup of hot water into the shallow pan to create steam.
- Lightly brush the top of the loaf with water or an egg wash (optional, for color). Score the top of the loaf 2 or 3 times with a sharp knife.
- Bake for 30 to 35 minutes, or until the crust is deep golden brown and sounds hollow when tapped on the bottom.
- Transfer the baked Italian bread to a wire rack to cool completely before slicing. Enjoy the aroma of fresh baked bread!
Notes
- For an extra crunchy exterior, you can mist the oven walls with water a couple of times during the first 10 minutes of baking.
- If you want a softer crust, skip the steam pan in the oven.
- This bread is excellent for dipping into olive oil or serving alongside pasta dishes.
Nutrition
- Serving Size: 1 slice
- Calories: 150
- Sugar: 0.5
- Sodium: 250
- Fat: 2
- Saturated Fat: 0.3
- Unsaturated Fat: 1.7
- Trans Fat: 0
- Carbohydrates: 30
- Fiber: 1.5
- Protein: 4
- Cholesterol: 0
