

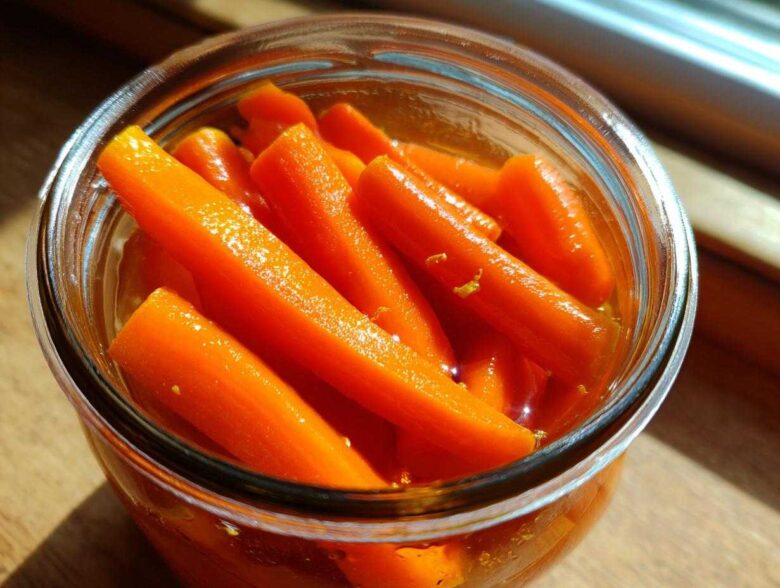
Oh my gosh, you absolutely need to stop whatever you are doing and make these! I swear, there are weeks when my fridge is suddenly empty because I’ve devoured a whole jar of my homemade pickled carrots all by myself. If you’ve always thought pickling meant hours of sterilizing jars and complicated water baths, forget that! We’re doing the refrigerator magic here, which means fast, easy, and zero canning required. Seriously, these are the best! I got totally obsessed with making pickled carrots when my Taco Tuesday game needed a serious upgrade. A little bit of crunch and tang elevates everything, right? These come out so incredibly crunchy; it’s the perfect snack vegetable pickle. Trust me, you’ll want to check out my guide on refrigerator pickles if you love this method! Let’s get started!
Why You Will Make These Quick Refrigerator Pickled Carrots
I know you’re looking for something fast, something that tastes amazing, and something that gives you that satisfying *snap* when you bite into it. Well, look no further! These refrigerator pickles are the definition of a kitchen win. You don’t have to wait weeks, and you don’t need any fancy equipment. Seriously, these are the simplest, tangiest snacks you will ever make.
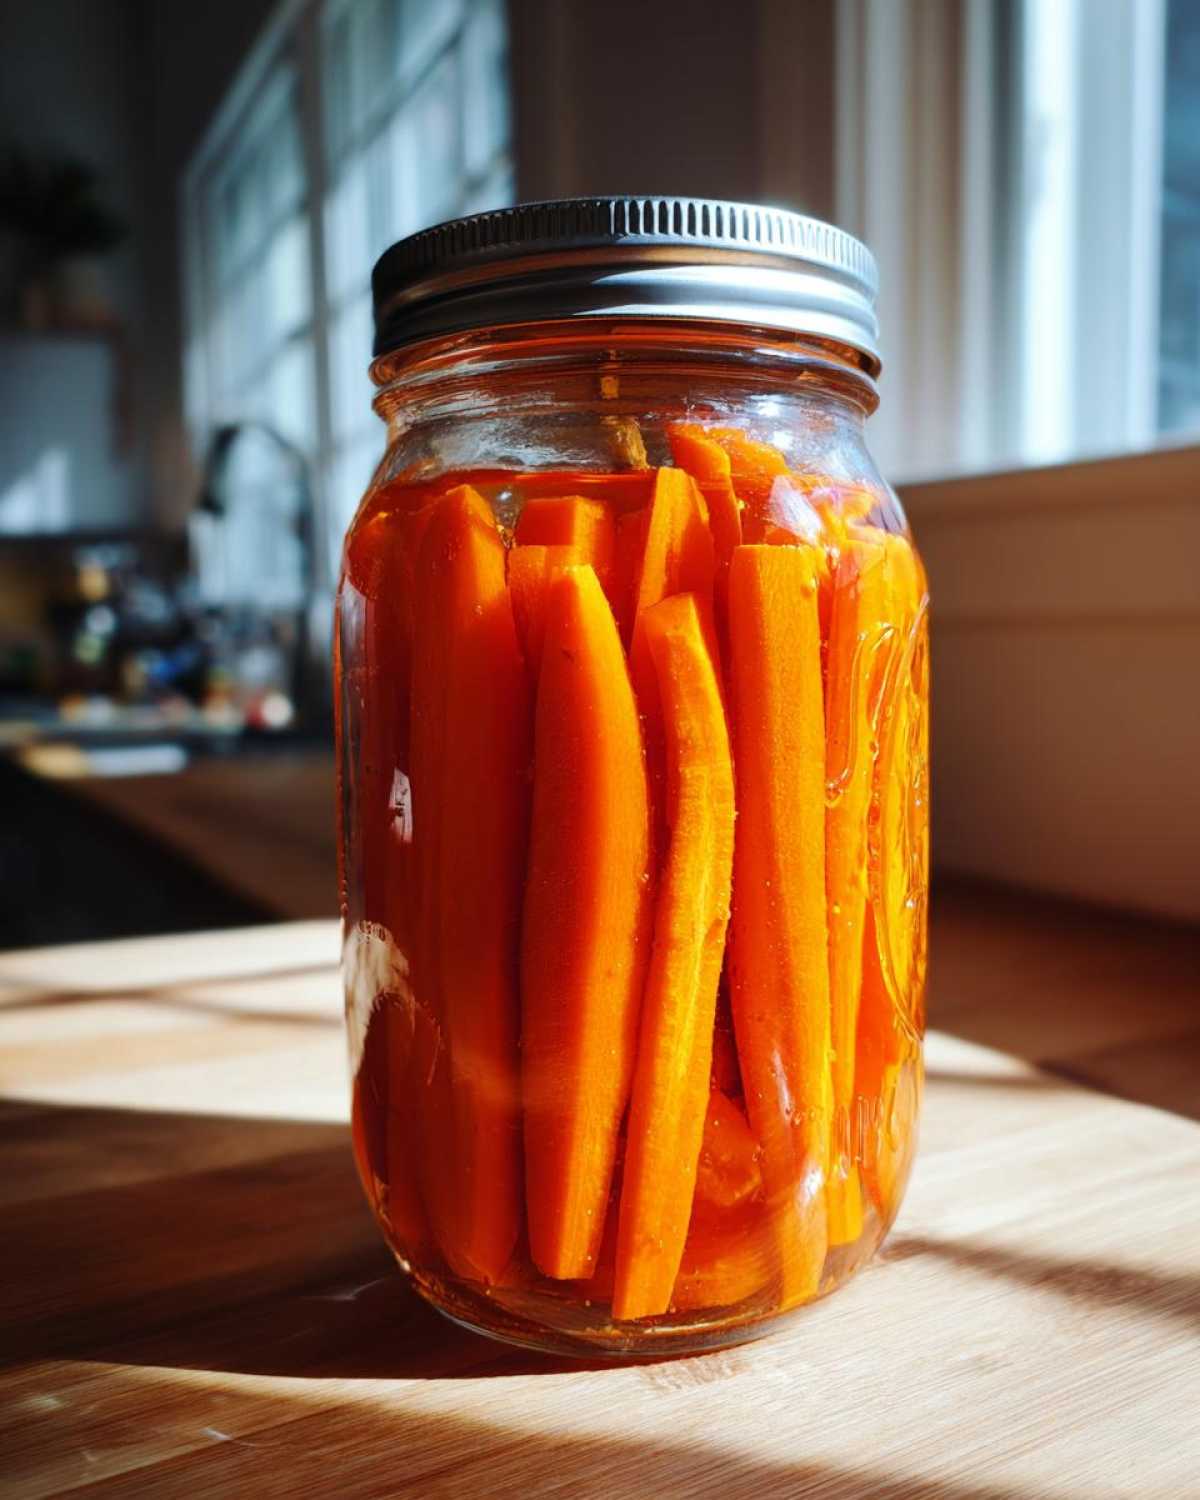
- They are incredibly fast—most of the time is passive waiting, not active cooking!
- The crunch factor is off the charts. They hold up way better than I ever expected, even after almost three weeks in the jar.
- Versatility is key! You can keep them plain and tangy, or spice them up however you like.
The Secret to Crunchy Pickled Carrots
The real magic here is twofold. First, we use that hot brine. Pouring boiling liquid over the raw carrots starts the initial softening process just enough, but because we aren’t cooking them for a long time, they stay firm. Second, and this is critical, they *must* go straight into the fridge! Don’t try to sneak one after just an hour. My rule of thumb for the absolute best crunchy pickled carrots is waiting a solid 24 hours. That gives the vinegar time to work its magic without making them soft. Honestly, once you taste them on day three, you’ll understand why the wait is worth it!
Gathering Ingredients for Your Pickled Carrots Recipe
Okay, gathering your supplies is the easiest part! Since this is such a fresh, quick recipe, you don’t need a massive pantry haul. Everything comes together really fast, but you do need precision with the brine, or your pickled carrots won’t taste quite right. I always lay out everything before I turn the stove on, just so I don’t forget that crucial teaspoon of salt!
Essential Ingredients for the Basic Pickled Carrots Brine
This is the backbone of everything! You need equal parts liquid to make sure the flavor isn’t too sharp. So grab:
- 1 pound carrots, peeled and cut into uniform sticks or coins—no thick chunks allowed!
- 1 cup white vinegar (don’t substitute this unless you’re following a variation note later!)
- 1 cup water
- 2 tablespoons granulated sugar
- 1 tablespoon kosher salt
Customizing Your Pickled Carrots with Flavorings
This is where the fun kicks in! Once you have that basic brine down, this is how you turn it into an amazing carrot pickle brine recipe for any occasion. I usually stick to just the garlic and peppercorns for a basic savory flavor, but when I want something kicky, I throw in a dried chili.
Here are the fun additions you can toss right into the jar with those fresh carrots:
- 1 clove garlic (it needs to be smashed open just a little bit)
- 1 teaspoon mustard seeds
- 1/2 teaspoon black peppercorns
- 1 small dried chili or 1/2 teaspoon red pepper flakes (for heat!)
- 1 star anise (this adds such a deep, warm note!)
- 1/2 teaspoon fresh ginger slices
How to Prepare Perfect Refrigerator Pickled Carrots
This is where we turn those crunchy carrots into intensely flavorful pickled carrots! Honestly, it takes less time than waiting for your takeout delivery. The key here is working quickly but making sure you don’t skip that heating step for the brine. That quick boil is absolutely essential to dissolving everything perfectly, which gives us a cleaner flavor profile later on. It’s a super satisfying process, especially when you see the spices settle at the bottom of the jar! If you want to dive deeper into other quick pickling methods, check out my thoughts on how to pickle carrots generally.
Step 1: Preparing the Vegetables and Jar
First things first, get those carrots ready! You need to peel them, obviously—nobody wants that slightly bitter skin flavor—and then you have to cut them. I prefer cutting mine into little sticks, like the kind you use for crudités, because they pack into the jar so nicely. But coins work great too! The most important thing, though, is making sure the pieces are uniform in size. If you have big chunks and skinny slivers, the thin ones will get mushy while the thick ones stay too hard. Grab a clean jar—a pint size is usually perfect for this recipe—and just toss your prepared carrots right inside. Don’t pack them too tightly yet!
Step 2: Creating the Hot Brine for Pickled Carrots
Now for the star of the show—the brine! Grab a small saucepan and dump in your vinegar, water, sugar, and salt. Put it over medium-high heat. You need to bring this mixture to a full boil. While it’s heating up, use a whisk or a spoon and stir constantly. We are not taking this off the heat until you can no longer see any gritty sugar or salt hiding at the bottom of the pan. As soon as it’s totally dissolved and bubbling, pull it right off the stove. Don’t let it keep boiling; we just need it hot enough to melt those sugars and salts!
Step 3: Combining and Sealing Your Homemade Carrot Pickles
If you decided to add any of those optional flavor bombs—like that garlic or those peppercorns—toss them into the jar with the carrots now. Then, carefully, and I mean carefully because it’s hot, pour that beautiful dissolved brine right over those vegetables. You need to make sure those carrots are totally swimming; they must be submerged under the liquid, or the parts sticking out will spoil first. Leave about half an inch of space at the very top of the jar—that’s called headspace. Let the jar sit on your counter uncovered for about half an hour to cool down a tiny bit. Once it’s just warm, slap that lid on tight! These homemade carrot pickles are going straight into the fridge after that.
Flavor Variations for Your Pickled Carrots
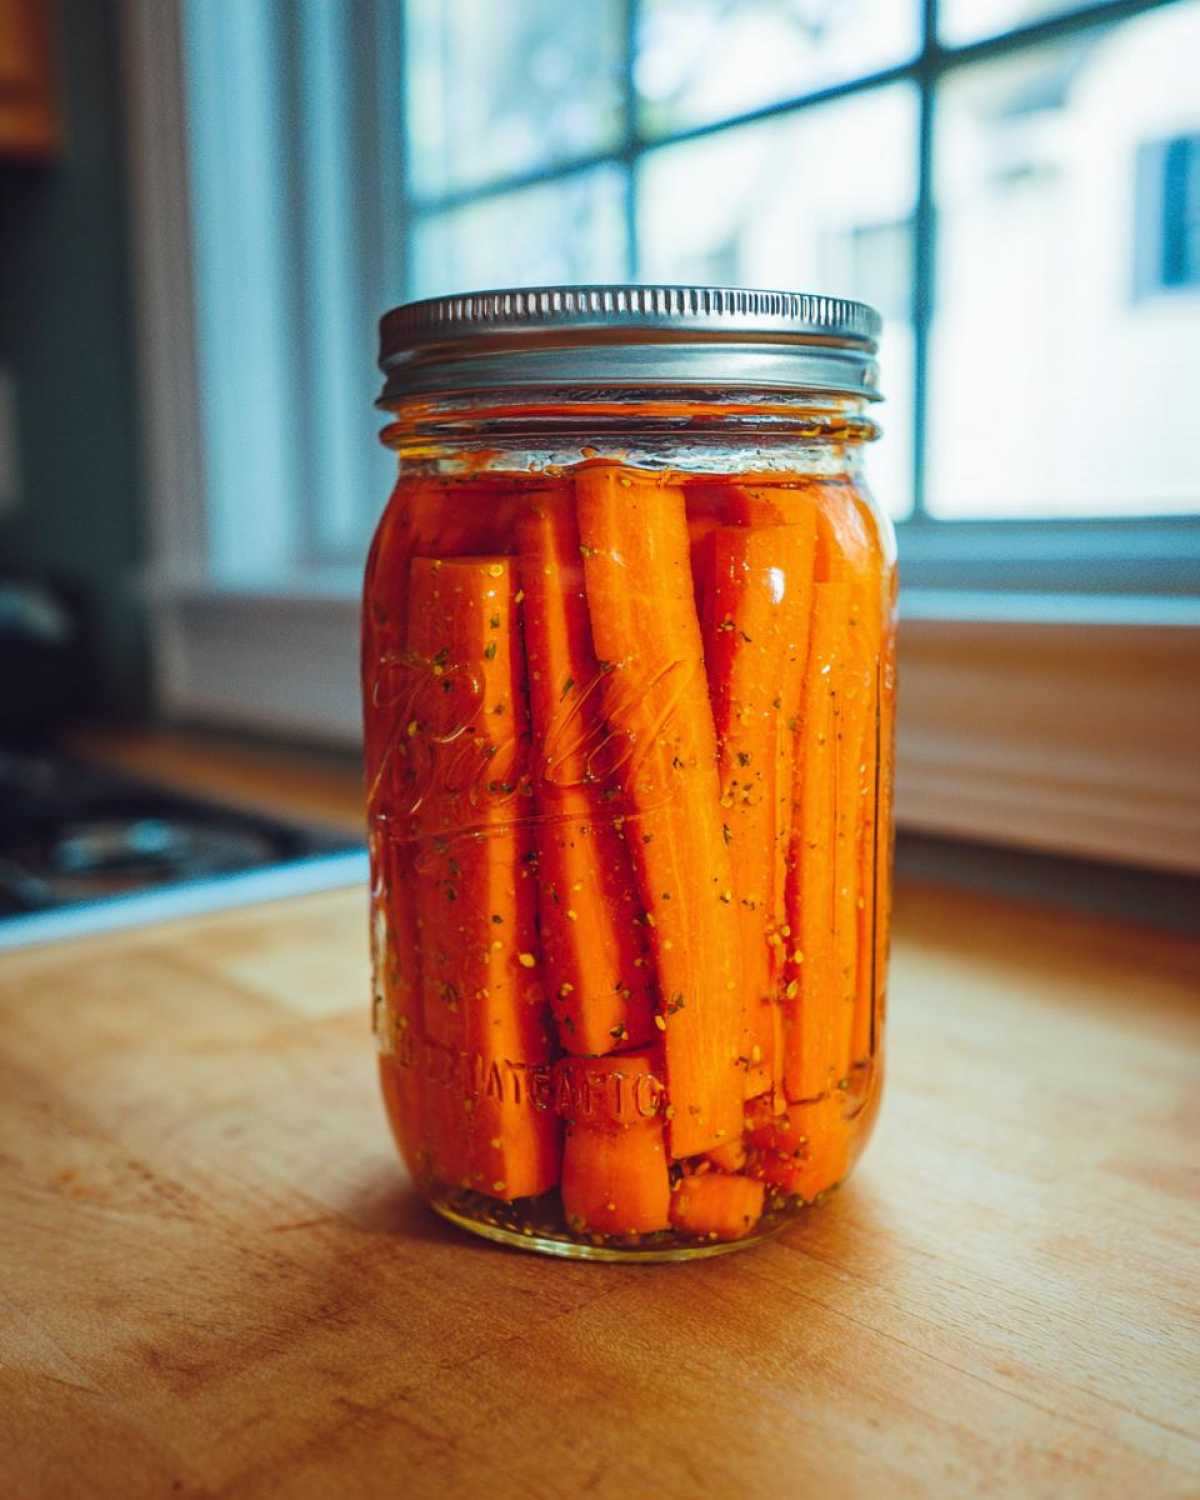
Now that you know the basic framework for these amazing pickled carrots, we have to talk about customization! I love keeping a couple of jars going at once, each with a completely different personality. The brine base is so simple that it truly takes on whatever spices or seasonings you throw in there. If you need some inspiration for different tastes, I’ve got you covered with two of my absolute favorites that I switch between weekly. Seriously, if you are looking to learn more about this exact recipe, check out my post on easy pickled carrots recipe! Let’s get started!
Making Spicy Pickled Carrots Recipe
If you’re anything like me, you probably think a little heat just makes everything better, especially when it’s paired with that tangy vinegar. For a really amazing, bright flavor profile that reminds me of my favorite street food, you have to try the Mexican angle! This variation is fantastic on sandwiches or topping up your weekend nachos. For these Mexican pickled carrots, you don’t need much extra, just some dry spices and onion!
Here’s the trick: when you are putting your carrots into the jar, also drop in 1/2 teaspoon of dried oregano. And yes, you need to sneak in about 1/4 cup of thinly sliced white or red onion. The onion softens slightly in the brine and takes on the vinegar flavor beautifully alongside the carrots. It’s totally delicious!
Creating Asian Pickled Carrots with Rice Vinegar
This version is fantastic if you’re doing a lighter meal or serving these alongside something rich. It swaps out that sharp white vinegar for something a little softer. Honestly, this tastes incredible alongside grilled fish or used as a side dish with any stir-fry. To get those beautiful Asian pickled carrots, you do two quick things.
First, you must swap out the regular white vinegar in the brine ratio for rice vinegar. It changes the entire aromatic profile! Second, and this is the garnish that really sets it apart, toss about 1 teaspoon of sesame seeds into the jar with the carrots. Just make sure everything gets submerged completely when you pour the brine on. It’s a subtle change, but the resulting flavor is just stunningly vibrant!
Tips for Success with Quick Pickled Carrots
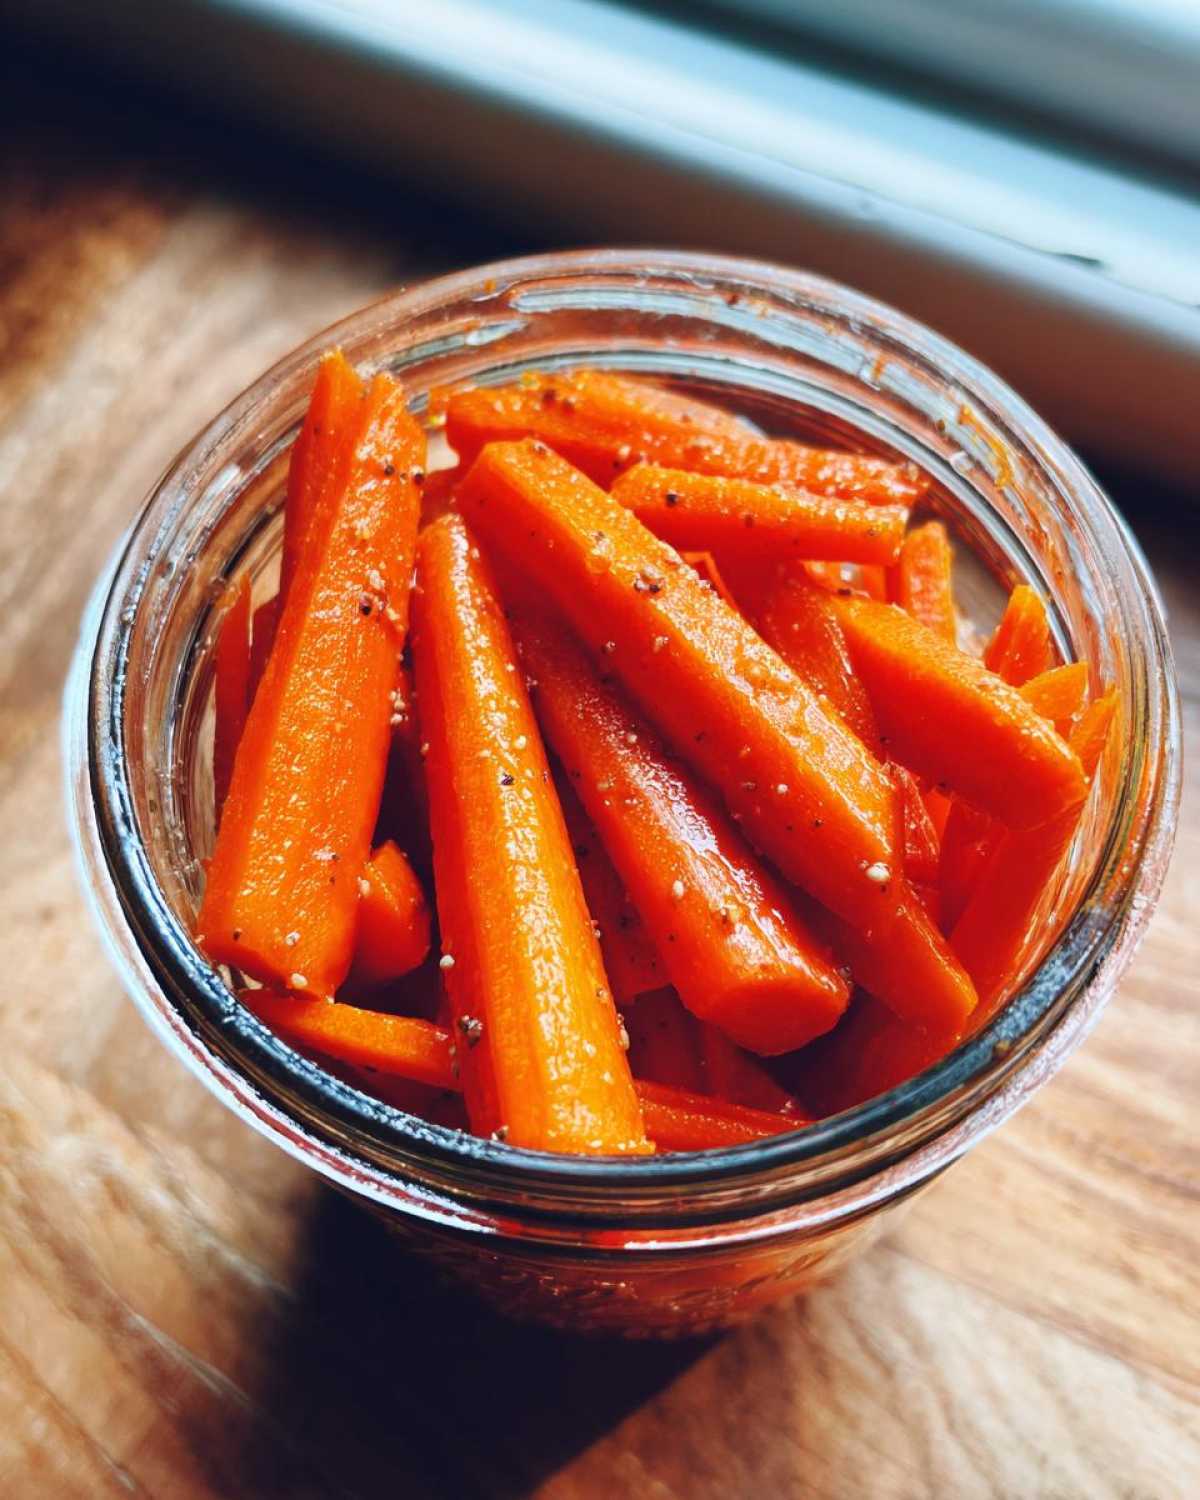
I’ve made maybe a million jars of these by now, so I feel like I can share a few insider tricks that will take your quick pickled carrots from “pretty good” to “I can’t believe I made these!” The main thing with refrigerator pickles is that we are relying on cold temperatures to keep everything crisp and prevent spoilage, so timing and storage matter way more than with shelf-stable canned goods.
For example, slicing your carrots to a very uniform width helps a ton. If you have half-inch thick rounds next to quarter-inch thick rounds, the thinner ones are going to start getting soft on you long before the thicker ones have absorbed enough flavor. Be mindful of that sizing!
Also, please don’t rush the waiting game. I know that brine smells amazing coming off the stove and you want to try it immediately, but if I taste them before 18 hours, they’re just salty vinegar carrots. The actual pickling transformation—where that sharp flavor mellows and the vinegar soaks deep into the carrot—happens slowly in that cold environment. Don’t forget, you can always read up more about my general philosophy on easy food preservation methods if you want to get really into preserving things!
One other thing: keep the jar submerged! If you notice after a day that a few carrots have floated up to the top and aren’t touching the brine anymore, I carefully push them back down with a clean fork. If you see any discoloration or sliminess on those exposed bits, toss that jar out immediately. It’s rare with this hot brine method, but it’s better to be safe than sorry when you’re not doing a full water bath seal!
Serving Suggestions for Tangy Carrot Pickles
So, you’ve successfully waited 48 hours, and now your fridge is stocked with these bright, tangy, perfectly crisp pickled carrots! What do you do with them all? Oh, honey, the possibilities are endless! They are seriously one of the most versatile snacks you can keep on hand because they cut through richness so beautifully. They are way too good to just eat standing over the sink, though I’ve definitely done that!
For me, these are an absolute requirement for Taco Tuesday. They add that necessary acidic pop that balances out rich carnitas or smoky beans. Seriously, pile them high on your next taco—it changes the game! Also, think about using them as a bright pickled vegetable side dish next to something heavy like meatloaf or pot roast. They just wake up your whole plate.
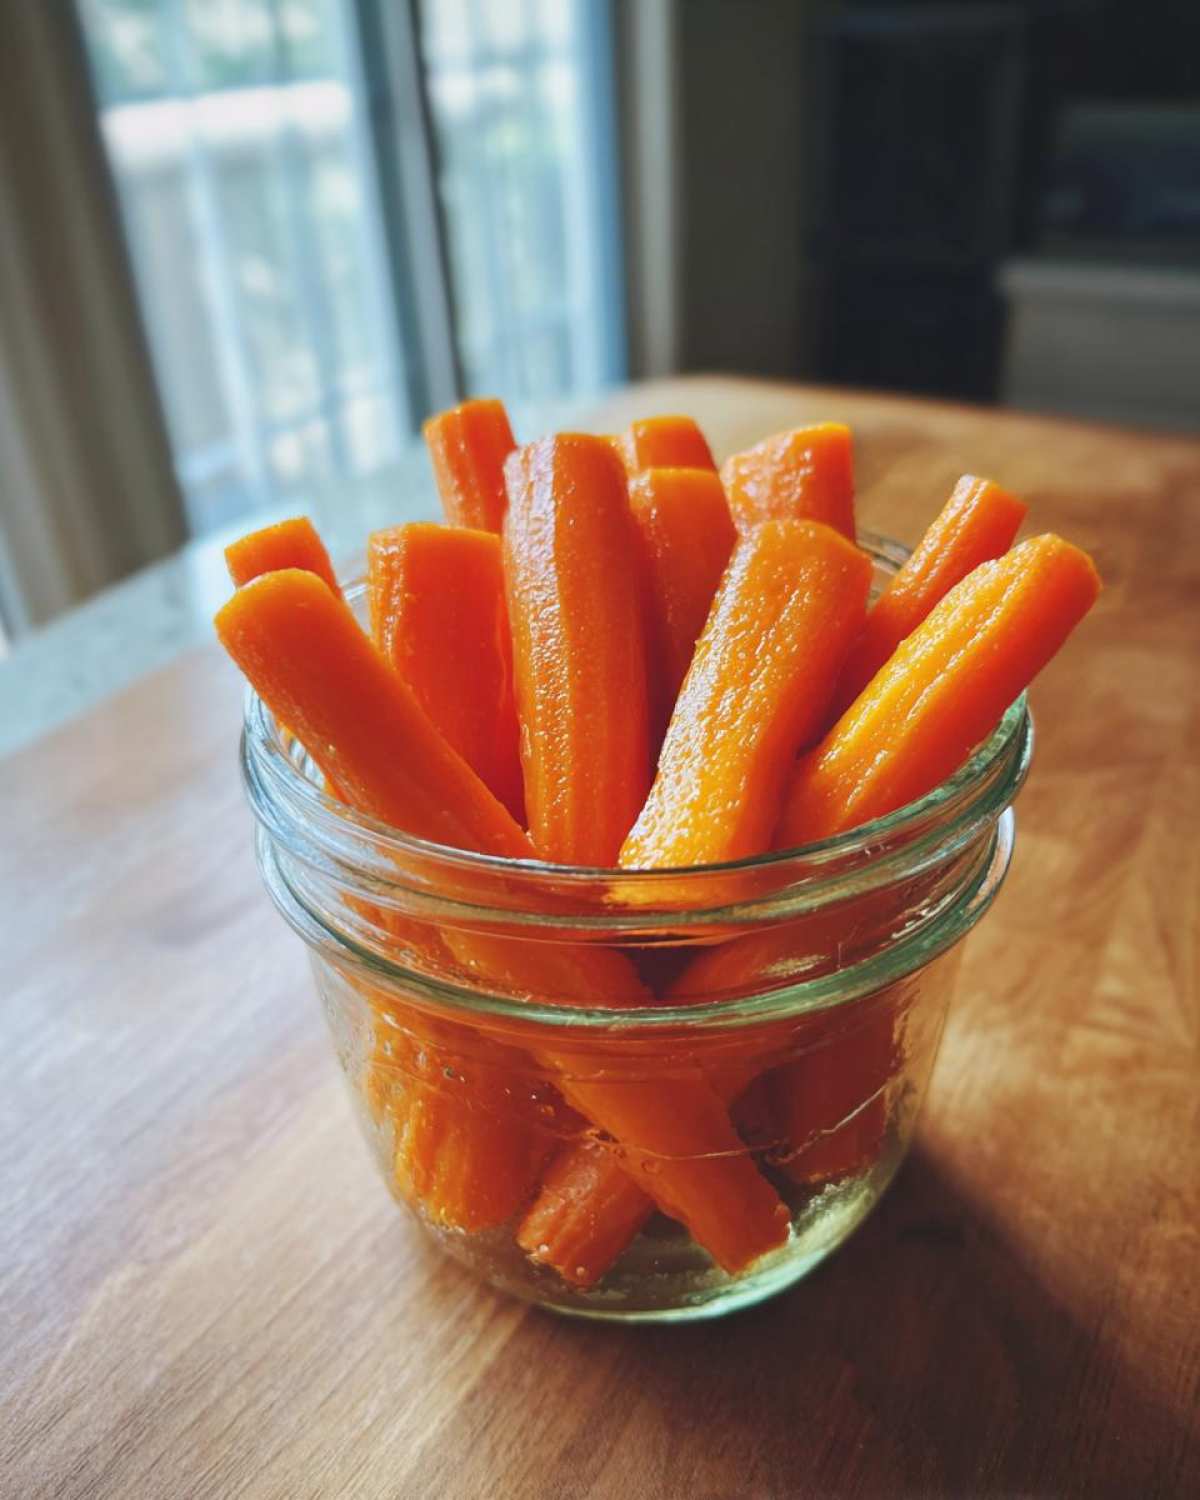
If you’re putting together any kind of platter for guests, these instantly elevate it. Forget those boring olives! These make amazing appetizer pickles. Arrange them on a charcuterie board next to some salty cheeses and cured meats, or even pile them next to some homemade dips. I actually love pairing them with sweeter things, like salty prosciutto wrapped around a sliver of sharp cheddar. The sweet and sour combo is addictive!
If you want something slightly different to serve alongside them, I sometimes whip up a batch of savory salsa, like this fun easy grilled peach salsa recipe. The sweetness of the grilled fruit alongside the sharp vinegar from the carrots? Perfection. Just have fun with them!
Storage and Shelf Life of Refrigerator Pickled Carrots
This is the part where I get to really emphasize why this recipe is your new best friend! Since we are skipping the canning process entirely—no boiling water baths here, thank you very much!—our crunchy beauties absolutely must stay cold. Think of these as a highly flavored, crunchy fresh vegetable snack rather than a long-term pantry item. If you skip refrigeration, they absolutely will turn and get funky quickly, so that’s a big no-no.
Because this is purely a refrigerator pickled carrots recipe, you need a dedicated spot in the fridge for them. The good news is that they last quite a long time for a fresh item! I’ve tested mine frequently (someone has to do the hard work, right?), and they stay perfectly crisp and safe to eat for up to three full weeks.
Three weeks! Imagine having a jar of homemade, tangy perfection ready to go for three entire weeks! That’s way faster than waiting for a deli jar to even open, and the flavor is way brighter. Just make sure that lid stays screwed on tight when they aren’t being dug out for snacking. If you notice the brine looking cloudy or strangely colored halfway through that three weeks, it’s better to toss them, but honestly, with clean jars and hot brine, you shouldn’t have any trouble!
Frequently Asked Questions About Pickled Carrots
Whenever I share these recipes online, I always get the same great questions! It makes total sense; when you try a new method like refrigerator pickling, you want to make sure you get it right the first time. Don’t worry about asking—I’m happy to dish out all the little details that make this recipe foolproof. Having the answers ready means you can get your jar into the fridge faster!
Do I need to can these pickled carrots?
Absolutely not, and that’s the best part! This is a true, easy, no canning pickle recipe. We only use the hot brine to kickstart the process and melt the salt and sugar, but everything is stored cold right away. Think of these like a quick marinade for vegetables. They aren’t shelf-stable, so they must stay tucked away in the back of your refrigerator where it’s nice and cold. No extra sterilization or sealing needed!
Can I use different vegetables besides carrots?
You totally can! That hot brine recipe is super versatile. If you have some extra radishes or even some firm cauliflower florets, they pickle up beautifully using the exact same method. I find that firmer vegetables hold their texture much better than softer ones, so you’ll get great results with those classic snack vegetable pickles. Just make sure whatever you’re using is cut uniformly so the pickling time is the same across the board. It’s fun experimenting with different veggies!
How long until my pickled carrots are ready to eat?
I know how hard it is to wait, but patience pays off here! While you *could* technically sneak a taste after about 12 hours, I strongly recommend leaving them alone for a minimum of 24 hours. That first day is when the vinegar starts really penetrating the carrot.
However, if you want that perfect balance—where the carrot is still super crunchy but the flavor is fully developed—you need to wait until days 2 or 3. That’s when the flavor peaks for these quick pickled carrots. They’ll stay delicious for weeks, but that initial 48 to 72-hour window is pure magic!
Nutritional Estimate for Homemade Carrot Pickles
Now, I’m no nutritionist—I’m a cook who loves feeding people!—but I know a lot of you look for ways to keep your snacks on the healthier side, and these fit the bill perfectly! Since we are using simple vegetables, vinegar, and just a little bit of sugar, these homemade carrot pickles are wonderfully light. They are a fantastic addition to any meal when you’re trying to keep things low-calorie but high-flavor.
This is just an estimate based on using the standard brine recipe because, obviously, adding a bunch of garlic or spicy chili flakes is going to change things up slightly. But for a standard serving size, you’re getting great value for your snack time! If you’re interested in learning more about keeping snacks light, I’ve got some general ideas in my post about healthy pickled vegetables.
Here’s a rough idea of what you’re looking at per serving (which I estimated as 1/4 cup):
- Serving Size: 1/4 cup
- Calories: Only about 25!
- Fat: Zero! Aren’t those refrigerator pickles great?
- Sugar: Low—just about 4 grams, mostly from the small amount needed to balance the vinegar.
- Sodium: 250 mg (Remember, salt is essential for the preserving process, so keep that in mind!)
- Protein and Cholesterol: Both zero, making these a great vegan side dish option.
See? Guilt-free crunch! You can enjoy these all week long without worrying about racking up too many calories.
PrintQuick Refrigerator Pickled Carrots
Make crunchy, tangy pickled carrots quickly using this simple refrigerator method. Customize the brine for spicy, dill, or Asian flavors.
- Prep Time: 15 min
- Cook Time: 5 min
- Total Time: 20 min
- Yield: About 1 pint
- Category: Side Dish
- Method: Refrigerator Pickling
- Cuisine: American
- Diet: Vegan
Ingredients
- 1 pound carrots, peeled and cut into sticks or coins
- 1 cup white vinegar
- 1 cup water
- 2 tablespoons granulated sugar
- 1 tablespoon kosher salt
- Optional Flavorings: 1 clove garlic (smashed), 1 teaspoon mustard seeds, 1/2 teaspoon black peppercorns, 1 small dried chili or 1/2 teaspoon red pepper flakes, 1 star anise, 1/2 teaspoon fresh ginger slices
Instructions
- Prepare the carrots: Peel the carrots and cut them into uniform sticks or coins. Place the carrots into a clean, pint-sized or quart-sized jar.
- Make the brine: In a small saucepan, combine the vinegar, water, sugar, and salt.
- Heat the brine: Bring the mixture to a boil over medium-high heat, stirring until the sugar and salt dissolve completely. Remove from heat.
- Add flavorings: If using optional flavorings (garlic, spices, chili), add them directly to the jar with the carrots.
- Pour the brine: Carefully pour the hot brine over the carrots in the jar, ensuring the carrots are completely submerged. Leave about 1/2 inch of headspace at the top.
- Cool and seal: Let the jar cool on the counter for about 30 minutes. Once cooled, seal the jar with a tight-fitting lid.
- Refrigerate: Place the jar in the refrigerator. The carrots will be ready to eat in about 24 hours, but the flavor improves after 2-3 days.
Notes
- For a Mexican-style pickle, add 1/2 teaspoon dried oregano and 1/4 cup sliced onion to the jar.
- For an Asian-style pickle, use rice vinegar instead of white vinegar and add 1 teaspoon sesame seeds.
- The carrots will stay crisp in the refrigerator for up to three weeks.
Nutrition
- Serving Size: 1/4 cup
- Calories: 25
- Sugar: 4
- Sodium: 250
- Fat: 0
- Saturated Fat: 0
- Unsaturated Fat: 0
- Trans Fat: 0
- Carbohydrates: 6
- Fiber: 1
- Protein: 0
- Cholesterol: 0
