

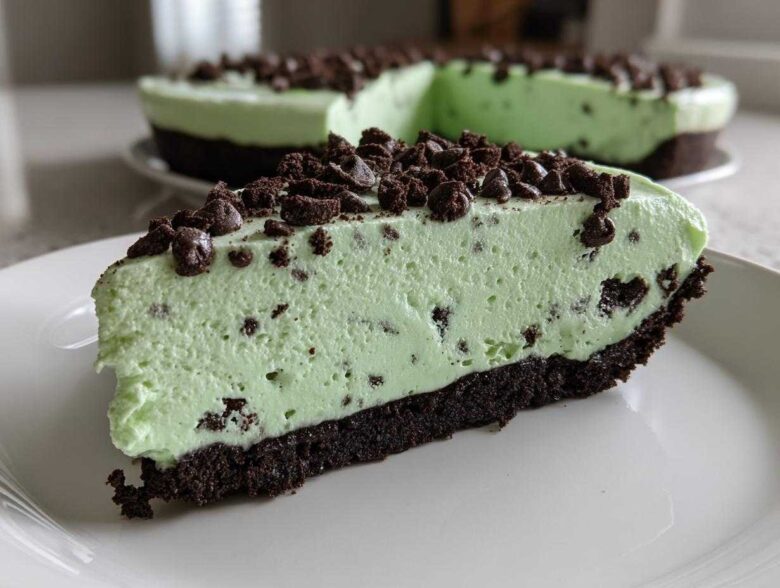
You know those desserts that just scream ‘refreshing’? The ones that are so cool and creamy they practically melt the second they hit your tongue? Well, I’ve got the absolute champion for you today. We’re diving headfirst into my go-to, can’t-live-without, totally retro **grasshopper pie**!
But here’s the best part, honestly: this version is completely no-bake, which means exactly zero sweating over a hot stove. Plus, I’ve made sure it’s totally kid-friendly—no alcohol here, just pure mint chocolate magic with peppermint extract. Honestly, making this Mint Chocolate Dessert always gets cheers at family events. It’s quick, it’s stunning, and it’s the coziest hug in pie form.
Why This Easy No-Bake Grasshopper Pie Recipe Works
I know you’re busy, so I want you to know immediately why this particular grasshopper pie has earned permanent residence in my summer rotation. There’s just no fuss, and the payoff is huge!
- It’s genuinely a no bake mint pie! You just press the crust and let the fridge do the heavy lifting. No oven preheating, no frantic baking schedules.
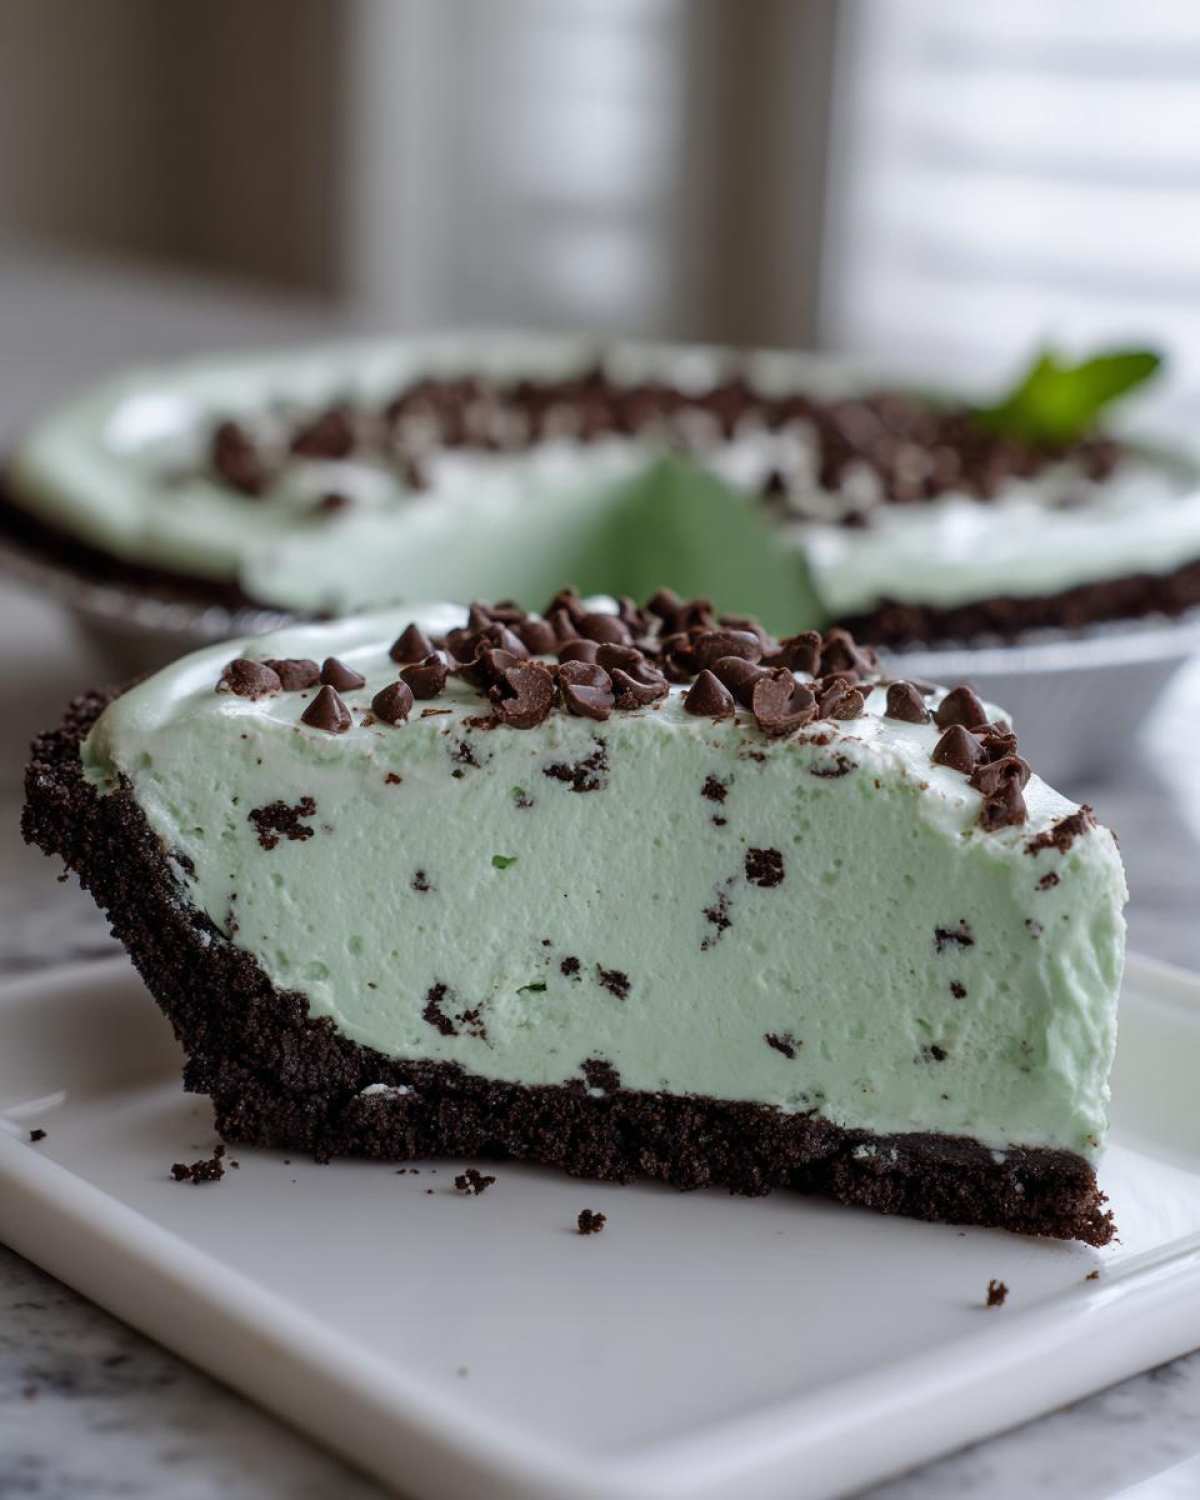
- The texture is out of this world! We’re talking light, silky, and completely creamy mint chocolate dessert fluffy. It’s more of a mint mousse than a dense filling.
- It’s totally family friendly grasshopper pie. We rely on peppermint extract, not those liquors, so young and old can enjoy every single slice.
- The crust is foolproof. You only need a few minutes to mix up those buttery chocolate cookie crumbs, and it sets up perfectly in the freezer while you work on the filling.
- It comes together so fast! Honestly, your prep time is less than 20 minutes. The rest is just waiting for the magic to happen in the cold.
Gathering Ingredients for Your Creamy Mint Chocolate Dessert
Okay, for this perfect grasshopper pie, you don’t need a million weird things! Seriously, most of this is pantry staples, which makes it one of my favorite easy no bake desserts. Just make sure you grab your cream cheese when it’s fully softened because you don’t want lumps. And that heavy whipping cream? It absolutely *must* be cold straight from the fridge—that’s how we get those spectacular stiff peaks!
For the Oreo Crust Pie Base
This is the foundation for everything delicious. Don’t skimp on crushing those cookies really finely, or the butter won’t mix in right.
- 1 1/2 cups chocolate cookie crumbs (I use about 30 total cookies, if you’re counting!)
- 6 tablespoons unsalted butter, melted until perfectly smooth
For the No Bake Mint Pie Filling
This is where the creamy magic happens. Notice we aren’t using any mint liqueur here; the peppermint extract gives you all that bright, fresh flavor you want in this refreshing mint pie!
- 8 ounces cream cheese, make sure it’s really softened up
- 1 cup powdered sugar, sifted if you have time, but don’t stress the lumps!
- 1 teaspoon vanilla extract
- 1/2 teaspoon pure peppermint extract (This is your mint workhorse!)
- 1/4 teaspoon green food coloring (Totally optional, but it makes it look so fun and festive!), just a drop or two
- 1 cup heavy whipping cream, kept ice cold until you whip it
- 1/2 cup miniature chocolate chips (Fold these in last—they are the hidden treats!)
Step-by-Step Instructions for Homemade Grasshopper Pie
Getting this grasshopper pie put together is so much easier than you think, I promise! Since it’s a totally no-bake situation, we’re focusing on careful mixing and letting the cold do the hard work. You’ll have this gorgeous creamy mint chocolate dessert ready for the fridge in under 20 minutes, before it needs its long chill time.
Preparing the Chocolate Cookie Crust Pie
First things first, we build the base! Grab your cookie crumbs and pour them into a bowl with the melted butter. You need to stir that up until every crumb is coated. Then, press that mixture firmly—and I mean firmly—into the bottom and right up the sides of your 9-inch pie plate. Don’t be shy! Pop this crust into the freezer while we move on to the filling; a good chill helps it stay put.
Creating the Creamy Mint Chocolate Dessert Filling
This is where we build that gorgeous volume. In your big bowl, beat that softened cream cheese until it’s looking completely smooth. Now, slowly beat in your powdered sugar until it’s incorporated, then follow up with the vanilla, your peppermint extract, and that tiny drop of green food coloring if you want that signature look. Next, you have to whip the heavy cream completely separately until you get stiff peaks. This is key! Once that’s done, gently fold that fluffy whipped cream into the cream cheese mixture. You have to be tender here so you don’t deflate all that air. That folding technique is how we guarantee a light, mousse-like texture for our no bake mint pie.
Assembling and Chilling the Refreshing Mint Pie
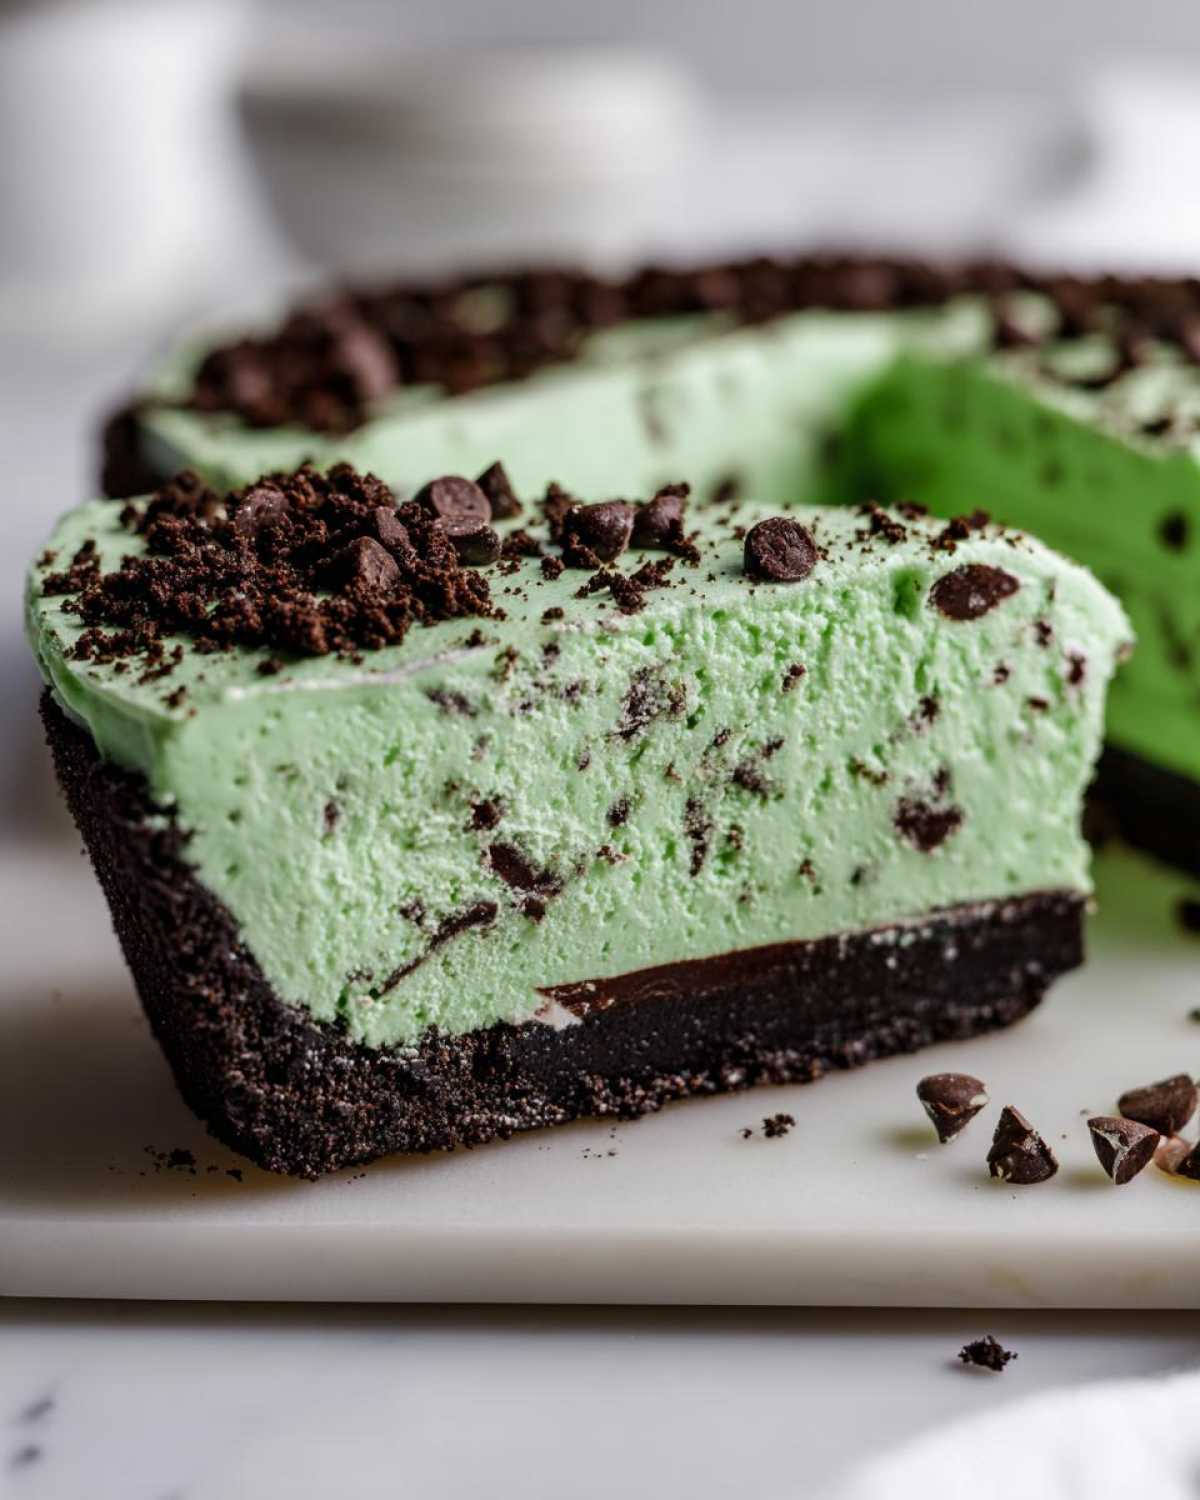
Once your filling is mixed, gently fold in those miniature chocolate chips—try not to stir too vigorously! Spoon all that beautiful mint filling right into your chilled chocolate cookie crust. Smooth the top gently with a spatula. Now, this is the hardest part: patience! You need to chill this pie for a minimum of six hours, but honestly, overnight is best for the firmest slice. If you’re in a real hurry, a couple of hours in the freezer will make it solid enough to slice, too!
Tips for Success with Your Grasshopper Pie Recipe
If you follow the steps above, you’ll have a fantastic grasshopper pie, but let me give you the inside scoop on how I make sure mine always comes out absolutely perfect. It’s all about managing that creaminess!
When whipping the heavy cream, make sure your bowl and beaters are cold; maybe even chill them for 15 minutes first. This just ensures you hit those stiff peaks faster. If you’re using food coloring, start with just one drop for the filling. You want that beautiful pale green, not the color of antifreeze! A little goes a long way to give you that classic look.
Remember, the secret to that mousse-like texture is gentle folding after you whip the cream. Don’t switch to the electric mixer for that step! You need to use a rubber spatula and be patient. Check out my latest baking adventures for more tips on folding.
Ingredient Notes and Substitutions for Grasshopper Pie
I get so many questions about messing with the ingredients in this grasshopper pie, and I totally get it! Sometimes you just don’t have exactly what the recipe calls for. Good news: this no bake mint pie is flexible, but there are a couple of things I really stick to for that perfect, retro vibe.
First, let’s talk about the crust again. Look, I know Oreos are the gold standard here. That dark chocolate cookie crumbs really anchors the whole thing and plays so nicely against the mint. But if, for some wild reason, you can only find graham crackers, go ahead and use 1 1/2 cups of those instead! Just add an extra tablespoon of sugar to the crumbs, because graham crackers lack the sweetness we get from the chocolate ones.
Also, just to be crystal clear for anyone new to this recipe: we are keeping this family-friendly! We skip the traditional Crème de Menthe liqueur entirely. The star flavor comes directly from the peppermint extract, which gives you that wonderful bright mint hit without any booze!
For the chocolate chips, I used miniature ones because they distribute better throughout the creamy filling when it sets. If you only have regular-sized chips, just give them a rough chop first. Too big, and they might slide around or not set into the mousse nicely. Trust me on the mini ones, though!
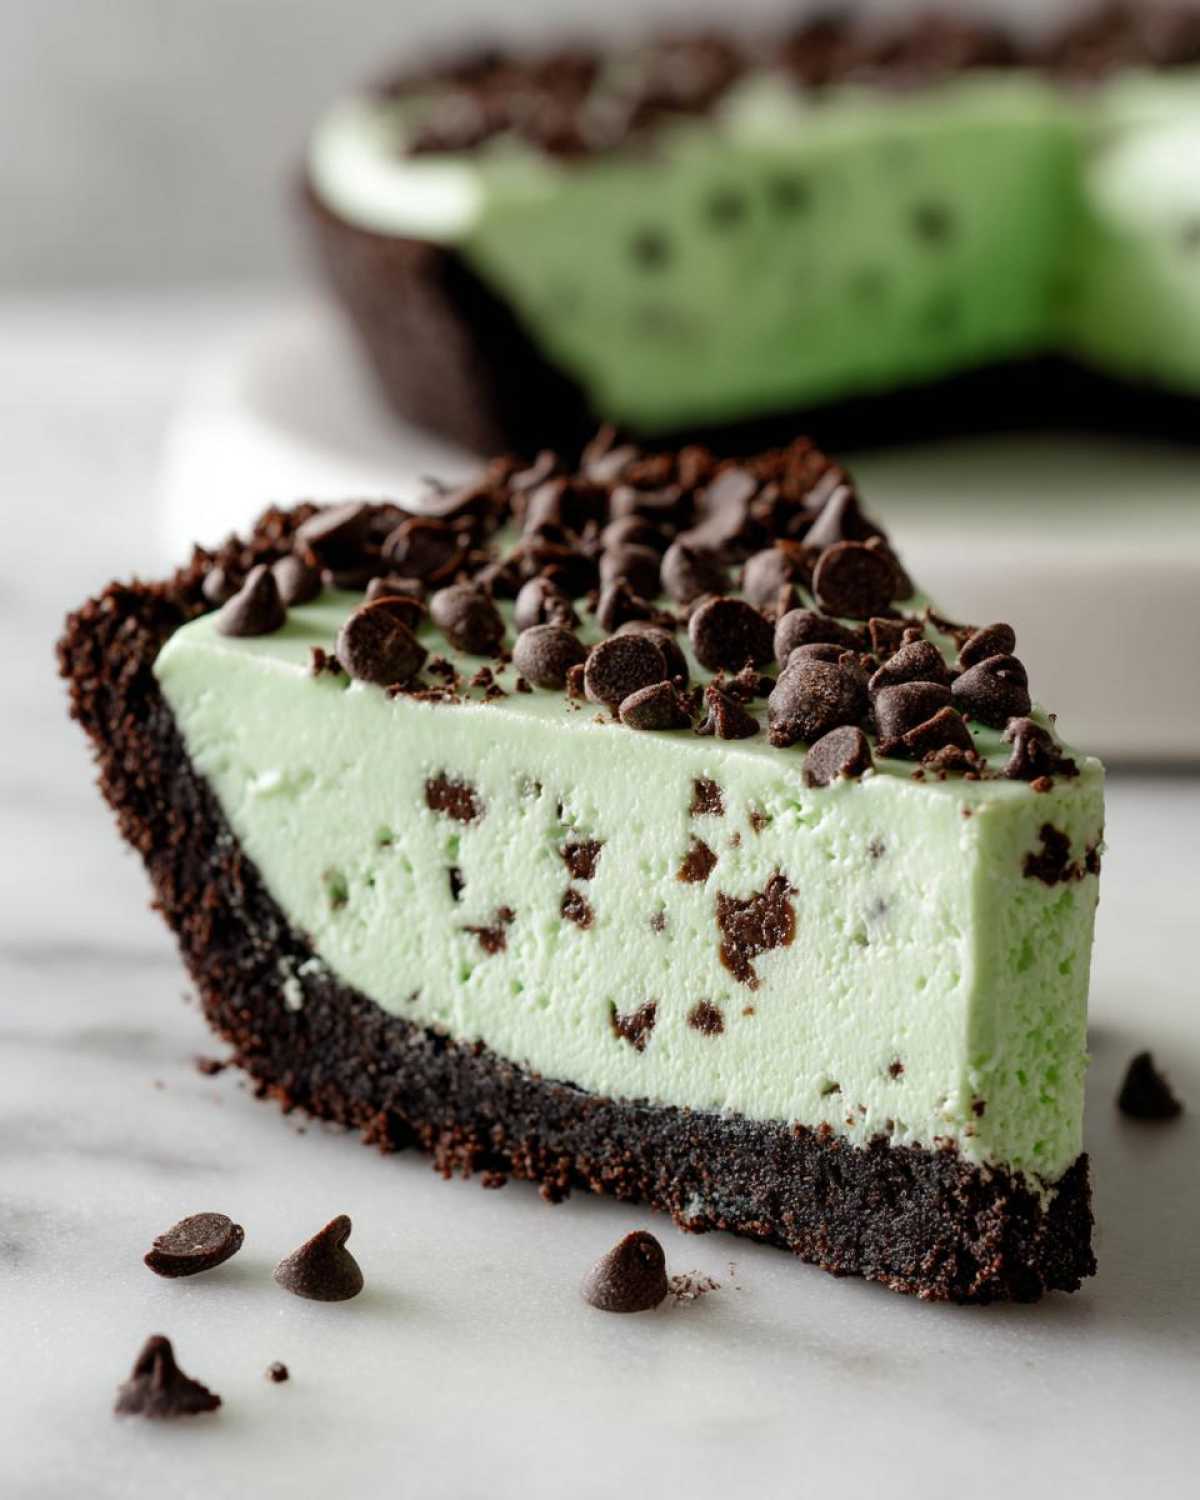
And if you are worried about color, don’t fuss too much! If you skip the food coloring, you just get a gorgeous, off-white, vanilla-and-mint-swirled pie. It still tastes exactly the same, which is the most important part of any homemade grasshopper pie.
Serving Suggestions for This Quick Cold Dessert
Okay, so your grasshopper pie is perfectly chilled and firm—congratulations! Now for the fun part: making it look absolutely dazzling when you bring it to the table. Since this pie is already rich with that creamy mint chocolate flavor, you want toppings that complement it without hiding all that hard work you put into the filling.
My absolute favorite, hands-down winner for a finishing touch? Shaved chocolate or thin curls. I keep a bar of high-quality dark or semi-sweet chocolate in the freezer, and when I’m ready, I use a vegetable peeler right over the top of the pie. It creates these gorgeous, delicate flakes that melt beautifully in your mouth. It makes it feel like something you bought from a fancy bakery!
If you aren’t a chocolate shaver, don’t worry! A simple dusting of unsweetened cocoa powder works wonders. Just sieve it lightly over the top for a sophisticated, matte finish. It cuts the sweetness just a tiny bit, which is lovely after all that cream cheese.
For something a little fluffier, you can always pipe little dollops of fresh whipped cream around the edge before serving. If you want to jazz that whipped cream up? You can try adding a tiny bit of vanilla extract or even a touch of powdered sugar whipped in, or perhaps even try my vanilla buttercream frosting recipe if you want something truly decadent on top!
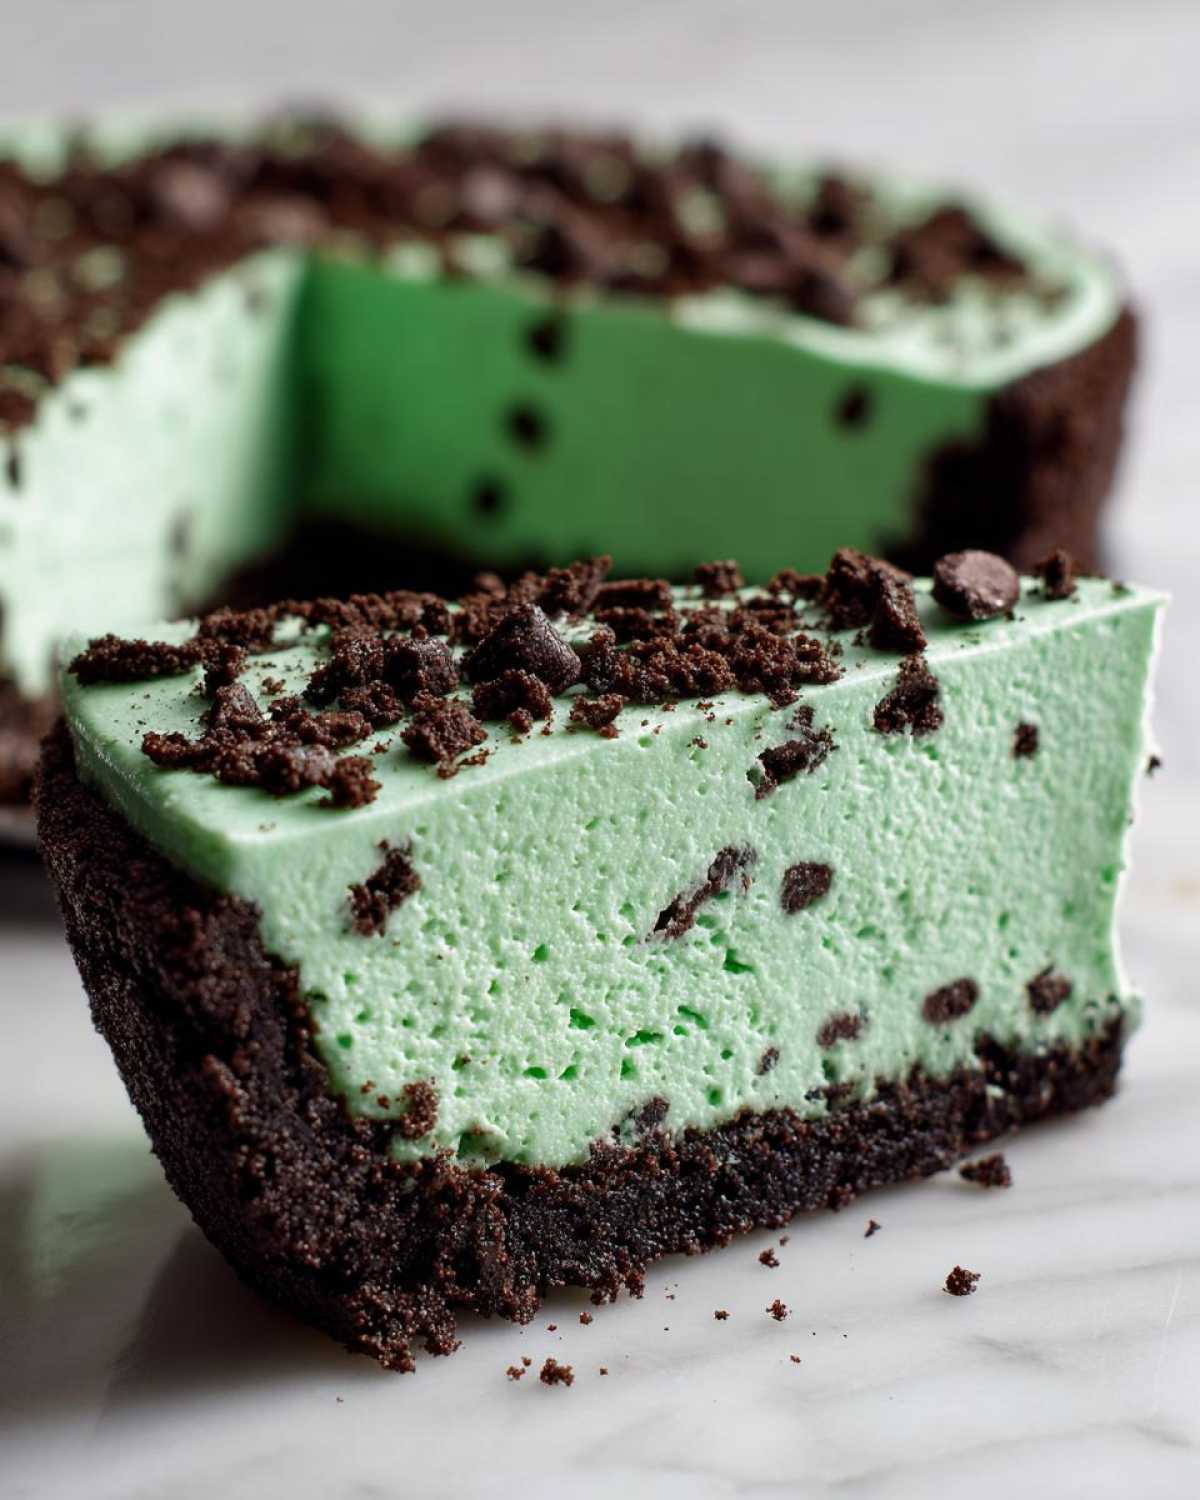
No matter what you choose, remember that this refreshing mint pie tastes best when it’s completely ice-cold. Just add your topping right before you slice it, and watch everyone dive in!
Storage and Reheating Instructions for Leftover Grasshopper Pie
Here’s the thing about this gorgeous, creamy grasshopper pie: since it’s entirely no-bake and relies on whipped cream and cream cheese to set up, we absolutely never, ever reheat this pie. Can you imagine trying to warm up a mousse? Oh gosh, no. It would just turn into a puddle of minty sadness!
So, our focus is strictly on keeping this lovely dessert cold and structured until the last slice is enjoyed. The good news is that even though it’s quick to make, it stores really well, provided you keep it chilled correctly.
If you have any leftovers, you need an airtight container, stat. Don’t just throw plastic wrap over the open pie dish; that lets in freezer burn and smells from the fridge! If you happen to have leftover filling only, that’s fine too, just treat it like pudding and keep it tightly covered in a bowl.
For refrigeration, the pie will hold up beautifully for about three to four days tucked away in the fridge. You’ll notice after day four, the chocolate cookie crust might start to absorb a little too much moisture and become a touch soft, but honestly, it still tastes wonderful! Just make sure it stays cold the whole time.
Now, if you made a huge batch and know you won’t get through it in four days, you can definitely freeze the pie! Cover the entire pie plate securely with plastic wrap first, and then follow that with a layer of aluminum foil. The foil protects it from any smells. It freezes solid in about four hours. When you want to serve it frozen, just let it sit on the counter for about 20 minutes before slicing. It makes for an amazingly firm, almost ice-cream-like experience, which is perfect for a hot day!
Frequently Asked Questions About Making Grasshopper Pie
Oh, I just know you’re going to have questions once you start mixing! That’s totally normal when you’re dealing with a classic like this amazing grasshopper pie. I’ve gathered the ones I hear most often while developing this recipe. Don’t worry if you had a random thought, chances are, it’s in here!
Can I make this Grasshopper Pie Recipe with alcohol?
Since this version is my go-to family friendly grasshopper pie, we skip it entirely and use peppermint extract for that wonderful minty kick. However, if you’re making this for the grown-ups and want that true classic flavor, you absolutely can add it back in! I would simply suggest you omit about 2 or 3 tablespoons of the heavy whipping cream and replace it with an equal amount of Crème de Menthe liqueur. Make sure you add it when you add the extracts to the cream cheese mixture. Just remember, that will make it less stable, so you might need a little extra chilling time!
How long does the No Bake Mint Pie need to set?
This is the make-or-break question for any quick cold dessert! Because we skip the oven, the structure comes entirely from the cold temperature. I really, truly recommend letting your no bake mint pie chill in the refrigerator for at least six hours. If you can leave it overnight, even better! That’s when you get those clean, beautiful slices.
If you are short on time and have an event looming, you can flash-freeze it. Pop the finished pie into the freezer for about two to three hours. When it comes out, it will be very firm, almost like a frozen dessert. If you slice it while it’s still very cold, it holds its shape beautifully. You can check out some other speedy chilled no bake recipes on the blog if you need more inspiration for quick entertaining!
Nutritional Estimates for This Family Friendly Grasshopper Pie
Now, let’s talk fuel! Since this wonderful grasshopper pie is rich with cream cheese and that buttery cookie crust, I always like to give a rough idea of what you’re looking at per slice. I want you to enjoy this amazing creamy mint chocolate dessert without any guesswork lurking around!
Keep in mind that these numbers are just estimates, of course. They are based on using standard grocery store ingredients and dividing the whole pie into 8 equal servings—and if you slice yours bigger (I totally don’t blame you!), the numbers will shift!
- Serving Size: 1 slice
- Calories: Around 350 calories. Yes, it’s a treat, but look at that texture! Worth every bite!
- Sugar: About 28 grams. That’s the powdered sugar and cookie base doing their work!
- Fat: Roughly 24 grams total fat. This is where that rich cream cheese and butter really shine through to give you that luxurious mouthfeel.
- Saturated Fat: Around 14 grams. Again, that comes mostly from the dairy and the cookie base.
- Protein: About 4 grams.
- Carbohydrates: Roughly 32 grams.
- Fiber: A little bit, about 1 gram.
It’s not exactly health food, right? But it is one of the most refreshing, crowd-pleasing holiday dessert recipes you can pull together in a flash. Slather a nice thick slice on a plate, add your favorite topping, and enjoy every perfectly green second of this wonderful, easy no bake dessert!
PrintEasy No-Bake Non-Alcoholic Grasshopper Pie

Make a creamy, mint chocolate pie with a simple chocolate cookie crust. This recipe is no-bake and does not use alcohol.
- Prep Time: 20 min
- Cook Time: 0 min
- Total Time: 6 hr 20 min
- Yield: 8 servings
- Category: Dessert
- Method: No-Bake/Chilling
- Cuisine: American
- Diet: Vegetarian
Ingredients
- 1 1/2 cups chocolate cookie crumbs (about 30 cookies)
- 6 tablespoons unsalted butter, melted
- 8 ounces cream cheese, softened
- 1 cup powdered sugar
- 1 teaspoon vanilla extract
- 1/2 teaspoon peppermint extract
- 1/4 teaspoon green food coloring (optional)
- 1 cup heavy whipping cream, cold
- 1/2 cup miniature chocolate chips
Instructions
- Combine the chocolate cookie crumbs and melted butter in a medium bowl. Press the mixture firmly into the bottom and up the sides of a 9-inch pie plate. Place the crust in the freezer while you prepare the filling.
- In a large bowl, beat the softened cream cheese until smooth. Gradually beat in the powdered sugar until fully combined.
- Add the vanilla extract, peppermint extract, and green food coloring, if using. Mix until the color is uniform.
- In a separate, clean bowl, whip the cold heavy cream until stiff peaks form.
- Gently fold the whipped cream into the cream cheese mixture until just combined, being careful not to deflate the cream.
- Fold in the miniature chocolate chips.
- Spoon the mint filling evenly into the prepared crust.
- Chill the pie in the refrigerator for at least 6 hours, or until firm. For a faster set, you can freeze it for 2-3 hours.
- Slice and serve cold.
Notes
- For a richer chocolate flavor in the crust, use Oreos with the cream filling removed.
- If you prefer a firmer, frozen pie, freeze for 4 hours before serving.
- You can top the pie with whipped cream or extra chocolate shavings before serving.
Nutrition
- Serving Size: 1 slice
- Calories: 350
- Sugar: 28
- Sodium: 210
- Fat: 24
- Saturated Fat: 14
- Unsaturated Fat: 10
- Trans Fat: 0
- Carbohydrates: 32
- Fiber: 1
- Protein: 4
- Cholesterol: 65
