

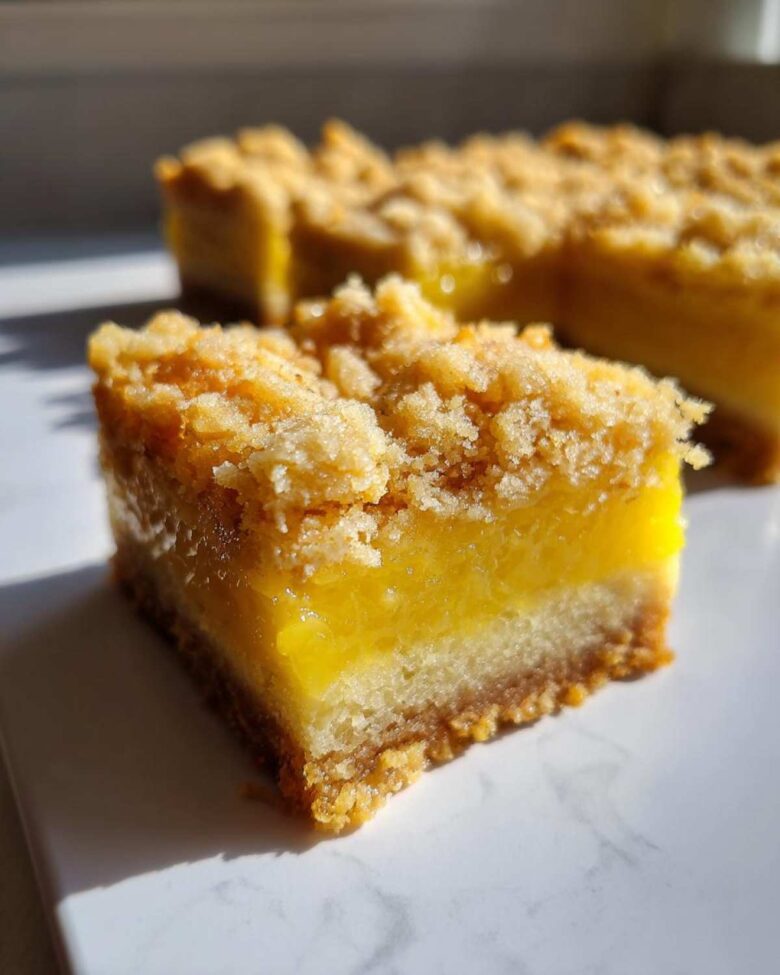
Oh my gosh, you absolutely HAVE to try these! If you’re anything like me, you crave that perfect hit of sunshine in your desserts—sweet enough to feel like a treat, but tangy enough to zing your tastebuds awake. Well, friends, I’ve finally locked down the ultimate recipe for **Homemade Lemon Crumb Bars A Delightfully Tangy Treat for Any Occasion**. Forget those thin, sad little lemon squares you get sometimes; these bars are *thick*! That secret lies in using a generous, buttery shortbread base and just letting the super-bright lemon filling do its magic. I swear, I take these to every summer picnic, and they disappear faster than I can set them down. They’re just that good, mixing incredible flavor with surprising simplicity. If you ever loved that thick cake I made last spring, you’ll adore this recipe; it’s all about balancing that tartness perfectly, much like I do in my moist and tangy lemon pound cake.
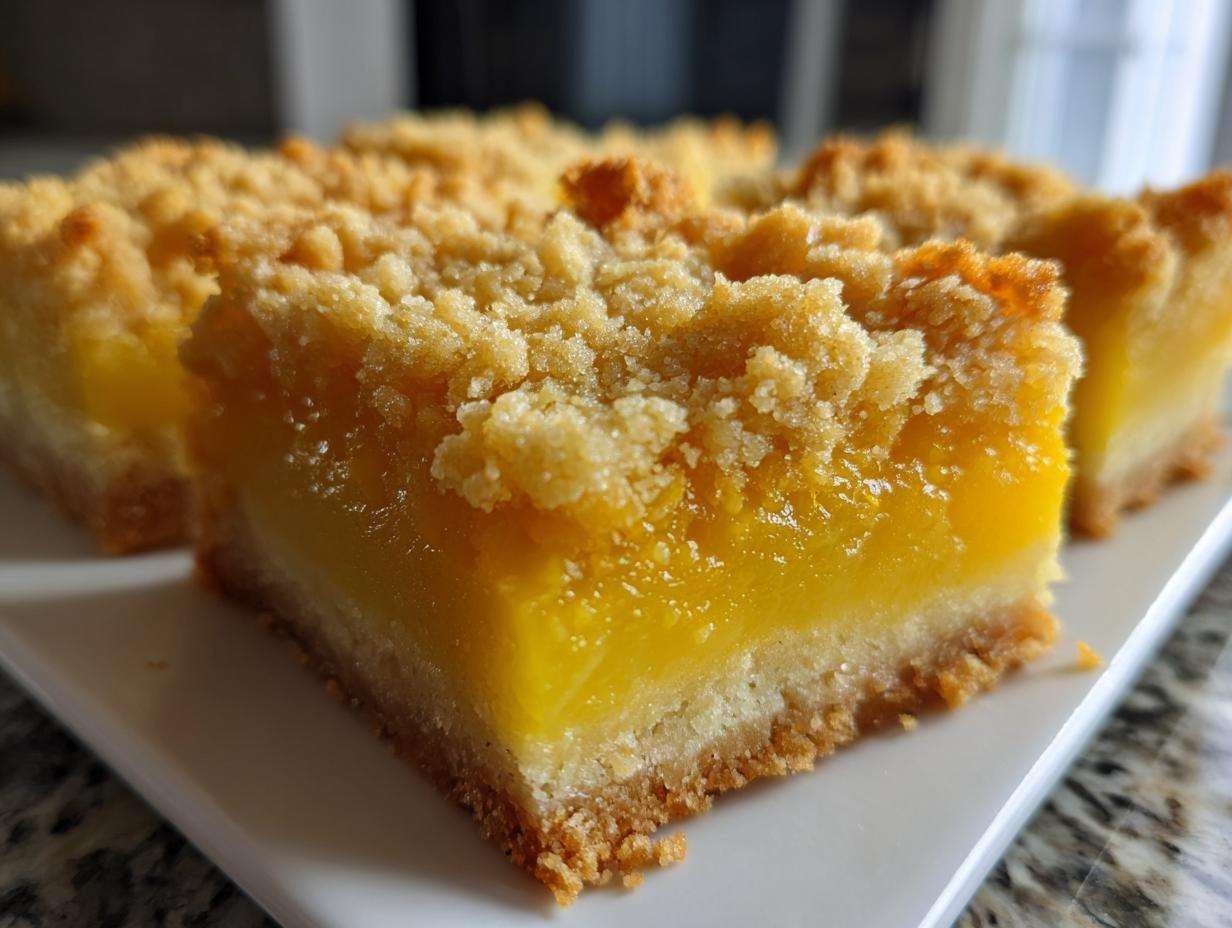
Why You Will Love These Homemade Lemon Crumb Bars A Delightfully Tangy Treat
Seriously, these bars hit every mark you could want for a perfect afternoon snack or dessert. They’re easy enough for a Tuesday, but impressive enough for company. You’re going to obsess over this recipe. Trust me!
- The texture contrast is unreal: a sturdy, buttery crust meeting a soft, vibrant filling.
- They deliver that deliciously tangy flavor profile we all crave in a lemon treat.
- We get that fantastic crumb topping—it’s the best part, really!
- Cleanup is surprisingly minimal, especially since you can prep the filling while the base bakes. Check out my tips for another great crust recipe here: tangy lemon bars with a shortbread crust.
Essential Ingredients for Homemade Lemon Crumb Bars A Delightfully Tangy Treat
You can’t fake amazing lemon flavor, and that’s the main takeaway here. We’re dealing with three components—crust, filling, and topping—and they all rely on similar base ingredients, which makes shopping easy! My biggest rule, the one you absolutely have to follow if you want that ‘delightfully tangy’ punch? You MUST use fresh lemons. Bottled juice just doesn’t have the same vibrating brightness that comes from an actual, freshly squeezed fruit. I use fresh lemon juice and zest in combination to really boost that citrus feeling. For the shortbread parts, we need quality cold butter; this is non-negotiable for that sandy, melt-in-your-mouth crumb. When I first tried this recipe using room-temp butter, the crust turned out hard like a brick. Never again! Speaking of fresh juice, if you want to try making your own bright drinks, you should check out my recipe for easy homemade classic lemonade.
For the Buttery Shortbread Crust and Crumb Topping
- 1 1/2 cups all-purpose flour
- 1/2 cup granulated sugar (for crust/crumb)
- 1/4 teaspoon salt
- 1 cup (2 sticks) cold unsalted butter, cut into cubes
- 1/2 cup all-purpose flour (for topping – yes, we borrow from the crust ingredients!)
For the Perfectly Tangy Lemon Filling
- 1 cup granulated sugar (for filling)
- 1/4 cup all-purpose flour (for filling)
- 4 large eggs
- 1/2 cup fresh lemon juice (seriously, squeeze those little guys!)
- 1 tablespoon lemon zest
How to Prepare Homemade Lemon Crumb Bars A Delightfully Tangy Treat Step-by-Step
Okay, let’s get baking! This recipe moves quickly once you have everything laid out, which is why I insist on prepping all my ingredients first. We’re making layers here, so organization is key to nailing that thick, buttery texture we’re aiming for. Preheat your oven to 350°F (175°C) right now, and make sure you line that 8×8 pan with parchment so the handles stick up over the sides—that’s your free ticket to easily lifting these beauties out later. You won’t regret prepping that overhang! We don’t want any sticking ruining our fantastic texture, especially when we start Baking Lemon Crumb Treats later this week.
Preparing the Crust and Initial Bake for Your Homemade Lemon Crumb Bars
First up is that gorgeous shortbread! You need to mix your flour, half cup of sugar, and salt, then get that cold butter in there. I actually like using my fingertips for this part, squishing the butter into the dry mix until it looks like really coarse meal. Then, scoop up about two-thirds of that mixture and press it *firmly* into the bottom of your lined pan. Press it down hard, using the bottom of a measuring cup helps get it perfectly even. You need that solid base for these **Homemade Lemon Crumb Bars A Delightfully Tangy Treat for Any Occasion**. Pop that crust in for 15 minutes while you whip up the filling. We want it barely set and just starting to look golden before we move on.
Making the Bright Citrus Filling and Assembling the Layers
While that crust is having its little pre-bake session, grab another bowl! Whisk together the rest of the sugar and flour, then quickly add your eggs, fresh lemon juice, and zest. You only want to whisk until it’s smooth—don’t whip this filling silly, or it gets tough! When the crust comes out, pour that bright, sunny batter right over the top. Now for the best part: take that reserved one-third of the crumb mixture and sprinkle it evenly over the lemon goo. This topping is what makes these **Homemade Lemon Crumb Bars A Delightfully Tangy Treat for Any Occasion** so special—it’s an amazing streusel!
Final Bake and Cooling for Perfect Lemon Crumb Squares
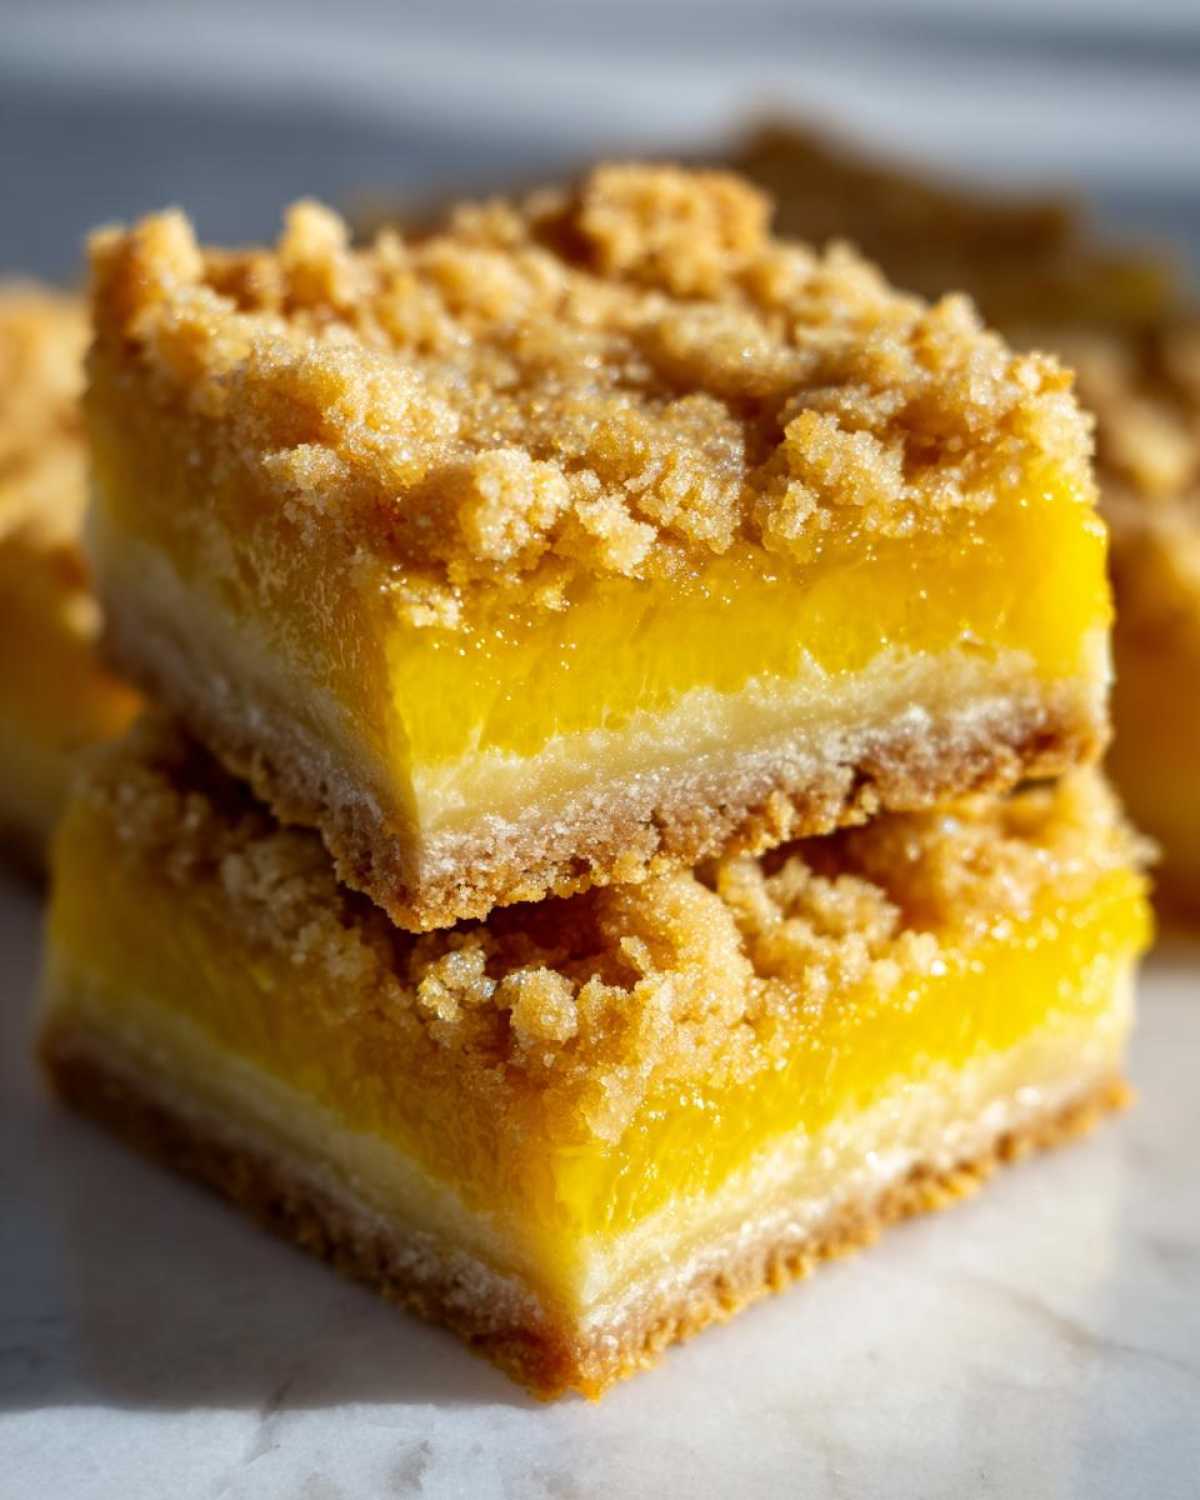
Back into the 350°F oven they go for about 30 to 35 minutes. You’re looking for the edges to look totally baked, but the very center might still have a tiny wobble, like Jell-O. Do *not* be tempted to pull them out early! The most important, hardest step is the waiting game. You have to let these amazing **Homemade Tangy Lemon Bars** cool completely—like two whole hours—on a wire rack. That cooling time is when the filling sets up perfectly, ensuring you get sharp squares, not a gooey puddle. If you cut them hot, you end up with a soupy mess, and nobody wants that, especially when they look this close to perfection!
Tips for Success When Baking Lemon Crumb Treats
Listen, baking anything with a delicate filling and a crumb topping is a high-wire act, but these bars are so forgiving if you know the goalie moves! The biggest panic I used to have was the topping burning before the middle was set. If you see those beautiful crumbs starting to turn dark brown halfway through the bake, just grab a piece of foil and loosely tent it over the pan. It traps just enough heat to let the filling cook through without scorching the top. Also, remember what I said about the filling? When you mix the eggs, lemon juice, and sugar, stop whisking the second you see it smooth out. Overmixing introduces too much air, and we want density here, not fluff. A little bit of residual heat from that pre-baked crust actually helps cook the bottom layer perfectly, so don’t worry about that base being fully done yet! If you’re looking for other cookie recipes where keeping that butter cold is key, check out my advice on the best sugar cookie recipe that holds shape.
Storage and Make-Ahead Options for Homemade Lemon Crumb Bars A Delightfully Tangy Treat
These **Homemade Lemon Crumb Bars A Delightfully Tangy Treat for Any Occasion** are fantastic because they genuinely taste better the next day! Once they are totally cool—and I mean totally cool, or they’ll steam up—store them right in the pan (cut or uncut) under a layer of plastic wrap or in an airtight container. They keep beautifully at room temperature for about three days. I’ve tried freezing them too, but honestly, the topping sometimes gets a little soft when thawing, so for the best crumb experience, I stick to making them fresh. If you need to prep ahead for a party, bake them the day before, let them chill overnight in the fridge, and take them out an hour before serving. For more make-ahead meal ideas, you can look at my post on the easy Salisbury steak recipe with gravy, though obviously, these treats are much faster!
Ingredient Notes and Substitutions for Best Lemon Streusel Bars
Let’s talk specifics because ingredient choices really do make or break a crumb bar. That butter for the crust must be ice cold and cubed, seriously. If it’s soft, you end up just mixing it into the flour rather than cutting it in, which ruins the tenderness of the shortbread. We keep it cold so that it melts during the bake, creating those lovely little pockets that make the crust crumbly. Also, note that we are only using standard granulated sugar here, not brown sugar, because we want the pure, clean flavor of the lemon to shine through without any molasses interfering! If you’re looking for other ingredient deep dives, sometimes knowing how to handle fruit in recipes helps, like in my post about the easy grilled peach salsa recipe.
Serving Suggestions for Your Homemade Lemon Crumb Bars A Delightfully Tangy Treat
Because these **Homemade Lemon Crumb Bars A Delightfully Tangy Treat for Any Occasion** are so bright and versatile, they go with just about anything! For a simple afternoon snack, they are perfect next to a strong cup of black coffee or maybe an afternoon iced tea. If you’re serving them up as a dessert after dinner, try setting them on a platter and just sprinkling some fresh raspberries or blueberries around the edge; the red and blue look gorgeous next to the yellow. My little secret move? A tiny dollop of unsweetened whipped cream right on top cuts the tang just enough to make them rich. They are just incredible for any gathering, honestly—the perfect contribution to any party spread! If you need a drink pairing, my easy homemade classic lemonade would make a wonderful, citrusy match!
Frequently Asked Questions About Making Lemon Crumb Bars Recipe
I know sometimes when you follow a recipe, you have little nagging questions running through your head while you’re mixing. That’s totally normal! I’ve gathered up the questions I get asked most often about getting these **Lemon Crumb Bars Recipe** just right, especially concerning that signature tangy flavor and crumb texture.
How do I make the lemon filling extra tangy?
Oh, honey, this is the most common question! If you want that zing, you must use freshly squeezed lemon juice. Store-bought juice just can’t compete with the vibrant acidity of fresh lemons. Also, don’t skimp on the zest! The zest holds most of the intense lemon oil, so if you use the full tablespoon, you’ll get an intense burst of citrus in every bite of your **Homemade Tangy Lemon Bars**.
Can I use a different size pan for these Lemon Crumb Bars?
You absolutely can change up the pan size, but you have to be prepared to adjust the baking time because the thickness changes the heat penetration. If you use a 9×13 inch pan instead of my 8×8, the bars will be much thinner, so they’ll bake faster—probably closer to 25 minutes total. If you use a deeper pan, like a square that’s only 7×7, they’ll be super thick! Those will need at least 10 to 15 extra minutes in the oven to make sure the center finishes setting up properly. Think about how much longer it takes to bake a huge loaf of bread versus a small muffin!
What is the secret to a perfect buttery shortbread base?
It all comes back to the butter temperature! This is the biggest factor for achieving that perfect **Buttery Shortbread Lemon Bars** texture. Your butter HAS to be cold—like, straight out of the fridge cold, and cut it into small cubes. You work that cold butter into the flour until you get coarse crumbs, but you absolutely cannot overwork it with your hands. If you handle it too much, your body heat melts the fat, and you end up with a hard, flat crust instead of that loose, sandy crumb we want underneath our filling. If you’re ever wondering about other dough recipes, I covered this exact concept in my tips for the blueberry French toast casserole—cold butter is your friend!
Share Your Homemade Lemon Crumb Bars A Delightfully Tangy Treat Experience
Now that you’ve tried this recipe, I absolutely *need* to hear how they turned out! You guys know how much I love seeing your versions of my favorite bakes. Go ahead and leave me a rating right below this—seriously, your feedback helps everyone know just how successful these **Homemade Lemon Crumb Bars A Delightfully Tangy Treat for Any Occasion** are! Snap a picture of your perfectly layered squares and tag me on social media! I can’t wait to hear if they were a hit at your next party or just your personal afternoon snack. Looking forward to seeing all your delicious creations! If you’re looking for more delicious ideas, feel free to browse the rest of my bakes over at the main blog page!
PrintHomemade Lemon Crumb Bars: A Delightfully Tangy Treat for Any Occasion

Make these easy lemon crumb bars featuring a buttery shortbread base, a bright, tangy lemon filling, and a matching crumb topping. This recipe yields thick, flavorful squares perfect for gatherings.
- Prep Time: 20 min
- Cook Time: 45 min
- Total Time: 125 min
- Yield: 16 squares
- Category: Dessert
- Method: Baking
- Cuisine: American
- Diet: Vegetarian
Ingredients
- 1 1/2 cups all-purpose flour
- 1/2 cup granulated sugar (for crust/crumb)
- 1/4 teaspoon salt
- 1 cup (2 sticks) cold unsalted butter, cut into cubes
- 1 cup granulated sugar (for filling)
- 1/4 cup all-purpose flour (for filling)
- 4 large eggs
- 1/2 cup fresh lemon juice
- 1 tablespoon lemon zest
- 1/2 cup all-purpose flour (for topping)
Instructions
- Preheat your oven to 350°F (175°C). Line an 8×8 inch baking pan with parchment paper, leaving an overhang on two sides for easy removal.
- Prepare the crust and crumb topping: In a medium bowl, whisk together 1 1/2 cups flour, 1/2 cup sugar, and salt. Cut in the cold butter using a pastry blender or your fingers until the mixture resembles coarse crumbs.
- Press two-thirds of this mixture evenly into the bottom of the prepared pan to form the base. Reserve the remaining one-third for the topping.
- Bake the crust for 15 minutes until lightly golden.
- While the crust bakes, prepare the lemon filling: In a separate bowl, whisk together the remaining 1 cup sugar and 1/4 cup flour.
- Add the eggs, lemon juice, and lemon zest to the sugar mixture. Whisk until just combined and smooth. Do not overmix.
- Pour the lemon filling evenly over the partially baked crust.
- Sprinkle the reserved one-third crumb mixture evenly over the lemon filling.
- Return the pan to the oven and bake for 30 to 35 minutes, or until the edges are set and the topping is golden brown. The center should be mostly set but may have a slight jiggle.
- Let the bars cool completely in the pan on a wire rack, about 2 hours, before lifting them out using the parchment overhang.
- Once cool, cut into 16 squares.
Notes
- For the tangiest flavor, use fresh lemon juice rather than bottled.
- Do not skip the cooling time; the filling sets as it cools, preventing runny bars.
- If your topping browns too quickly, loosely tent the pan with foil for the last 10 minutes of baking.
- Store leftover bars in an airtight container at room temperature for up to 3 days.
Nutrition
- Serving Size: 1 square
- Calories: 250
- Sugar: 18g
- Sodium: 75mg
- Fat: 14g
- Saturated Fat: 8g
- Unsaturated Fat: 6g
- Trans Fat: 0g
- Carbohydrates: 30g
- Fiber: 1g
- Protein: 3g
- Cholesterol: 60mg
