

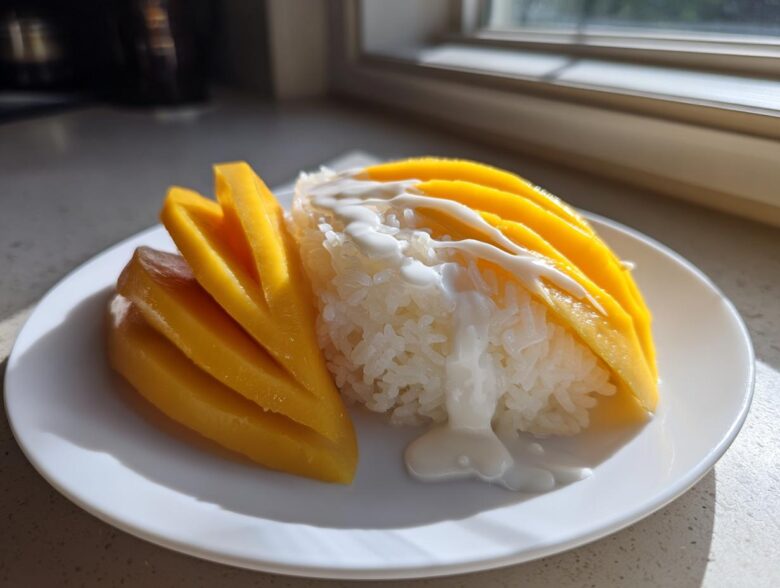
Oh my gosh, if there’s one dessert that screams pure, sunny happiness, it has to be Thai Mango Sticky Rice, or Khao Niew Mamuang! Forget those complicated puddings; this is the easiest, brightest tropical dessert you’ll ever make. I remember the first time I tried making the coconut sauce from scratch—it was a little sticky at first, but once I got the balance of salt and sugar just right, wow! That creamy, slightly salty drizzle over the sweet mango? Unbeatable.
I’m going to show you my go-to, authentic recipe that tastes exactly like what you’d get from the best street vendor in Bangkok. And yes, we are making it super simple by using the rice cooker for the sticky rice—no fussy steaming required! Trust me, this recipe nails that perfect tender chew and that rich coconut flavor.
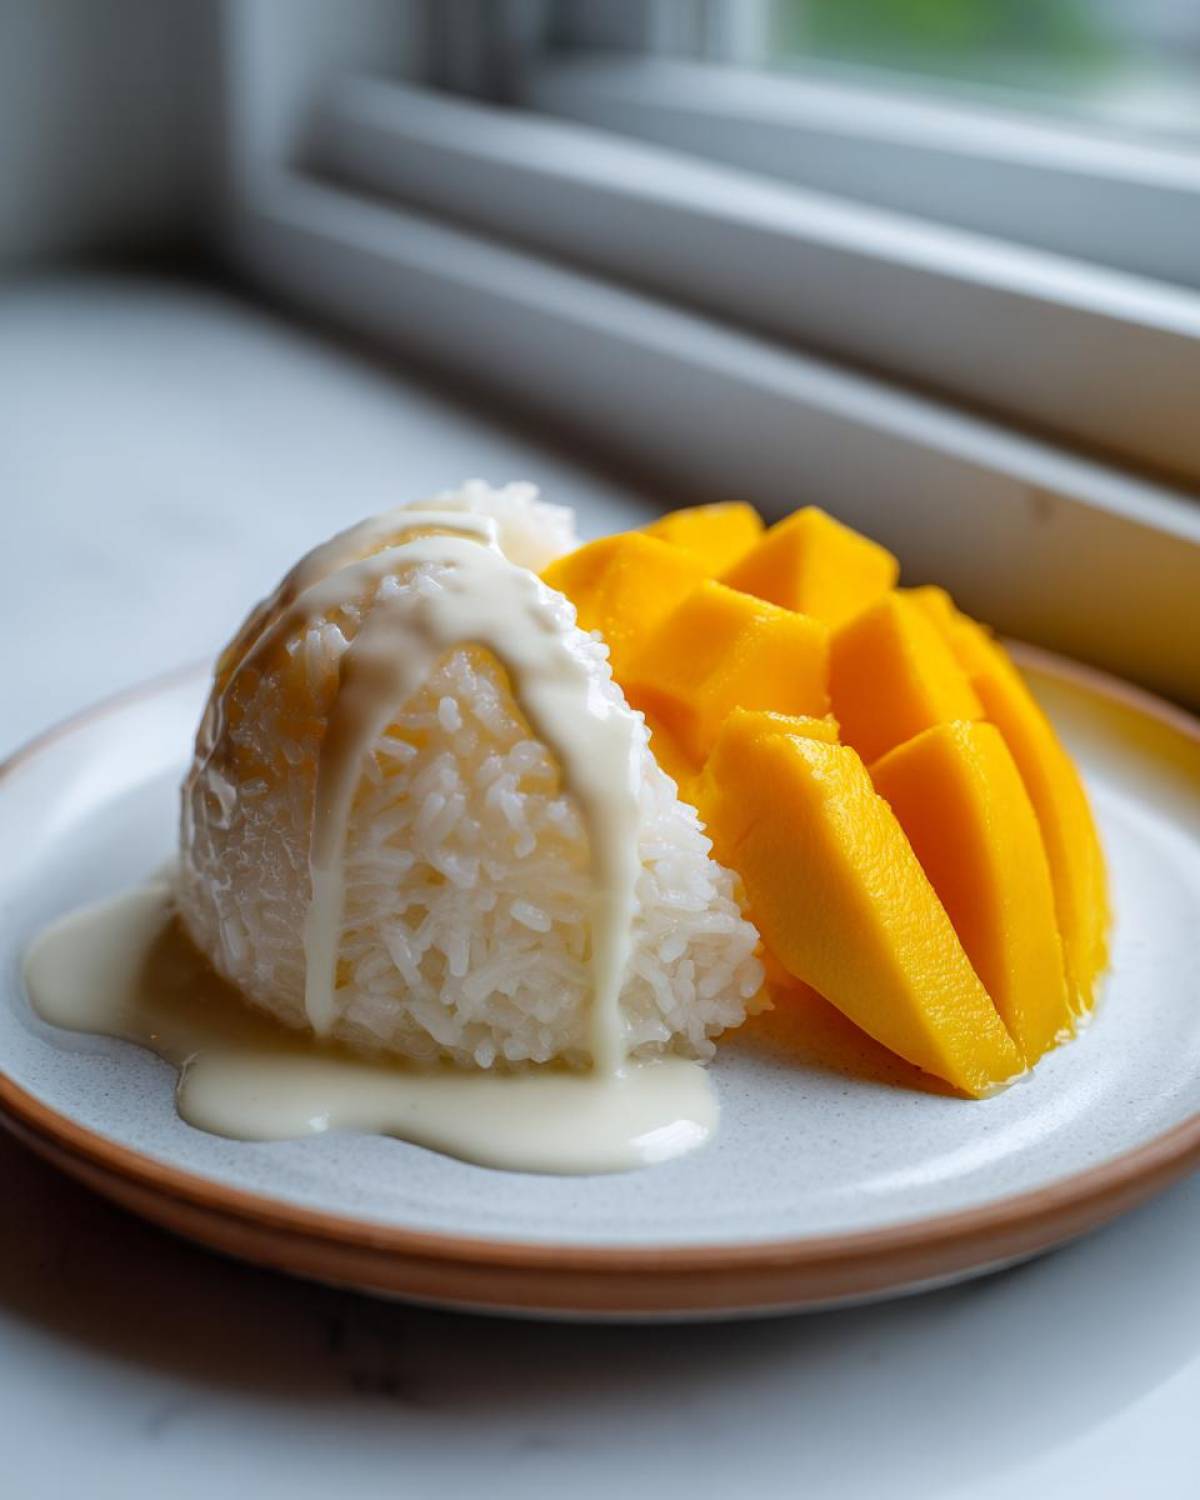
Why This Authentic Mango Sticky Rice Recipe Works (EEAT)
What makes this recipe stand out from all the other versions floating around? It’s all about getting those two main components—the rice and the mango—exactly right. People often try to rush the sticky rice, but trust me, that step is where the magic happens for that amazing **creamy coconut rice recipe** texture. I always check my newer posts at Savory Skies to see what other tricks people are using, but I stick to my method!
We’re focusing on quality here. If you use the wrong rice or skip soaking, you end up with mush instead of that beautiful, slightly chewy result. Also, I learned the hard way that using just any mango just doesn’t cut it; the right variety matters for true sweetness.
The Secret to Perfect Soaked Glutinous Rice Dessert
You absolutely cannot skip soaking the glutinous rice dessert! That soaking time—at least four hours, or even overnight—is crucial. It allows the starch molecules to fully hydrate before cooking. If you just dump uncooked sweet rice into the cooker, it’s going to be hard and undercooked in the middle, no matter what setting you use. Soaking ensures that perfect, yielding texture that defines a fantastic **glutinous rice dessert**.
Selecting the Best Mango for Sticky Rice
If you want that real Thai flavor, look for Ataulfo mangoes—those smooth, golden, teardrop-shaped ones. They are sweeter and less stringy than the huge standard supermarket mangoes we often see. If you can find Nam Dok Mai, grab them! When you press gently, it should give just a tiny bit, but it shouldn’t feel mushy or watery. A perfect mango should smell wildly fragrant near the stem end.
Ingredients for the Best Mango Sticky Rice
Getting the right ingredients together is half the battle when making authentic **mango sticky rice**! I always keep these items stocked because, honestly, when the craving hits, you can’t wait. It’s all about quality here, especially that coconut milk. I refuse to use anything less than full-fat; otherwise, that luscious, soaking sauce just won’t happen. If you visit my post on my creamy beer cheese dip, you’ll see I argue the same thing there—fat equals flavor!
For the fruit, make sure you grab those ripe mangoes we talked about. We need enough for a beautiful display, so plan on using at least two big ones. I’ve laid out everything here, separated into what goes into the rice and what makes that dreamy drizzle on top.
Components for the Creamy Coconut Rice Recipe
For the heart of this treat, you’ll need the foundation: the rice itself. Make sure you have two cups of that glutinous (or sweet) rice ready to be soaked! The main liquid component is a full can, about 13.5 ounces, of full-fat coconut milk—remember, the good, thick stuff. When you cook the rice initially, grab one cup of plain water. Then comes the essential sweet and salty flavor base: you’ll mix in one cup of regular granulated sugar and one teaspoon of salt right into the hot rice mixture.
Ingredients for the Finishing Coconut Sauce for Sticky Rice
This little bit of extra sauce is what takes your dessert from great to absolutely unforgettable. It’s richer and thicker than the sauce we use to soak the rice. For this topping magic, you only need about 1/4 cup of extra full-fat coconut milk. Then, you balance that with just one tablespoon of sugar and a tiny pinch of salt—only about 1/4 teaspoon. Don’t forget the optional, but highly recommended, toasted sesame seeds for sprinkling over everything!
How to Prepare Mango Sticky Rice Using a Rice Cooker Sticky Rice Method
Okay, this is the fun part, and I promise it’s way easier than you think! Getting this right takes about 20 minutes of active work, but remember that rice soaking time earlier—that’s key! From the moment the rice is done, you’re looking at about 35 minutes of cooking and assembly time total before you’re diving in. We’re going straight from prep through to that glorious final drizzle. If you’re looking for other amazing comfort foods, check out my steps for creamy white chicken enchiladas!
Prepping the Rice: Soaking and Cooking
First things first, if you haven’t soaked your rice yet, stop reading and go soak it! We need those 2 cups of glutinous rice rinsed until the water runs clear, then submerged for at least four hours. When it’s ready, drain it really well. Now for the cheat code: toss the drained rice directly into your **rice cooker sticky rice** pot along with exactly 1 cup of fresh water. Cook it using the standard white rice setting.
Making the Sweet Sauce for Your Thai Dessert Recipe
While that rice is doing its thing, get your main sweet sauce ready. In a small saucepan, combine the rest of that big can of coconut milk, the 1 cup of sugar, and 1 teaspoon of salt. Heat it over medium heat—and this is huge—you just want to stir until the sugar and salt dissolve. Do NOT let this boil! Once it’s perfectly smooth, immediately pour about 3/4 of that warm, sweet liquid right over the hot, cooked rice. Give it a gentle stir to combine, then cover the bowl tightly. Let it hang out for about 20 minutes; this is the crucial steaming phase where the rice absorbs all that amazing flavor.
Steaming and Assembling the Sweet Sticky Rice with Mango
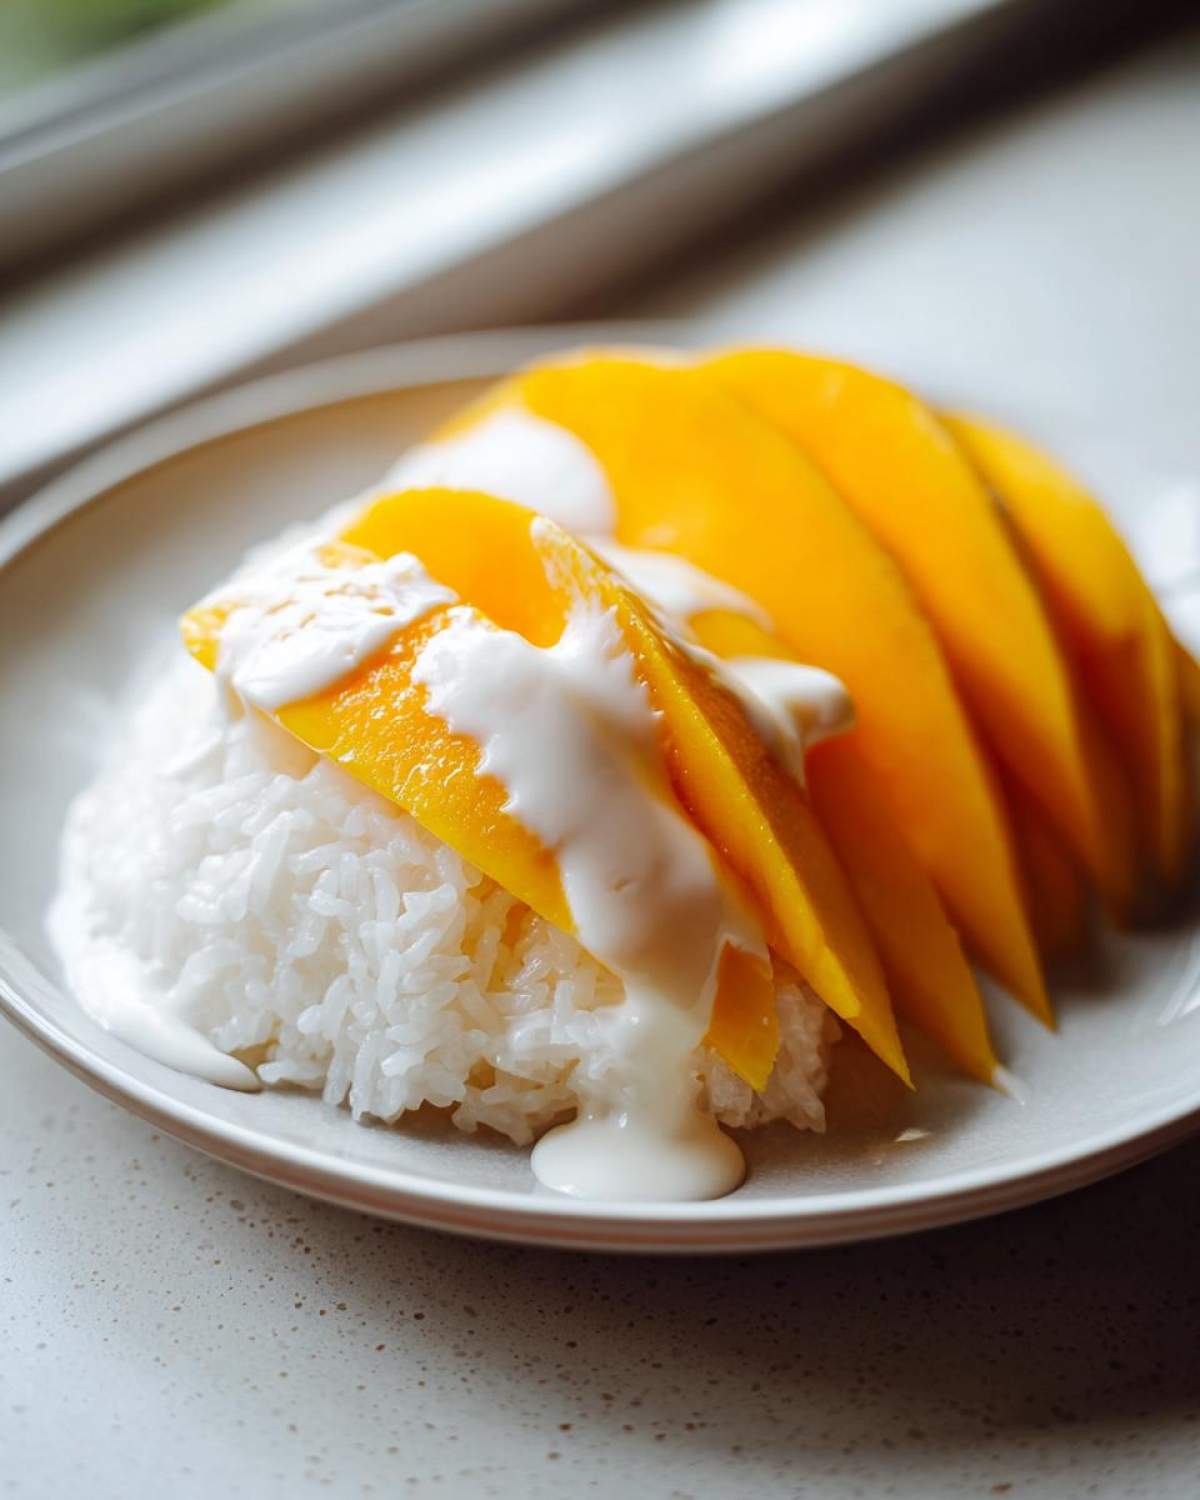
While the rice is resting, quickly make that finishing sauce. In the same little pot, gently heat the remaining 1/4 cup of coconut milk with the tiny bit of extra sugar and salt until dissolved. Once the rice has steamed for 20 minutes, it’s ready to serve! Peel and slice up your ripe mangoes—don’t skimp! Spoon out the sweetened rice onto a plate, fan those mango slices next to it. Then, take that final, thicker coconut sauce and drizzle it generously over the top. If you’re feeling fancy, sprinkle some sesame seeds on there. You’ve officially nailed a stunning **sweet sticky rice with mango**!
Ingredient Notes and Substitutions for Mango Sticky Rice
Let’s talk about ingredient swaps because I know not everyone has Ataulfo mangoes just sitting around, and maybe you ran out of your rice cooker! I want you to feel completely confident making this, even if you have to improvise a little bit. This recipe is naturally quite accommodating, which is great news for everyone, whether you’re aiming for a super quick dessert or sticking to a specific diet.
If you’re worried about the rice, don’t stress too much about the cooking method, though I genuinely think the **rice cooker sticky rice** method gives the most even result. I always recommend checking out my post on creamy nacho cheese—it’s totally different, but the message is the same: prep work is key!
Dietary Notes: Vegan Mango Dessert and Gluten-Free Status
The best part about this specific **Thai dessert recipe** is how naturally compliant it is! If you’re looking for a **vegan mango dessert**, this recipe fits the bill perfectly because we’re using coconut milk instead of dairy. There’s nothing artificial going on here.
And for my friends who need to avoid gluten? Because we are using pure glutinous rice, this is completely gluten-free! It’s a fantastic option when you need a celebrated **gluten free asian dessert**. Just double-check any optional toppings, like sesame seeds, to make sure they haven’t had cross-contamination if allergies are serious.
If you absolutely cannot use the rice cooker, go ahead and steam the soaked rice on the stovetop for about 25 to 30 minutes until it is tender. It takes a bit more checking, but it works just as well!
Tips for Success Making Khao Niew Mamuang Recipe
Even though this **Khao Niew Mamuang recipe** looks simple, sometimes those tiny details make the difference between a good dessert and one that wows everyone at the table. I want you to achieve perfection, so here are the little insider tricks I learned over dozens of batches!
First, when you are soaking the rice, don’t just dump the water out after soaking. Taste a single grain raw—it should be hard, but when you bite it, you shouldn’t feel any dry, chalky center. If you do, soak it 30 minutes longer. That guarantees the texture you want!
Next, manage your sweetness very carefully. That main sauce needs a good, solid teaspoon of salt to balance the sugar. If you taste the sauce before pouring it over the rice and it tastes *too* sweet, add just one more tiny pinch of salt. Salt is the secret ingredient that stops this from tasting like plain sweet rice pudding; it brightens the coconut!
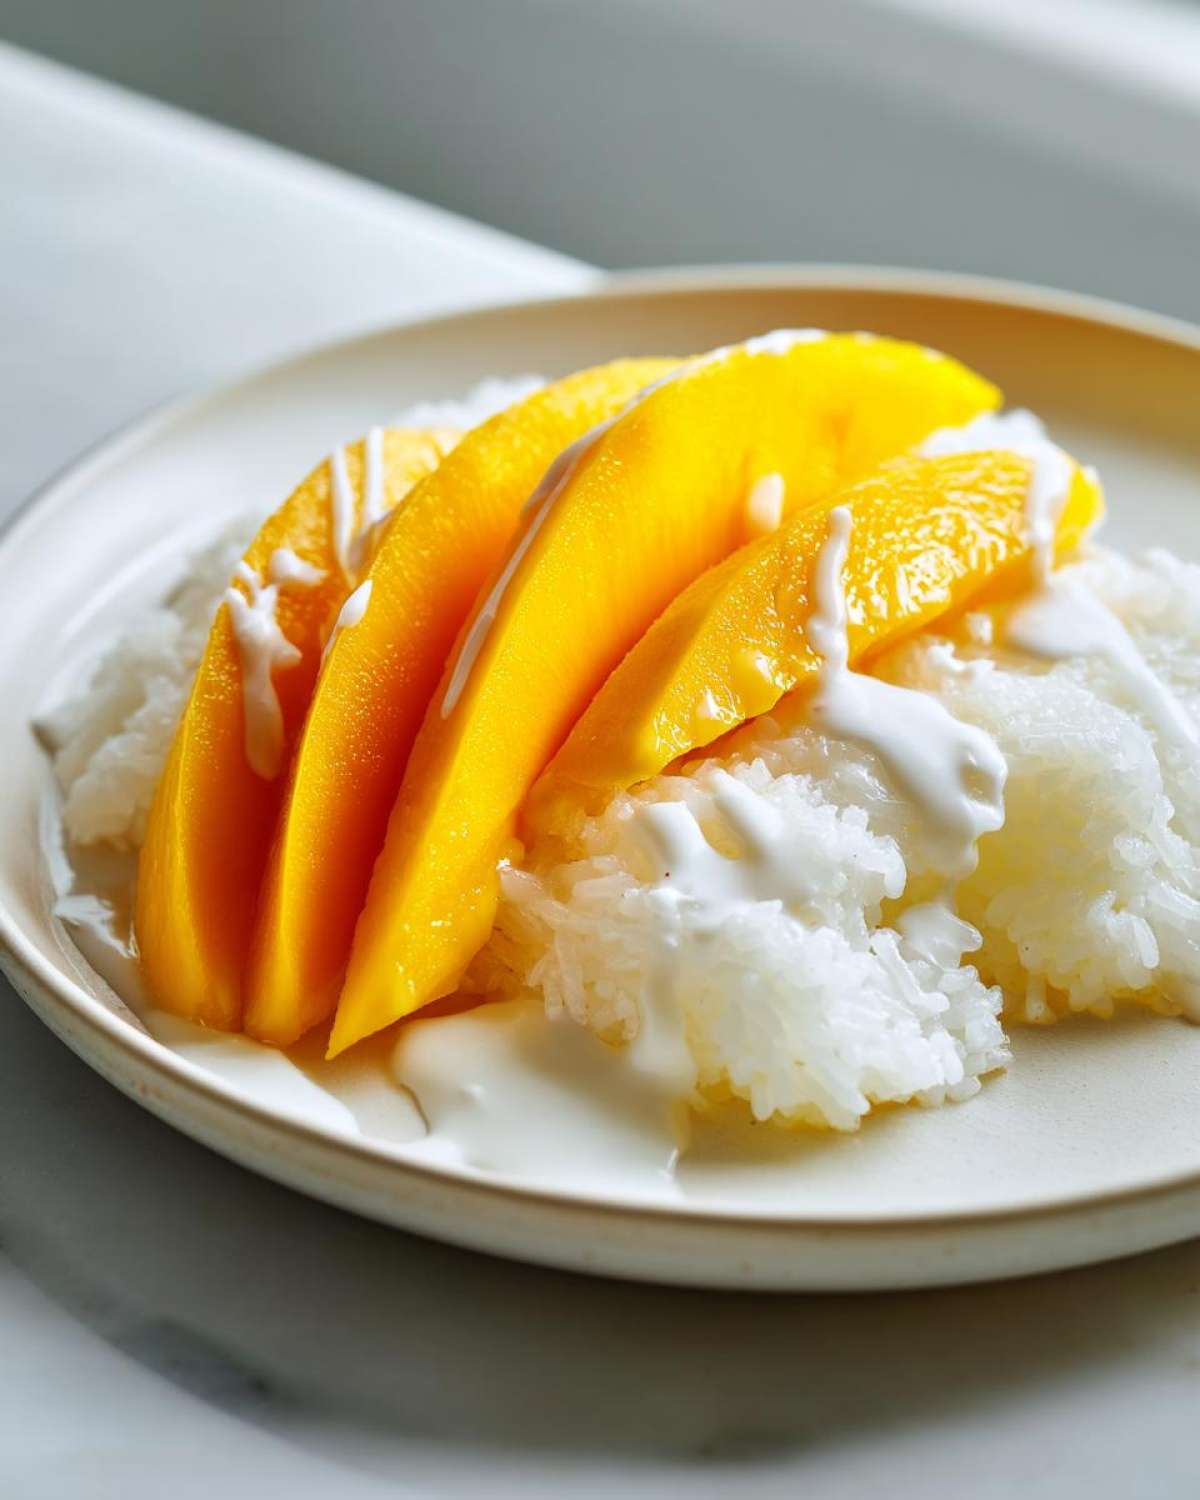
For presentation when serving, try to alternate mango slices and rice on your plate rather than stacking everything. A little white drizzle of that reserved topping sauce looks gorgeous against the bright yellow mango flesh. And please, don’t skip the toasted sesame seeds! They add a tiny, unexpected crunch that breaks up the soft, creamy texture beautifully. I always check my general food philosophy notes over at Savory Skies to remember that texture contrast is vital in any great dish.
Lastly, use the hottest possible heat when introducing the coconut sauce to the rice during the absorption phase. We want that quick infusion! Don’t be timid; that heat helps the grains swell up perfectly saturated before they settle down to steam.
Serving Suggestions for Your Tropical Dessert Ideas
The beauty of serving up a fantastic **mango sticky rice** is that it’s already a complete flavor package—sweet, salty, creamy, and vibrant! But if you’re setting up a proper dessert spread for guests, presentation and pairing can really elevate this wonderful **tropical dessert idea**. I love making a little spread that feels special without adding a lot of extra work.
When I’m serving this during the summer months, I always find that a cooling, slightly tart drink really cuts through the richness of the coconut milk. It cleanses the palate perfectly between spoonfuls!
You absolutely have to try making a spicy mango lassi to go alongside it. I know, a *spicy* lassi sounds odd, but trust me! My recipe for spicy mango lassi brings a little kick of ginger and cardamom that works surprisingly well against the sweet rice. It adds an adventurous layer to the whole experience.
For a simpler option, just focus on the plating. Don’t use a deep bowl; serve it on a flat plate so the vibrant yellow of the mango contrasts against the white rice and the drizzle of sauce. If you want extra crunch, sometimes I’ll toast some shredded coconut flakes along with the sesame seeds and sprinkle those over the top, too. It adds a nice textural element to this sweet dish.
Storage and Reheating Instructions for Sweet Sticky Rice Dessert
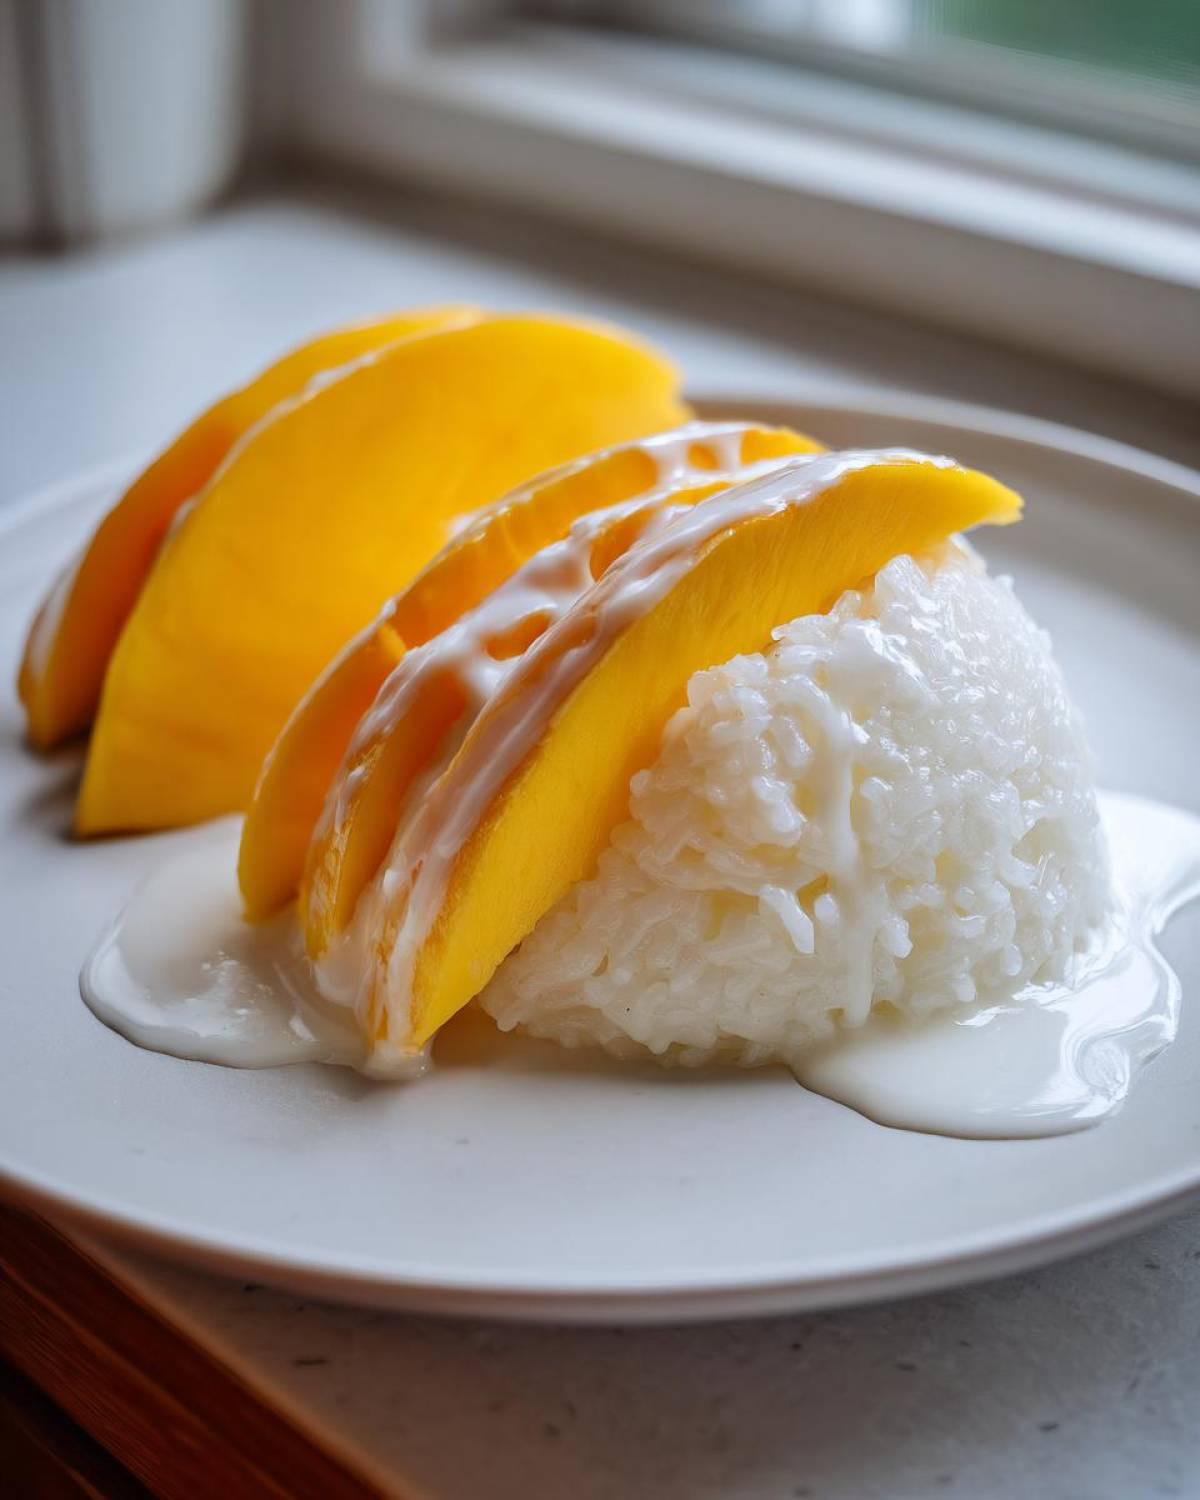
Oh, the eternal question: what do you do when you can’t finish that amazing **sweet sticky rice dessert** in one sitting? First off, good job eating leftovers—that’s how you know it was good! But sticky rice can get hard quickly in the fridge, which is a total bummer. We don’t want that gorgeous, creamy coconut infusion turning into a brick.
For short-term storage—say, keeping it fresh for a day or two—you want to keep the rice and mango separate! The mango will get slimy and mushy if you store it with the rice, and nobody wants that. Store the leftover sweet rice in an airtight container. Keep the topping coconut sauce in its own little container in the fridge too.
Now, when it comes time to reheat the rice, you need to treat it gently. Don’t just throw it in the microwave plain; it will dry out! If you’re heating up a portion, sprinkle just a tiny splash of water (like half a teaspoon!) over the rice before microwaving it in short 15-second bursts. This steam helps rehydrate those rice grains.
If you’re looking for other great ways to keep homemade ingredients fresh, I’ve got a whole post on easy homemade mayonnaise that gives you tips on keeping things good even when they’re not immediately eaten. For the sticky rice, remember: moisture is your friend during reheating, but dryness is your enemy during storage!
Frequently Asked Questions About Mango Sticky Rice
Can I skip soaking the rice when making how to make sticky rice dessert?
Oh, please don’t try it! If you skip soaking the rice, you end up with a hard, chalky result. That soaking time is what lets the starch bloom evenly, which is the absolute non-negotiable step for learning **how to make sticky rice dessert** properly. Without soaking, the outside will turn to mush before the inside is cooked, and you lose that lovely tender chew we’re aiming for. I always read up on why these traditional steps are so important; I was just looking at some historical notes on Savory Skies the other day about starches, and it totally confirms why you need that soak time!
How long does it take to make this quick mango dessert?
That’s a great question, especially if you’re looking for a **quick mango dessert**! The actual hands-on time, once you account for the pre-soaking, is really low. Our total active time, including making both coconut sauces and assembling everything, is less than an hour—maybe 35 minutes total cook time after the rice is soaked. So, while the prep takes time overall, the cooking day itself is pretty speedy!
Can I use regular white rice instead of glutinous rice for this sweet rice pudding recipe?
You sure can make a type of rice pudding with regular white rice, but it won’t be authentic **mango sticky rice**, honey! Regular rice has different starch properties; it will get softer and might turn into more of a standard, creamy rice porridge, kind of like a true **sweet rice pudding recipe**. We need the stickiness and chewiness that only the glutinous (or sweet) rice provides to hold up to that rich coconut milk and mango.
I always recommend investing in the right rice; it makes all the difference between a good imitation and tasting the real deal. You can usually find it easily in the international aisle of most big grocery stores, or check out bulk Asian markets!
Share Your Mango Sticky Rice Creations
Now that you’ve mastered the perfect **creamy coconut rice recipe** and those super ripe mangoes are glistening on your plate, I want to see what you’ve made! Seriously, tag me on Instagram when you make this fantastic **Thai dessert recipe**!
I find that the best part of sharing these recipes, like this ultimate **mango sticky rice**, is seeing how you all present it. Did you go wild with the toasted sesame seeds? Did you manage to find those incredible Nam Dok Mai mangoes? Don’t be shy!
If this recipe helped you finally nail that authentic taste, please do me a huge favor and leave a rating below—five stars is always appreciated! And if you have any little tweaks or thoughts that worked for you, drop them in the comments. Your feedback helps me keep things accurate and delicious on my end, just like when I’m tweaking things over at Savory Skies!
Happy eating, friends! I hope this brings a little bit of sunshine to your table.
PrintAuthentic Thai Mango Sticky Rice (Khao Niew Mamuang)
Make classic Thai Mango Sticky Rice using glutinous rice, sweet coconut milk sauce, and ripe mangoes. Includes a simple rice cooker method.
- Prep Time: 20 min
- Cook Time: 35 min
- Total Time: 55 min
- Yield: 4 servings
- Category: Dessert
- Method: Steaming/Stovetop
- Cuisine: Thai
- Diet: Vegan
Ingredients
- 2 cups glutinous rice (sweet rice)
- 1 can (13.5 oz) full-fat coconut milk, divided
- 1 cup water (for cooking rice)
- 1 cup granulated sugar
- 1 teaspoon salt
- 2 ripe Ataulfo or Nam Dok Mai mangoes
- 1/4 cup extra coconut milk (for topping sauce)
- 1 tablespoon sugar (for topping sauce)
- 1/4 teaspoon salt (for topping sauce)
- 1 tablespoon toasted sesame seeds (optional garnish)
Instructions
- Rinse the glutinous rice under cold water until the water runs clear. Soak the rice in water for at least 4 hours or overnight. Drain well.
- If using a rice cooker: Combine the drained rice and 1 cup of water in the rice cooker pot. Cook using the white rice setting.
- While the rice cooks, prepare the sweet coconut sauce: In a small saucepan, combine 1 can of coconut milk, 1 cup of sugar, and 1 teaspoon of salt. Heat over medium heat, stirring until the sugar and salt dissolve completely. Do not boil.
- Once the rice is cooked, immediately transfer the hot rice to a large bowl. Pour about 3/4 of the warm sweet coconut sauce over the rice. Stir gently until the liquid is absorbed. Cover the bowl and let it steam for 20 minutes.
- Prepare the topping sauce: In the same small saucepan, combine the remaining 1/4 cup of coconut milk, 1 tablespoon of sugar, and 1/4 teaspoon of salt. Heat gently until the sugar dissolves. Set aside.
- Peel and slice the mangoes.
- To serve, place a portion of the sweetened sticky rice on a plate. Arrange the mango slices next to the rice. Drizzle the reserved topping sauce over the rice and mango. Sprinkle with toasted sesame seeds if desired.
Notes
- Use very ripe mangoes for the best flavor; Ataulfo or Honey mangoes work well.
- For a vegan option, this recipe is naturally vegan.
- For a gluten-free option, this recipe is naturally gluten-free as it uses rice.
- If you do not have a rice cooker, steam the soaked rice for 25-30 minutes until tender.
Nutrition
- Serving Size: 1 serving
- Calories: 450
- Sugar: 35
- Sodium: 250
- Fat: 18
- Saturated Fat: 15
- Unsaturated Fat: 3
- Trans Fat: 0
- Carbohydrates: 70
- Fiber: 2
- Protein: 5
- Cholesterol: 0
