

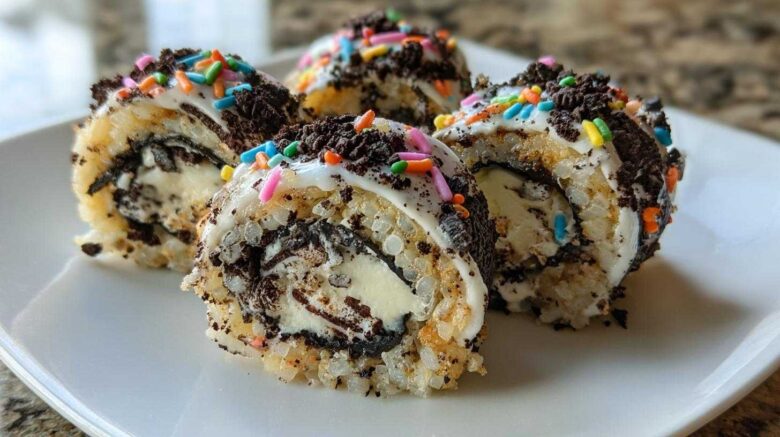
Hey everyone! Leo here. I’m so excited to share this recipe with you today. It’s a real winner for family fun. We’re diving into the world of Oreo Sushi (No-Bake Dessert)! It’s such a playful treat. It reminds me of those late nights after restaurant service with Amara and Chef Tariq. We’d be exhausted but wouldn’t want the night to end. We’d whip up something silly and sweet, just for laughs. One time, we tried turning leftover cookie crumbs into little candy bars. It was a messy disaster, but we laughed so hard! That feeling of shared creation, that pure joy, is exactly what this Oreo Sushi recipe brings. It’s perfect for getting kids involved and making memories.
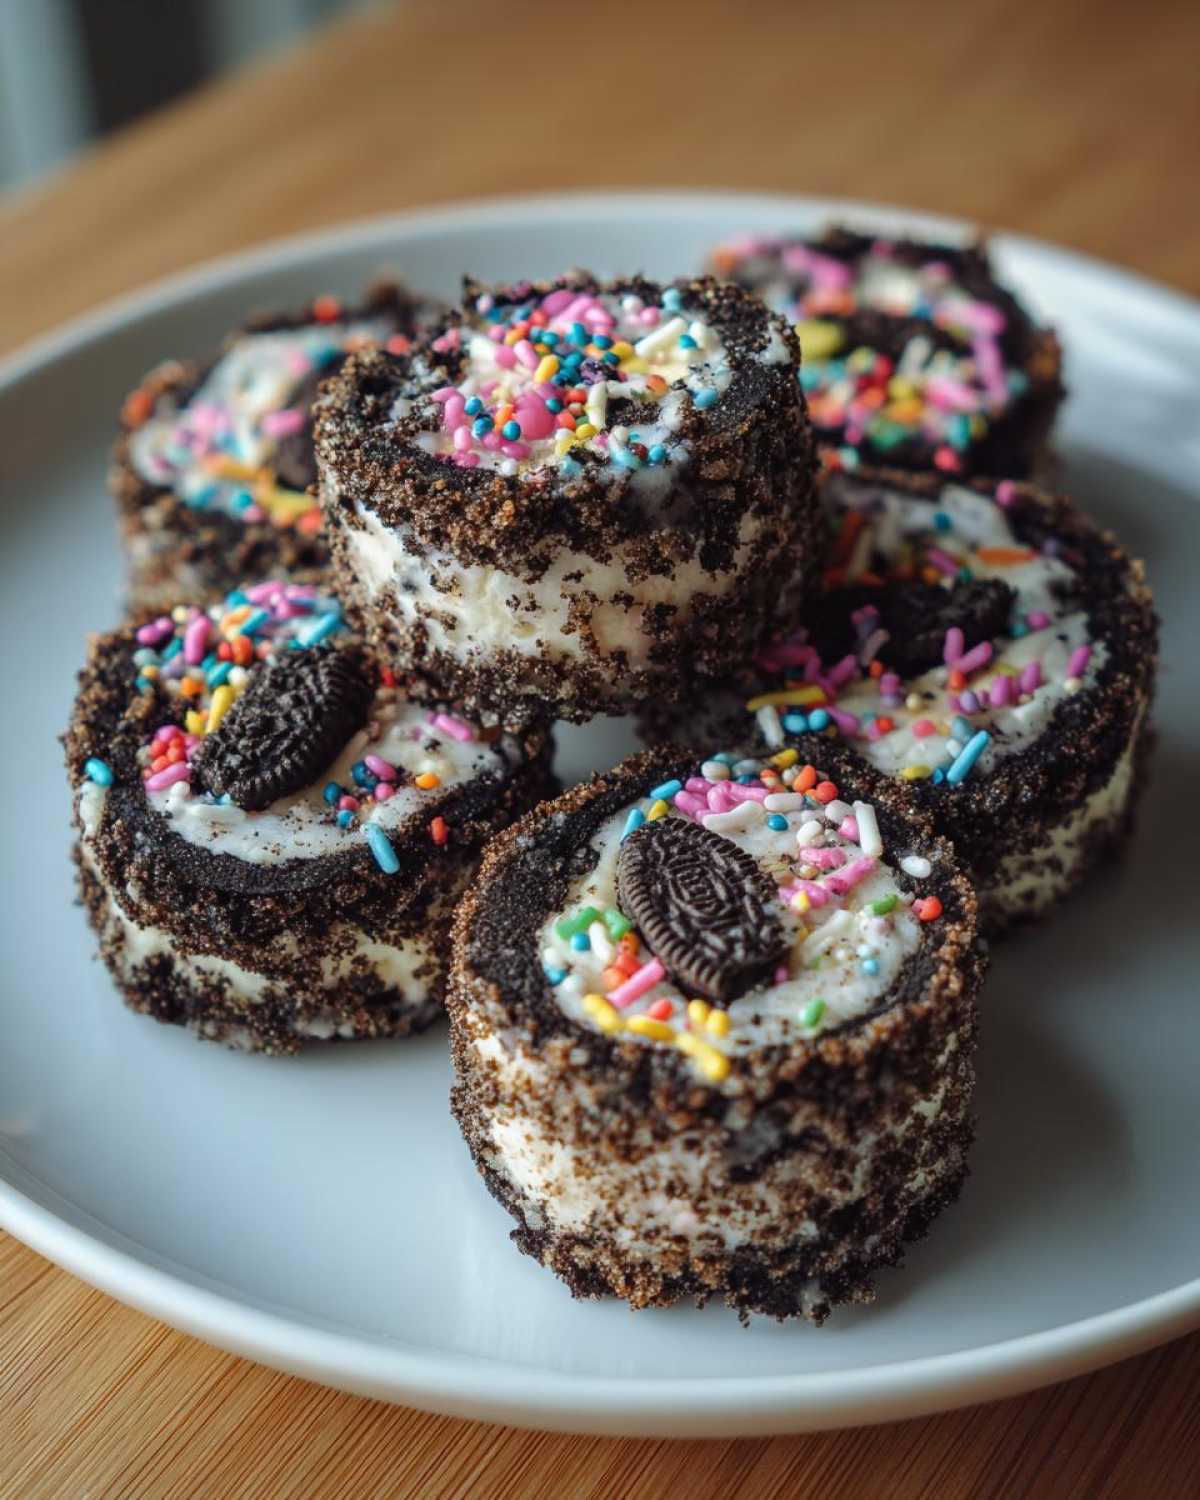
Why You’ll Love This Oreo Sushi (No-Bake Dessert)
- It’s incredibly easy to make.
- The no-bake method means no oven needed.
- It’s super fun for kids to help with.
- You get that classic cookies-and-cream taste.
- It’s a creative dessert that looks impressive.
- Perfect for a quick, fun activity.
The Sweet Story Behind Our Oreo Sushi (No-Bake Dessert)
You know, those late nights in the professional kitchen were tough. But they were also where Amara, Chef Tariq, and I bonded the most. We’d often stay after hours. We just loved making food together. One evening, we had a mountain of crushed Oreos left from a dessert mishap. I was joking, “Let’s make cookie sushi!” Amara grabbed some milk, and Chef Tariq just chuckled, watching us. We rolled those crumbs into little logs, adding tiny candy “fish” made from white chocolate chips. It wasn’t fancy, but it was ours. It tasted like pure silliness and friendship. That memory is why I adore this Oreo Sushi recipe. It captures that same spirit of simple, joyful creation. It’s about making something delicious with people you love. It’s a taste of those shared moments.
Gather Your Ingredients for Oreo Sushi (No-Bake Dessert)
Getting ready to make this fun Oreo Sushi is super simple. You won’t need a long grocery list. It’s all about a few key items. I’ve found that using regular Oreo cookies works best. Just make sure you have a package ready to go! The milk helps bind everything together. Have your measuring spoons handy. You’ll also want a bowl for mixing. Don’t forget any fun decorations you might want to add. It’s all about bringing these simple ingredients to life.
Essential Ingredients for Perfect Oreo Sushi
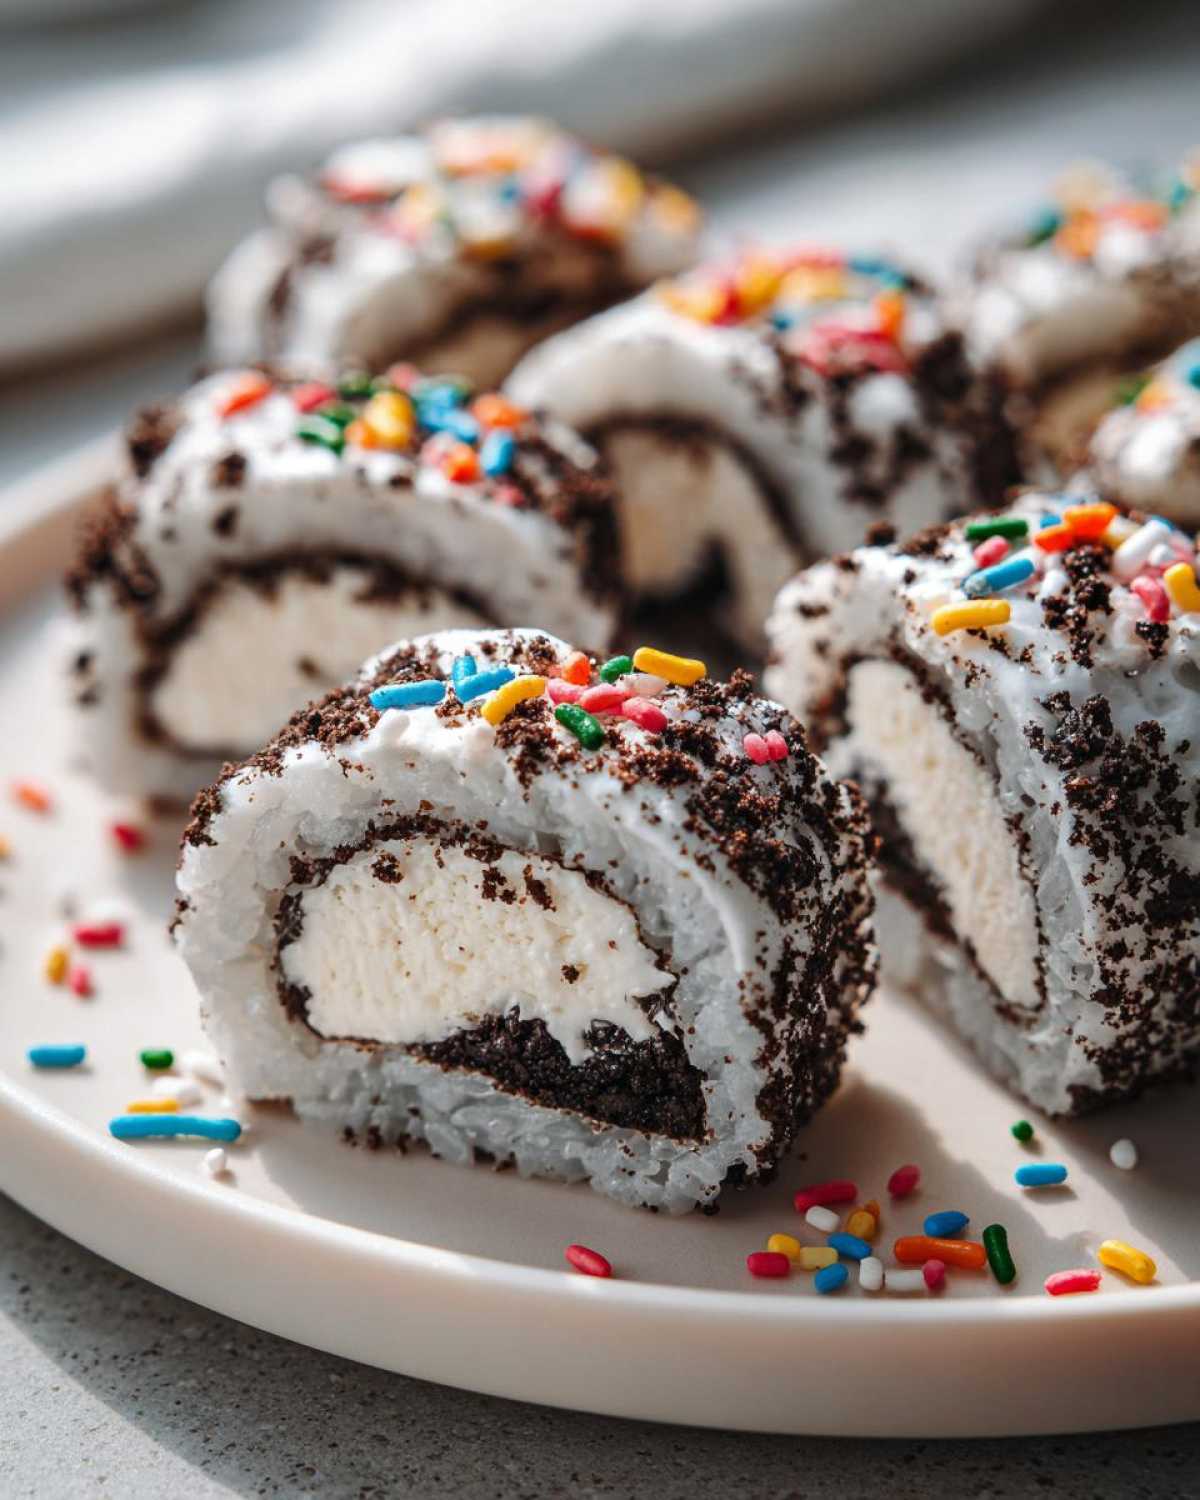
You’ll need one package of Oreo cookies, which is about 14.3 ounces. Also, grab 2 tablespoons of milk. Whole milk gives the best texture. That’s it for the main components!
Creative Decoration Options for Your Oreo Sushi
Make your Oreo Sushi unique! Think about sprinkles for a pop of color. White chocolate chips, melted, add a nice creamy drizzle. Edible glitter can make them sparkle. Get creative with your toppings!
Step-by-Step Guide to Making Oreo Sushi (No-Bake Dessert)
Ready for some kitchen fun? Making this Oreo Sushi is a breeze. You’ll love how simple it is. Let’s get started. I’ll walk you through each step. You’ll have delicious treats in no time. Remember, the best part is the process itself. So, have fun with it!
Preparing the Oreo Base for Your Oreo Sushi
First, let’s crush those Oreos. You want them super fine, like sand. A food processor works great. Or, pop them in a bag and use a rolling pin. Next, put the crumbs in a bowl. Add the milk. Stir it all up. You want a dough that holds together. It should feel like play-doh. Adjust milk if needed. This is your sushi base!
Shaping and Decorating Your Oreo Sushi Rolls
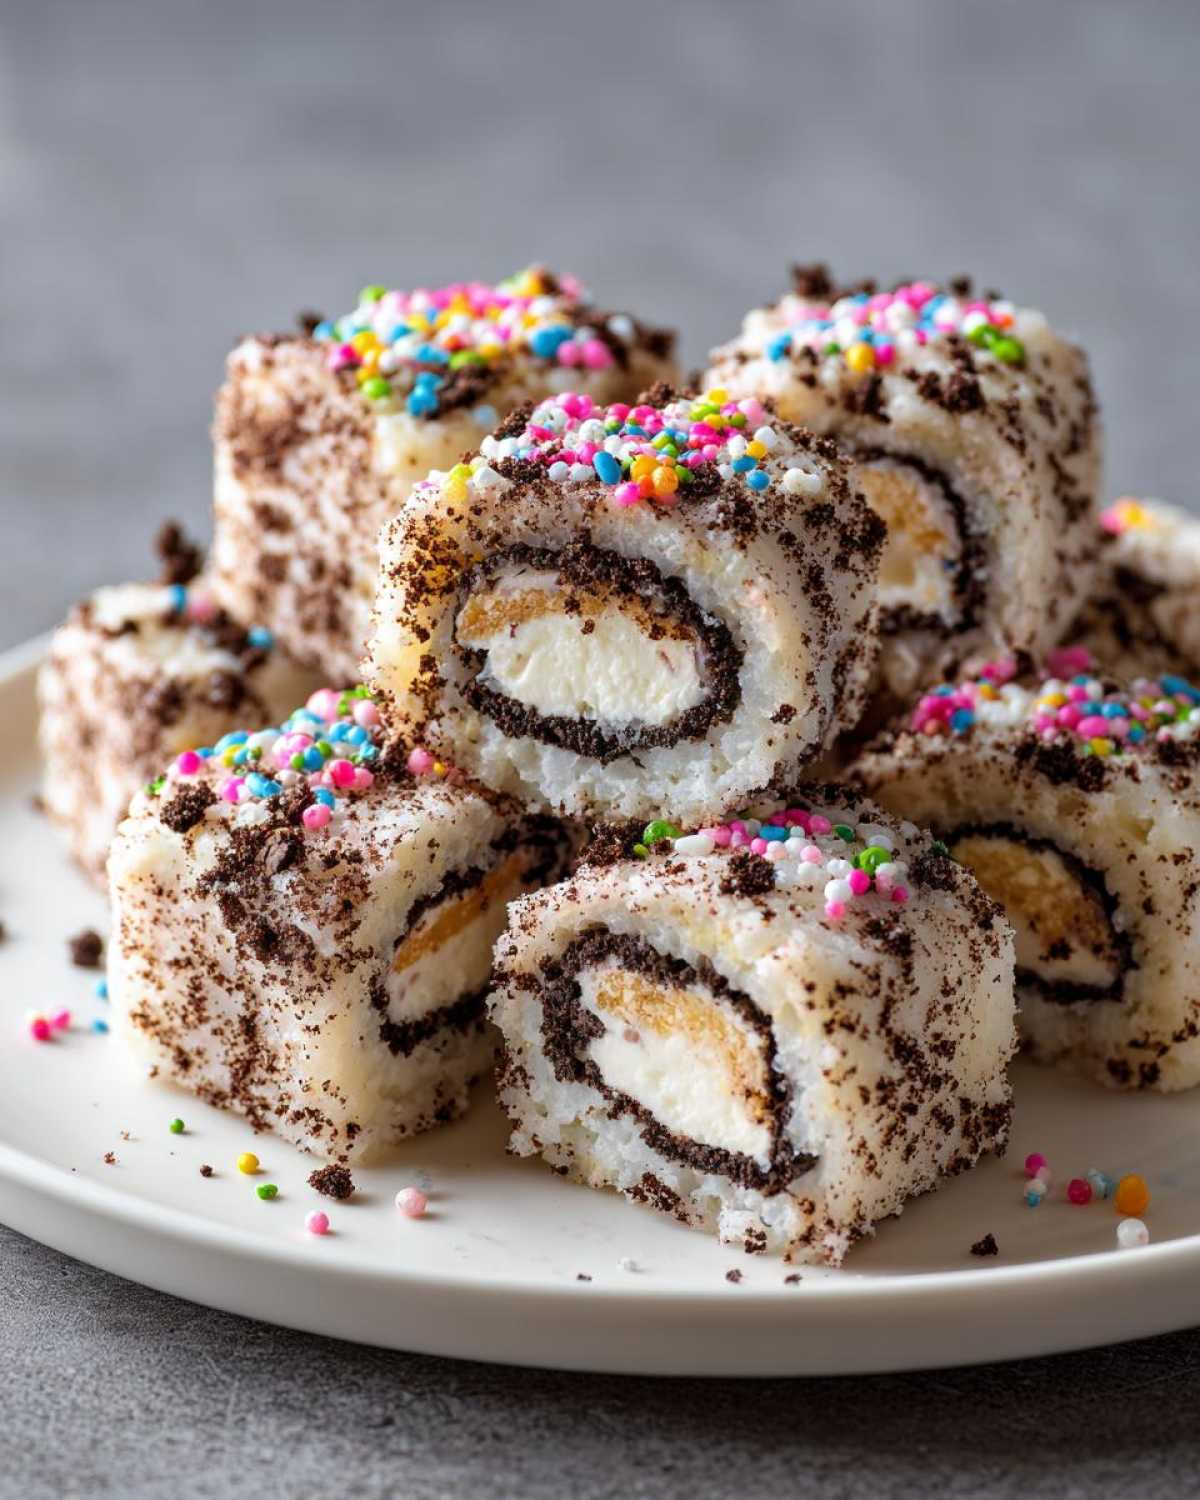
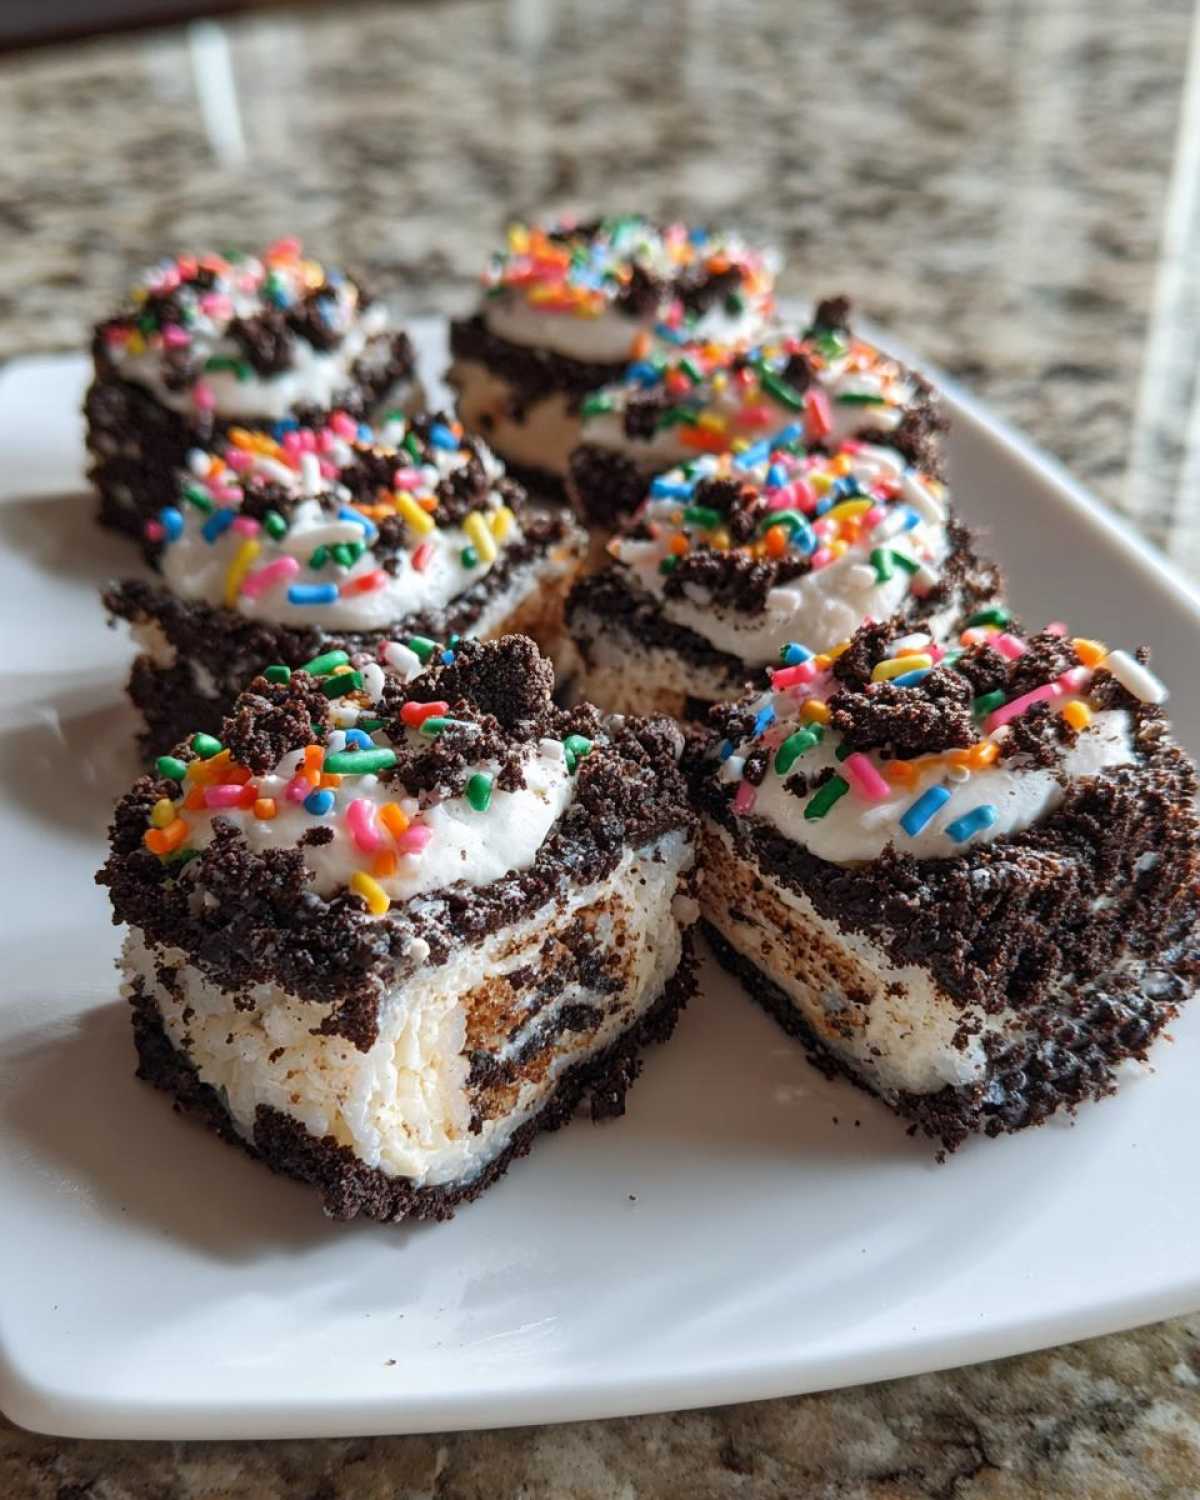
Now for the fun part! Divide the Oreo dough. Roll each piece into a log. Make them look like little sushi rolls. This is where you can get creative. Add sprinkles right onto the logs. Or drizzle with melted white chocolate. Maybe some edible glitter for sparkle. Make them unique and pretty. They’ll look amazing!
Chilling Your Oreo Sushi for the Best Texture
Almost done! Pop your finished rolls into the fridge. They need to chill for at least 15 minutes. This helps them firm up. Chilling makes them hold their shape better. It also improves the texture. It makes them perfectly chewy. Don’t skip this step!
Tips for Success: Mastering Your Oreo Sushi (No-Bake Dessert)
Making this Oreo Sushi is already super easy. But a few tricks make it even better. I’ve learned a lot from making these with Amara. Getting the texture just right is key. And presentation always adds that extra wow factor. Let’s make your Oreo Sushi the best it can be!
Achieving the Perfect Dough Consistency
The dough consistency is crucial. If it’s too dry, add milk, a tiny bit at a time. If it’s too wet, add more crushed Oreos. You want a pliable dough. It should hold its shape when rolled. Think of it like soft play-dough. For more baking tips, check out our about us page.
Creative Presentation Ideas for Oreo Sushi
Don’t just make rolls! Try flattening the dough. Cut it into squares like nigiri. Decorate with a dab of white frosting. You can even press a few sprinkles into the sides. A little edible glitter makes them festive for parties. Get your kids involved here!
Frequently Asked Questions About Oreo Sushi (No-Bake Dessert)
Got questions about our fun Oreo Sushi? I’ve got answers! People often ask about variations. Can you use other cookies? Yes, you can! Golden Oreos or even chocolate sandwich cookies work. Just adjust the milk as needed. They might have a slightly different taste. But it’s a great way to get creative. How long does this dessert last?
Leftover Oreo Sushi keeps well in an airtight container. It stays good in the fridge for about 3-4 days. The texture might soften a bit. But it’s still tasty. Can kids make this Oreo Sushi by themselves?
Yes, kids absolutely can! It’s a fantastic activity for them. Crushing the cookies is fun. Rolling the logs is like playing with play-dough. Adult supervision is good for younger kids. Especially when handling bowls. They’ll love decorating too. It’s a safe and easy recipe. What if my mixture is too crumbly?
If your Oreo mixture seems too dry and crumbly, just add a little more milk. Add it one teaspoon at a time. Mix well after each addition. You want it to form a cohesive dough. It should hold together nicely when you squeeze it. For more information on food safety, you can refer to the U.S. Food and Drug Administration website.
Enjoying Your Homemade Oreo Sushi Creations
Now that your delicious Oreo Sushi is ready, it’s time for the best part: eating! These little rolls are perfect for an afternoon snack. They’re also a huge hit at birthday parties. Serve them on a colorful platter for a fun presentation. They pair wonderfully with a cold glass of milk. Or try them with a scoop of vanilla ice cream. Kids love them as a special treat after school. They’re a fantastic way to celebrate any occasion, big or small. Enjoy every bite!
Storage and Reheating for Your Oreo Sushi
Have some leftover Oreo Sushi? No problem! Store it in an airtight container. Keep it in the refrigerator. It should stay fresh for about 3 to 4 days. The texture might get a little softer over time. But it’s still super tasty. Reheating isn’t really recommended. These treats are best enjoyed chilled. They are so easy to store and enjoy later! For more details on food storage, consult our disclaimer.
Nutritional Estimate for Oreo Sushi (No-Bake Dessert)
While exact nutritional values can vary based on specific ingredients and portion sizes, here’s a general estimate for one Oreo Sushi roll. Please remember this is an approximation! A single roll typically contains around 80-100 calories. It might have about 3-5g of fat and 12-15g of carbohydrates, with roughly 8-10g of sugar. Protein content is usually low, around 1g per roll. These are just guidelines! If you have specific dietary concerns, please review our privacy policy.
PrintAmazing Oreo Sushi Magic 12 Ways

Learn how to make fun and easy Oreo Sushi, a no-bake dessert that’s perfect for kids and families. This recipe uses crushed Oreos and milk to create delicious cookie sushi rolls with a classic cookies-and-cream flavor.
- Prep Time: 15 minutes
- Cook Time: 0 minutes
- Total Time: 15 minutes
- Yield: Approximately 10-12 sushi rolls
- Category: Dessert
- Method: No-Bake
- Cuisine: American
- Diet: Vegetarian
Ingredients
- 1 package Oreo cookies
- 2 tablespoons milk
- Optional: sprinkles, white chocolate chips, edible glitter for decoration
Instructions
- Crush the Oreo cookies into fine crumbs. You can do this in a food processor or by placing them in a zip-top bag and crushing them with a rolling pin.
- In a bowl, mix the Oreo crumbs with the milk until a dough-like consistency forms.
- Divide the mixture into small portions and roll them into logs, similar to sushi rolls.
- Decorate with sprinkles, melted white chocolate, or edible glitter if desired.
- Chill for at least 15 minutes before serving.
Notes
- Ensure the Oreo crumbs are very fine for a better texture.
- Adjust the amount of milk if the mixture is too dry or too wet.
- Get creative with your decorations!
Nutrition
- Serving Size: 1 roll
