

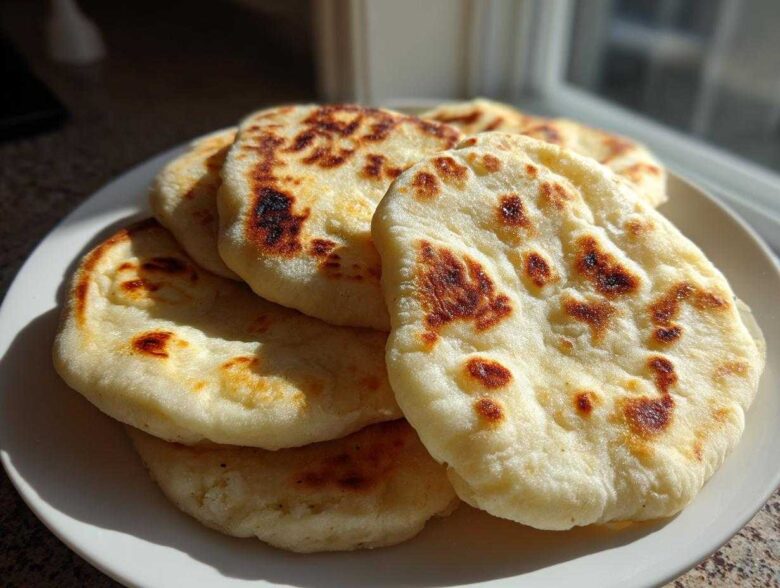
Are you tired of buying those sad, stiff packages of pita bread that look like flat cardboard when you try to open them up? I used to feel that way! Stuffed pitas end up tearing, and dipping turns into a mess because there’s no pocket to hold anything. Forget those failures—I am so excited to share my absolute favorite recipe for making authentic, soft, and fluffy **pita bread** right in your own kitchen. Seriously, this recipe is my ticket to bread success every single time because it’s written specifically to guarantee you get that beautiful, iconic puff and a glorious pocket inside every single piece! It took me a few tries, but once I nailed the heat rule, I never looked back. Now, let’s make you some incredible bread you can feel proud of. If you want to see how I make a similar stovetop flatbread, you can check out my recipe for easy homemade naan bread, too!
Why This Is The Best Homemade Pita Bread Recipe (Soft Fluffy Pita Bread)
Look, I’ve made my share of flat, floppy failures, but those days are over! This **homemade pita bread recipe** isn’t just another collection of steps; it’s built on understanding the science of the puff. What makes this recipe truly the best is focusing on two things: happy yeast and scorching hot cooking surfaces. We treat the yeast right from the start—no shortcuts there—and that ensures the dough has the power it needs.
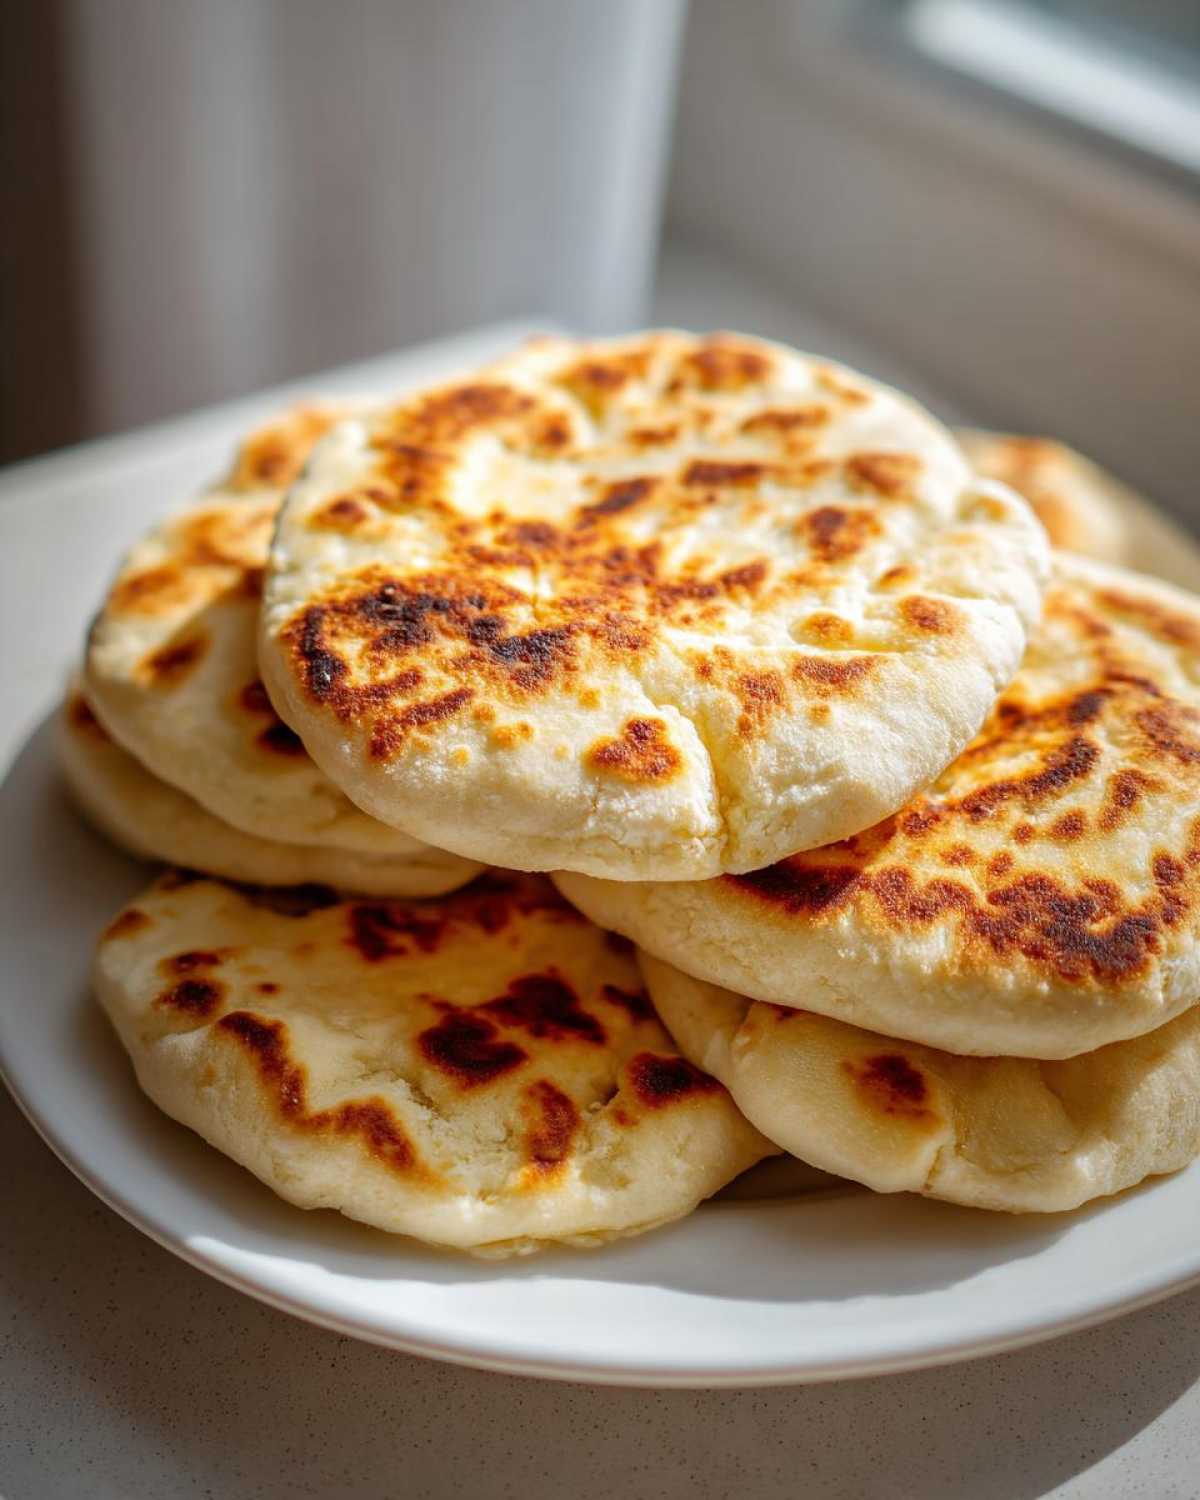
When you get that dough hydration perfect, you end up with undeniably **soft fluffy pita bread** that stretches beautifully without tearing. I’ve played around with different hydration levels to make sure these don’t dry out waiting for the oven to heat up. Trust me, once you taste this, you’ll never go back to the store-bought stuff. Want to see how I approach a great slow-rise bread? Take a peek at my artisan bread no knead dutch oven recipe for comparison!
Ingredients Needed for Perfect Pita Bread
Okay, I know lists can be boring, but I promise you, these are the magic building blocks for the best **pita bread** you’ve ever had! We’re using super simple stuff here, things most of you probably have right now. The key measurement here is the water temperature—get that wrong, and your yeast won’t wake up, so make sure it’s just right!
- 1 cup warm water (aiming specifically for 105-115°F, please!)
- 1 packet active dry yeast (that’s usually about 2 1/4 teaspoons)
- 1 teaspoon sugar (the yeast’s breakfast!)
- 3 cups all-purpose flour, plus you’ll need more for dusting later
- 1 teaspoon salt
- 2 tablespoons good olive oil
That’s it! No weird additives, just pure, delicious ingredients ready to become amazing **pita bread from scratch**.
Easy Pita Bread Making: Step-by-Step Instructions
Alright, here’s where the magic happens! Don’t get intimidated by the dough; we are taking this slow and steady. Following these techniques guarantees you’re on the path to that amazing **pita bread with pocket**. If you’re using a skillet, check out my easy homemade naan bread skillet recipe for pre-heating tips!
Activating Yeast and Mixing the Pita Bread Dough
Step one is absolutely non-negotiable if you want a good puff! Take your warm water—it needs to be between 105°F and 115°F. Any cooler and the yeast sulks; any hotter and you kill it dead. Mix in the sugar and the yeast, and then you wait. You need that mixture to get really foamy and bubbly on top, looking almost like a thick head of beer foam. That visual sign tells me, “Yep, we are good to go!” Once it looks alive, stir in the salt and olive oil before you slowly start adding in that flour until it just barely comes together into what we call a ‘shaggy dough.’ It shouldn’t be perfect yet!
Kneading and First Rise for Soft Fluffy Pita Bread
Now we build that glorious gluten structure! Turn that shaggy mass out onto a counter dusted with *just* a tiny bit more flour. You need to knead this dough firmly but lovingly for about five to seven minutes. You’ll know you’ve hit the sweet spot because the dough transforms; it goes from being rough to looking completely smooth and super elastic, almost like a soft rubber ball. Pop that smooth dough into an oiled bowl, swirl it around so it’s coated, cover it up tight—I use plastic wrap—and find it the warmest spot in your kitchen. Let it chill out undisturbed for at least an hour, maybe an hour and a half, until it’s doubled up in size. This long rise is key for **soft fluffy pita bread**.
Shaping and Resting the Pita Bread Portions
Once the dough has puffed up beautifully, give it a good gentle punch down to release all that air. From this big mass, you need to cut it precisely into 8 equal pieces. It helps to weigh them if you’re trying for uniformity, but honestly, eyeball estimating is fine for home baking! Roll each chunk firmly between your palms until you have 8 perfect little dough balls. This is important: cover these balls back up and let them rest for 10 minutes. This short rest relaxes the gluten we just worked so hard to develop, making the dough much easier to roll out thin without fighting back!
How to Make Pita Bread Puff: Cooking Methods
For the best **pita bread with pocket**, the heat has to be aggressive. We are creating steam *fast*. You have two choices here, and both are brilliant! For the oven method, crank that thing up to 475°F and make sure you preheat a pizza stone or a heavy baking sheet inside for at least 30 minutes—it needs to be screaming hot! Then, roll your circles about 1/8 inch thick and pop 2 or 3 right onto that surface to bake for only 2 or 3 minutes until they balloon up like pillows. If you prefer the **skillet pita bread** method, heat a dry cast-iron skillet over medium-high heat. Place one round on the hot surface; you should see bubbles in about 30 seconds. Flip it! Cook the second side for about a minute, and it should puff, maybe needing a quick final flip just to set the bottom. Immediately grab your cooked pitas and wrap them tightly in a clean kitchen towel—that trapped steam is what keeps them soft and pliable!
Tips for Success When Making Pita Bread
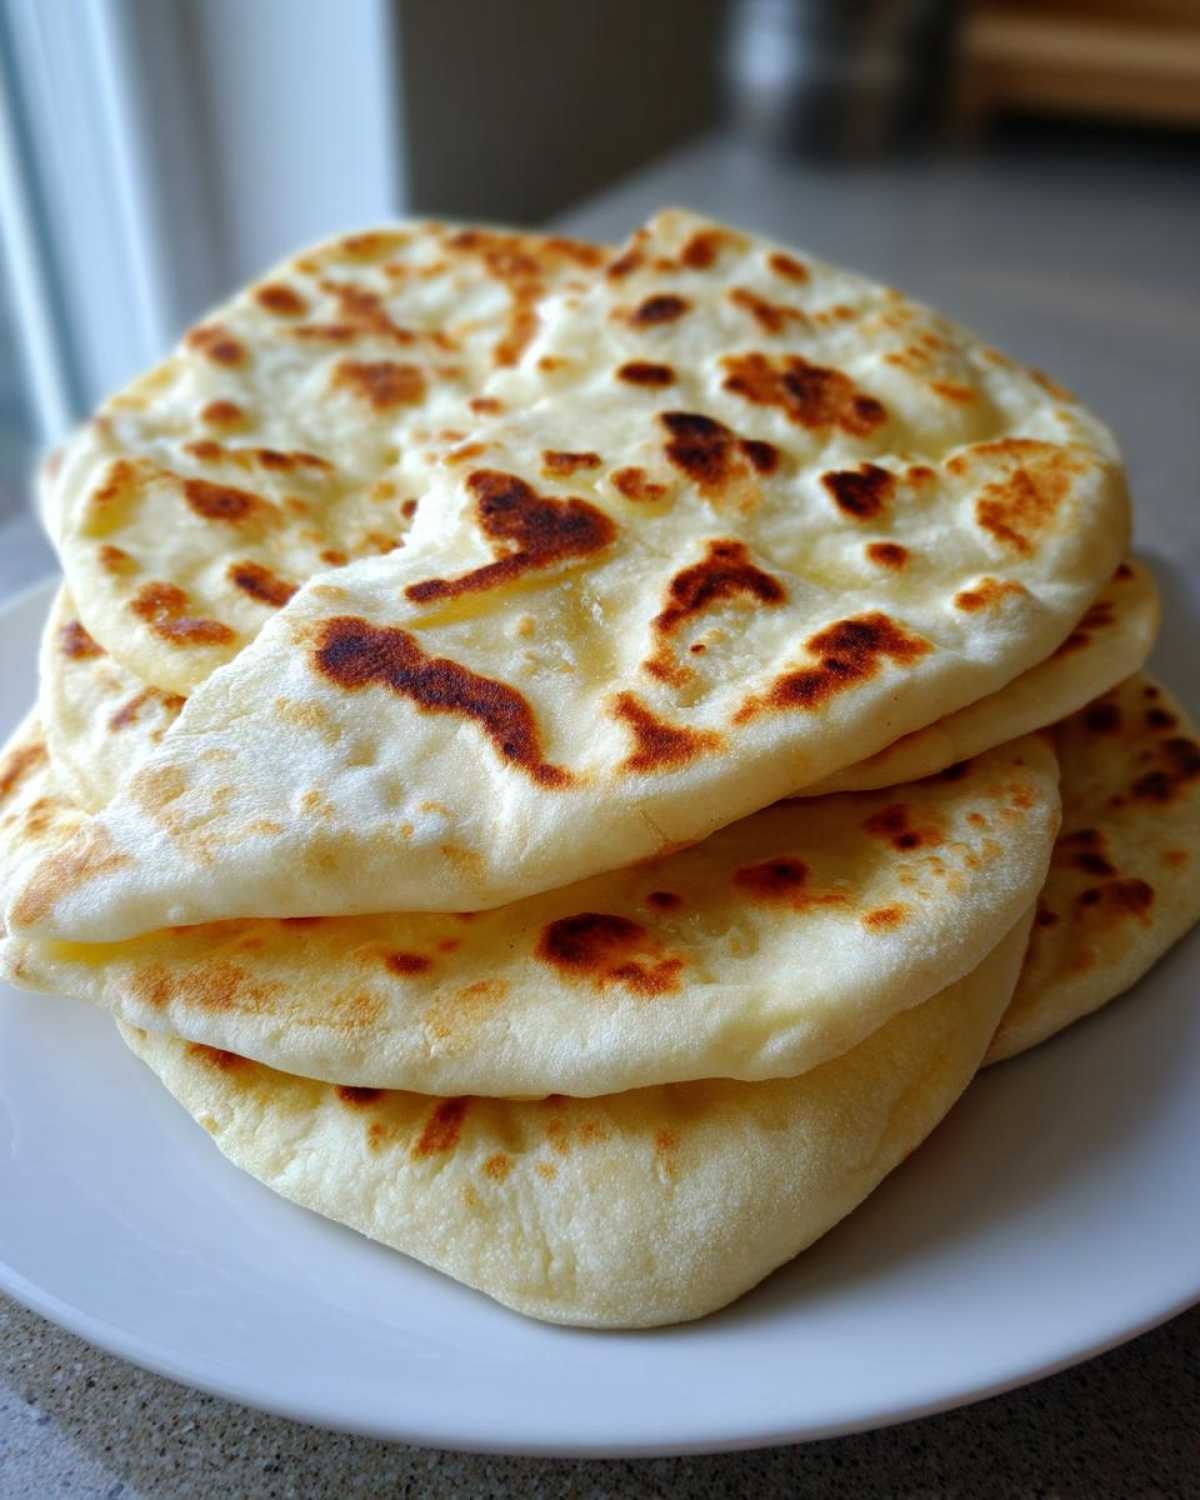
Okay, so you’ve got the basic recipe down, but let’s talk execution because that’s where the real joy—and the puffs—come from. Remember what I said about the water? Keep that thermometer handy for Step 1! If you shoot for that 105°F to 115°F range for waking up the yeast, you guarantee a strong rise later. This seriously builds trust in the process.
My biggest game-changer for the pocket was realizing I was rolling the dough too thin. If you roll them down to paper-thin, there’s no structure left to trap the steam! Aim for that 1/8-inch mark—thin enough to cook fast, but thick enough to hold that glorious air bubble. Also, please, for the love of good bread, make sure your oven or skillet is *ripping* hot before that dough hits it. That initial shock of heat is what turns your flat circle into a beautiful, stuffed piece of **pita bread**.
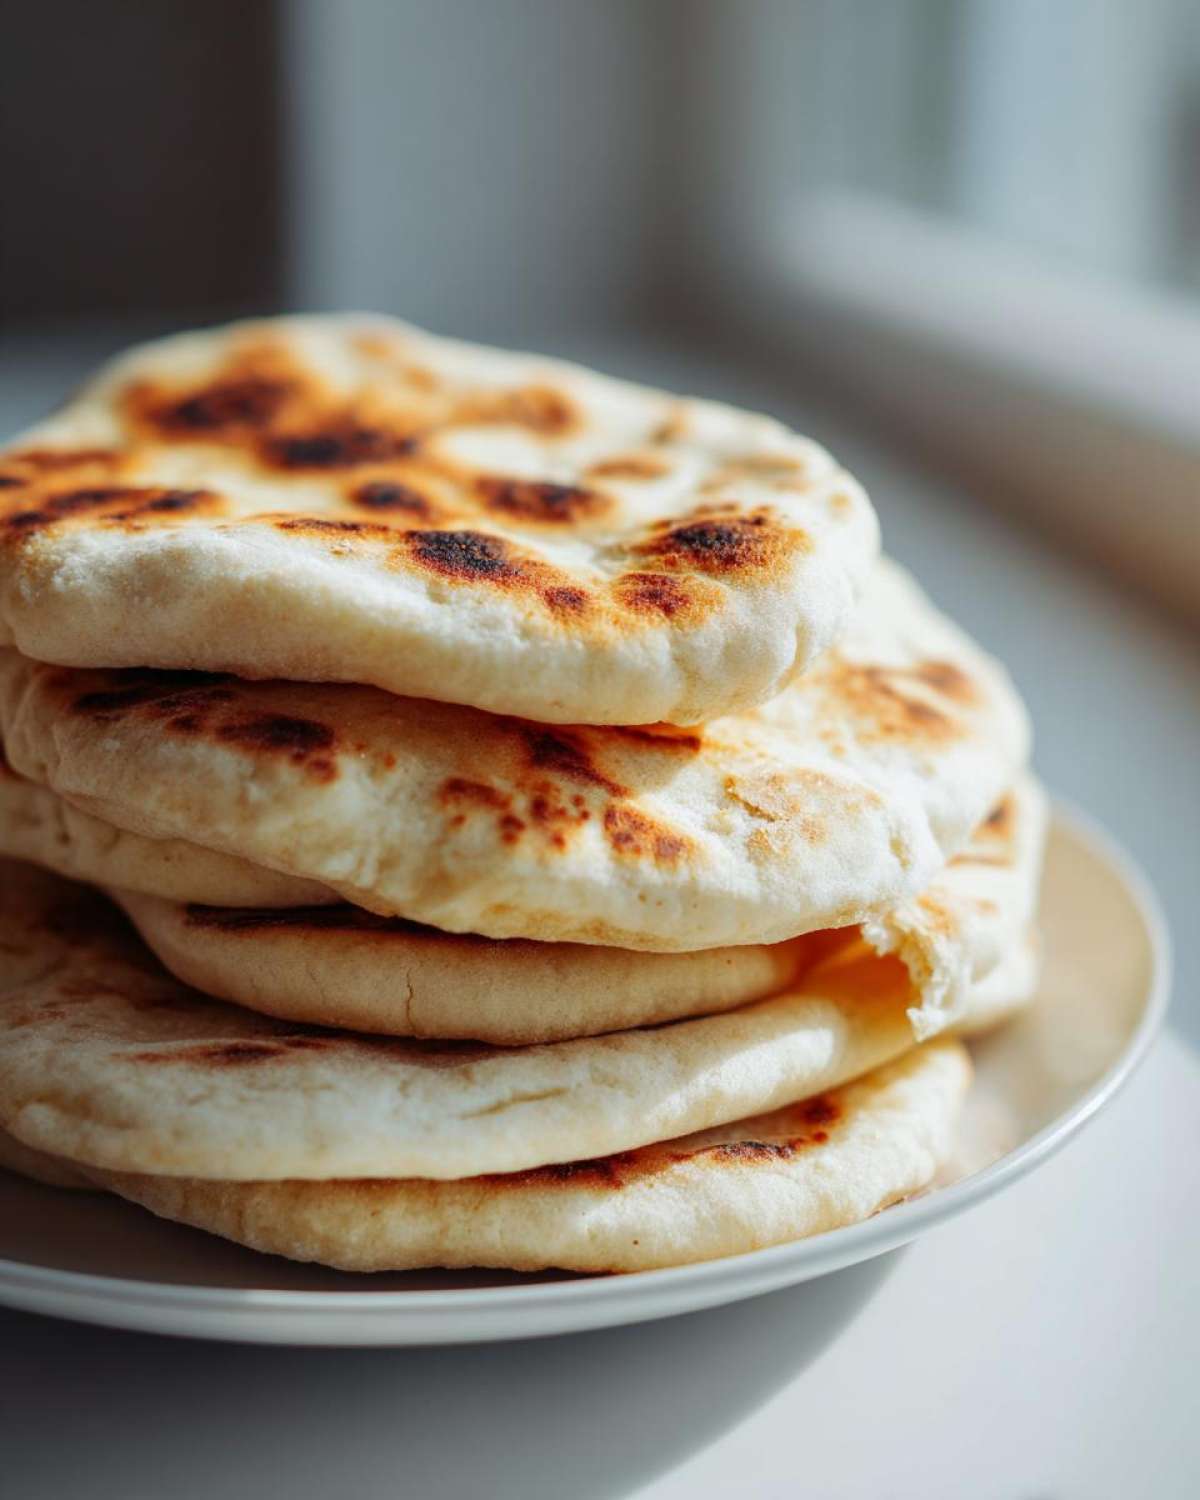
If you’re looking for another texture profile, maybe check out how I keep my pancakes perfectly airy; that same gentle handling is key here too: best fluffy homemade pancakes recipe.
Variations: From Classic Pita Bread to Garlic Pita Bread Ideas
Once you master this base recipe for wonderfully puffy **pita bread**, the fun really begins! While the classic version is perfect for scooping up hummus and everything else, you might want to switch things up. My personal favorite, hands down, is turning them into **garlic pita bread ideas**. When those pitas are hot and steamy right out of the oven or skillet, you just brush them immediately with melted butter mixed with fresh, minced garlic and maybe a sprinkle of parsley. The flavor explosion is just insane!
If you are looking to make an **authentic greek pita recipe** feel—maybe for rolling up some gyro meat—I find that slightly increasing the olive oil by one extra tablespoon in the dough makes the final product a little softer and easier to roll thinly. You can also swap out up to half of your white flour for whole wheat flour if you want a heartier loaf, though you might need an extra splash of water since whole wheat soaks up more liquid. Don’t forget to check out my recipe for easy homemade garlic butter recipe if you want to kick that garlic flavor up even more!
Storage and Reheating Instructions for Pita Bread
So, you made too much incredible, puffy **pita bread**? Lucky you! The absolute best way to keep these soft is by making sure they cool slightly, then wrapping them tightly in a clean, dry kitchen towel. They stay nice and pliable at room temperature for a day, maybe two. If you need them to last longer, pop them into a zip-top bag and straight into the fridge; just don’t leave them there for too long, or they’ll stiffen up.
When you’re ready to eat them again, don’t just toss them in the microwave—that’ll make them chewy! Reheating is super fast. Either lay them directly on a hot, dry skillet for 20 seconds per side until they soften, or give them a 3-minute zap in a 350°F oven. Since this dough works so well, remember you can mix it the day before, cover it, and keep it in the fridge until you’re ready for that final rise!
Serving Suggestions for Your Homemade Pita Bread
Now that you have these gorgeous, pillowy circles of **pita bread**, the fun truly starts! Forget those tiny packets; you’ve got the real deal now—perfect for stuffing or tearing. My absolute favorite thing is using them for hearty wraps; they hold up so much better than any store-bought version. If you’re looking for filling ideas, you have to try them with grilled chicken and that amazing Greek yogurt chicken gyro wrap I posted!
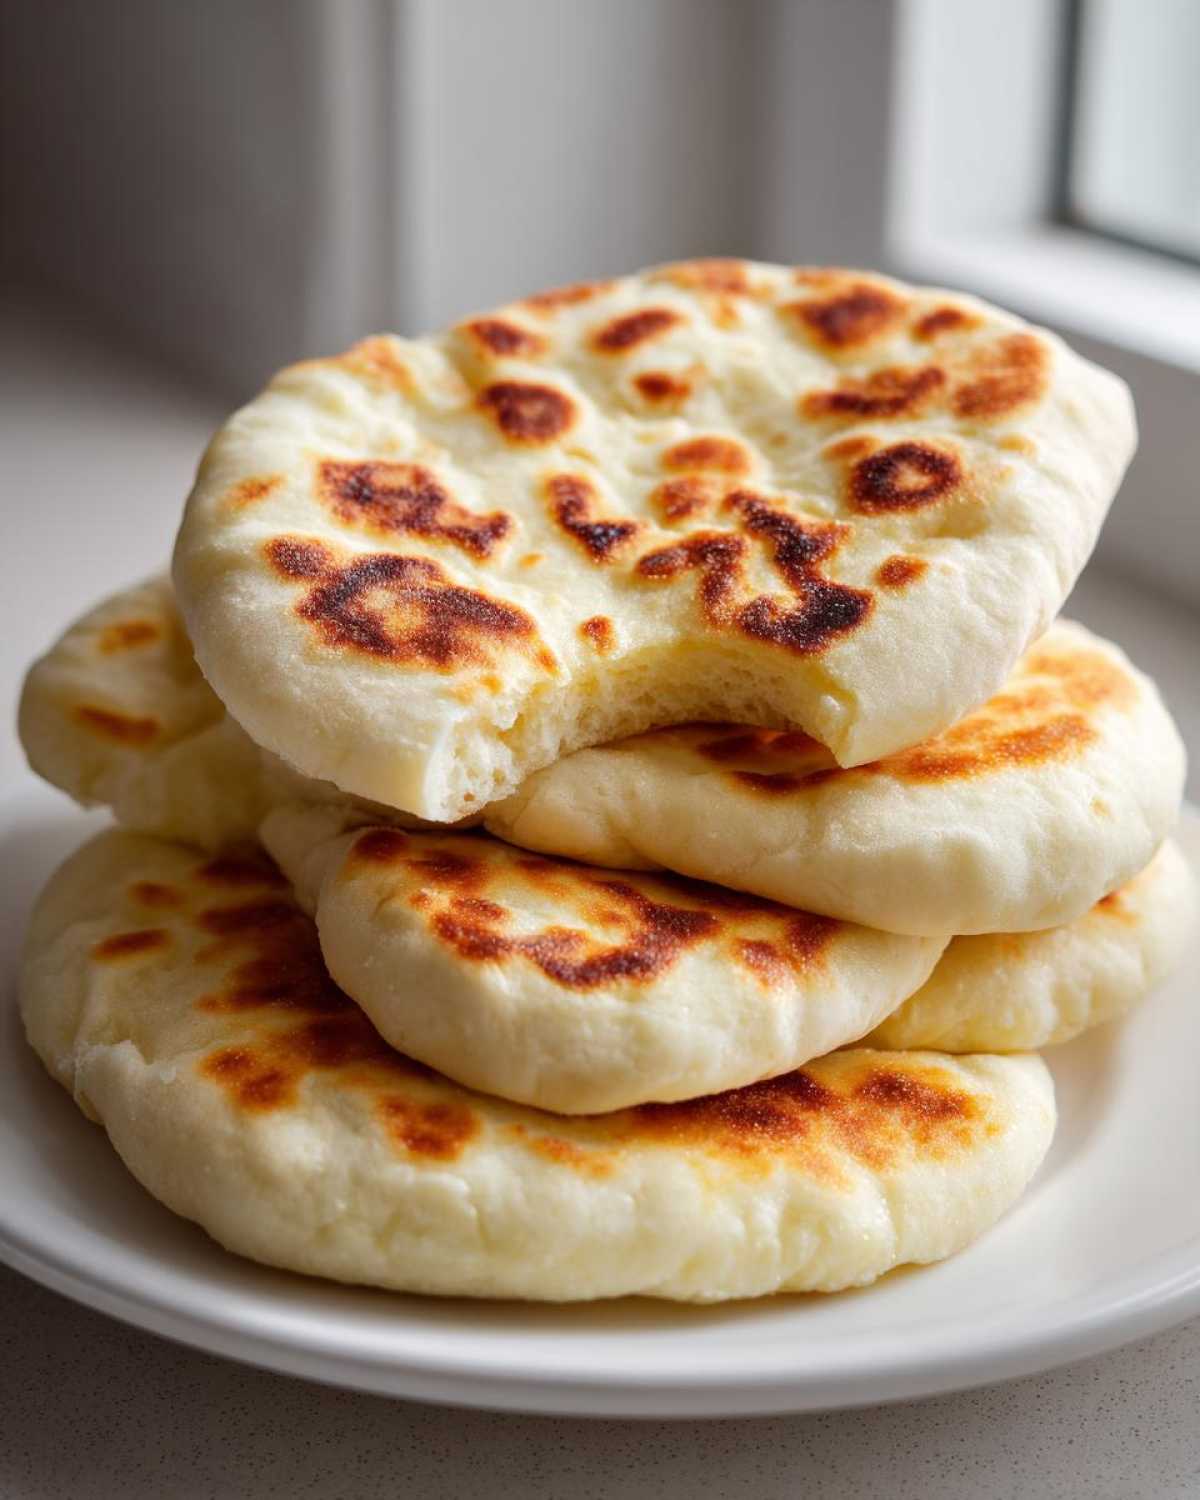
Of course, they make the best **dipping flatbread recipe**. A huge stack of these, slightly warmed, is non-negotiable when you have a big bowl of hummus, baba ghanoush, or even just spinach dip on the table. Seriously, making **pita bread for gyros** at home is a total game-changer for takeout nights. Enjoy every single glorious, pocketed bite!
Frequently Asked Questions About Making Pita Bread
I get so many messages when people first try making this, and honestly, I probably asked these very same things when I was learning **easy pita bread making**! Let’s clear up the most common roadblocks so you can get that perfect puff right away. If you’re having trouble, check out my easy Salisbury steak recipe with gravy for something completely different just to clear your head before trying again—sometimes stepping away helps!
Why didn’t my pita bread puff?
Oh, the dreaded flat pita! This almost always boils down to heat or yeast. If your yeast wasn’t properly activated (Step 1), you won’t have enough gas production. But more often, it’s because your cooking surface wasn’t hot enough. That dough needs a thermal shock—it should sizzle when it hits the pan or stone! If you roll your dough too thinly, like almost see-through thin, there isn’t enough structure left to trap the steam, so aim for that 1/8 inch thickness in the middle.
Can I use instant yeast instead of active dry yeast for pita bread?
Yes, you totally can! I prefer active dry yeast because I like to see it foam up and know it’s alive, but instant yeast works fine in a pinch. If you use instant yeast, you can skip the warming water and sugar step entirely (though adding the sugar never hurts!), and just mix the instant yeast directly into your flour mixture. Then, you just add the water and oil, and proceed with mixing. It saves a few minutes, but honestly, taking that 10 minutes to proof the active dry yeast gives me way more confidence!
How thick should I roll the dough for the best pocket?
This is a surprisingly big deal for a perfect **pita bread with pocket**! You don’t want to roll them paper-thin—they’ll cook too fast and burn, or just become a hard cracker. But you don’t want them super thick like a dinner roll either. I always tell folks to flatten them consistently to about 1/8 of an inch thick across the whole circle. If you have thicker edges or spots, the dough will puff unevenly, so try to keep it uniform. Uniform thickness equals uniform rising, which is what we want for this **yeast flatbread recipe**!
Nutritional Estimates for Homemade Pita Bread
I always get asked about the health side of things, and I totally get it! While this recipe is made with simple, honest ingredients compared to some store-bought stuff loaded with preservatives, it’s still bread, so we need to be reasonable. Here are the estimates based on dividing the whole batch into 8 servings. Remember, these figures are just ballpark references since your exact flour and oil amounts might vary slightly from mine!
- Serving Size: 1 pita
- Calories: 180
- Fat: 3g
- Saturated Fat: 0.5g
- Trans Fat: 0g
- Cholesterol: 0mg
- Sodium: 250mg
- Carbohydrates: 34g
- Fiber: 2g
- Sugar: 1g
- Protein: 6g
See? Not bad for a delicious, puffy slice of **pita bread** made completely from scratch! It’s certainly a better choice when you’re making **pita bread for gyros** or dipping.
PrintThe Ultimate Fluffy Homemade Pita Bread: Classic Recipe Guaranteed to Puff
Make soft, fluffy pita bread with a perfect pocket at home using simple ingredients. This recipe ensures a good puff every time, whether you bake or cook it on the skillet.
- Prep Time: 20 min
- Cook Time: 15 min
- Total Time: 1 hour 45 min
- Yield: 8 pitas
- Category: Bread
- Method: Baking or Skillet Cooking
- Cuisine: Middle Eastern
- Diet: Vegetarian
Ingredients
- 1 cup warm water (105-115°F)
- 1 packet active dry yeast (about 2 1/4 teaspoons)
- 1 teaspoon sugar
- 3 cups all-purpose flour, plus more for dusting
- 1 teaspoon salt
- 2 tablespoons olive oil
Instructions
- Combine the warm water, yeast, and sugar in a large bowl. Let stand for 5 to 10 minutes until foamy. This shows the yeast is active.
- Stir in the salt and olive oil into the yeast mixture.
- Gradually add the flour, mixing until a shaggy dough forms.
- Turn the dough out onto a lightly floured surface and knead for 5 to 7 minutes until the dough is smooth and elastic.
- Place the dough in a lightly oiled bowl, turning to coat. Cover the bowl with plastic wrap or a damp towel and let it rise in a warm place for 1 to 1.5 hours, or until doubled in size.
- Punch down the dough gently and divide it into 8 equal pieces. Roll each piece into a smooth ball. Cover the balls and let them rest for 10 minutes.
- Preheat your oven to 475°F (245°C) with a pizza stone or baking sheet inside, or heat a cast-iron skillet over medium-high heat.
- Working with one ball at a time, roll it out on a lightly floured surface into a 6 to 7-inch circle, about 1/8 inch thick. Do not overwork the dough.
- For oven baking: Place 2 or 3 rounds directly onto the preheated stone or baking sheet. Bake for 2 to 3 minutes until the bread puffs completely.
- For skillet cooking: Place one round onto the hot, dry skillet. Cook for about 30 seconds until bubbles form, then flip. Cook the second side for about 1 minute until it puffs. Flip once more briefly if needed.
- Remove the cooked pitas and wrap them immediately in a clean kitchen towel to keep them soft. Repeat with the remaining dough.
Notes
- For the best puff, make sure your water temperature is correct for the yeast and your oven or skillet is very hot before placing the dough inside.
- If you want garlic pita bread, brush the cooked pitas lightly with melted butter mixed with minced garlic and parsley.
- This dough can be made ahead; store it covered in the refrigerator for up to 2 days before the final rise.
Nutrition
- Serving Size: 1 pita
- Calories: 180
- Sugar: 1
- Sodium: 250
- Fat: 3
- Saturated Fat: 0.5
- Unsaturated Fat: 2.5
- Trans Fat: 0
- Carbohydrates: 34
- Fiber: 2
- Protein: 6
- Cholesterol: 0
