

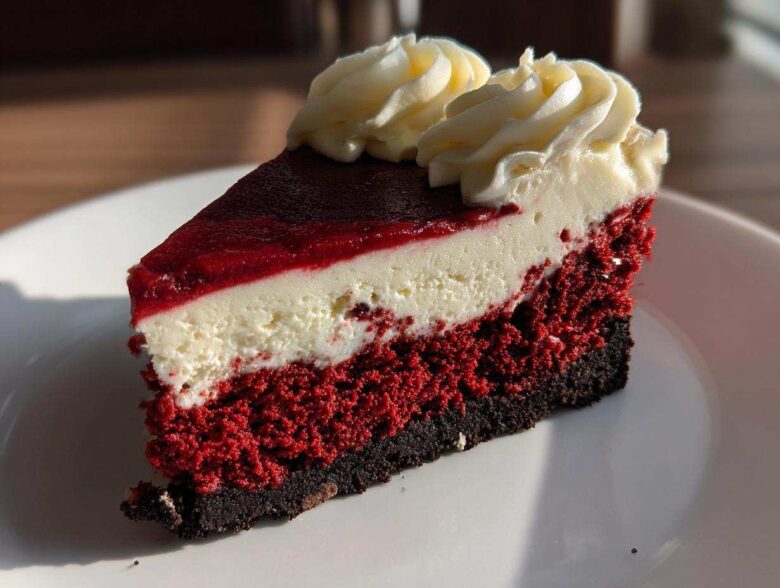
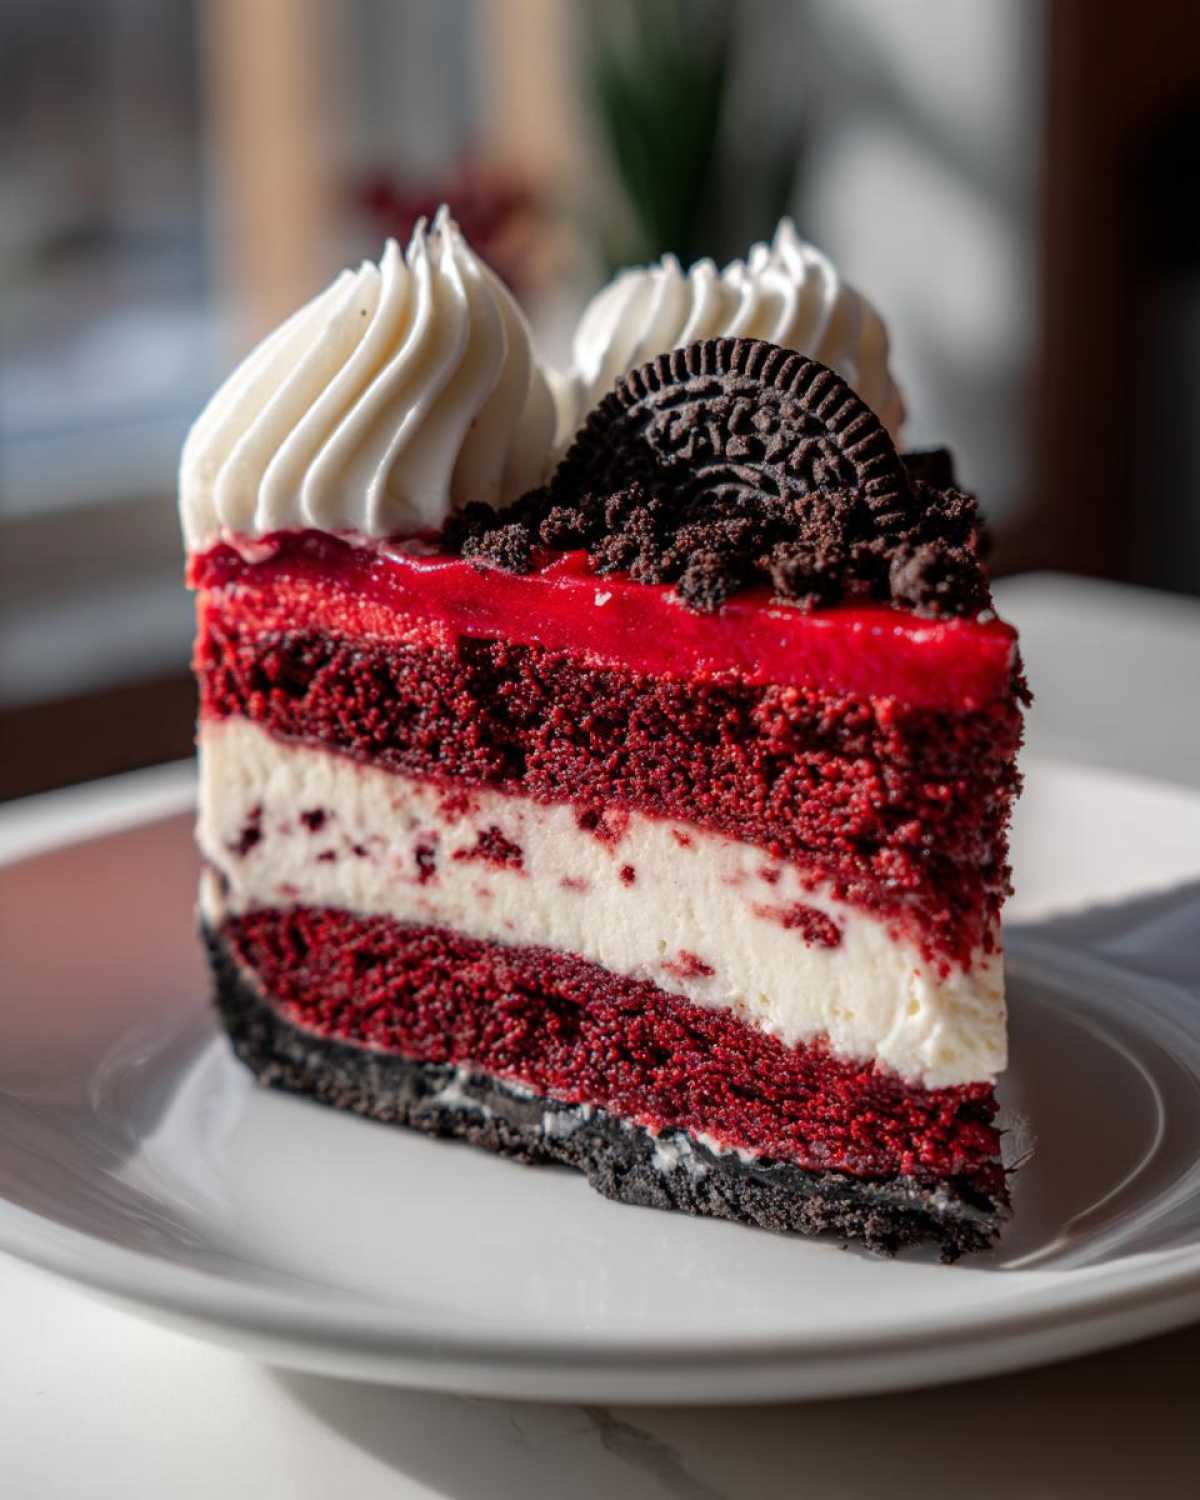
Oh, honey, if you’re looking for a dessert that screams ‘special occasion’ but tastes like pure indulgence, stop scrolling right now! I’ve tried all the fussy layer cakes and complicated pastries, but nothing stops a party cold like a truly decadent cheesecake. Forget those dry, cracking messes you see sometimes; we’re making the Ultra Creamy red velvet cheesecake with Oreo Crust.
I spent years perfecting this because I just wanted that bakery-level richness at home. Trust me, achieving that ultra creamy texture is easier than you think once you know the kitchen secrets. When you cut into this beauty, you get that vibrant red velvet flavor hugged by a buttery, crunchy Oreo base. It’s rich, it’s velvety, and it is absolutely a showstopper for any holiday or Sunday dinner.
Why This Ultra Creamy red velvet cheesecake Recipe Works
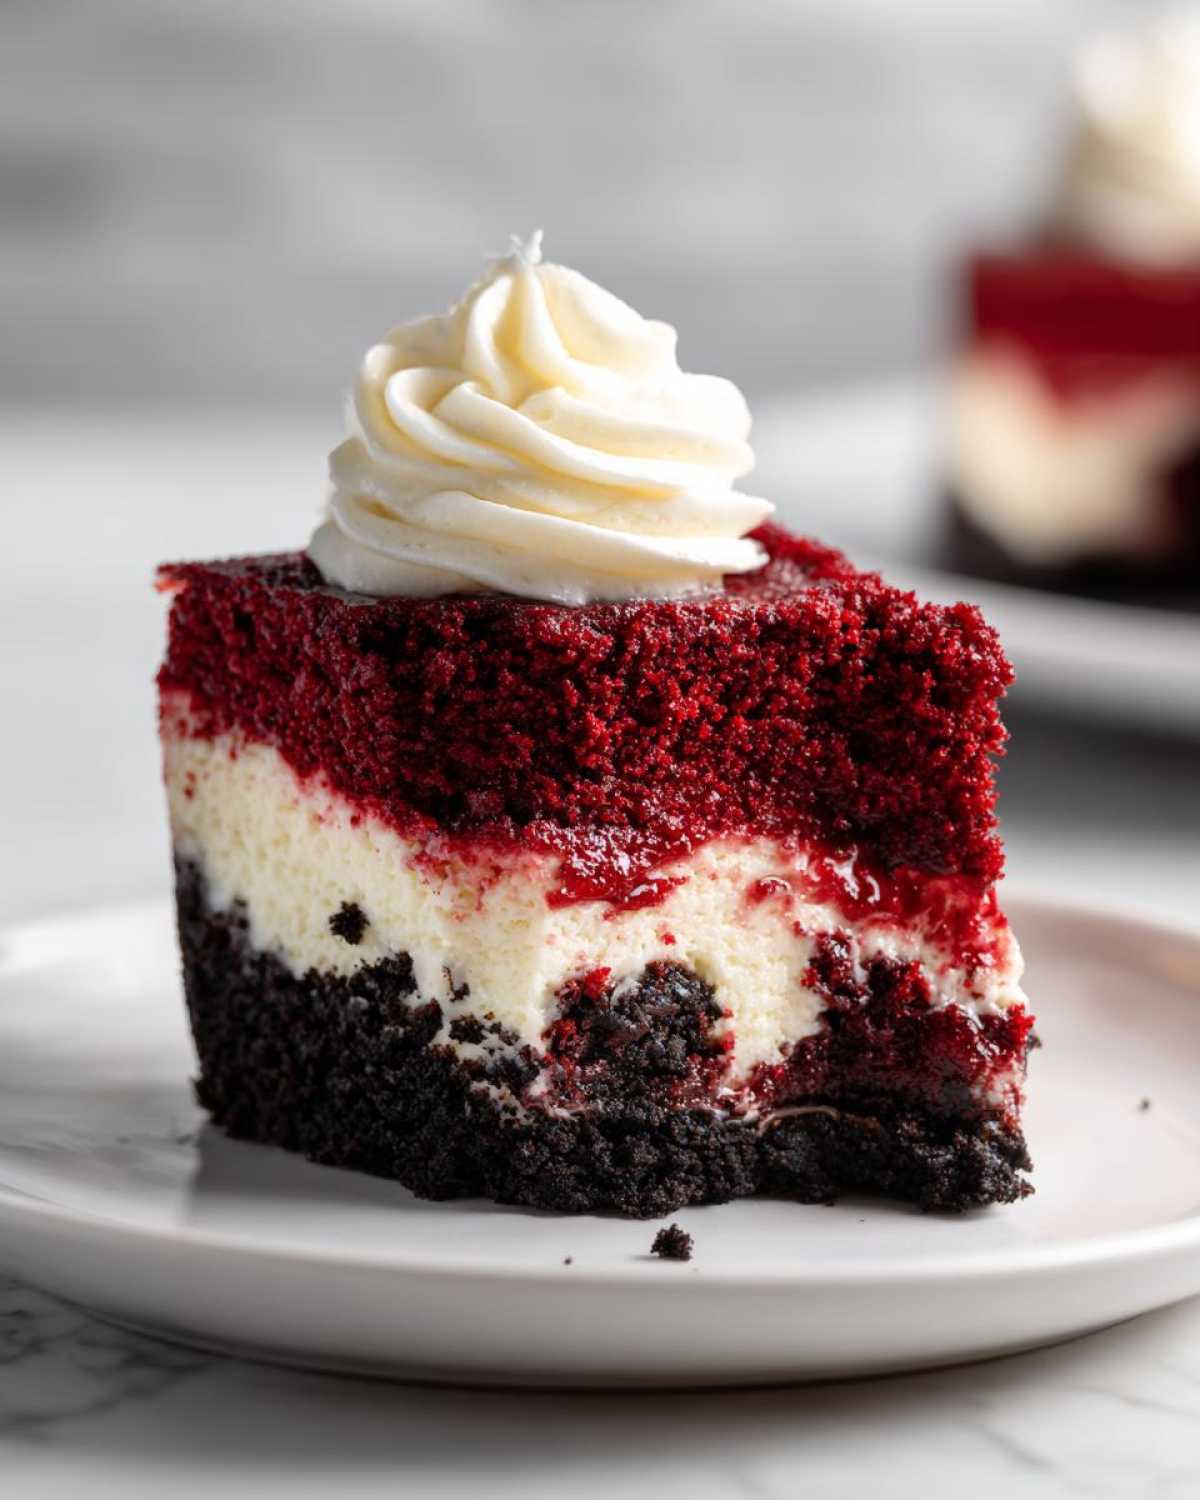
I want you to look at this recipe as your secret weapon! It checks every box for what a truly great showstopper dessert needs to be. I promise you, this isn’t just another cheesecake; it’s the richest, most vibrant one you’ll ever make. We focus on three main things here that make it foolproof.
- Texture: It’s unbelievably smooth, like velvet, and genuinely creamy right to the edge. No graininess here!
- The Base: We ditch the graham crackers for an Oreo crust because, honestly, why wouldn’t you? That salty, deep chocolate crunch against the sweet filling is magic.
- Color: That deep, gorgeous red that screams holiday cheer, achieved perfectly without thinning out our batter.
This red velvet cheesecake is designed to impress every single time you bake it.
Achieving the Perfect Creamy Cheesecake Dessert Texture
The secret sauce for that silky smooth texture is all about temperature control, and yes, the water bath is non-negotiable! When we let the cheesecake cool slowly inside the oven after turning it off, we take the huge stress off the delicate egg proteins. This slow, gentle exit from the heat prevents sudden temperature drops, which is precisely what causes those annoying cracks and keeps the inside perfectly uniform.
The Decadent Cheesecake Variations: Oreo Crust Inclusion
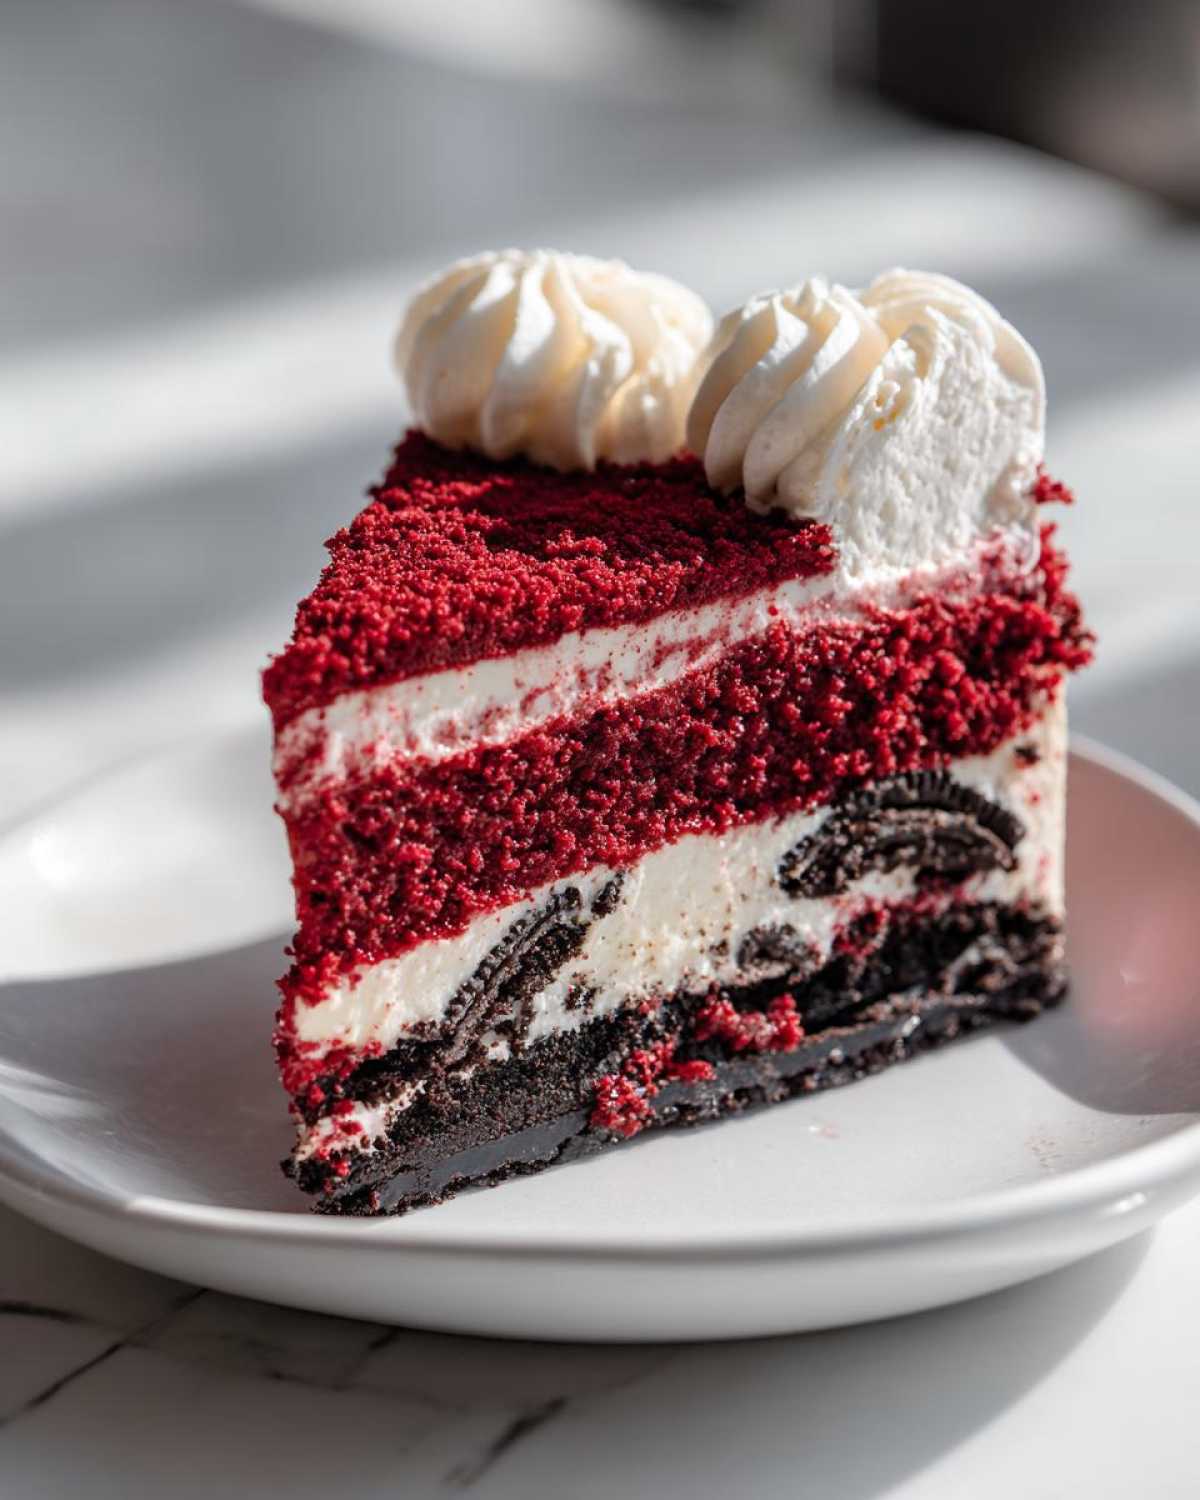
I love the classic red velvet flavor, but adding that baked Oreo crust just takes it overboard—in the best way possible! As my rich red velvet dessert sets up, the base gets wonderfully sturdy and crunchy. You get this amazing textural dance happening: you slice through that firm, slightly crumbly Oreo layer and then sink into that cloud-like, decadent cheesecake filling. It’s the contrast that makes people go back for a second piece, trust me!
Essential Ingredients for Your red velvet cheesecake
Okay, let’s talk stuff! You can’t get that signature ultra creamy texture without respecting the ingredients, especially the dairy. I’ve scrawled all the necessary components for our red velvet cheesecake recipe below, but listen closely to the notes because they make the difference between a good cheesecake and a showstopper.
For the crust, we need crushed Oreos (don’t scrape out the filling, we want that extra fat!), a little sugar, and melted butter. For the filling, three full bricks of cream cheese are the base—and they MUST be softened! I mean fully soft, room temperature, happy cream cheese, or your mixer will hate you and your texture will be lumpy. We also use sour cream for that essential tang that balances the sweetness. And for the vibrant look? Gel food coloring is your best friend. It gives you that deep, rich red without adding extra liquid, which keeps the batter thick and perfect.
Ingredient Notes and Substitutions for red velvet cheesecake
This is where the amateur baker parts ways with the pro! First thing: room temperature dairy! If your cream cheese, eggs, and sour cream are cold, you’ll end up mixing forever trying to smooth out lumps. Let them sit out for at least an hour before you even think about turning on the mixer. This is key for a smooth, luxurious batter. Second, when it comes to color, please use a quality gel food coloring—the liquid stuff from the grocery store thins out the batter too much and gives you a sad, pale pink instead of our gorgeous, deep red velvet shade.
Also, notice the vinegar and cocoa powder? They aren’t just for show! That tiny bit of cocoa gives the batter that slight, traditional chocolate note that makes it taste like real red velvet, not just colored vanilla. Don’t skip those little guys; they boost the complexity of the final rich red velvet dessert.
Step-by-Step Instructions for the Best red velvet cheesecake Baking Tutorial
Following these steps exactly is how you guarantee a bakery-worthy result! This process might seem long, but everything flows really smoothly once you get the rhythm. Remember, patience is the number one ingredient in any great cheesecake. We’re aiming for that gorgeous, crack-free top on our red velvet cheesecake.
Preparing the Oreo Crust Base
First things first, get that oven preheated to 350°F. While it’s warming up, mix those crushed Oreos, the small amount of sugar, and the melted butter until it looks like wet sand. Press that mixture into the bottom of your foil-wrapped springform pan—and I mean press it hard! You want it dense and even. Pop that crust in for just 10 minutes to set it up. Then, reduce that heat right down to 325°F for the main event.
Mixing the Ultra Creamy red velvet cheesecake Filling
Once the base is cooling, tackle the filling. Beat that room-temp cream cheese until it’s fluffy and totally smooth—no lumps allowed! Slowly add the sugar and flour. Now, listen up: once the eggs go in, you mix them on *low speed* just until they disappear. Seriously, stop mixing right there! Overbeating after the eggs introduces too much air, which leads to cracks later. Finally, gently fold that beautifully colored sour cream mixture through the batter. I mean *fold*, not beat, so you keep all that beautiful volume.
Baking and Slow Cooling for a Showstopper Desserts for Parties Result
Now comes the magic trick: the water bath! Place your cheesecake pan inside a large roasting pan, then add hot water to the roasting pan until it comes halfway up the sides of your cheesecake pan. This creates steam and controls the heat so your creamy cheesecake dessert bakes evenly. Bake for about 60 to 75 minutes. When you get the jiggle test right—edges set, center trembles slightly—turn the oven OFF. Crack the door open! Let it sit in that warm oven for a full hour before taking it out to cool on the counter. This slow cool is your insurance policy against sinking and cracking!
Tips for Success: Mastering Your Homemade Cheesecake Guide
I know watching a beautiful dessert sink or crack right before your eyes is devastating. I’ve been there more times than I’d like to admit! But don’t let that scare you off making this homemade cheesecake guide essential. Once you get these three little tricks down, you’ll feel like a total pro.
My very first tip, which I can’t stress enough, is to use room temperature ingredients. If your cream cheese isn’t completely soft, you will end up with tiny, stubborn lumps hiding in your otherwise perfect batter. I usually take mine out four hours ahead of time, or I’ll cut the blocks into cubes—that speeds things up nicely if I’m in a hurry!
Second, and this is crucial for that velvety lift, be extremely gentle once the eggs are in the mix. When you add eggs, you’re introducing air. If you mix on high speed or for too long, you over-aerate the batter. That extra air escapes during baking, causing the cheesecake to puff up, wobble aggressively, and then collapse horribly when it cools. Mix low and slow after the eggs go in!
Finally, never skip the slow cooling process inside the oven. When you pull a piping hot cheesecake directly into a cold kitchen, the sudden temperature shock causes massive contraction, leading straight to a giant crack down the middle. Letting it sit, door cracked, for that initial hour is the most important part of ensuring your final product looks as stunning as it tastes. It’s about respecting the chemistry of baking!
Do these three things—soft dairy, gentle mixing for aeration, and slow cooling—and you’ll have a genuinely no-fail result every time you bake one of these special treats.
Storage and Reheating Instructions for Your red velvet cheesecake
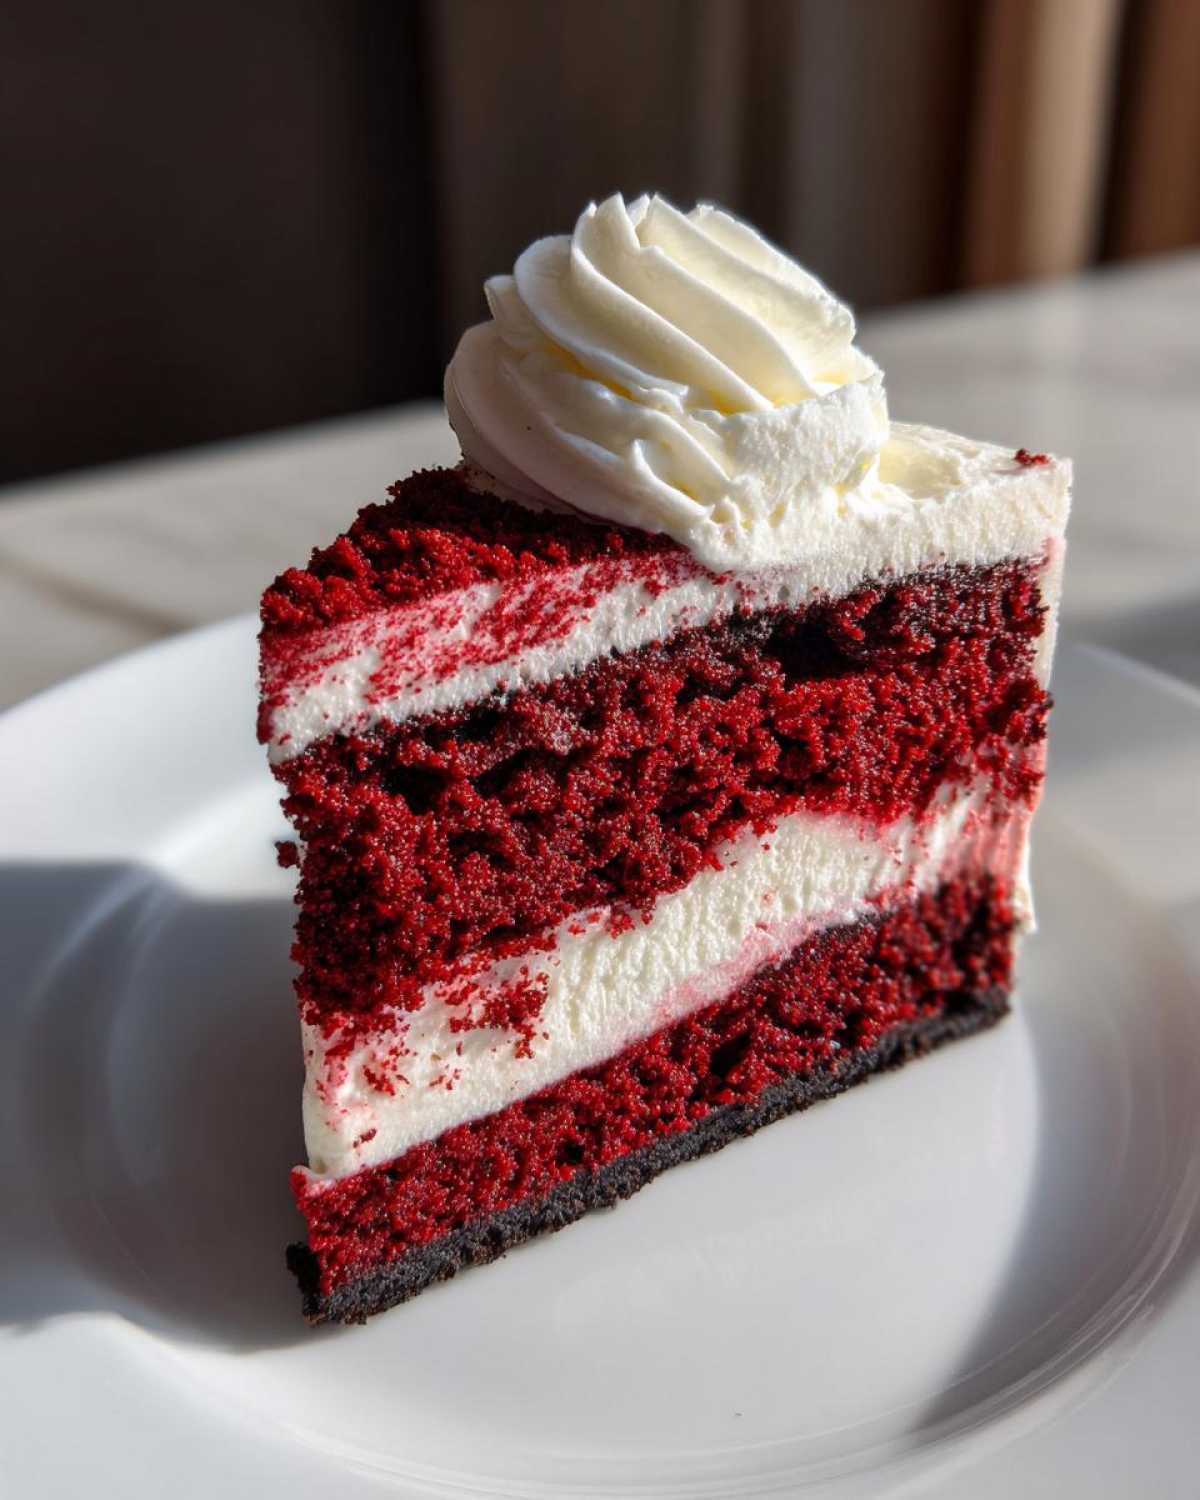
Alright, once you’ve successfully navigated the baking and cooled your gorgeous red velvet cheesecake, you have a big decision: Do I eat it all now? (Spoiler: You probably shouldn’t.) Cheesecake is one of those desserts that actually gets *better* after a nice long chill. Honestly, the flavor profiles settle in, and that creamy texture firms up perfectly.
The chilling time is crucial, so plan ahead! You need to let it cool completely on the counter after the slow oven cool, and then it needs a minimum of six hours in the fridge. But honestly and truly? Overnight is the magic number. Cover it loosely with plastic wrap—make sure the wrap isn’t touching the cream cheese frosting, or you’ll rip your beautiful topping right off!
For storage, keeping it frosted is fine if you’re eating it within a couple of days, as the frosting acts a bit like an extra sealant. If you’re planning on storing leftovers in the fridge for longer than three days, I actually prefer slicing it first, covering the cut sides lightly with a thin layer of plastic wrap, and then chilling. This prevents any smells from the fridge from migrating into your rich dessert.
Can you freeze this magnificent red velvet cheesecake? Absolutely, yes! If you freeze it unfrosted, it keeps wonderfully for about a month. Just wrap the entire chilled cheesecake tightly in two layers of plastic wrap, followed by a layer of foil. Thaw it slowly in the refrigerator overnight before topping it with your cream cheese frosting the next day. It comes out tasting nearly as good as fresh!
Serving Suggestions for This Rich Red Velvet Dessert
Now the hard part is over—you’ve baked the perfect red velvet cheesecake! It looks stunning, it smells incredible, and you’re ready to bring it out for the crowd. But serving a dessert this rich calls for some supporting players that won’t fight the gorgeous flavor profile we worked so hard to create.
You absolutely have to start with the topping we made! That creamy cheese frosting isn’t just decoration; it’s the final, slightly tangy bow on top of the whole package. It melts just a tiny bit when it hits the chilled cake, giving you that perfect first bite experience: cool, creamy, sweet, and just a hint of that signature cocoa tang.
When it comes to drinks, you need something to cut through all that glorious fat and sweetness. I always serve this with a steaming hot cup of black coffee. The slightly bitter warmth is the perfect foil for something so decadent. If you’re looking for a non-caffeinated option, a sparkling water with a splash of tart cranberry juice works wonders to refresh your palate between bites of this rich red velvet dessert.
If you feel like adding a little something extra on the side, keep it simple and light. Skip heavy sauces! A small scattering of fresh raspberries or sliced strawberries adds a lovely, bright acidity that keeps the richness from feeling overwhelming. A little bit of fruit ensures everyone keeps coming back for more of that incredible red velvet cheesecake!
Frequently Asked Questions About Making red velvet cheesecake
I totally get it! When you’re trying to bake something this showstopping, you’re going to have questions. Sometimes the difference between an amazing batch and a so-so one comes down to one tiny technique. Don’t worry, I’ve been there, and I’ve got the answers to the questions I get asked most often about making the perfect red velvet cheesecake recipe.
Can I make this red velvet cheesecake without a water bath?
Look, I truly wish I could tell you it’s totally fine, but the water bath is what truly seals the deal for a no fail cheesecake recipe. Without it, the surrounding air in the oven gets way too hot and dry, which cooks the edges of your cheesecake too fast. That rapid cooking causes shrinkage and, hello, massive cracks.
If you absolutely cannot use a water bath—maybe your springform pan leaks—the absolute best you can do is reduce your oven temperature down to 300°F (150°C) and bake it for much, much longer. You must also place a shallow pan of hot water on the rack *below* your cheesecake while it bakes just to add some humidity. It’s not as foolproof as the actual water bath method, but it’s your second-best shot at avoiding dry edges on your creamy cheesecake dessert.
How do I get the color intensely red?
This is such a great question because nobody wants a pale, pinkish-brown cheesecake! The key here is twofold. First, you must use gel food coloring. The liquid drops you find everywhere simply add too much moisture, which you don’t want in a rich batter, and they don’t give you the saturation we need. A little bit of gel color goes a really long way!
Second, remember that cocoa powder? That tiny bit of unsweetened cocoa is essential. It gives the batter that classic, barely-there chocolate foundation that makes it taste like true red velvet, not just vanilla with food coloring. The cocoa actually helps ground the red, making the final color look deeper and more sophisticated in your final velvety dessert for special occasions.
Estimated Nutritional Data for a Slice of red velvet cheesecake
Because we’re dealing with cream cheese, sugar, and a whole lot of Oreo goodness, this is definitely a treat, not a light snack! These estimates are based on dividing the total recipe yield by 12 slices, as noted in the recipe details. Keep in mind that these numbers are ballpark figures—if you use low-fat cream cheese or skimp on the sugar (which I don’t recommend!), your totals will shift.
For a generous slice of this decadent treat, here is what you can generally expect:
- Serving Size: 1 slice
- Calories: 450
- Sugar: 35g
- Fat: 30g
- Carbohydrates: 40g
- Protein: 7g
It’s a splurge, for sure, but every single calorie is worth it for this stunning dessert!
Share Your Showstopper Desserts for Parties Creations
I truly hope you give this ultra creamy recipe a shot! Baking a cheesecake, especially one this fancy, feels like a real accomplishment, and I’d love to see how yours turns out. When you bring this red velvet cheesecake to your next gathering, I guarantee people will be asking for the recipe immediately.
If you made this and loved that smooth, no-crack texture, please come back here and leave a rating! Your feedback helps other bakers feel confident trying this recipe out. If you posted a picture on social media, tag me! Tell me how you liked the Oreo crust contrast, or if you added an extra swirl of frosting on top.
Happy Baking! I can’t wait to hear all about your success in the comments section below. Let’s keep making amazing festive cheesecake bakes together!
Estimated Nutritional Data for a Slice of red velvet cheesecake
Because we’re dealing with cream cheese, sugar, and a whole lot of Oreo goodness, this is definitely a treat, not a light snack! These estimates are based on dividing the total recipe yield by 12 slices, as noted in the recipe details. Keep in mind that these numbers are ballpark figures—if you use low-fat cream cheese or skimp on the sugar (which I don’t recommend!), your totals will shift.
For a generous slice of this decadent treat, here is what you can generally expect:
- Serving Size: 1 slice
- Calories: 450
- Sugar: 35g
- Fat: 30g
- Carbohydrates: 40g
- Protein: 7g
It’s a splurge, for sure, but every single calorie is worth it for this stunning dessert!
Share Your Showstopper Desserts for Parties Creations
I truly hope you give this ultra creamy recipe a shot! Baking a cheesecake, especially one this fancy, feels like a real accomplishment, and I’d love to see how yours turns out. When you bring this festive cheesecake bake to your next gathering, I guarantee people will be asking for the recipe immediately.
If you made this and loved that smooth, no-crack texture, please come back here and leave a rating! Your feedback helps other bakers feel confident trying this recipe out. If you posted a picture on social media, tag me! Tell me how you liked the Oreo crust contrast, or if you added an extra swirl of frosting on top.
Happy Baking! I can’t wait to hear all about your success in the comments section below. Let’s keep making amazing showstopper desserts for parties together!
PrintUltra Creamy Red Velvet Cheesecake with Oreo Crust

Make a rich, showstopping red velvet cheesecake featuring a crunchy Oreo crust and a smooth, creamy filling perfect for any special occasion.
- Prep Time: 25 min
- Cook Time: 75 min
- Total Time: 9 hours 40 min
- Yield: 12 servings
- Category: Dessert
- Method: Baking
- Cuisine: American
- Diet: Vegetarian
Ingredients
- 1 1/2 cups crushed Oreo cookies (about 25 cookies)
- 1/4 cup granulated sugar
- 6 tablespoons unsalted butter, melted
- 3 (8 ounce) packages cream cheese, softened
- 1 1/2 cups granulated sugar
- 1/4 cup all-purpose flour
- 1 teaspoon vanilla extract
- 1/4 teaspoon salt
- 2 large eggs
- 1 cup sour cream
- 1 tablespoon red food coloring (gel preferred)
- 1 teaspoon white vinegar
- 1 teaspoon unsweetened cocoa powder
- Cream cheese frosting, for topping
Instructions
- Preheat your oven to 350°F (175°C). Wrap the outside of a 9-inch springform pan tightly with heavy-duty aluminum foil.
- Combine the crushed Oreos, 1/4 cup sugar, and melted butter in a medium bowl. Press the mixture firmly into the bottom of the prepared springform pan. Bake the crust for 10 minutes. Remove from the oven and let it cool slightly.
- Reduce the oven temperature to 325°F (160°C).
- In a large bowl, beat the softened cream cheese with an electric mixer until smooth. Gradually add 1 1/2 cups sugar and flour, mixing until just combined.
- Beat in the vanilla extract and salt. Add the eggs one at a time, mixing on low speed after each addition until just incorporated. Do not overmix.
- In a small bowl, whisk together the sour cream, red food coloring, white vinegar, and cocoa powder until the color is uniform. Gently fold this red mixture into the cream cheese batter until streaks disappear.
- Pour the batter over the cooled Oreo crust. Place the springform pan inside a larger roasting pan. Carefully pour hot water into the roasting pan until it reaches halfway up the sides of the springform pan (this is a water bath).
- Bake for 60 to 75 minutes, or until the edges are set but the center still jiggles slightly when gently shaken.
- Turn off the oven, crack the oven door open slightly, and let the cheesecake cool inside the oven for 1 hour. This prevents cracking.
- Remove the cheesecake from the water bath and foil. Cool completely on a wire rack, then chill in the refrigerator for at least 6 hours, or preferably overnight, before serving.
- Before serving, spread the top evenly with cream cheese frosting.
Notes
- Use gel food coloring for the most intense red color without thinning the batter.
- For the creamiest texture, bring the cream cheese, eggs, and sour cream to room temperature before starting.
- To prevent cracking during cooling, do not skip the slow cooling process inside the turned-off oven.
Nutrition
- Serving Size: 1 slice
- Calories: 450
- Sugar: 35g
- Sodium: 320mg
- Fat: 30g
- Saturated Fat: 18g
- Unsaturated Fat: 12g
- Trans Fat: 0.5g
- Carbohydrates: 40g
- Fiber: 1g
- Protein: 7g
- Cholesterol: 110mg
