

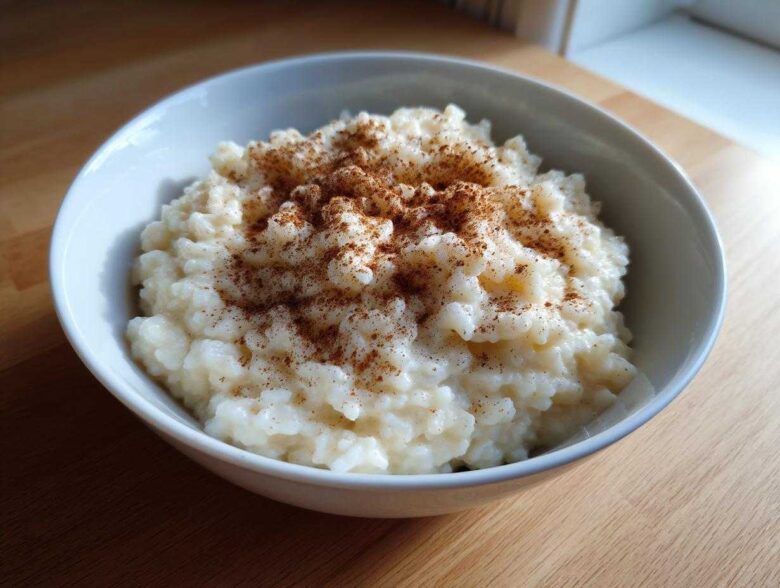
Oh my gosh, when it comes to comfort food, nothing—and I mean nothing—beats the nostalgia packed into a warm bowl of homemade rice pudding. When the weather gets chilly or I just need a hug in a bowl, I turn straight to this incredible rice pudding recipe. This isn’t some thin, soupy nonsense; I’m sharing my absolute best version for a truly creamy stovetop rice pudding. It’s so rich and velvety that my kids actually fight over the leftovers!
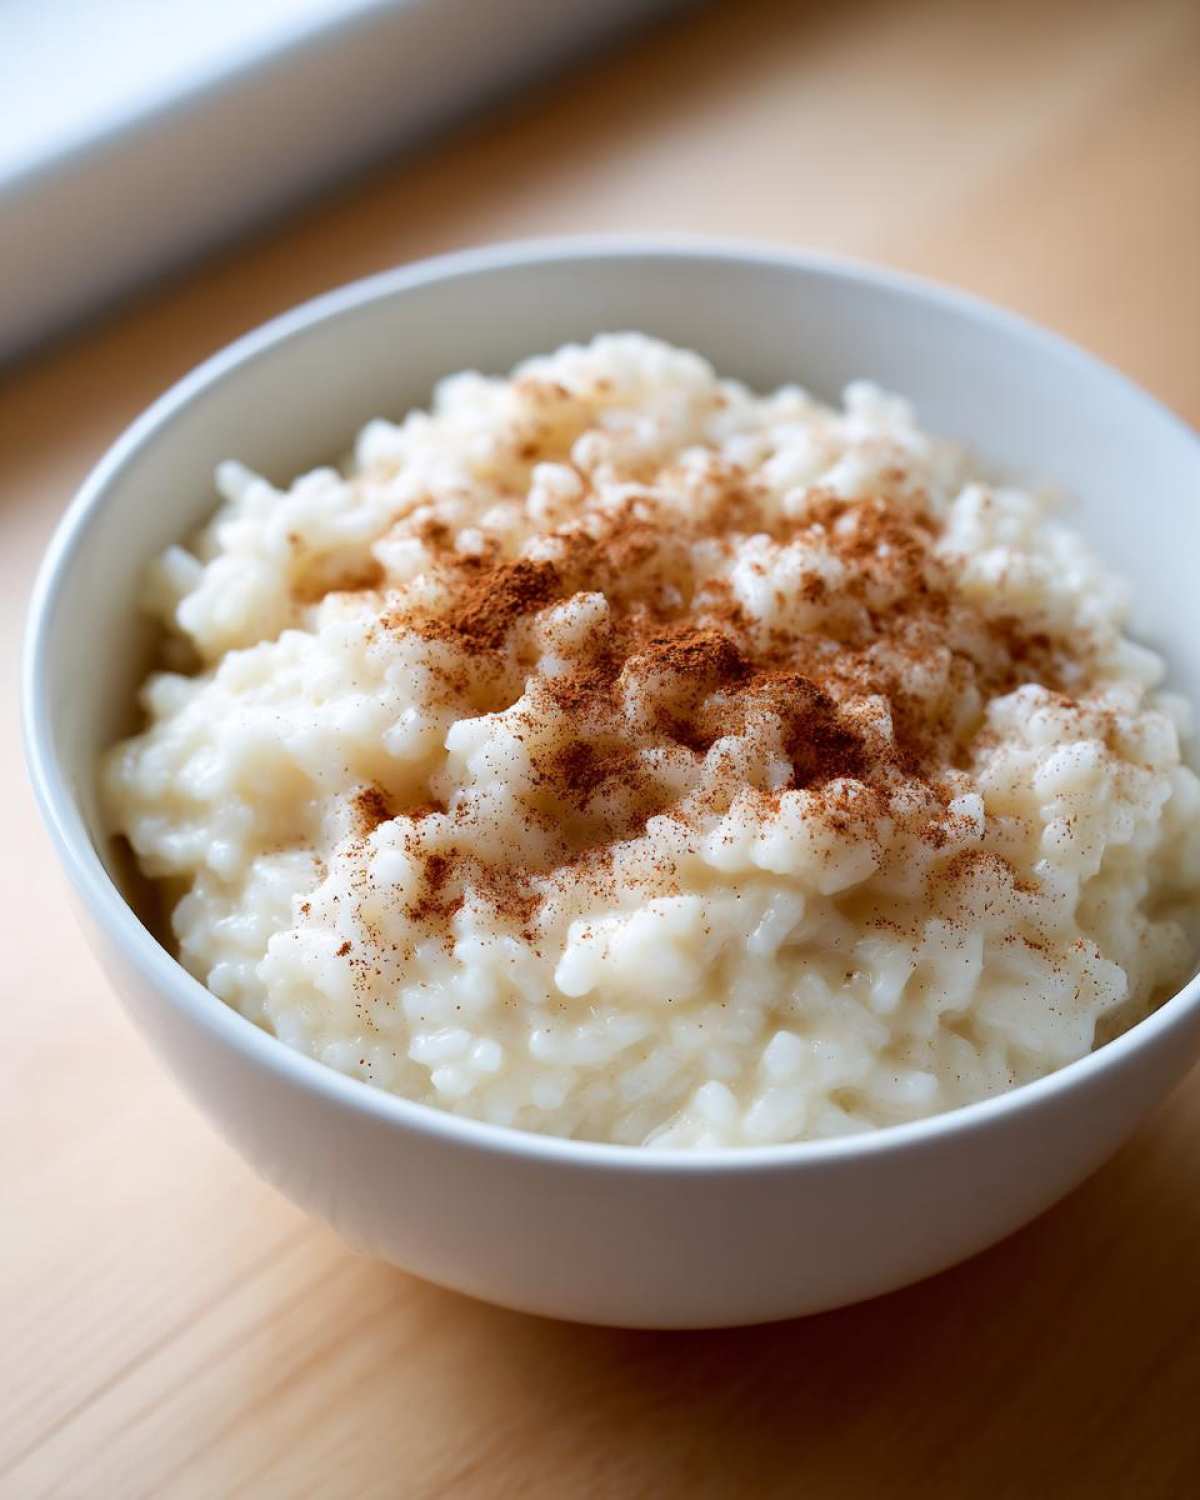
This has been my go-to classic dessert recipe for years because it’s straightforward stovetop magic—no oven fuss involved! The secret, which I learned the hard way, is paying close attention during those simmering minutes. Trust me, mastering the low-and-slow technique turns simple milk and rice into something magical. We’ve made this for every holiday since I first perfected the texture, and it always brings the house down.
If you’re looking for that perfect nostalgic texture, you’re in the right spot. You can check out my full technique breakdown, but honestly, the secret is in the milk ratio and patience. Seriously, if you’ve been burned by sticky, scorched bottoms before, this method will fix you right up. I’m linking to a more in-depth guide here where I talk about keeping that dreamy texture even when taking it to a potluck: The secrets to creamy stovetop consistency.
Why This Creamy Rice Pudding Recipe Works So Well
Look, most people think good rice pudding is just luck, but I’m telling you, it’s pure science! The reason my Creamy Rice Pudding stands head and shoulders above others is all down to a couple of non-negotiable rules. Rule number one: ditch the long-grain rice. It just doesn’t break down enough to give you that luxurious, thick hug in a bowl, you know?
We need that starch release, and only short-grain rice—like Arborio or Calrose—will give you the absolute Best Rice Pudding Texture. It releases that creamy starch slowly as it cooks down into the milk. Also, never, ever let this baby boil hard. If you see big ugly bubbles bursting out, you’ve gone too fast and you risk scorching the bottom, which is the death knell for a good pudding.
The constant stirring and low heat are what develop that incredible structure. It takes patience, but that’s how you get that truly Old Fashioned Rice Pudding feel. I even have a tip buried in this section about the fat content—it makes a huge difference!
Achieving the Perfect Old Fashioned Rice Pudding Texture
So many folks grab Basmati or Jasmine rice because they have that lovely aroma, but those grains stay separate. For this rich, Stovetop Pudding, we need the grains to swell up and practically melt into the sauce. Short-grain rice has more surface area for starch leaching, so the milk thickens naturally without needing a ton of cornstarch.
And here’s the little bit of dairy science: use whole milk, like the recipe says, or even swap a bit for heavy cream. Fat helps carry that flavor and gives you that mouth-coating silkiness. If you use skim milk, you’ll end up with something thin, and honestly, that’s a waste of your time!
If you’re interested in how I deal with cooling this stuff down to keep that ideal texture, I wrote a whole post on preventing a skin layer: Dealing with rice pudding skin. It’s a quick read!
Ingredients for Your Classic Rice Pudding Recipe
To get that incredible Homemade Rice Pudding going, you don’t need a huge grocery list. Seriously, this is minimalist cooking at its finest! We are keeping it focused so the technique can really shine through. Don’t go grabbing just any rice, though; the type matters tremendously here, like I mentioned before!
- 1/2 cup short-grain white rice, rinsed well under cold water until the water runs clear and then thoroughly drained.
- 4 cups whole milk—and yes, only whole milk, please! This is crucial for the texture.
- 1/2 cup granulated sugar—we add this right at the start with the milk.
- 1/4 teaspoon salt to balance out all that sweet richness.
- 1 teaspoon vanilla extract, which we only add at the very end.
- 1/4 teaspoon ground cinnamon, saved strictly for the topping when serving.
Ingredient Notes and Substitutions
If you want to push this pudding into the stratosphere of creamy decadence, listen up. The recipe notes suggest swapping out a half cup of that whole milk for heavy cream. Trust me, just that small change adds a velvety richness that makes everyone ask for your secret rice pudding recipe.
Now, about those raisins! If you love them, I strongly recommend you add about half a cup of golden raisins. But here’s the trick: don’t toss them in at the beginning! Wait until the last 15 minutes of cooking. We want them plumped up on the simmer, not turning into mushy little black dots early on.
Step-by-Step Instructions for This Easy Rice Pudding Recipe
Okay, let’s get cooking! This is the part where we turn those lovely ingredients into pure comfort. If you follow these steps exactly, you’ll nail this Easy Rice Pudding Recipe every single time. My biggest non-negotiable tip before you even start heating anything? Use a good, heavy-bottomed saucepan. I can’t stress this enough! If your pot is thin, the heat transfers too quickly and you are guaranteed to get rice sticking and burning on the bottom, which will taint the whole batch.
- First things first, if you haven’t already, give that rice a good rinse until the water looks clear. Then, make sure you drain it completely. We want controlled starch release, not starchy runoff!
- In your designated heavy pot, combine the rinsed rice, the four cups of whole milk, the sugar, and that pinch of salt.
- Now, put it over medium heat. Watch it closely. Your mission here is just to get the mixture gently simmering—we are looking for small, lazy bubbles around the edges, not a rolling boil! If it starts raging, pull it off the heat for a moment.
- As soon as that gentle simmer starts, drop the heat way down to low. This is where the magic takes time. You have to keep stirring every few minutes—I mean it—to keep the rice moving and prevent it from gluing itself to the bottom.
- Keep this low simmer going for 40 to 50 minutes. You’ll notice it thickening up step-by-step! Remember, it will get much thicker once it cools down, so don’t overcook it trying to get it as thick as concrete right now.
- Once the rice is tender and the pudding looks rich, take the whole pot completely off the burner. That’s right, turn the heat off! Then, stir in that vanilla extract.
- Serve it warm right away, or cover it and chill it for later. We’ll talk about serving spice next!
The Importance of Low and Slow Cooking for Stovetop Pudding
That 40 to 50 minute window isn’t arbitrary—it’s everything! This extended, gentle cooking period allows the starches in the short-grain rice to fully release into the milk, creating that luscious, thick sauce we all crave. If you rush it by cranking up the heat, you might cook the milk too fast and end up with undercooked, hard rice floating in thin milk. Horrible! And speaking of tricky starches, if you ever need help coaxing maximum flavor out of rice in a different context, check out my recipe for garlic butter rice; different vibe, but same respect for the grain!
When you stir frequently during this stage, you are physically scraping down the bottom of the pan, releasing those starchy bits into suspension before they have a chance to bake onto the metal. A proper rice pudding recipe relies on this steady, low heat. It’s the difference between a fantastic Comfort Food Dessert and a failed attempt. You are essentially patiently developing the sauce slowly, making sure every grain of rice is surrounded by that beautiful, creamy base.
Serving and Topping Your Vanilla Cinnamon Dessert
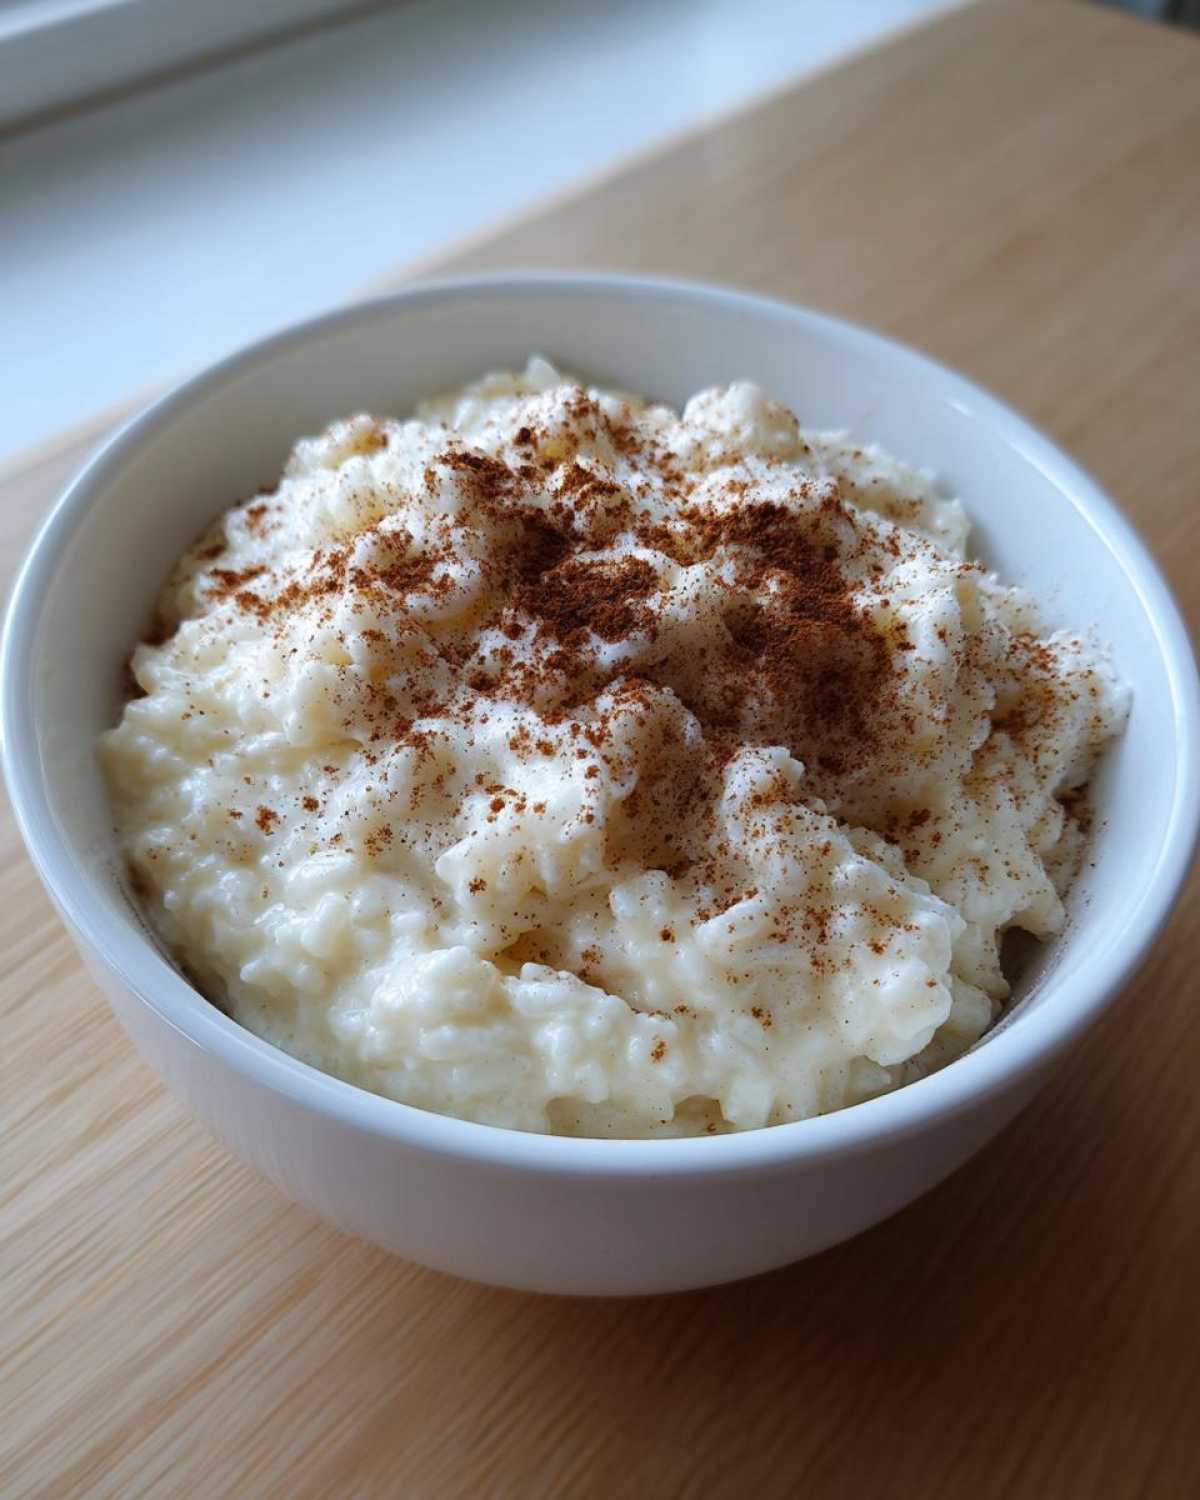
This is the best part—the moment your creamy creation transforms into the perfect Vanilla Cinnamon Dessert! Remember how I told you to take the pot totally off the heat before adding the vanilla? That’s because the alcohol in the extract can cook right out, and we want that full, cozy vanilla flavor throughout.
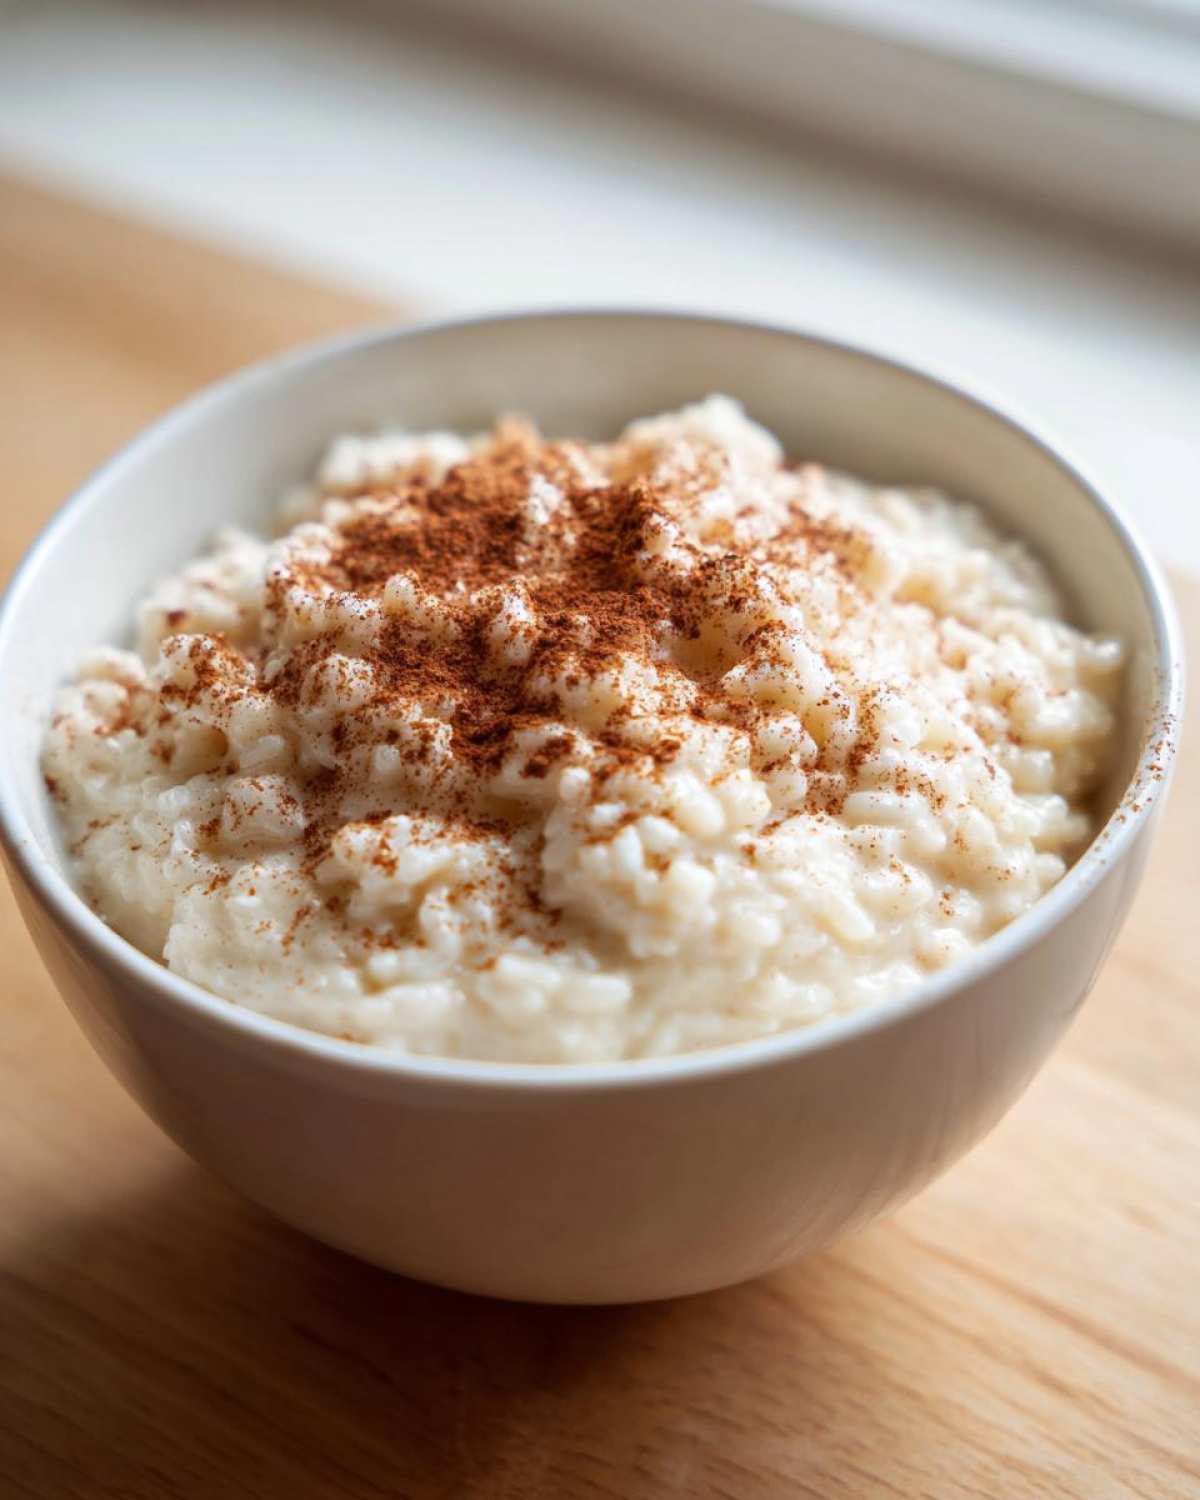
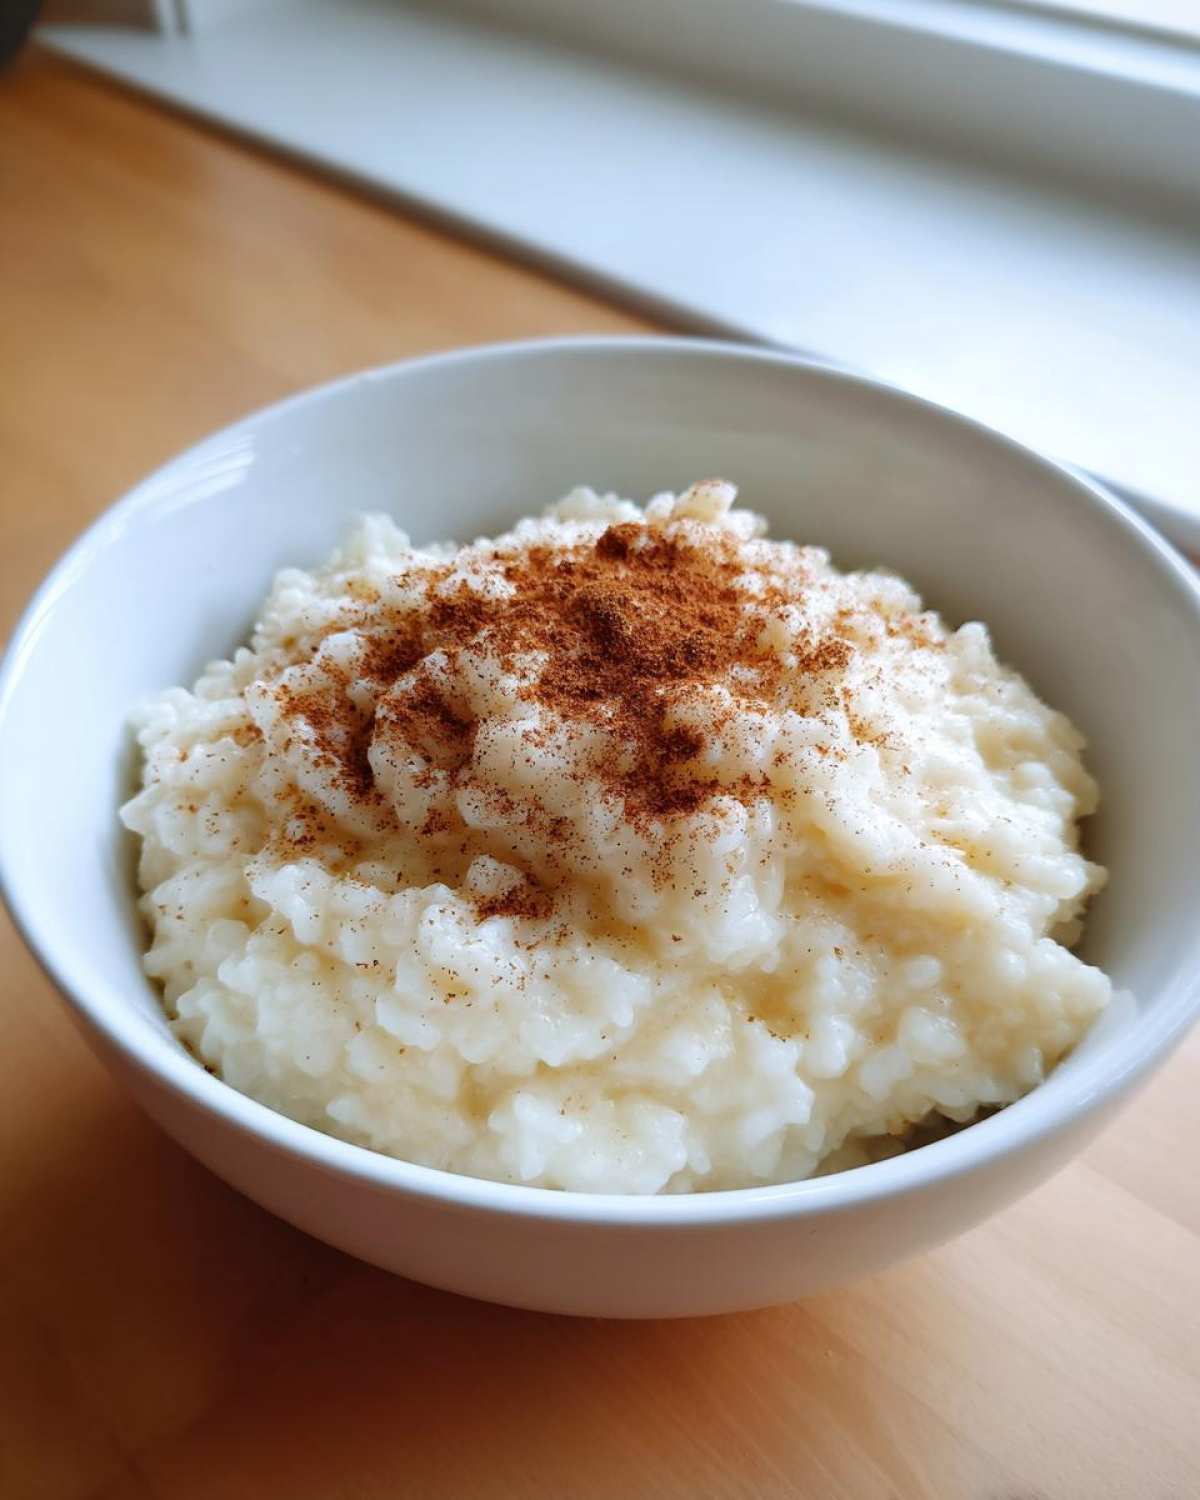
Now you get to choose! Are you team warm or team cold? If you serve it warm, it’s immediately soothing and a little looser in texture. If you chill it in the fridge for a few hours, it firms right up to that dense, spoonable consistency that is just heavenly. Either way, the very last step is a light dusting of ground cinnamon right over the top before you hand out the bowls.
If you want to see how I make an ultra-fluffy vanilla element for other treats, check out my classic vanilla buttercream—it’s totally different but uses a similar pure vanilla idea!
Storage and Reheating Tips for Leftover Rice Pudding Recipe
Okay, you made the perfect batch, but you couldn’t possibly eat it all in one sitting—even if you tried! The good news is that this rice pudding recipe is fantastic the next day, though it will definitely firm up quite a bit in the fridge. That’s normal! Pudding thickens overnight as it chills, turning almost sliceable sometimes.
When storing leftovers, I always use an airtight container. This is important because rice pudding loves to soak up whatever smells are lingering in the fridge, and we definitely don’t want it tasting like last night’s fish! My notes say you can safely keep it stored in the refrigerator for up to four days. If you plan on keeping it longer, maybe consider freezing smaller portions, though the texture might change slightly upon thawing.
Now for reheating; this is where many people go wrong! You absolutely cannot just blast it in the microwave in one lump, or you’ll end up with dry, crusty edges. The best way—the only way, in my opinion—is to take what you plan to eat and put it back into a small saucepan over very gentle heat.
Here’s the real trick for bringing it back to original glory: you need to stir in just a splash of milk—or even a tiny bit of cream if you have it. Just enough liquid to loosen it up until it returns to that soft, creamy consistency you loved right off the stove. It should be warm, luscious, and ready to enjoy immediately. See? Easy cleanup, easy leftovers!
Variations on the Classic Rice Pudding Recipe
Even though I think this stovetop version is unbeatable for instant gratification, I love playing around with flavor once I have the base technique down. Once you’ve mastered this rice pudding recipe, you totally should try mixing things up a bit! It’s fun to see how small additions can change the whole profile of this simple comfort dish.
If you’re leaning toward fall or winter flavors, sometimes I skip the extra vanilla and instead stir in a tiny pinch of nutmeg along with the cinnamon topping. Nutmeg and rice pudding are just soulmates! Or, for a brighter, morning-dessert feel, throw in some freshly grated lemon zest right at the end with the vanilla. The citrus cuts through the richness of the milk so beautifully.
Now, if you’ve ever thought about taking this for a spin in the oven, you can absolutely convert it to a Baked Rice Pudding, though the texture changes a little—it gets that lovely, slightly drier, almost custardy cap on top. It’s worth the effort sometimes! Right after you finish the 50-minute simmer on the stove, stir in an extra splash of milk or cream, pour the whole thing into an oven-safe casserole dish, and bake it at 350°F (175°C) until the top sets up nicely, usually about 20 minutes. It’s a different kind of delicious!
If you like dessert that involves eggs and a slightly firmer, baked texture, I have a wonderful recipe for a traditional egg custard pie that scratches that same deeply comforting itch around the holidays. You can find that here: My Old-Fashioned Egg Custard Pie.
Exploring International Sweet Rice Dishes
It’s wild how many cultures have their own treasured version of this simple dish! While we are making a very classic American-style creamy pot, you might recognize elements from other places. Take the Spanish and Latin American favorite, Arroz con Leche Recipe. It’s very similar at its core—rice cooked with milk and sugar—but those versions often use way more citrus peel, like orange or lemon, and sometimes get gently flavored with a stick of cinnamon during cooking, rather than just using it as a topping.
The foundational idea of using a simple grain and slowly sweetening it with milk is universal comfort food. Knowing how to make a great base rice pudding recipe lets you pivot to almost any international sweet rice dish just by adjusting the spices and sweetener!
Frequently Asked Questions About Making Rice Pudding
I know you might have a few little niggles popping up after reading all that technique talk! It’s totally normal when you’re striving for the Best Rice Pudding Texture. Don’t worry, I’ve gathered up the questions I get most often when people try my perfect stovetop approach for this Comfort Food Dessert.
Can I use milk other than whole milk in this rice pudding recipe?
Oh, I wish I could say yes, but whole milk is really what holds the magic together in this rice pudding recipe! Whole milk is packed with the fat needed to create a rich mouthfeel and help thicken everything up nicely as the rice releases its starches. If you absolutely must substitute, remember I mentioned swapping out half a cup for heavy cream? That will keep you in the creamy zone. If you try to use skim milk, though, it’s going to stay thin and watery, no matter how long you cook it. You just won’t get that lovely, dense result.
How do I prevent my stovetop pudding from developing a skin?
Ugh, the skin! That rubbery top layer that forms when hot dairy cools uncovered? Absolutely ruins the look of a beautiful batch of Homemade Rice Pudding. The absolute best trick I have found to stop it cold is this: right after you take the pot off the heat and stir in your vanilla, take a sheet of plastic wrap and gently press it directly onto the surface of the pudding. Don’t leave a gap; let the plastic touch the surface. This traps the heat gently and stops air from hardening the top layer as it cools down. Stirring it really slowly while it cools helps too, but the cling wrap trick is foolproof!
Is this rice pudding recipe suitable for vegetarians?
Yes, it totally is! Since we aren’t using any gelatin or animal fats, this truly is a lovely vegetarian option for a hearty dessert. It’s just rice, milk, sugar, salt, and vanilla. It’s purely dairy-based, making it a fantastic addition to any vegetarian meal plan. It’s just pure, simple, delicious Comfort Food Dessert made from scratch.
If you have any other burning questions about the process or want to share how yours turned out, pop over to my main blog page; I read every comment!
Nutritional Snapshot of This Classic Dessert Recipe
I always love including a little peek at the numbers for those of you tracking things, even though for me, this is strictly a soul-food item! Keep in mind that this breakdown is just an estimate based on the whole milk version of this Classic Dessert Recipe. The brands of milk you use, whether you add those optional raisins, or if you decide to swap milk for cream will definitely shift these values around a bit!
This information is purely for reference, so please don’t let it stop you from enjoying this amazing treat. Sometimes you just need a big, warming bowl of comfort, and that’s okay!
- Serving Size: 1 cup
- Calories: 310
- Sugar: 25g
- Sodium: 150mg
- Fat: 7g
- Saturated Fat: 4g
- Unsaturated Fat: 3g
- Trans Fat: 0g
- Carbohydrates: 55g
- Fiber: 1g
- Protein: 10g
- Cholesterol: 25mg
If you manage to make this incredible batch, I really want to know what you think! Did you eat it warm or cold? Did you sneak in those raisins? Let me know in the comments below!
Share Your Family Favorite Dessert Experience
Now that you have the keys to making the creamiest, dreamiest rice pudding recipe ever, I just have to know how it turned out for you! I pour so much love and so many years of testing into this basic stovetop method, and it warms my heart to imagine you enjoying it in your own home.
Did you try serving it warm with just a sprinkle of that cinnamon, or did you chill it overnight and enjoy that beautiful, firm texture? Seriously, I want all the details! Please take a minute to drop a comment below. Let me know how many stars you’re giving it and what little family traditions you might have added to my recipe.
If you took a picture of your bowl—that perfect creamy sheen under the vanilla and cinnamon dusting—please feel free to share it on social media and tag me! I absolutely adore seeing your results. And hey, if you ever need to reach out directly with a question that didn’t get answered above, I’m always hanging out on my contact page ready to chat about pudding!
PrintClassic Creamy Stovetop Rice Pudding
Make a rich and creamy old-fashioned rice pudding on the stovetop using simple ingredients. This recipe focuses on technique for the best texture.
- Prep Time: 5 min
- Cook Time: 50 min
- Total Time: 55 min
- Yield: 4 servings
- Category: Dessert
- Method: Stovetop
- Cuisine: American
- Diet: Vegetarian
Ingredients
- 1/2 cup short-grain white rice
- 4 cups whole milk
- 1/2 cup granulated sugar
- 1/4 teaspoon salt
- 1 teaspoon vanilla extract
- 1/4 teaspoon ground cinnamon (for topping)
Instructions
- Rinse the rice under cold water until the water runs clear. Drain well.
- Combine the rinsed rice, whole milk, sugar, and salt in a heavy-bottomed saucepan.
- Place the saucepan over medium heat. Stir frequently until the mixture begins to simmer gently. Do not allow it to boil rapidly.
- Reduce the heat to low. Continue to cook, stirring every few minutes to prevent the rice from sticking to the bottom and scorching.
- Cook for 40 to 50 minutes, or until the rice is tender and the pudding has thickened to your desired consistency. The pudding will thicken more as it cools.
- Remove the saucepan from the heat. Stir in the vanilla extract.
- Serve warm, or chill completely for a firmer texture. Sprinkle with cinnamon before serving.
Notes
- For a richer pudding, substitute 1/2 cup of the whole milk with heavy cream.
- If you prefer raisins, add 1/2 cup of golden raisins during the last 15 minutes of cooking.
- Store leftovers in an airtight container in the refrigerator for up to 4 days. Reheat gently on the stovetop with a splash of milk if it becomes too thick.
Nutrition
- Serving Size: 1 cup
- Calories: 310
- Sugar: 25
- Sodium: 150
- Fat: 7
- Saturated Fat: 4
- Unsaturated Fat: 3
- Trans Fat: 0
- Carbohydrates: 55
- Fiber: 1
- Protein: 10
- Cholesterol: 25
