

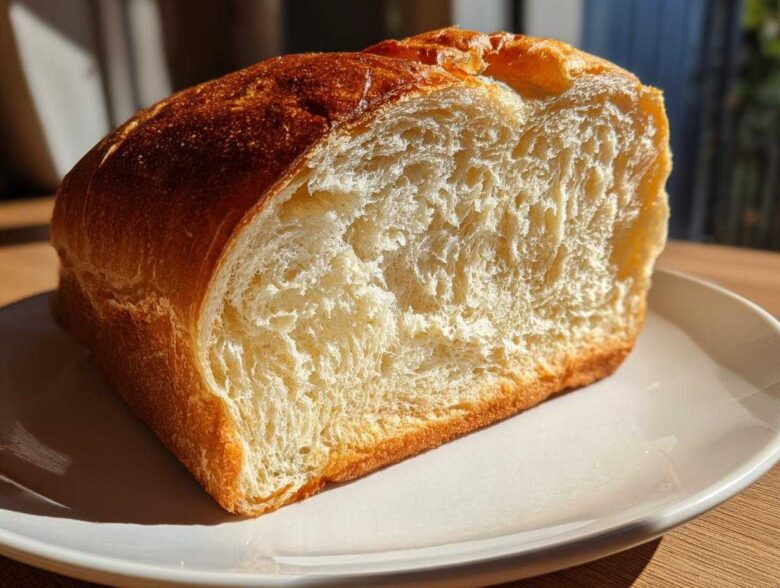
Oh, I know the struggle! For years, every time I tried to bake a true sourdough sandwich bread, I ended up with something dense enough to use as a doorstop. We want that perfect soft, fluffy loaf for our lunch boxes and morning toast, right? Not that rustic, chewy artisan monster that rips holes in soft deli meat! I spent so much time trying to get a tender crumb that wasn’t heavy until I finally cracked the code on this particular method. Trust me, this recipe is your ticket to a sliceable, beginner-friendly loaf that actually tastes like homemade sandwich bread but with that lovely sourdough tang.
Why This is the Best Sourdough Sandwich Bread Recipe for You
If you’ve been intimidated by sourdough, thinking it always requires heavy kneading or overnight planning, stop right there! This recipe strips away the fuss because we’re aiming for something truly special: a delightfully soft sourdough bread recipe that rivals the bakery.
What makes this loaf different? It’s all about the result you get:
- You achieve a gorgeous, tender crumb sourdough that’s perfect for piling high with fillings.
- It’s designed specifically to be sliceable—no more wrestling a dense boule!
- This truly is a beginner sourdough recipe. If you can mix and fold, you can nail this.
//I hope you check out some other great tips we have over on the blog, too! Click here for more baking adventures.
Achieving a Fluffy Sourdough Loaf Texture
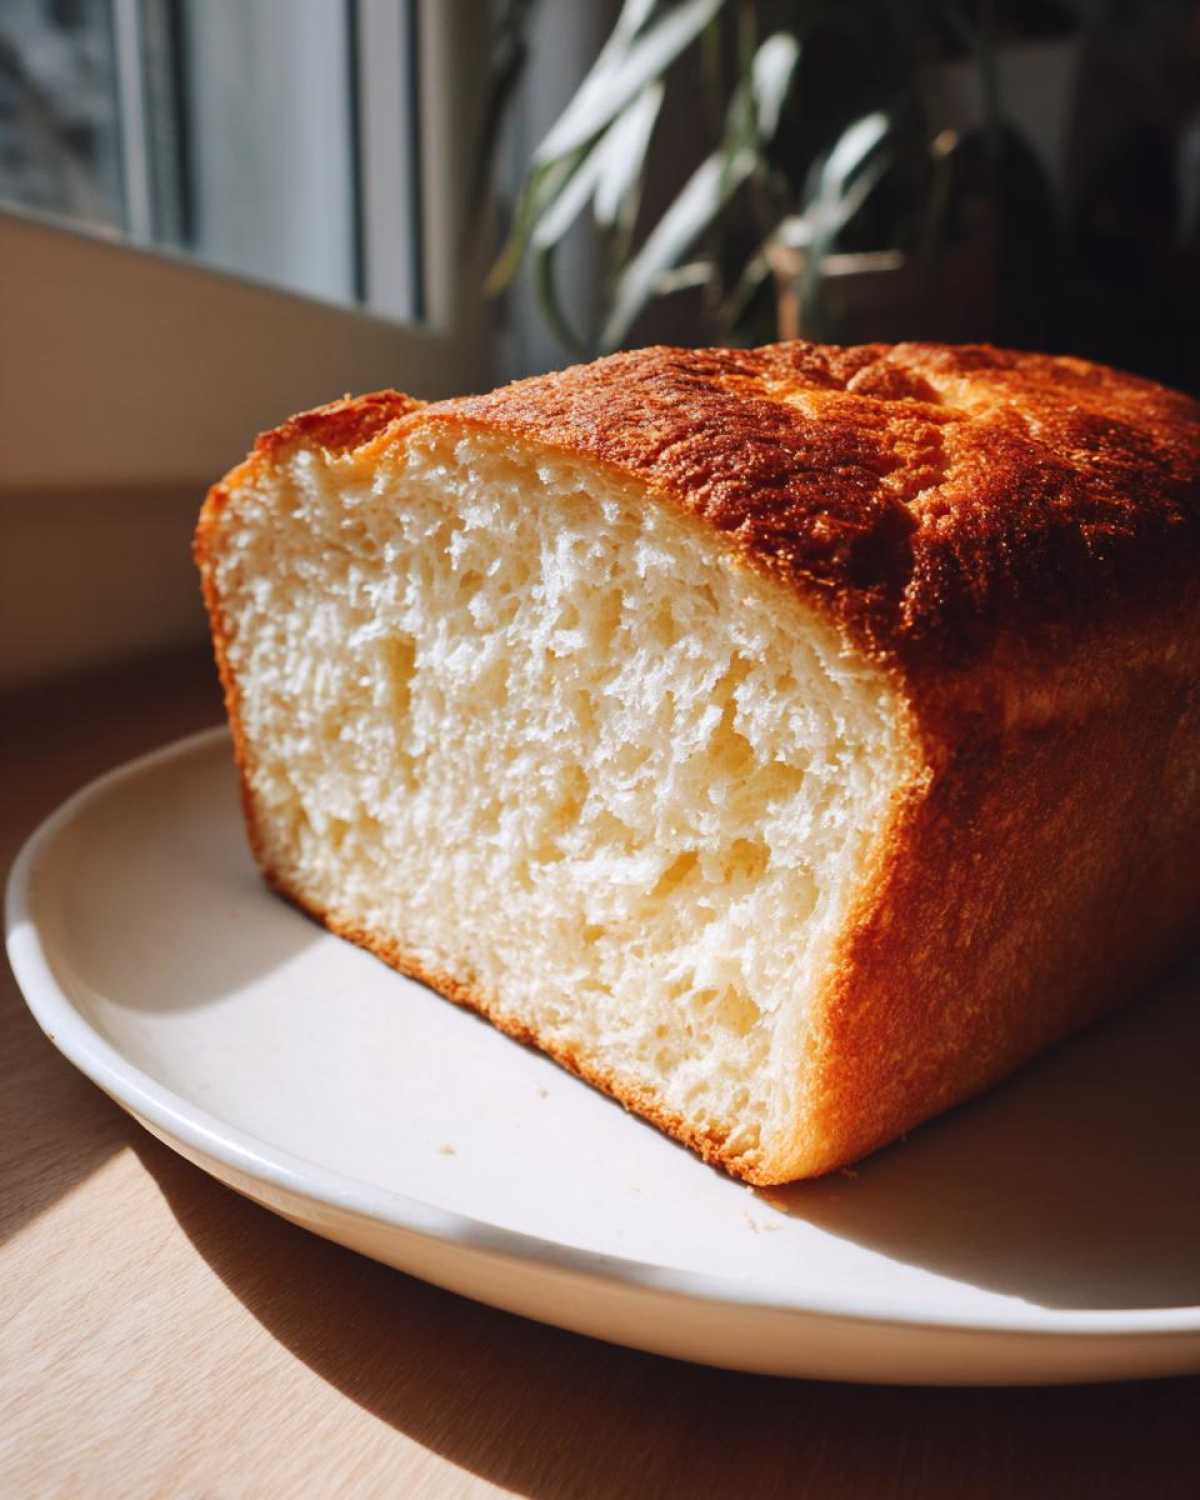
The secret to that fluffy sourdough loaf isn’t just in the ingredients; it’s in the environment! Baking this dough right in a standard loaf pan traps steam and heat perfectly, forcing the dough upwards rather than spreading out. That confinement gives us the classic, tall sandwich shape we all love.
The Easy Sourdough Sandwich Bread Process
We skip the hard work because we’re using easy stretch-and-folds instead of traditional kneading. Plus, because we’re getting the starter nice and bubbly beforehand, we can often have this baked the very same day! That’s right—great quality same day sourdough bread without sacrificing texture.
Essential Ingredients for Perfect Sourdough Sandwich Bread
Okay, listen up, because for this soft recipe, precision is everything. We’re not measuring by eye here; grab your digital scale! If you want that consistent, beautiful rise for your sourdough sandwich bread, every gram counts. We only need four things, which is amazing, but they all have to be just right. For instance, I always tell people to check out this recipe for mayonnaise when they ask what to serve on their perfect sandwich later on! You might need some good mayo.
Here’s the short list:
- 100g active sourdough starter (this is non-negotiable—it needs to be bubbly!)
- 350g warm water
- 500g bread flour
- 10g fine sea salt
Ingredient Notes and Substitutions
That starter has to be active—I mean, doubling in size within four hours after feeding active. If it’s sluggish, your loaf won’t get the lift it needs for that tender crumb sourdough vibe. We absolutely need that bread flour here, too. All-purpose flour has lower protein, which gives you a softer crumb, yes, but it won’t hold up to the shaping process and can lead to a flatter, less structured loaf. Stick to bread flour for the best sourdough sandwich bread results every time!
Step-by-Step Instructions for Sliceable Artisan Bread
Now for the fun part! Getting this dough mixed and developed correctly is what separates a good sourdough sandwich bread from a brick. Don’t worry; this process is gentle, focusing on building structure without ever having to slam the dough around. It’s all about respecting the gluten development for that perfect rise and that wonderful sliceable artisan bread texture we’re aiming for.
Mixing and Autolyse for Your Sourdough Sandwich Loaf
First thing: dissolve that active starter into your warm water until it looks cloudy. Then, toss in the flour and salt. Mix it with your hands just until you can’t see any dry flour streaks anymore. Seriously, stop there! This messy, rough ball is what we call a “shaggy dough.” Cover it up and let it sit for 30 minutes. This rest time, called autolyse, lets the flour soak up the water before we even wake up the gluten structure. It’s magic for the sourdough starter sandwich loaf!
Developing Strength with Stretch and Folds
We need to build structure for that light crumb, and we do it with four sets of gentle stretch and folds, spaced 30 minutes apart. For one set, just reach under one side of the dough, gently stretch it upwards until you feel resistance, and fold it over the center. Turn the bowl a quarter turn and repeat this three more times until you’ve done all four sides. After the last set, let the dough chill out for a whole hour.
Final Shaping and Room Temperature Proofing
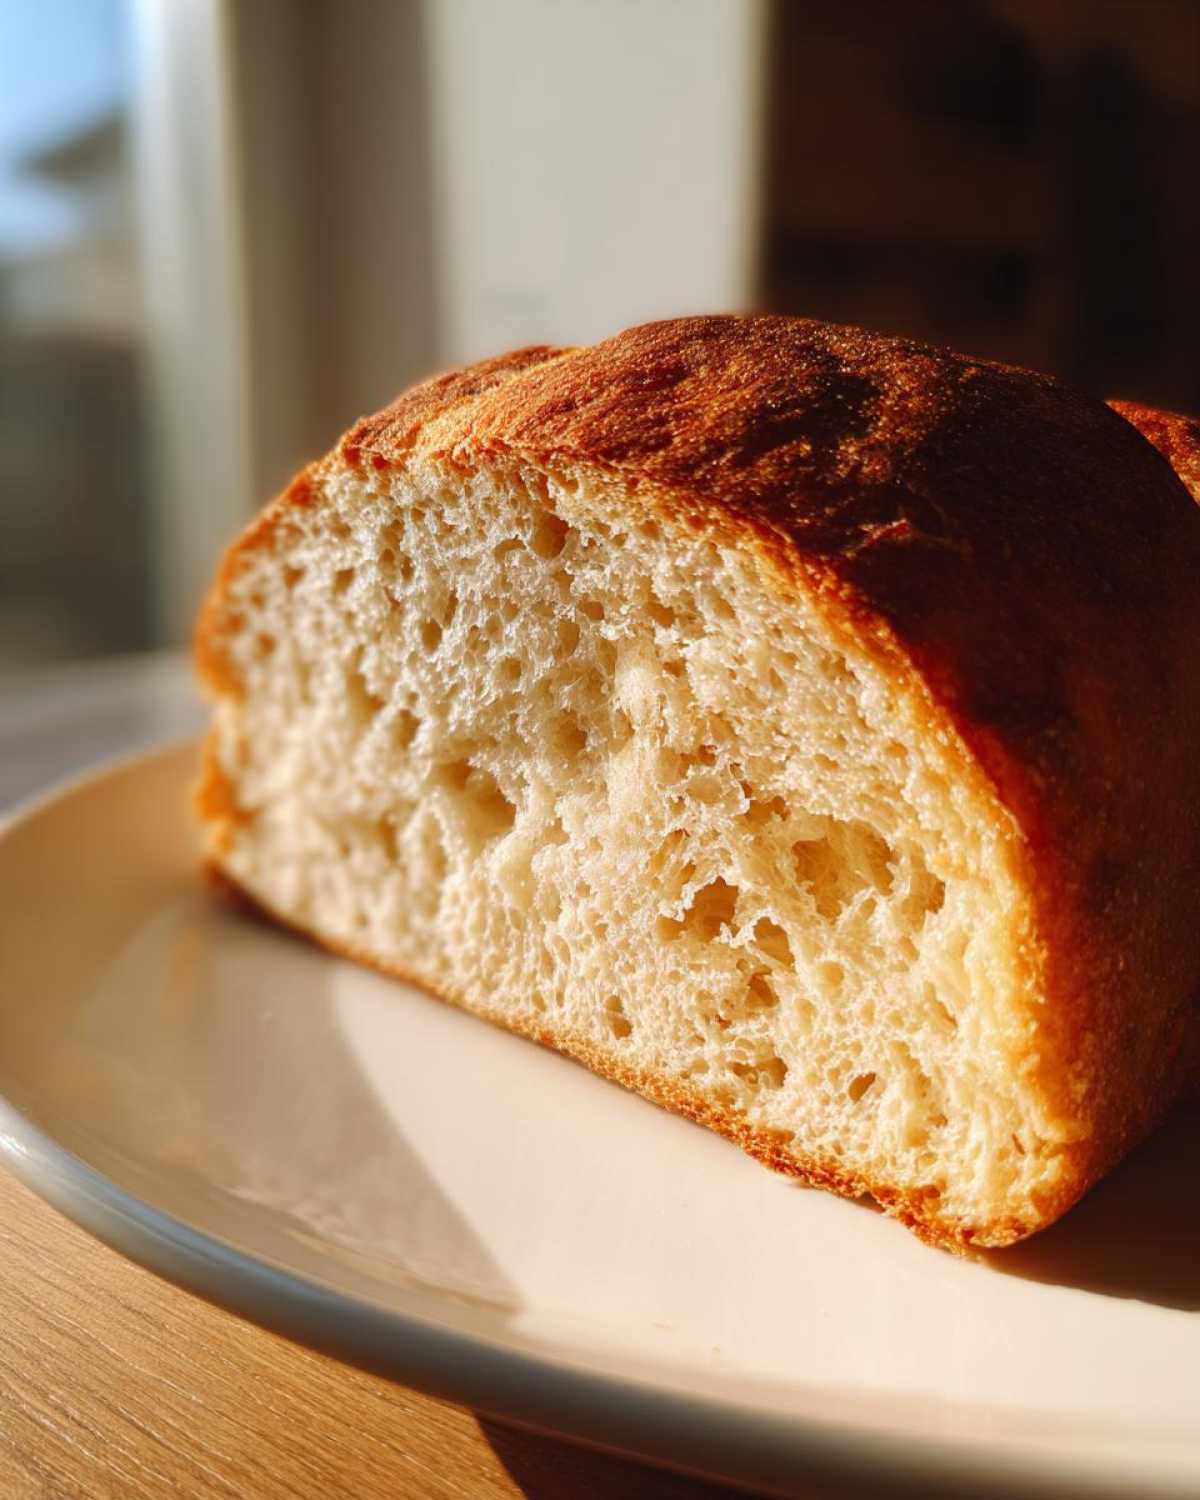
Once that hour is up, it’s time to shape it into a beautiful, tight log. You want to create surface tension so it holds its shape in the pan. Brush a 9×5 loaf pan really well with oil, pop your loaf in seam-side down, and cover it. Now we wait. You’re looking for it to increase in volume by about 50% to 75%. If your kitchen is cool, this might take 5 hours; if it’s warm, maybe only 3! Don’t guess—watch the dough to ensure you don’t over-proof it, which leads to density.
Baking the Soft Sourdough Bread Recipe
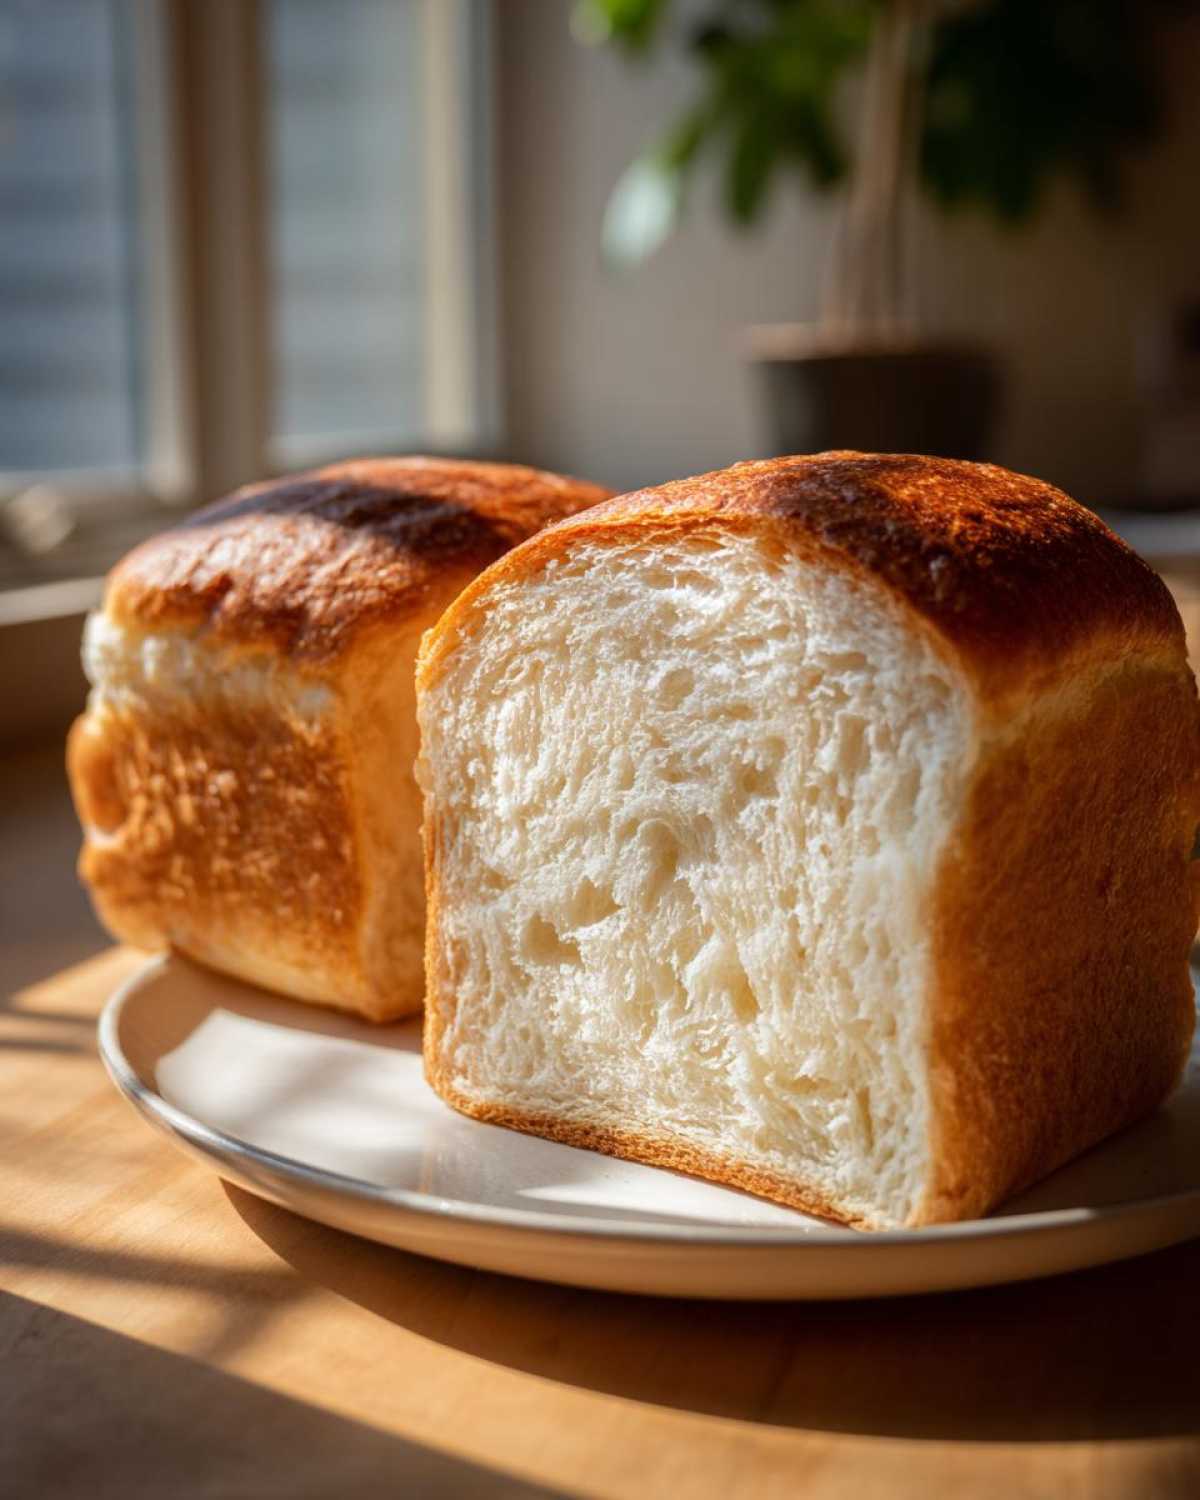
Preheat your oven to a scorching 450°F (232°C) with your loaf pan sitting on the lower rack. Once it’s hot, carefully place the dough in the oven and *immediately* turn the temperature down to 375°F (190°C). Let it bake for 35 to 40 minutes. I check the temp—you want that internal temperature to hit 205°F (96°C). That scientific confirmation tells you this soft sourdough bread recipe is done and perfectly baked!
P.S. If you’re planning on using this loaf for amazing sandwiches, you might want to look up how to make homemade mayo, too!
Tips for Success Making Homemade Sandwich Bread Sourdough
Even with a straightforward recipe like this, a few hiccups can happen! Remember, making fantastic homemade sandwich bread sourdough involves a little intuition, especially with that delicate final proofing stage. I find that the more you pay attention to the dough, the less you worry about exact timings. It’s about learning its language.
If you find your loaf isn’t rising enough during the room temperature proof, chances are your kitchen is a bit too cold, or your starter wasn’t quite at its peak activity. Don’t panic! Just give it an extra hour, covered, somewhere slightly warmer (like near a pilot light, if you have one safely!).
Troubleshooting Common Sourdough Sandwich Bread Issues
The biggest nightmare for a pan loaf? Sticking! This is why I stress oiling that pan well! Always remove the bread from the pan and cool it on a rack immediately. If it sticks, let it cool in the pan for exactly 10 minutes, then give it a firm, sharp tap on the counter. If you’re looking for more general confidence builders, we always keep adding fresh advice to the main blog page!
For that extra tang, don’t forget the fridge trick! If you let the shaped dough rest in the refrigerator overnight, that flavor deepens beautifully. Just remember to let it warm up for about an hour before baking, or add 10 minutes to your bake time. You can see more general baking tips we’ve gathered over at the site for any tricky moments!
Storage and Reheating for Everyday Sourdough Recipe
This everyday sourdough recipe is so good you’ll want to make sure it lasts through the week, but we have to be careful! The number one rule for keeping that beautiful tender crumb sourdough soft is this: Do not slice it while it’s warm. I know, I know, the smell is intoxicating, and slicing into warm bread feels like a right of passage, but resist! When you cut it warm, the steam rushes out, and you actually damage the structure, making it gummy and speeding up staling.
Wait until it is completely cool on the wire rack—at least two hours, honestly. Once it’s totally cool, you can slice it for all your sandwich needs.
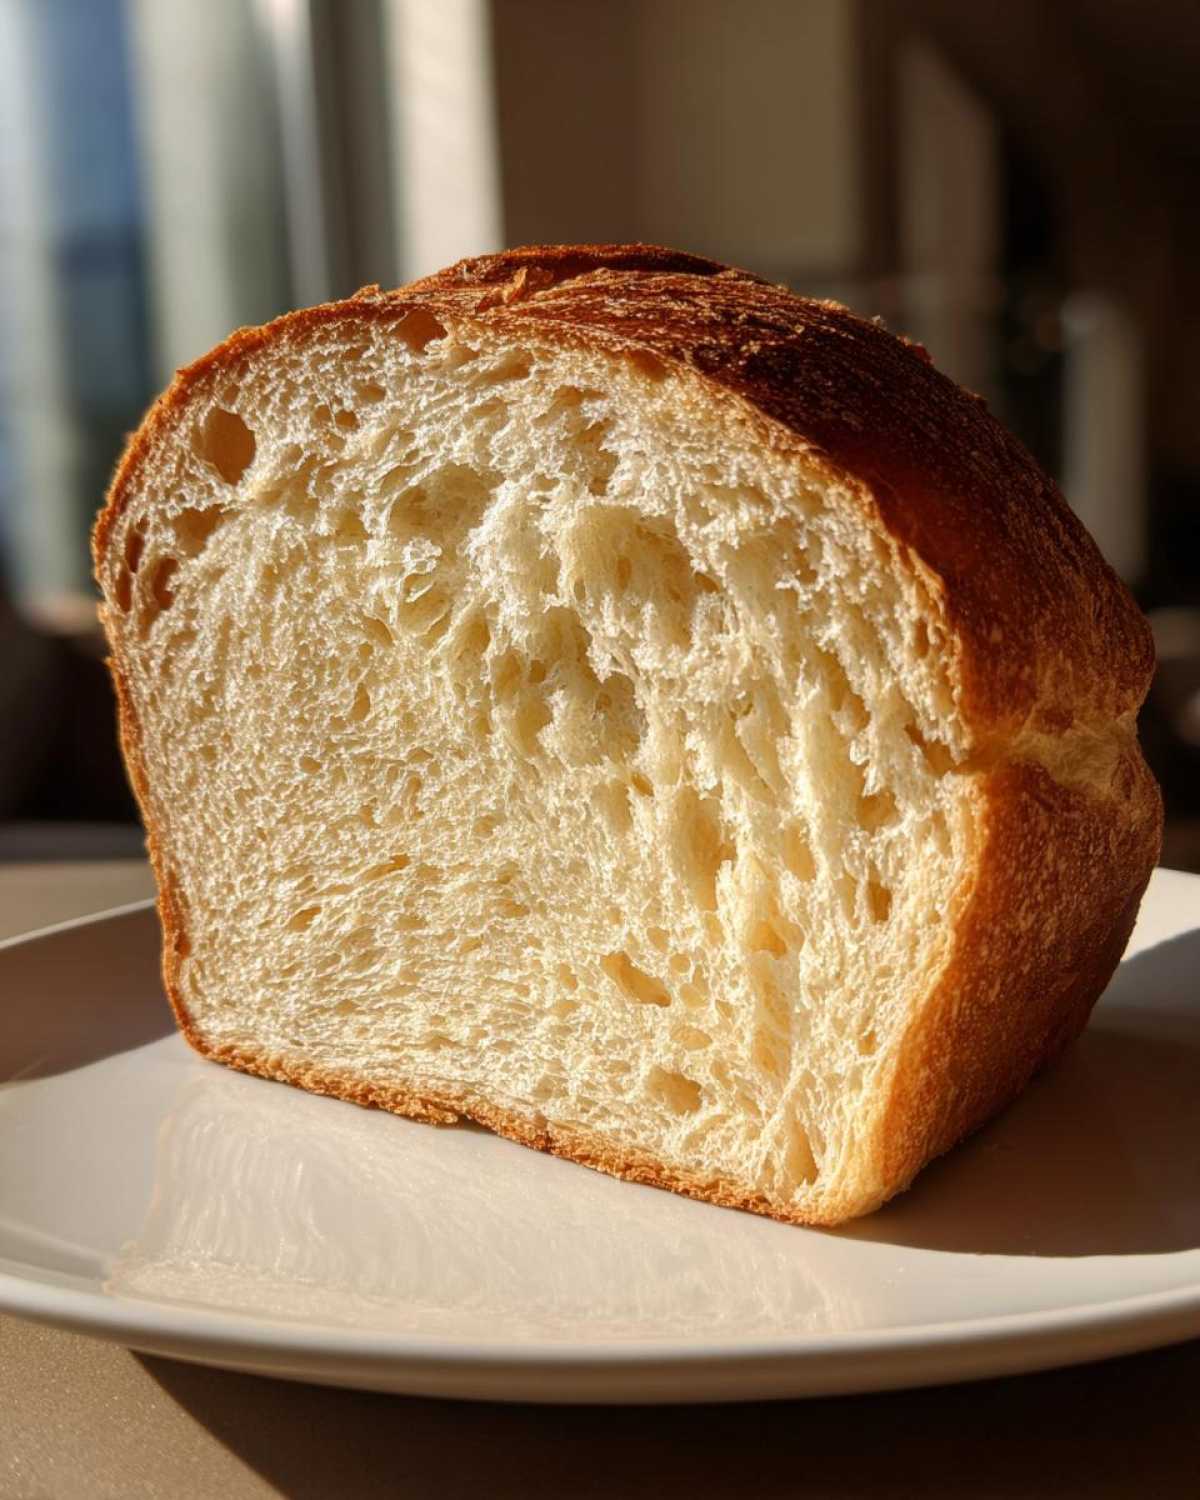
To store it, keep it cut-side down on a clean cutting board at room temperature for a day or two. If you need it to last longer, wrap the whole loaf tightly in plastic wrap, or even better, use a reusable bread bag. This traps enough moisture to keep it soft. If it does go a little stale, don’t toss it! This bread makes the best French toast because it soaks up liquid beautifully.
Serving Suggestions for Your Sourdough Sandwich Bread
Now that you have this phenomenal, soft loaf, what are you going to do with it? Honestly, the most basic uses are often the best way to show off that delicate crumb. It toasts up like a dream—perfectly crisp on the outside for your morning coffee. You absolutely have to try these slices for something decadent, like French toast, because the texture soaks up the custard beautifully without falling apart! I swear, making stuffed French toast is required eating with this bread.
Don’t save it all for fancy occasions, though. This is quality sourdough for toast and peanut butter and jelly! Make it an everyday loaf; that’s what it’s for!
Frequently Asked Questions About Sourdough Sandwich Bread
Can I make this sourdough sandwich bread recipe without a loaf pan?
That’s a great question! While this recipe is calibrated for the pan—which is what helps us get that super tall, square-ish shape necessary for neat sandwiches—you absolutely can bake it free-form. If you skip the pan, you’ll need to be much more careful with your shaping to ensure you get a tight ‘log’ structure to hold the rise. Be warned, though: without the pan walls supporting it during the initial oven spring, your sourdough sandwich bread might spread out a bit more and won’t be as perfectly uniform. It’ll still taste amazing, though!
How do I ensure my sourdough sandwich bread is truly fluffy?
Fluffiness comes down to two main things we talked about! First, proper development during those four sets of stretch and folds. We are building strength without tearing the gluten network, which traps gases beautifully. Second, and this is crucial for a fluffy sourdough loaf, don’t over-proof it during that final room-temperature rest! If the dough gets too puffy (over 75% increase), those gas bubbles get too big, weak, and they collapse in the oven. That collapse is what turns your fluffy dream into a dense, sad disc.
Can this recipe be made using the no knead method?
Yes, you are already using the gentlest form of a no knead sourdough bread technique! Traditional heavy kneading can develop the gluten too fast or too aggressively for this soft style of loaf. By using the four sets of stretch and folds over a couple of hours, we are effectively ‘no-kneading’ the dough into shape. It’s much gentler and perfect for producing that soft crumb you expect from a great everyday sourdough recipe! It helps us achieve that light structure without the fuss of a traditional heavy knead.
Estimated Nutritional Data for Sourdough Sandwich Bread
I know many of you are curious about the nutritional breakdown, even when baking something comforting like this sourdough sandwich bread! Since we are dealing with simple, whole ingredients—flour, water, salt, and starter—it’s a beautifully clean recipe. We are skipping all those extra fats and sugars you find in commercial loaves, which is a big win for an everyday sourdough recipe.
Here’s what the general estimates look like for one slice, based on the 500g flour recipe:
- Serving Size: 1 slice
- Calories: 250
- Fat: 1g
- Sugar: 1g
- Carbohydrates: 52g
- Protein: 9g
I have to give you the standard kitchen disclaimer, though! These numbers are estimates based on the types of bread flour and salt I use. If your starter is super active or you use a slightly different brand of flour, the final counts might vary just a tiny bit. Think of this as a very close ballpark for your tracking, not gospel! But the main takeaway is that this is a simple, whole-food loaf perfect for making homemade sandwich bread sourdough daily.
Share Your Soft Sourdough Sandwich Bread Results
Well, we made it! You’ve got a beautiful, tender, totally sliceable loaf of sourdough sandwich bread sitting on your counter, cooling away—don’t forget that cooling rule!
I am so thrilled that you took the plunge and baked this recipe. Honestly, seeing your successful loaves is the best part of my day! If you ended up with that light, airy crumb we worked so hard for, please let me know how it went!
Did you try the same-day proof or the cold ferment? Drop a rating down below, and if you have a moment, share a picture of your gorgeous creation on social media and tag me! I love seeing your success stories. If you have any final burning questions that I didn’t cover in the FAQ, swing over to my contact page, and let’s chat about your new favorite homemade sandwich bread sourdough!
I’m always looking to hear from you, so don’t be shy! Reach out anytime!
PrintSoft and Fluffy Sourdough Sandwich Bread

A beginner-friendly recipe for making a soft, sliceable sourdough loaf perfect for daily sandwiches and toasting.
- Prep Time: 30 min
- Cook Time: 40 min
- Total Time: 5 hours 40 min
- Yield: 1 loaf
- Category: Baking
- Method: Baking
- Cuisine: American
- Diet: Vegetarian
Ingredients
- 100g active sourdough starter (100% hydration)
- 350g warm water
- 500g bread flour
- 10g fine sea salt
Instructions
- Mix the active starter and warm water in a large bowl until combined.
- Add the flour and salt to the wet ingredients. Mix by hand until no dry flour remains. This will be a shaggy dough.
- Cover the bowl and let it rest for 30 minutes (autolyse).
- Perform four sets of stretch and folds, spaced 30 minutes apart. Gently stretch one side of the dough up and fold it over the center. Rotate the bowl and repeat three more times for one set.
- After the final set of folds, let the dough rest for 1 hour.
- Shape the dough into a tight log or oval and place it seam-side up in a lightly oiled 9×5 inch loaf pan.
- Cover the pan and let it proof at room temperature until it has increased in volume by about 50-75% (this may take 3 to 5 hours depending on your kitchen temperature).
- Preheat your oven to 450°F (232°C) with the rack in the lower third position.
- Place the loaf pan in the preheated oven. Immediately reduce the oven temperature to 375°F (190°C).
- Bake for 35 to 40 minutes, or until the crust is golden brown and the internal temperature reaches 205°F (96°C).
- Remove the bread from the pan immediately and cool completely on a wire rack before slicing.
Notes
- For a tangier flavor, allow the shaped dough to cold proof in the refrigerator overnight before baking.
- Use a digital scale for accurate measurements; this recipe relies on precise ratios.
- If your starter is very active, reduce the final room temperature proofing time.
Nutrition
- Serving Size: 1 slice
- Calories: 250
- Sugar: 1
- Sodium: 350
- Fat: 1
- Saturated Fat: 0
- Unsaturated Fat: 1
- Trans Fat: 0
- Carbohydrates: 52
- Fiber: 2
- Protein: 9
- Cholesterol: 0
