

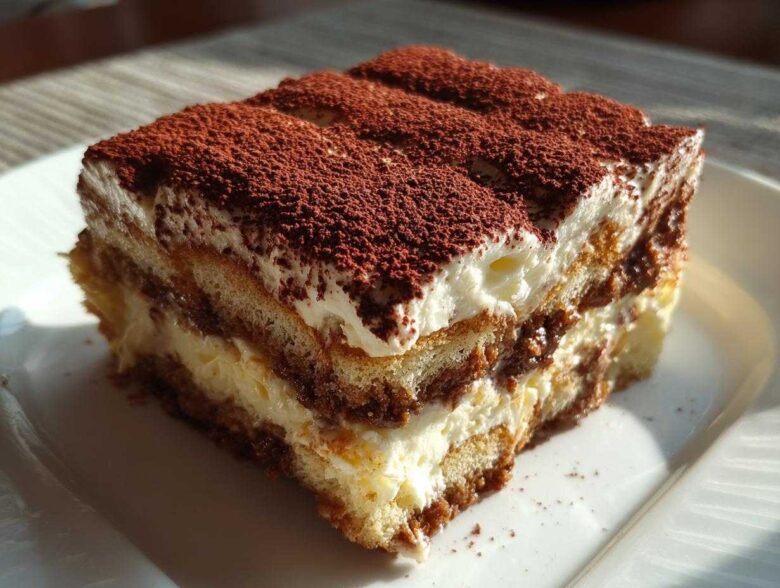
Oh, friend, if you’ve never tasted real, melt-in-your-mouth Italian dessert magic, you are in for the most wonderful surprise! Italian sweets have this way of being both elegantly sophisticated and deeply comforting all at once. And nothing tops the queen of them all: Tiramisu. I remember the first time I nailed the layers—it felt like I cracked an ancient secret code! This isn’t just throwing things in a dish; this guide is my commitment to showing you the authentic, classic way. We respect the process here, from the deep espresso soak to achieving that cloud-like mascarpone filling. Get ready to make something truly spectacular!
Why This Tiramisu Recipe Stands Out
Listen, there are a million ways to make this dessert, but if you want that real Italian feeling, you need to stick to the foundation. This incredible Tiramisu is totally no-bake, which sounds suspiciously easy, but the flavor depth is huge. It always impresses everyone at parties because the cream is just… dreamy.
- The filling is wildly rich thanks to real, cold mascarpone cheese.
- The espresso soak hits you perfectly—bold but balanced.
- Assembly is fast, though the chilling time is mandatory!
Key Attributes of Our Tiramisu
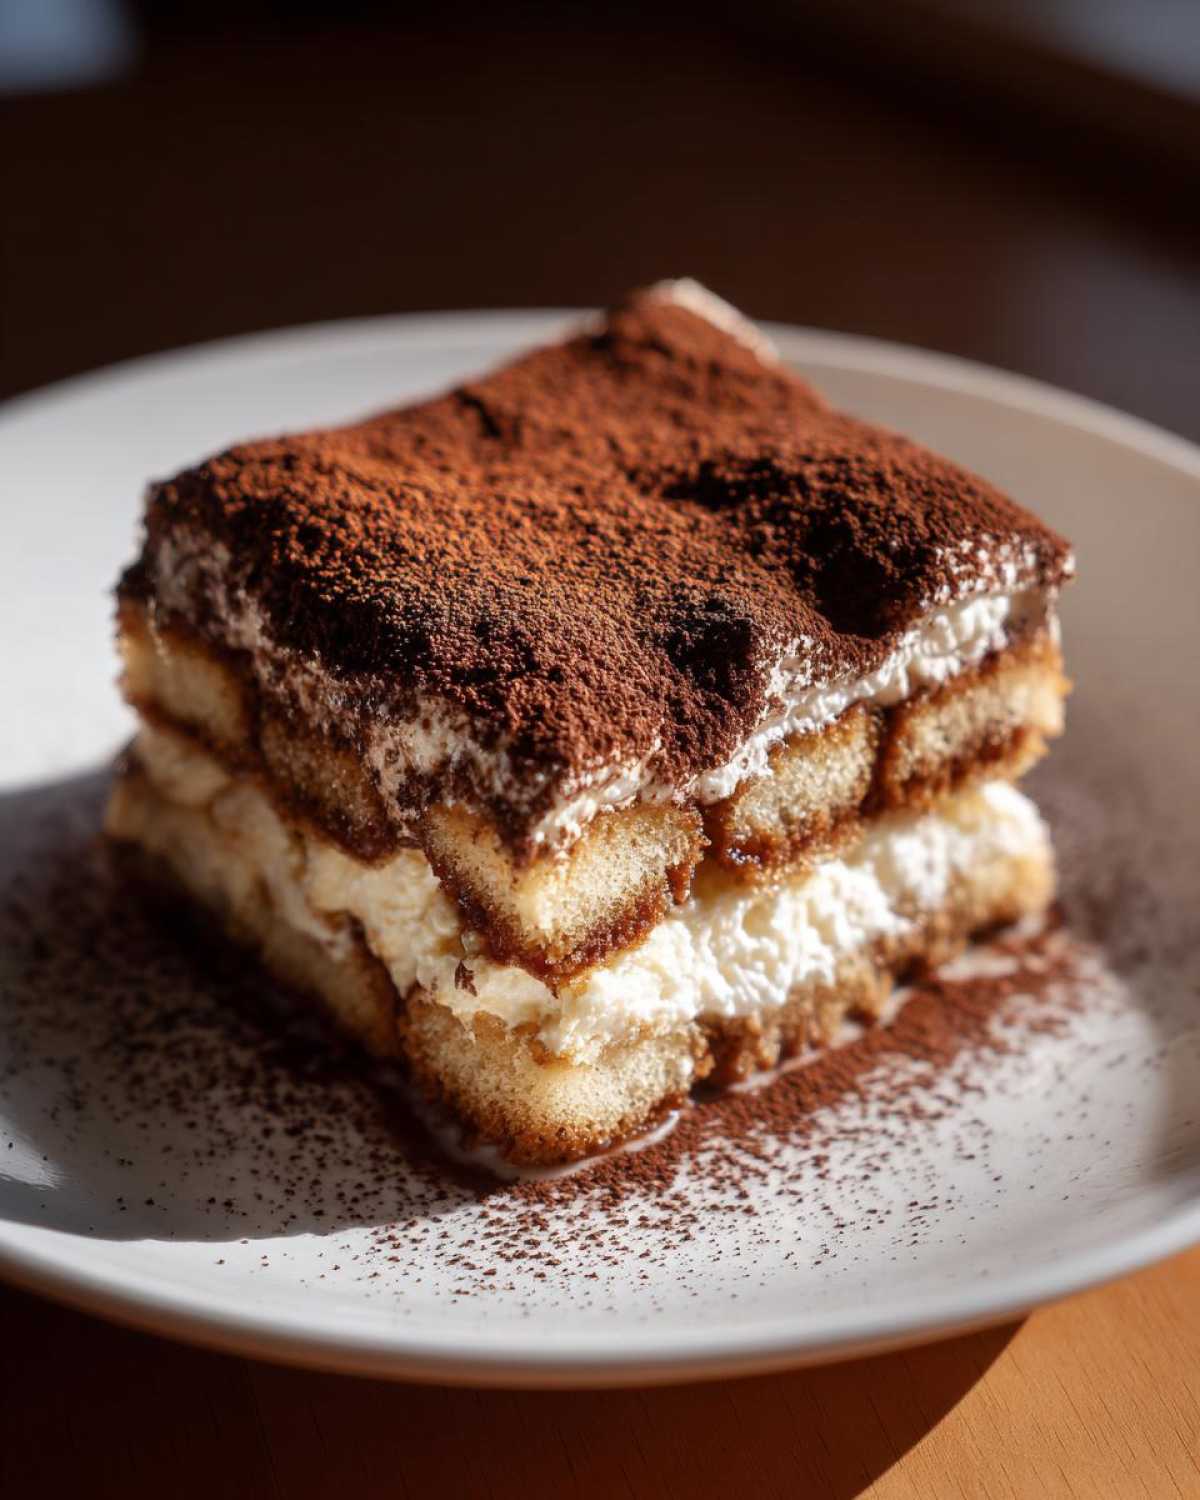
The final texture is everything! You get that soft, nearly pudding-like texture from the soaked Savoiardi biscuits contrasting beautifully against the airy, sweet cream. It’s the perfect balance of bitterness from the dark cocoa dust and profound sweetness in every single layer.
Essential Ingredients for Authentic Tiramisu
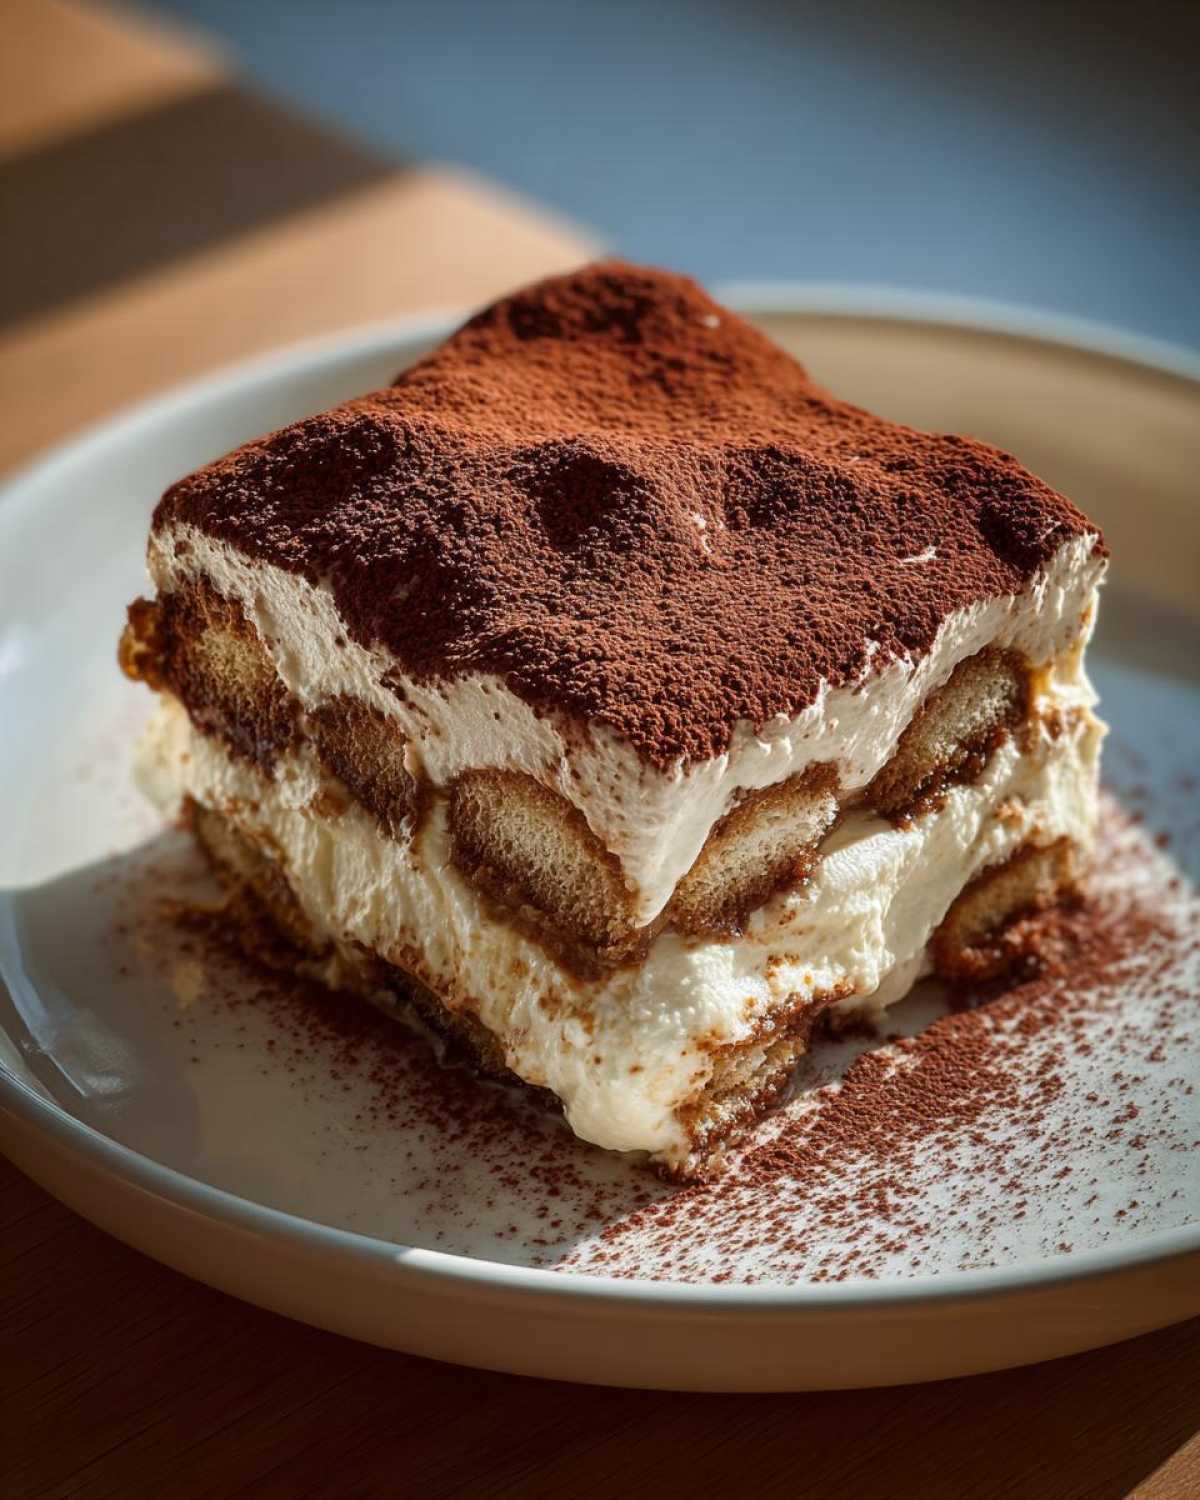
When you’re aiming for true Italian flavor in your Tiramisu, ingredient quality is non-negotiable. Forget substitutes! We need the real deal here. Keeping everything chilled until the absolute last minute is my main tactic for ensuring that cream comes out perfectly light and hold its shape when assembling.
You’ll need six large egg yolks, three-quarters of a cup of granulated sugar, a cup and a half of heavy cream (must be cold!), a full pound of cold mascarpone cheese, two cups of strong espresso that has been cooled down, about forty Savoiardi ladyfingers, and some Marsala wine or dark rum if you want that classic kick.
Mascarpone Dessert with Coffee: Ingredient Specifics
The star here is the mascarpone; it has to be the good stuff, rich and fresh, and still cold when you start whipping. Don’t even think about using lukewarm ingredients! Along with that, the espresso must be strong—think dark roast, intensely brewed, and fully cooled before you dip anything. This balance is everything for a phenomenal mascarpone dessert with coffee flavor profile.
Assembling Your Italian No-Bake Layered Dessert: Tiramisu
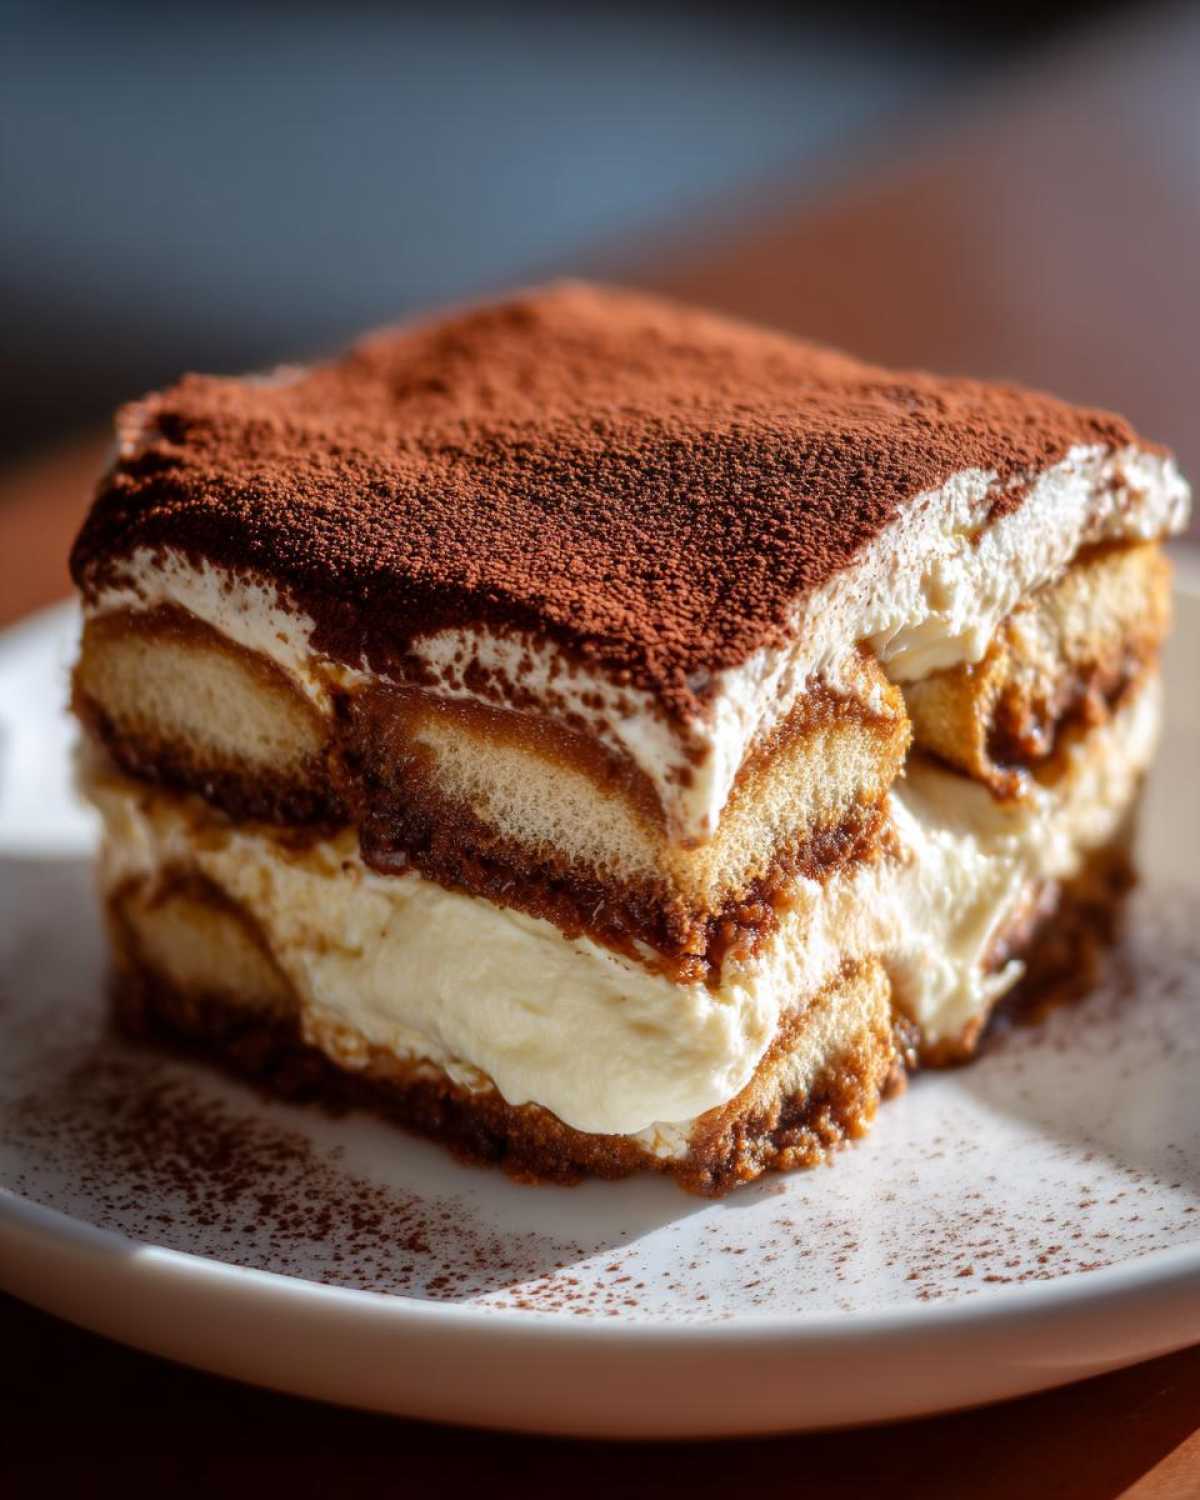
Okay, now for the fun part—putting this amazing Tiramisu together! It sounds complicated, but trust me, if you’ve got your components ready (the cooled coffee mixture and the fluffy cream), this comes together quicker than you think. We have to be gentle when mixing these rich components so we don’t deflate the air we worked so hard to create.
How to Make Tiramisu with Eggs: Creating the Cream Base
This is where the magic of heating the yolks happens! You’re basically making a quick, safe sabayon. Put your yolks and sugar over barely simmering water—the bowl can’t touch the water, okay? Whisk, whisk, whisk until it’s pale yellow and thick enough to coat a spoon, hitting about 160 degrees. Once it’s cool, gently fold that beautiful mixture into your smooth mascarpone. Then, you have to carefully fold in that glorious whipped cream. This specific process is exactly how to make tiramisu with eggs the classic way, maintaining that incredible lightness!
Espresso Ladyfinger Mascarpone Layering Technique
This technique determines the final texture! Get your dish ready. Your espresso bath needs that dash of Marsala or rum. Now, grab a ladyfinger, dip it *quickly*—I mean blink-and-you-miss-it fast—into the coffee, flip it, and pull it out. They should absorb flavor but absolutely not get soggy. Layer half your dipped biscuits, spread half the cream, then repeat. Finish with the remaining cream on top. It’s all about those distinct espresso ladyfinger mascarpone layers!
Tips for the Perfect Classic Tiramisu
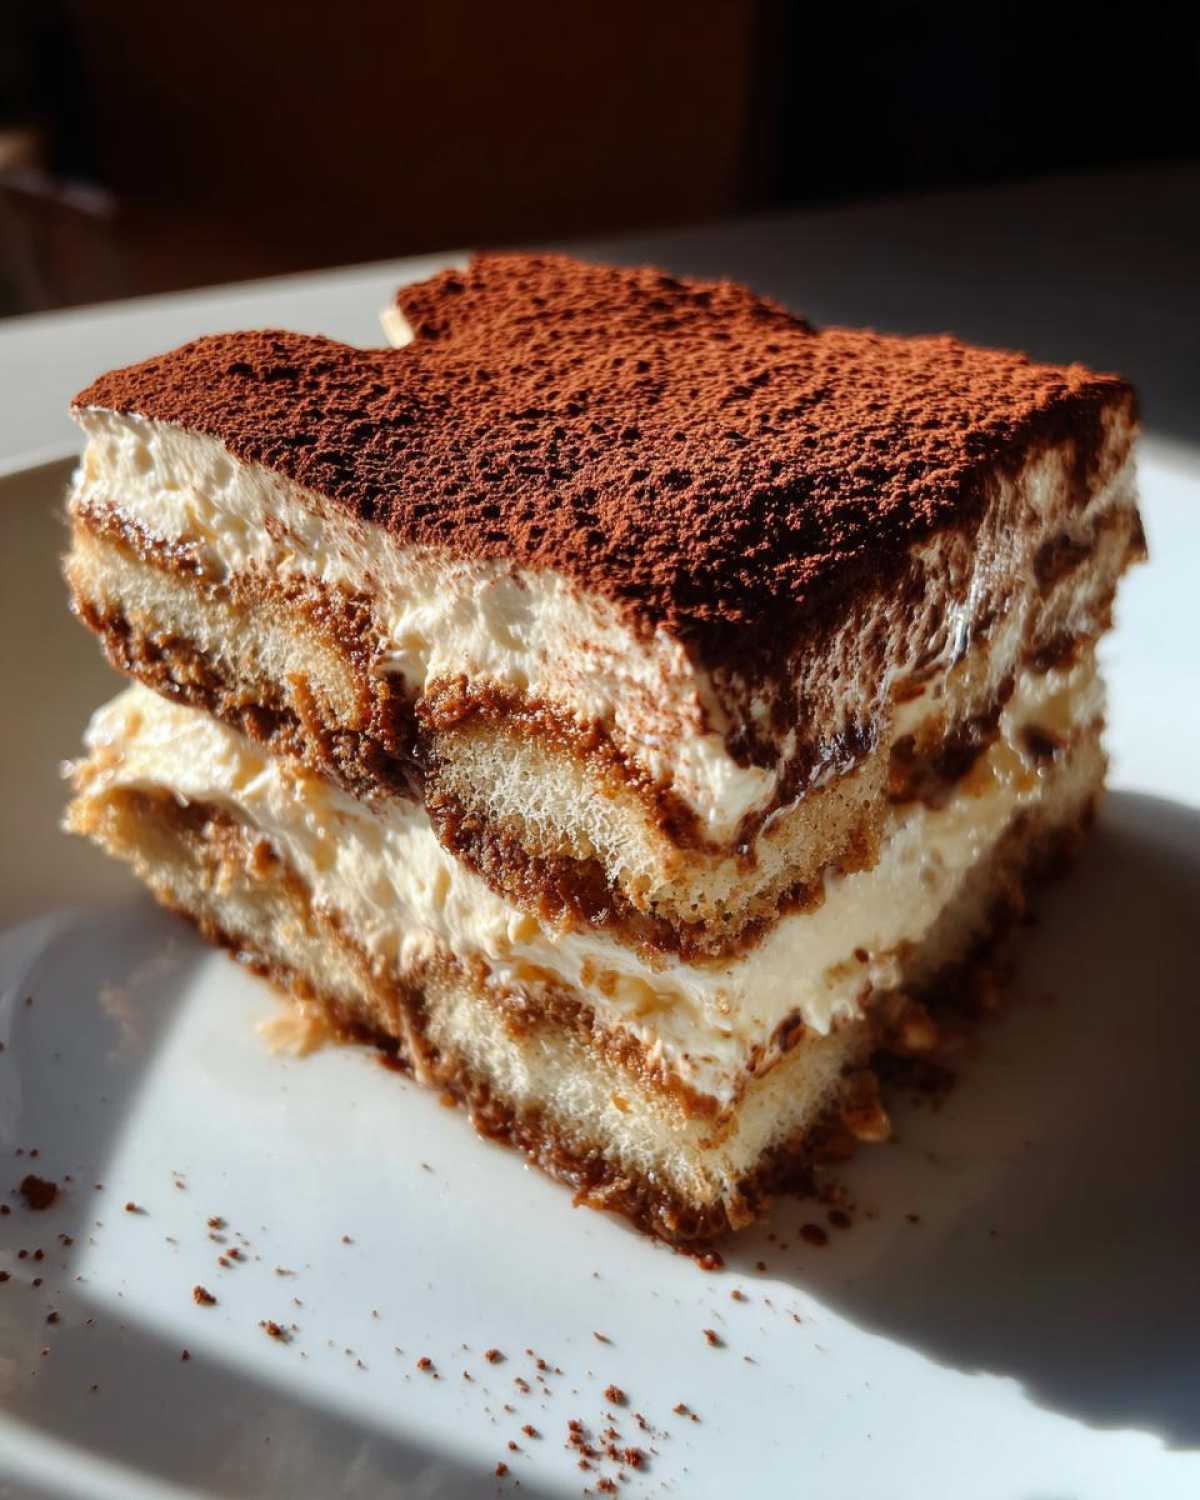
Okay, you’ve assembled your showstopper, but don’t rush it! The final steps, even though they involve no active cooking, are absolutely vital to getting that incredible final texture in your Tiramisu. Resist the urge to dig in after just an hour! Patience pays off huge dividends here, both in texture and flavor melding.
My biggest piece of advice? Don’t dust with cocoa until the very last second before serving. If you dust it too early, that gorgeous cocoa powder will absorb moisture from the cream and turn into a sad, wet patch. We want that velvety, dry dust on top for that perfect, beautiful bitterness contrast!
Chilling Requirements for Tiramisu Setting
You must chill this dessert for at least six hours, but honestly, overnight is where the magic truly happens. During that chill time, those quick-dipped ladyfingers finish softening without turning mushy, and the mascarpone cream sets up beautifully, giving you clean, perfect slices.
Variations on the Traditional Tiramisu
While I absolutely adore the classic coffee and Marsala combination, sometimes you just need to switch it up, right? Don’t worry, shaking up this Tiramisu doesn’t mean losing that incredible structure we worked for! If Marsala isn’t your favorite, try using a quality dark rum or even a splash of Grand Marnier for a brighter citrus note.
Also, if you’re nervous about using those lovely yolks, totally understandable! You can skip the raw yolk step by doubling your whipped heavy cream quantity instead. You’ll lose a tiny bit of the traditional richness, sure, but you’ll still get that amazing layered texture that makes this dessert so famous. It’s a great option for large gatherings!
Storage and Reheating Instructions for Tiramisu
Because this gorgeous Tiramisu relies on that creamy, delicate dairy filling, we definitely skip the oven heat entirely—reheating would just turn it into soup, so we only focus on refrigeration!
The best way to keep your layered masterpiece fresh is to make sure it’s sealed up tight. Cover your dish using plastic wrap, pressing it right against the surface of the cocoa powder if you dusted it already, or just sealing the entire top edge of the dish if you haven’t dusted it yet. It keeps beautifully in the fridge for three to four days. I find the flavor gets even better the second day, but you really want to eat it within the first 72 hours for the best texture.
Frequently Asked Questions About Making Tiramisu
I get so many questions about this recipe, which just proves how much everyone loves a good Tiramisu! It’s totally normal to be a little unsure when dealing with the eggs or those delicate biscuits. I’ve pulled together the questions I hear most often to make sure your next batch is absolutely perfect. Don’t stress; we’ll sort out the kinks!
Can I make this authentic tiramisu recipe without alcohol?
Absolutely, yes! If you prefer to skip the Marsala or rum, you won’t hurt my feelings at all. Many people omit it, especially for kids or if they’re avoiding alcohol. Instead of adding alcohol to your cooled espresso bath, just toss in about one teaspoon of really good quality vanilla extract. It adds a lovely background warmth that complements the coffee beautifully without changing the texture one bit.
What is the best way to prevent soggy ladyfingers in my Tiramisu?
This is the number one issue people worry about, and honestly, it’s all about speed! Remember the quick dip. You are not making tea for your ladyfingers! You literally need to work assembly-line fast: grab the biscuit, dunk it just until you see the color change on the other side, flip it instantly, and pull it out. That instant soak and pull ensures they are flavored but still firm enough to hold up when you chill the whole thing. Over-soaking means a soupy bottom layer, and we definitely don’t want that mess!
Estimated Nutritional Data for Tiramisu
Now, let’s talk fuel! While this glorious dessert isn’t exactly rabbit food, sometimes we just need to know the score, right? Based on my testing batch sizes, a single serving, which is one slice from that 9×13 dish, clocks in around 450 calories. That includes about 30 grams of fat, mostly from that gorgeous mascarpone and heavy cream, and 35 grams of sugar.
Remember, these numbers are just my best guess based on super-quality ingredients. If you use less sugar or a lighter hand with the cocoa, those figures will shift a bit! Enjoy it guilt-free—it’s worth every single calorie.
Share Your Classic Tiramisu Creations
I truly hope this guides you to your new favorite dessert! If you made this authentic tiramisu recipe and loved the creamy layers, please leave me a rating below. I absolutely live for your comments—tell me what liqueur you used, or if you managed to wait overnight to cut it! Don’t forget to tag me on social media so I can see your beautiful finished dish!
PrintClassic Italian Tiramisu
A recipe for the traditional no-bake Italian dessert featuring espresso-soaked ladyfingers layered with sweet mascarpone cream and dusted with cocoa powder.
- Prep Time: 30 min
- Cook Time: 10 min
- Total Time: 7 hours 40 min
- Yield: 10 servings
- Category: Dessert
- Method: No-Bake
- Cuisine: Italian
- Diet: Vegetarian
Ingredients
- 6 large egg yolks
- 3/4 cup granulated sugar
- 1 1/2 cups heavy cream, cold
- 16 ounces mascarpone cheese, cold
- 2 cups strong brewed espresso, cooled
- 1/4 cup Marsala wine or dark rum (optional)
- 40 ladyfingers (Savoiardi biscuits)
- Unsweetened cocoa powder, for dusting
Instructions
- Prepare the egg yolk mixture: In a heatproof bowl set over a saucepan of simmering water (ensure the water does not touch the bottom of the bowl), whisk the egg yolks and sugar constantly until the mixture is pale, thick, and reaches 160 degrees Fahrenheit (about 8-10 minutes). Remove from heat and continue whisking until cool.
- In a separate large bowl, whip the cold heavy cream until stiff peaks form. Set aside.
- In another bowl, gently beat the cold mascarpone cheese until smooth. Fold the cooled egg yolk mixture into the mascarpone until just combined.
- Gently fold the whipped cream into the mascarpone mixture until no streaks remain. Do not overmix.
- Combine the cooled espresso and Marsala wine (if using) in a shallow dish.
- Quickly dip each ladyfinger into the espresso mixture, turning once. Do not soak them; they should be moist but not soggy.
- Arrange a single layer of dipped ladyfingers in the bottom of a 9×13 inch baking dish.
- Spread half of the mascarpone cream evenly over the ladyfingers.
- Repeat the layering process: dip the remaining ladyfingers and arrange them over the cream layer. Top with the remaining mascarpone cream.
- Cover the dish tightly with plastic wrap and refrigerate for at least 6 hours, or preferably overnight, to allow the dessert to set.
- Before serving, generously dust the top layer with unsweetened cocoa powder. Slice and serve cold.
Notes
- For a safer filling, you can cook the egg yolks and sugar over the water bath until they form a thick sabayon before cooling.
- Use high-quality, strong espresso for the best coffee flavor.
- If you skip the alcohol, add 1 teaspoon of vanilla extract to the espresso mixture.
Nutrition
- Serving Size: 1 slice
- Calories: 450
- Sugar: 35
- Sodium: 90
- Fat: 30
- Saturated Fat: 18
- Unsaturated Fat: 12
- Trans Fat: 1
- Carbohydrates: 38
- Fiber: 1
- Protein: 10
- Cholesterol: 250
