

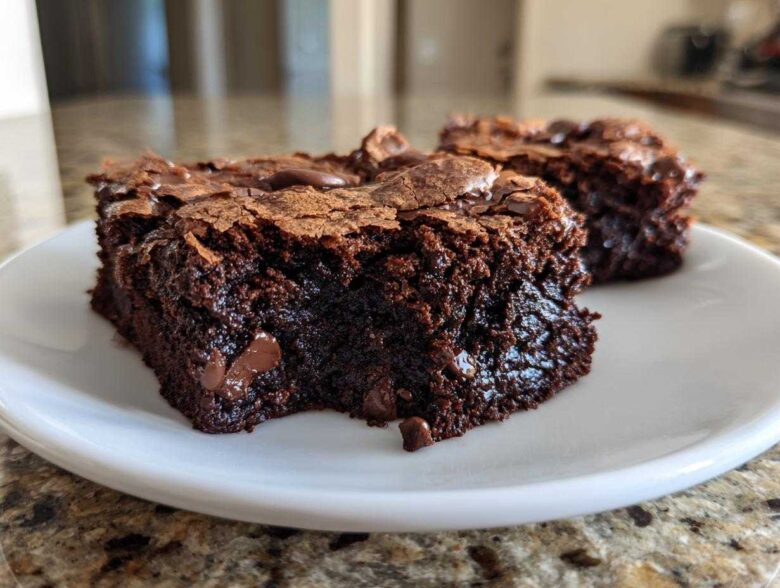
Oh my goodness, stop whatever you’re doing right now because if you think you’ve had a good chocolate experience, you haven’t met the right recipe yet! I’m talking about the kind of chocolate that makes you close your eyes and sigh deeply. We all chase that perfect bake, right? That magical square that is impossibly dense, intensely chocolatey, and gooey in the middle? Well, after about a thousand burnt attempts and too many bags of melted chocolate chips, I finally cracked the code for the ultimate fudgy **Brownie**.
This isn’t just another recipe; this is *the* recipe. I swear, I’ve made this batch so many times that I practically dream in melted butter and cocoa powder. Forget those dry, cakey nightmares; this one delivers pure, unadulterated fudgy bliss under this gorgeous, paper-thin, crackly top that shatters just slightly when you press it with a fork. Trust me, once you master this technique, you won’t look back. This is how you make the absolute best **Brownie** from scratch!
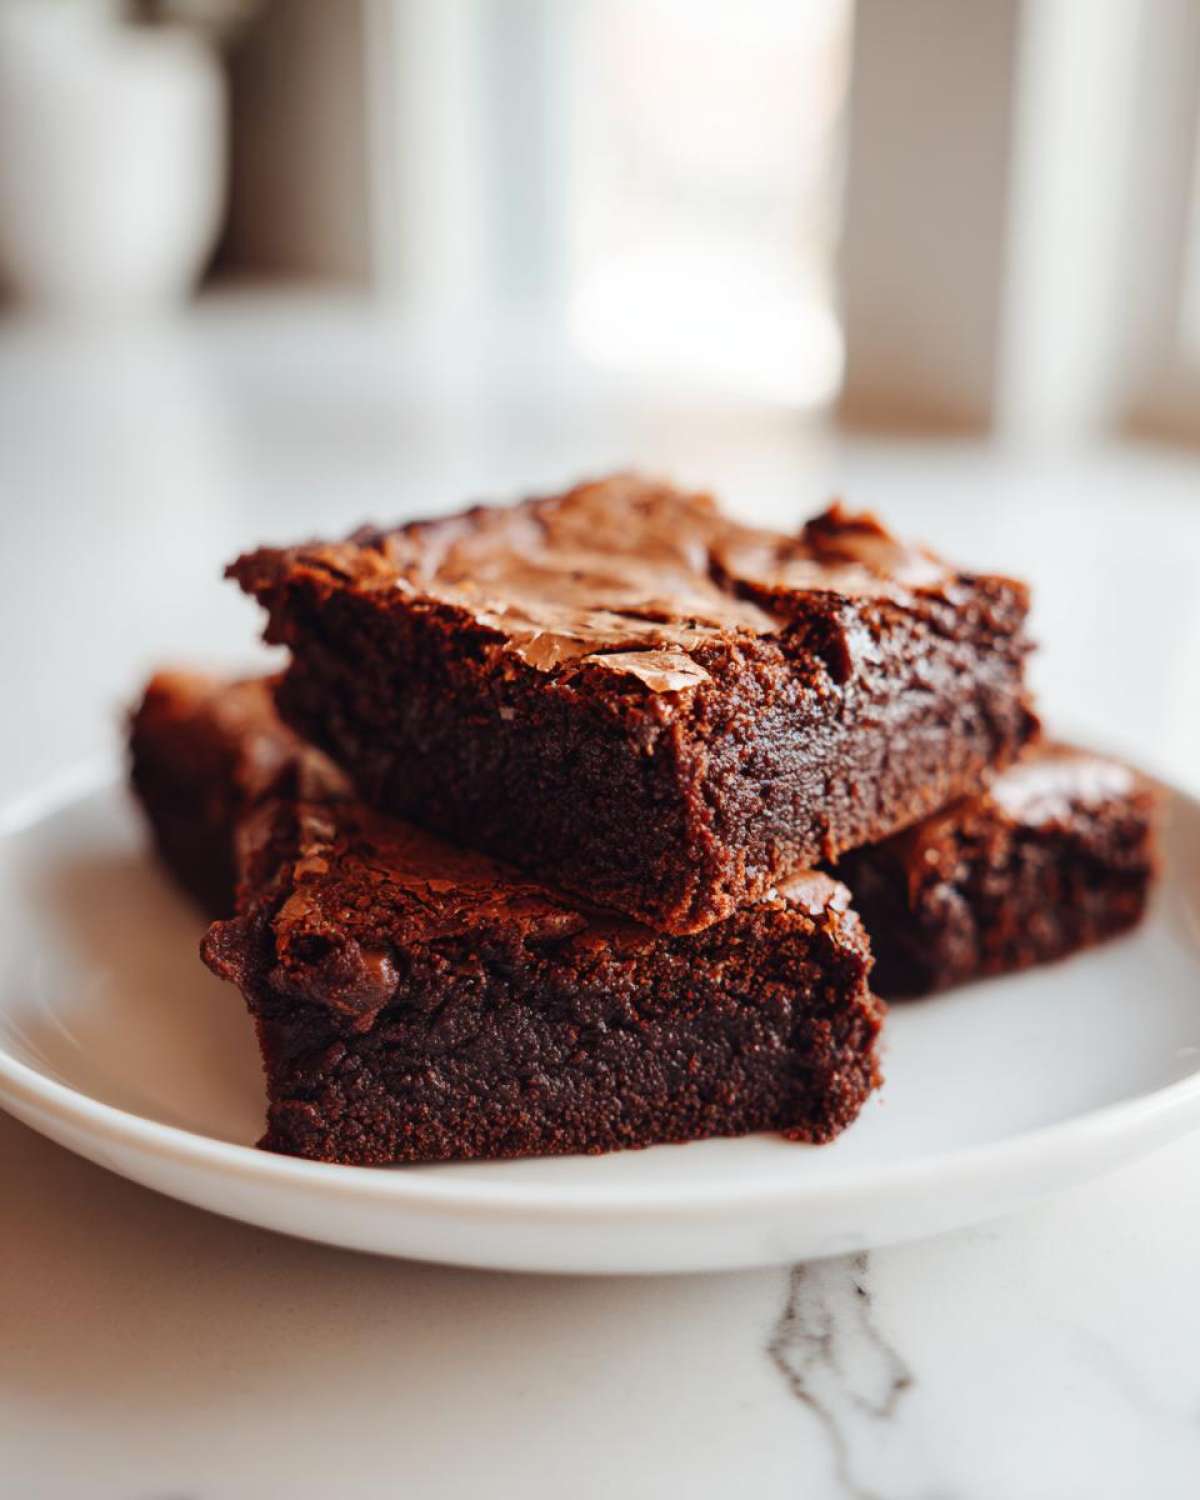
Why This Ultimate Fudgy Brownie Recipe Works
When people ask me what makes my recipe stand out from all the others online—and believe me, there are literally millions of **Brownie** recipes out there—I point straight to the texture. It’s not just about tossing ingredients together; it’s about how the fat interacts with the sugar and flour.
- Incredibly dense and satisfyingly fudgy center.
- Zero cakey texture—this is serious chocolate business!
- That shimmering, thin, light crust on top that everyone fights over.
- It’s so straightforward, even if you’re usually intimidated by baking!
If you want dependable results every single time, you need to understand the little tricks that make this work. We skip the cocoa powder mostly and rely on melted butter, which is a huge game-changer for richness. If you keep practicing, you’ll find this recipe always delivers what you need. You can check out more of my general reliable baking secrets over at my baking guides.
Achieving the Perfect Fudgy Texture in Your Brownie
The secret to avoiding a dry cakey mess is simple: fat, fat, and more fat! We use a high ratio of both butter and chocolate chips compared to the flour. This heavy dose of fat coats the small amount of flour so it can’t develop too much gluten during mixing. That’s what keeps the interior super moist and deeply fudgy. It’s all about keeping that batter rich and heavy!
The Secret to Crackly Top Brownies
Okay, here’s the actual technical bit for the top layer, often called the **Crackly Top Brownies Secret**. You have to dissolve the sugar completely into the melted butter and eggs *before* you add anything else. When you whisk that sugar in when the mixture is still warm, it creates a super thin meringue layer right on the surface. As it bakes, that layer forms that gorgeous shine and signature crackle. It’s mesmerizing!
Essential Ingredients for the Best Homemade Brownies
When it comes to making the absolute best **Brownie**, you can’t just throw in whatever’s in the pantry. The quality of the chocolate and sugar really dictates how rich these come out. I’ve detailed everything below, but pay close attention to the sugar measurements. We’re using two types because they each play a totally different role in achieving that fudgy density and shiny top.
- 1 cup (2 sticks) unsalted butter
- 1 cup granulated sugar
- 3/4 cup packed light brown sugar
- 4 large eggs
- 1 tablespoon vanilla extract
- 3/4 cup unsweetened cocoa powder
- 1/2 cup all-purpose flour
- 1/2 teaspoon salt
- 1 cup semi-sweet chocolate chips
Ingredient Notes and Substitutions for Your Brownie
Look, butter is non-negotiable here; oil just doesn’t give you the structure we need for this fudgy **Brownie**. Always use unsalted butter so you can measure the salt yourself! For the chocolate flavor, use a good quality cocoa powder, as that’s where most of our deep chocolate flavor comes from—I learned a lot about this when I was perfecting my chocolate meringue pie, too. And please, no substitutions on the egg count; those four large eggs provide essential structure!
How to Prepare The Ultimate Fudgy Brownie Recipe
Alright, if you’ve got your ingredients ready, it’s time to get messy! This is where the magic happens, but you have to respect the batter. We are making **Brownie** squares here, not a cake, so overmixing is the absolute enemy. I’m going to walk you through exactly how I get that perfect crackle every single time. Don’t worry about rushing; patience in this stage pays off huge later!
Prep Work: Pan Lining and Preheating
First things first, get that oven warming up to 350 degrees F (175 degrees C). Now, you absolutely must line your 9×9 inch metal pan with parchment paper. Make sure you leave an overhang on two sides—these act as little handles so you can lift the whole batch out later. Trying to scrape a fudge **Brownie** out of the pan without parchment is a recipe for disaster, trust me!
Creating the Fudgy Base: Melting and Whisking
Don’t you dare turn this heat up high! Melt your butter gently in a saucepan over low heat. Once it’s melted, take it off the burner immediately. Whisk in both your granulated sugar and your packed brown sugar until they are totally combined into that melted butter. Next—and this is vital for that shiny top—you whisk in your eggs one by one, really beating them in well, and follow that with your vanilla. If you whisk this sugar/butter/egg stage long enough, you start building that crackly dome!
Folding and Baking the Perfect Brownie
In a separate little bowl, quickly whisk your cocoa powder, flour, and salt together—just so they’re acquainted. Now, add the dry stuff to your wet stuff slowly, and start folding. Here’s where you stop mixing the second you see the white streaks disappear. Seriously, a few lumps are fine! If you mix until it’s perfectly smooth, you’ve made cake. Fold in those chocolate chips last. Pour the batter into your prepared pan. Bake for about 25 to 30 minutes. When you test it, I want you to pull it out when the toothpick comes out with moist crumbs clinging to it. If the toothpick is totally clean, you’ve baked too long! You can check out some of my general baking process tips here if you want a broader overview.
Brownie Baking Tips for Success
When you’re aiming for the **Best Homemade Brownies**, you need to pay attention to a few crucial details mentioned in the recipe notes. These little things take you from ‘good’ to ‘I can’t believe I made this!’ territory. Pay attention to these simple rules, and you’ll nail the texture consistency way easier.
First, let’s talk crunch. You absolutely must make sure that sugar is totally dissolved into the warm butter and egg mixture. If you feel any graininess when you rub a little between your fingers, keep whisking! That’s the key to the perfect crackly top layer on your **Brownie**.
Second, and this might hurt your soul if you like things well-done, DO NOT OVERBAKE! Fudgy texture relies on the center looking slightly underdone when you pull it out. Those moist crumbs clinging to the toothpick are exactly what you’re looking for. For extra deep flavor, make sure you are using a high-quality cocoa powder. For more general advice on making moist chocolate desserts, take a peek at my tips for moist chocolate cake.
Storage & Reheating Instructions for Your Brownie Batch
These ultra-fudgy **Brownie** squares tend to disappear fast, but if you manage to save some, storing them is easy! Keep them in an airtight container right on the counter for about three or four days. Keeping them cool actually increases the fudginess, so if your kitchen is super warm, putting them in the fridge might be best. If you do chill them, just let them sit on the counter for about 20 minutes before diving back in.
Brownie Variations and Serving Suggestions
Now that you have mastered the **Best Homemade Brownies** base, let’s talk about making them your own! This recipe is sturdy, so it loves mix-ins. Feel free to fold in a cup of toasted pecans, chopped walnuts, or even those peanut butter chips you love. If you want to get really wild, check out my recipe for Oreo Brownies—they are divine!
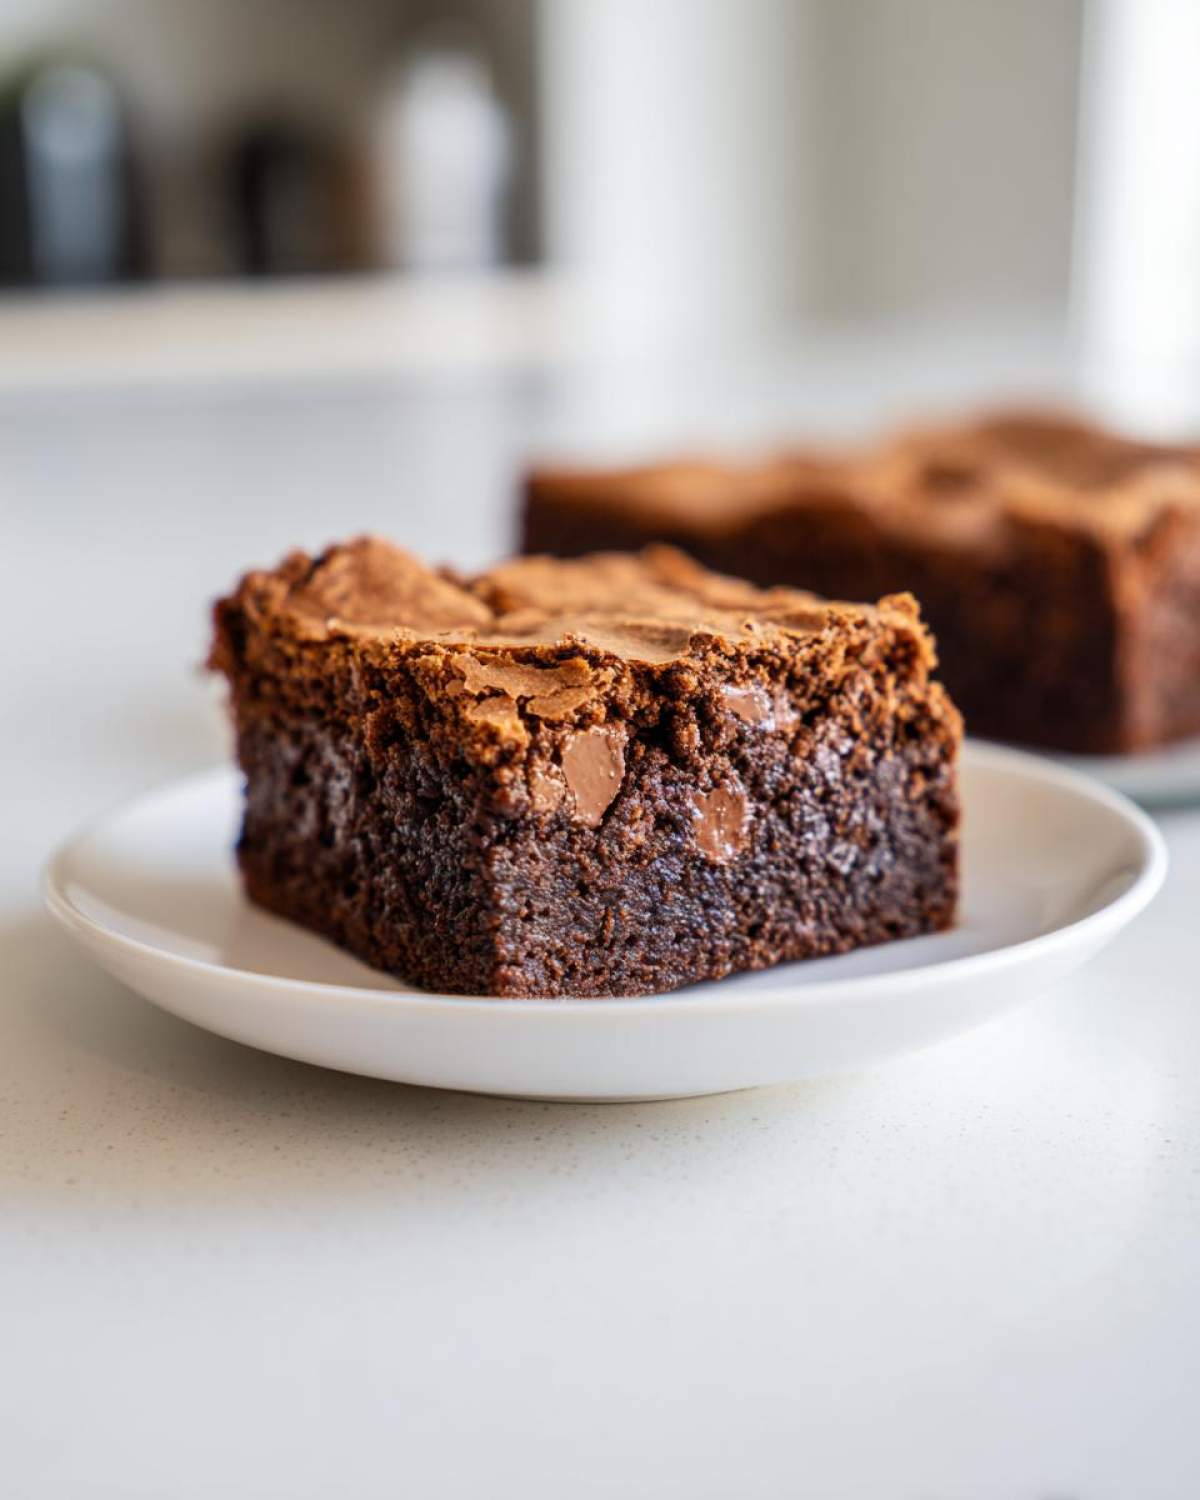
For serving, keep it simple, or go gourmet! A little dusting of powdered sugar shows off that crackly top perfectly. But honestly, nothing beats cutting a warm square and topping it with a scoop of vanilla bean ice cream and a drizzle of salted caramel. These **Brownie Variations** mean you never have to serve the same dessert twice!
Frequently Asked Questions About Making Brownies
I know you’ve got questions! Baking the perfect **Brownie** can feel like a science experiment sometimes, but honestly, most texture issues come down to one or two quick fixes. Don’t stress if your first batch isn’t perfect; just keep these tips handy for next time. I get emails about these exact struggles all the time!
Why are my brownies cakey instead of fudgy?
Oh, that’s the saddest thing that can happen! Usually, if your **Brownie** comes out cakey, it means two things happened: either you added too much flour, or, and this is the big one, you mixed the batter too much after you added the flour. Remember how I kept stressing to only mix until *just* combined? Mixing too long develops gluten, and gluten wants to make your dessert light and fluffy—the opposite of fudgy!
Can I use only cocoa powder instead of melted chocolate in this Brownie recipe?
You certainly *can* use only cocoa powder, but you won’t get the texture we are aiming for here. Cocoa powder tends to lend itself to a slightly lighter, more cake-like texture, even when you adjust the fats. Remember, this recipe relies on that extra fat from the melted butter *and* the chips for that dense, rich bite. Stick to the recipe for the ultimate fudgy experience!
How long do I need to let these brownies cool before cutting?
This is torture, I know, but this step is non-negotiable if you want clean squares! If you cut into them straight out of the oven, they will just squish apart into chocolate goo—which is delicious, but messy. Let them cool completely in the pan. I usually let mine sit for at least two hours at room temperature, or even chill them for an hour. Cooling allows the fats to firm up, which helps the structure set so you get those beautiful, defined squares. You can check out some more general baking process tips on my blog if you’re curious about timing!
Estimated Nutritional Information for This Brownie
Now, I’m not a nutritionist—I’m just here to make sure you have the best day ever with chocolate—but I know some of you are curious about the details behind these decadent squares. In the numbers below, we’re estimating nutrition based on 16 servings from the recipe above. Remember, these are just estimates from the starting ingredients, so your actual figures might vary a bit depending on your brands!
- Serving Size: 1 brownie square
- Calories: 250
- Fat: 15g
- Sugar: 25g
- Protein: 3g
- Carbohydrates: 28g
Share Your Ultimate Fudgy Brownie Results
Okay, you’re done baking! The kitchen smells like heaven, and the pan of ultimate fudgy **Brownie** squares is cooling perfectly on the counter. Now comes the best part: telling me how it went! I absolutely live for reading your comments and seeing your results.
Please give this recipe a star rating right below this section—it really helps other bakers know that this recipe is the real deal. Did you get that amazing crackly top? Was the center fudgy enough to stand up to a scoop of ice cream? Tell me everything!
If you snapped a gorgeous photo, tag me on social media so I can swoon over your **Brownie** squares! Seeing your success is what keeps me hooked on being in the kitchen every day. If you have any lingering questions or feedback, don’t hesitate to send a message through my contact page. Happy baking, and enjoy every single rich, dense bite!
PrintThe Ultimate Fudgy Brownies with Perfect Crackly Tops
Follow this simple recipe to bake rich, dense, fudgy brownies that feature a desirable thin, crackly top layer.
- Prep Time: 15 min
- Cook Time: 30 min
- Total Time: 45 min
- Yield: 16 brownies
- Category: Dessert
- Method: Baking
- Cuisine: American
- Diet: Vegetarian
Ingredients
- 1 cup (2 sticks) unsalted butter
- 1 cup granulated sugar
- 3/4 cup packed light brown sugar
- 4 large eggs
- 1 tablespoon vanilla extract
- 3/4 cup unsweetened cocoa powder
- 1/2 cup all-purpose flour
- 1/2 teaspoon salt
- 1 cup semi-sweet chocolate chips
Instructions
- Preheat your oven to 350 degrees F (175 degrees C). Line a 9×9 inch metal baking pan with parchment paper, leaving an overhang on two sides for easy removal.
- Melt the butter in a medium saucepan over low heat. Remove from heat.
- Whisk the granulated sugar and brown sugar into the melted butter until combined.
- Whisk in the eggs one at a time, mixing well after each addition. Stir in the vanilla extract.
- In a separate bowl, whisk together the cocoa powder, flour, and salt.
- Gradually add the dry ingredients to the wet ingredients, mixing only until just combined. Do not overmix.
- Gently fold in the chocolate chips.
- Pour the batter into the prepared pan and spread evenly.
- Bake for 25 to 30 minutes. A toothpick inserted near the edge should come out with moist crumbs attached, but the center should still look slightly underdone.
- Let the brownies cool completely in the pan on a wire rack before lifting them out using the parchment paper overhang and cutting them into squares.
Notes
- For the best crackly top, ensure your sugar is fully dissolved into the warm butter and eggs before adding the dry ingredients.
- Do not overbake; fudgy texture depends on slightly underbaking.
- Use high-quality cocoa powder for a deeper chocolate flavor.
Nutrition
- Serving Size: 1 brownie square
- Calories: 250
- Sugar: 25
- Sodium: 120
- Fat: 15
- Saturated Fat: 9
- Unsaturated Fat: 6
- Trans Fat: 0
- Carbohydrates: 28
- Fiber: 2
- Protein: 3
- Cholesterol: 65
