

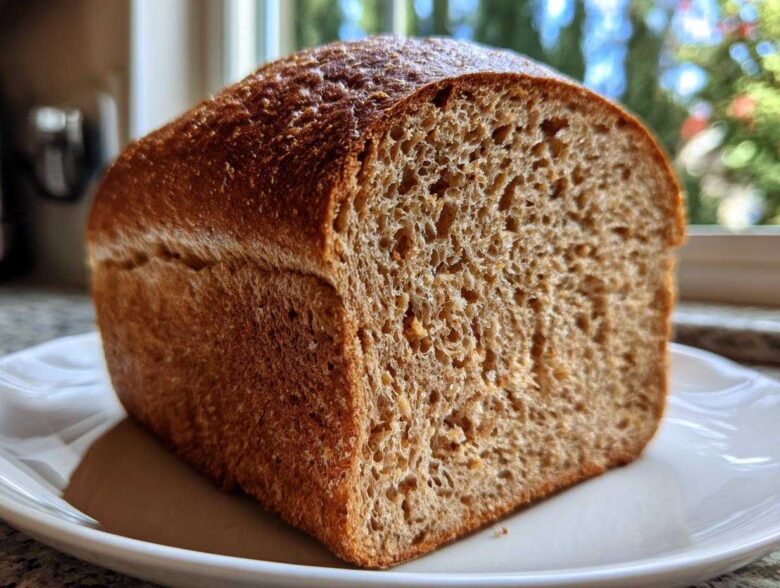
Oh my goodness, friends, you HAVE to stop what you’re doing and listen to me; there is no better smell in the entire world than a loaf of beautiful, homemade **whole wheat bread** baking away in the oven! Forget those dry, heavy bricks you buy at the store—we are aiming for soft, fluffy, and something you’ll want to eat hot, right off the cooling rack. Chef Tariq always says that mastering a good loaf of wholesome bread is the true mark of a baker, and I promise you, this method makes it incredibly simple to achieve that perfect texture. You can see what other exciting things are buzzing in our kitchen over on the main blog, but right now, this loaf is the star. Trust me when I say, this will be the loaf you turn to again and again!
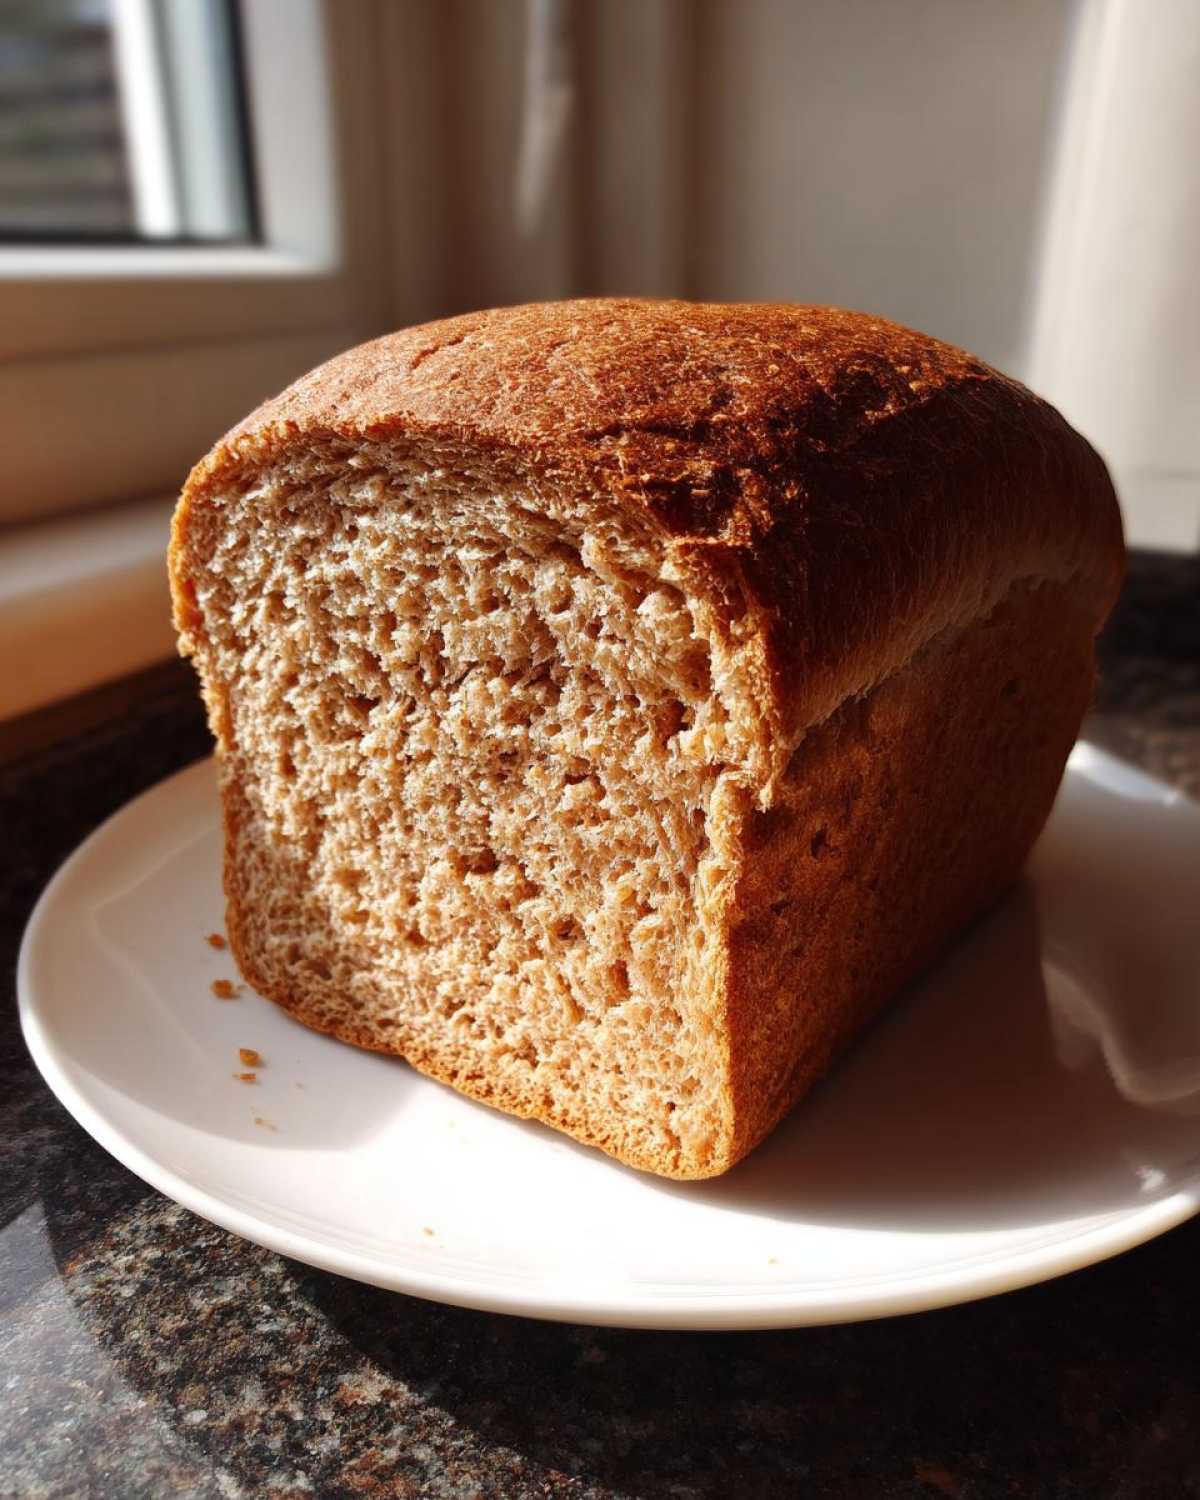
Why This Soft and Fluffy Whole Wheat Bread Recipe Works
So, why do so many folks end up with a dense, sad loaf when they try to make **whole wheat bread** at home? It usually comes down to structure and patience. This recipe isn’t just a list of ingredients; it’s a careful balance designed by Chef Tariq to give you that bakery softness you crave. We build structure gently so the end result isn’t heavy on you!
- We use a specific hydration level that keeps the dough manageable but moist.
- The dual-flour approach prevents the bran in the wheat from cutting the gluten strands too much.
- We let time do the heavy lifting during the rise cycles.
You can check out how we achieve creamy texture in other areas, like our homemade mayo—it’s all about respecting the ingredients!
Achieving the Perfect Rise for Your Whole Wheat Bread
Don’t rush this part! We schedule two rises for a reason. The first rise—that long, lazy session of 1 to 1.5 hours—is where the flavor gods are at work. That long proofing time lets the yeast really munch on the sugars and develop those complex, nutty notes you want in real **whole wheat bread**. Then, that second rise in the pan? That pushes the dough high so when it hits the heat, it puffs up perfectly instead of spreading out.
The Flour Balance: Whole Wheat Flour Meets All-Purpose Flour
If you try to make bread with 100% whole wheat flour, you often end up with something closer to a tasty brick. That’s because the bran in the whole grain is sharp; it actually cuts through the gluten network you’re trying to build up during kneading, leading to sinking and heaviness. By using half all-purpose flour, we give the gluten a strong platform to stretch and catch all those lovely gases. This combo keeps the loaf hearty and wholesome but light on its feet!
Gathering Ingredients for Homemade Whole Wheat Bread
Alright, let’s get our mise en place ready! When you’re baking delicious **whole wheat bread**, just like with my favorite creamy beer cheese dip, clean organization makes everything smoother. Don’t eyeball anything here; precision is key for that perfect rise and fluffy final product. Here is precisely what you need to pull together this wonderful loaf!
- You absolutely must start with 1 cup of warm water, and listen to me—the temperature is critical! It needs to be between 105°F to 115°F. If it’s too hot, you toast your yeast; too cold, and nothing happens.
- We need 2 1/4 teaspoons of active dry yeast—that’s one standard packet, for those of us who don’t keep fancy yeast quantities lying around!
- To sweeten things up just right and feed that yeast, grab 1/4 cup of honey. Liquid sweetener pulls the flavor out beautifully here.
- Melting 2 tablespoons of unsalted butter is next. Yes, use butter! It brings richness that oil just can’t match in a loaf this good.
- Now for the structure: 1 1/2 cups of whole wheat flour goes in first, followed by 1 1/2 cups of all-purpose flour. This blend is our secret to softness!
- Don’t forget 1 teaspoon of salt. Bread needs salt for flavor and to control how fast the yeast works!
That’s it! Simple ingredients, massive flavor payoff. Measure everything out, and you are ready for the mixing bowl!
Step-by-Step Instructions to Bake Perfect Whole Wheat Bread
Okay, now for the fun part where your kitchen starts smelling like heaven! Baking **whole wheat bread** is a lot less intimidating than people make it out to be, but precision in these early steps really sets you up for success. We’re going to follow the process exactly, and I’ll pop in with some notes from Tariq along the way. Keep your mind on smooth dough and steady rising! If you love learning new dough techniques, you should definitely check out our guide on easy homemade naan bread.
Activating the Yeast and Mixing the Dough for Whole Wheat Bread
First things first: we wake up the yeast. Pour that measured warm water (remember, 105°F to 115°F is the sweet spot!) into your big bowl and sprinkle the yeast right on top. Give it a gentle stir, then just walk away for about five minutes. You’re looking for foam, my friends! If it gets foamy and bubbly, your yeast is alive and ready to go make some magic in your **whole wheat bread** dough. Once it’s happy, stir in that honey and the melted butter. Then, we add the dry side in stages. Dump in all your whole wheat flour and the salt first, mix until it’s *just* combined—I mean just barely shaggy looking. This helps hydrate the bran before we go to town on the kneading!
Kneading and First Rise of Your Whole Wheat Bread Dough
Now, we transition to that floured surface. This is where you build the strong frame for your bread. You need to knead your dough for a solid 8 to 10 minutes. Don’t skimp here! You are developing gluten, which is what traps all those glorious gases for a fluffy result. You’ll notice it changing texture—it goes from sticky and rough to smooth, supple, and quite elastic. Chef Tariq always tells me, “If you can gently stretch a small piece thin enough to see light through it without tearing immediately—that’s your windowpane test telling you it’s ready!” Once it passes Tariq’s test, pop it into an oiled bowl, cover it up tight, and let it chill out in a warm spot for that long first rise—a full 1 to 1.5 hours is ideal for the best flavor in your **whole wheat bread**.
Shaping and Second Proofing Before Baking
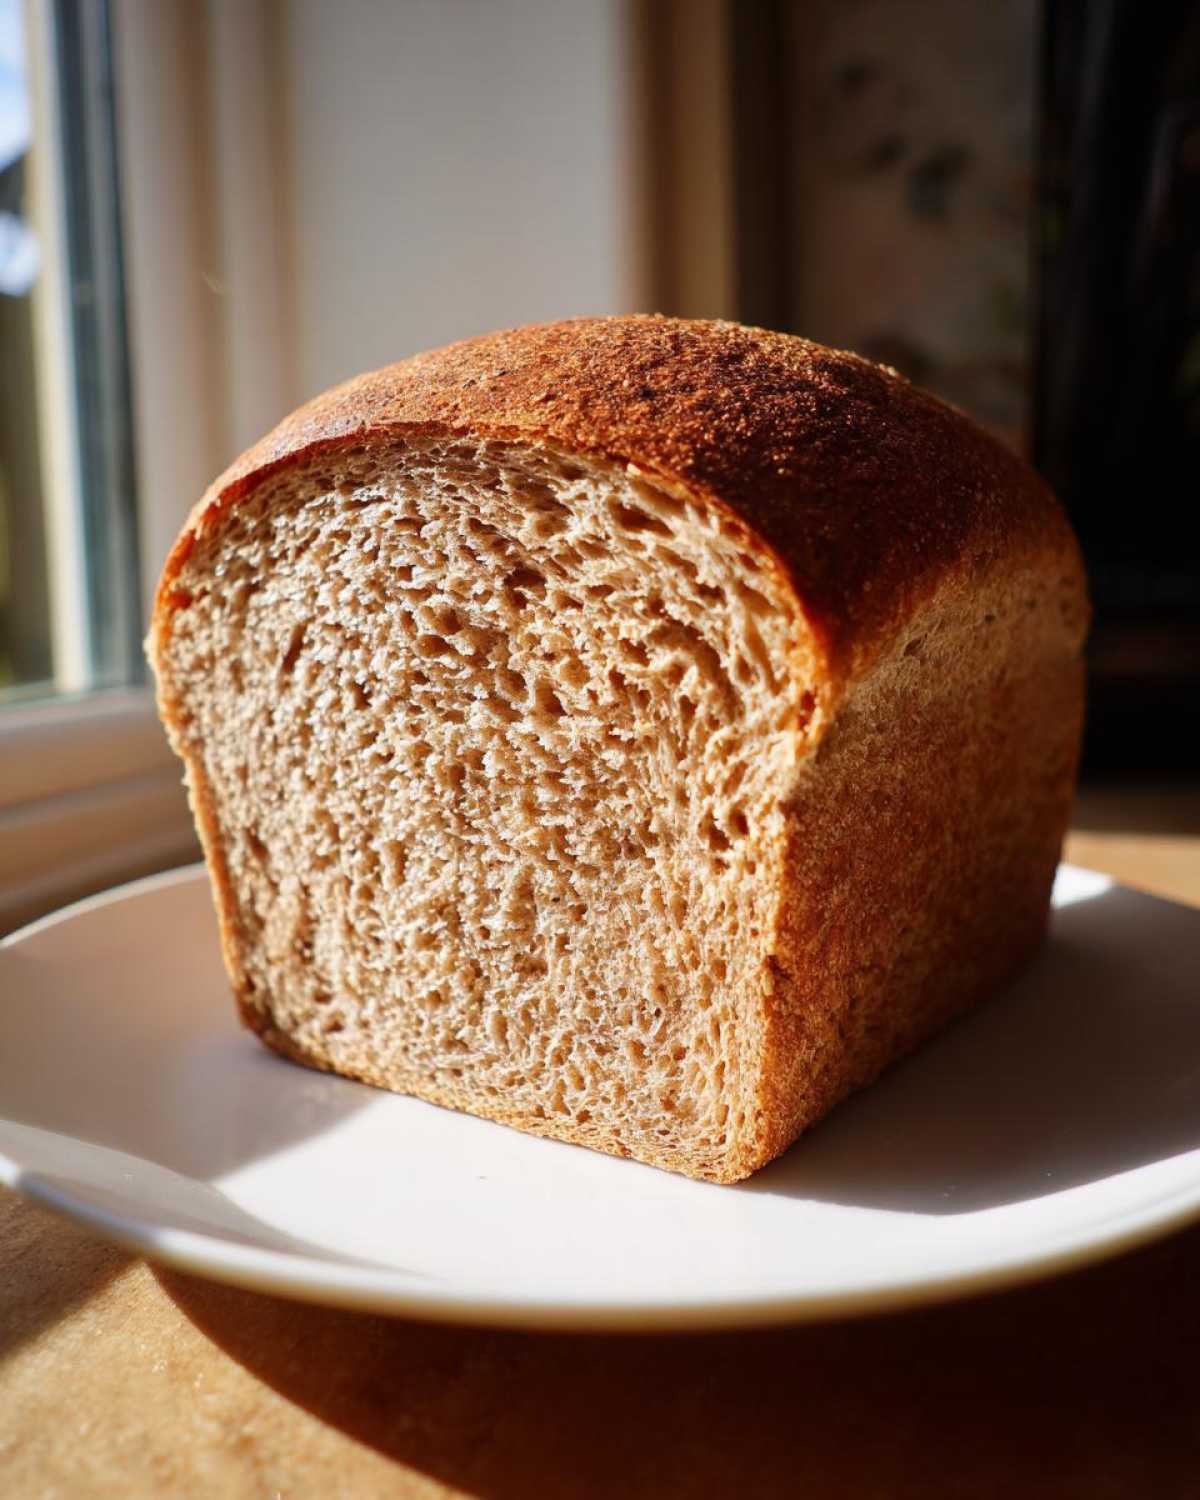
When the dough has doubled, you can punch it down gently—that’s always so satisfying! Turn it out, quickly shape it into a nice tight little log, and nestle it right into your greased 9×5 loaf pan. Cover it loosely and let it rest again. This second proofing is shorter, only about 30 to 45 minutes. What we are aiming for here is the “crown.” You want the dough to creep up about an inch over the top rim of the pan. If it looks puffy and rounded like a happy crown, it’s ready to get baked at 375°F! That perfect rise means you’ll have an absolutely stunning slice of **whole wheat bread**.
Expert Tips for the Best Homemade Whole Wheat Bread
Now that we’ve covered the basics of getting your **whole wheat bread** dough mixed and risen correctly, I want to share a few professional little secrets—some lifted straight from Tariq’s own handwritten notes—that honestly take this loaf from “great” to “I can’t believe I made this!” These little tweaks make a huge difference in the final texture and flavor profile of your hearty loaf.
Flavor Boosts and Crust Softness for Your Whole Wheat Bread
If you want your loaf to taste like it came right out of a cozy bakery, you have options! For a richer, even more substantial flavor, try swapping out half of that all-purpose flour for proper bread flour. Bread flour has a higher protein content, which builds a stronger gluten structure, making your **whole wheat bread** even better for big sandwiches. Also, if you have a real sweet tooth, don’t hesitate to bump that honey up to 1/3 cup—it just feeds the yeast so beautifully and adds a lovely golden hue.
Here’s my absolute favorite tip for that soft crust everyone loves: the post-bake butter brush. As soon as that loaf comes out of the oven and you get it onto the cooling rack, grab a tablespoon of butter and melt it down. Brush it lightly all over the top crust. It melts right in and keeps the crust tender, not stiff. It’s amazing! We also have a great skillet naan recipe if you ever want to try another simple dough project. And for another perspective on flavor, check out this Goodies Recipes link on whole wheat bread!
Storing Your Freshly Baked Whole Wheat Bread
You’ve done the hard work, you’ve baked this gorgeous, hearty loaf, and now you just want to tear into it! Stop right there, my friend. If you slice into this bread while it’s still warm, you are releasing all that steam that’s still setting the crumb structure. Trust me, slicing it too soon leads to gummy spots and a loaf that just seems to fall apart. You have to let it cool completely on a wire rack—that usually takes a good hour or two, but patience pays off big time!
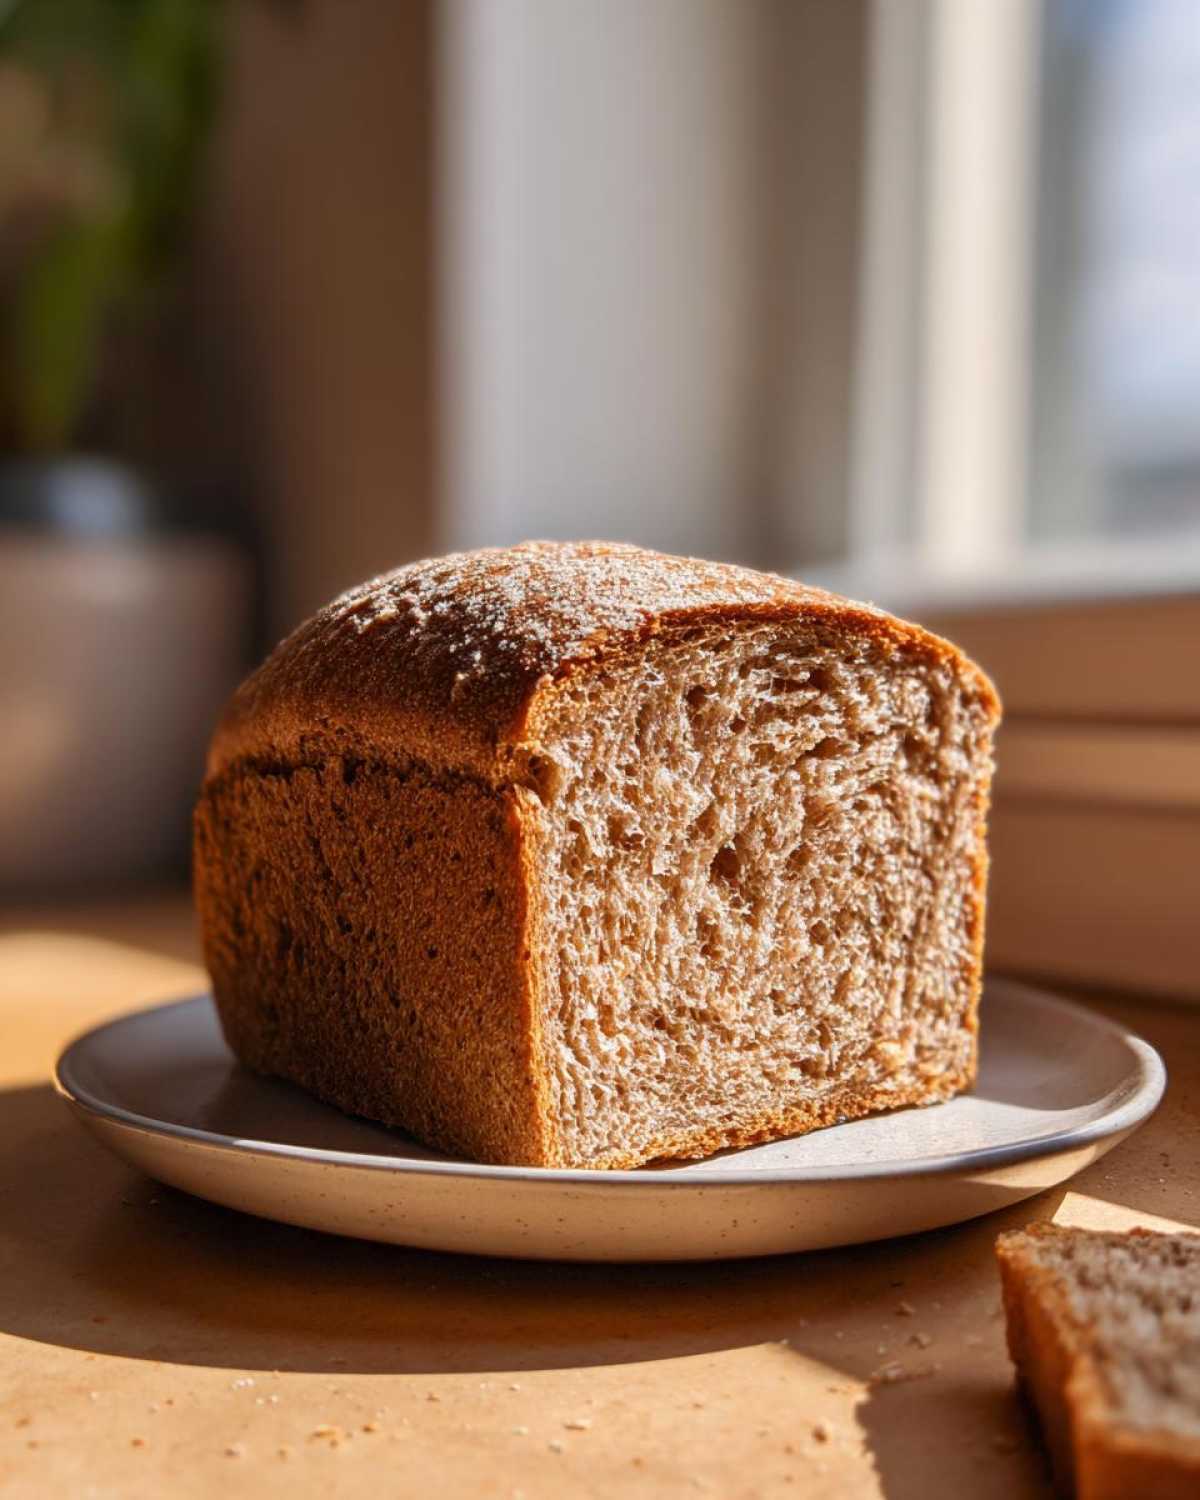
Once it’s totally cool, how you store it matters for freshness. Since we used honey and a good mix of flour, this bread is pretty robust, but freshness fades fast! I usually keep half of the loaf sealed up tightly in a zip-top bag right on the counter if I know we’ll eat it within three days. It stays soft that way.
If you’re not going to finish it that fast, don’t let it dry out on the counter! Freezing is your best friend here. Once it’s cold, wrap the entire loaf (or halves) tightly in plastic wrap, then slide that into a sturdy freezer bag. It freezes beautifully, and when you need a slice, just pull it out, unwrap it, and let it thaw on the counter for about an hour. It’s almost as good as fresh! For more tips on extending the life of your homemade flavors, you can look at how we manage our homemade mayonnaise storage.
Serving Suggestions for This Hearty Whole Wheat Bread
Now that you have this beautiful loaf of **whole wheat bread**, what should we do with it? Honestly, the possibilities are endless, but I love keeping it classic! This bread makes the most amazing, sturdy sandwiches—no more floppy bread letting the fillings slide out! For breakfast, you can’t beat a thick slice toasted and slathered with butter and jam. It’s also fantastic served alongside something comforting. Chef Tariq often has it with our creamy potato leek soup when the weather turns cool. It’s hearty enough to stand up to anything!
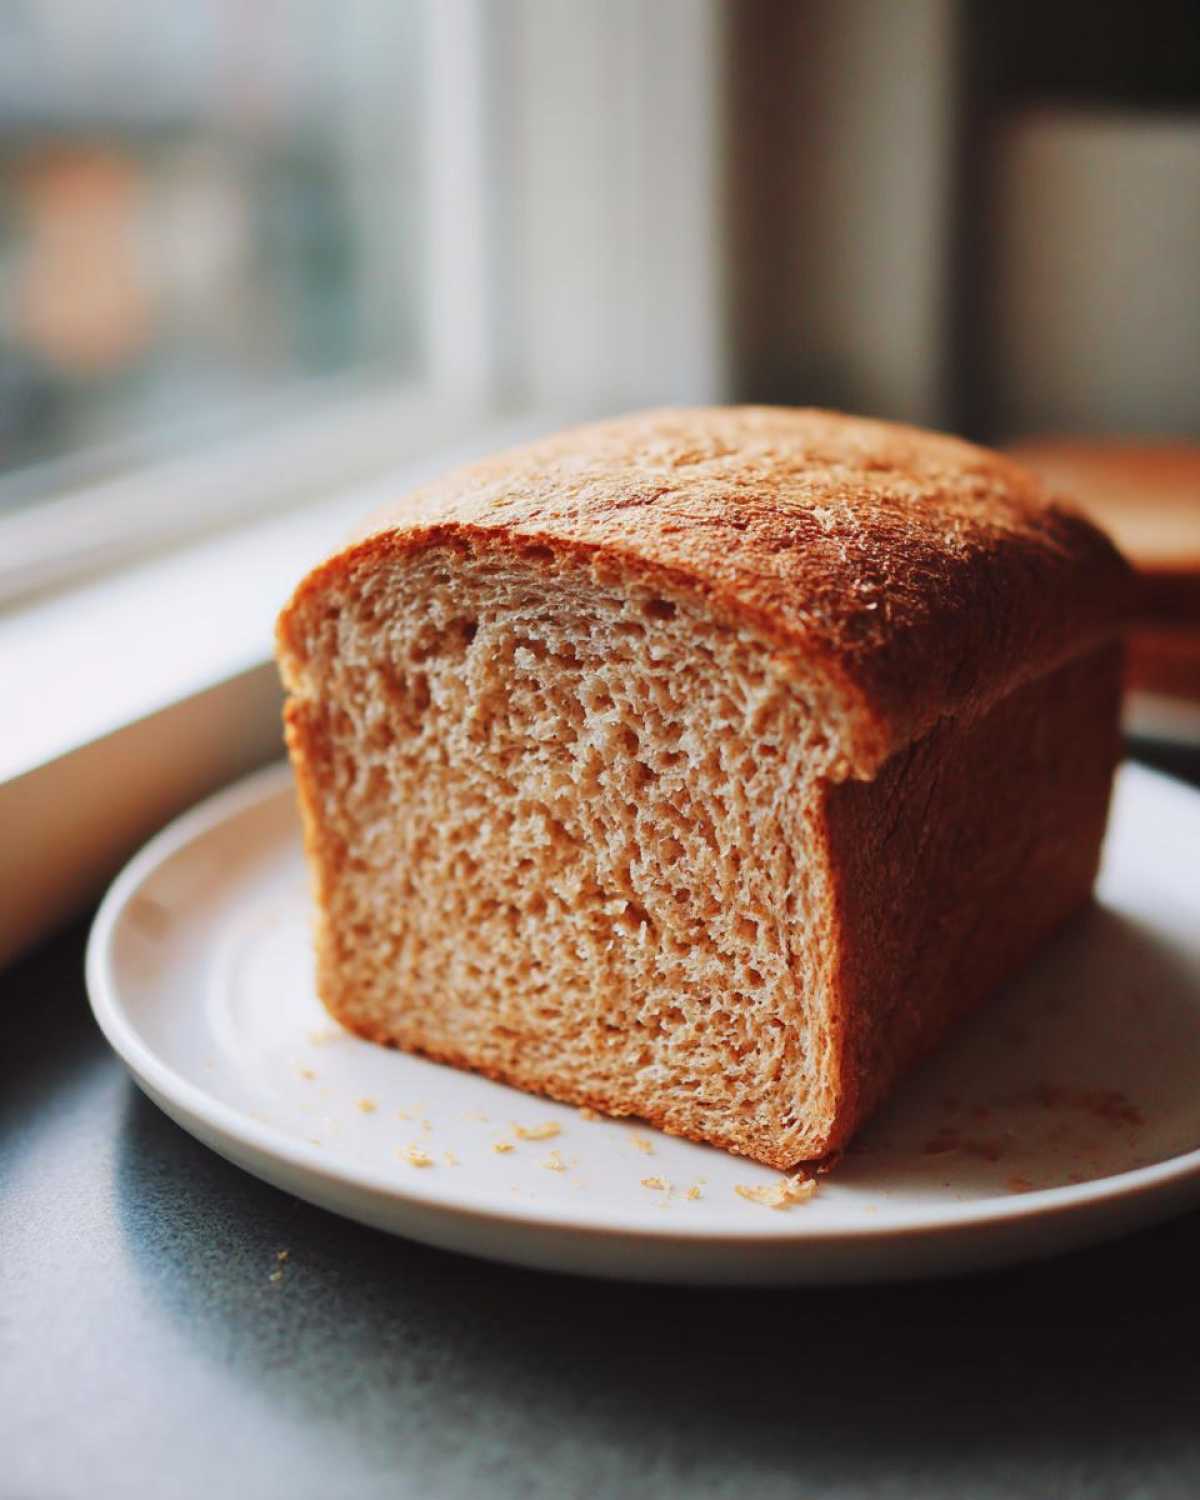
Questions About Making Whole Wheat Bread
Baking bread always brings up a million little questions, and that’s totally normal! Don’t sweat it if you’re worried about your yeast or wondering if you can swap out that all-purpose flour. We’ve gathered a few things we get asked all the time. If you still have burning questions after trying this recipe, please reach out to us through our contact page—we love hearing from you and helping troubleshoot!
What if my yeast doesn’t foam up after five minutes?
Oh, the dreaded non-foaming yeast! It’s usually a temperature issue, honestly. If the water was too hot, you shocked and killed the yeast, so it won’t ever bubble. If it was too cold, it’s just sluggish—it might eventually wake up, but the rise will take forever. If you waited 10 minutes and saw absolutely nothing, you’ll need to toss that batch out and start over with correctly tempered warm water. Don’t worry, we’ve all been there! It’s rare with this recipe if you check that temperature, though.
Can I make this recipe using 100% whole wheat flour instead of mixing it?
Chef Tariq and I totally understand the drive to make things 100% wholesome, but for this specific soft and fluffy sandwich bread recipe, I strongly advise keeping that 50/50 mix of whole wheat and all-purpose flour. If you switch to just whole wheat, the bran severely limits gluten development, and your loaf will likely come out very dense and crumbly. If you are set on 100% whole wheat, you’ll need a **honey whole wheat bread** recipe specifically designed for it, often requiring a pre-soak technique called an autolyse to soften the bran first.
Why is it so important to let the bread cool completely before slicing?
I know it’s torture, but this is non-negotiable for any good loaf! When bread comes out of the oven, it’s still cooking itself internally with residual heat, and all that steam needs to escape slowly. If you slice it while it’s hot, that steam rushes out, and the structure collapses inward. You end up with gummy pockets and a softer loaf than you wanted, even if it smelled amazing when it came out! Give it at least an hour on the rack; it’s worth the wait.
Nutritional Estimates for Your Whole Wheat Bread
I always feel a little funny about nutritional facts because they are just estimates based on the exact ingredients and cuts we used, right? Every kitchen is a little different! But for those of you tracking macros or just curious about what you’re putting into your body when you make this lovely loaf, here’s a quick rundown. Remember, this information is based on the recipe provided for one slice of bread. This is good, hearty food that nourishes you!
- Serving Size: 1 slice
- Calories: 130
- Carbohydrates: 25g
- Protein: 5g
- Fat: 2g
We’re getting a great hit of fiber in there too, which is why I love baking wholesome bread at home. You have complete control over what goes in!
Share Your Soft Whole Wheat Bread Creations
Well, that’s it, my friends! You’ve conquered the rising, you’ve mastered the kneading, and now, hopefully, your kitchen smells like the happiest place on earth because you’ve baked an amazing loaf of **whole wheat bread**! I truly hope this recipe brings that same cozy, satisfying feeling to your home that it brings to ours here at Savory Skies. We pour our hearts into making sure these recipes work perfectly for you.
When you pull that beautiful loaf out of the oven, I desperately want to see it! Please take a picture and share your success with us. Tag us on social media—we absolutely live for seeing your creations! If this loaf turned out soft and fluffy just like ours did, please leave a star rating right down below and tell us how it went in the comments. Did you serve it with butter? Did you make the ultimate sandwich? Your feedback helps other bakers feel brave enough to try it next time. We’re all learning together, and hearing about your successes is what keeps Leo, Amara, and Chef Tariq motivated every single day. You can always learn more about how we cook and connect over on our About Us page. Happy baking, and don’t forget to share those slices! If you need another rustic idea to try next, check out this rustic loaf over at Cook Breeze!
PrintSoft and Fluffy Homemade Whole Wheat Bread
Bake a wholesome, soft, and fluffy loaf of whole wheat bread at home. This recipe is simple and yields a hearty bread perfect for sandwiches or toast.
- Prep Time: 20 min
- Cook Time: 35 min
- Total Time: 1 hour 50 min
- Yield: 1 loaf
- Category: Baking
- Method: Baking
- Cuisine: American
- Diet: Vegetarian
Ingredients
- 1 cup warm water (105°F to 115°F)
- 2 1/4 teaspoons active dry yeast
- 1/4 cup honey
- 2 tablespoons unsalted butter, melted
- 1 1/2 cups whole wheat flour
- 1 1/2 cups all-purpose flour, plus more for dusting
- 1 teaspoon salt
Instructions
- In a large bowl, combine the warm water and yeast. Let it sit for 5 minutes until foamy.
- Stir in the honey and melted butter into the yeast mixture.
- Add the whole wheat flour and salt to the wet ingredients. Mix until just combined.
- Gradually add the all-purpose flour, mixing until a shaggy dough forms.
- Turn the dough out onto a lightly floured surface. Knead for 8 to 10 minutes until the dough is smooth and elastic.
- Place the dough in a lightly oiled bowl, turning to coat. Cover the bowl with plastic wrap or a clean kitchen towel.
- Let the dough rise in a warm place for 1 to 1 1/2 hours, or until doubled in size. This long rise time develops amazing flavor.
- Gently punch down the dough. Shape it into a loaf and place it in a greased 9×5 inch loaf pan.
- Cover the pan loosely and let the dough rise again in a warm spot for 30 to 45 minutes, or until the dough has crowned about 1 inch above the rim of the pan.
- Preheat your oven to 375°F (190°C).
- Bake for 30 to 35 minutes, or until the top is golden brown and the internal temperature reaches 200°F (93°C).
- Remove the bread from the pan immediately and let it cool completely on a wire rack before slicing.
Notes
- For a richer flavor, you can substitute half of the all-purpose flour with bread flour.
- If you prefer a slightly sweeter loaf, increase the honey to 1/3 cup.
- To achieve a soft crust, brush the top of the loaf with melted butter immediately after removing it from the oven.
Nutrition
- Serving Size: 1 slice
- Calories: 130
- Sugar: 3
- Sodium: 150
- Fat: 2
- Saturated Fat: 1
- Unsaturated Fat: 1
- Trans Fat: 0
- Carbohydrates: 25
- Fiber: 3
- Protein: 5
- Cholesterol: 5
