

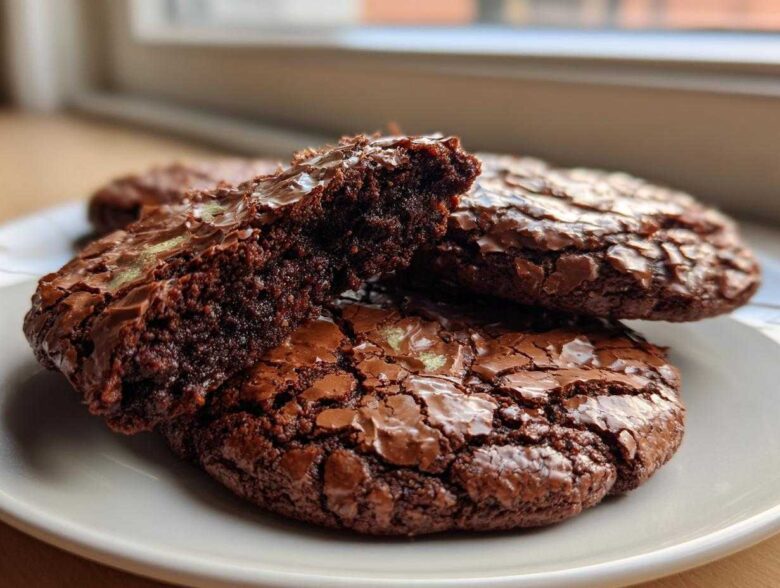
Let’s be honest, sometimes you need the pure, intense chocolate hit only a real brownie can deliver, but you want it in a quick, handheld cookie format. That need—that deep, dark craving—is exactly why these brownie cookies exist! I spent ages trying to reconcile the density of a great brownie with the chew of the perfect cookie, and finally, I nailed the balance. I swear, the secret is in managing the sugar and beating the eggs just right. If you’re looking for that fudgy center and a signature crinkly top, look no further. Finding the key ratio between the cocoa and the melted chocolate took years of testing, but trust me, this recipe for ultimate fudgy chocolate crinkle cookies is exactly the perfect brownie cookie recipe from scratch you needed.
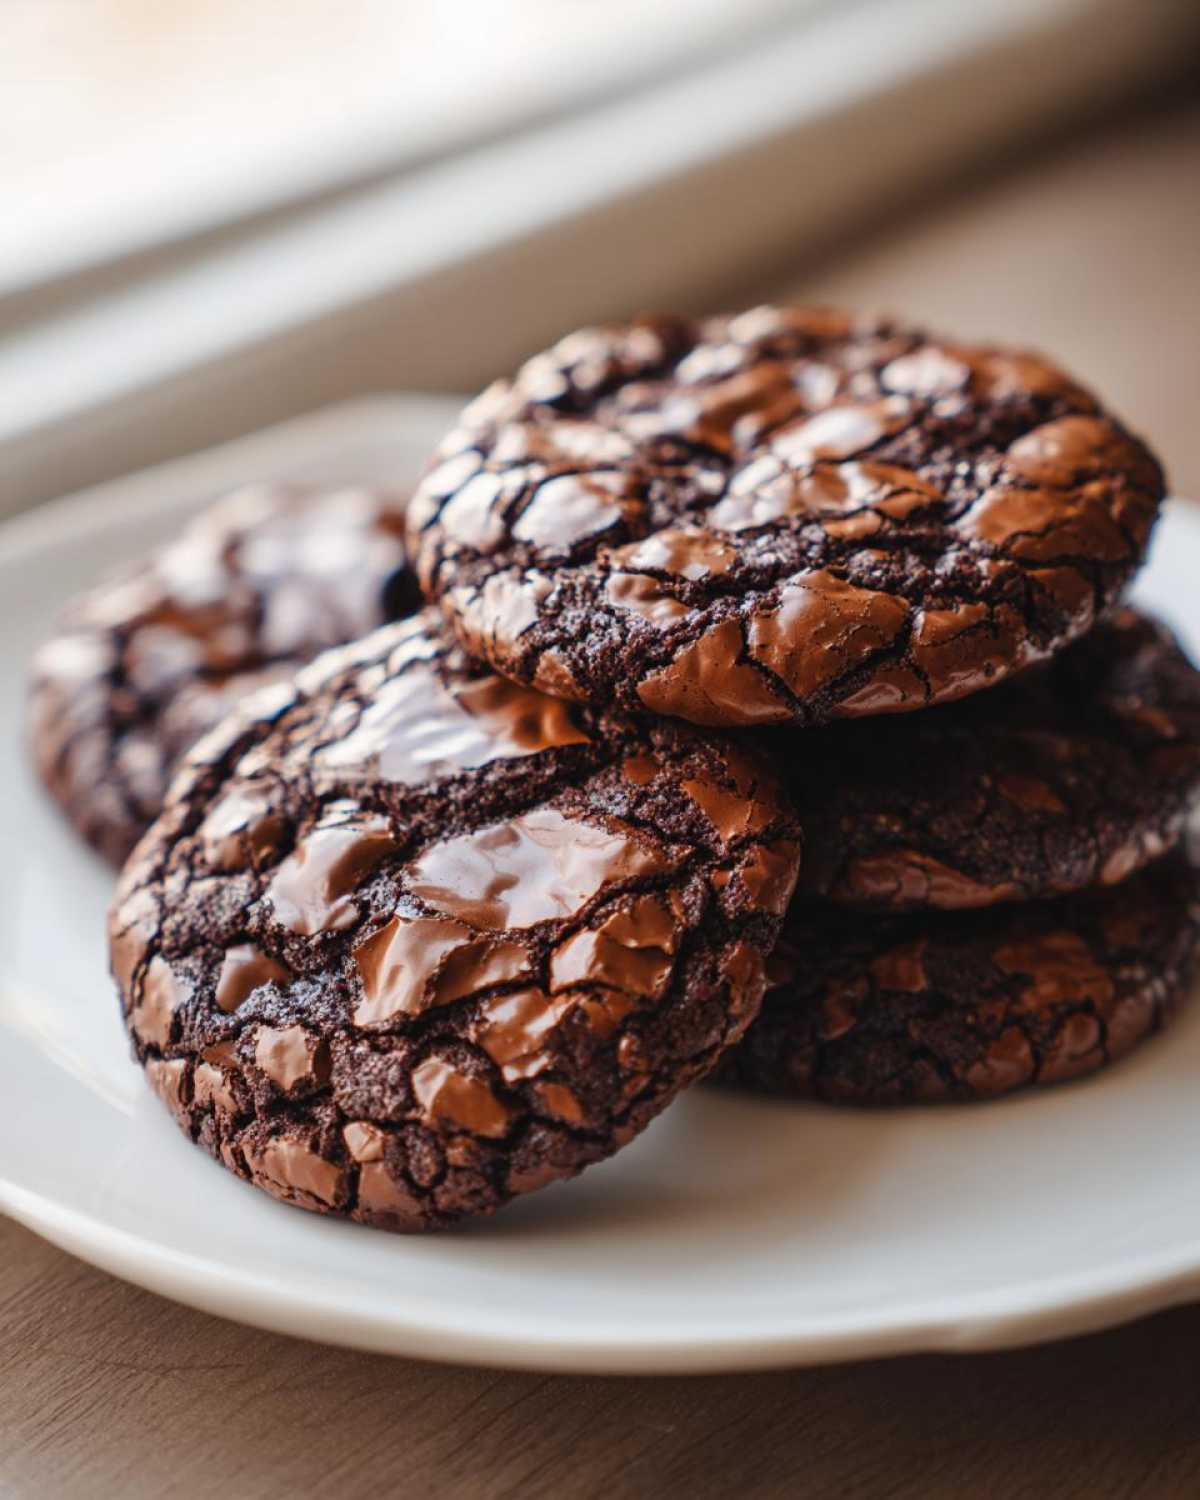
Why You Will Crave These Fudgy Brownie Cookies
Look, these aren’t just chocolate cookies; they are the best of both worlds, bottled up into one easy bake! If you need a reason to get these baking right now, here’s why they are my go-to for any chocolate emergency. We are talking intensely good stuff here:
- They deliver that famous, shiny, crinkly top you usually only get from a perfect pan of brownies.
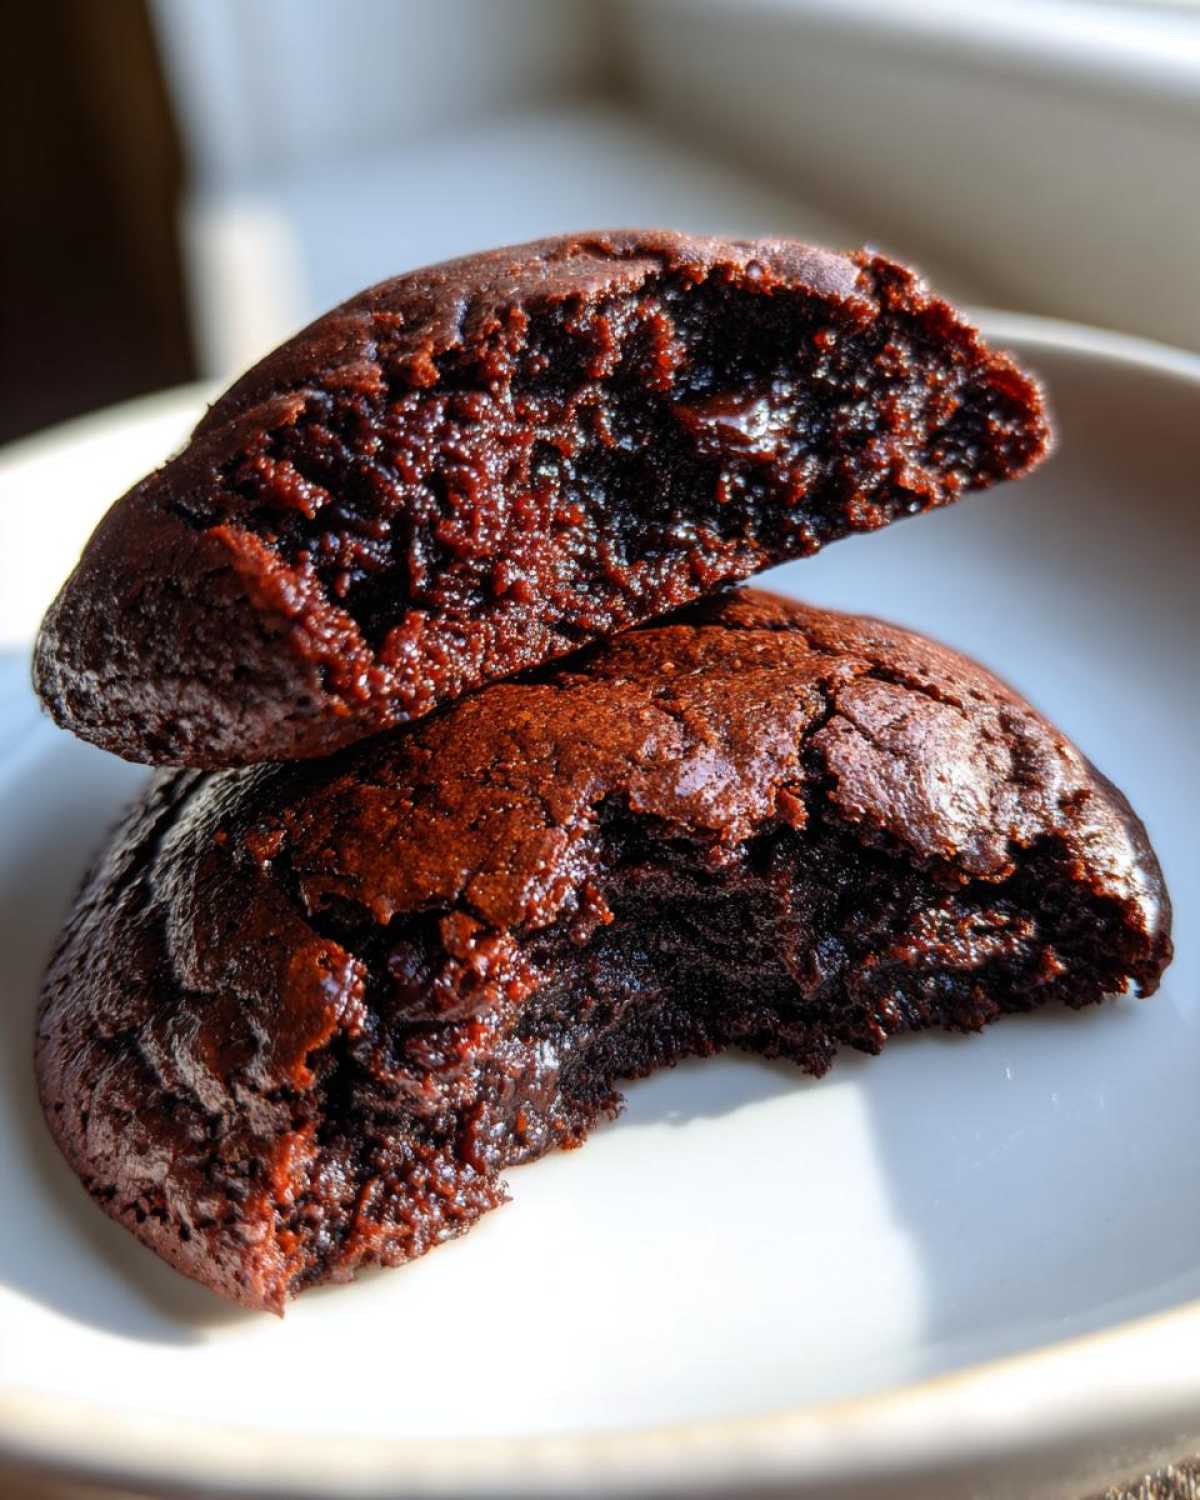
- The texture is next level: simultaneously fudgy brownie cookies and satisfyingly chewy chocolate cookies.
- Prep time is lightning fast—we’re talking under 15 minutes before they hit the oven!
- These are the ultimate quick chocolate dessert when that craving hits hard.
- Seriously intense chocolate cookies thanks to both cocoa powder *and* real chopped chocolate.
- They make incredible bakery style brownie cookies right on your own counter!
If you loved my recipe for those decadent oreo brownies, you absolutely must try these; they bring that same dense richness but in a perfect cookie shape!
Essential Ingredients for Perfect Brownie Cookies
Okay, so you can’t fake this richness, right? To get the right combination of fudgy and chewy, you need to treat your ingredients with respect. I learned the hard way that using low-quality chocolate or instant cocoa just gives you a sad, dry cookie. Nope! For these homemade brownie cookies to truly shine, you need to stick to the list. I’m giving you the exact measurements because getting the balance of sugar to fat is what creates that incredible crinkle on top. You’ll notice we use both granulated and brown sugar—don’t skip the brown sugar! It holds onto moisture better than anything else. Remember, these aren’t your grandma’s light and fluffy sugar cookies; these are rich chocolate baked goods!
You will need one-half cup of unsalted butter that’s been carefully melted down first. Then, you’ll grab one cup of standard granulated sugar, followed right after by one-half cup of packed light brown sugar—make sure you pack it in! We need two large eggs added one at a time, and just one teaspoon of vanilla extract to round out the flavor. For the dry components, get your measuring cups ready for three-quarters cup of all-purpose flour, one-half cup of unsweetened cocoa powder—use the darkest you can find—one-half teaspoon of salt, and just one-quarter teaspoon of baking powder; we don’t want these cookies puffing up too much! Finally, the real star: four ounces of bittersweet chocolate, which you’ll want to chop evenly into small pieces. Don’t worry about finding a special moist chocolate cake recipe or substitute; these brownies rock on their own!
Step-by-Step Guide to Making Brownie Cookies From Scratch
This is where the magic happens, and seriously, it’s so fast you’ll be shocked. Before you sneeze, you’ll have dough ready for the oven! First things first, crank that oven up to 350°F (175°C) right away. I always line my baking sheets with parchment paper—it saves me cleanup time later, which means I can eat these brownie cookies faster! Don’t stress about making them look perfect; the dough is meant to be thick and rich.
Preparing the Wet Base for Rich Brownie Cookies
Grab a medium bowl and get your melted butter in there. Whisk it vigorously with both the granulated sugar and that lovely packed brown sugar until everything looks smooth and totally combined. Now, listen closely: beat in your two large eggs, one at a time, making sure that first one is fully incorporated before you add the second. Finish this wet batch by stirring in your vanilla extract. See? Already smells amazing!
Combining Dry Ingredients and Folding in Chocolate
In a separate bowl, just give your flour, cocoa powder, salt, and baking powder a quick whisk together to make sure everything is evenly distributed. Now, gradually add these dry bits into your wet mixture. Mix gently until you *just* see no more flour streaks. Seriously, stop mixing here! Overmixing equals tough cookies, and we want soft gooey cookies, not hockey pucks. Lastly, fold in those gorgeous chopped bittersweet chocolate pieces. Feel that dense, fudgy dough?
Baking and Cooling Your Chewy Chocolate Cookies
Time to scoop! Use rounded tablespoons of dough and drop them onto your prepared sheets, leaving about two inches between each one because they will spread just a little. Pop them in the hot oven for only 10 to 12 minutes. This is critical for the crinkle top and the fudgy middle: you want the edges to look set, but the absolute center should still look soft and slightly underdone when you pull them out. Let them chill out on that hot baking sheet for five minutes exactly—this resting period finishes the baking process and sets that gorgeous shiny crust. Then, carefully move them onto a wire rack to cool completely. Trust me, once they cool, they become the best chocolate cookie recipe you’ve ever made.
If you are interested in taking your chocolate game up a notch, check out my recipe for amazing sourdough chocolate chip cookies sometime!
Tips for Achieving the Best Crinkly Top on Your Brownie Cookies
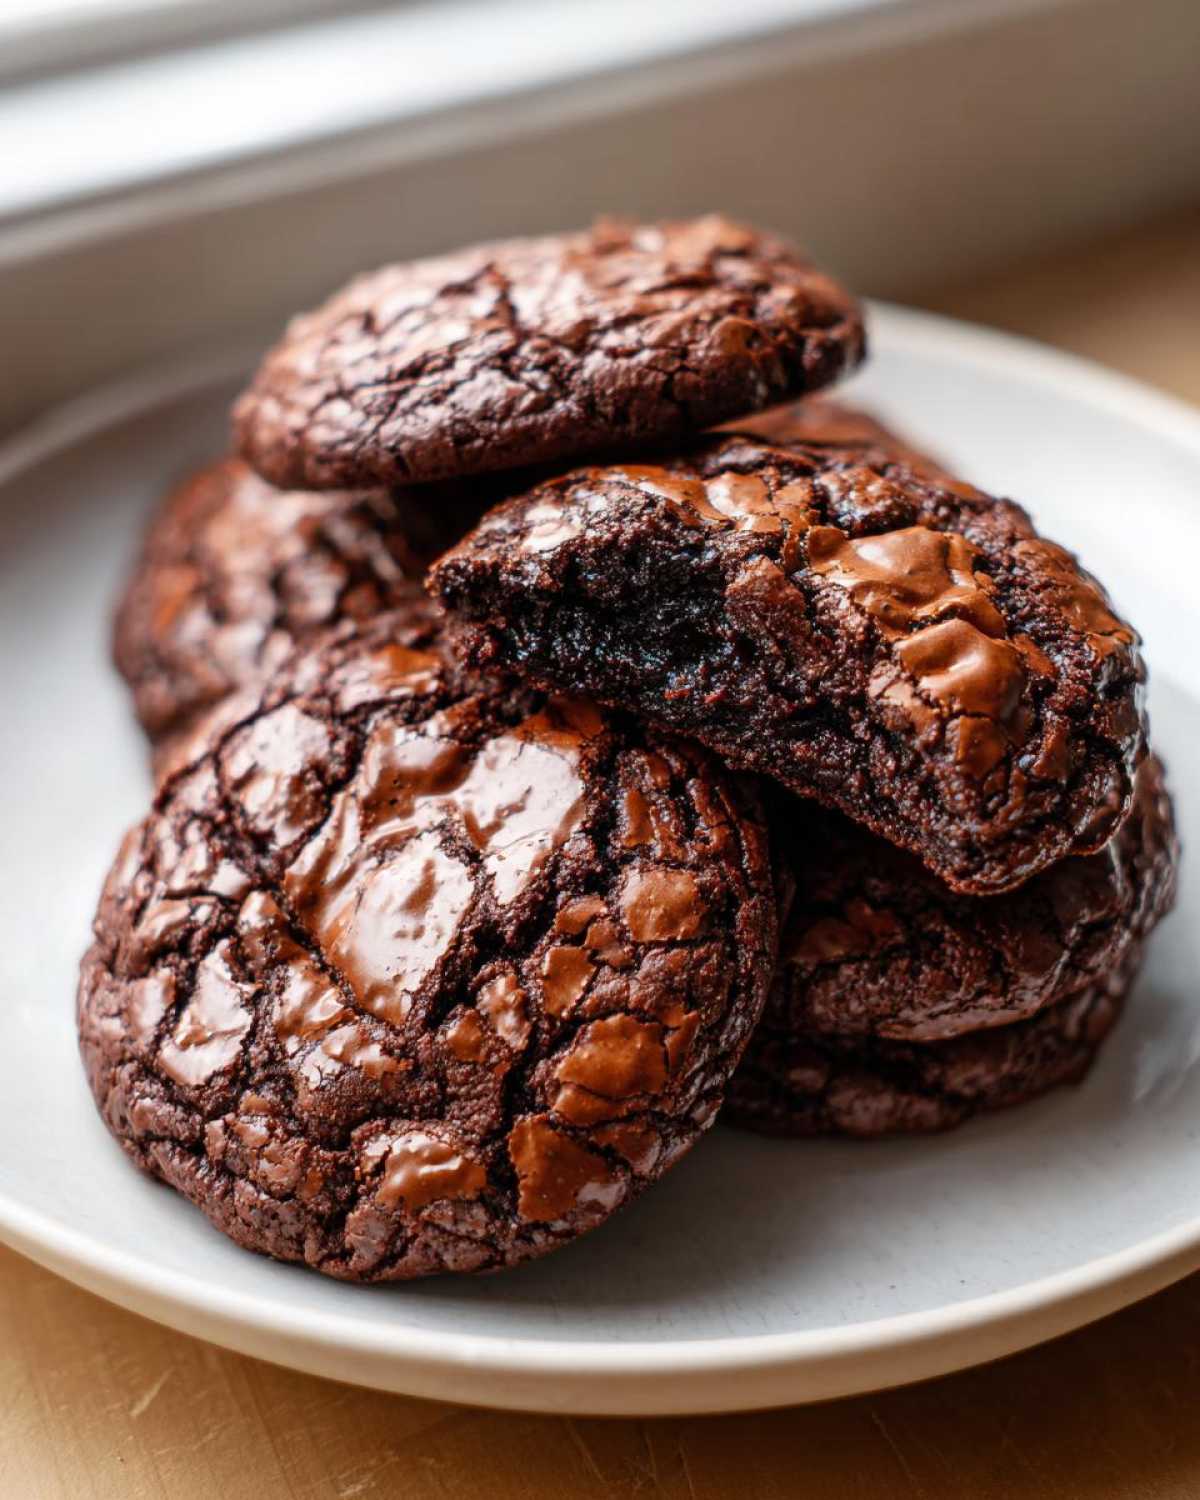
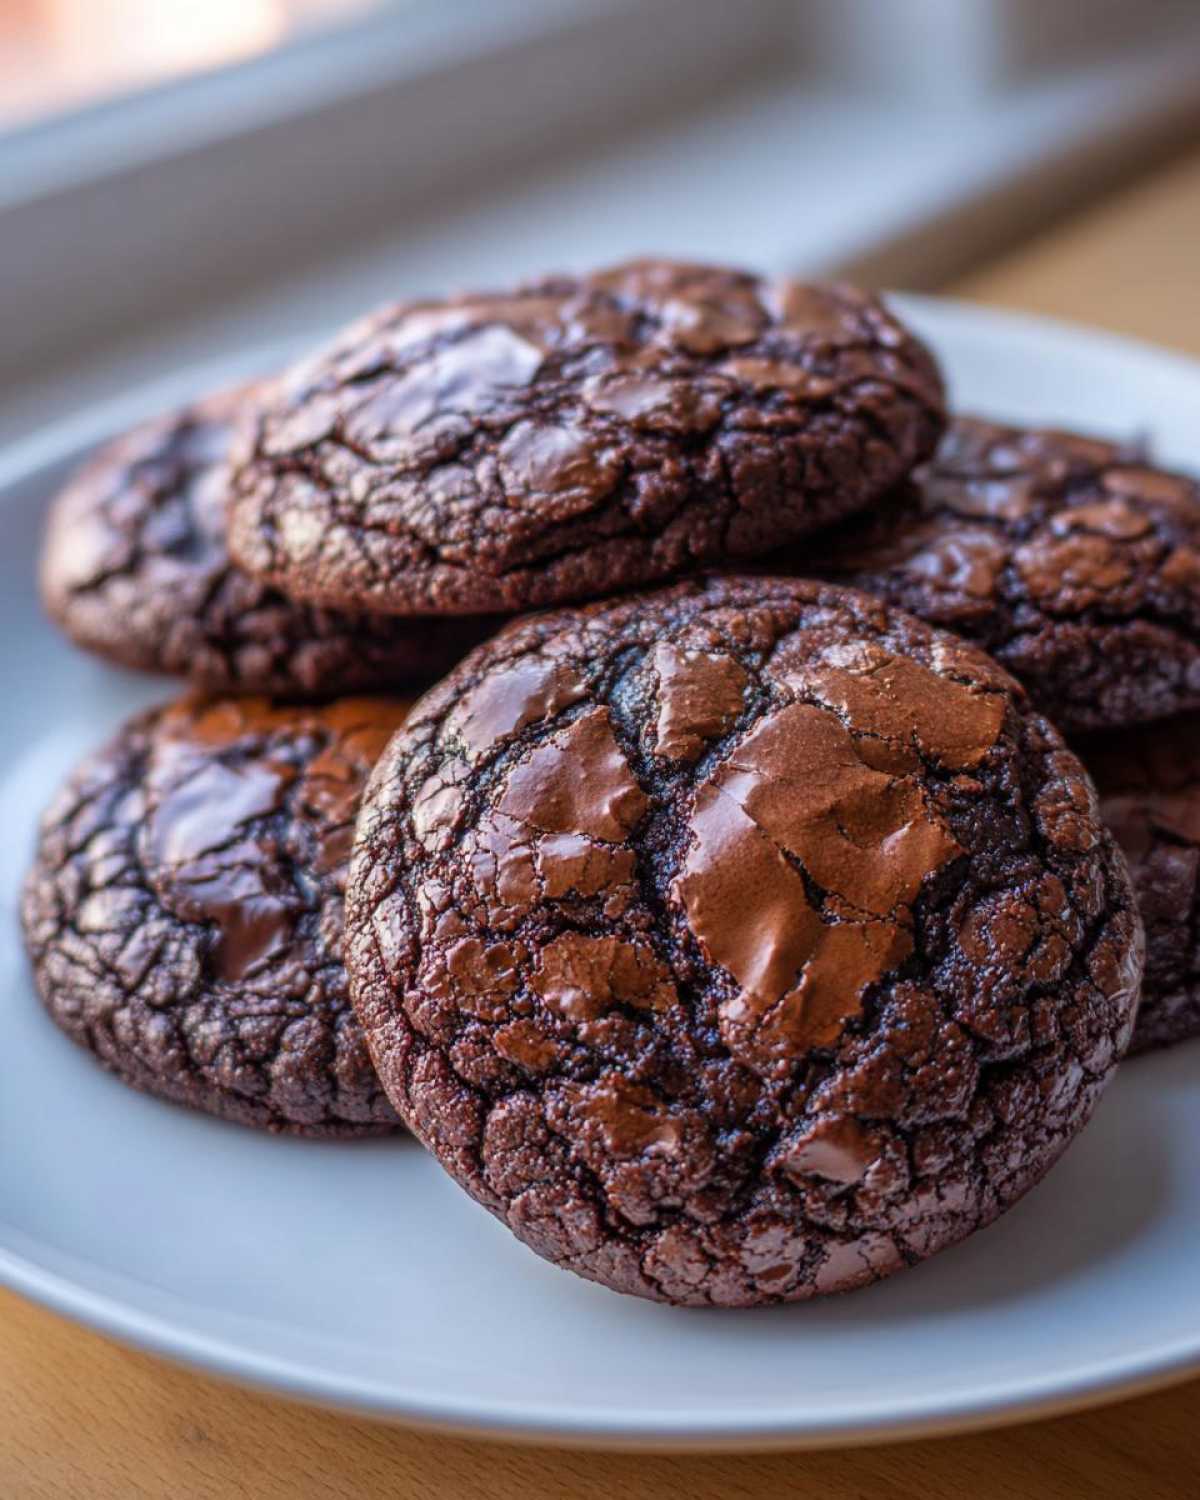
Oh, that beautiful, shiny, crackly top! Anyone who has made brownies knows that perfect crinkle finish is pure gold, and we absolutely need it on our brownie cookies too. The biggest secret here is really about managing your expectations—you have to under-bake them slightly! If you wait until the center looks fully cooked in the oven, by the time they cool down, you’ll have firm, cakey tops instead of that signature fudgy dome.
This relies heavily on the sugar ratio we used; the combination of white and brown sugar melts and then creates that gorgeous skin as the cookie sets post-oven. I always remember one batch where I got distracted and baked them two full extra minutes. When I pulled them out, they were perfectly flat and just looked… dull. No crinkle! I learned then that pulling them out when they look slightly underdone is the key to getting those gourmet chocolate cookies to look professionally baked. It’s scary, but trust the process! For more rich chocolate intensity, you might enjoy my fudgy date brownies recipe next time.
Ingredient Notes and Substitutions for Brownie Cookies
People always ask me about substitutions, and look, I get it—sometimes the pantry is looking a little sparse! But for achieving that perfect rich, fudgy brownie cookies texture, we need to be careful, especially with the fat and chocolate. My recipe calls for melted butter because it really helps create that dense, fudgy base, almost like you’re melting down a real brownie batter. If you try to use softened butter, you’ll end up creaming air into it, and suddenly you’ve got something closer to a cakey cookie. Keep that butter melted!
What about the chocolate? I insist on bittersweet because it provides the necessary cocoa solids and cuts through the sweetness of the two sugars we use. If you only have milk chocolate on hand, go ahead and use it, but be warned: the cookies will be much sweeter and might not set quite as beautifully on top. You’ll lose some of that deep, intense chocolate cookie flavor we’re aiming for. If you haven’t tried baking a truly moist dessert yet, check out my guide on how to make a reliably moist chocolate cake—the principles are similar!
Storage and Reheating Instructions for Homemade Brownie Cookies
These brownie cookies are definitely best eaten the day you bake them—when that fudgy center is still slightly gooey and the top is perfectly crinkled. But hey, sometimes you can’t eat 18 soft gooey cookies in one sitting, right? I don’t blame you if you try!
I find they keep really well at room temperature, provided you don’t live in a super humid area. Store them in an airtight container, and they should stay fantastic for a good three to four days. The structure is dense because of the melted butter and chocolate, which helps them stay moist longer than a standard, thin cookie. Just give them a layer of parchment paper between each cookie if you stack them up, just in case they start to stick together.
If you have a big batch, freezing is totally an option! Lay the cooled cookies out on a baking sheet until they are solid—this stops them from sticking to each other in the bag. Once frozen, transfer them to a heavy-duty freezer bag. They’ll last beautifully for up to three months.
Now, for the best part: reheating them! If you grab a frozen cookie, let it thaw on the counter for about ten minutes, but truly, the secret to bringing back that just-baked gooeyness is a super quick zap in the microwave. I microwave mine for about 8 to 10 seconds tops. You want that center warm and melting again, but *don’t* go too long or you’ll lose that wonderful chewy edge. It makes them taste like you just pulled them out of the oven, ready to dip into my easy homemade chocolate fudge for an extra treat!
Variations: Making Your Own Gourmet Chocolate Cookies
While these brownie cookies are absolutely stellar just as they are, I love knowing that they are the perfect canvas for your own style! Once you have the base recipe down—seriously, master it first—you can start adding these little twists to turn them into something truly special and unique. Think of these as upgrading your weeknight treat into something you’d happily serve at a party!
My absolute favorite thing to do when I want my cookies to have that deep, mysterious background flavor is adding espresso powder. Just one teaspoon whisked right in with the dry ingredients won’t make them taste like coffee; it just magically deepens the chocolate flavor. It’s the trick professional bakers use for the best cookie recipes for chocolate lovers! You end up with something incredibly rich.
If you prefer a textural contrast—something crunchy to go with that chewiness—you can bring in the nuts! About a half cup of toasted pecans or walnuts folded in at the very end are fantastic. Toasting them first makes all the difference; just toss them on a dry pan in the oven for about 5 minutes until you can smell them, then let them cool before folding them in. This prevents them from getting soggy during baking.
Another fantastic swap is mixing up your chocolate chips. If you have a bag of white chocolate chips or some butterscotch chips lurking in the pantry, try using half bittersweet and half of those for a fun, swirl effect in your brown butter chocolate chip cookies alternative. They still bake up with that signature brownie look, but you get a surprise burst of contrasting sweetness. These little tweaks elevate them from easy brownie cookies to must-have gourmet chocolate cookies!
Serving Suggestions for Your Rich Chocolate Baked Goods
Now that you have these stunning, rich chocolate baked goods cooling on the rack, the real question is: how do you truly maximize the experience? Honestly, these brownie cookies are fantastic all on their own—warm, slightly gooey, and tasting like pure dark chocolate heaven. But if you want to make it a dessert moment, you have to serve them with something clean and cool to cut through that richness!
My number one, absolute must-do pairing is a giant scoop of high-quality vanilla bean ice cream. The contrast between the warm, fudgy cookie and the cold, creamy ice cream when they melt together? Honestly, it’s perfection. If you prefer something simpler, you just can’t go wrong with a tall, frosty glass of cold milk. It sounds basic, but it’s the classic pairing for a reason, especially when you want to really appreciate the deep cocoa flavor without any competition.
For a grown-up pairing, grab your favorite strong coffee or a rich espresso. The slight bitterness of the coffee plays so nicely off the heavy sweetness of the sugars in the cookie. You can even keep a couple in the freezer and pull one out to enjoy alongside your morning cup of coffee instead of a muffin!
If you’re feeling extra fancy, and you’ve made my silky vanilla buttercream frosting recipe, you can absolutely slather a little between two cooled cookies to make the ultimate chocolate sandwich cookie. Just be careful—you might need a nap afterward!
Frequently Asked Questions About Brownie Cookies
It’s totally normal to have questions when you are trying a new, intense chocolate recipe like this! I’ve collected the ones I get asked most often because smashing that chocolate craving means getting the details exactly right. Don’t worry if you’re seeing some things for the first time; mastering these brownie cookies is worth the effort.
Can I use a boxed brownie mix for these brownie cookies?
That’s the great workaround question! Listen, you absolutely *can* use a boxed mix hack if you’re in a total pinch, but I won’t pretend it gives you the same result as this recipe. When you bake these brownie cookies from scratch, you have control over the moisture from the melted butter and the richness from the quality cocoa. A boxed mix often results in a final cookie that tastes more like a crunchy, dull chocolate chip cookie disguised as a brownie. For the truly fudgy texture and the perfect crinkle top we obsessed over, stick to melting that good bittersweet chocolate!
Why are my brownie cookies flat instead of chewy?
This usually points to two culprits, and I’ve been guilty of both! The number one reason for flat, less-than-chewy fudgy brownie cookies is overmixing. As soon as you dump the dry flour mixture in, you are developing gluten, and too much gluten makes things tough and spreads them out too quickly in the oven. Mix until *just* combined, I mean it! The other potential issue is your butter temperature. If your melted butter was too hot when you added the eggs, it could throw off the structure. These cookies rely on that initial density created by the melted fat, so keep it cool enough.
How long does it take to make these easy brownie cookies?
I designed this recipe specifically because sometimes you need a top-tier chocolate hit in under an hour! If you’re moving quickly, your prep time is maybe 15 minutes. The actual bake time is only 10 to 12 minutes—that’s faster than most frozen desserts take to thaw! Overall, you’re looking at less than 30 minutes total, making them one of the best 30 minute cookies out there when you need a truly intense chocolate cookie fix. Once they’ve cooled enough to move, you are good to go!
For more pie or cookie wisdom, check out my thoughts on making a perfect chocolate meringue pie next time you need an extra decadent chocolate fix!
PrintFudgy Brownie Cookies with Crinkly Tops
Make rich, chewy brownie cookies from scratch that feature a signature shiny, crinkly top. This recipe delivers intense chocolate flavor in a cookie format.
- Prep Time: 15 min
- Cook Time: 12 min
- Total Time: 27 min
- Yield: 18 cookies
- Category: Dessert
- Method: Baking
- Cuisine: American
- Diet: Vegetarian
Ingredients
- 1/2 cup unsalted butter, melted
- 1 cup granulated sugar
- 1/2 cup packed light brown sugar
- 2 large eggs
- 1 teaspoon vanilla extract
- 3/4 cup all-purpose flour
- 1/2 cup unsweetened cocoa powder
- 1/2 teaspoon salt
- 1/4 teaspoon baking powder
- 4 ounces bittersweet chocolate, chopped
Instructions
- Preheat your oven to 350°F (175°C). Line baking sheets with parchment paper.
- In a medium bowl, whisk together the melted butter, granulated sugar, and brown sugar until smooth.
- Beat in the eggs one at a time, then stir in the vanilla extract.
- In a separate bowl, whisk together the flour, cocoa powder, salt, and baking powder.
- Gradually add the dry ingredients to the wet ingredients, mixing until just combined. Do not overmix.
- Fold in the chopped bittersweet chocolate.
- Drop rounded tablespoons of dough onto the prepared baking sheets, spacing them about 2 inches apart.
- Bake for 10 to 12 minutes. The edges should look set, but the centers will still look soft.
- Let the cookies cool on the baking sheet for 5 minutes before transferring them to a wire rack to cool completely.
Notes
- For the best crinkly top, do not overbake the cookies; they firm up as they cool.
- Use high-quality cocoa powder for the most intense chocolate taste.
- You can chill the dough for 30 minutes before baking if you prefer thicker cookies.
Nutrition
- Serving Size: 1 cookie
- Calories: 180
- Sugar: 18
- Sodium: 75
- Fat: 9
- Saturated Fat: 5
- Unsaturated Fat: 4
- Trans Fat: 0
- Carbohydrates: 24
- Fiber: 1
- Protein: 2
- Cholesterol: 45
