

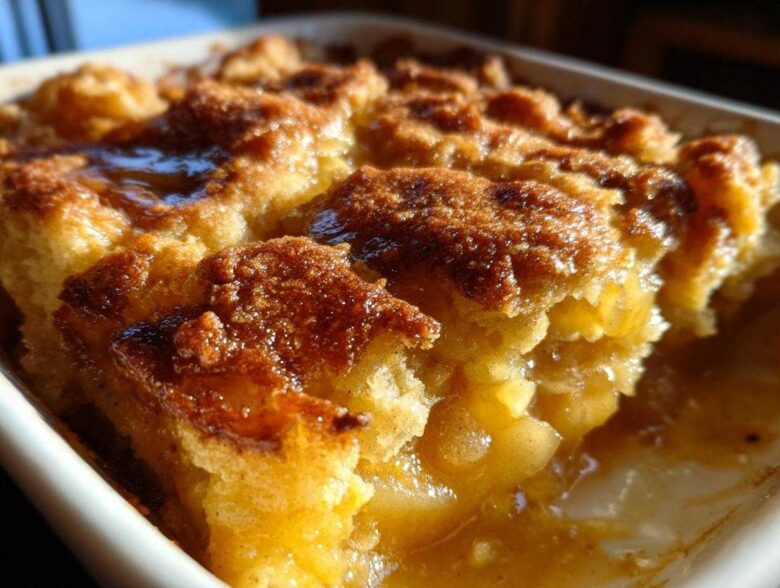
Oh, when the air finally starts getting that crisp, lovely chill, what is the absolute first thing you crave? For me, it’s always baked apples swimming in cinnamon—that smell immediately takes me back to my Aunt Carol’s kitchen every Thanksgiving, even though she swore her secret was just ‘good butter.’
Forget those complicated crisps or fussy crumbles; what we need in life is pure, unadulterated comfort. That’s exactly what this simple apple crisp recipe sister, this amazing apple cobbler, delivers. It’s just tender, spiced apples underneath a wonderfully soft, slightly sweet biscuit topping. Seriously, it comes together in next to no time, and it proves you don’t need fancy techniques to make something truly show-stopping. Grab your favorite serving dish; we’re baking some pure fall happiness!
Why This is the Best Simple Apple Cobbler Recipe
I’ve tried every variation out there, but this one always wins because it honors the classics. It’s honest, easy, and comforting—the way all great **fall apple recipes** should be. You need this in your rotation, trust me:
- The filling requires barely any effort; you just toss everything together!
- The biscuit topping bakes up perfectly tender, never hard or dry.
- It smells like the very best part of autumn the minute it hits the oven.
If you want a really incredible, fuss-free dessert, check out this best easy apple cobbler guide for more tips!
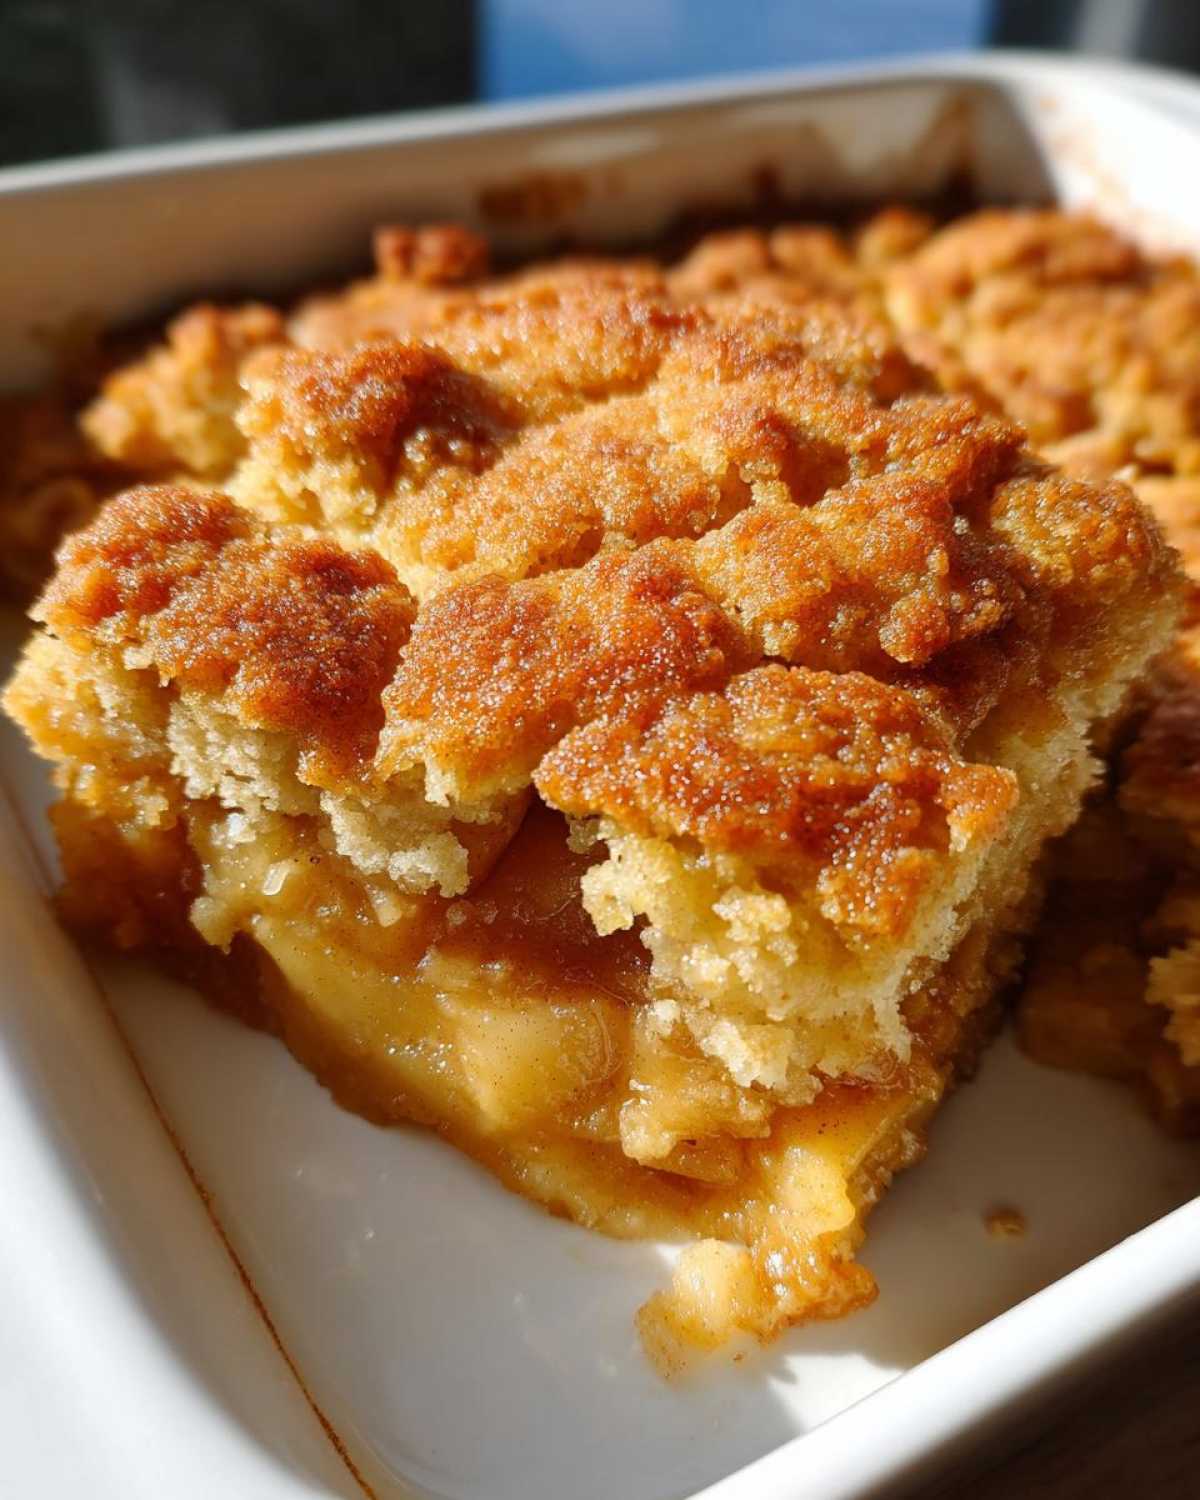
Gathering Ingredients for Your Cinnamon Apple Cobbler
This is such a simple dessert, which is why I love it for weeknights! We have two main groups of ingredients here: the fruit that gets all sweet and bubbly, and the topping that bakes up into soft, cakey biscuits. The secret, and I mean *secret*, to that topping is making sure your butter is seriously cold. I mean, almost frozen cold. That’s what guarantees those flaky layers when it melts in the oven!
You can find more inspiration for using up all that seasonal fruit in my classic easy apple crumble recipe.
For the Apple Filling
- Six medium apples—I swear by Granny Smith or Honeycrisp because they hold their shape and stay tart! Make sure they are peeled, cored, and sliced nicely.
- Half a cup of regular white sugar.
- One tablespoon of all-purpose flour for thickening up those juices.
- One teaspoon of ground cinnamon—go heavy here!
- A tiny dash, just a quarter teaspoon, of ground nutmeg.
- One tablespoon of fresh lemon juice to keep the apples bright.
For the Biscuit Topping
- Half a cup of all-purpose flour, the base of our biscuit.
- A quarter cup of packed brown sugar—that molasses flavor is everything!
- Half a teaspoon of baking powder so they puff up nicely.
- A quarter teaspoon of salt to balance the sweet.
- A quarter cup of unsalted butter, key ingredient! Remember, it must be cold and cut into little pieces.
- A quarter cup of milk—any kind works!
Step-by-Step Instructions for the Perfect Apple Cobbler
Okay, so we have our ingredients chilling and ready to go. This is where the magic really starts to happen, and it moves fast once you get going! It’s important to work quickly when handling that cold butter for the topping, but for the apples, you want to be gentle.
You can find a guide on how to keep your apples perfectly tender without turning them to mush right here: tender baked apple recipe. But let’s get this cobbler into the oven!
Preparing the Apples and Dish
First things first, crank that oven up to 375°F (190°C) and take a minute to lightly grease your 8×8 inch baking dish. Now, for the apples. I have a soft spot for Granny Smith because that bit of tartness cuts through the sugar perfectly, but use what you love! Toss those sliced apples right into a big bowl with the granulated sugar, the tablespoon of flour, cinnamon, nutmeg, and lemon juice. Toss it gently, okay? You don’t want to mash them before they even hit the heat. Once they look coated and happy, pour that whole mixture right into your prepared dish.
Making the Biscuit Topping
This is the crucial texture step! In a separate bowl, whisk together the flour, brown sugar, baking powder, and salt for the topping. Now, take those tiny cubes of cold butter and use a pastry blender—or honestly, just your fingertips, which is how I always do it—to cut that butter into the dry mix. You’re looking for a texture that really resembles coarse crumbs, kind of like rough sand. Once it looks crumbly, drizzle in your milk. Stop mixing the second it comes together! Seriously, if you overmix this, you get hockey pucks instead of tender biscuits. We want soft dough!
Assembling and Baking Your Apple Cobbler
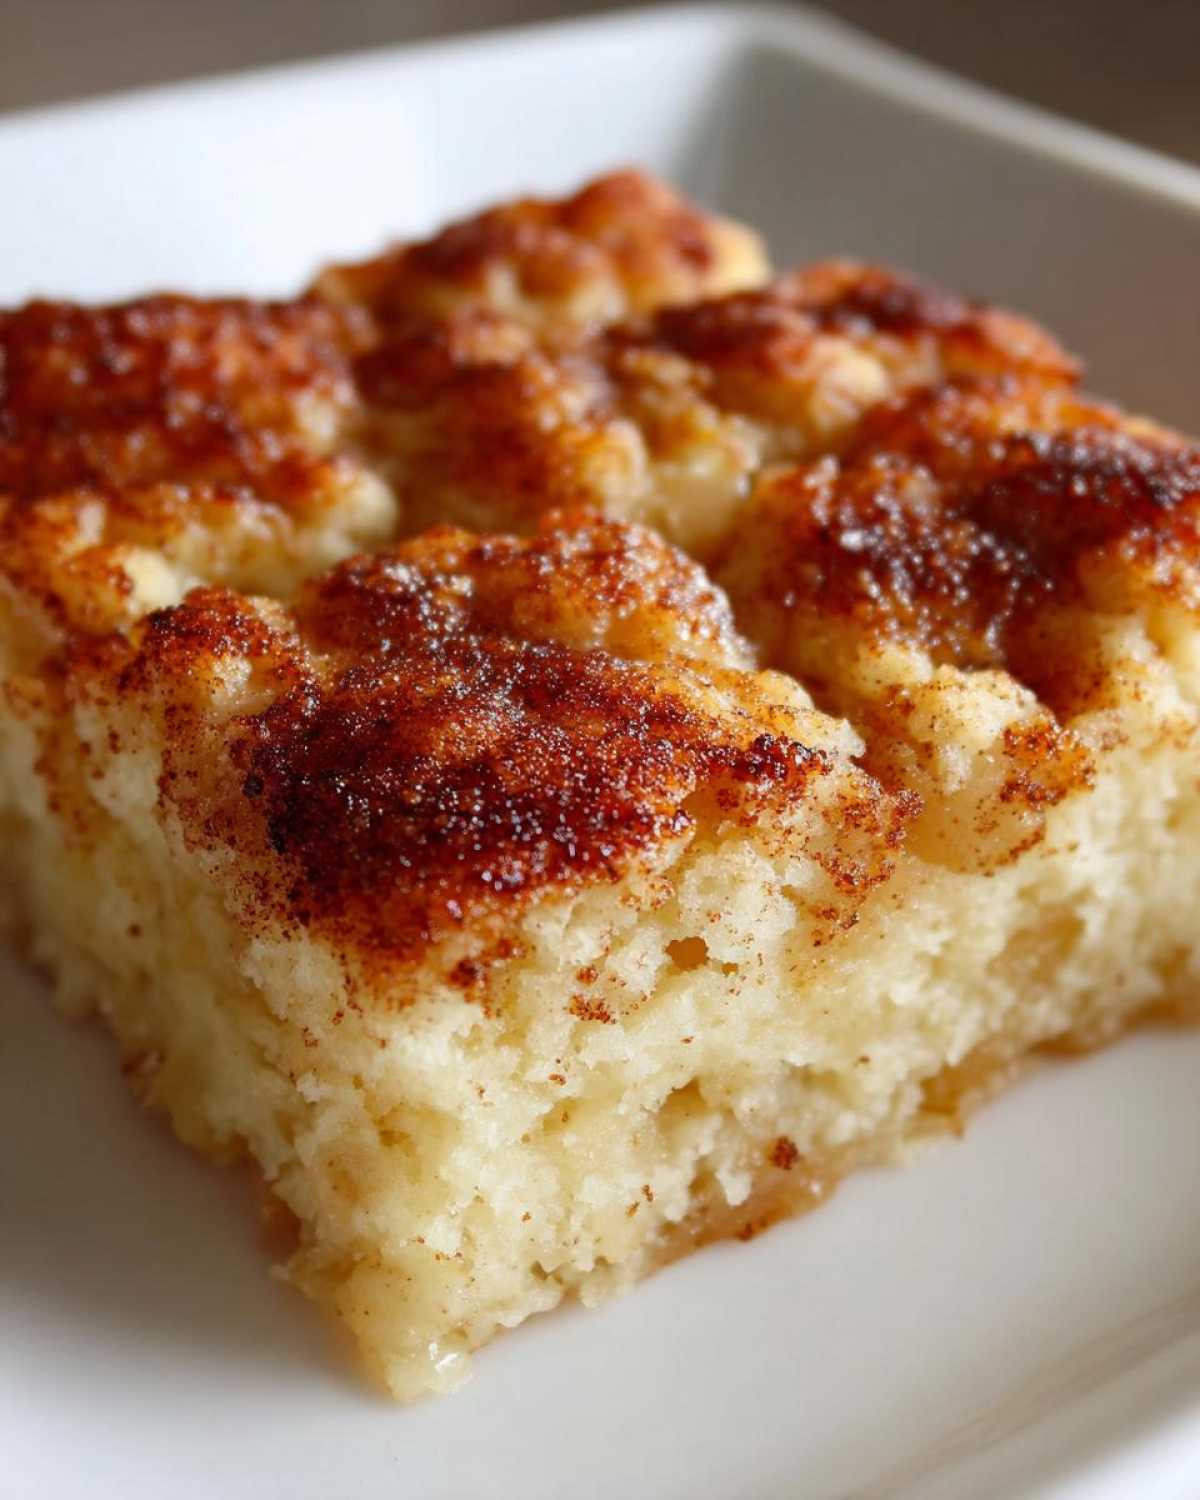
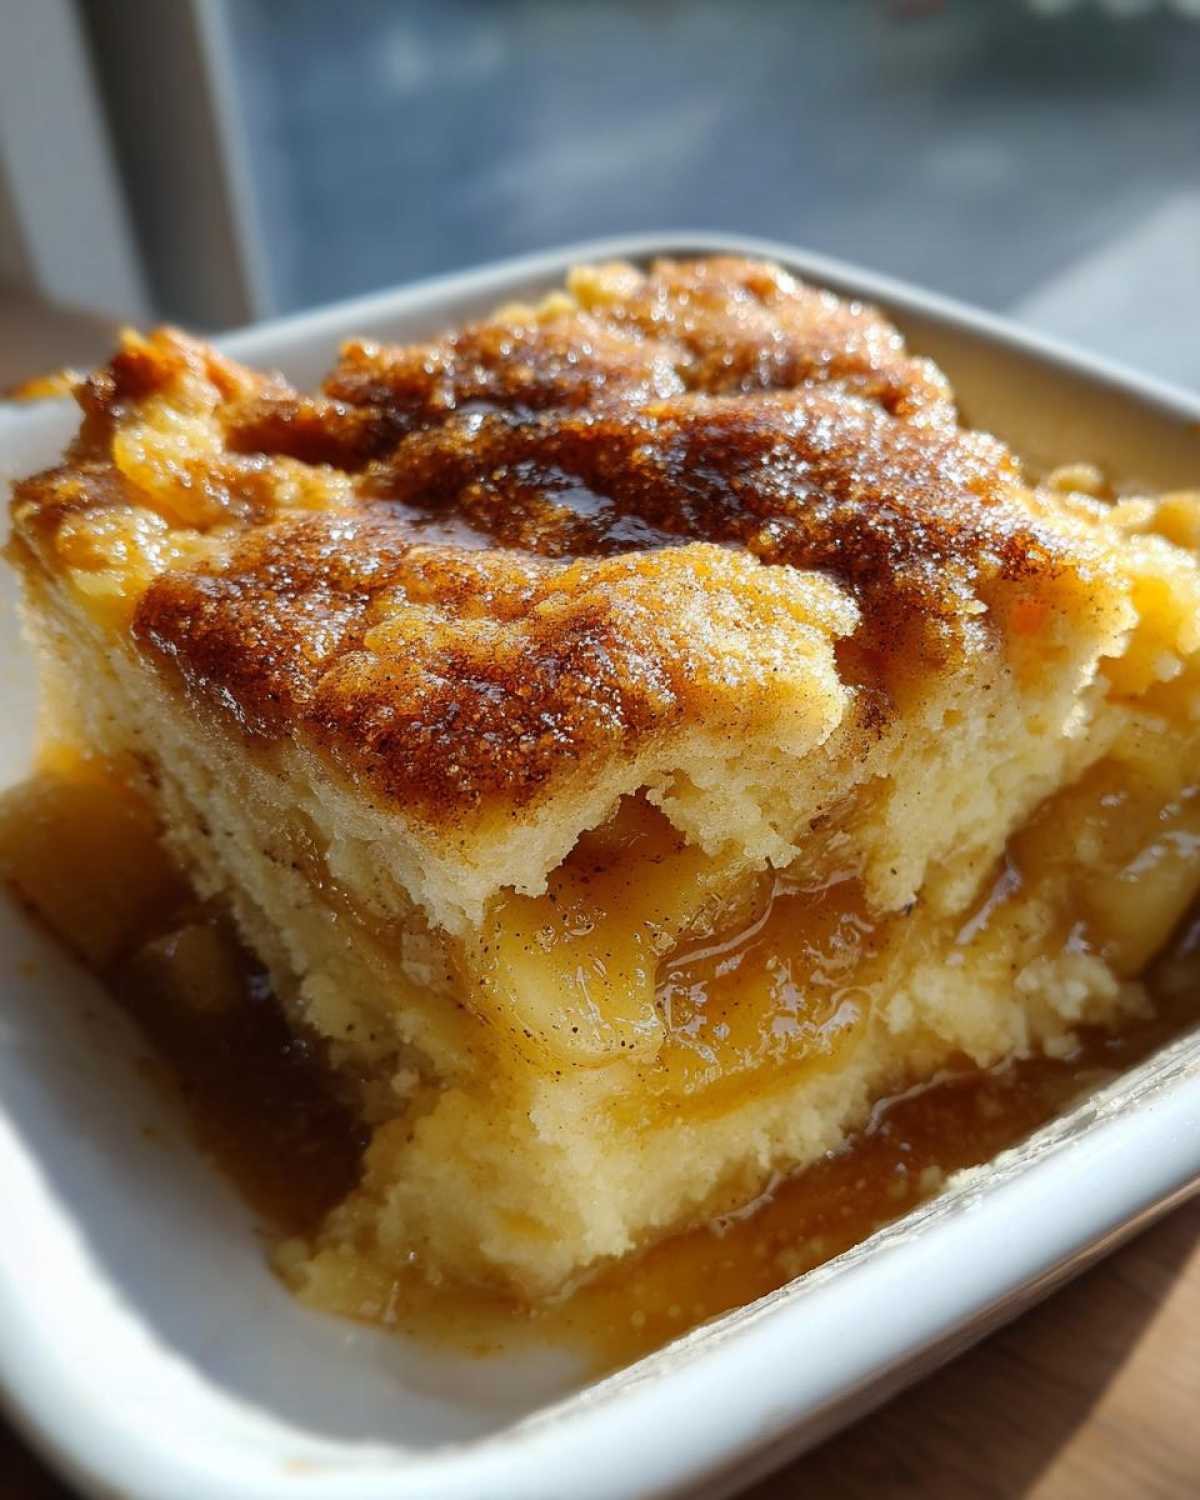
Time to put it all together! Take spoonfuls of that soft topping dough and gently drop them evenly all over the surface of the apples in the baking dish. Don’t worry about covering every single spot; those gaps are where the apple filling can bubble up gorgeously! Pop it into that preheated oven. You’ll bake this for about 35 to 45 minutes. You’ll know it’s done when that topping is a beautiful golden brown color and you can spy the filling underneath bubbling like crazy. Make sure you let it rest for at least 15 minutes before you dive in—it’ll be lava hot!
Tips for the Ultimate Fall Apple Recipe Success
You can follow the steps exactly, but sometimes it’s the little chef intuition that really makes this **apple cobbler** sing! My absolute top tip revolves around the apples. While Granny Smiths are great for tartness, I often mix them with Honeycrisp or Gala. Using two types gives you complex flavor and texture when they bake together.
For the topping to get those perfect little domes of goodness, don’t press the dough down when you drop the spoonfuls onto the apples. Just let them plop right there! They need room to grow while baking.
Also, if you happen to have some extra vanilla extract lying around, drizzle a tiny splash over the apples before you cover them—it really enhances the cinnamon.
If you want more ideas on different ways to use those lovely fall fruits, you should check out my easy baked apples cinnamon recipe; it’s similar but skips the biscuit topping!
Ingredient Notes and Substitutions for Your Apple Cobbler
When you’re baking from the heart, sometimes a spice jar is empty or you’re missing that “perfect” apple. Don’t let that stop you! This recipe is incredibly forgiving, which is why I always recommend it when people are nervous about baking. I’ve learned a few tricks over the years when I’ve had to look into my pantry and improvise.
For instance, if you’re out of nutmeg, don’t panic! You can definitely add a little extra cinnamon, or maybe throw in a tiny pinch of allspice if you have it. It all plays nicely together. Check out my moist applesauce cake recipe for more tips on how to swap out typical baking ingredients successfully!
Here are the main questions I always get when readers are standing in front of their spice rack:
What about the apples? Can I use just one type?
You absolutely can stick to just one type, but mixing them adds depth! If you use all very tart Granny Smiths, you might want to bump that granulated sugar up by a tablespoon. If you use all sweet apples, like Fuji, you might want to dial the sugar down slightly, like I mentioned in the notes. Granny Smiths or Honeycrisp are the bedrock here because they don’t turn into mush the second they see heat.
Can I use frozen apples instead of fresh ones?
Honestly, I’d try to avoid frozen if you can for this specific dessert. Frozen apples release way too much water when they thaw and cook down, and that makes our delicious biscuit topping soggy before it ever gets a chance to bake up nicely. If you absolutely must, thaw them first, drain off every drop of that liquid you can see, and maybe toss them with an extra teaspoon of flour to help absorb extra moisture.
Is it okay if my butter for the topping isn’t rock hard?
That’s the one spot where I’d say, “try again!” Cold butter hitting hot oven air creates that wonderful steam barrier that keeps your biscuit topping light and flaky, rather than dense and greasy. If your butter gets soft, just pop the whole bowl into the freezer for 10 minutes before you cut it into the dry ingredients. Patience here pays off huge with the texture!
Can I make this ahead of time?
You can prep the night before, yes! Peel and slice your apples, mix them with the sugar and spices, and store them airtight in the fridge. For the topping, mix the dry ingredients and keep that separate. Keep the butter refrigerated until you’re ready to mix and bake the next day. Putting the topping on right before it goes into the oven is non-negotiable for the best rise!
Serving Suggestions for Your Easy Apple Dessert
Part of the joy of a genuinely comforting **apple cobbler** is what you serve alongside it. Baking is only half the fun, right? This dessert is meant to be warm, gooey, and just begging for something cold and creamy to melt right into those hot, spiced-up apple juices.
When I bring this out of the oven, I usually have a couple of things ready. The first is a massive carton of good quality vanilla ice cream. There is nothing—and I mean *nothing*—better than that contrast between the hot, tart apples and the sweet, cold vanilla melting down the sides of your biscuit topping.
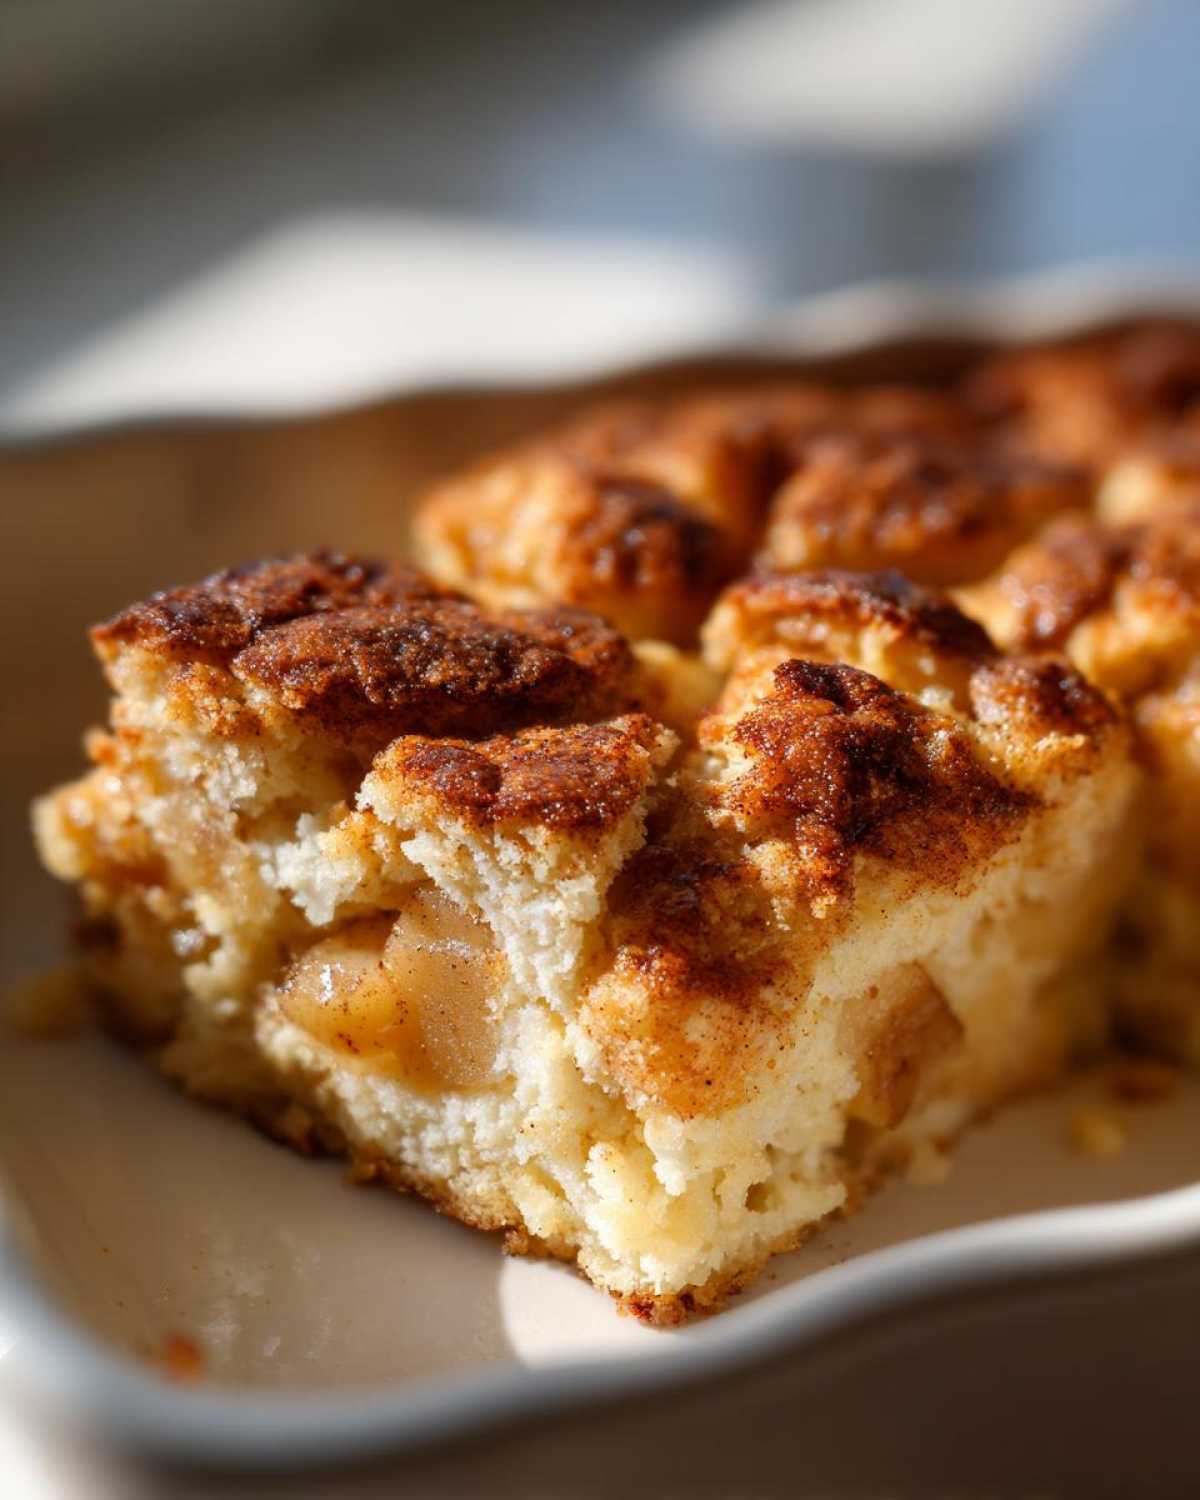
If ice cream isn’t your thing, a dollop of freshly whipped heavy cream, maybe sweetened just a hair with powdered sugar, is fantastic. It’s lighter but still adds that rich mouthfeel we want in a perfect **fall apple recipe**.
Don’t forget that rustic presentation tip I mentioned! If you made this in a cast-iron skillet, bring the whole pan right to the table. It looks incredible sitting there, bubbling away. It makes people feel like they are eating something really homemade and special, even though we both know how crazy **easy apple dessert** this actually was!
I found this wonderful recipe for a lighter topping alternative if you want to try something different next time; you can check out my guide to making vanilla buttercream frosting recipe, though frankly, I stick to ice cream for cobbler!
Storage and Reheating Instructions for Leftover Apple Cobbler
If you’re lucky enough to have leftovers—which doesn’t always happen at my house, ha!—storing this **apple cobbler** is simple, but reheating it correctly is key to maintaining that perfect texture. We want to save those crunchy bits on top!
I generally try to keep it on the counter for the first night if it’s just me and my husband, covered loosely with foil or a plate. Since it has fruit and sugar, I wouldn’t leave it out for more than a day, though. For anything longer than 24 hours, wrap it up tightly in plastic wrap or transfer it to an airtight container and pop it in the fridge. It will keep beautifully in the fridge for about three to four days.
Now, for the best part: bringing that warmth back!
Bringing Back the Bubble and the Crunch
Please, please, *please* avoid the microwave for reheating if you can! The microwave heats the fruit filling perfectly, but it turns that lovely biscuit topping soft and sort of rubbery which is just a tragedy for a good cobbler.
My absolute favorite way to reheat this is actually in the oven or, if I’m only warming up a single scoop, the air fryer. Set your oven to about 325°F (160°C). Place your portion (or the whole dish if you cooled it first) on a baking sheet and just warm it through for about 10 minutes. If you use the air fryer, 350°F for about 4 minutes works wonders to crisp up the top again.
If you really must use the microwave for speed, warm it in 20-second bursts ONLY. Then, pop that same serving under the broiler for one minute to try and crisp the topping back up. Watch it closely, though; the sugar burns fast under the broiler!
You can find my guide on freezing baked desserts over on my apple crisp recipe page, which has a few similar tips for how to freeze fruit-based baked goods!
Frequently Asked Questions About Making Apple Cobbler
I get so many great questions whenever I post this recipe, and I love talking all things **apple cobbler**! Baking this dessert is easy, but everyone seems to have their own little doubts or preferences. I’ve gathered the ones I hear most often below to hopefully clear things up!
What’s the difference between an apple cobbler and an apple crisp?
This is the classic confusion! The main sticking point is always the topping. A cobbler, like this amazing **easy apple dessert** we made, has a biscuit or batter topping that’s dropped over the fruit—it bakes up cakey or dumpling-like. A crisp, however, has a streusel topping made primarily of oats, flour, sugar, and butter that gets crumbly and crunchy while it bakes. Both are delicious, but the texture of the topping is truly what separates them!
Can I turn this into a Skillet Apple Cobbler?
Oh, yes, you absolutely can! And honestly, it’s my favorite way to present it, especially if you plan on bringing it to a gathering. If you want to use your cast-iron skillet instead of an 8×8 dish, you’ll want to use a 10-inch skillet for this batch size. A cast-iron skillet holds heat so beautifully, which gives you a fantastic, slightly crispier bottom layer to the apples. Just grease it well, pour in the apples, and continue with the biscuit drops! Serve it right out of the pan!
Is this topping more like a dumpling or a true biscuit?
That’s a great question about the texture! Because we only mix the topping until it *just* comes together—and we don’t knead it at all—it leans much closer to a soft, slightly dense dumpling rather than a tall, flaky Southern-style biscuit. If you want it taller, make sure your baking powder is fresh, and don’t over-moisten it when you add the milk. The goal is to drop spoonfuls that barely hold their shape.
I don’t have nutmeg. Can I still make this Cinnamon Apple Cobbler?
Of course! Don’t let a missing spice stall your baking dreams. Nutmeg is wonderful because it adds a deep, earthy warmth that balances the sweet apples, but if you don’t have it, just add an extra third of a teaspoon of cinnamon. You could also sneak in a tiny pinch of allspice if you have that in your cupboard—that brings a similar warm note. This simple **cinnamon apple cobbler** recipe is designed to be flexible!
What if I want a topping more like a Dutch Apple Cobbler?
If you prefer that crunchy, oat-based topping—which is really getting close to a true caramel cake recipe cousin, by the way—you just need to swap out the biscuit ingredients. For a **Dutch apple cobbler** style topping, skip the milk and baking powder completely. Instead, cut the cold butter into the flour, brown sugar, and add about half a cup of rolled oats. It will create a proper crumble! Don’t forget to add that oat crumble over the top after you’ve arranged your buttered apples.
Nutritional Estimates for This Recipe
Now, before you get too excited and think you can eat this entire batch in one sitting (I mean, I wouldn’t blame you!), we have to talk about the numbers. Since this is all about wholesome, homemade goodness, the exact counts can shift depending on which apples you pick or how much butter clings to your spoon, but I wanted to give you a general roadmap.
These estimates are based on the recipe yielding six perfect portions. Remember, this is a comforting dessert, so enjoy every bite without stressing about the fine print! These numbers are just guidelines, and they will absolutely vary based on the exact brands and types of ingredients you used for your homemade **apple cobbler**.
- Serving Size: 1 serving
- Calories: 320
- Sugar: 35 grams (Mostly natural fruit sugar, but it’s there!)
- Sodium: 150 mg
- Fat: 14 grams
- Saturated Fat: 8 grams
- Carbohydrates: 50 grams
- Fiber: 3 grams
- Protein: 3 grams
- Cholesterol: 30 mg
Just keep in mind, if you load it up with two scoops of premium vanilla ice cream, those numbers are going on a little vacation upward—and that’s totally fine because everything tastes better with ice cream!
PrintSimple Cinnamon Apple Cobbler
A straightforward recipe for baked apples topped with a sweet biscuit topping, perfect for a fall dessert.
- Prep Time: 20 min
- Cook Time: 40 min
- Total Time: 60 min
- Yield: 6 servings
- Category: Dessert
- Method: Baking
- Cuisine: American
- Diet: Vegetarian
Ingredients
- 6 medium apples (like Granny Smith or Honeycrisp), peeled, cored, and sliced
- 1/2 cup granulated sugar
- 1 tablespoon all-purpose flour
- 1 teaspoon ground cinnamon
- 1/4 teaspoon ground nutmeg
- 1 tablespoon lemon juice
- 1/2 cup all-purpose flour (for topping)
- 1/4 cup packed brown sugar (for topping)
- 1/2 teaspoon baking powder
- 1/4 teaspoon salt
- 1/4 cup cold unsalted butter, cut into small pieces
- 1/4 cup milk
Instructions
- Preheat your oven to 375°F (190°C). Lightly grease an 8×8 inch baking dish.
- In a large bowl, combine the sliced apples, granulated sugar, 1 tablespoon flour, cinnamon, nutmeg, and lemon juice. Toss gently to coat the apples evenly.
- Pour the apple mixture into the prepared baking dish.
- In a separate medium bowl, whisk together the 1/2 cup flour, brown sugar, baking powder, and salt for the topping.
- Cut in the cold butter using a pastry blender or your fingers until the mixture resembles coarse crumbs.
- Stir in the milk until just combined to form a soft dough. Do not overmix.
- Drop spoonfuls of the topping evenly over the apple mixture in the baking dish.
- Bake for 35 to 45 minutes, or until the topping is golden brown and the apple filling is bubbly.
- Let the cobbler cool for at least 15 minutes before serving.
Notes
- Serve warm with vanilla ice cream or whipped cream.
- You can use a cast-iron skillet instead of a baking dish for a rustic presentation.
- If your apples are very sweet, reduce the granulated sugar in the filling by 1 tablespoon.
Nutrition
- Serving Size: 1 serving
- Calories: 320
- Sugar: 35
- Sodium: 150
- Fat: 14
- Saturated Fat: 8
- Unsaturated Fat: 6
- Trans Fat: 0
- Carbohydrates: 50
- Fiber: 3
- Protein: 3
- Cholesterol: 30
