

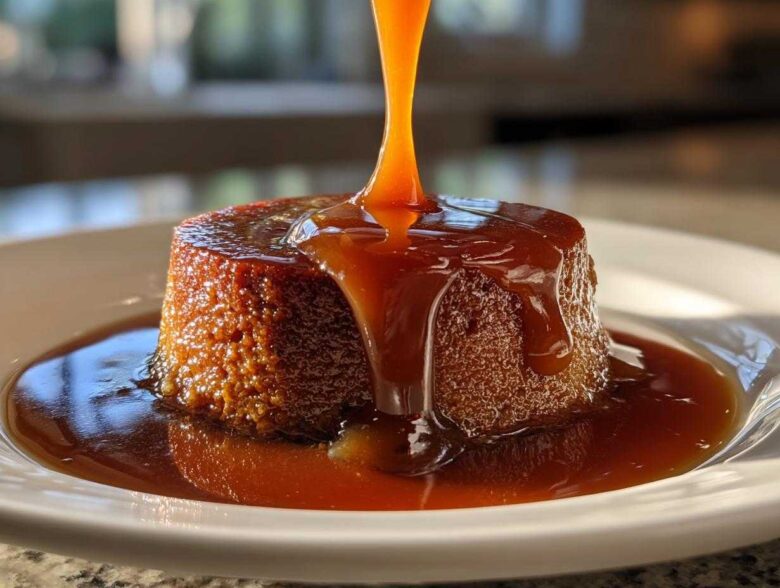
Oh, homemade sauces! They sound so gourmet and fancy, right? But let’s be honest, making them from scratch can sometimes feel like a high-stakes science experiment gone wrong. I have definitely cried over scorched sugar and had to throw out pots of rock-hard, grainy goo that was supposed to be luscious caramel sauce. Ugh! I spent years thinking you absolutely *needed* that scary candy thermometer just to get a decent drizzle.
Well, I’m here to tell you that’s totally unnecessary nonsense! After way too many kitchen failures, I finally cracked the code on making the richest, creamiest sauce right on the stovetop without any fancy gear. Seriously, it’s quick, it’s simple, and it produces the best caramel sauce you’ve ever tasted. Forget the fear; we are making magic with just butter, sugar, and cream, and I can’t wait for you to try it. You can even check out my tried-and-true caramel cake recipe once you master this topping!
Why This is the Best Homemade Caramel Sauce Recipe (No Thermometer Needed)
If you want that deep, buttery flavor without babysitting a candy thermometer that beeps with doom, this is your recipe. I love this caramel sauce because it’s entirely beginner-friendly. It relies purely on visual cues—watching the sugar turn amber—instead of a fussy temperature reading. Honestly, I use this trick all the time for my apple pie cookies topping!
Quick Prep and Cook Times for Your Caramel Sauce
We’re talking speed here, friends. You can genuinely have this ready in under 15 minutes, total! The prep time is barely five minutes because it’s so straightforward. Then, the actual cooking takes about ten minutes. It’s the perfect quick fix when you realize you need a little something extra for dessert right now.
Achieving a Thick Caramel Sauce Consistency
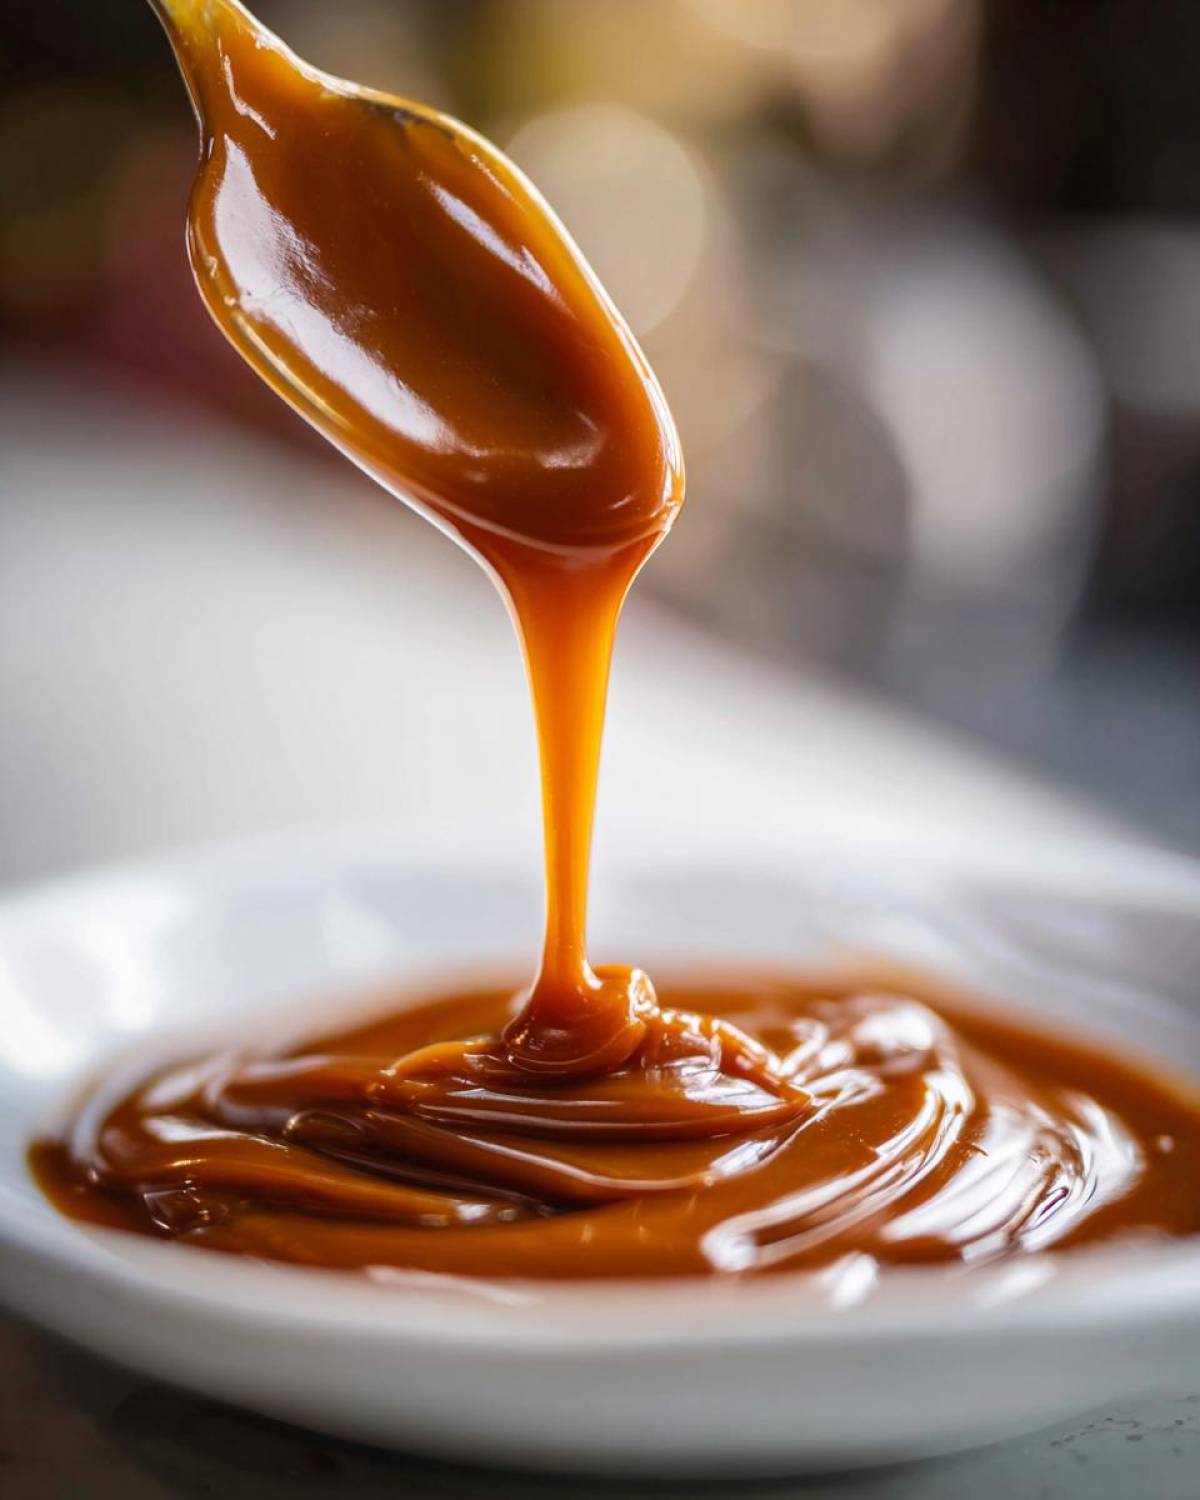
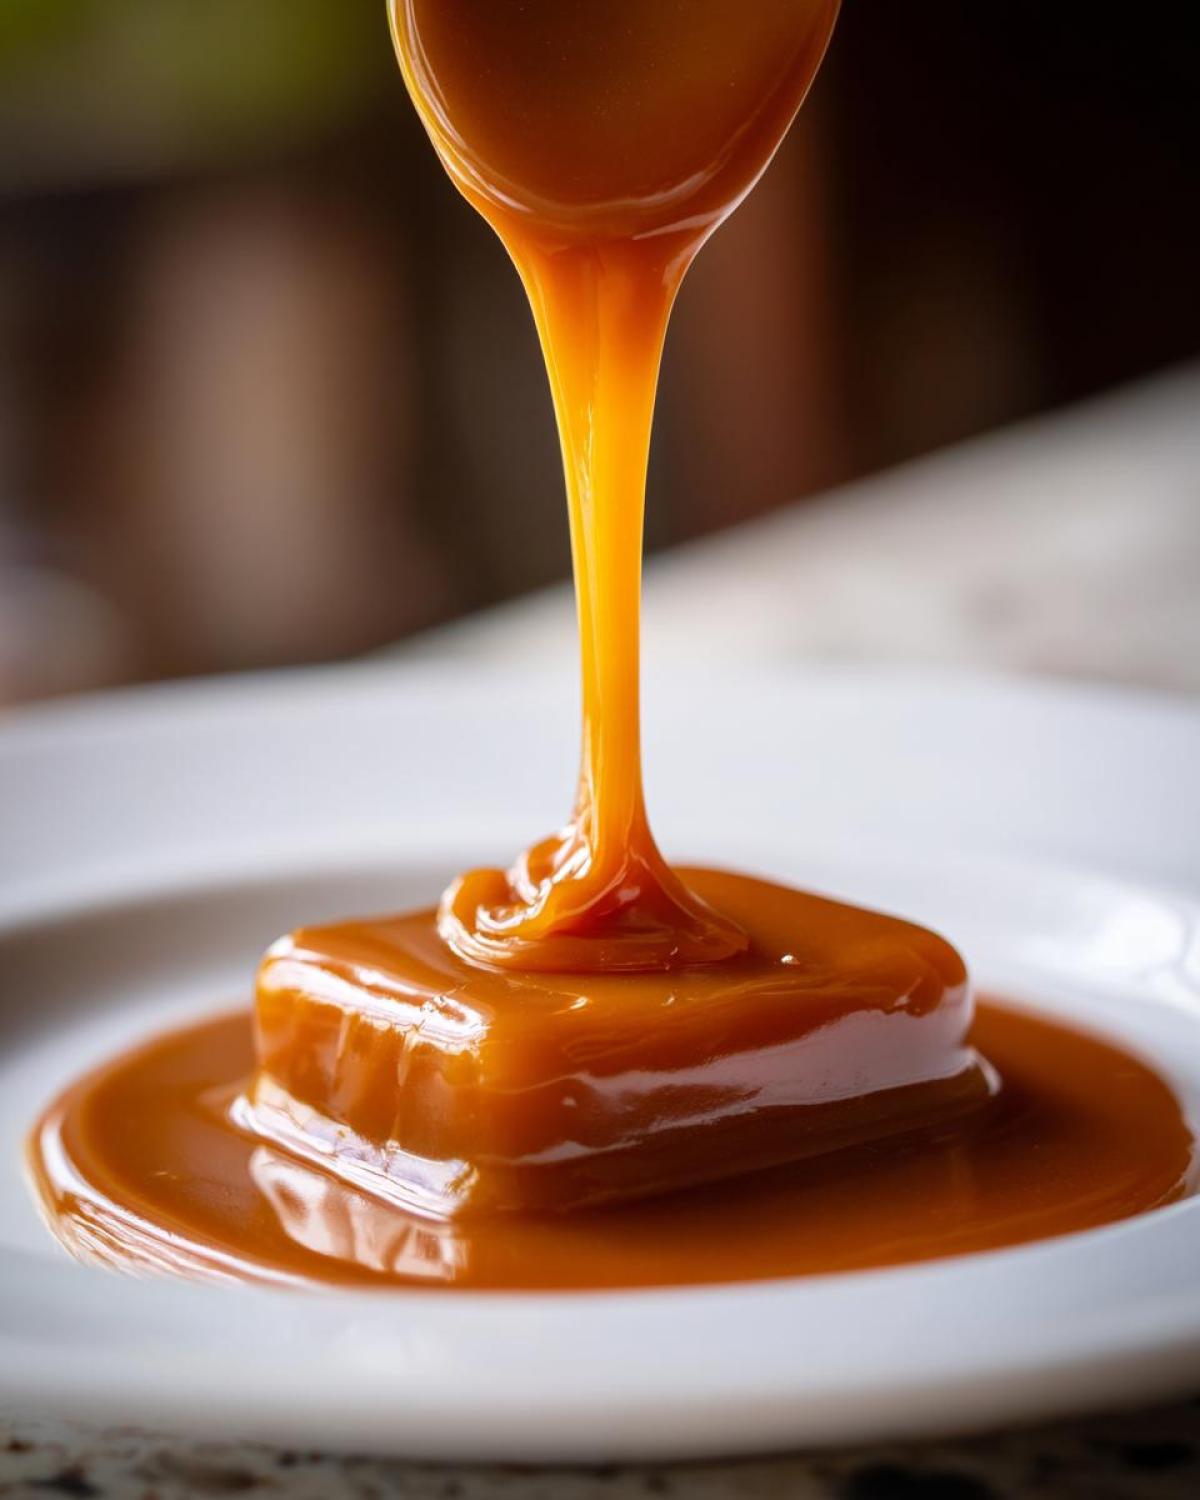
The secret to getting that perfect, luxurious texture is all about the cooling process and what you put in it. Once the butter and cream are incorporated, the sauce is very liquidy, but don’t panic! As it settles, the ratios of fat and sugar create a wonderfully thick caramel sauce that flows just right off a spoon when warm, but sets up beautifully when poured over things.
Gathering Ingredients for Your Easy Caramel Sauce
Gathering your supplies for this easy caramel sauce is truly half the battle won. Remember, since we aren’t relying on a thermometer, the quality and the *state* of these few ingredients really matter. I always pull my butter out early, but the cream needs a little intervention right before we use it. You’ll see that I actually keep my ingredient list pretty short; no need for corn syrup or weird stabilizers here!
Here’s what you’ll need on hand before you even turn on the stove. If you are making my recipe for brown butter chocolate chip cookies, you probably have most of this already!
- 1 cup granulated sugar (plain white sugar is best here!)
- 6 tablespoons unsalted butter, cut into small pieces
- 1/2 cup heavy cream, warmed slightly
- 1 teaspoon vanilla extract
- 1/2 teaspoon sea salt (totally optional, but I highly recommend it!)
Ingredient Notes and Salted Caramel Sauce Variations
Okay, let’s talk logistics for a second, because these tiny steps make the difference between success and something that looks like grainy cement. The absolute most important thing isn’t the butter or the sugar—it’s the cream. You *must* warm your heavy cream a bit before adding it. If you dump cold cream into that super-hot sugar, the whole thing seizes up into a hard ball on you. We don’t want that hardening shock!
I usually microwave my cream for about 20 seconds just to take the chill off. It doesn’t need to be hot, just not fridge-cold. If you’re aiming for the incredible salted caramel sauce recipe everyone raves about, just keep that sea salt nearby. Adding it right at the end brightens up all that rich, buttery flavor. If you skip the salt, you get a classic, sweet version, but the salt just makes everything pop!
How to Make Caramel Sauce: Stovetop Instructions
Now that you have your ingredients ready—and I hope that cream is sitting somewhere warm—we dive into the actual cooking. This is where you need to pay attention because things move fast once the sugar starts dissolving, but trust me, if you follow these steps exactly, you’ll have the most incredible caramel sauce ever made from scratch. I always think of my big bubbling pot when I’m reading my guide on caramelized onions; both require patience in watching the color develop!
Melting Sugar for Your Simple Caramel Sauce
First things first: medium heat in a medium, heavy-bottomed pot. Put that full cup of sugar in there, and **do not stir it**, I repeat, do not stir it right away! This sounds wrong, I know. You just let it sit while the heat starts working on the edges. If you stir too soon, it can crystallize on you, and that’s when you get the gritty stuff.
Once the edges start looking wet and syrupy, *then* you can start gently moving the spatula around. Your goal is to get all that sugar completely melted down and turned to a beautiful deep amber color. It should look like dark honey. Keep an eye on it—it moves from perfect to burnt shockingly fast. Don’t walk away!
Incorporating Butter and Cream into the Caramel Sauce
Once you hit that perfect amber shade, pull the pan off the heat *immediately*. Why off the heat? Because we are about to add the butter, and it is going to create steam and foam like crazy. Add those beautiful little pieces of butter one at a time, stirring constantly. Make sure each piece is totally melted and mixed in before dropping the next one. This is what builds that rich, buttery caramel base.
After the butter is smooth, slowly pour in that slightly warm heavy cream while you keep stirring everything. Yes, it will bubble up violently! That’s totally normal, that’s the sugar reacting to the liquid. If it seems like the bubbling calms down too much, you can put it back on the lowest heat setting just to make sure any stray sugar bits dissolve completely. Stir until it looks totally smooth again.
Tips for Perfect Creamy Caramel Topping
The cooking part is done, but I want to hit on a couple of finishing touches that really guarantee you get that wonderful, glossy, creamy caramel topping without any beginner mishaps later on. Those little notes you see scribbled on my recipe card aren’t just suggestions; they are hard-learned lessons about kitchen science!
Remember how I told you to warm up that heavy cream? That’s the single most important insurance policy against failure. When super-hot, molten sugar meets something ice-cold, it gets shocked, and all those beautiful little sugar threads instantly bind together, creating those hard, unsalvageable clumps—we call that seizing. By warming the cream just a little, we ease the transition, keeping your sauce silky smooth and preventing that dreaded crystallization.
Also, after you stir in the vanilla and salt (if you’re making the salted version!), let the sauce rest on the counter for about 15 minutes before you even think about pouring it into a jar. You’ll notice it thickens up significantly as it cools down to room temperature. If you try to use it too hot, it’ll run right off your dessert like watery syrup. Patience is key here!
Finally, here’s what happens if you made a lovely batch, put it in the fridge, and now it’s basically glue: Don’t panic and don’t try to melt it all on high heat! If the sauce has become too thick for your liking after storage, just scoop out what you need into a microwave-safe bowl and hit it with 15-second bursts, stirring well between each time. Or, if you prefer the stovetop, warm it gently over very low heat with just a teaspoon of hot water stirred in. That little bit of water helps loosen the sugar bonds back up, making it perfectly pourable again for pouring over my famous butter pecan poke cake!
Using Your Homemade Caramel Sauce as a Dessert Topping Sauce
Okay, so you’ve made this gorgeous, shimmering caramel sauce—now what are you going to put it on? That’s the fun part! Because this recipe is made completely from scratch and doesn’t have any weird stabilizers, it tastes gourmet, but honestly, it’s perfect for absolutely everything. I usually double the recipe just so I can keep a jar handy in the pantry!
Think beyond just dumping it over ice cream, although yes, that is mandatory. This sauce is incredible when you drizzle it over a warm apple pie or even dip fresh slices of apple into it. It’s also fantastic stirred into hot beverages. I sometimes add a spoonful to my morning cup of joe—it makes the coffee taste like a $6 latte from that fancy shop downtown. If you want to try another fruity pairing, check out my recipe for easy grilled peach salsa, and imagine drizzling this caramel over grilled peaches!
When I make my famous protein coffee smoothie, I also like to make a quick salt rim with a little bit of this sauce first. It tastes like dessert for breakfast!
Creating the Perfect Caramel Drizzle
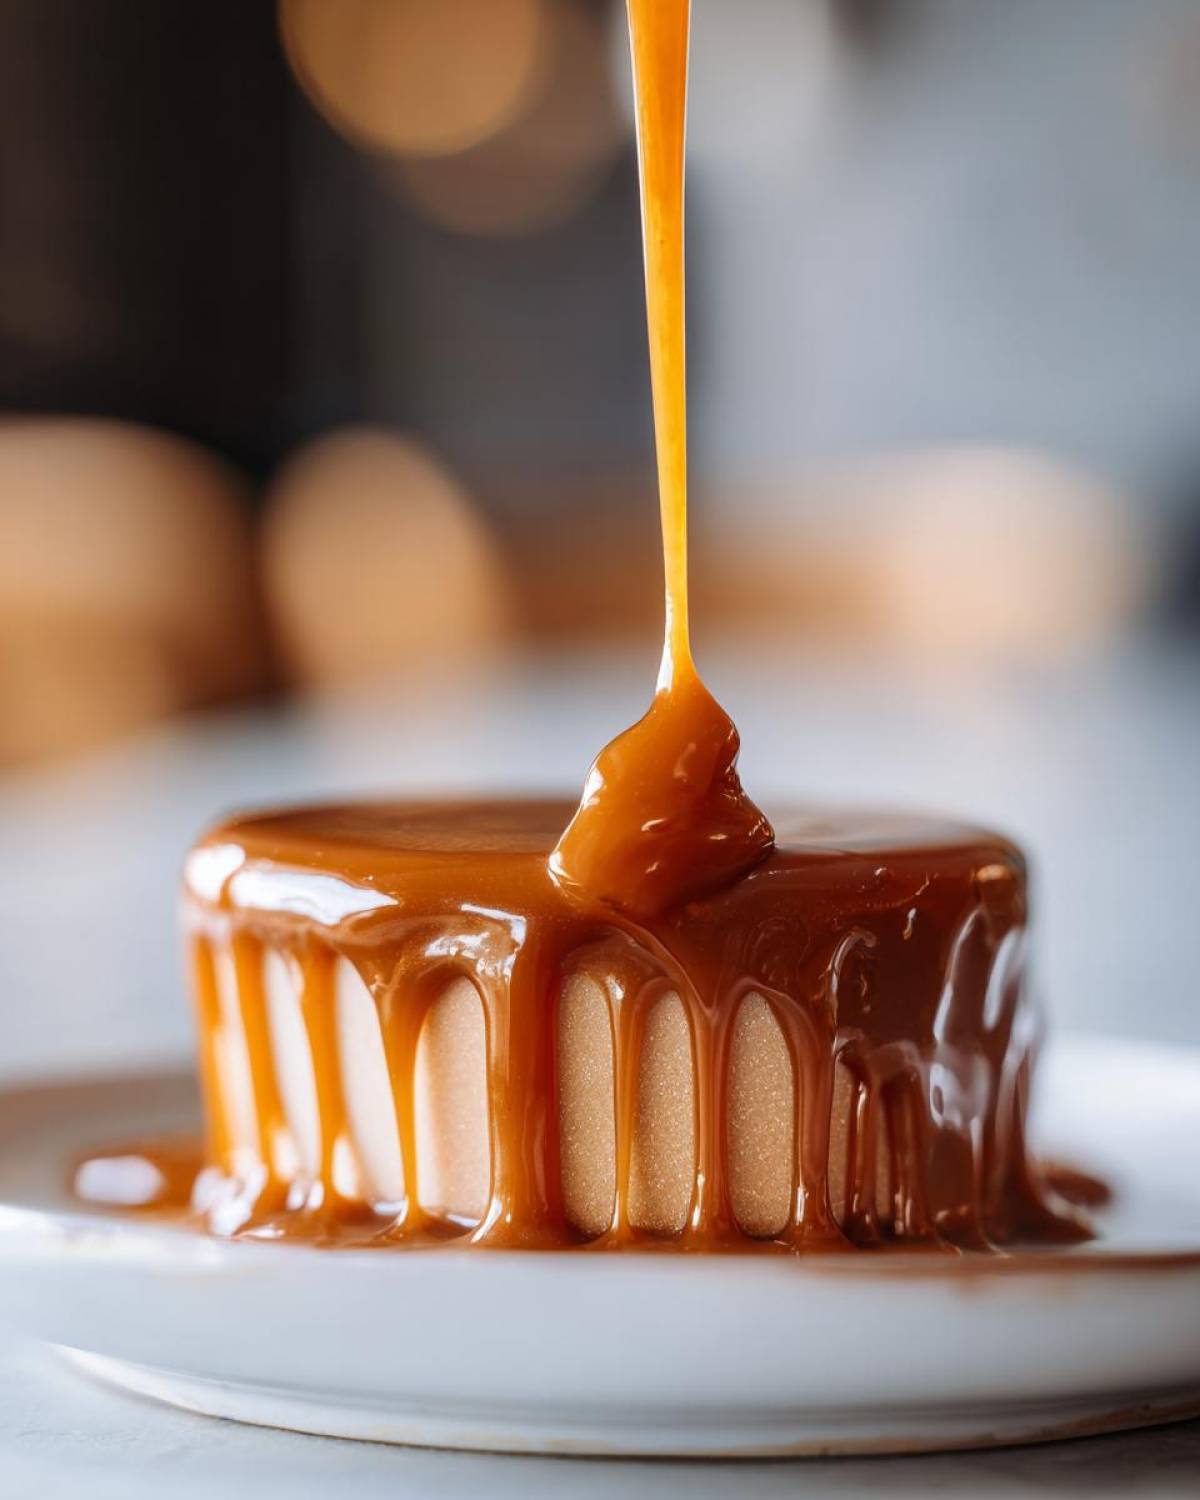
The consistency you want for a beautiful drizzle is all about temperature, but sometimes even room temperature is just a bit too thick for your liking, especially if you want intricate lines on a cake. If you find your sauce has cooled down a little too much and it’s becoming hesitant to pour off the spoon, don’t worry about reheating the whole jar.
Just take whatever small amount you need out and whisk in just a tiny splash—like half a teaspoon—of hot water. Mix it in vigorously. That extra bit of liquid will instantly loosen up the sugar molecules and give you the perfect, thin, pourable texture you need for that artistic topping effect. It should flow smoothly off the tines of a fork, creating defined ribbons rather than thick clumps.
Storage and Reheating Instructions for Caramel Sauce
Now that you’ve mastered making this beautiful, buttery caramel sauce from scratch, knowing how to keep it around is essential. Do not hide it in the back of the fridge where you’ll forget it exists! Storing this caramel sauce properly means you can enjoy it any time you need a quick dessert upgrade or that perfect coffee flavor.
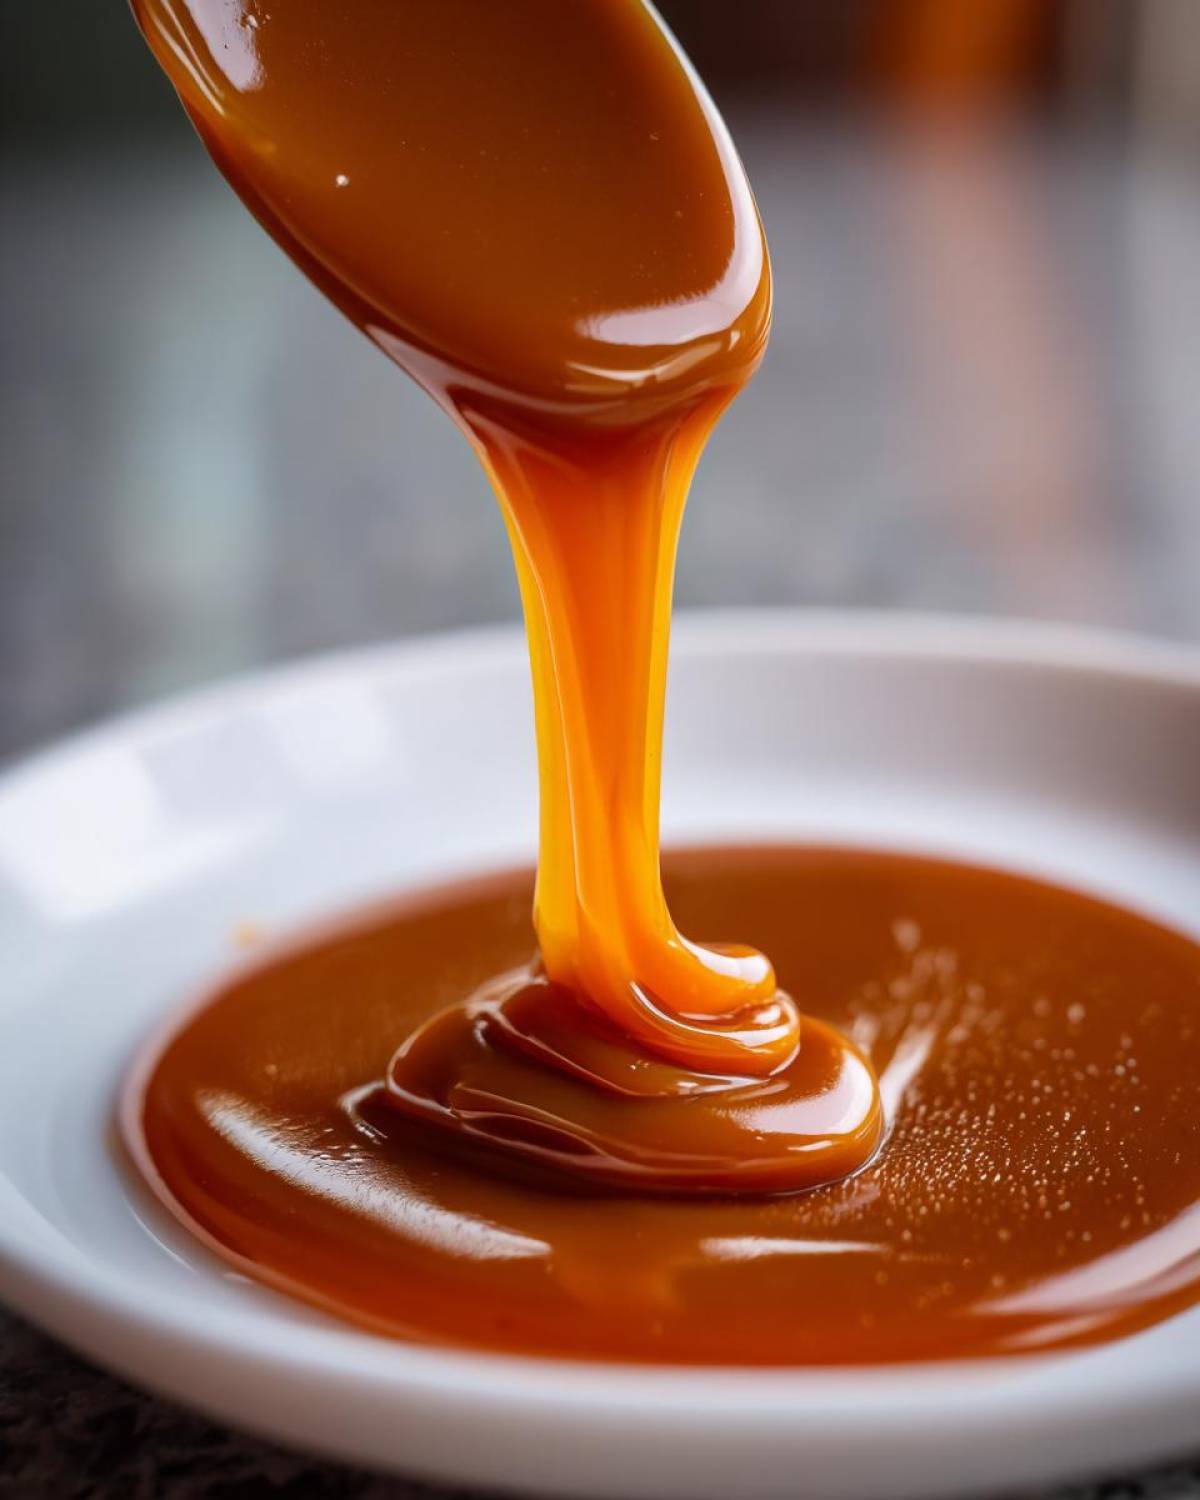
The key takeaway here is: it will get thicker as it chills. That’s just what sugar and fat do! When it comes out of the fridge, if you tried to pour it, it might look more like soft taffy than a topping. But don’t worry, it’s so easy to bring back to life. I usually keep a jar dedicated just for drizzling on my easy homemade chocolate fudge.
Store your sauce in a clean, airtight jar or container. As long as you keep it sealed tightly, it lasts for ages in the refrigerator—usually two to three weeks without any loss of flavor or texture. If you see any weird fuzz growing on top, toss it, but honestly, the sugar and butter preserve it so well most of the time.
When it’s time to use it again, you have two great options for gentle reheating. For a small amount, microwave it in 15-second bursts, stirring well between each time until it reaches that perfect pourable consistency again. If you are warming up the whole batch, use the stovetop on the lowest heat setting. Slowly warm it, stirring constantly until it’s smooth and flowing. Never try to rush this reheating process, or you risk scorching the bottom of the pan, and nobody wants burnt sugar!
Frequently Asked Questions About Making Caramel Sauce
I get so many messages asking about weird things that happen during the caramel-making process! Making that initial sugar melt is tricky, and I totally understand why people get nervous. Here are some of the top questions folks send my way when they are trying out this beginner caramel recipe for the first time.
Why did my sugar crystallize or look grainy instead of smooth?
Oh, that’s the biggest bummer! This happens right at the start, usually because you stirred the sugar *before* it was fully melted, or maybe a single stray sugar crystal fell into your smooth amber pool after you added the butter. Sugar loves to form crystals when agitated too early. My best advice is to leave the sugar alone until you see the edges visibly liquid, and then gently nudge it with the spatula. If you see crystals forming later, you can sometimes save it by putting it back on the very low heat and stirring in a tablespoon of hot water—the extra liquid helps dissolve those little grains.
Can I use salted butter instead of unsalted butter for this recipe?
You certainly can, but you have to be much more careful with the added salt! Since this recipe lets you decide on the salt level at the end, if you use salted butter, you should skip adding the extra sea salt completely. If you use salted butter *and* add the extra salt, your sauce might end up tasting far too aggressively salty for a dessert topping. Start with unsalted, and then you’re in charge of the final flavor profile!
How long does homemade caramel sauce last in the refrigerator?
Because this recipe is so simple—just sugar, fat, and cream—it lasts surprisingly well! If you store it in a really clean, airtight jar, it should stay fresh and delicious in your fridge for about three weeks. It might get really stiff when fully cold, but that’s okay! As I mentioned before, just give it a gentle warm-up on the stove or in short bursts in the microwave to bring it back to that perfect, thick, pourable texture. You can read more about storage over on my general sauce guide here.
My sauce hardened up completely after cooling—what did I do wrong?
If it hardened like a candy block, that usually means the sugar cooked too long or got too hot before the cream went in. When sugar cooks to the ‘hard crack’ stage, it won’t soften back down beautifully with just a little heat when liquid is added. For this recipe, we want a color somewhere between light amber and deep copper. If you cook it too dark, it stays hard. Next time, pull it off the heat to add the butter when it’s a nice, rich honey color, not quite mahogany!
Troubleshooting Common Caramel Sauce Issues
Okay, deep breaths, because making this sauce is super easy until it suddenly isn’t. We’ve all been there—that moment when the color is perfect, you add the butter, and POOF, you have a hard, grainy mess instead of a smooth topping. Don’t toss the pot yet! Most caramel disasters are actually fixable once you know the trick. I’m sharing my best fixes for the two biggest meltdowns: burning or seizing.
The key to showing authority here, trust me, is learning how to recover. If you can fix a failed batch, you can officially conquer how to make caramel sauce!
What To Do If Your Sugar Burns
If you see little black bits starting to float in your sugar, or if it smells acrid—that’s burning, honey. It happens when the temperature gets too high, and once sugar burns, it tastes bitter, and sadly, you cannot undo that flavor. My trick is to immediately pull the entire pan off the heat and work *lightning* fast.
If it’s just starting to go dark on one side, you can try this: quickly whisk in a tablespoon of warm water and a tablespoon of sugar. This sometimes stabilizes the remaining liquid sugar enough for you to proceed with adding the butter and cream, though the flavor might be slightly compromised. Honestly though, if it smells truly burnt, the best and bravest thing you can do is start over. It only takes ten minutes anyway!
How to Fix Caramel That Has Seized Up
This is the one I see most often! You’ve got your beautiful amber sugar, you add the cold cream, and BAM! It turns into a solid block of crystalline sugar. This is the seizing we talked about earlier. It means the temperature shock was too much for the sugar structure.
But here’s the good news: it’s almost always salvageable! Put the pot back on the absolute lowest heat setting you have available. Pick up a silicone spatula and start stirring slowly and deliberately. You are gently encouraging those hard sugar bits to re-dissolve into the butter/cream mixture. Keep stirring gently over low heat—do not scrape the bottom aggressively—and within a minute or two, you should see it start to smooth itself out into a gorgeous, shiny liquid again. It takes patience, but it saves you from starting over entirely!
My Sauce Is Too Thin After Cooling Down
If you’ve followed all the steps and let your sauce cool for an hour, but it’s still runny—maybe more like a thick syrup than a heavy dessert topping sauce—it just means you were shy on the heat a tiny bit when melting the sugar, or perhaps you added a splash too much cream. This isn’t a failure; it’s just a different consistency!
This thinner sauce is actually fantastic if you want a looser caramel drizzle for things like streaking inside a cake batter or coating popcorn. If you prefer it thicker, you can return that cooled sauce to a very low heat and gently let it simmer for just 30 seconds, stirring constantly. You’ll evaporate just enough moisture to thicken it up slightly. Just watch it like a hawk, because a second too long and you’ll be halfway to hard candy territory!
Estimated Nutrition for This Quick Caramel Sauce
So, we’ve made something absolutely delicious, super simple, and ready in minutes. Now, because you might be wondering about the damage—or maybe you’re tracking macros for a specific dessert you’re planning—let’s talk estimated nutrition for this quick caramel.
I pulled these numbers based on the ingredients listed for the full batch yield, but remember, this is just an estimate! Your actual nutrient profile can vary slightly based on the specific brand of heavy cream or butter you use. I always find it helpful to see the breakdown, especially since this sauce is so rich in flavor!
Based on a serving size of two tablespoons, here’s what you can expect from this simple recipe:
- Calories: 175
- Fat: 9g (with about 5g saturated)
- Carbohydrates: 24g
- Sugar: 24g (Yep, it’s sugar-forward, that’s how caramel works!)
- Protein: 0g
- Sodium: 65mg (This will vary based on if you use salted butter or add extra salt)
See? It’s pure indulgence, which is exactly what a gourmet dessert topping sauce should be! If you’re looking for something a little different after you’ve made this amazing batch, you might also want to check out my recipe for easy Salisbury steak just to switch gears and use savory ingredients for a while!
PrintSimple Homemade Caramel Sauce (No Thermometer Needed)
Make rich, creamy caramel sauce from scratch quickly. This beginner-friendly recipe uses basic ingredients and does not require a candy thermometer for perfect results.
- Prep Time: 5 min
- Cook Time: 10 min
- Total Time: 15 min
- Yield: About 1 1/4 cups
- Category: Dessert Topping
- Method: Stovetop Cooking
- Cuisine: American
- Diet: Vegetarian
Ingredients
- 1 cup granulated sugar
- 6 tablespoons unsalted butter, cut into pieces
- 1/2 cup heavy cream, warmed slightly
- 1 teaspoon vanilla extract
- 1/2 teaspoon sea salt (optional, for salted caramel)
Instructions
- Place the sugar in a medium, heavy-bottomed saucepan over medium heat. Do not stir initially.
- Allow the sugar to melt around the edges. Once it starts melting, gently stir the sugar using a heatproof spatula until all the sugar dissolves and turns a deep amber color. Watch carefully to prevent burning.
- Remove the pan from the heat. Carefully add the butter pieces one at a time, stirring constantly until the butter is fully melted and incorporated. The mixture will bubble vigorously.
- Slowly pour in the warm heavy cream while stirring continuously. The mixture will bubble up again. Return the pan to low heat if necessary to dissolve any hardened sugar bits, stirring until smooth.
- Remove from heat. Stir in the vanilla extract and sea salt, if using.
- Let the sauce cool for about 15 minutes before using. It will thicken as it cools. Store cooled sauce in an airtight container.
Notes
- Warm the heavy cream slightly before adding; cold cream can cause the hot sugar to seize up.
- If the sauce seems too thick after cooling, stir in one teaspoon of hot water at a time until you reach your desired pourable consistency.
- This sauce works well as a topping for ice cream, apples, or stirred into coffee.
Nutrition
- Serving Size: 2 tablespoons
- Calories: 175
- Sugar: 24
- Sodium: 65
- Fat: 9
- Saturated Fat: 5
- Unsaturated Fat: 4
- Trans Fat: 0
- Carbohydrates: 24
- Fiber: 0
- Protein: 0
- Cholesterol: 30
