

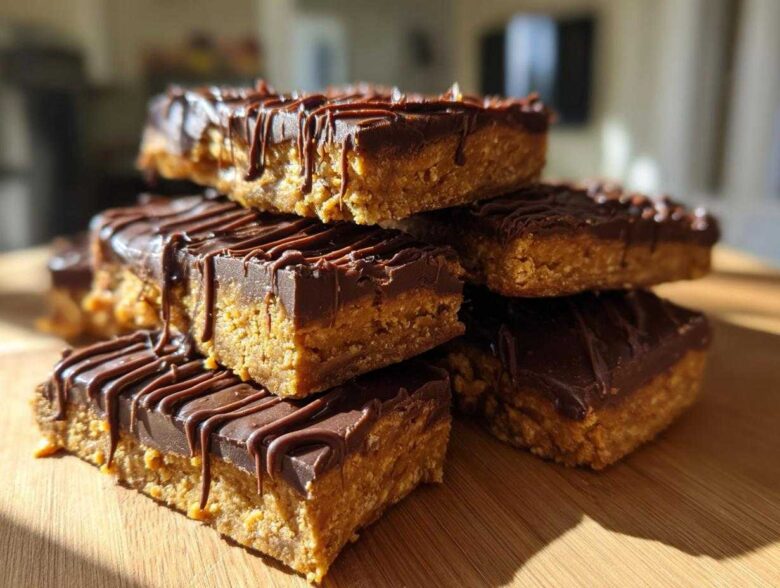
I don’t know about you, but walking down the snack aisle, I always feel like I’m choosing between something sugary disguised as health food or something chalky that tastes like sadness. Seriously, why is it so hard to find a good homemade protein bars recipe that actually tastes incredible but doesn’t require me to stand over a hot oven? Well, friend, your search is officially over! We’ve cracked the code with these Easy No-Bake 5-Ingredient Peanut Butter Protein Bars. They are ridiculously quick, use just five core ingredients, and deliver that perfect chewy texture we all crave. Chef Tariq himself signed off on this formula—he agrees that sometimes, the simplest, highest-quality ingredients beat complicated junk every time. For more great inspiration from our kitchen, check out our main blog! These are truly the best protein bars you can whip up in minutes.
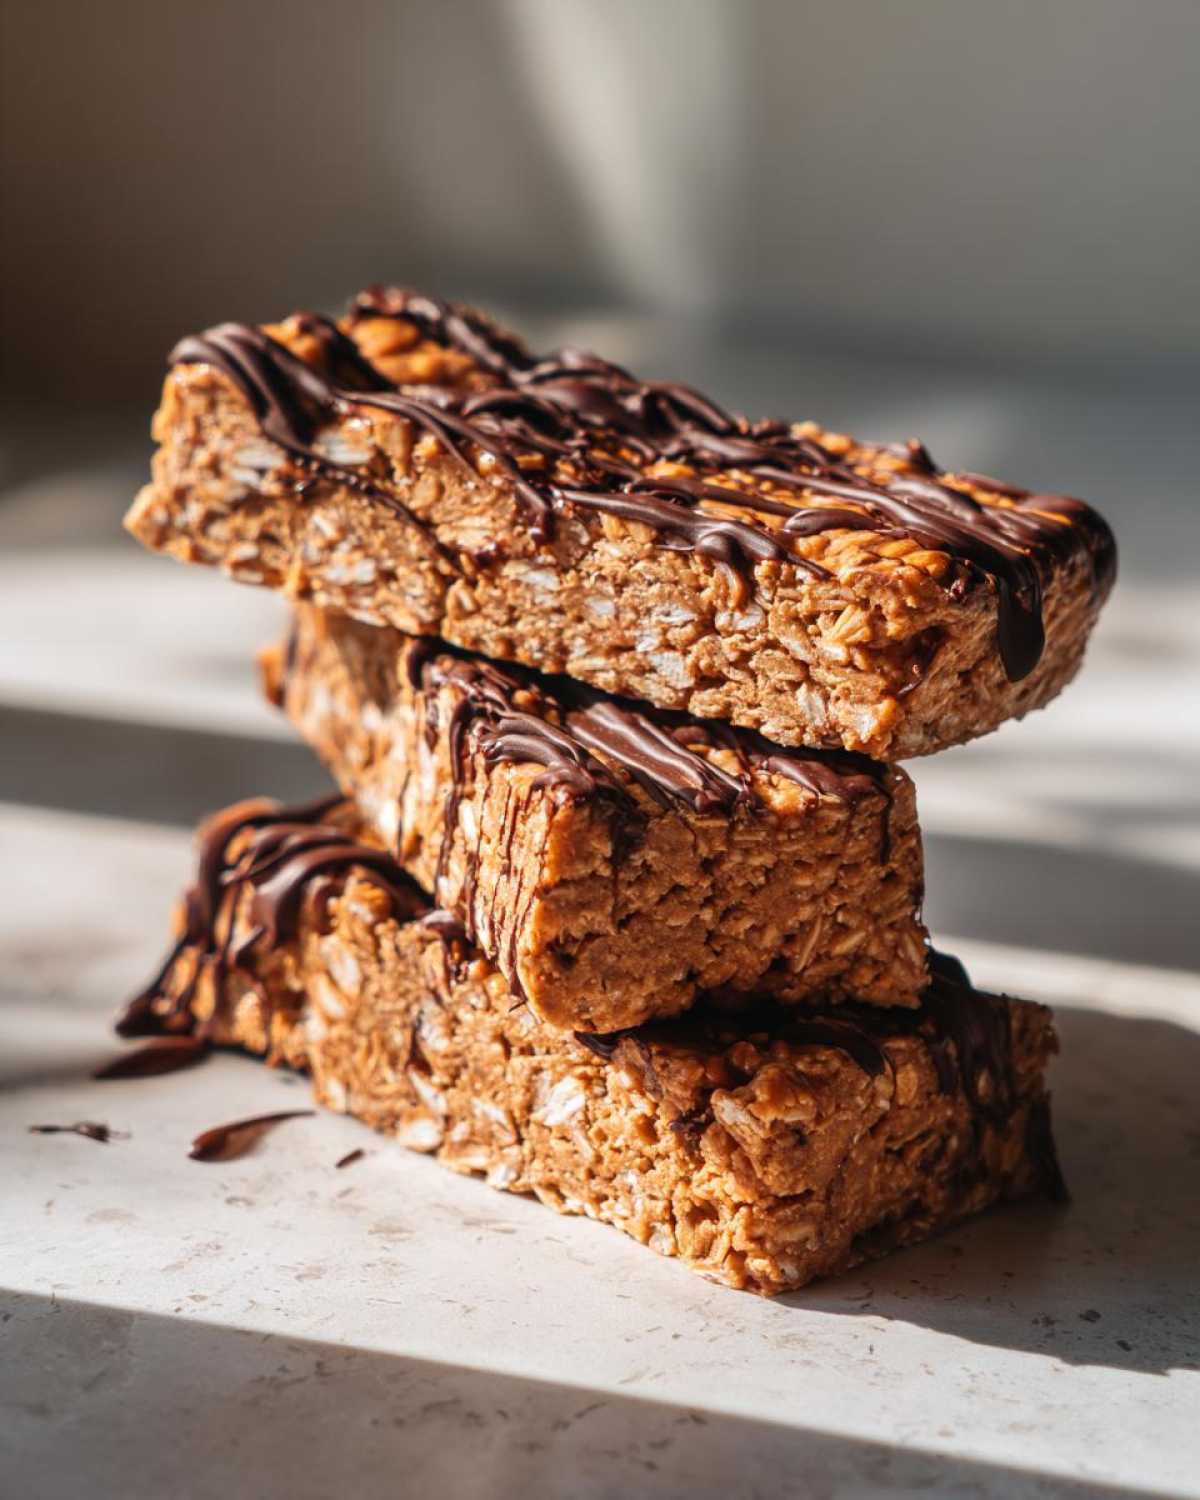
Why These Easy Protein Bars Are Your New Favorite Healthy Snack Bars
Okay, let’s talk about why these specific peanut butter protein bars kick the store-bought stuff right out of the park. When you need healthy snack bars that actually taste like a treat, these are it. Forget those cardboard hockey pucks! We deliver big satisfaction with almost no effort. Honestly, they’re perfect fuel for busy days.
- They taste like peanut butter fudge, not plastic wrap.
- Only five ingredients means fewer things to measure—and fewer carbs!
- They are truly foolproof, even if you’ve never made homemade protein bars before.
Quick Assembly for Protein Bars for Beginners
This is where the ‘no-bake’ part saves the day! You are looking at maybe ten minutes of hands-on time. That’s it! We are talking about mixing in one bowl, pressing into a pan, and then—patience time—the fridge does the rest of the work. Seriously, if you’re looking for quick protein treats, these are your champions. Zero stress, maximum payoff!
Mastering Low Sugar Protein Bars with Simple Ingredients
When you make your own high protein recipes, you are the boss of the sugar content. We are only using five ingredients, which keeps things super clean. That means you can easily make these into genuinely low sugar protein bars just by keeping an eye on your protein powder and your sweetener choice. It’s that control that makes these the best for clean eating and keeping energy steady.
Essential Ingredients for Perfect Peanut Butter Protein Bars
So, you know I’m all about improvising, but Chef Tariq beat that out of me when it comes to the core components of great homemade protein bars. He insists that using high-quality basics is the only way to get the best tasting protein bars possible. Since we are only working with five things here, there’s nowhere to hide a cheap ingredient! Trust me, the richness of the peanut butter and the quality of your powder make all the difference in these chewy protein bars.
- 1 cup creamy peanut butter (the good stuff!)
- 1/2 cup vanilla protein powder (whey or plant-based works great)
- 1/2 cup rolled oats
- 1/4 cup honey or maple syrup
- 2 tablespoons melted dark chocolate (just for that finishing touch!)
Step-by-Step Guide to Making Chewy Protein Bars
You’ve got the powerhouse ingredients, now let’s put them together! Since we aren’t turning on the oven for these no bake protein bars, the assembly needs to be quick, but the pressing needs to be serious. That’s how we lock in that satisfyingly dense, chewy protein bars texture that store-bought ones always seem to miss. Follow these simple steps, and you’ll have ready-to-eat meal prep bars in no time!
Preparing the Base for Your No Bake Protein Bars
First things first, grab an 8×8 pan and line it with parchment paper. Make sure you leave some overhang—this is your built-in handle for later! Now, dump the peanut butter, protein powder, oats, and sweetener into a bowl. Mix it all up until you get a really thick dough. Don’t be shy here; use your hands if you have to! Once totally combined, press that mixture firmly into your prepared pan. I mean firmly. We need to compact everything so these don’t crumble later.
Chilling, Slicing, and Adding the Chocolate Drizzle
Once it’s tightly packed, pop that pan into the fridge. You need at least one hour to let it set up properly; don’t rush the chill time, or slicing becomes a nightmare! After it’s rock hard, use those parchment overhangs like handles to lift the whole block out and slice it into about ten bars. Melt your dark chocolate gently—microwave in 20-second bursts works perfectly—and drizzle it carelessly over the top. Seriously, make your drizzle look messy; it’s rustic! Pop them back in the fridge for ten more minutes so that chocolate layer sets up nice and shiny.
Expert Tips for Customizing Your Homemade Protein Bars
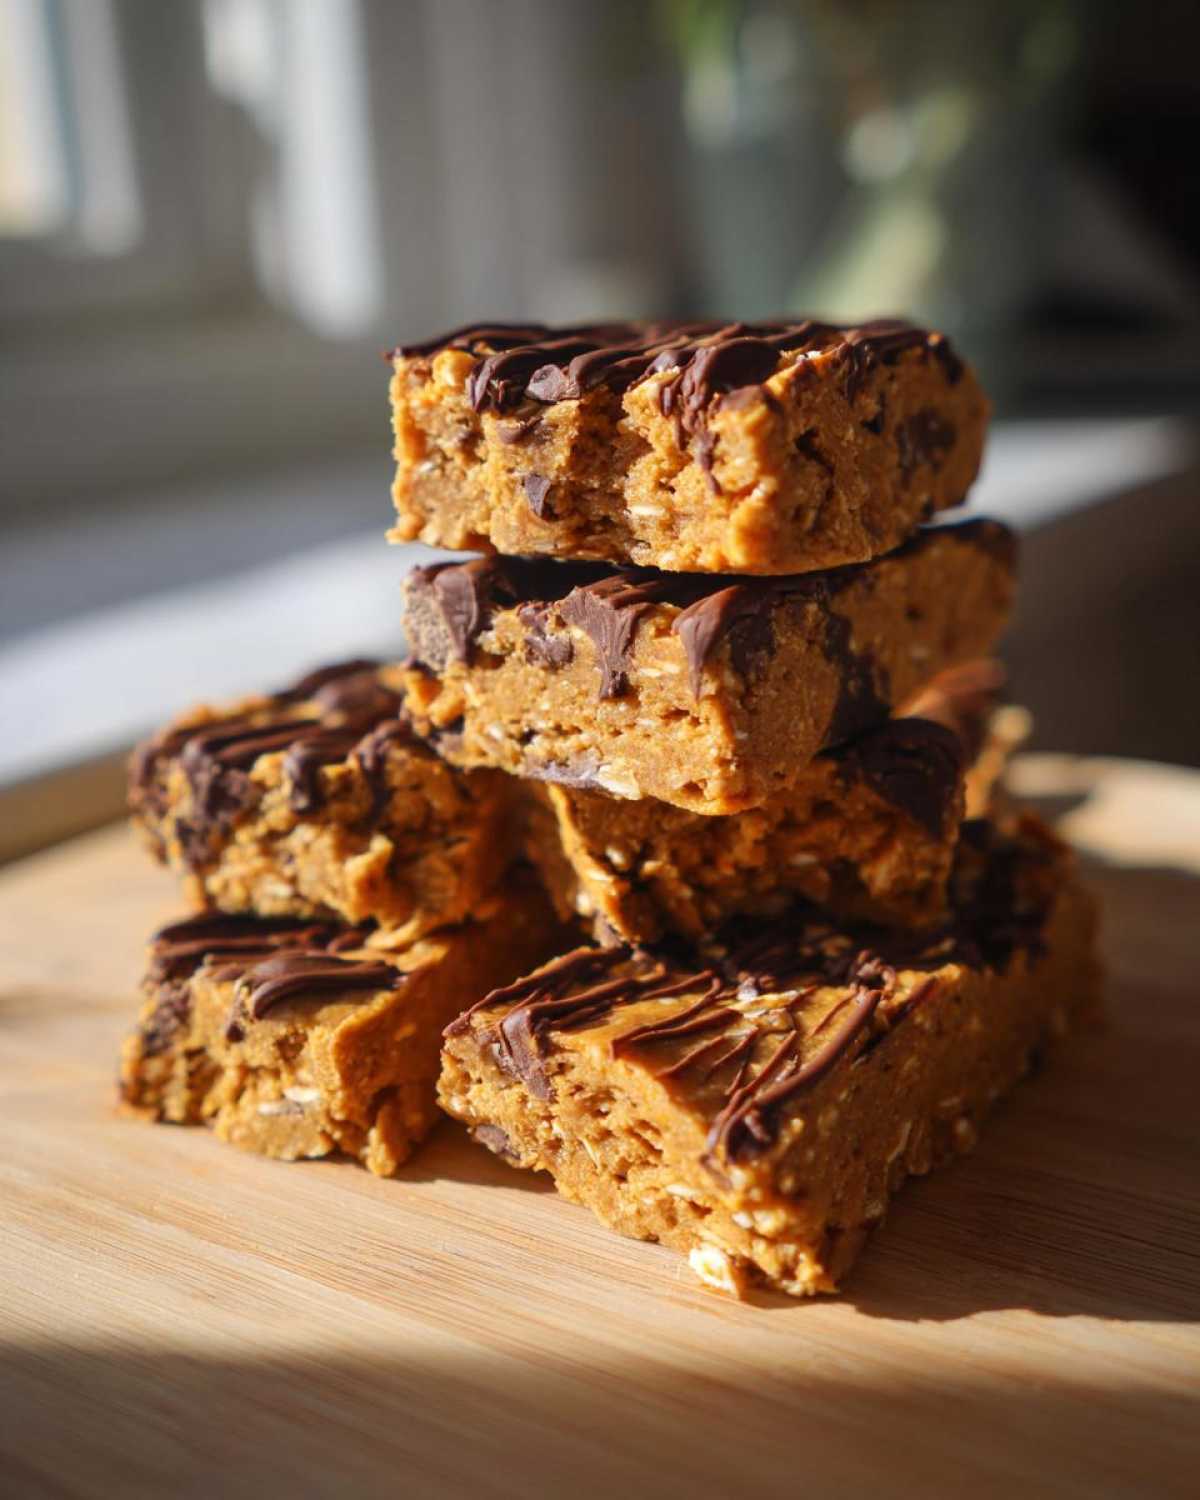
Now that you know the core formula for these fantastic homemade protein bars, we can talk about making them exactly what you need! This recipe is really flexible, which is why it works so well for meal prep and adapting to different diets. We aren’t married to one specific ingredient here; we are married to the texture! When you control the base, you control the outcome, and that means we can easily adapt these for almost anyone.
Making Vegan Protein Bars Recipe Variations
If you need these to be a full vegan protein bars recipe, it’s super easy, promise! You just swap out the honey for maple syrup—maple is already one of my favorites anyway. Then, make absolutely sure that your protein powder is plant-based, like pea or soy. That’s the whole secret handshake to making them fully vegan protein bars. It’s that simple to keep these healthy snack bars plant-friendly!
Adjusting Texture: Tips for Dry or Sticky Protein Bars
Sometimes your protein powder is just thirstier than others, right? If your mixture seems way too dry when mixing, don’t panic and reach for more sweetener! Instead, grab a teaspoon of water or even a tiny splash of milk—dairy or non-dairy works. Add it slowly, just a teaspoon at a time, until it starts to feel like that perfect dough again. On the flip side, if you accidentally end up with a mix that feels a little too sticky or wet, just stir in a tiny pinch more protein powder until it firms up a touch. That small adjustment saves the whole batch!
Making Ahead Protein Snacks: Storage for Your Protein Bars
One of the absolute best things about these meal prep bars is how perfectly they store! Since they are no-bake, they hold up beautifully in the fridge. Once they’re fully set and sliced, line them up in an airtight container. I like putting a small piece of parchment between layers just in case they stick together, but honestly, they usually don’t. You can keep these fantastic make ahead protein snacks chilling happily for a solid week. That means grab-and-go fuel covered until next weekend!
Ingredient Spotlight: Why Protein Powder Matters in Protein Bars
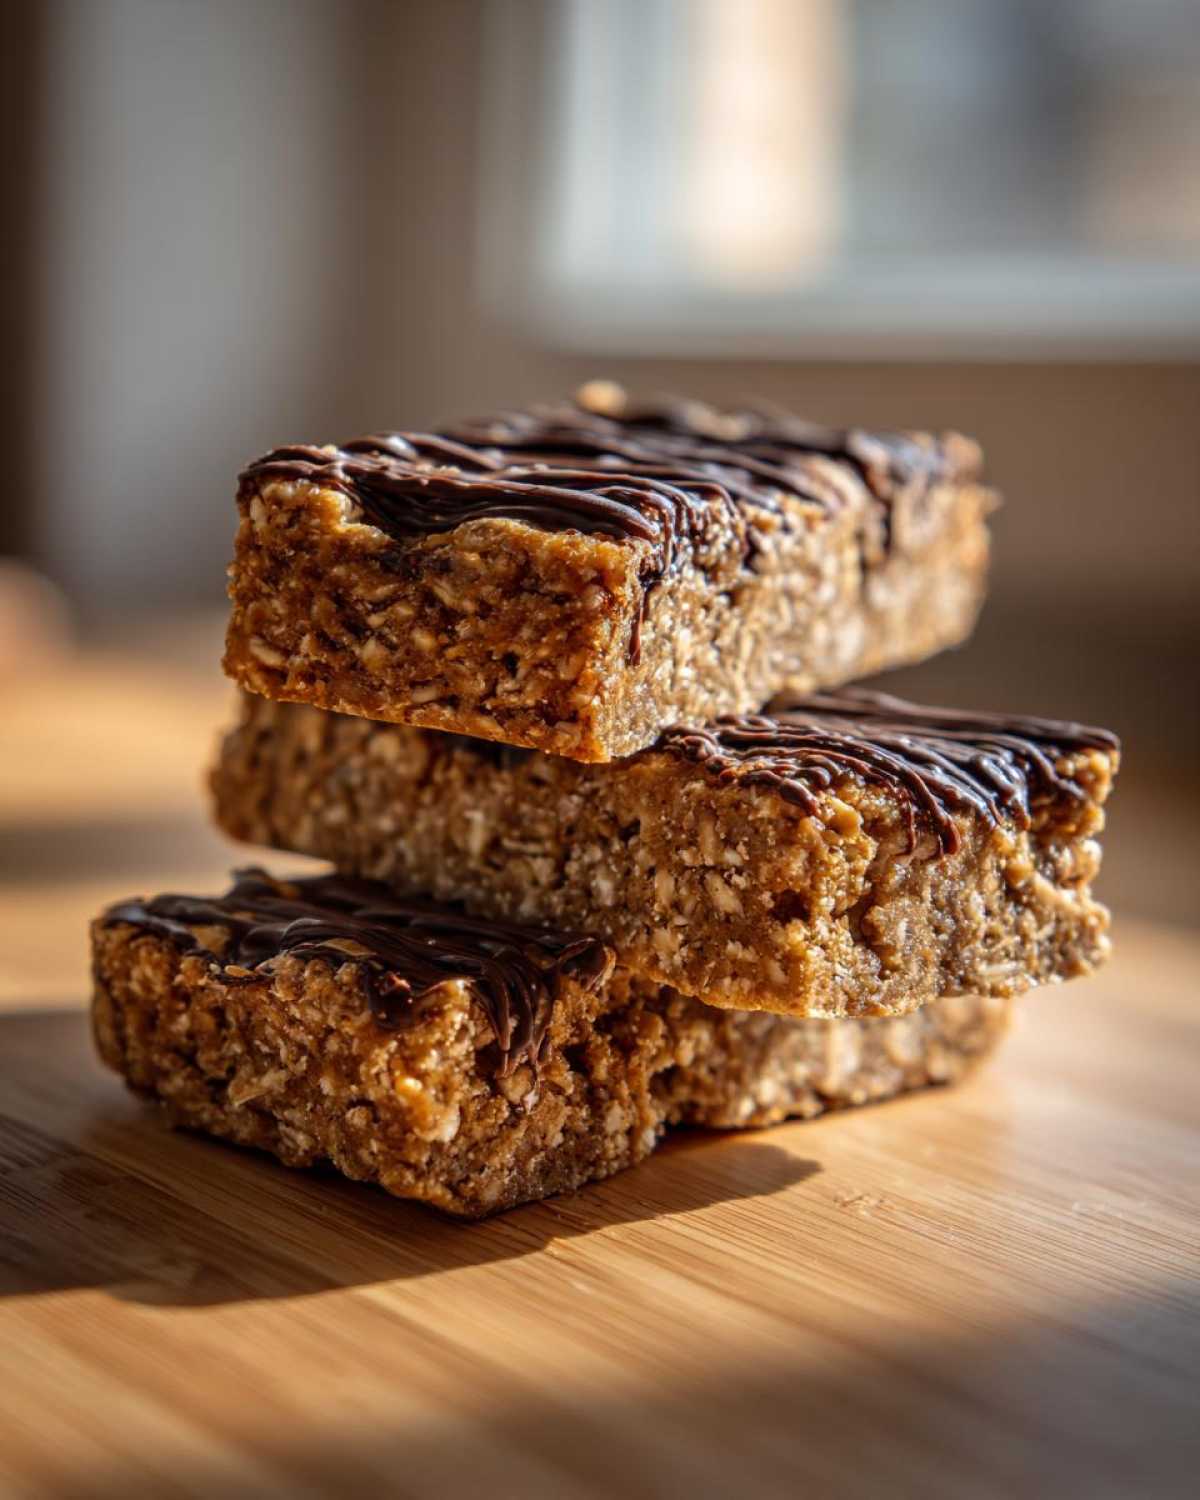
You might think that because this recipe uses only five ingredients, the protein powder is just a filler, but oh man, is it crucial! The powder is what gives these bars their body and that powerful protein punch we’re aiming for. Your choice here genuinely impacts the final texture, which is why we love these simple homemade snacks.
If you use a whey option, you’ll often find the final bars are a little bit firmer and slightly smoother once set. Plant-based powders, like pea or rice blends, tend to be a bit drier or chalkier on their own. That’s why my note mentioned adding that extra splash of water if things feel too stiff when using vegan powders! Getting the right powder just right is the secret to these high protein recipes’ success.
Frequently Asked Questions About Homemade Protein Bars
I always get questions when people try making their own protein bars homemade for the first time! People want to know how to get that perfect chew and how much they can mess with the formula. Don’t worry, figuring out these little details is just part of the fun when you move away from those expensive, pre-packaged options!
Can I make these protein bars without oats?
Yes, you absolutely can skip the oats if you need to, especially if you’re trying to keep the carb count lower! The oats are mainly there for structure and a little bit of that classic oatmeal protein bars heft. If you leave them out, you’ll need to replace that volume with something else that absorbs moisture. I recommend swapping them for 1/2 cup of fine almond flour or maybe some finely ground pecans. It changes the texture a bit—less chewy, more dense—but they still hold together perfectly!
What is the best way to get the best tasting protein bars?
For me, the secret to the best tasting protein bars is all about balance. You need creamy peanut butter, but you can’t overdo the sweetener! If you use too much honey or maple syrup, they taste artificial and get messy. Make sure your protein powder flavor matches your sweetener—vanilla is great, but chocolate powder also turns these into amazing chocolate protein bars no bake style treats. Taste the dough before you press it; adjust the sweetness slightly if needed!
Are these easy protein bar recipes suitable for freezing?
They are incredible for freezing! Since these are our easy protein bar recipes and they are no-bake, they handle the freezer like a dream. Once you’ve cut them, place them in a freezer-safe bag or container, separated by wax paper squares so they don’t fuse together. You can pull one out in the morning, and by lunchtime, it’s perfectly thawed, slightly firmer, and totally ready to eat. They last for months this way!
Estimating the Nutrition of Your Homemade Protein Bars
So, how do these amazing protein bars homemade stack up nutritionally? Since you’re in control of the powder and the sweetener, you can tailor this, but here is what we generally see when making ten bars with standard ingredients. Keep in mind, these are just guidelines, okay? If you swap out honey for maple syrup or use a different kind of protein, those numbers wiggle a tiny bit!
- Serving Size: 1 bar
- Calories: 220
- Protein: 12g
- Sugar: 7g
- Fat: 13g
This is a fantastic breakdown for a satisfying simple homemade snack, giving you a real protein boost without overloading on sugar. If you calculate yours differently, I’d love to hear about it in the comments below!
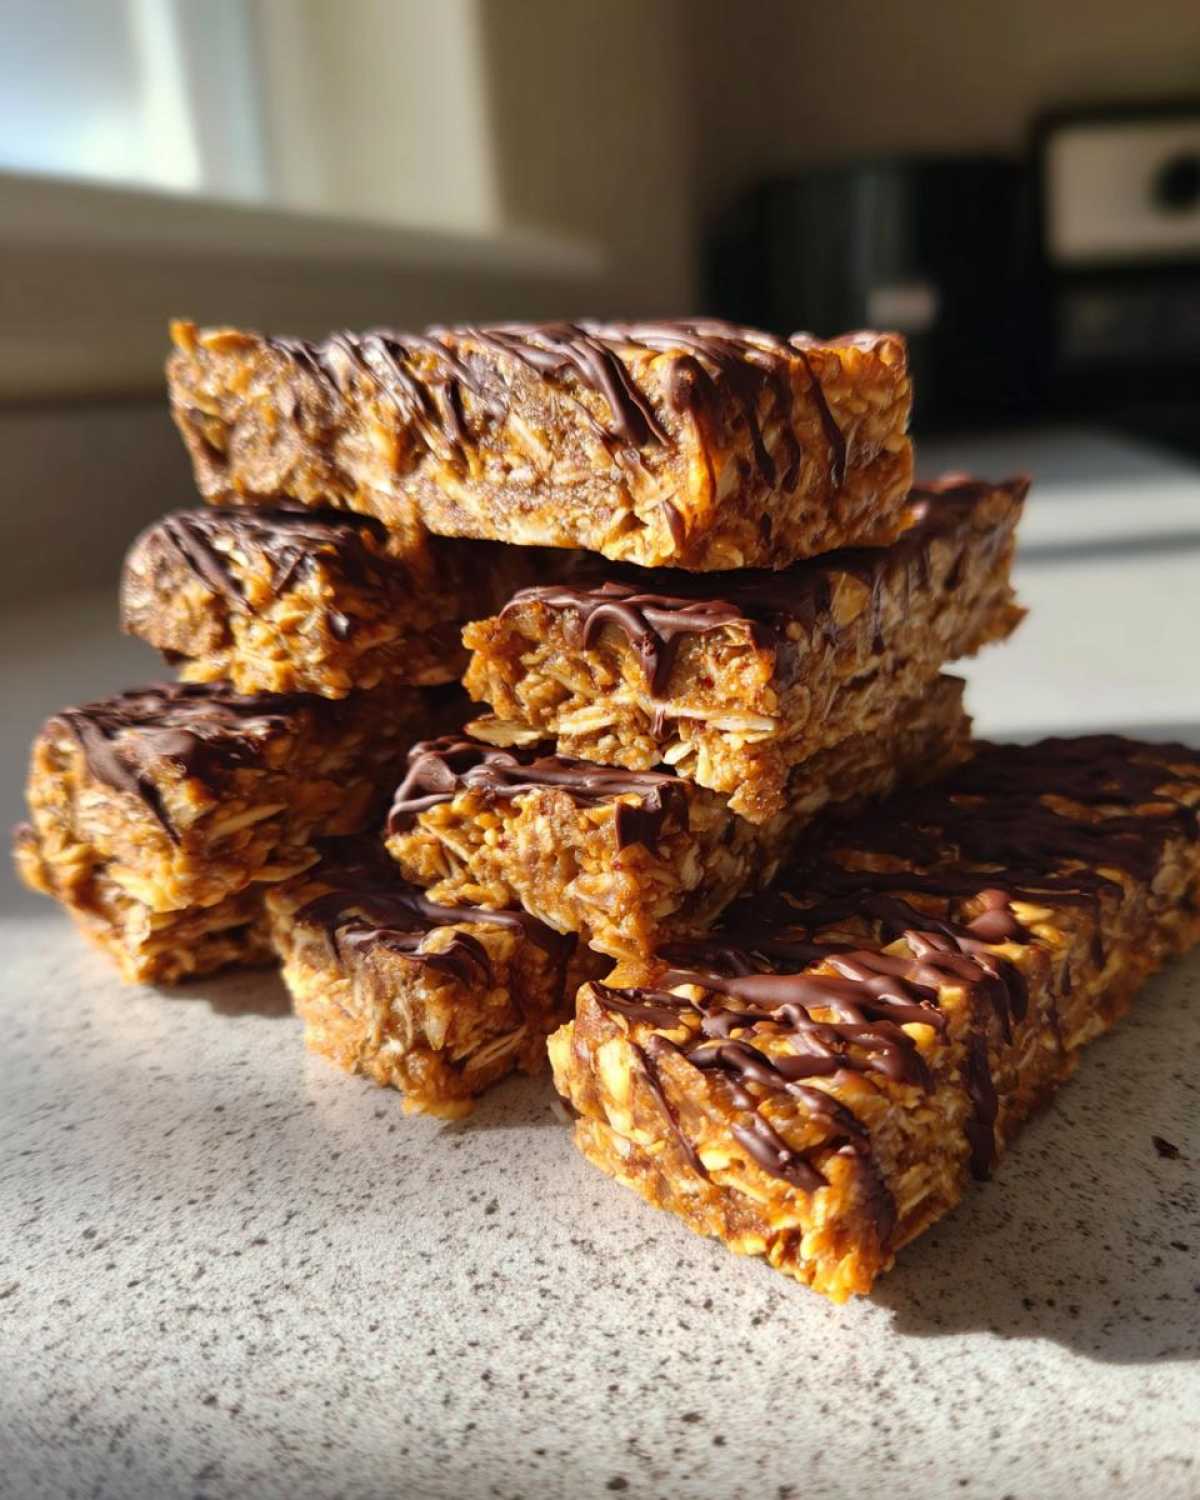
Share Your Success with These Quick Protein Treats
I mean it when I say I can’t wait to hear what you think of these protein bars homemade! Seriously, don’t just make them and disappear! These homemade protein bars are meant to be shared.
If you made them, please do us a huge favor and hop back here to leave a star rating. Five stars if they blew your mind, but even if you learned something new while tweaking the recipe, let us know! I’m always curious about your favorite tiny twists—did you add some vanilla extract? Maybe some chia seeds for an extra crunch? Drop your best ideas in the comments below; they help the next person who tries this recipe!
And please, if you snap a picture of your perfectly chilled, chocolate-drizzled perfection, tag us on social media! Seeing your creations brings Leo, Amara, and me (Tariq) so much joy. We love seeing the Savory Skies recipes come to life in your kitchens. If you ever need help with another one of our recipes, don’t hesitate to use our contact page. Happy snacking!
PrintEasy No-Bake 5-Ingredient Peanut Butter Protein Bars
Make these simple, chewy, no-bake protein bars at home. They use only five ingredients and are perfect for quick meal prep or a satisfying, high-protein snack.
- Prep Time: 10 min
- Cook Time: 0 min
- Total Time: 70 min
- Yield: 10 servings
- Category: Snack
- Method: No-Bake
- Cuisine: American
- Diet: Vegetarian
Ingredients
- 1 cup creamy peanut butter
- 1/2 cup vanilla protein powder (whey or plant-based)
- 1/2 cup rolled oats
- 1/4 cup honey or maple syrup
- 2 tablespoons melted dark chocolate (for drizzle)
Instructions
- Line an 8×8 inch baking pan with parchment paper, leaving an overhang on the sides for easy removal.
- In a medium bowl, combine the peanut butter, protein powder, rolled oats, and honey or maple syrup.
- Mix all ingredients thoroughly until a thick, uniform dough forms. You may need to use your hands to fully incorporate everything.
- Press the mixture evenly into the prepared pan. Press down firmly to compact the bars.
- Place the pan in the refrigerator to chill for at least 1 hour, or until firm.
- Once firm, lift the block out using the parchment paper overhang and slice it into 10 even bars.
- Melt the dark chocolate in a small bowl in the microwave in 20-second intervals, stirring between each interval until smooth.
- Drizzle the melted chocolate over the top of the bars.
- Return the bars to the refrigerator for 10 minutes to allow the chocolate to set.
- Store your homemade protein bars in an airtight container in the refrigerator for up to one week.
Notes
- You control the ingredients when you make these homemade protein bars, making them a great low sugar option.
- For a vegan protein bars recipe, use maple syrup instead of honey and ensure your protein powder is plant-based.
- If the mixture seems too dry, add one teaspoon of water or milk at a time until it comes together.
- These bars are excellent for meal prep and provide sustained energy.
Nutrition
- Serving Size: 1 bar
- Calories: 220
- Sugar: 7
- Sodium: 110
- Fat: 13
- Saturated Fat: 3
- Unsaturated Fat: 10
- Trans Fat: 0
- Carbohydrates: 18
- Fiber: 2
- Protein: 12
- Cholesterol: 5
