

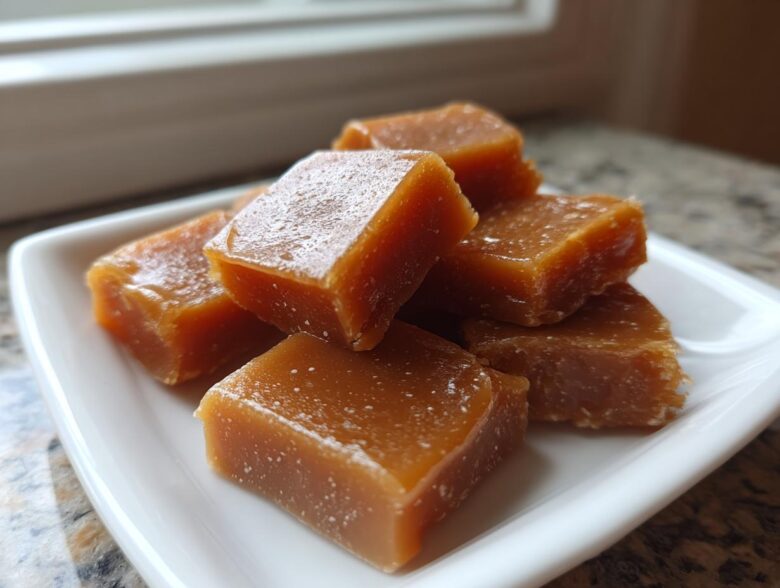
Oh, my goodness, are you ready to dive into the absolute gold standard of sweet treats? Forget those waxy, store-bought squares that are rock hard by Christmas! Making candy at home feels like pure magic, especially when you realize how easy it is to nail that perfect texture. I spent *years* trying to get my **homemade caramel** just right—you know, the kind that melts slowly in your mouth? Well, I finally cracked the code! This recipe is shockingly straightforward; I swear, if you have a heavy pot and a candy thermometer, you absolutely cannot mess this up. You can find more of my favorite kitchen tips over at my main blog page! We’re talking about soft and chewy perfection that will make everyone you know beg for your secret recipe. Trust me on this one; this is my no-fail method for bringing pure, buttery joy to your kitchen.
Why This Homemade Caramel Recipe Works So Well
I’m telling you, the difference between a decent caramel and a show-stopping batch comes down to a couple of tiny details in this recipe. It’s what makes it my personal go-to, and I know you’ll feel the same way once you try it. It’s designed to be incredibly reliable!
- This recipe is truly a no-fail caramel method. If you follow the thermometer reading, you skip all the guesswork that drives people crazy when making candy.
- It’s the perfect soft and chewy caramels tutorial because the ingredient ratios are spot on for that signature mouthfeel. No sticky messes in your teeth!
- Honestly, why complicate things? We follow this simple structure because it delivers that gorgeous, classic caramel candy recipe flavor every single time. I even link to my great dip recipe here if you want a savory break later!
Achieving the Best Homemade Caramel Texture
The secret sauce, quite literally, is hitting that 245-degree mark. That’s the soft-ball stage! If you cook it less, you get a runny sauce; cook it too long, and you have brittle toffee. 245°F is the sweet spot that locks in moisture so they stay wonderfully chewy right out of the wrapper.
Simple Ingredients for Classic Homemade Caramel
There’s nothing fancy lurking in this pot, which is why it’s such an easy caramel recipe from scratch. It relies on the classics—good butter, heavy cream, and sugar. Quality ingredients make a tremendous difference when you aren’t using a dozen spices to mask anything.
Gathering Ingredients for Your Homemade Caramel Candy
Okay, before we even think about turning on the burner, we need to organize our small team of ingredients. This is key for candy making because things move fast once the heat is on! I always line up exactly what I need so I’m not scrambling. Remember, we are using real ingredients here to get that rich flavor.
For about forty of these gorgeous, buttery sweets, you’ll need the following:
- 1 cup granulated sugar
- 1 cup light corn syrup (this is important for texture—don’t skip it!)
- 1 cup heavy cream
- 1 cup unsalted butter (yes, a full cup! This is where the richness comes from.)
- 1 teaspoon vanilla extract
- 1/2 teaspoon salt
Getting these measured out first is your best defense against panic when the pot starts bubbling furiously! It’s the easiest way to make sure you get that perfect result when making your **homemade caramel**.
Step-by-Step Tutorial for Soft and Chewy Homemade Caramel
Alright, time to get serious! This is where we transform simple sugar and butter into that gorgeous, melt-in-your-mouth goodness. When following this classic caramel candy recipe, remember that timing is everything. Don’t leave the stove for even a second once the bubbles start popping aggressively! You can check out how I use caramel in another recipe for apples right here.
Preparing Your Pan and Combining Ingredients for Homemade Caramel
First things first: get your pan ready! Line an 8×8 inch pan with parchment paper, making sure there’s plenty of overhang on the sides—that parchment is your best friend for lifting the finished block out later. Grease that lined paper lightly, too. Now, combine your sugar, corn syrup, cream, and butter in a heavy-bottomed saucepan. Heavy-bottomed is an E-E-A-T must for candy making; it prevents scorching! Stir everything gently over medium heat until that butter is completely gone and the sugar looks dissolved. Don’t rush this dissolving part!
Cooking Homemade Caramel to Soft-Ball Stage
As soon as that mixture starts boiling hard, you MUST stop stirring! Seriously, put the spoon down. Insert your candy thermometer right into the middle—not touching the bottom—and let it cook until it hits exactly 245 degrees Fahrenheit. This usually takes between 15 and 20 minutes, depending on your stove. When it hits temp, yank the pan off the heat *immediately*. Stir in your vanilla and salt quickly, and pour it straight into that ready pan. Don’t scrape the sides of the pot; we want that smooth, clean caramel.
Cooling and Cutting Your Homemade Caramel
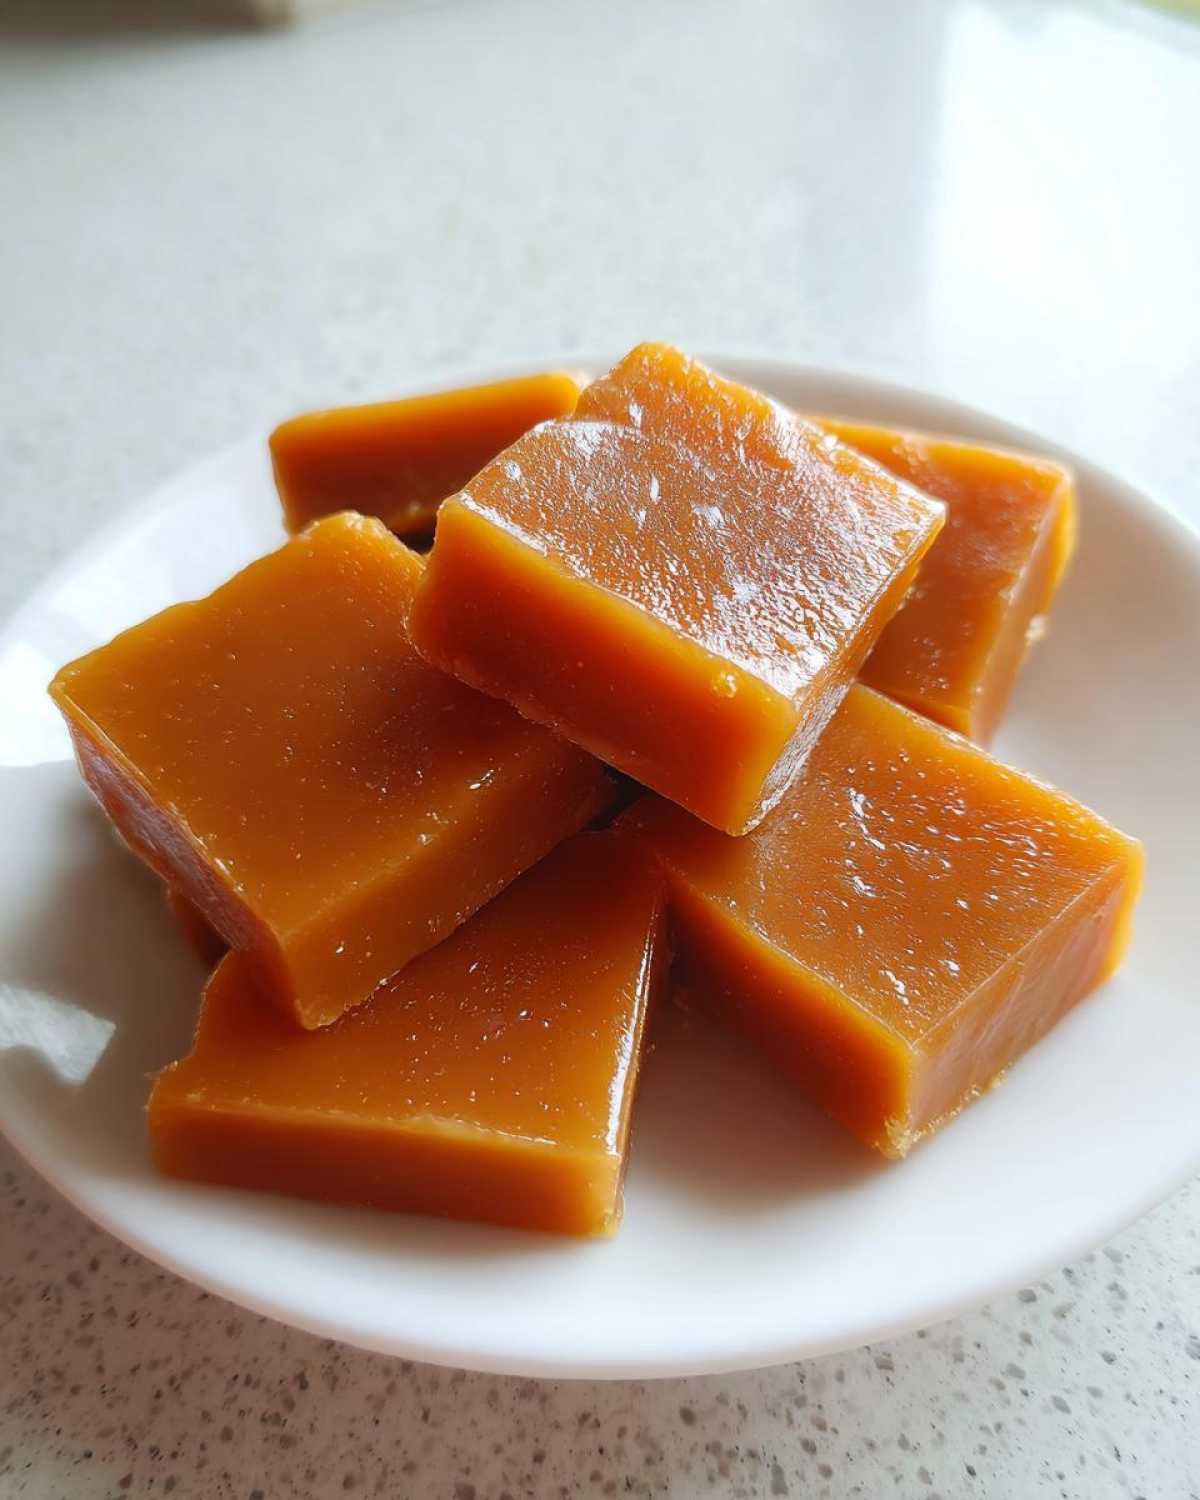
This is the hardest part: waiting! You have to let the caramel cool completely at room temperature. I mean it—at least three hours until it’s totally firm. No peeking or poking allowed! Once it’s set, use those parchment paper handles to lift the whole block out onto a cutting board. Slice it into your desired squares—I aim for about forty bites—and wrap each one in wax paper. This keeps them from sticking together and makes them perfect for caramel for gifting!
Tips for Perfect Homemade Caramel Every Time
Even though I call this my no-fail method for beginners—it’s fantastic for beginner caramel making—sometimes things go a little sideways once you start working with sugar. But don’t worry! That’s why I’ve learned a few tricks over the years to rescue a batch or adapt it when I’m feeling ambitious. Remember, this stuff is forgiving if you know the secret handshake!
Troubleshooting Common Homemade Caramel Issues
If you pull your caramel out and it seems a little too soft because maybe your thermometer was slightly off, don’t panic! Just put the block back into a large, clean pot (cut it up first if you can manage it) and reheat it gently over *low* heat until it gets pliable enough to safely lift and cut later. If it’s too hard, you cooked it too long, but that batch can often be salvaged into a tasty sauce instead.
Making a Thick Rich Caramel Sauce from the Homemade Caramel Base
Want to pivot from candy to the most incredible drizzle? It’s so simple! If you want a thick rich caramel sauce instead of the hard candy, you just need to pull the mixture off the heat sooner. For that velvety topping texture, aim for 235 degrees Fahrenheit instead of 245. Once you take it off the heat and stir in the vanilla, it will look thin, but trust me, it sets up into a perfect, pourable sauce as it cools. You can see another easy dressing recipe I love—my homemade mayo—when you have a moment over here.
Variations for Gourmet Caramel Bites
Once you master the base recipe—and trust me, once you see how smooth and easy this homemade caramel is, you’ll be making it weekly—you absolutely have to start playing around with the flavors! Candy making is so much more fun when you stamp your own personality on it. I love turning a good batch into a truly gourmet caramel bites experience just by adding one extra thing right at the end.
The key here is timing again. You don’t want to add any flavor extracts or solids until *after* you hit that 245°F mark and pull the pot off the heat. If you add them early, they can interfere with the cooking temperature, or worse, burn!
Here are a few of my absolute favorite ways to dress up these buttery caramel sweets:
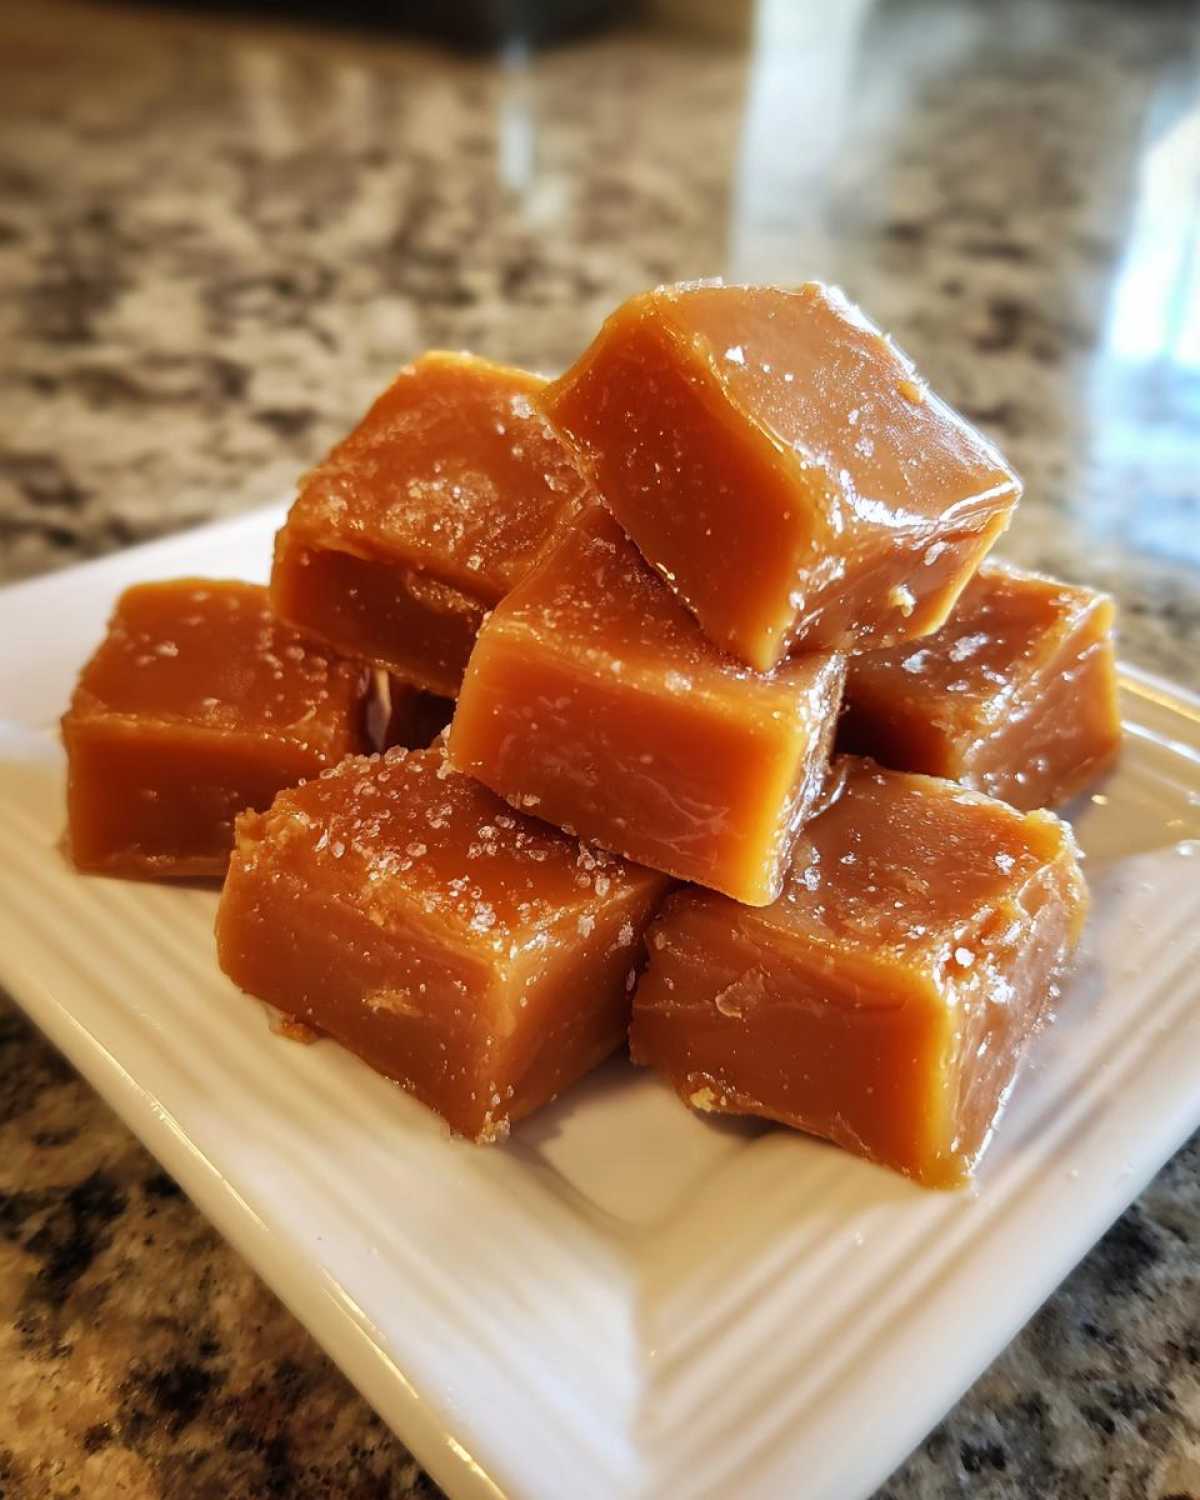
- The Sea Salt Finish: This is non-negotiable for me now! After you pour the hot mixture into the lined pan, immediately sprinkle the top generously with flaky sea salt. When you cut them later, you get that incredible salty crunch cutting through the buttery sweetness. If you love that combo, you have to see my recipe for caramel sea salt popcorn!
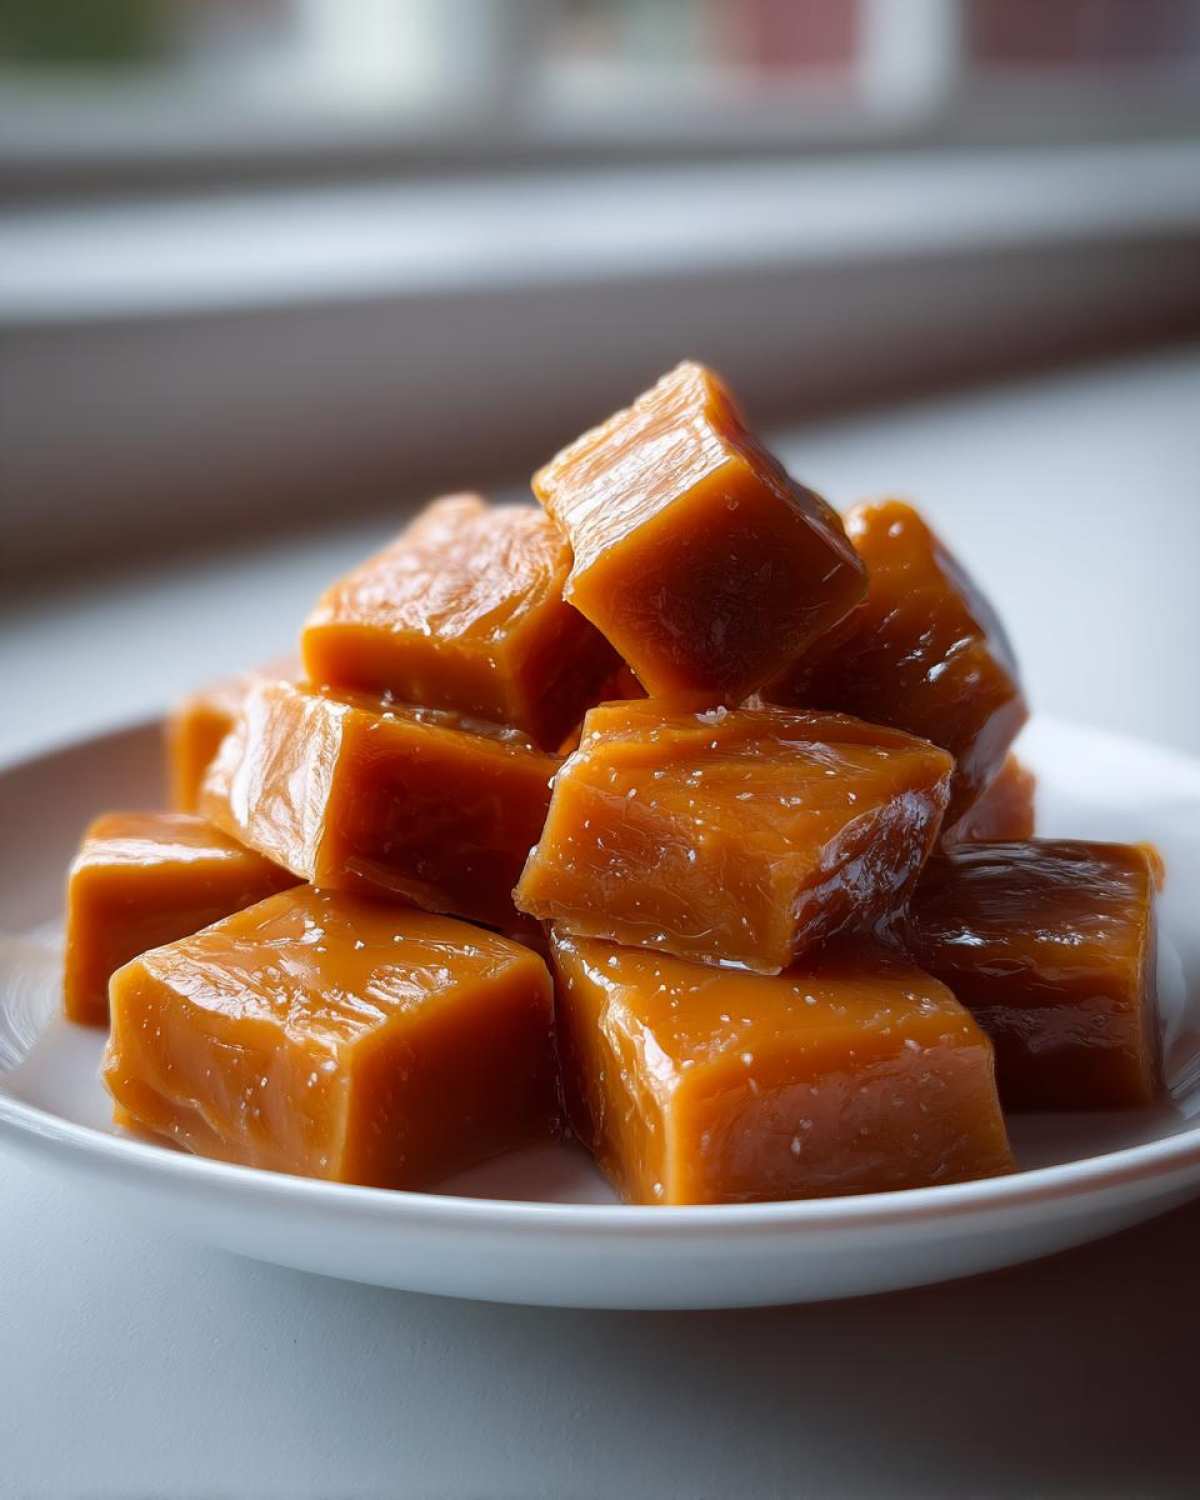
- Toasted Nut Surprise: For a real treat, toast about half a cup of chopped pecans or walnuts. Let them cool slightly, and then gently fold them into the caramel *after* the vanilla and salt have been stirred in, just before pouring. This gives a beautiful crunch and depth.
- Mocha Kick: If you are a coffee person like me, dissolve about one teaspoon of instant espresso powder right into the heavy cream before starting the cooking process. It deepens the color and adds such a sophisticated warmth to the final candy.
- A Hint of Mint: For a holiday twist, swap out the vanilla extract for half a teaspoon of high-quality peppermint extract. The peppermint blooms beautifully against the sugary base. Just be careful with extract quantities; a little goes a very long way!
These small tweaks take you from a great caramel recipe from scratch to a true show-stopper centerpiece for any dessert table or holiday platter.
Serving Suggestions for Your Homemade Caramel
Okay, now that you have survived the candy-making process and wrapped up the most amazing batch of soft, buttery goodness, what on earth do you do with them all?
While I know you’ll sneak a few squares immediately (we all do it!), these are too good not to share! Don’t just keep this masterpiece hidden away in a Tupperware container—let this glorious homemade caramel shine in your favorite desserts. This recipe is truly versatile, making it perfect for all those big caramel recipe for holidays gatherings you have coming up.
Easy Apple Dipping
My absolute favorite use, especially in the fall, is dipping apples! You’ll need to make a quick caramel sauce first—remember in the tips section we talked about pulling the temperature at 235°F? That’s your trick. Warm that sauce up gently, grab some crisp apples, and dip away. The rich, soft caramel coats the tart apple perfectly. If you want to bake the apples instead, I have a fantastic recipe for easy baked apples and cinnamon that these caramel squares can top beautifully once melted down!
Ice Cream Topping Heaven
Seriously, forget the stuff in the plastic squeeze bottles. Take a few of your finished caramel squares—maybe four or five—and pop them into a microwave-safe bowl with just a splash of extra heavy cream (maybe a tablespoon). Give it 15-20 seconds, stir it up, and suddenly you have the thickest, richest, most velvety **caramel topping recipe** you’ve ever tasted. Drizzle that over vanilla bean ice cream, or warm it up and pour it straight over a gooey brownie. It’s divine!
Baking and Bar Fillings
If you’re tackling brownies, blondies, or even homemade cookies, these squares are the ultimate cheat code for an elevated finish. Chop a few squares roughly and fold them right into your raw cookie dough before baking. They melt slightly, creating pockets of gooey, molten caramel throughout your finished treat. It adds such a lovely textural element to any baked dessert. Think of it as instant flavor depth, no extra sauce pots needed!
Storage and Keeping Homemade Caramel Fresh
So, you’ve got two pounds of the most heavenly **homemade caramel** the world has ever known, and they’re sitting there, tempting you from the cutting board. Now we have to talk about preservation, because we want these luscious squares to stay soft and chewy, not turn into little brown rocks!
The way you store them is crucial to maintaining that perfect texture we worked so hard to achieve. If you skip this part, you risk losing that beautiful, soft chewiness. A little bit of foresight here makes sure your candy tastes just as amazing next week as it does right now.
Wrapping is Everything for Homemade Caramel
If you plan to keep these longer than a day, you absolutely must wrap them individually. I always use small pieces of actual wax paper—the kind meant for baking is perfect—or clear cellophane wrappers if I’m feeling fancy for gifting. Why wrap them? Because caramel is inherently sticky, and if they touch, they’ll fuse into one giant, unmanageable caramel blob overnight! Trust me, trying to cut apart a fused block next Tuesday is not how you want to spend your evening.
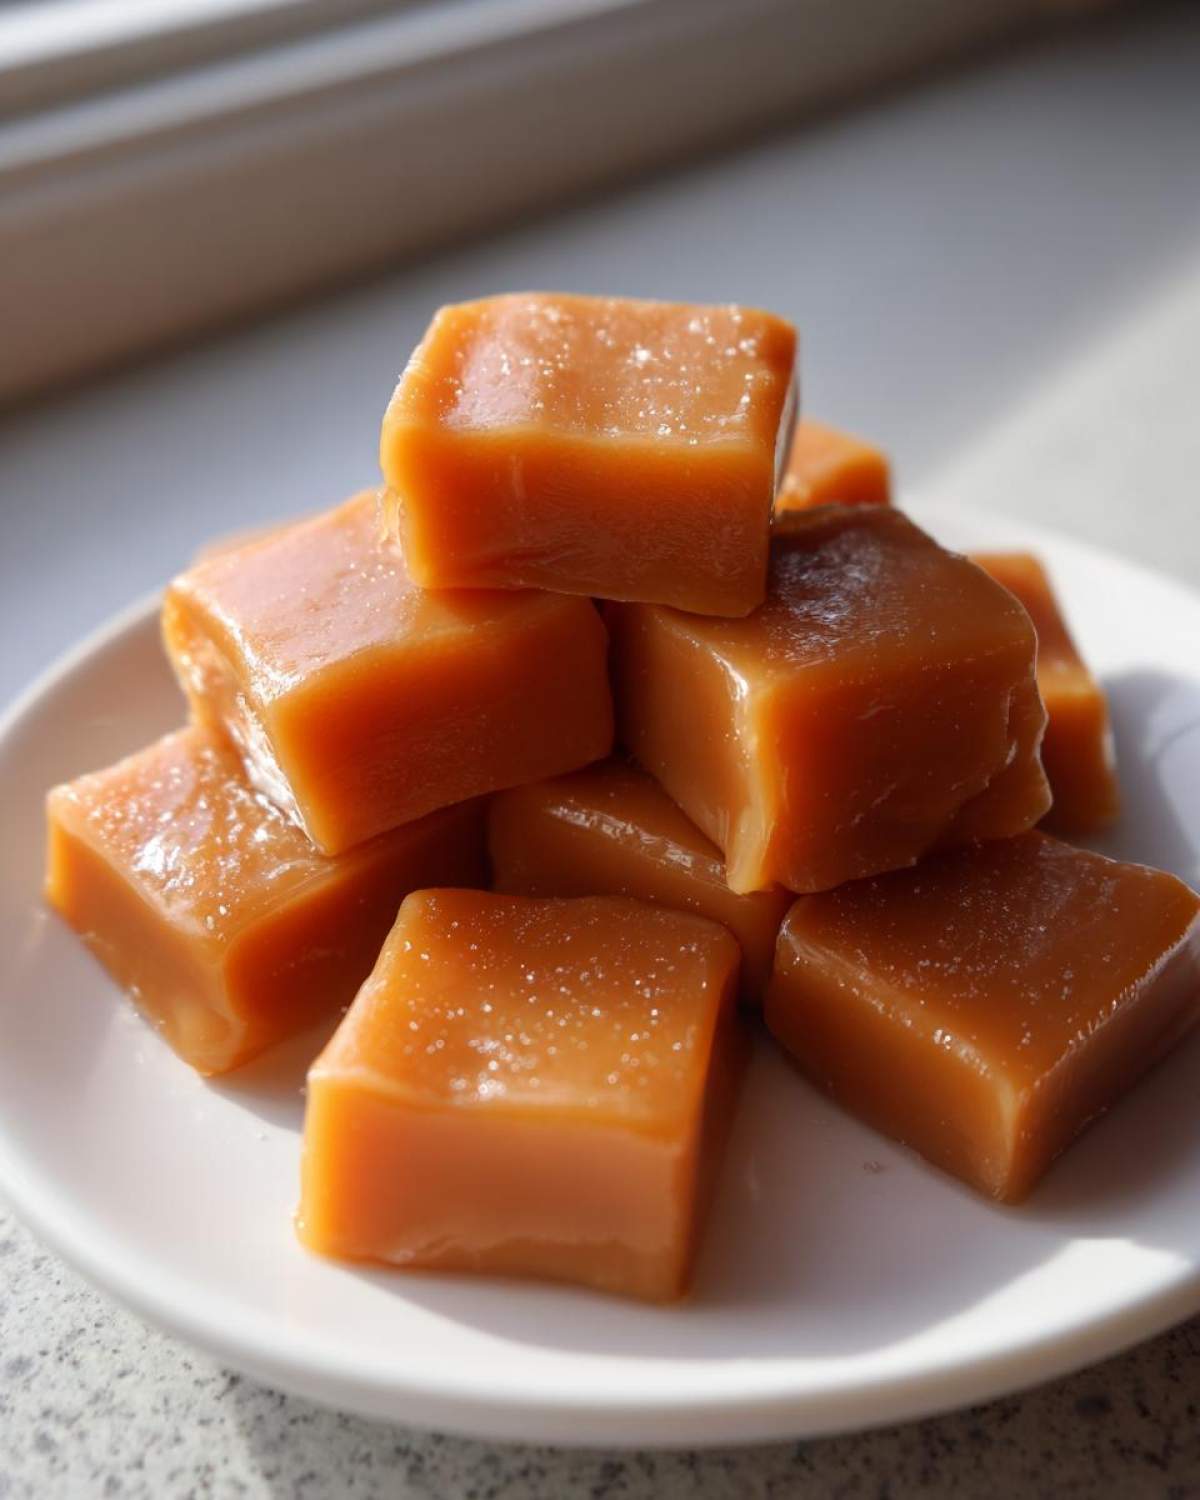
When you wrap them snugly, moisture stays locked in, which is the key to those melt in your mouth caramels we are aiming for.
Room Temperature vs. The Fridge
For the absolute best texture—that soft and delightfully yielding chew—keep them in an airtight container at room temperature. A cool, dark pantry is ideal. They should happily stay perfect like this for about two weeks! Because they are made with so much sugar and fat, they are actually quite stable at room temp.
Now, if your house is super humid—like we are having a super rainy summer week—or if you just made a massive batch and need them to last longer (say, three weeks or more), the refrigerator is your friend. Pop them into a really tightly sealed, heavy-duty container. Just know this: refrigeration can firm them up a bit more than room temperature storage.
Bringing Chilled Caramels Back to Life
If you do store them in the fridge, don’t serve them rock solid! Just pull the container out about 30 minutes to an hour before you plan to offer them up. This gives them time to warm up slightly so they achieve that perfect, pliable consistency. If you’re in a hurry, you can warm a batch just briefly in the microwave—maybe 10 seconds—but watch them like a hawk! We want them soft, not soupy!
Frequently Asked Questions About Making Homemade Caramel
I get so many questions about this recipe, mostly because cooking sugar can feel a little intimidating if you haven’t done it a million times! But honestly, once you understand the stages, it’s so fun. Here are the top things I hear folks asking when they’re whipping up their first batch of my homemade caramel.
Can I use brown sugar instead of white sugar in homemade caramel?
You totally can, but you’re going to change the flavor and texture significantly! White granulated sugar gives you that classic, clean, bright *caramel* flavor we’re going for here. If you swap in all brown sugar, the molasses content will make your candies much darker, taste a bit more like toffee, and they might get sticky faster. I recommend keeping this classic caramel candy recipe pure white sugar for the softest, chewiest result. If you want a hint of molasses flavor, try substituting just a quarter cup of the white sugar with brown sugar!
Why did my homemade caramel crystallize?
Ugh, crystallization—the bane of every candy maker’s existence! This happens when the sugar molecules start reforming into large crystals instead of staying suspended smoothly in the syrup, often due to tiny sugar particles splashing onto the sides of the pot cooling down. To stop this, make sure you wipe down the sides of your pot with a wet pastry brush right before it starts boiling. Also, and this is huge for any beginner caramel making endeavor: do NOT stir the mixture once it hits the boil! Stirring introduces movement that encourages crystallization.
I don’t have a candy thermometer—can I still make this?
I strongly advise against it if you are aiming for that perfect soft and chewy texture. A thermometer is the key to my no-fail caramel method! Without it, you’re guessing, and sugar temperatures don’t play fair; one degree too high and you’re crunching on hard toffee, one degree too low and your candy is soup. If you absolutely must try without one, use the cold water test, but it’s much harder!
How do I make a thicker or thinner version of this awesome homemade caramel?
This goes back to that magic temperature! If you want a thin, pourable sauce—the best **how to make caramel sauce at home** trick—pull it off the heat at 235°F. If you want a richer, slightly firmer but still chewy candy, you can push it up to 248°F, but be careful! For the best sauce recipe, you should check out my dedicated guide here!
Can I make these caramels ahead of time for the holidays?
Yes! They are actually perfect for making early. Since these candies keep so well wrapped tightly at room temperature (for about two weeks), they are ideal for holiday baking preparation. I usually make a double batch right after Halloween and keep them wrapped in my pantry. They are fantastic for last-minute edible gifts!
Estimated Nutritional Snapshot for Homemade Caramel Candy
Now, let’s talk about the fuel that powers this pure sugar rush! I always feel a tiny bit guilty looking at the numbers for homemade caramel, but honestly, these are a treat, not a daily staple. We’re talking about a tiny, perfect square, and knowing what’s in it helps me enjoy it guilt-free!
Keep in mind that since this is a classic candy recipe made from scratch, these numbers are estimates based on the ingredients we used—the full cup of butter really packs a punch, but oh boy, is it worth it for that texture!
Here is the nutritional breakdown per single square (assuming you cut the batch into 40 pieces):
- Serving Size: 1 square
- Calories: 105
- Sugar: 14g
- Sodium: 30mg
- Fat: 5g
- Saturated Fat: 3g
- Carbohydrates: 15g
- Protein: 0g
Because we are using real butter and simple syrups, the fat and sugar content is certainly there, but since these are such rich, satisfying gourmet caramel bites, you usually only eat one or two! That’s the beauty of homemade—you savor the quality over the quantity. Enjoy every single bite!
PrintSoft and Chewy Homemade Caramel Candy

A straightforward recipe for making classic, soft, and chewy caramel candies from scratch, perfect for eating or gifting.
- Prep Time: 10 min
- Cook Time: 20 min
- Total Time: 190 min
- Yield: About 40 pieces
- Category: Candy
- Method: Stovetop Cooking
- Cuisine: American
- Diet: Vegetarian
Ingredients
- 1 cup granulated sugar
- 1 cup light corn syrup
- 1 cup heavy cream
- 1 cup unsalted butter
- 1 teaspoon vanilla extract
- 1/2 teaspoon salt
Instructions
- Line an 8×8 inch pan with parchment paper, letting the paper overhang the sides for easy removal. Lightly grease the paper.
- Combine the sugar, corn syrup, heavy cream, and butter in a heavy-bottomed saucepan.
- Stir the mixture constantly over medium heat until the butter melts and the sugar dissolves.
- Stop stirring once the mixture boils. Insert a candy thermometer.
- Cook the mixture without stirring until it reaches 245 degrees Fahrenheit (soft-ball stage). This usually takes 15 to 20 minutes.
- Remove the pan from the heat immediately. Carefully stir in the vanilla extract and salt.
- Pour the hot caramel mixture into the prepared pan. Do not scrape the sides of the pan.
- Let the caramel cool completely at room temperature for at least 3 hours, or until firm.
- Once firm, lift the caramel out of the pan using the parchment paper overhang.
- Cut the block into small squares. Wrap each square individually in wax paper or cellophane for storage.
Notes
- For a thicker caramel sauce, reduce the cooking time to 235 degrees Fahrenheit before removing from heat.
- If the caramel hardens too quickly, you can briefly reheat it on low heat until pliable enough to cut.
- Use high-quality butter for the best flavor in your homemade caramel.
Nutrition
- Serving Size: 1 square
- Calories: 105
- Sugar: 14
- Sodium: 30
- Fat: 5
- Saturated Fat: 3
- Unsaturated Fat: 2
- Trans Fat: 0
- Carbohydrates: 15
- Fiber: 0
- Protein: 0
- Cholesterol: 15
