

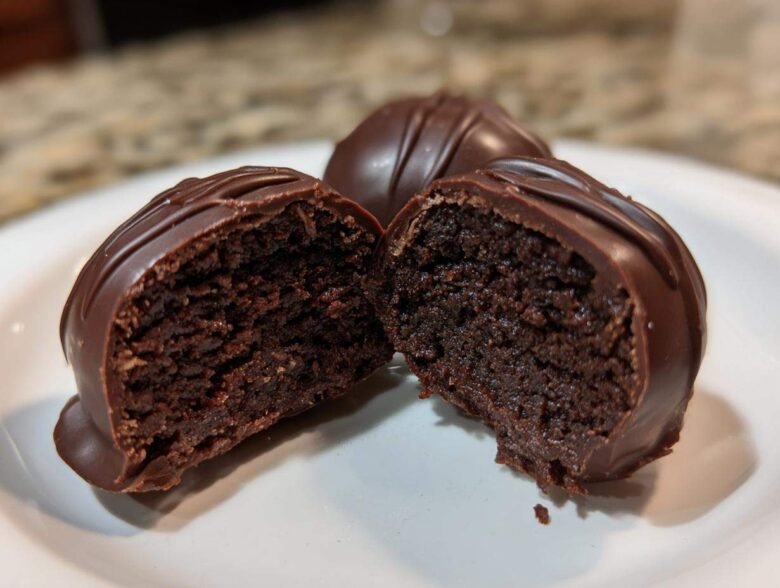
If you are short on time but need the most incredible, crowd-pleasing homemade candy for your next gathering, stop scrolling right now! I’m serious—these classic three-ingredient Oreo balls are my secret weapon, especially when Christmas comes around. I’ve made hundreds of these over the years for family parties, neighbor gift baskets, and last-minute dessert needs. They are completely foolproof. You don’t even need to turn on the oven! The magic is simply in crushing the cookies, mixing them just right, and dipping them in chocolate. Forget complicated baking; these are the ultimate, simple, no-bake treats.
Why Our Classic Oreo Balls Recipe Works Every Time
Honestly, I’ve tried to mess this recipe up. I really have. But no matter what I do, these Oreo balls always turn out perfectly fudgy and never fall apart when you dip them! That’s why I trust this method completely for every holiday cookie exchange. It’s just so reliable.
- They are genuinely no-bake, which cuts down on kitchen chaos immediately.
- The texture inside stays wonderfully dense—like a rich, fudgy brownie bite, not a dry cake pop.
- They taste incredible, and people always ask for the recipe, even though it’s ridiculously simple.
The Secret to Perfect Oreo Balls Consistency
The absolute key, the thing you cannot skip, is using *real* cream cheese, and making sure it’s fully softened. The cream cheese is what binds all those cookie crumbs together so tightly. If your cream cheese is too cold, it won’t incorporate properly, and you’ll end up with dough that crumbles when you try to roll it. We don’t want crumbly balls!
Making Oreo Balls for Large Crowds
This recipe is my absolute favorite for making large batches because it scales up like a dream. You can easily double or triple this for a big event. Since they hold up so well at room temperature for short periods, they shine as one of those perfect Crowd Pleasing Desserts that you can set out early and not worry about them collapsing or melting too quickly (as long as the chocolate coating sets hard).
Gathering Ingredients for Your Oreo Balls
Alright, let’s talk supplies! The beauty of this recipe is that you only need three things to make the core of these amazing Oreo balls. Seriously, knowing what you need ahead of time makes the mixing process fly by. Please, don’t rush out to the store without double-checking these details because the condition of the ingredients really matters here.
Cream Cheese Oreo Bites Base Components
For the main body of these fudgy bites, you’ll need one full package—and I mean the whole standard package, which should be about 14.3 ounces—of those wonderful Oreo cookies. You crush the entire thing, filling and all! Next up is the binder: you absolutely must have 8 ounces of cream cheese, and this is non-negotiable: it has to be completely softened to room temperature.
Why softened? If it’s cold, it won’t blend smoothly with the crumbs, and the mixing step will take forever, leaving lumps in your dough. I always take mine out an hour before I plan to start so it’s perfectly pliable and ready to mix evenly.
Simple Chocolate Coating Technique for Oreo Balls
Once you have your chilled, rolled balls ready to go, you’ll need about 16 ounces of chocolate for dipping. You have total freedom here! I usually stock up on melting wafers because they flow so nicely, but you can absolutely use good quality milk chocolate, dark chocolate, or even white chocolate for decorating. Just make sure you have enough to completely submerge each one for that perfect, smooth finish. Having extra on hand is always better than running out mid-dip!
Step-by-Step Instructions for No Bake Oreo Dessert
Okay, this is where the magic happens, and trust me, it moves fast once you get started! We’re making Oreo balls, and the goal is to get everything mixed, rolled, and chilled quickly so the chocolate coating comes out smooth. Follow these steps exactly, and you’ll have tray after tray of perfect treats.
Preparing the Fudgy Oreo Bites Dough
First things first, those cookies have to go! If you have a food processor like I do, toss the whole package in and pulse until you have fine, uniform crumbs. If you’re doing this the old-fashioned way—which I did for years—toss those cookies into a heavy-duty zip-top bag, flatten the air out, and just beat them senseless with a rolling pin until they are dust! Transfer those crumbs to a bowl and dump in your softened cream cheese. Mix it up until it finally comes together into one thick dough. If you have mixers, use them, but I usually just dig my hands in to make sure everything is incorporated.
Chilling and Shaping the Oreo Balls
See how sticky and soft that dough is? That’s normal! Now we freeze it—well, chill it—which is the most important waiting game. Roll the dough into little one-inch balls. They should be about the size of a slightly large gumball. Place them neatly on a parchment-lined baking sheet. Then you MUST pop this sheet into the refrigerator for at least 30 minutes. If they aren’t nice and cold, they will melt into chocolate puddles when you dip them!
Mastering the Chocolate Coating Technique
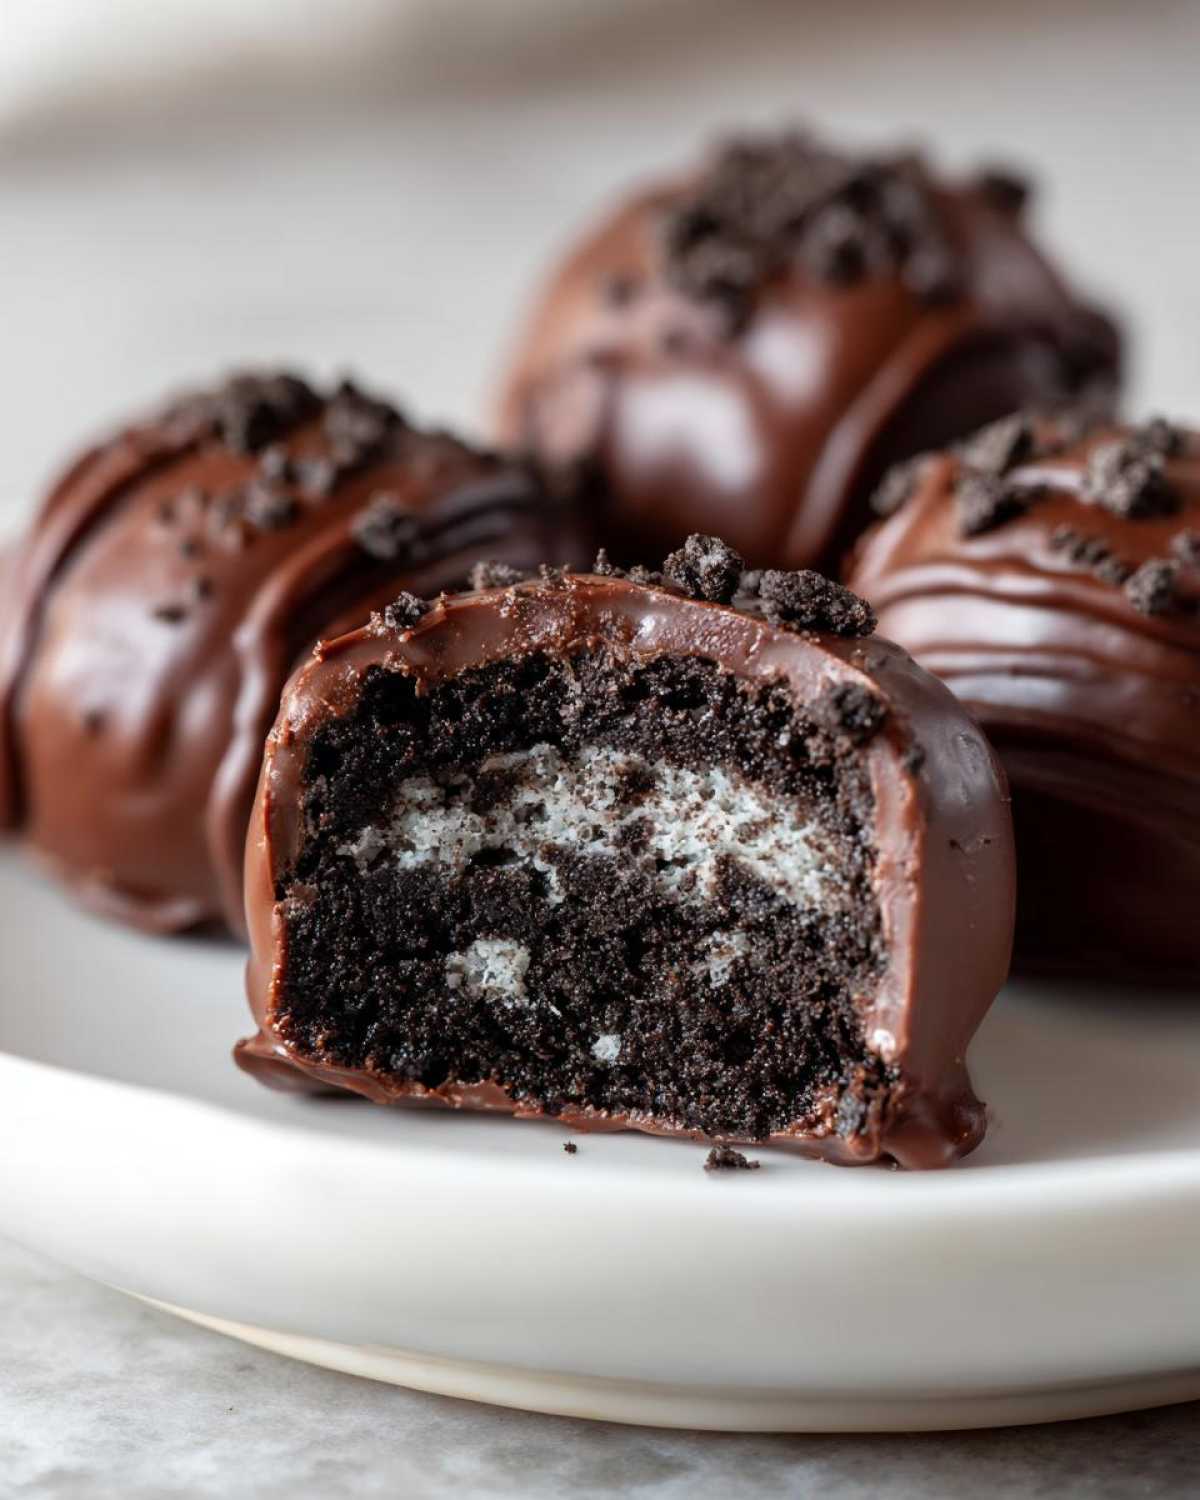
While those quick dessert recipes chill, melt your chocolate. I use the microwave method: 30 seconds at a time, stirring hard in between each blast so you don’t scorch the bottom. Once it’s silky smooth, gently dip your cold ball entirely under the chocolate. Use a fork to pull it out, and here’s the trick for a clean finish: gently tap the side of the fork against the rim of the bowl until the extra drips off. Place the shiny ball back on the parchment paper. If you want sprinkles on top, add them right away before that lovely coating sets!
Tips for Success with Your Oreo Balls
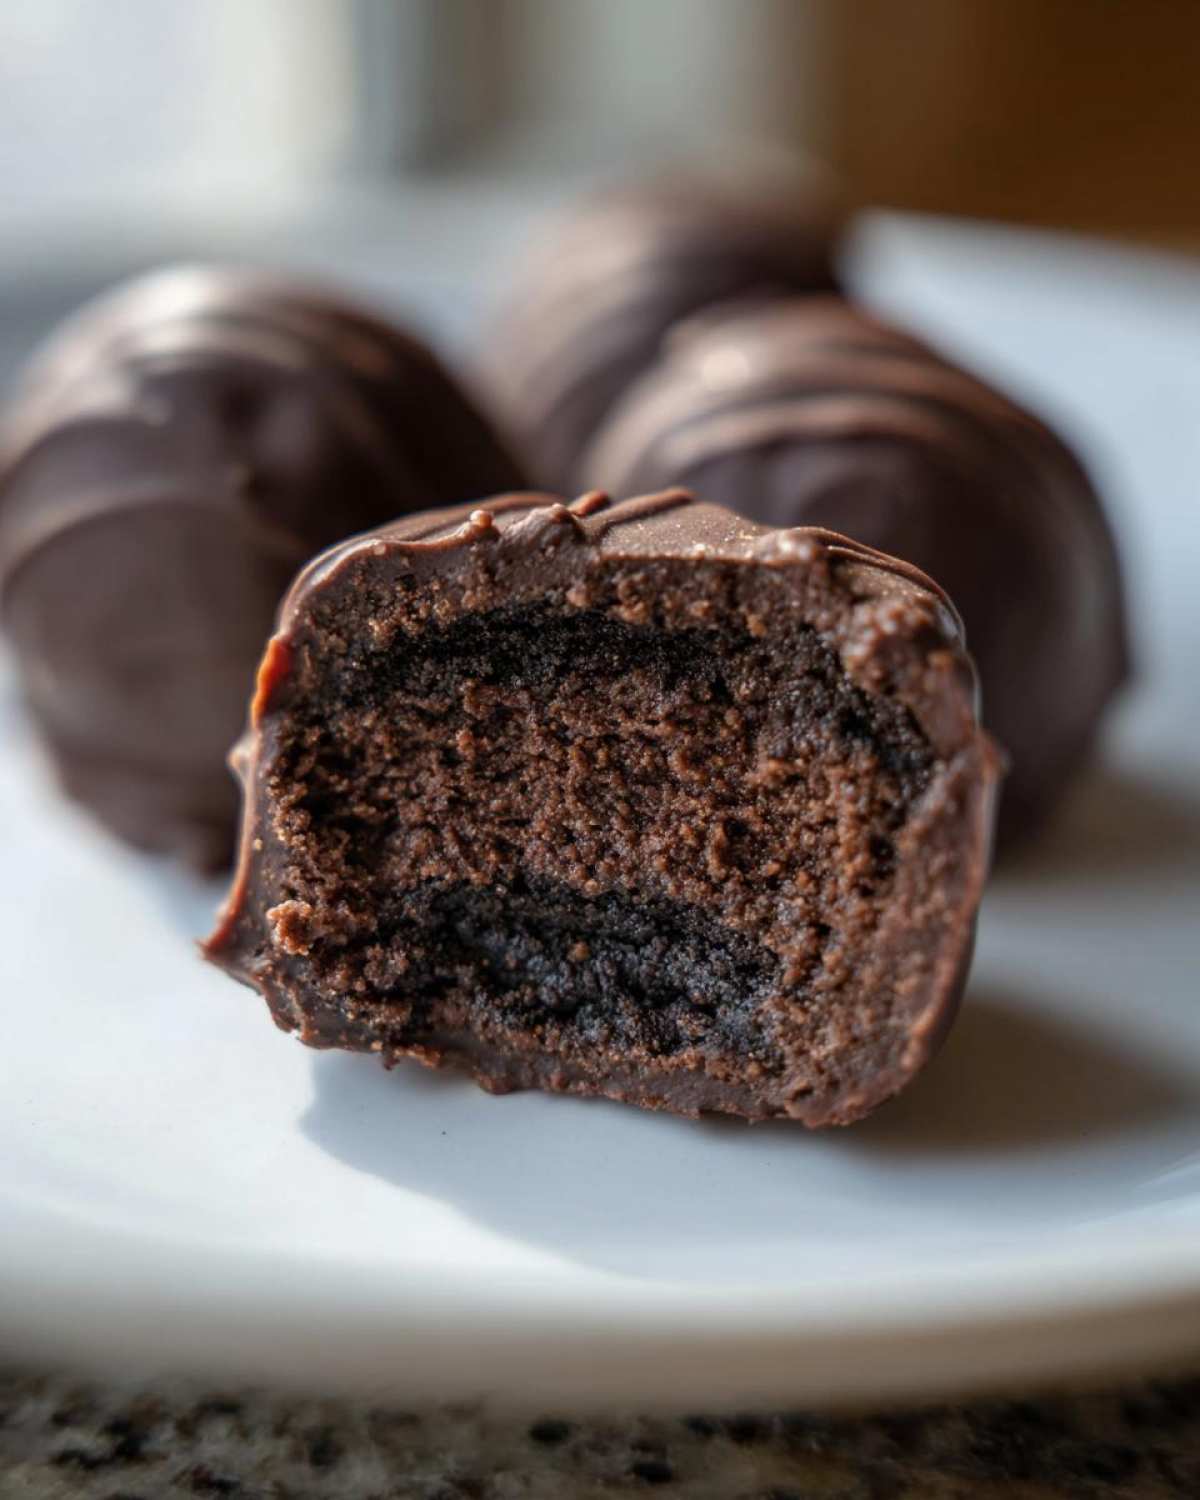
Even though these are simple quick dessert recipes, sometimes things don’t go perfectly smoothly right away, especially if your kitchen is warm or your cream cheese wasn’t quite ready. Don’t panic if you hit a snag! I’ve learned a few tricks over the years to save those batches of Oreo balls so they still turn out beautifully coated and fudgy on the inside.
Troubleshooting Soft Dough in Oreo Balls
If you get to the rolling stage and your dough feels too gooey, soft, or sticky to handle—even after that initial 30-minute chill—it just means it needs more time to firm up. My biggest piece of advice here is simply to put that entire tray back into the refrigerator. Set a timer for another 15 minutes. Sometimes, depending on how soft your cream cheese was or the humidity in the room, they need that extra quiet time to firm up enough to hold their perfectly round shape when you roll them. Never be tempted to add more cookie crumbs to fix soft dough; that just messes up the wonderful fudgy ratio!
Making Holiday Oreo Truffles Decorations
When it comes to decorating, especially around the holidays, the coating you choose really sets the mood. For beautiful Holiday Oreo Truffles, skip the standard milk or dark chocolate for the outer layer. Instead, use white chocolate melting wafers as your base coating. Once you’ve dipped your chilled truffle and it’s back on the parchment, that white chocolate is the perfect canvas.
Immediately, and I mean while the chocolate is still wet, dust them with festive colors! Think bright, vibrant red and green sprinkles for Christmas, or maybe just some shimmer dust if you are feeling fancy. This simple switch from dark chocolate to white chocolate makes these undeniably more festive and instantly recognizable as holiday candy.
Storage and Make Ahead Treats for Oreo Balls
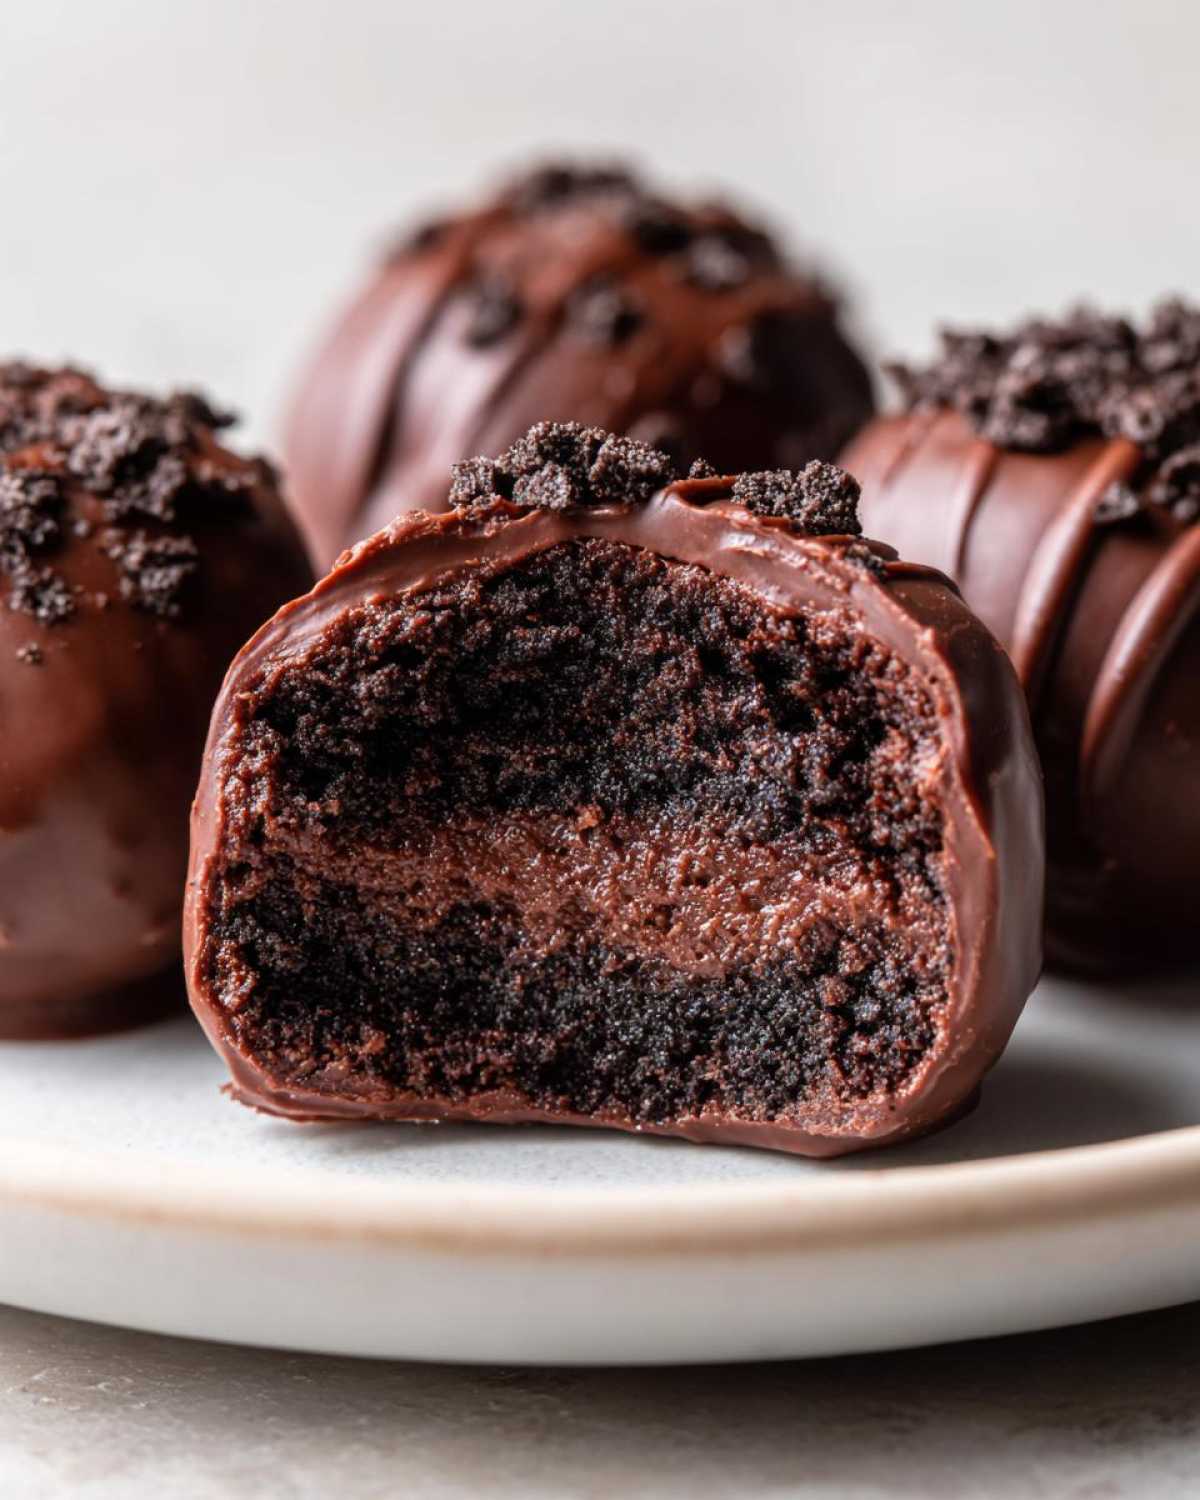
One of the absolute best things about making these Oreo balls is that they are the ultimate make-ahead dessert! You seriously don’t have to worry about baking anything the day of the party, which is a massive win in my book. Since these are no-bake, they actually taste better the next day anyway, allowing that fudgy center to meld perfectly with the chocolate shell.
When it comes to storing them, keep them airtight. I just grab a large Tupperware container that seals really well. You want to keep them in the refrigerator. The good news is that they keep beautifully for ages—I’m talking up to two full weeks! They might get a *tiny* bit firmer in the fridge, but honestly, that just makes them easier to handle a day or two later when you’re taking them to those big events. They fit perfectly on a dessert platter or in a nice gift tin. If you’re trucking them somewhere, make sure they stay cool for the ride, but they are such sturdy Party Dessert Balls!
Variations on the Classic Oreo Truffles Recipe
You know, even though I preach about keeping our classic Oreo Truffles Recipe pure, sometimes you just gotta spice things up, right? Once you master the basic cookie/cream cheese ratio, these little balls become your flavor playground! It’s still incredibly easy, but you can totally change the vibe of the entire treat just by playing with what goes *inside* the dough or what you use to coat them.
For instance, have you ever thought about adding other things to the base? A teaspoon of mint extract mixed in with the cream cheese works miracles if you love that combination. Or maybe a tiny touch of peanut butter if that’s your jam? These little adjustments make them feel like an entirely new dessert without changing the core technique at all. They remain delightfully fudgy and bite-sized!
Christmas Themed Oreo Balls Customization
This is truly where these Oreo cake balls recipe shine during the holidays! Everyone enters those cookie exchanges looking for something impressive but fast, and these are the answer. The easiest way to make them look completely gourmet is through creative coatings and simple decorations.
If you want to lean hard into a festive look—say, mimicking that fun Grinch theme everyone loves—stick to coating them in bright green candy melts instead of standard chocolate. Melt your green candy melts just like you would the regular chocolate, dip them quickly, and then immediately roll those wet balls in festive gold or sparkly red sprinkles. If you want a snow effect, use white chocolate and then dust them very lightly with edible glitter powder before they set. They look super complicated, but they’re basically the same super simple steps we always use!
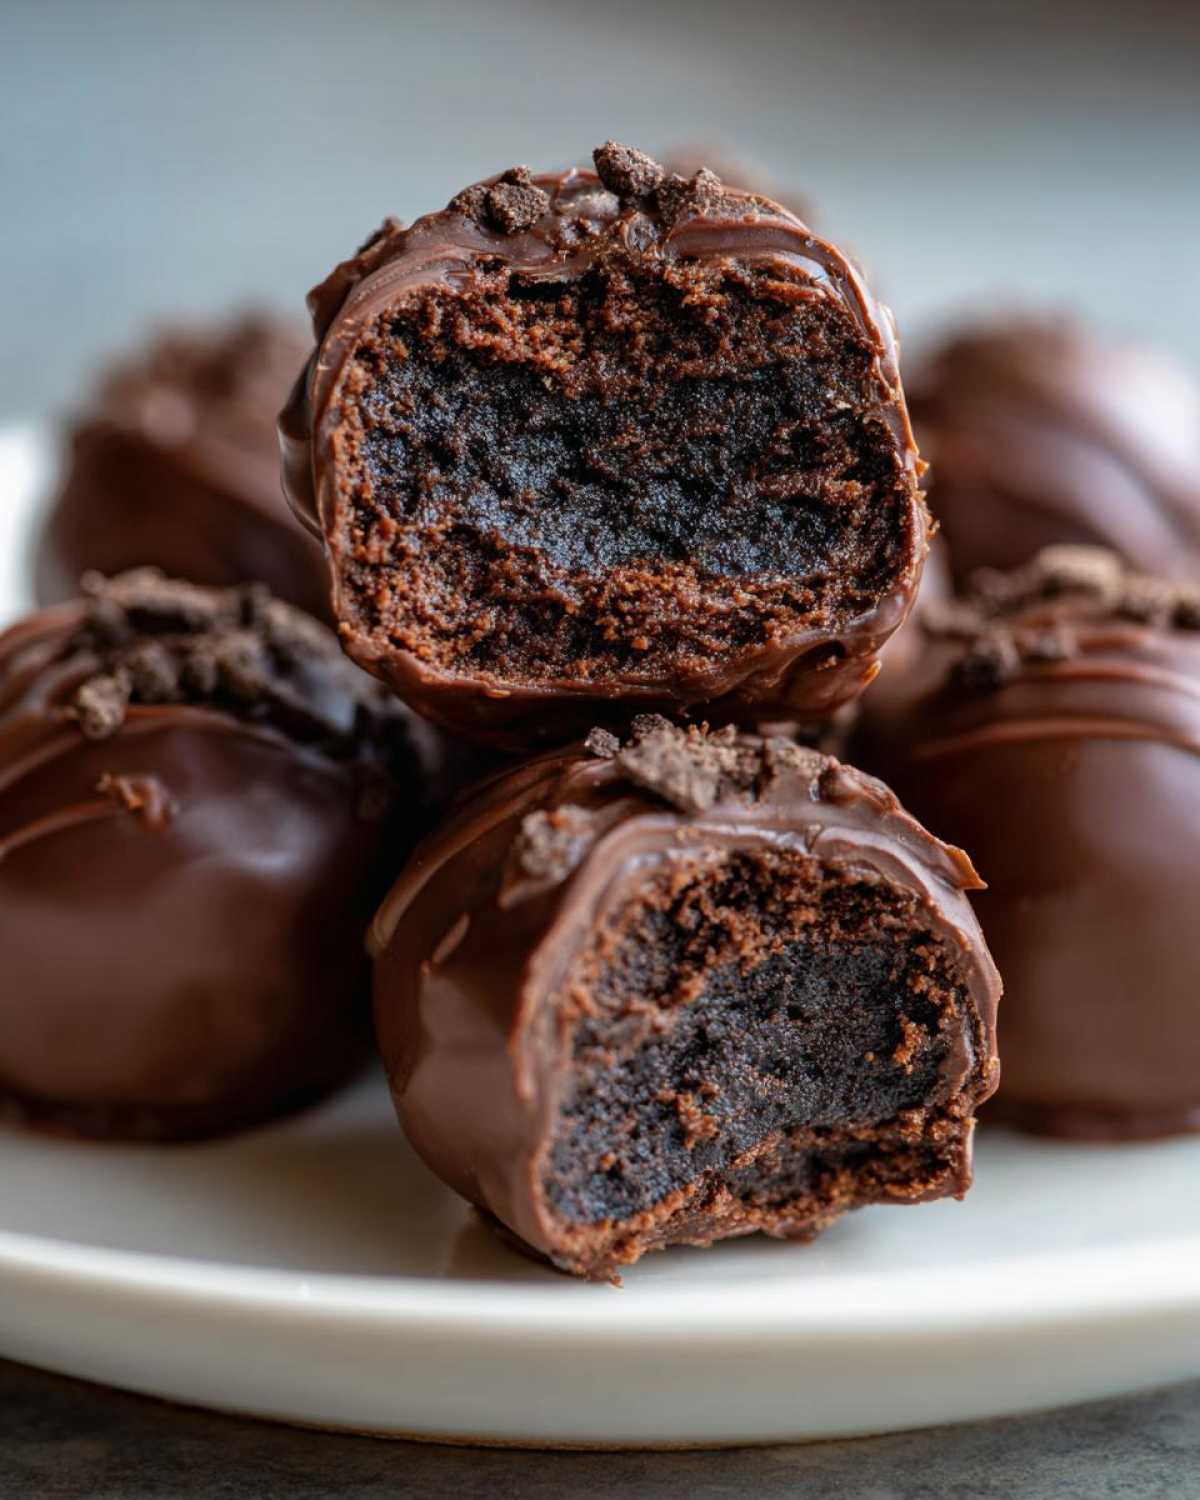
Serving Suggestions for Bite Sized Chocolate Desserts
Now that you have a massive platter of gorgeous, glossy Oreo balls, the next big question is: how do you show them off? These aren’t just throw-together snacks; they look way too fancy for that! They deserve a proper presentation because they are the definition of bite-sized perfection.
For parties, I always create a tiered dessert stand. I’ll stack them high on the top layer, maybe nestled into tiny paper candy liners—the little gold or silver foil ones look especially elegant. They look fantastic next to something light and fruity, like a fresh berry assortment, just to give people a tiny palette break from all that fudgy chocolate goodness!
They are also the champion of all cookie exchanges. Seriously, if you bring these, you’ll be the star. Since they are so dense and rich, you only need to bring about half of what you’d bring if you baked cookies. Wrap them individually in clear cellophane bags and tie them with a festive ribbon. They look like beautifully crafted gourmet gifts straight from a bakery, even though we know they took maybe 20 minutes of actual work!
If you’re just having a quiet night in, they pair perfectly with a good, strong cup of coffee. Or, if you’re feeling extra decadent, a small glass of something sweet like port wine or cream sherry—the richness of the wine really complements the dark chocolate coating and the creamy center of these bite sized chocolate desserts. They’re just so versatile!
Frequently Asked Questions About Oreo Balls
It’s normal to have a few questions when you’re whipping up a batch of these perfect make ahead treats! Since this recipe is so popular and everyone has their own little twist, I gathered the most common things people ask me when they are making their first batch of Oreo cake balls recipe.
Can I make Oreo Balls without a food processor?
Oh yes, absolutely! You do not need fancy gadgets for these 3 ingredient Oreo treats. If you don’t have a food processor, just use the classic method: put the whole cookies into a super sturdy, high-quality zip-top freezer bag. Squeeze out as much air as you can, seal it up tight, and then pound, roll, and crush those babies with a heavy rolling pin until they are as fine as flour! It takes a little elbow grease, but it works amazingly well for creating the base for your no bake cookie balls.
What is the difference between Oreo Balls and Oreo Truffles?
You know, this is one of those baking debates that just never ends! For the most part, there is zero functional difference between an Oreo Ball and an Oreo Truffle. They both refer to the exact same core recipe: crushed Oreos mixed with softened cream cheese, rolled, chilled, and dipped in chocolate. If you search for the Oreo Truffles Recipe, I guarantee you’ll find this exact method. I use the terms interchangeably whenever I’m whipping up a batch of these easy chocolate balls!
Do I need to use a specific type of Oreo cookie?
For the most authentic, fudgy texture that holds up perfectly in the fridge, stick with the original, classic Oreo cookie—the chocolate wafer with the vanilla cream filling. That filling is crucial because it acts as a little bit of added fat and sugar in the mixture, which helps everything stay moist and bind together better. You *could* try using Double Stuf or even perhaps Golden Oreos, but if you do switch the type, just watch your dough closely. If you use a cookie with less filling, you might find your dough needs an extra five minutes of chilling before you can roll it into those perfect fudgy Oreo bites.
Estimated Nutritional Facts for Oreo Balls
Now, I know that when we are making these amazing little no-bake candies, we aren’t exactly thinking about macros, right? They are pure, delicious, chocolatey joy! But since this is a reliable recipe, I wanted to give you a basic idea of what you’re looking at per truffle, just in case you need it. These numbers are estimates, of course, because how much chocolate you use for dipping or how thick the coating gets can totally change things!
Remember, these amazing easy chocolate balls are meant to be an occasional treat, not an everyday snack. They are definitely rich, but since you only eat one or two, they fit right into any party platter!
- Serving Size: 1 truffle
- Calories: Around 150
- Sugar: Approximately 15g
- Total Fat: About 10g (with 6g being saturated)
- Carbohydrates: About 15g
- Protein: Around 2g
If you stick to the recipe exactly, you should find these nutrition facts line up pretty closely with what’s listed above. Enjoy them guilt-free, knowing that they are just too easy to resist!
PrintClassic 3-Ingredient No-Bake Oreo Balls (Oreo Truffles)

Make simple, fudgy Oreo balls using only three ingredients. These no-bake truffles are easy to prepare and perfect for parties or holiday candy trays.
- Prep Time: 20 min
- Cook Time: 5 min
- Total Time: 25 min
- Yield: About 30 truffles
- Category: Dessert
- Method: No-Bake
- Cuisine: American
- Diet: Vegetarian
Ingredients
- 1 package (14.3 oz) Oreo cookies, about 36 cookies
- 8 oz cream cheese, softened
- 16 oz melting chocolate (milk, dark, or white chocolate wafers)
Instructions
- Place the entire package of Oreo cookies into a food processor. Pulse until you have fine crumbs.
- Transfer the crumbs to a medium bowl. Add the softened cream cheese. Mix with a hand mixer or by hand until the mixture is fully combined and forms a thick dough.
- Roll the dough into small balls, about 1 inch in diameter. Place the balls on a baking sheet lined with parchment paper.
- Chill the Oreo balls in the refrigerator for at least 30 minutes to firm them up.
- Melt the chocolate according to package directions. You can use a double boiler or microwave in 30-second intervals, stirring between each interval.
- Dip each chilled Oreo ball into the melted chocolate, ensuring it is fully coated. Use a fork to lift the ball out, tapping the fork gently on the side of the bowl to remove excess chocolate.
- Return the coated balls to the parchment-lined baking sheet.
- If desired, immediately add sprinkles or drizzle with a contrasting color of chocolate before the coating sets.
- Refrigerate the finished Oreo balls for about 15 minutes, or until the chocolate coating is firm.
Notes
- For a holiday look, use white chocolate coating and add green or red sprinkles before the coating sets.
- If you do not have a food processor, place cookies in a sturdy zip-top bag and crush them thoroughly with a rolling pin.
- If the dough seems too soft to roll, chill it for an extra 15 minutes before shaping.
- Store leftover Oreo truffles in an airtight container in the refrigerator for up to two weeks.
Nutrition
- Serving Size: 1 truffle
- Calories: 150
- Sugar: 15
- Sodium: 80
- Fat: 10
- Saturated Fat: 6
- Unsaturated Fat: 4
- Trans Fat: 0.1
- Carbohydrates: 15
- Fiber: 0.5
- Protein: 2
- Cholesterol: 15
