

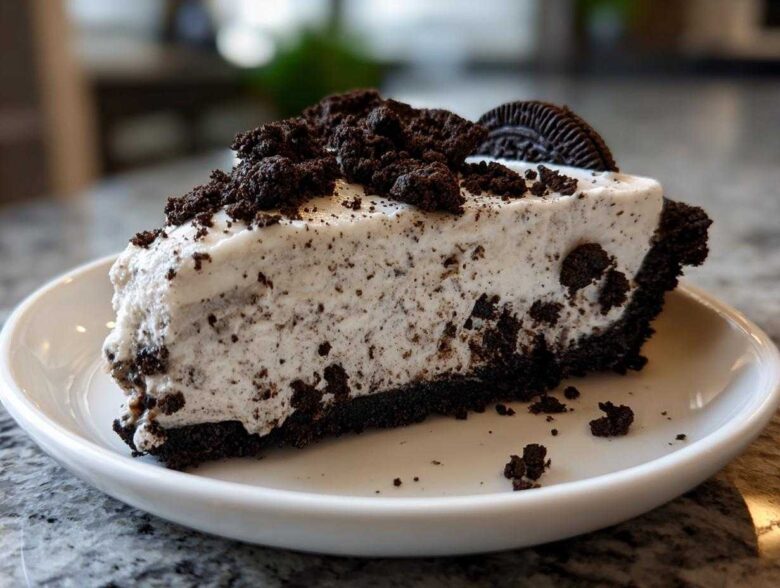
Oh my goodness, are you having one of those days where you desperately need a show-stopping dessert but the thought of heating up the oven feels like climbing a mountain? Trust me, I get it! When evening rolls around and the craving hits hard, that’s when I whip out my secret weapon: this incredible No-Bake 3-Ingredient Creamy Oreo Pie recipe. Seriously, this oreo pie is pure magic in a dish. It comes together so fast, relying on just three simple ingredients to deliver that perfect, rich cookies and cream flavor we all dream about. It’s the ultimate quick dessert recipe for busy weekdays or when you need an easy party dessert idea without the fuss! If you want to check out some of my other recipe adventures, feel free to browse my latest posts over at the main blog page!
Why This No Bake Oreo Pie is Your New Favorite Quick Dessert Recipe
When I say this is the dream for a quick dessert recipe, I mean it! Forget complicated steps; this No Bake Oreo Pie is the definition of reliable. It uses such basic items that you probably have everything needed sitting in your pantry right now. It’s honestly shocking how good a few simple ingredients can taste when they marry together in the fridge. If you’re looking for something that guarantees smiles with minimal active time, this is it. For another seriously quick and easy hit, you’ve got to check out my recipe for Easy Creamy Beer Cheese Dip!
Key Features of Our Creamy Oreo Pie Recipe
- It’s truly a 3 Ingredient Oreo Pie base—hard to beat that simplicity!
- Zero oven time means your kitchen stays nice and cool, perfect for summer chilling.
- The texture is unbeatable: that rich, chocolatey crust mixed with the light, fluffy filling.
- It sets up perfectly every single time, making it one of my most trusted Party Dessert Ideas.
Gathering Ingredients for Your Simple Cookie Dessert
Okay, let’s talk about what you need for this amazing 3 Ingredient Oreo Pie. The beauty here is that the ingredient list is tiny, but every element counts for that perfect Creamy Oreo Pie Recipe. You’ll need a full package of Oreos—and trust me on this, use the classic, full-fat sandwich cookies! Melted butter joins the party for the crust, and thawed whipped topping brings the fluff. If you want to see some other surprising uses for pantry staples, check out how I use simple items in my Easy Homemade Mayonnaise Recipe!
Ingredient Notes and Substitutions for Your Oreo Pie
Since we are keeping this super simple, there aren’t many places to go wrong, but here are a few things I learned from testing batches. If you want a richer filling next time, try softening 4 ounces of cream cheese and folding that in along with the whipped topping—that gets us closer to an Oreo Cheesecake Pie flavor! Also, if you don’t have a food processor for crushing those cookies, don’t panic; just put them in a sturdy Ziploc bag and get aggressive with a rolling pin!
How to Prepare the Best Oreo Pie: Step-by-Step Instructions
Preparing this No Bake Oreo Pie is ridiculously straightforward; you’re basically just assembling things beautifully! Just follow these steps, and you’ll have that perfect Chocolate Cookie Crust Dessert ready in minutes. It’s honestly faster than ordering takeout. If you want to see another fantastic no-bake idea that requires zero fuss, take a peek at my Easy No-Bake Chocolate Eclair Cake!
Creating the Chocolate Cookie Crust Dessert Base
First up, we need that snappy base! Pop 14 of your Oreos into the food processor and blitz them until they are fine sand—no big chunks allowed here. Now, drizzle in your melted butter. Pulse it again until it looks exactly like wet sand, that’s the sign you’re looking for! Press that mixture firmly into the bottom and sides of your 9-inch pie plate. Don’t be shy; really push it down so it holds together. Then, pop the whole thing into the freezer for just 10 quick minutes to firm up while you tackle the filling.
Mixing the Fluffy Oreo Filling
While the crust chills, let’s make the filling. Take those last two reserved Oreos and crush them roughly—we want these to be noticeable chunks, not dust! Now, take your thawed whipped topping; it needs to be soft enough to easily scoop. Gently fold those chunky Oreos right into the topping. I say gently because we want to keep all that lovely air in there; we are building that signature Fluffy Oreo Filling! Once everything is mixed evenly, just spoon it right over your chilled crust.
Chilling and Serving Your Homemade Oreo Pie
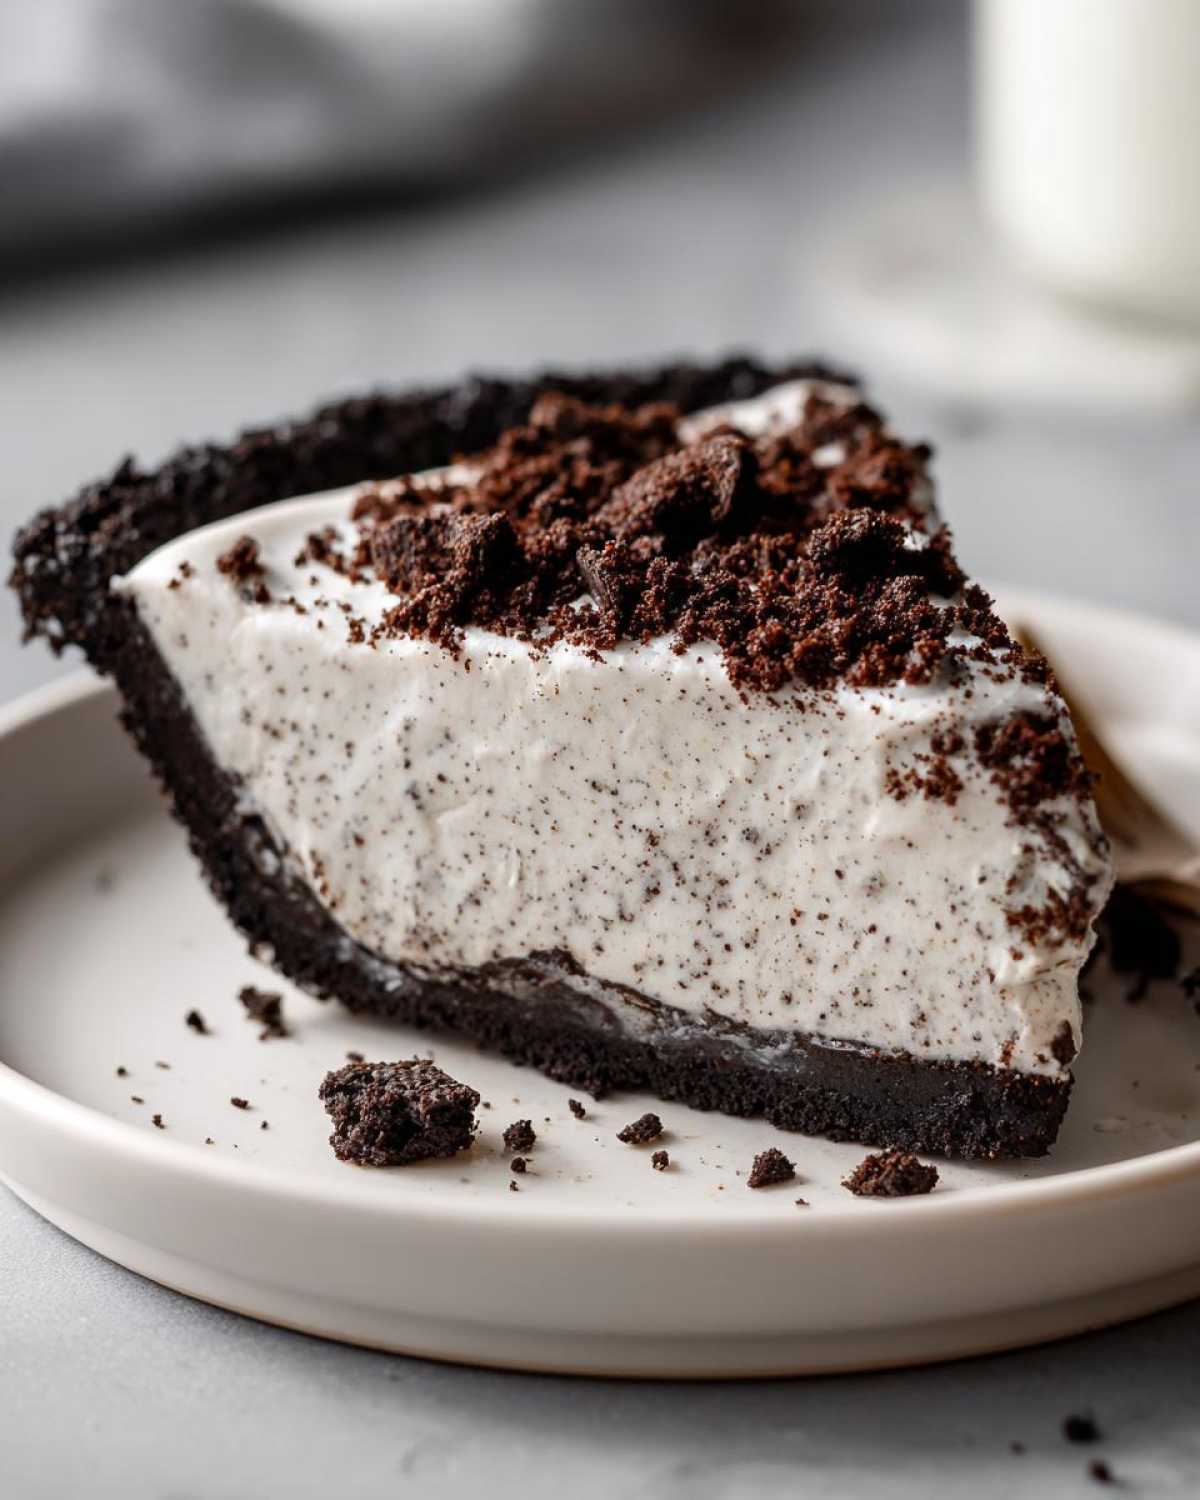
Once the filling is nestled nicely in the crust, it needs time to become the firm, perfect Chilled Oreo Dessert we crave. Cover the pie loosely with some plastic wrap—make sure it doesn’t touch the surface! You need to refrigerate this for a minimum of four hours, but honestly, overnight is even better. This chilling time is absolutely essential; without it, the pie won’t set up right, and you’ll end up with a delicious, gooey mess instead of a sliceable pie!
Expert Tips for the Perfect Creamy Oreo Pie
You know, once you’ve mastered the three-ingredient base, you start noticing little things that make the Creamy Oreo Pie Recipe even better. My biggest game-changer for texture is temperature. Make sure your whipped topping is fully thawed but still very cold—if it gets warm and soupy, your final filling will be sad and runny instead of wonderfully fluffy. Also, when pressing the crust, really use the bottom of a measuring cup or a flat glass. This compacts those crumbs so they don’t fall apart when you try to slice it later.
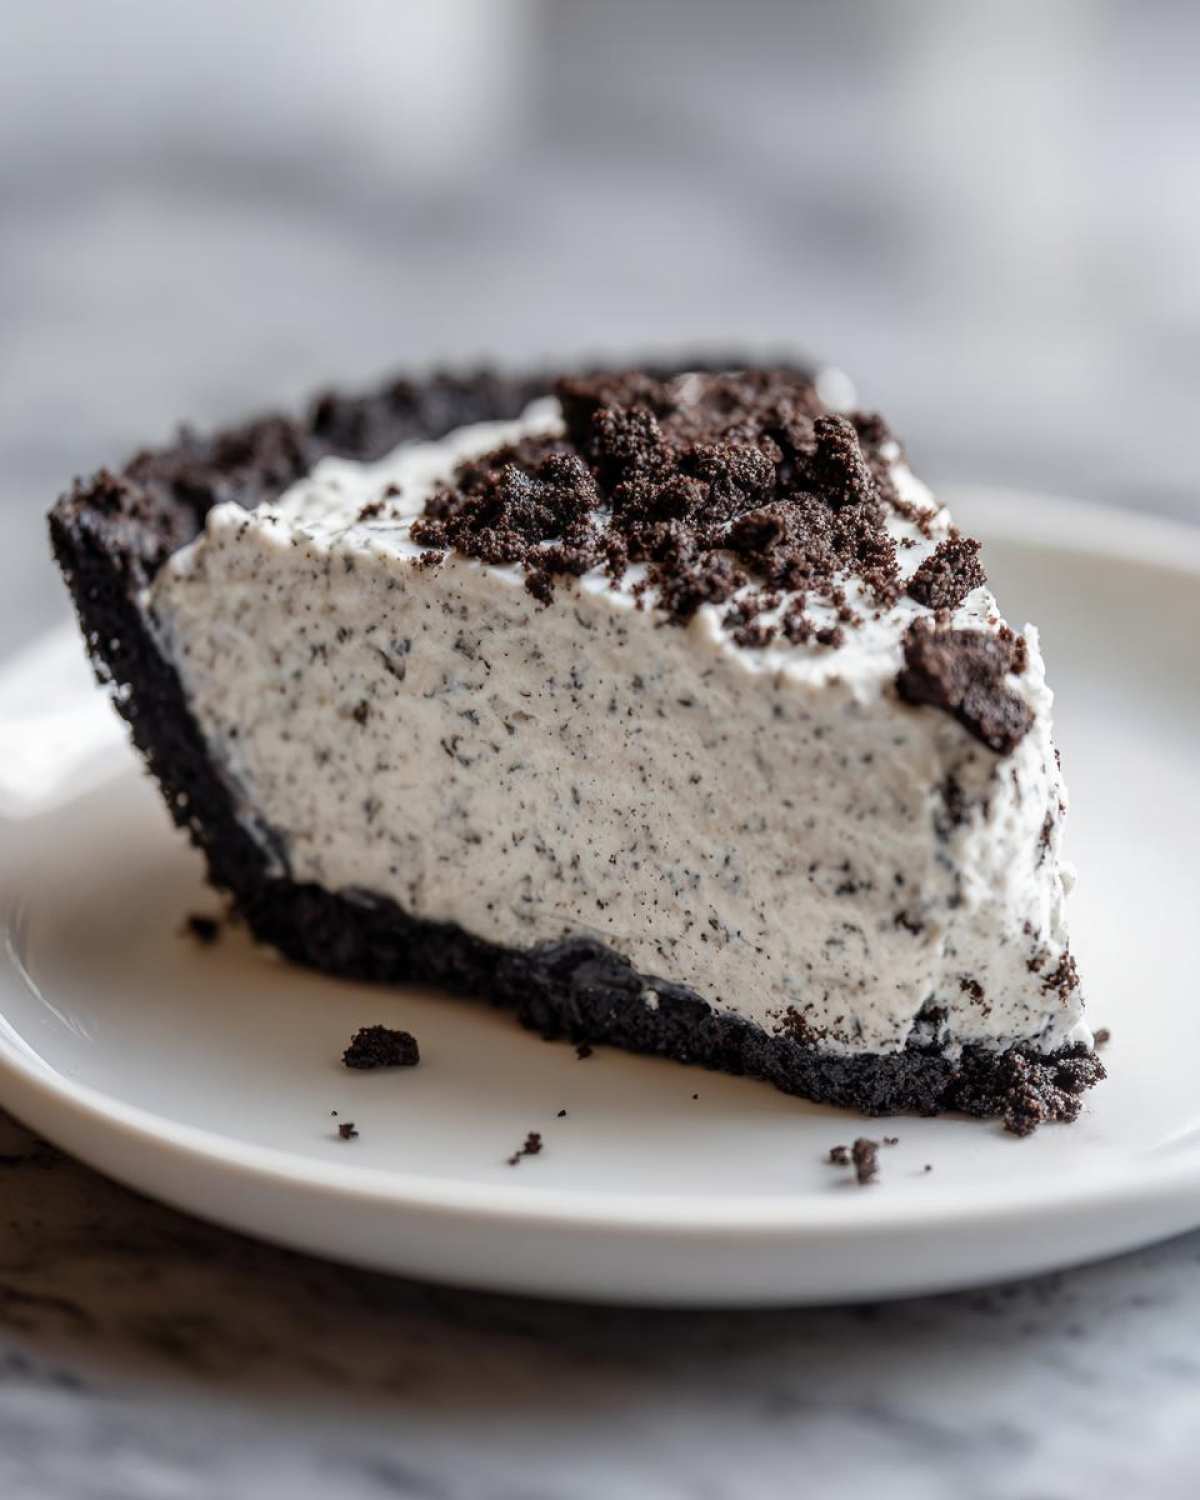
When it comes to presentation for this Homemade Oreo Pie, I always reserve a few cookies for crushing on top right before serving. It looks so much prettier and gives that fresh crunch. And if you’re hosting a party, assembling this entire Easy Oreo Dessert the day before is perfect. It gives the flavors time to deepen a little bit, making the crust even more satisfying against that light filling. For another dish where temperature really matters, you have to try my Best Creamy Classic Egg Salad Recipe!
Variations on the Classic Oreo Pie Recipe
Now, I know this base oreo pie recipe is perfect as is—hello, three ingredients!—but sometimes you just need to jazz things up a little, right? Don’t worry, you don’t have to start from scratch to create something new and exciting. These little tweaks are perfect for turning it into a Decadent Cookies and Cream experience!
If you’re craving a tangier vibe, you can easily whip up a mock Oreo Cheesecake Pie. Just follow the substitution note I mentioned earlier—folding in some softened cream cheese with the whipped topping adds that signature slight zing and density. It’s heavenly!
And for my mint lovers out there? This is so easy. Before you fold the filling together, stir in about half a teaspoon of pure peppermint extract. I also like to throw in a handful of chopped Andes mints or mini chocolate chips when I crush the remaining Oreos. It’s a flavor explosion!
For something really dramatic, try replacing that melted butter in the crust with melted white chocolate instead—it creates a firmer, almost truffle-like base. It’s a simple change that elevates the whole thing! If you’re experimenting with new flavors, make sure you check out my Boston Cream Pie Cookies Recipe for more fun twists on classic desserts!
Serving Suggestions for Your Decadent Cookies and Cream Dessert
Okay, so you’ve mastered the oreo pie and it looks perfect sitting there in the fridge, ready to go. But how should we serve this Decadent Cookies and Cream masterpiece? While it’s rich enough to stand on its own, a little something extra never hurt anyone, right?
I always find that a drizzle of good quality, warm fudge sauce across the top just before slicing adds a gourmet touch. If you need something on the side, fresh raspberries or strawberries cut through the richness of the chocolate so nicely. It brightens up the whole plate!
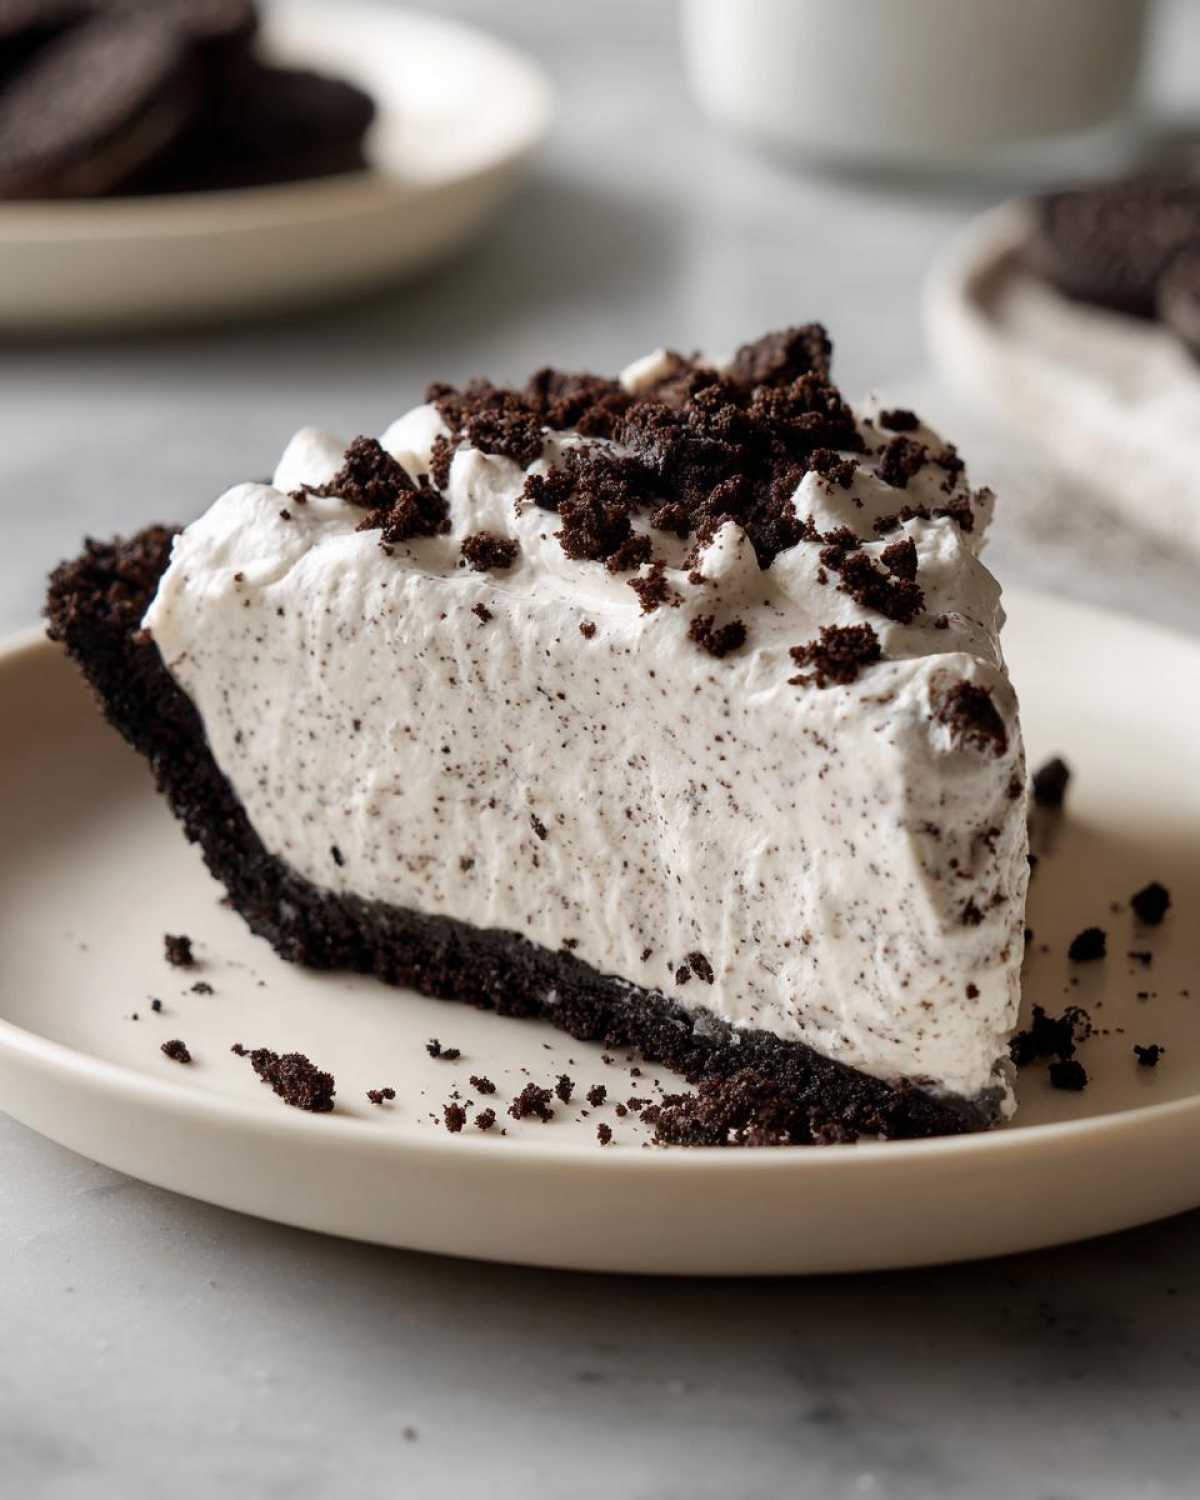
And for grown-ups? A piping hot cup of black coffee is the absolute perfect partner for this chilled dessert. If you’re looking for other rich but easy additions to your dessert lineup, you can always check out my recipe for Moist Fudgy Chocolate Cake!
Storage and Reheating Instructions for Leftover Oreo Pie
This oreo pie is honestly at its best the day after it’s made, which is great for party planning! Because it’s a No Bake Oreo Pie relying on whipped topping for its structure, storage is really simple, but we need to treat it gently. Keep leftovers tightly covered in the refrigerator; it should stay perfectly firm and delicious for about 3 to 4 days. Don’t even think about that microwave; reheating a whipped topping pie is just asking for soup!
But wait, can you freeze it? Yes, you totally can! Wrapping it well in plastic wrap and then foil lets you save this Quick Dessert Recipe for up to a month. When you’re ready to serve a frozen slice, just let it thaw in the fridge for a few hours. If you’re looking for storage tips on other baked goods, check out my guide on making homemade naan bread—though that’s definitely best fresh!
Frequently Asked Questions About Making an Oreo Pie
I always get so many questions when I post my super easy oreo pie recipes online! It’s totally normal; everyone wants to make sure their first attempt at this No Bake Oreo Pie comes out perfect. I tried to keep the instructions clear, but here are answers to the ones I see the most often popping up in my comments. If you’re looking for other kitchen wisdom, you can always peek at my tips on making easy homemade mayonnaise, too!
Can I use real whipped cream instead of Cool Whip in this oreo pie?
You absolutely can try! Real whipped cream tastes amazing, but here’s the catch: it doesn’t stabilize quite as well as the frozen stuff, especially in a rich filling like this one. If you use real whipped cream, you absolutely must sweeten it heavily with powdered sugar and consider adding a packet of gelatin mixed with a little water to help keep that Fluffy Oreo Filling from weeping or collapsing overnight. For guaranteed stability, stick with the frozen whipped topping for this recipe.
How long does the crust need to freeze for the No Bake Oreo Pie?
For the crust, the freezer is your super-speedy helper! We only ask for 10 minutes in the freezer just to get the melted butter to firm up and bind those crumbs together really well. This step is crucial because if the crust is still a little soft when you pour in the filling, they tend to mix when you try to press the filling in later. Ten minutes is usually plenty to get it solid enough to handle the next step.
Is this a good Party Dessert Idea?
It is the *best* Party Dessert Idea, hands down! Because this is a No Bake Oreo Pie, you can prepare the whole thing the day before the party, which frees up your day-of schedule immensely. It travels well if you keep it chilled, and everyone loves that familiar, comforting cookies and cream flavor. Trust me, these simple cookie desserts are always the first thing gone!
Nutritional Estimates for Your Simple Oreo Pie
Now, I always have to say this, because I’m not a professional nutritionist, darling! These numbers are just rough estimates for one serving based on the basic ingredients in this Simple Cookie Dessert. We are looking at around 350 calories, with about 22g of fat and 36g of carbohydrates per slice.
Since we use full-fat cookies and butter, it packs a punch, but oh my goodness, it’s worth it! For the official rundown and to see my full disclaimer about food values, you can check out my general guidelines here: my official site disclaimer page. Just remember, these estimates are based on the core recipe!
PrintNo-Bake 3-Ingredient Creamy Oreo Pie

Make a simple, creamy Oreo pie without turning on your oven. This recipe uses only three ingredients for a quick cookies and cream dessert.
- Prep Time: 15 min
- Cook Time: 0 min
- Total Time: 4 hours 15 min
- Yield: 8 servings
- Category: Dessert
- Method: No Bake
- Cuisine: American
- Diet: Vegetarian
Ingredients
- 1 package (14.3 oz) Oreo cookies, divided
- 1/2 cup (1 stick) unsalted butter, melted
- 1 container (8 oz) frozen whipped topping (like Cool Whip), thawed
Instructions
- Prepare the crust: Place 14 Oreo cookies in a food processor and pulse until fine crumbs form. Reserve the remaining 2 cookies for garnish.
- Mix the butter into the crumbs: Pour the melted butter over the Oreo crumbs and pulse until the mixture resembles wet sand.
- Press the crust: Press the crumb mixture firmly into the bottom and up the sides of a 9-inch pie plate. Place the crust in the freezer for 10 minutes to set.
- Make the filling: Crush the remaining 2 Oreo cookies coarsely by hand or with a rolling pin.
- Combine filling ingredients: Gently fold the crushed Oreos into the thawed whipped topping until evenly mixed.
- Fill the pie: Spoon the filling evenly into the chilled crust.
- Chill: Cover the pie loosely with plastic wrap and refrigerate for at least 4 hours, or until firm.
- Serve: Slice and serve cold.
Notes
- For a richer flavor, use cream cheese in place of half the whipped topping, softened first.
- If you do not have a food processor, place cookies in a large zip-top bag and crush them with a rolling pin.
- You can substitute the butter with 6 ounces of melted white chocolate for a different texture.
Nutrition
- Serving Size: 1 slice
- Calories: 350
- Sugar: 30
- Sodium: 280
- Fat: 22
- Saturated Fat: 10
- Unsaturated Fat: 12
- Trans Fat: 0
- Carbohydrates: 36
- Fiber: 1
- Protein: 3
- Cholesterol: 25
